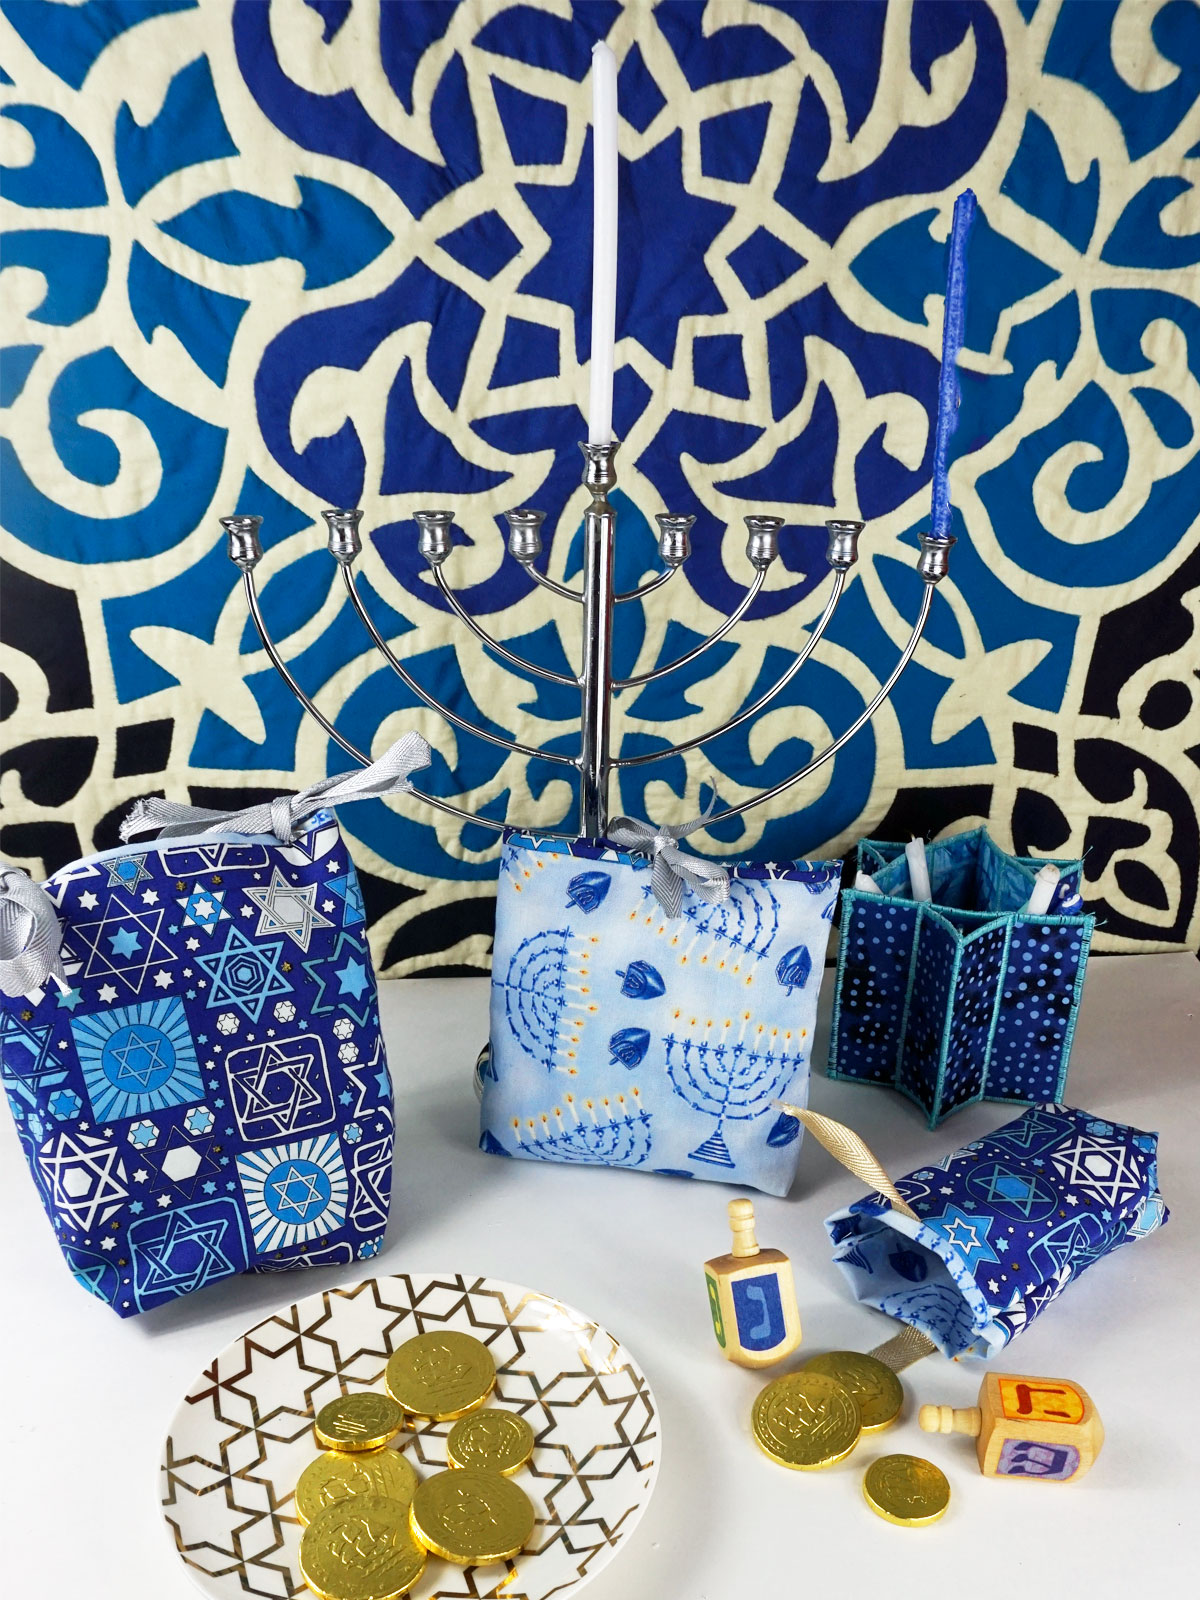
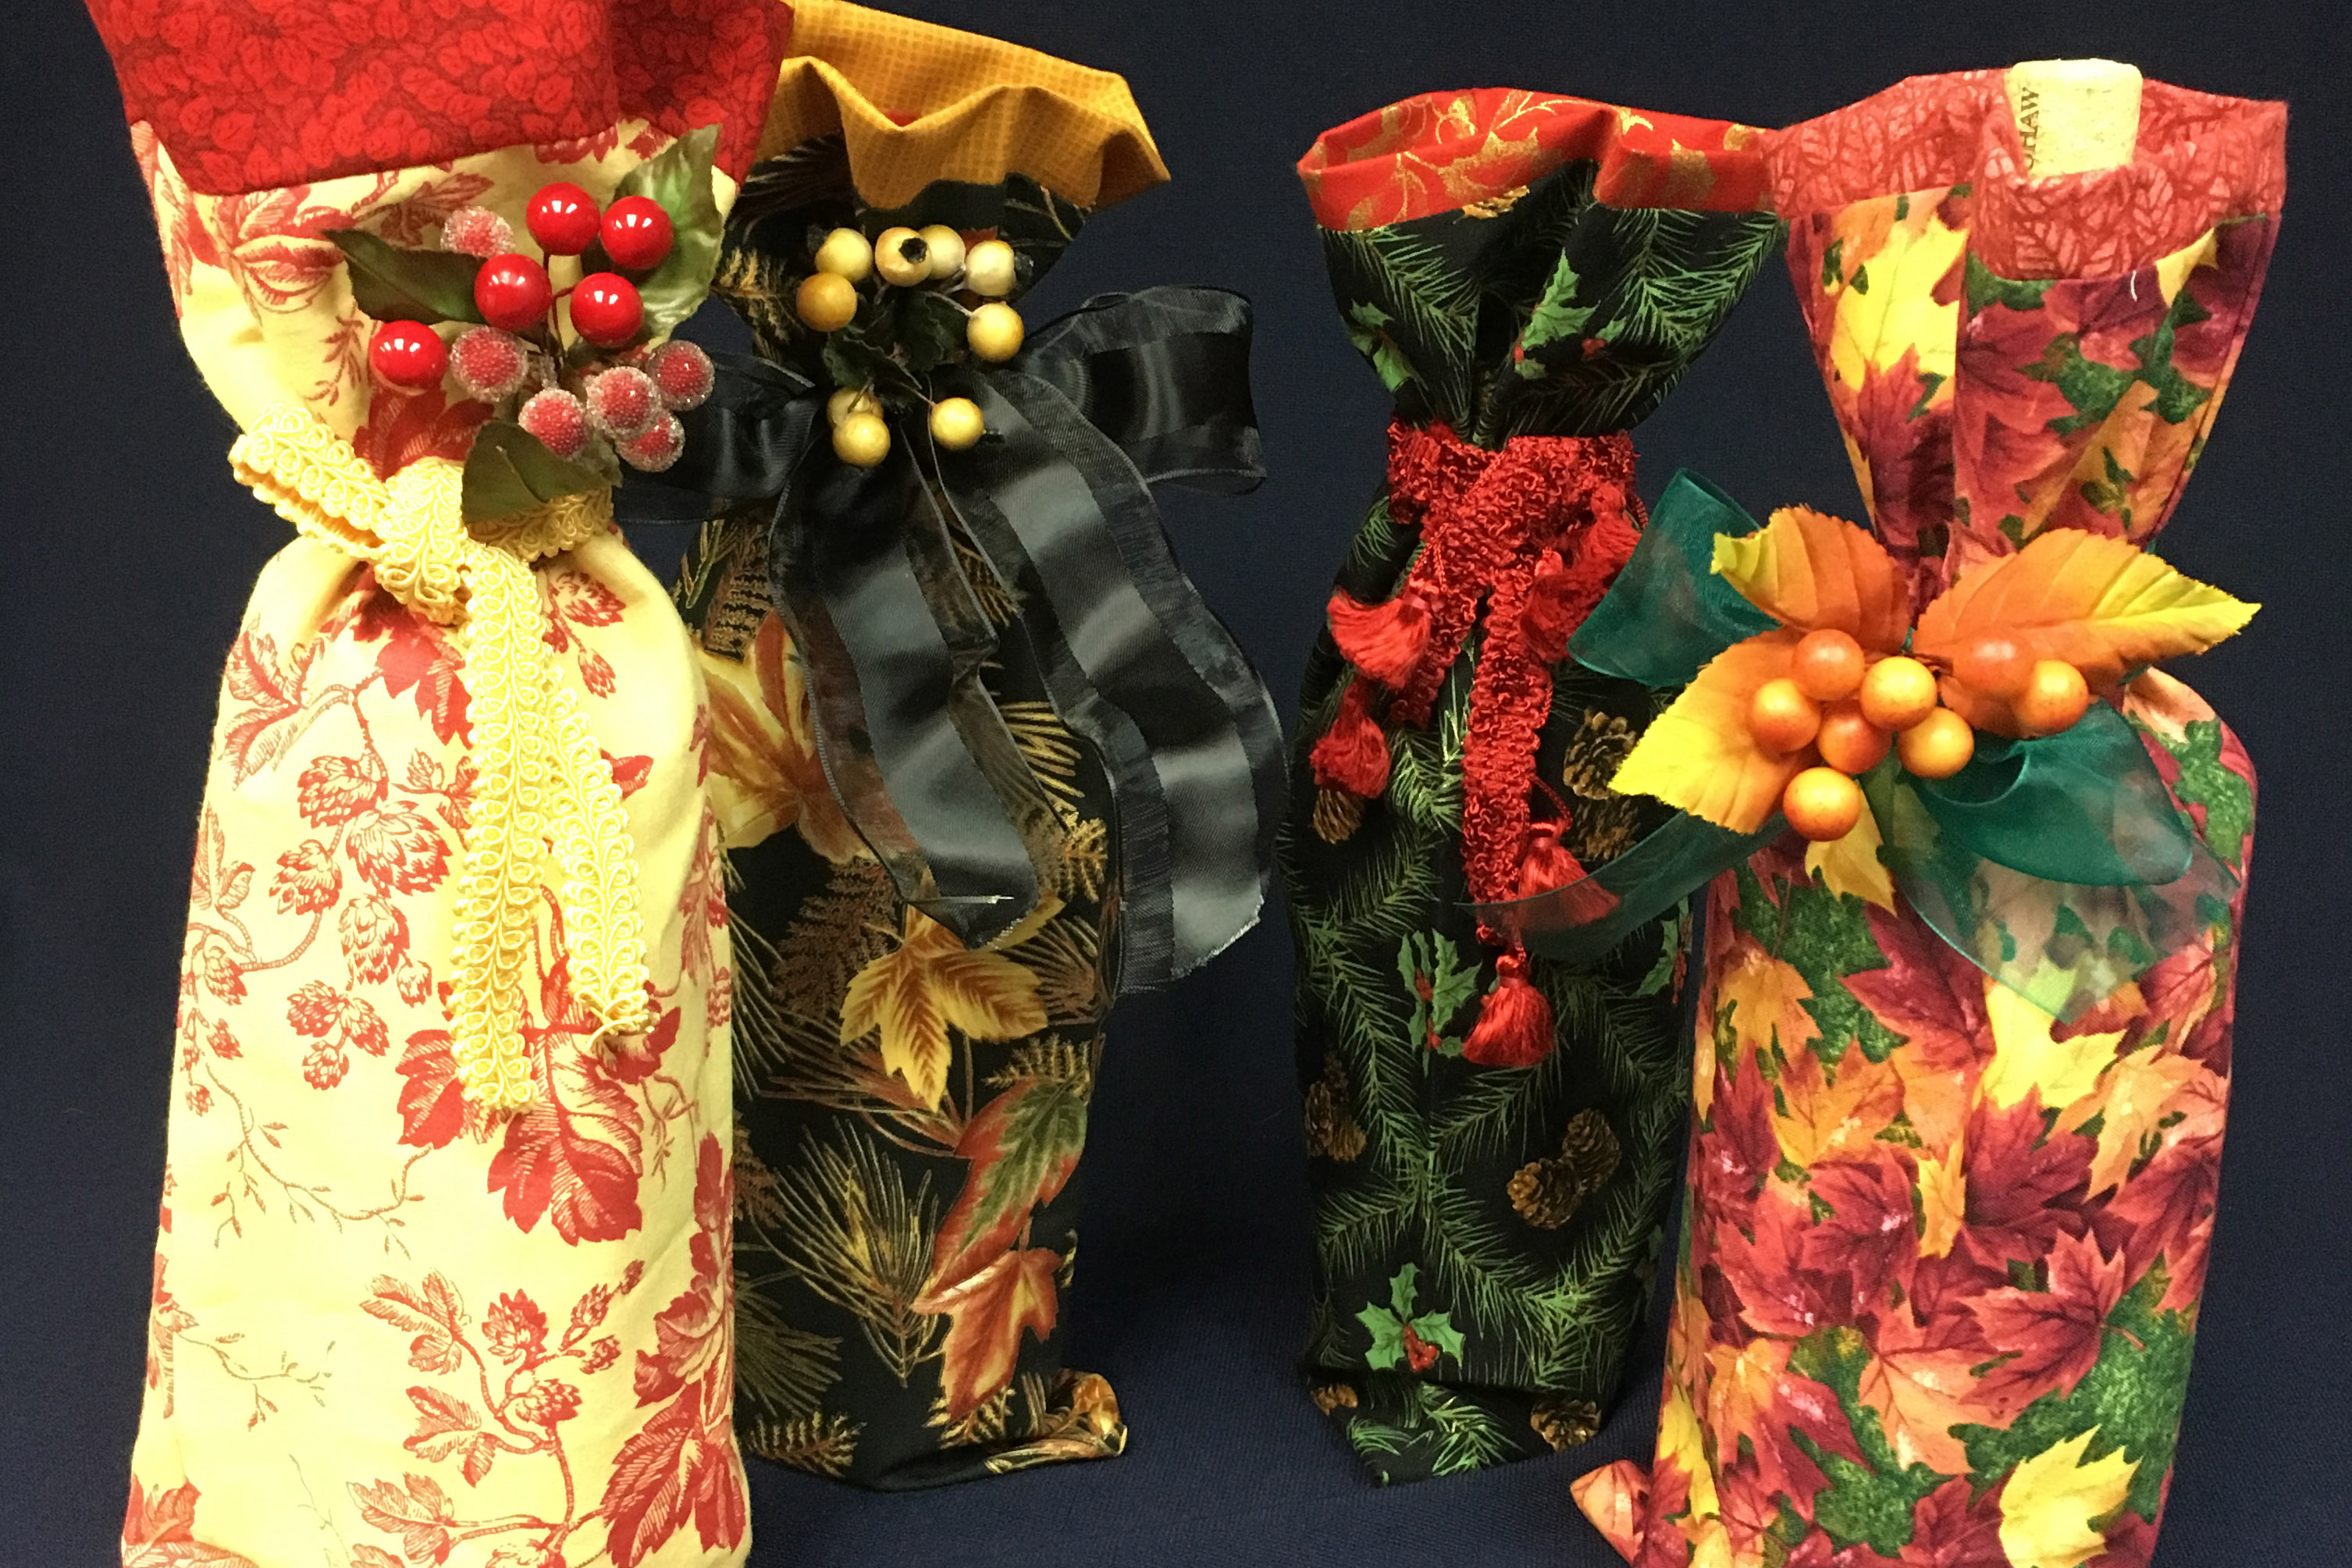
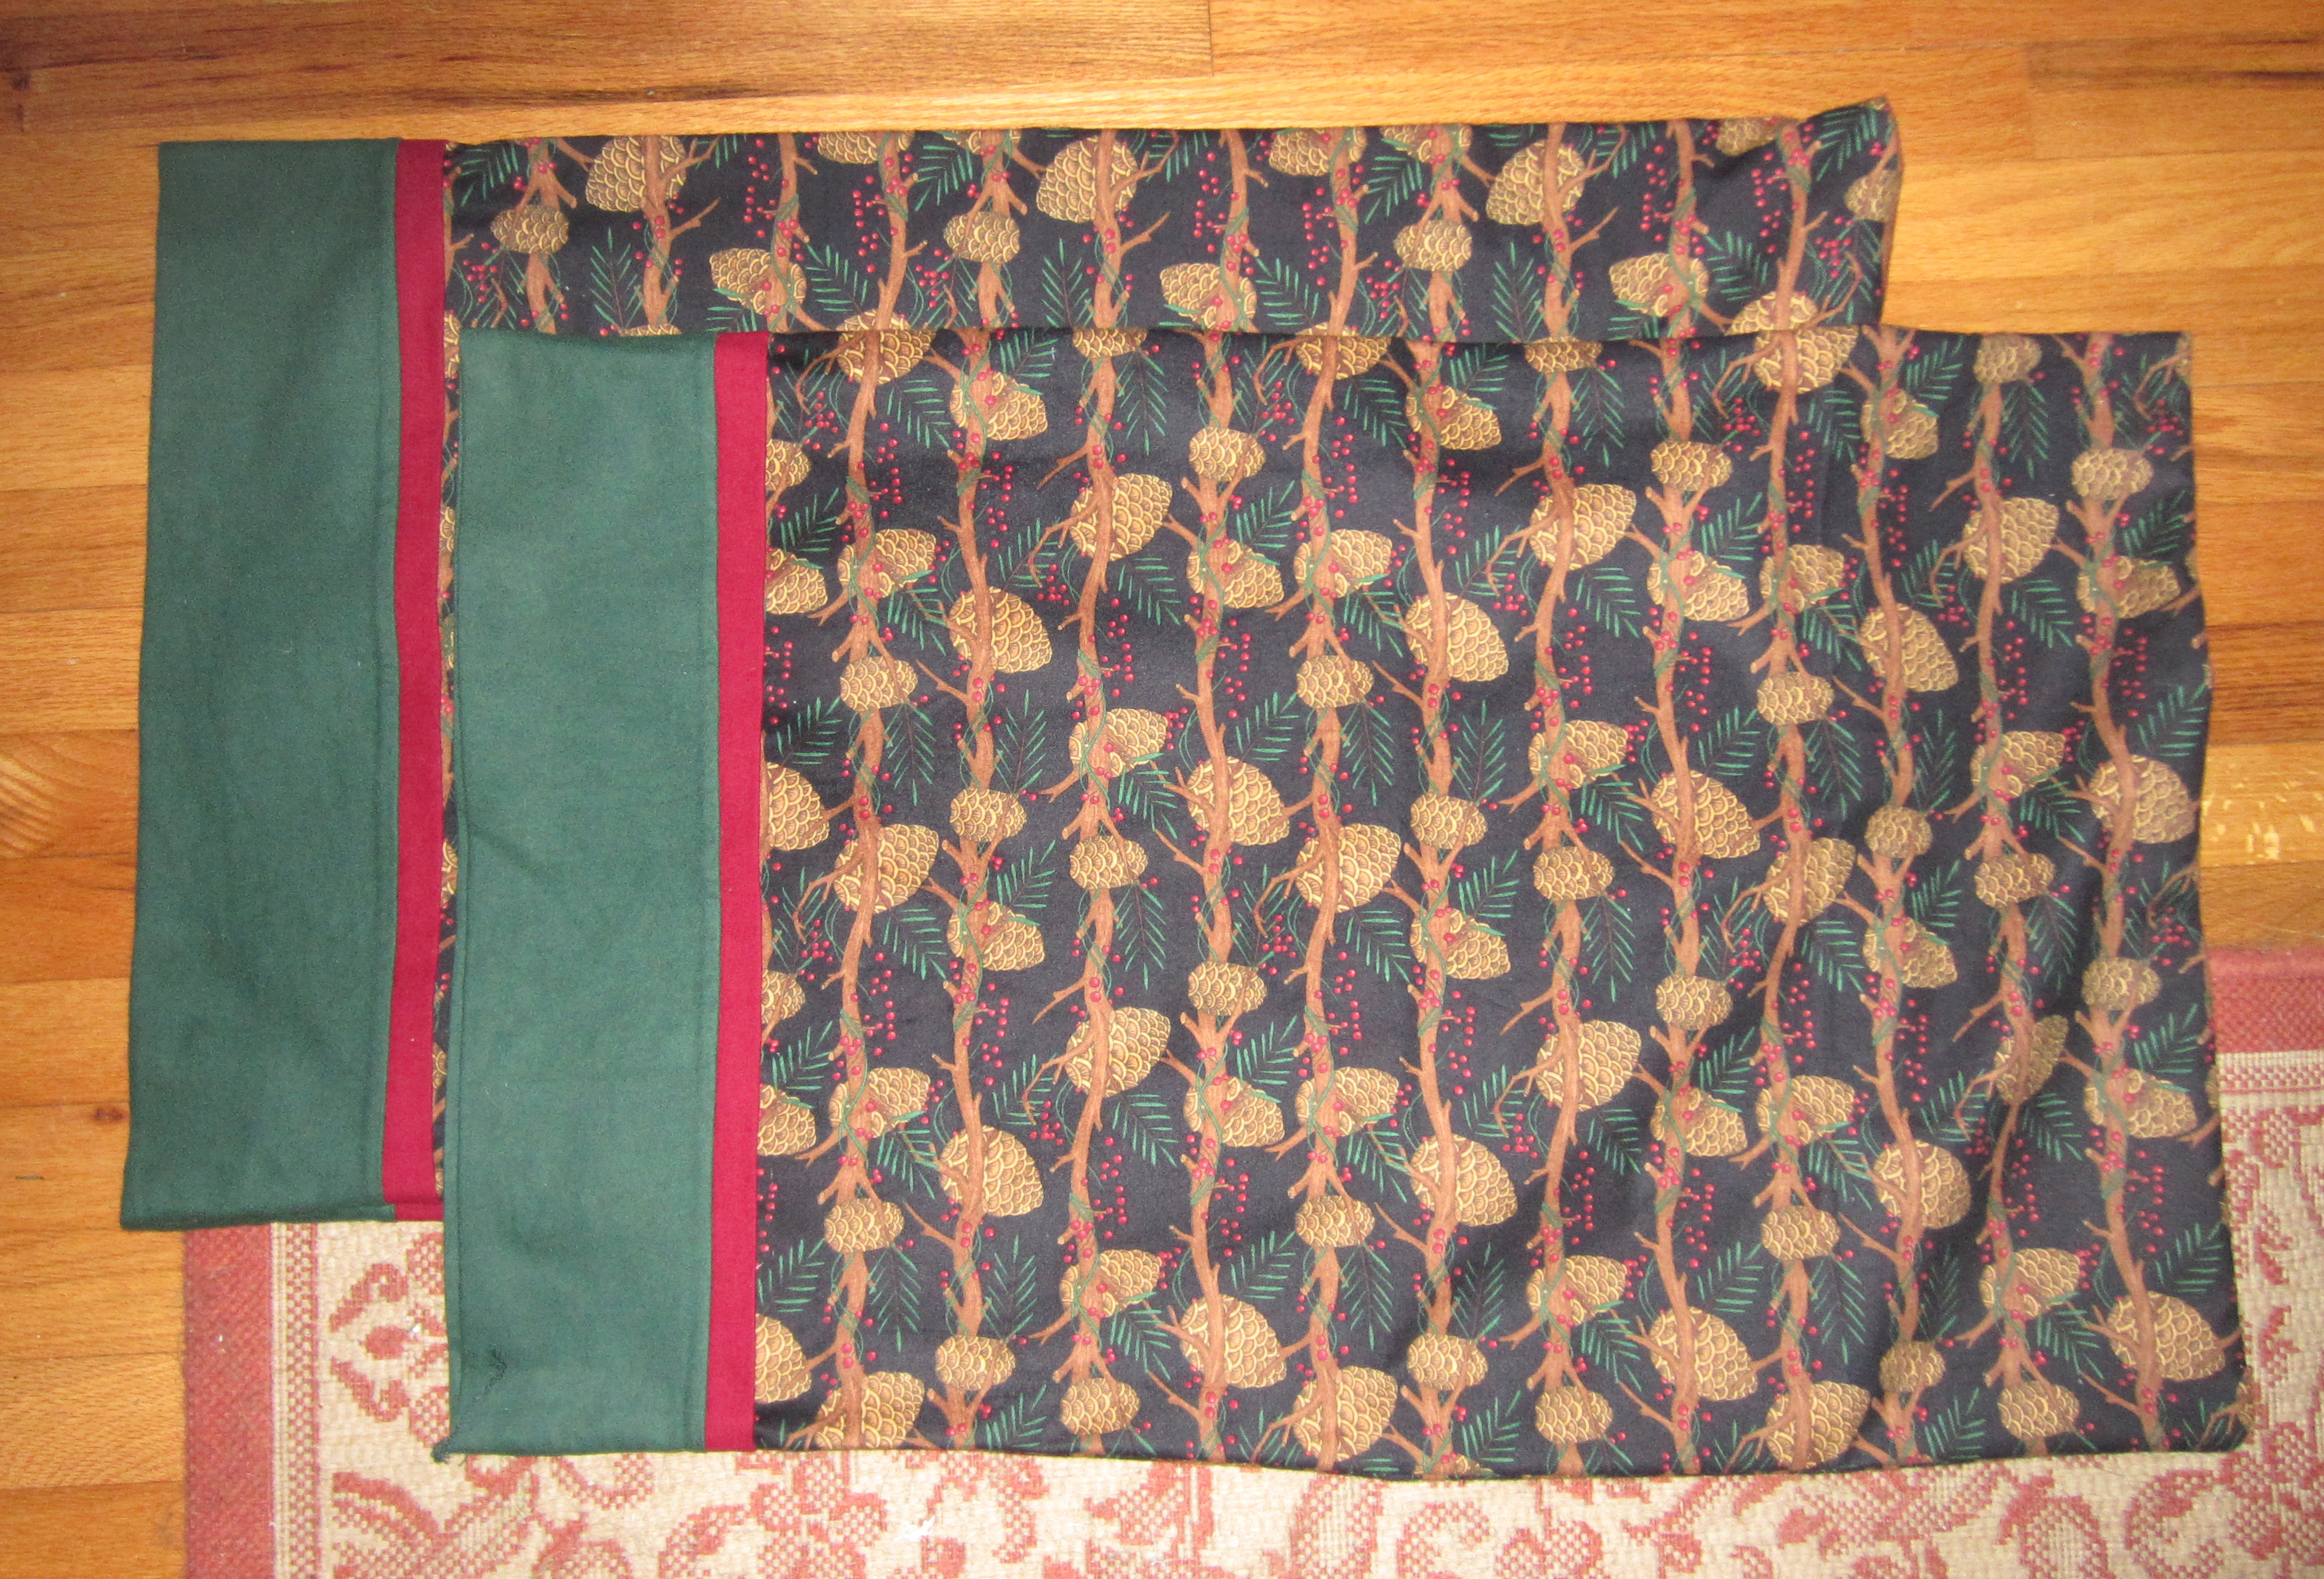
Quick and Easy Hanukkah Gift Bags
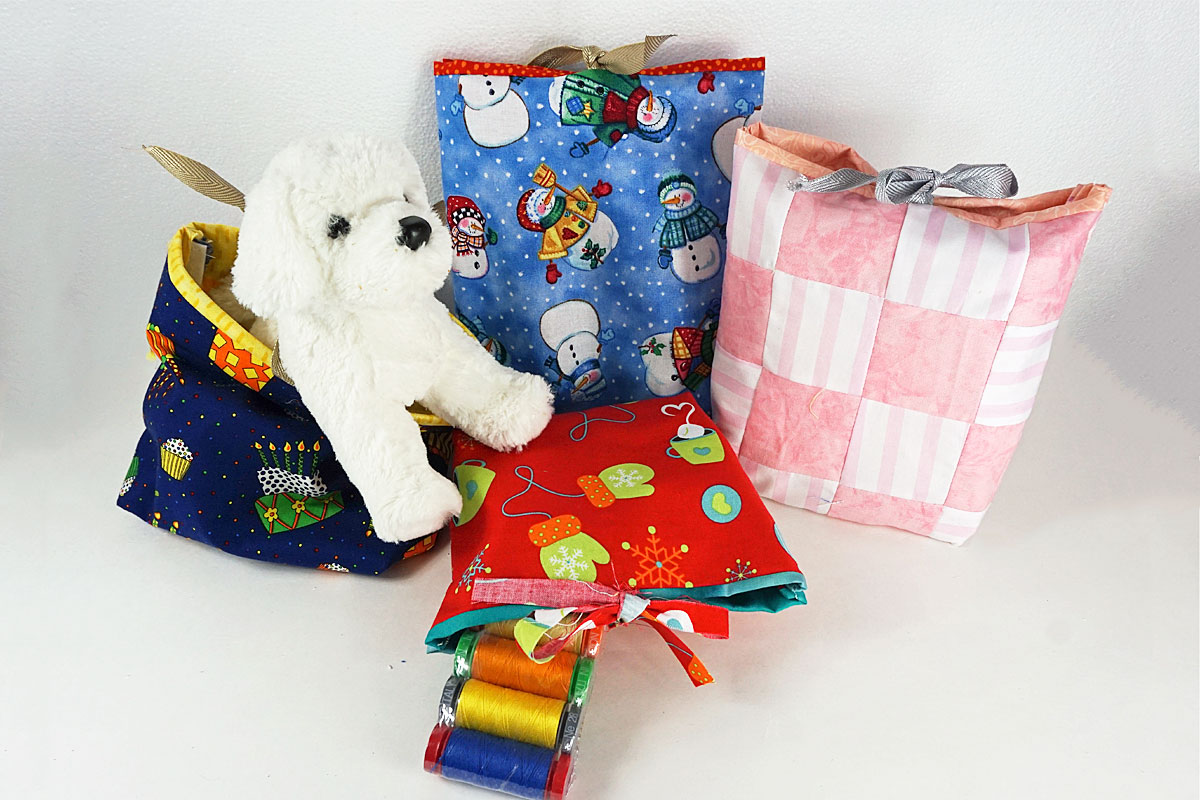
This quick and easy gift bag with a decorative border at the top will be almost as fast as wrapping paper for your presents. Make a bunch in different sizes and different fabrics. There are just ten easy steps; here we go:
Materials to sew a quick bordered gift bag
- Two pieces of fabric for the outside of the gift bag (size of your choice)
- Two pieces of fabric for the inside of the gift bag, ½ inch larger on one side than the outside squares (this will allow the lining fabric to show at the top of the bag on the outside)
- Two pieces of ribbon each about 3 inches long (longer for a large gift bag or depending on what looks right to you)
Instructions for sewing your quick bordered gift bag
Step 1: Choose your fabrics and ribbon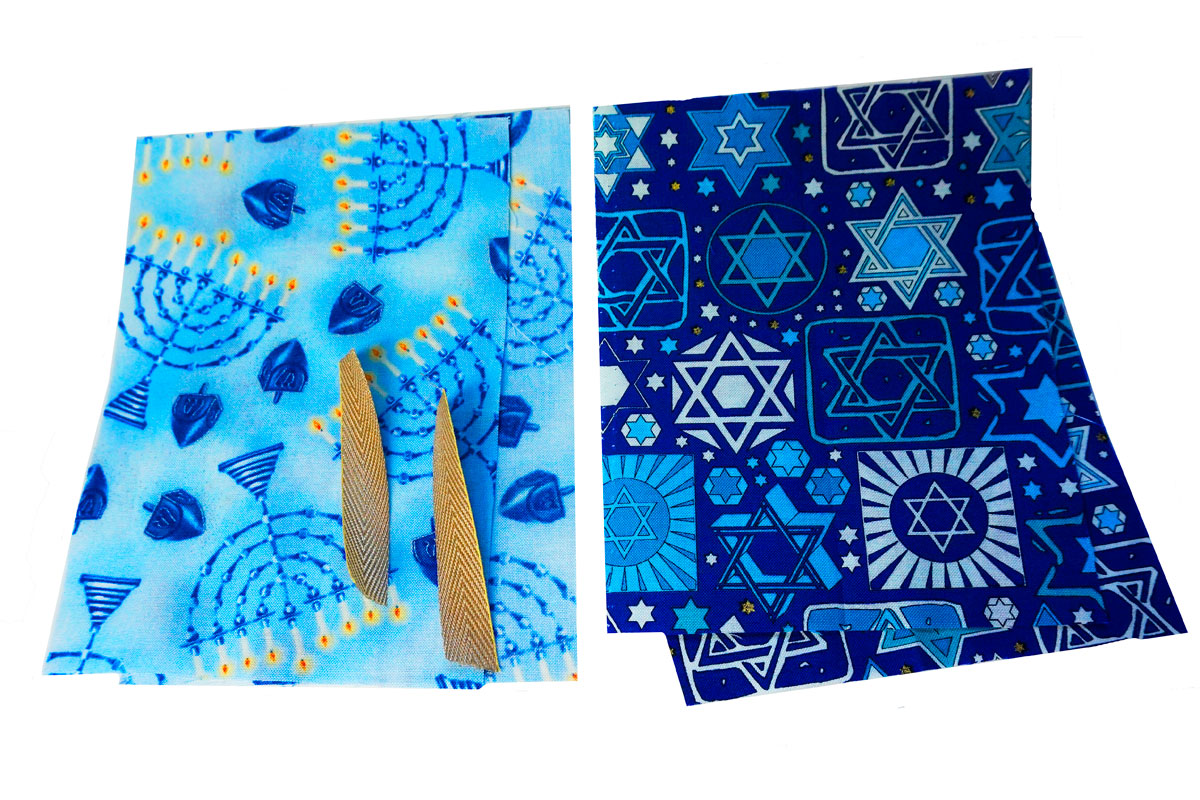 Decide on your outside fabric, lining fabric, ribbon and cut all to the appropriate size. A rotary cutter, ruler and mat makes quick work of cutting the pieces accurately.
Step 2: Start by placing a piece of ribbon on the center of the right side of the outside fabric. I fold the fabric in half and press lightly (or finger press) to establish the center line. Repeat for the other piece of ribbon and outside fabric.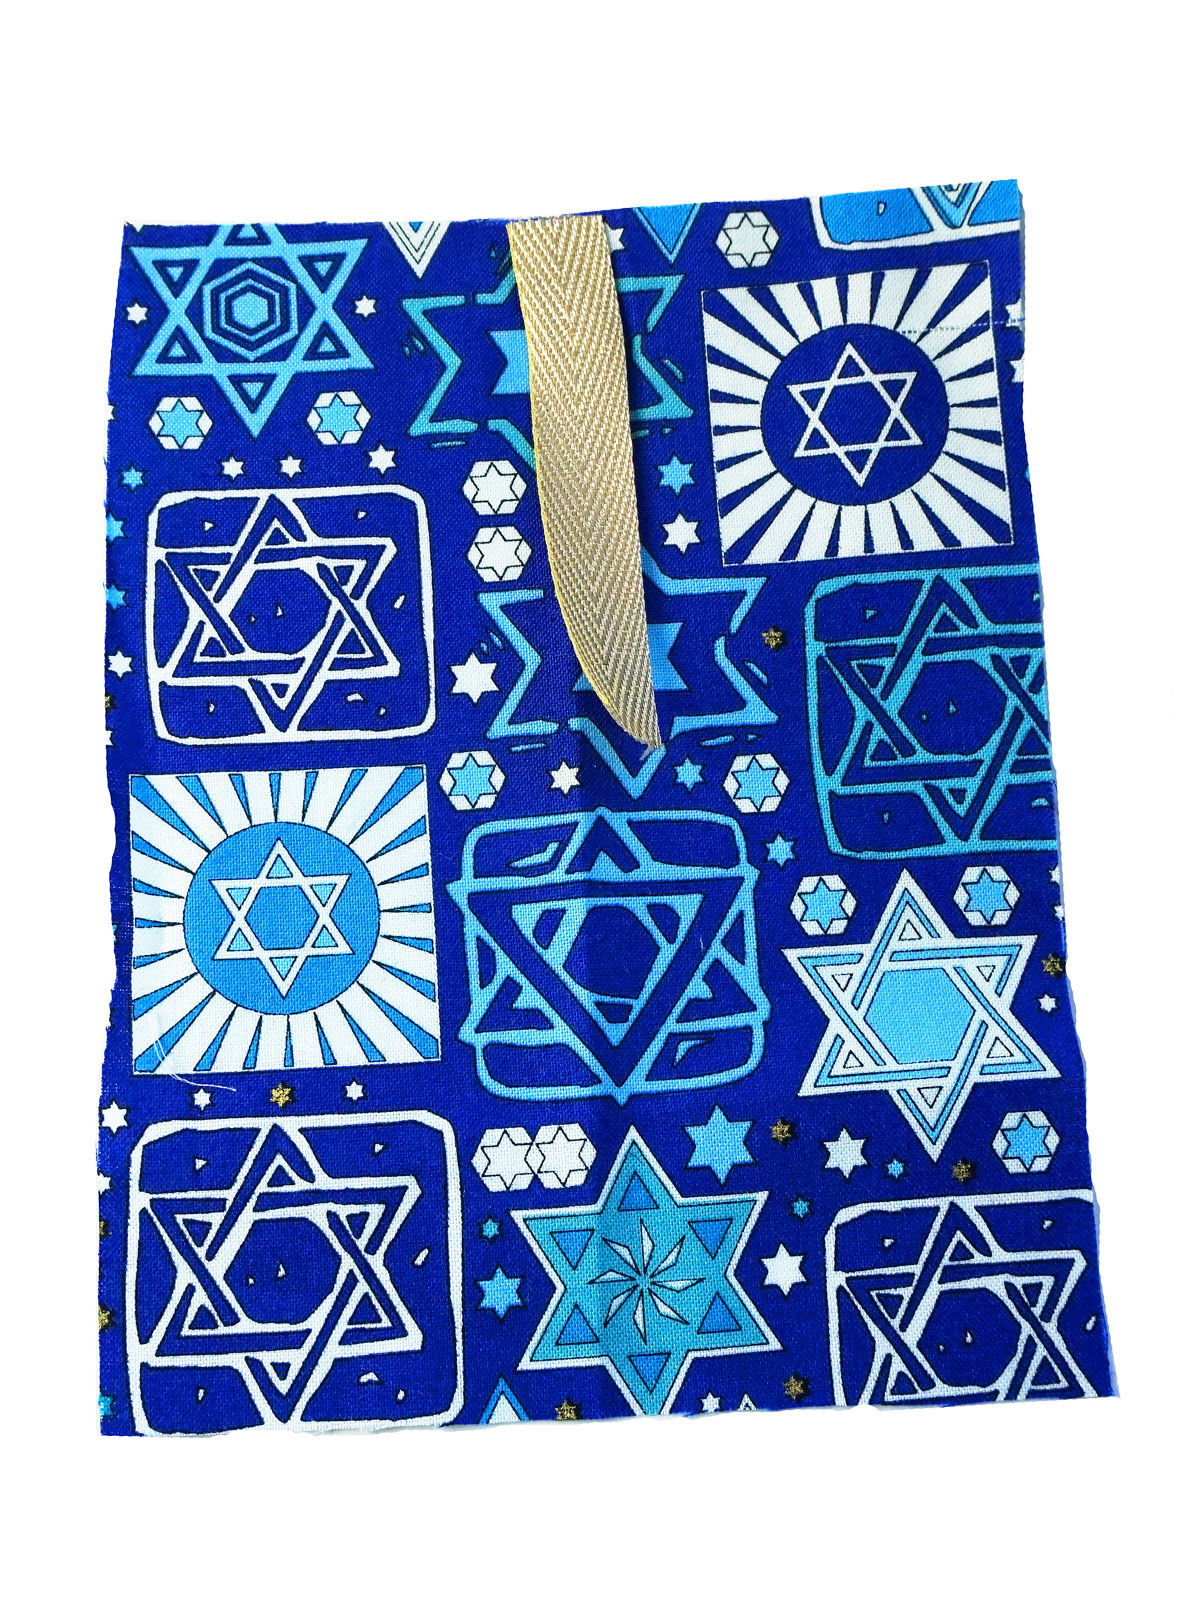 Step 3: Place the edge of one lining and one outside fabric right sides together with the ribbon centered between the two fabrics. Make sure when these are positioned, the extra fabric from the lining is at the bottom.
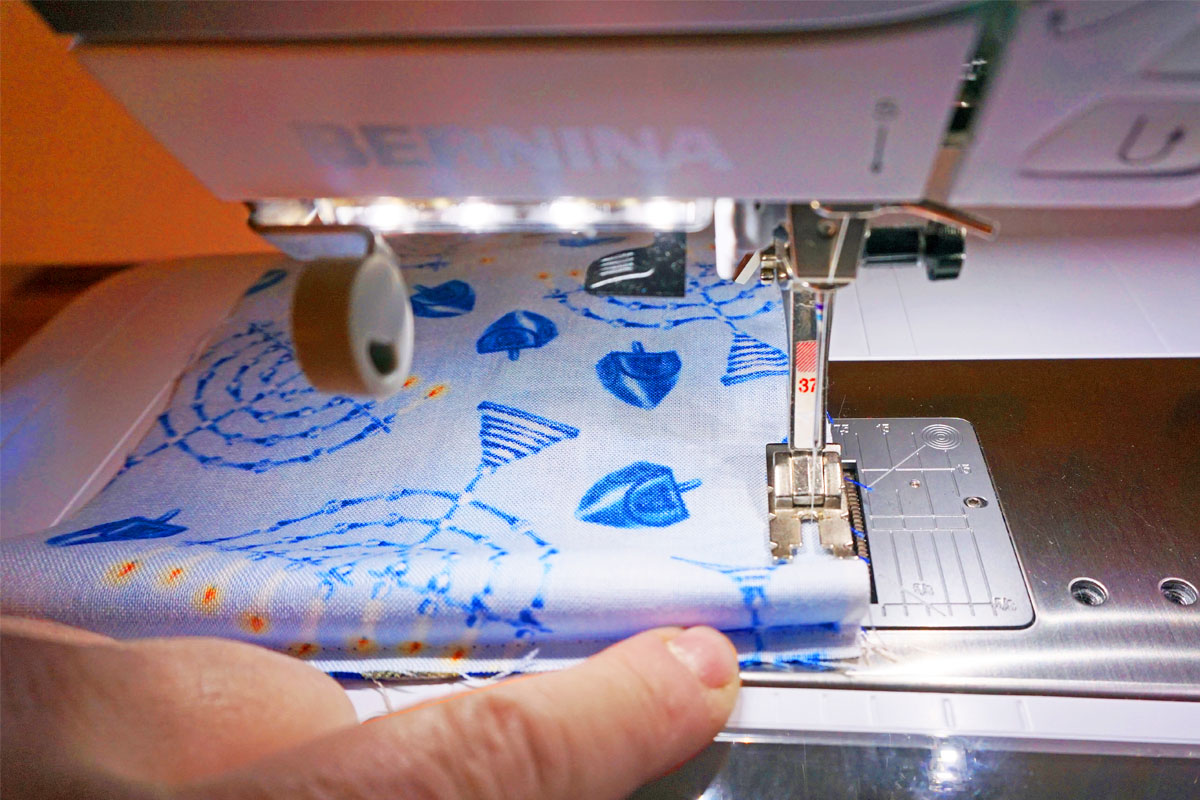
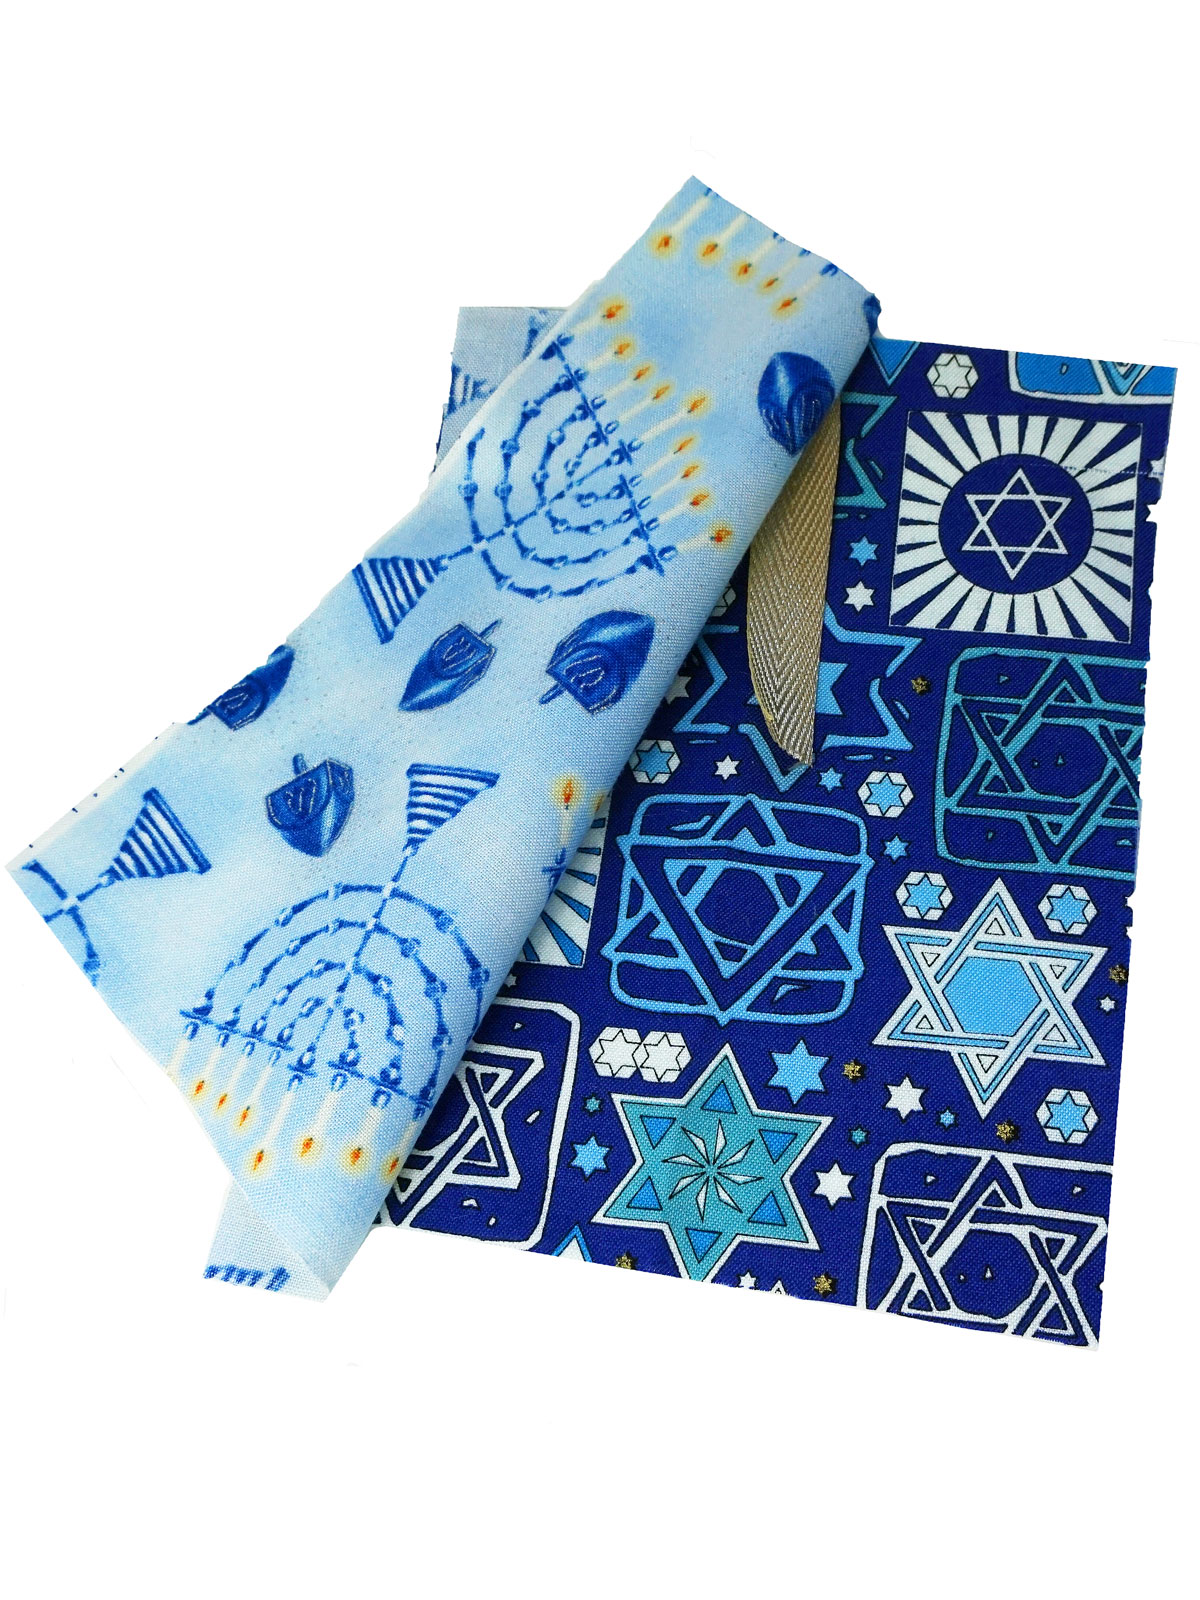 Step 4: Sew at ¼ inch seam allowance along that line. I use my BERNINA Patchwork foot #37 foot for perfect ¼ inch seams. (link here) Adjust the pieces so that the bottom edge of the lining meets the bottom edge of the outside fabric and the lining rolls over at the top. This will form the trim on the outside of the gift bag. This can be pressed into place or left alone—the machine will do the work of getting it in the right place.
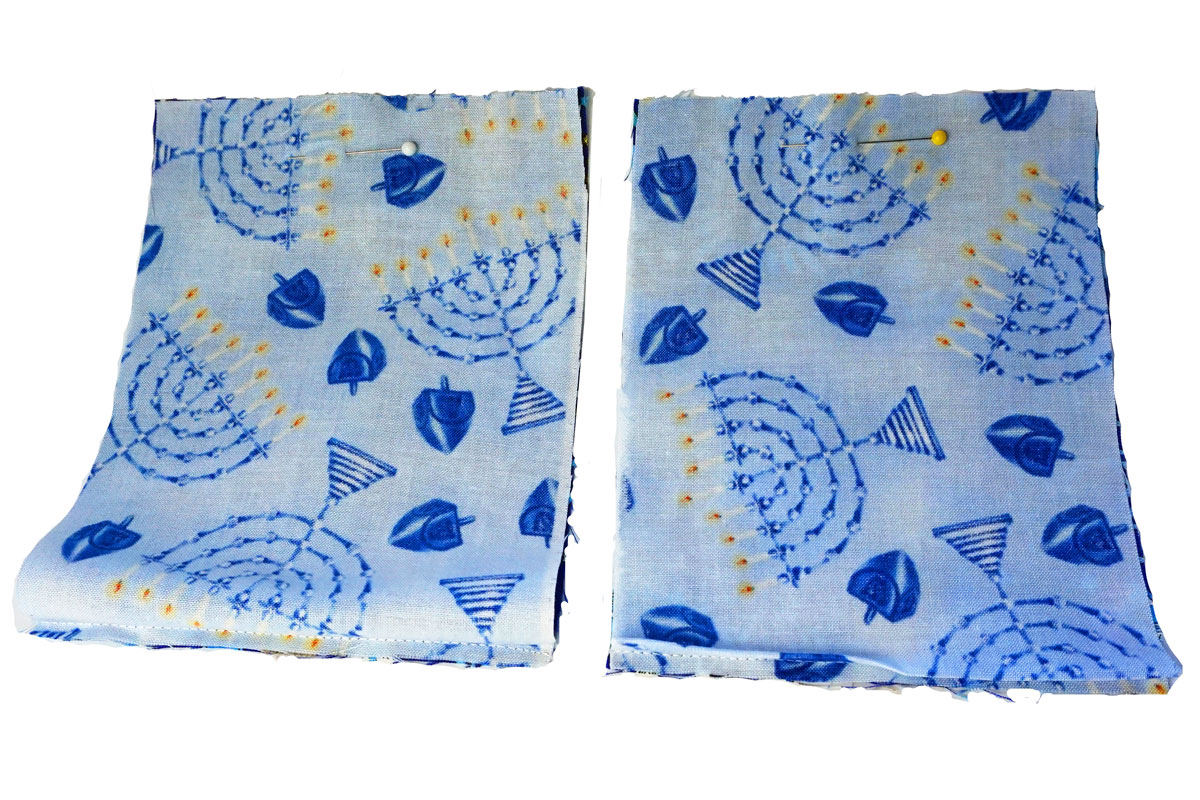 Step 5: With right sides together, sew the two sides, starting away from that folded edge—it makes it easier to ease it in. I also find it goes a little smoother when the lining fabric is on the top as it is in the machine. Turn out and press. Now you have a ¼ inch border of lining fabric showing at the top of your bag.
Step 6: Turn to the outside and press. Use your finger or the eraser end of a pencil to pop out the corners.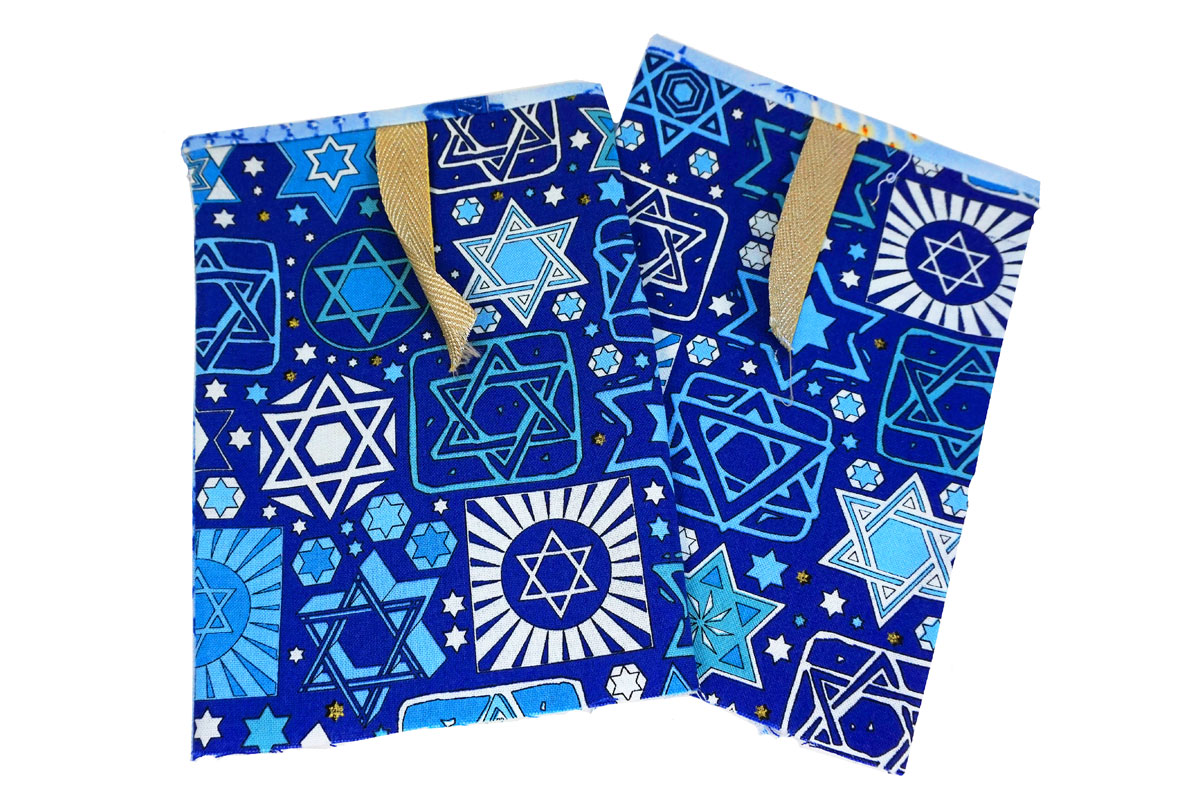 Step 7: Place the two sections right sides together and sew down one side, across the bottom and up the other side.
 Step 8: I like to finish the raw bottom edge with either pinking shears or encased in a zig zag stitch.
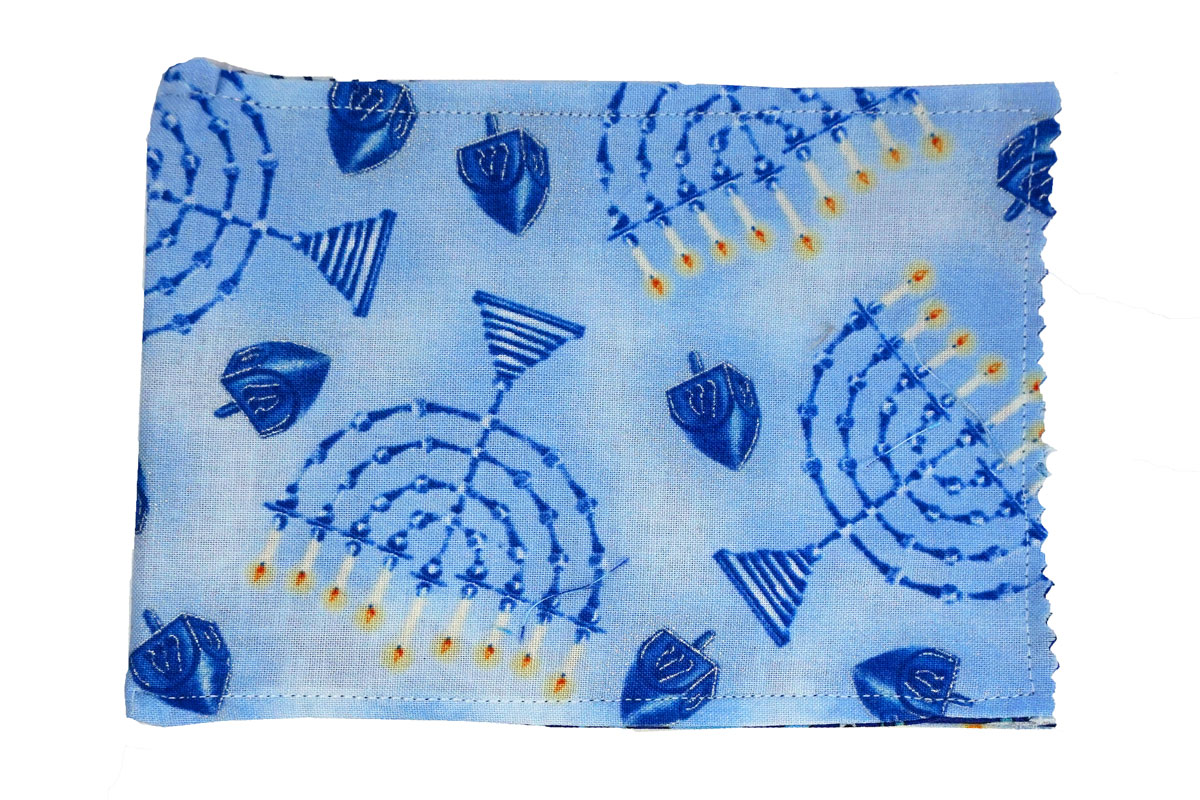 Step 9: Pull bottom corner up so that seam is in the center and corner forms a triangle. Measure down an inch and sew across (this measurement is up to you, just make sure it is the same on both corners—the larger the measurement, the wider the bottom of the bag and the smaller the bag). Repeat on other side. Turn outside right.
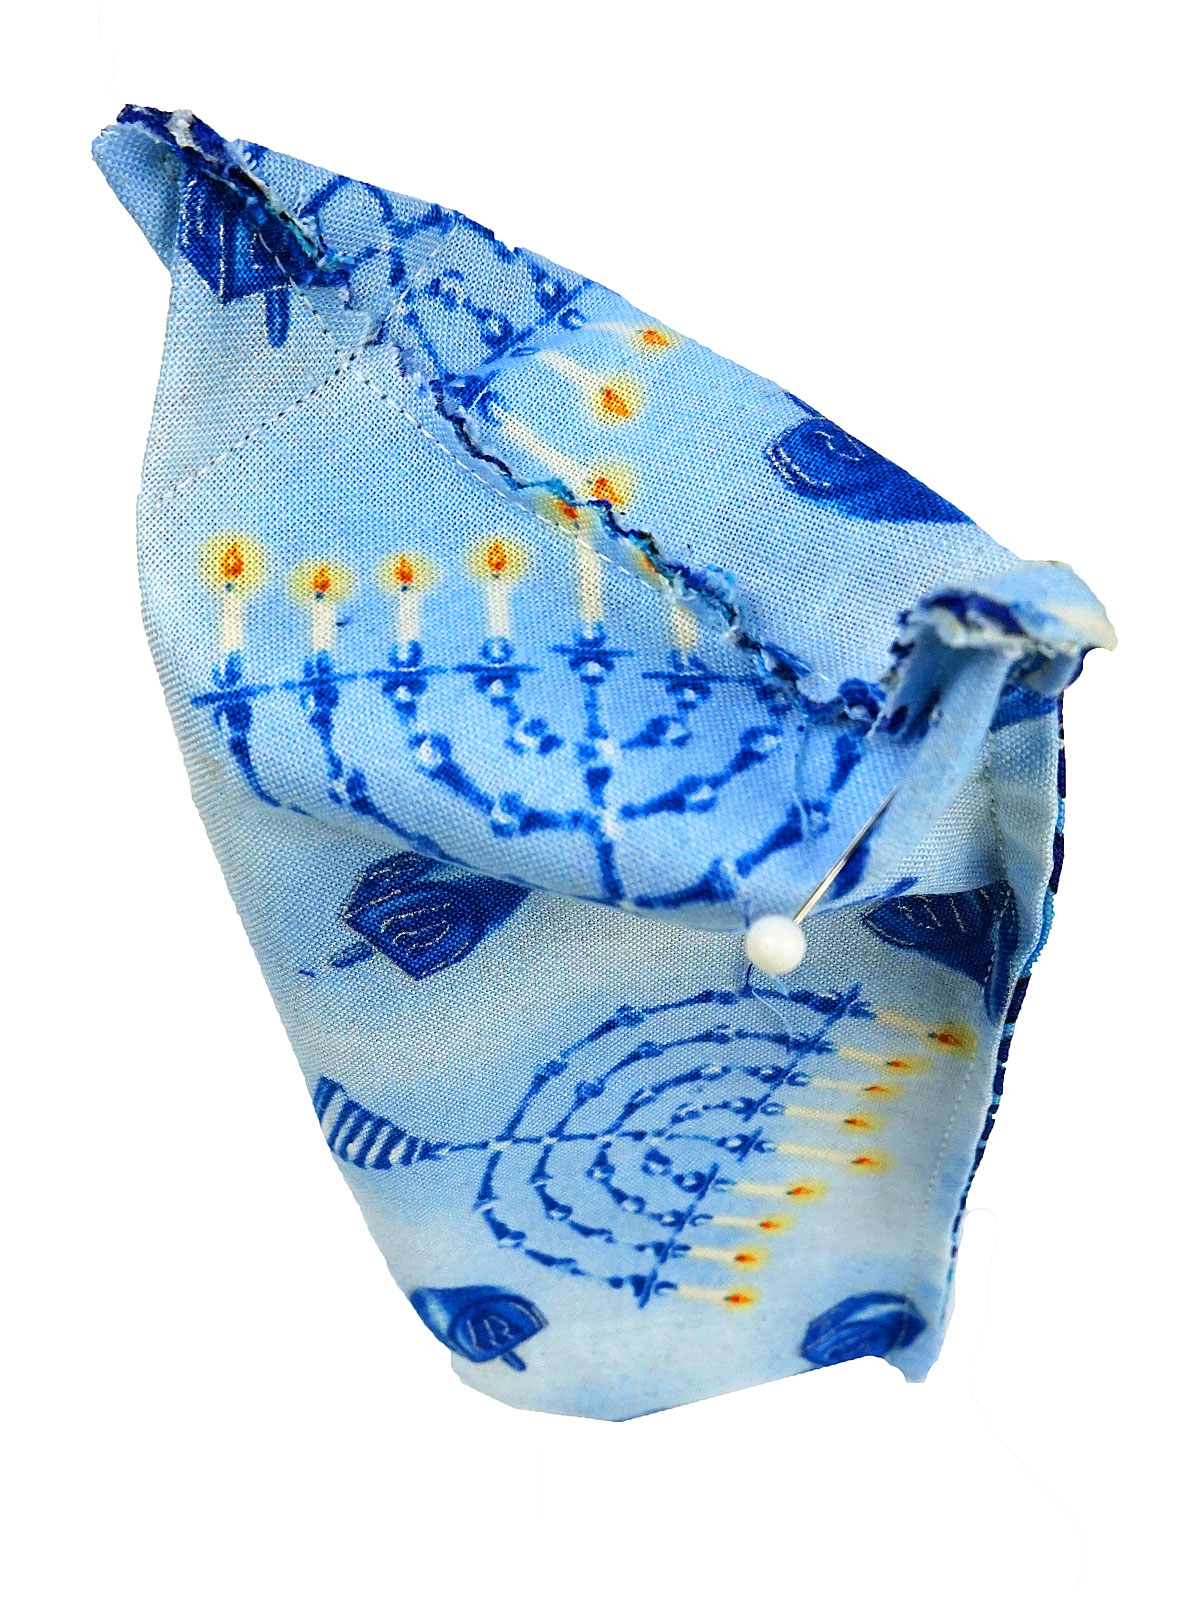 Step 10: Turn to outside and trim the ribbon end–I find that most ribbons look better (and fray less) if the raw edge is cut at an angle. Cute!
Tips:
- Measurements seem confusing? Cut all four pieces of fabric (two outside and two lining) at the same time. Then trim ½ inch off one side of the just the two outside pieces; that insures your lining pieces are ½ inch larger on one side.
- Don’t have any ribbon handy? Use the leftover ½ inch strips from tip #1 as your ribbon, just make sure to place the strips face down on the outside fabric when sewing that first step.
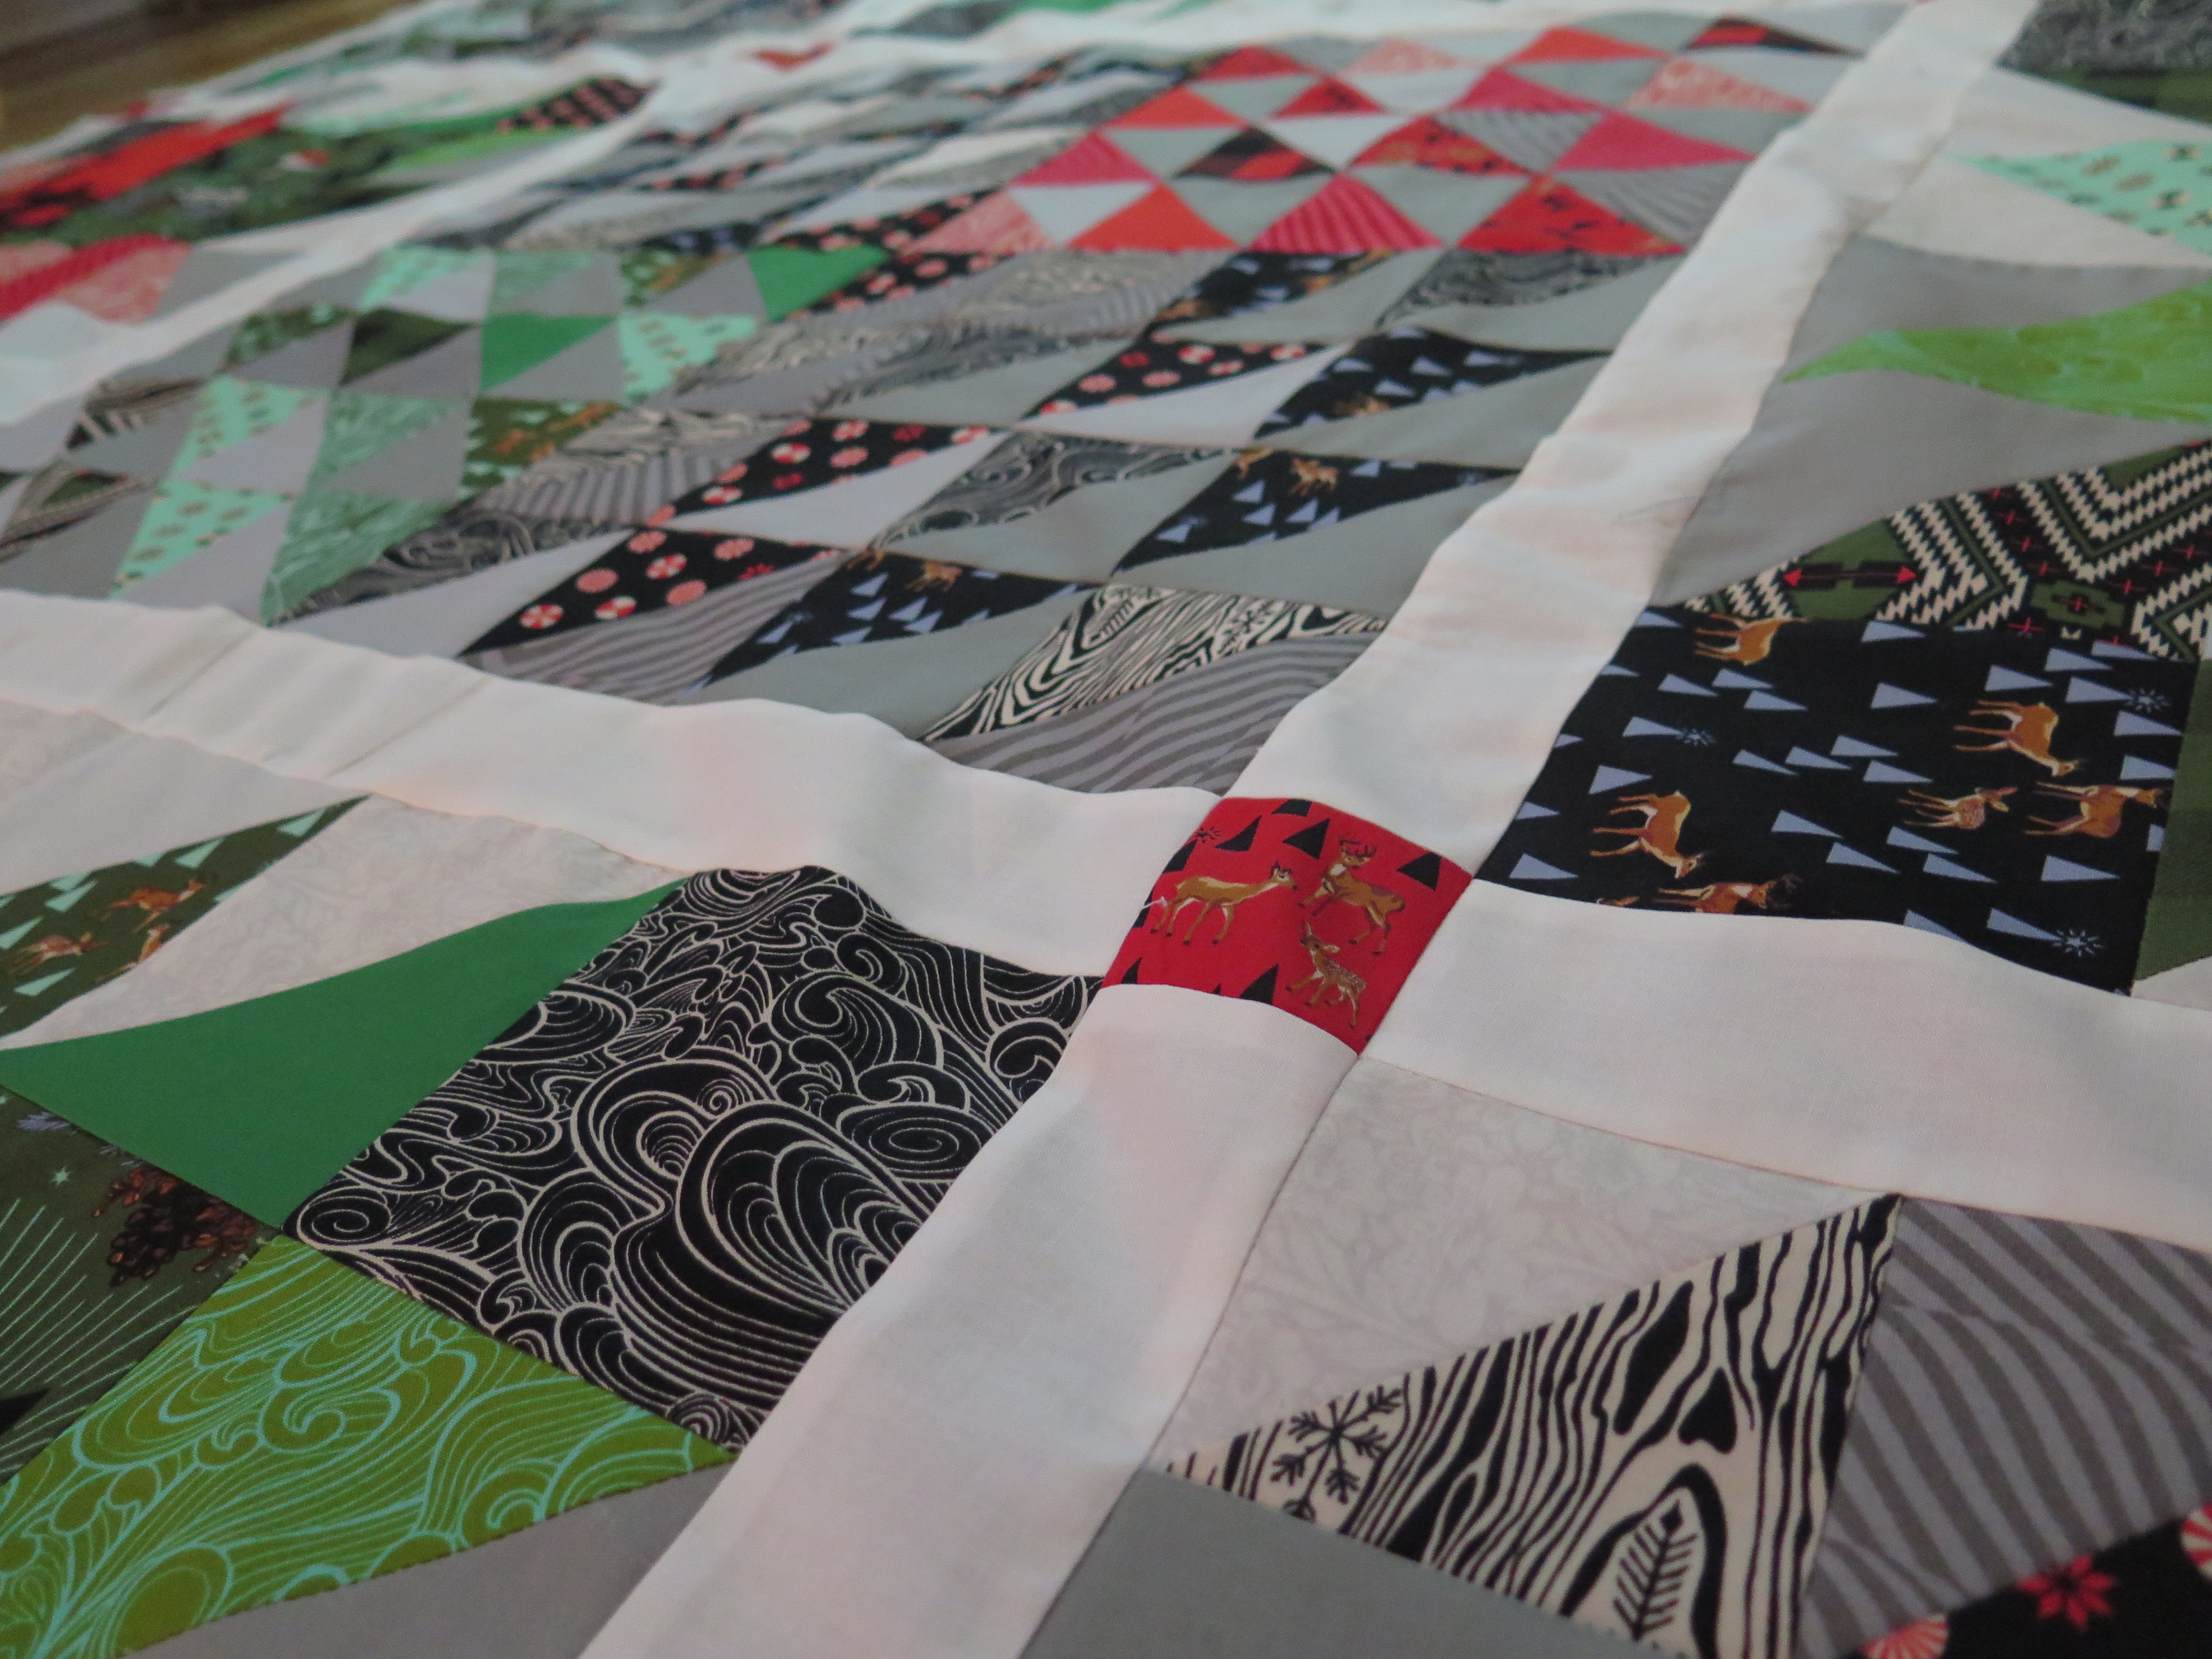
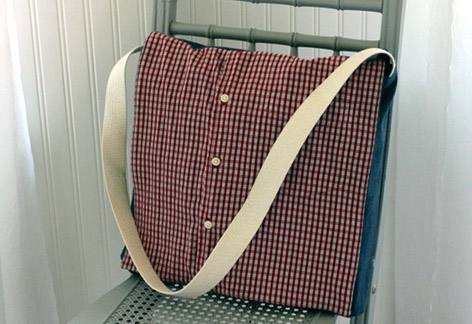
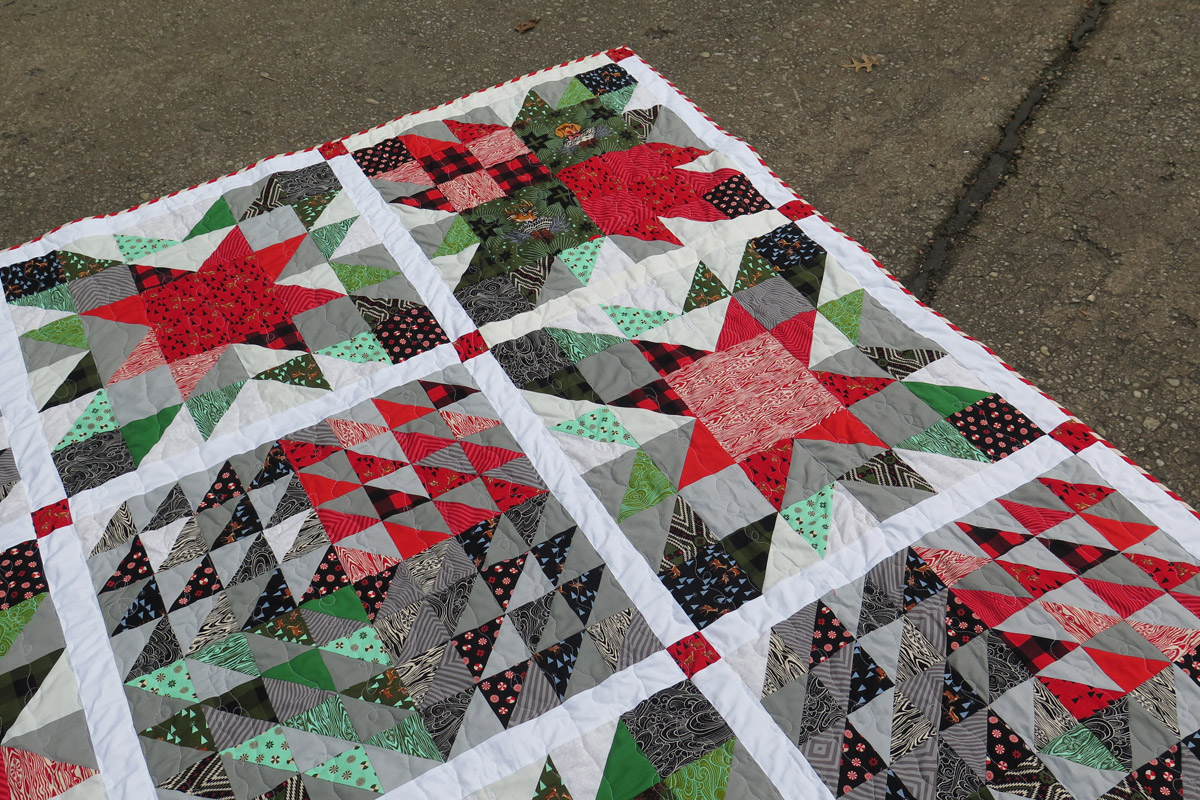
- Of course, this project can be used for any occasion; holidays, birthdays–any time you want to make quick and cute gift bag–in any size you want. For a different look, try using leftover quilt blocks for the outside fabric. The lining fabric will hide all those raw edges on the back of your quilt block. For larger bags, use two pieces of ribbon at the top, for a double bow. Have fun with it and make it your own.
Used Products


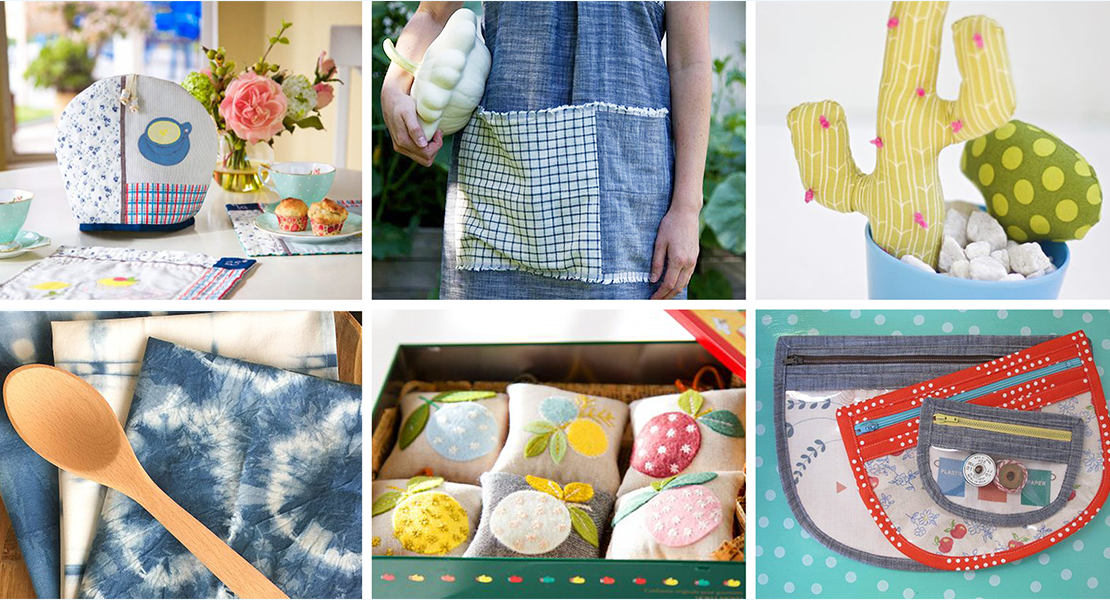
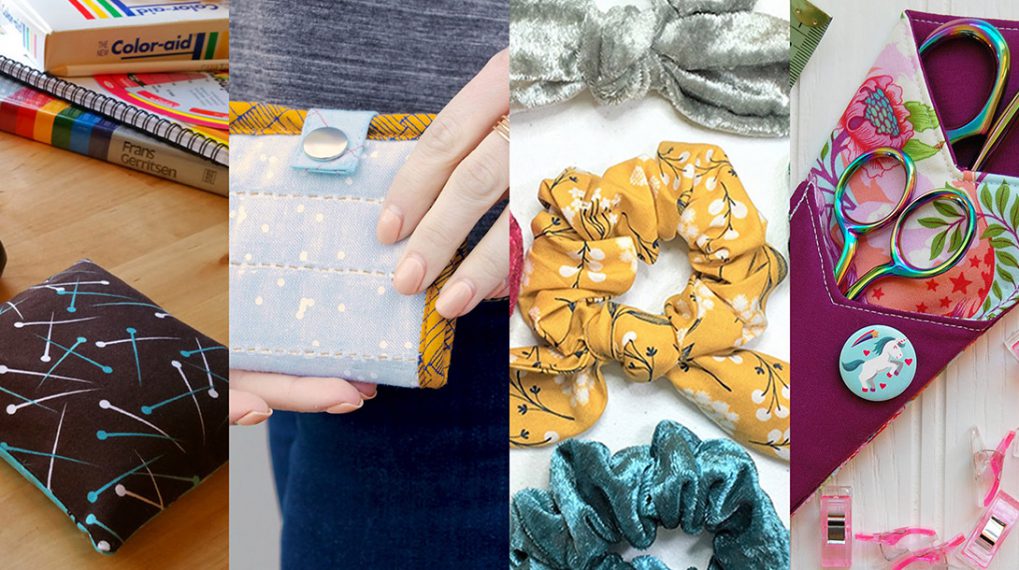
What you might also like


5 comments on “Quick and Easy Hanukkah Gift Bags”
-
-
I really appreciate you remembering to include a Hannukah project. I hope that you will include more of them in the future both for sewists and embroiderers.
-
Thanks! This gift bag project was posted before, as were other Chanukah projects of mine. You can probably find them by either searching by my name or the word “chanukah”
Leni
-
-
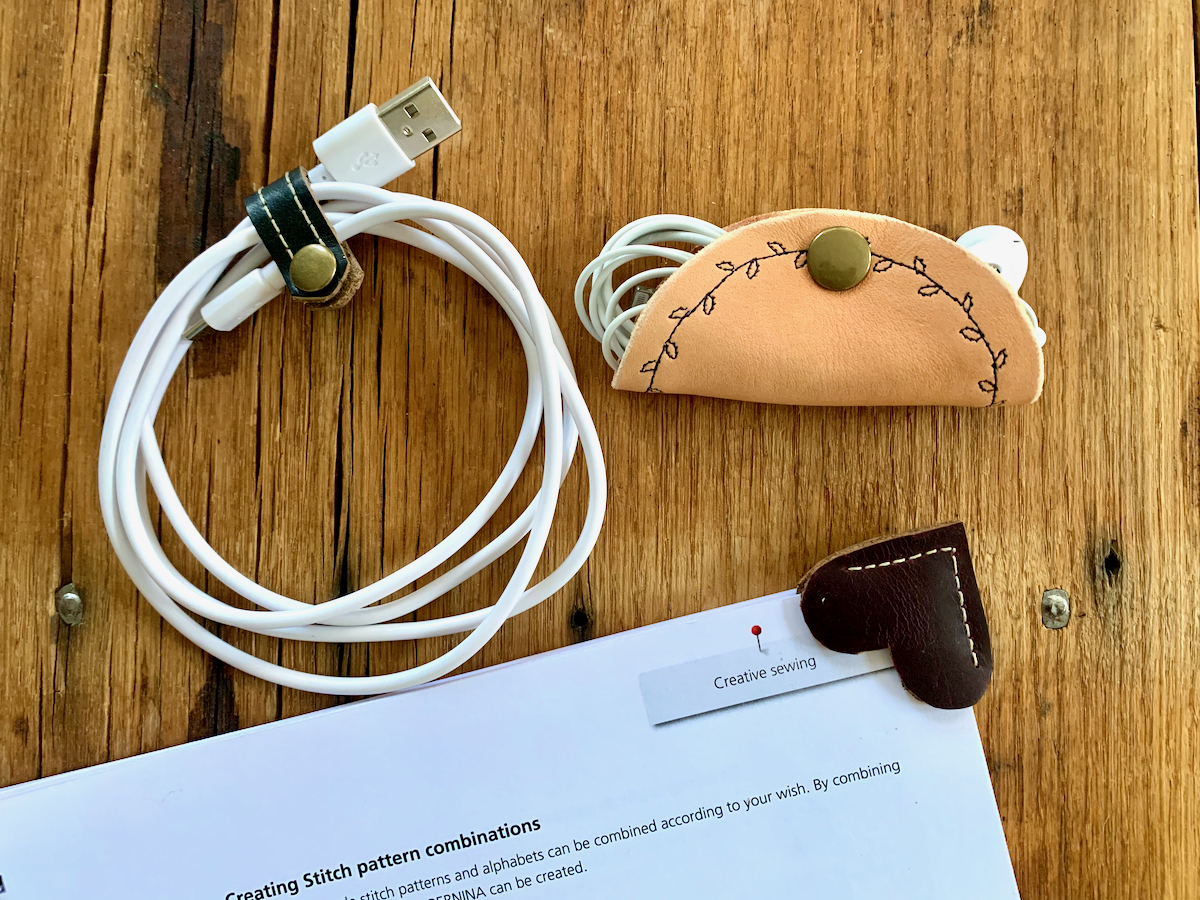
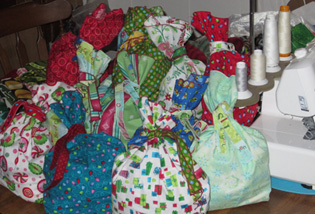
Love these Chanukah gift bags. thanks for posting the easy directions. I would love to see more Chanukah crafts to make. The items in the photo look like fun gifts to make. Nancy
-
Thanks so much!
So glad you like the project.The items you see in the photo are other Chanukah sewing projects on this site. You can probably find them by searching either my name or the word Chanukah.
Leni
-
Leave a Reply
You must be logged in to post a comment.

Thank you this project idea! It’s so nice to a Hanukkah sewing tutorial! Much appreciated!