Quilting With Triangles, Part 1: Cutting
Triangles such as equilateral (where all sides and angles are the same size) are a design staple of both the traditional and modern quilting worlds. But as a technique, they’re not as cut-and-dried as, say, the half-square triangle. Still, with a little knowledge about the skills involved, triangles are simple to pull off, and can add a whole new design dimension to your quilting! In this three-part series of posts, I’m going to guide you through the world of equilateral triangles—how to sew them, how to design with them, and much more.
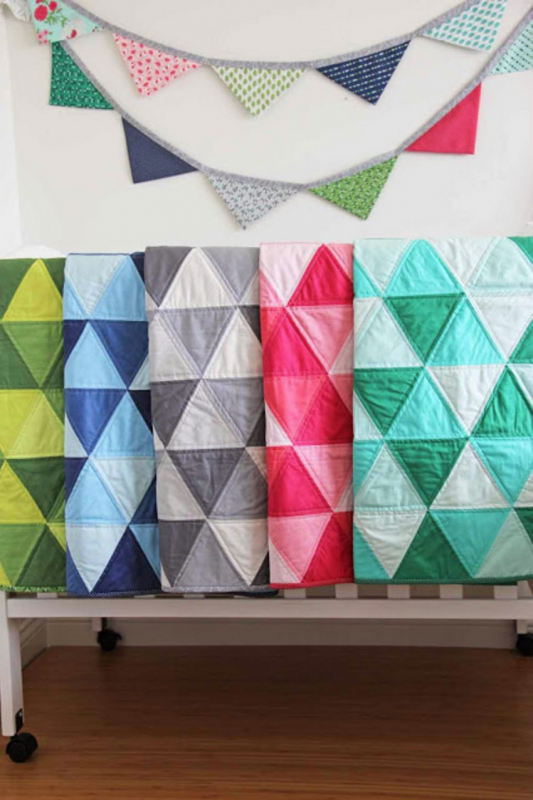
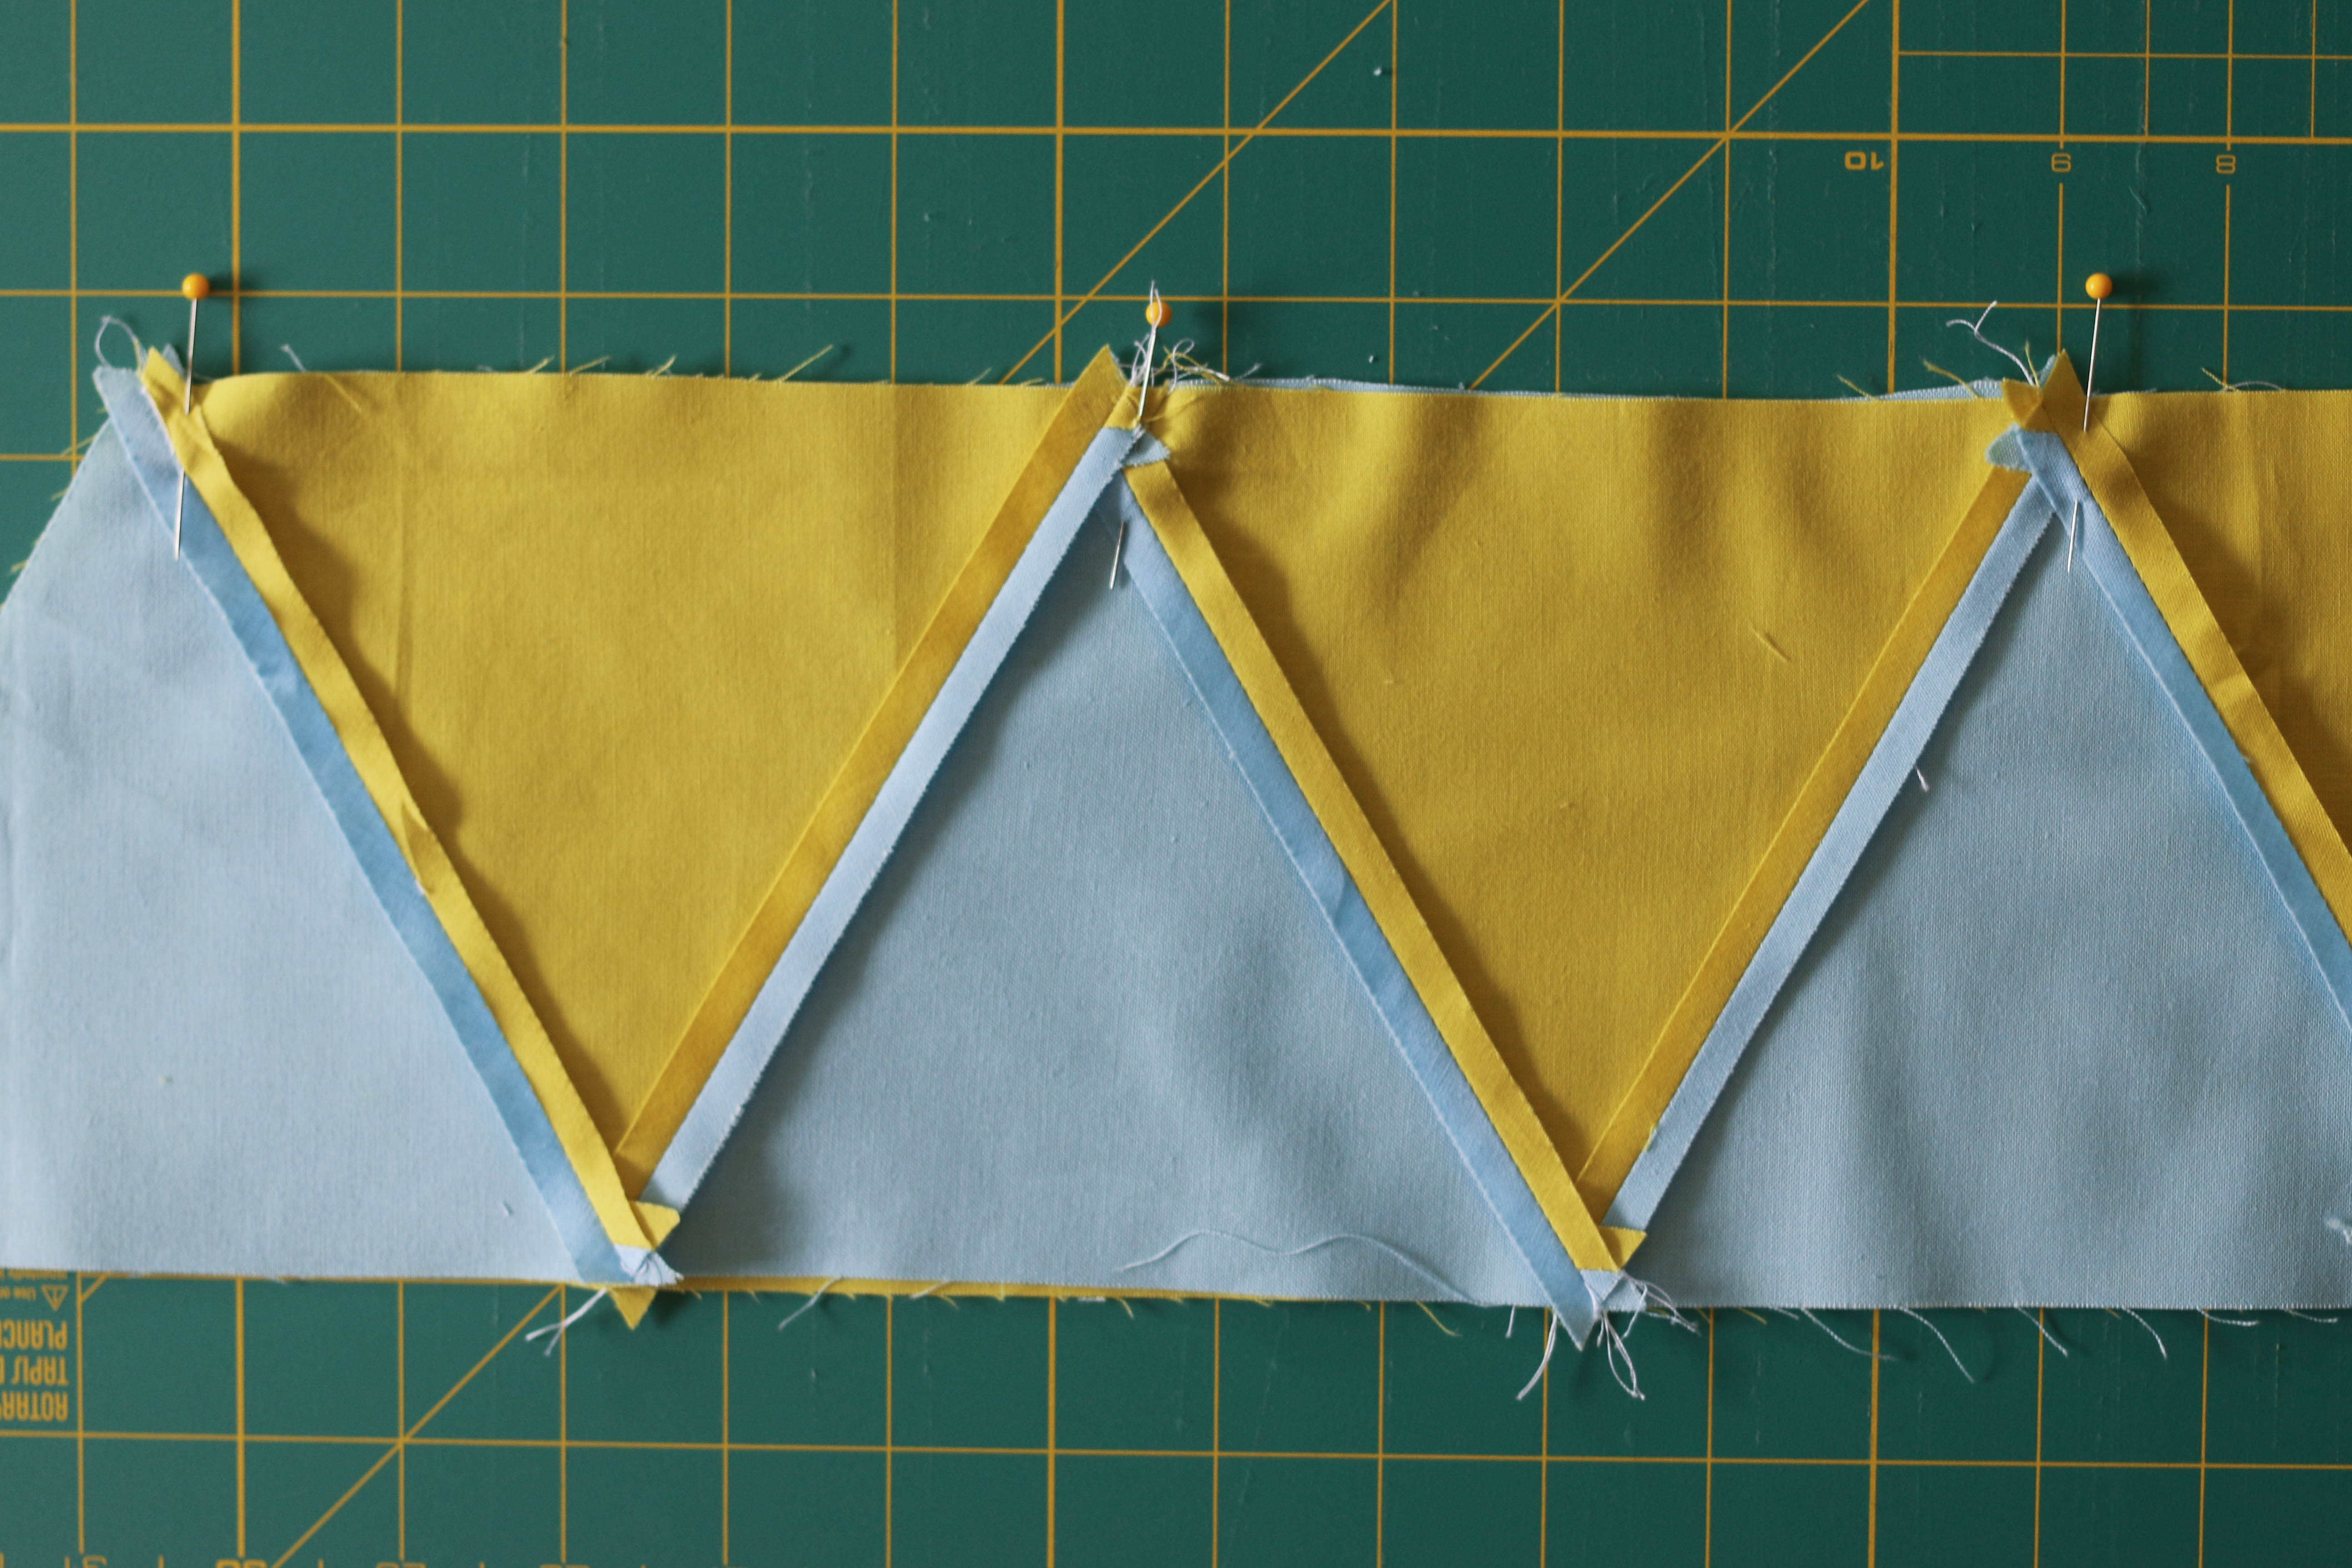
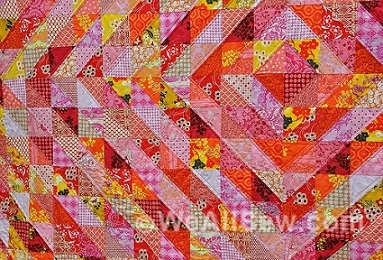
At their most basic, equilateral triangles are often seen in “Thousand Pyramids” type designs. Pyramid quilts are simple but gorgeous designs that can have a traditional or modern take. Here’s a classic pyramid quilt by Vanessa Christenson of V and Co. (photo courtesy of Vanessa Christenson).
The design possibilities with triangles are endless, and we’ll explore some more creative design options using triangles in my third post in this series. But first, let’s master the basics! Making a quilt entirely from triangles is an easy, quick, fun way to a beautiful quilt design that transcends “traditional” or “modern.” Today we’ll tackle cutting 60-degree (equilateral) triangles.
As always with quilting, accurate piecing starts with precise cutting! There are several ways to cut perfect 60-degree equilateral triangles.
Specialty rulers
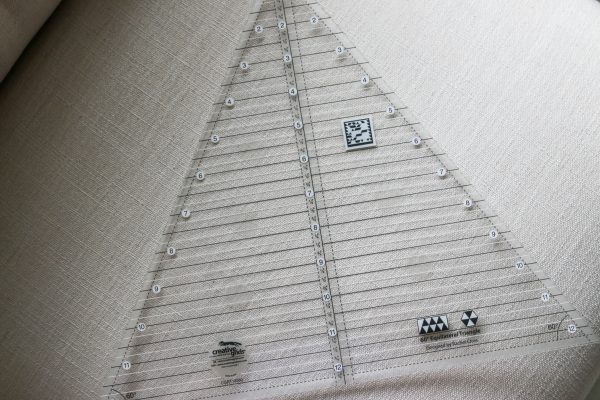
If you’re looking for ease of cutting and accuracy without spending too much money, I personally think specialty rulers are where it’s at. : ) A 60-degree triangle ruler gives you a versatile, classic shape with minimum effort, saving you time (not to mention headaches when you start piecing). The Creative Grids 60-Degree Triangle ruler is one of my favorite specialty rulers and is available in several sizes.
Here are some buying sources for rulers
- 12″ ruler from Fat Quarter Shop
- Here’s a smaller version of my ruler at Connecting Threads
- A 8.5″ one from Etsy
- Or visit your local BERNINA store for notions you will need for your next project
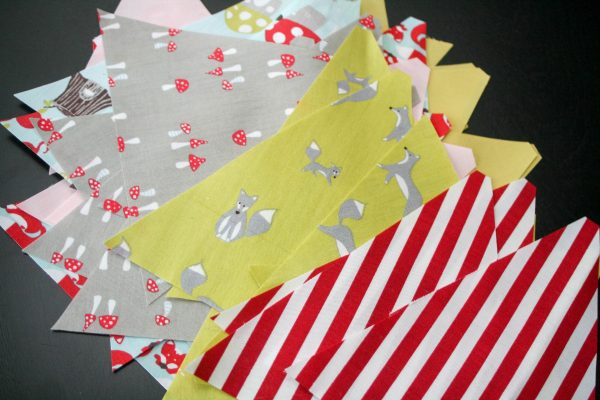
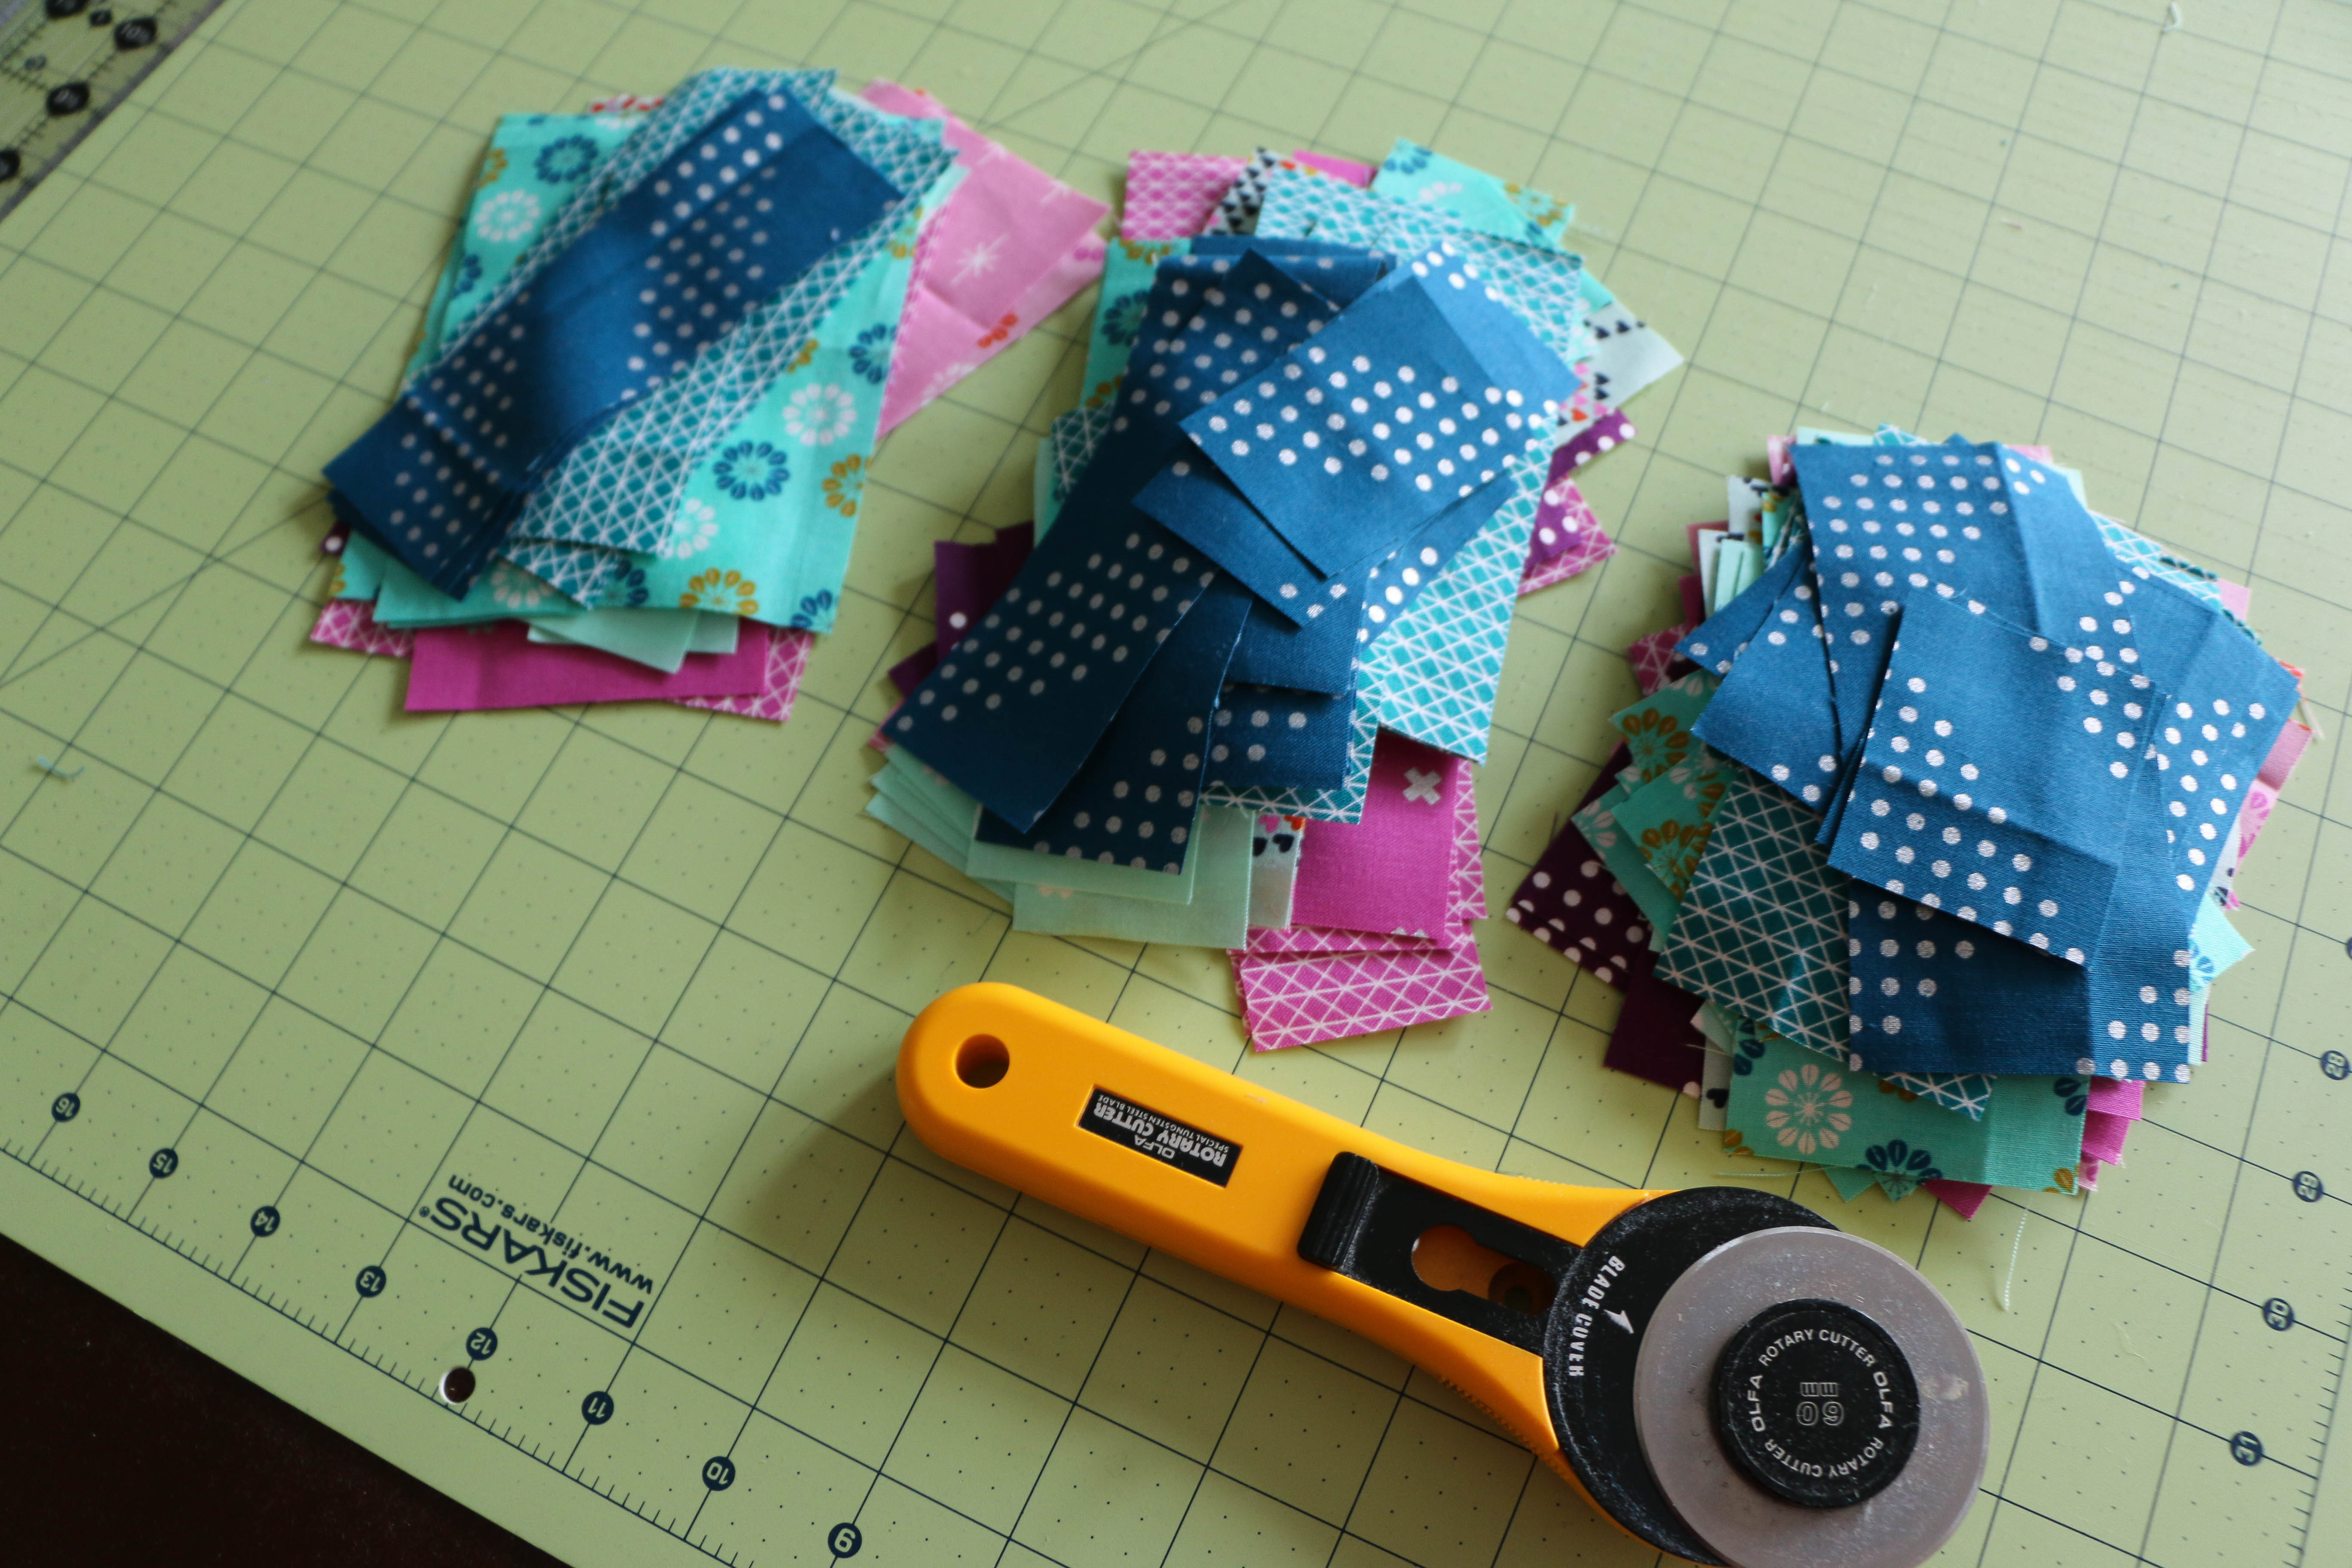
To use a specialty ruler like these, just cut strips of fabric the height of your unfinished triangles. So, if I want triangles that finish at 5″, I’ll cut strips of fabric 5-1/2″ wide. Then just line up the top of the triangle ruler with one edge of your strip, and cut along each angled side of the ruler. Then flip the ruler upside down and cut another—and so on, down the strip.
Another benefit of rulers: When used correctly, they give you a notch at the top of your triangles that help you line them up for perfect piecing. No guess work!
Die cutters
Fabric die cutters are amazing for specialty shapes like triangles. The Accuquilt Go! makes a 4-1/2″ equilateral triangle die that includes even more notches for easy piecing, and Sizzix has one as well. If you’ve already got a die-cutting system, a triangle die is a no-brainer.
A regular ol’ quilting ruler
No, you don’t need to have any special tools for cutting equilateral triangles! You can also use any standard quilting ruler that has a 60-degree angle marking. Here’s how:
1. As with the specialty rulers, cut strips of fabric the height of your unfinished triangles. So, if you want triangles that finish at 5″, cut strips of fabric 5-1/2″ wide.
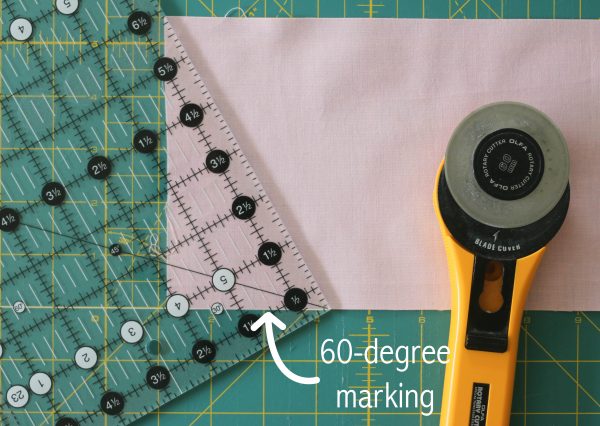
2. Line up the 60-degree angle on your quilting ruler with the bottom of the fabric strip, and cut on an angle, along the edge of the ruler.
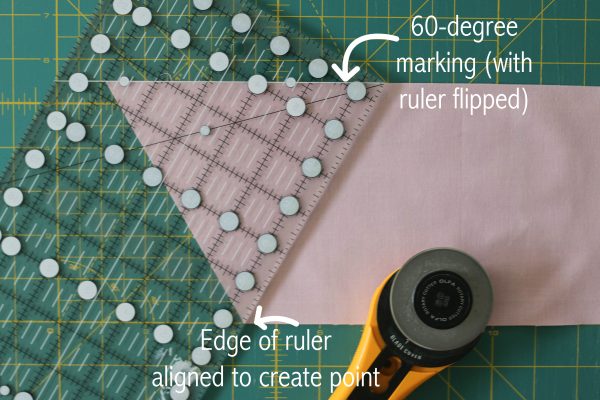
3. One more cut to complete your triangle! Many quilting rulers have two 60-degree lines—one going in each direction. If you have two 60-degree lines, switch to the other line to cut the other edge of the triangle. My ruler, however, only has one 60-degree line. If that’s the case for you, simply flip your ruler over. Again, line up the 60-degree marking with the bottom of the strip, and adjust your ruler so that the cut will make a precise point at the top.
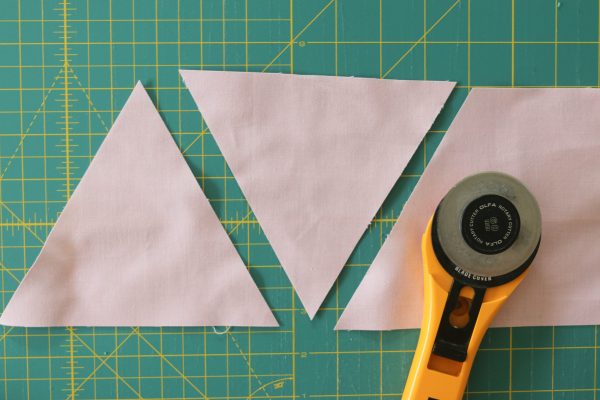
4. That’s it! Perfect 60-degree triangles using only the tools you already have on hand.
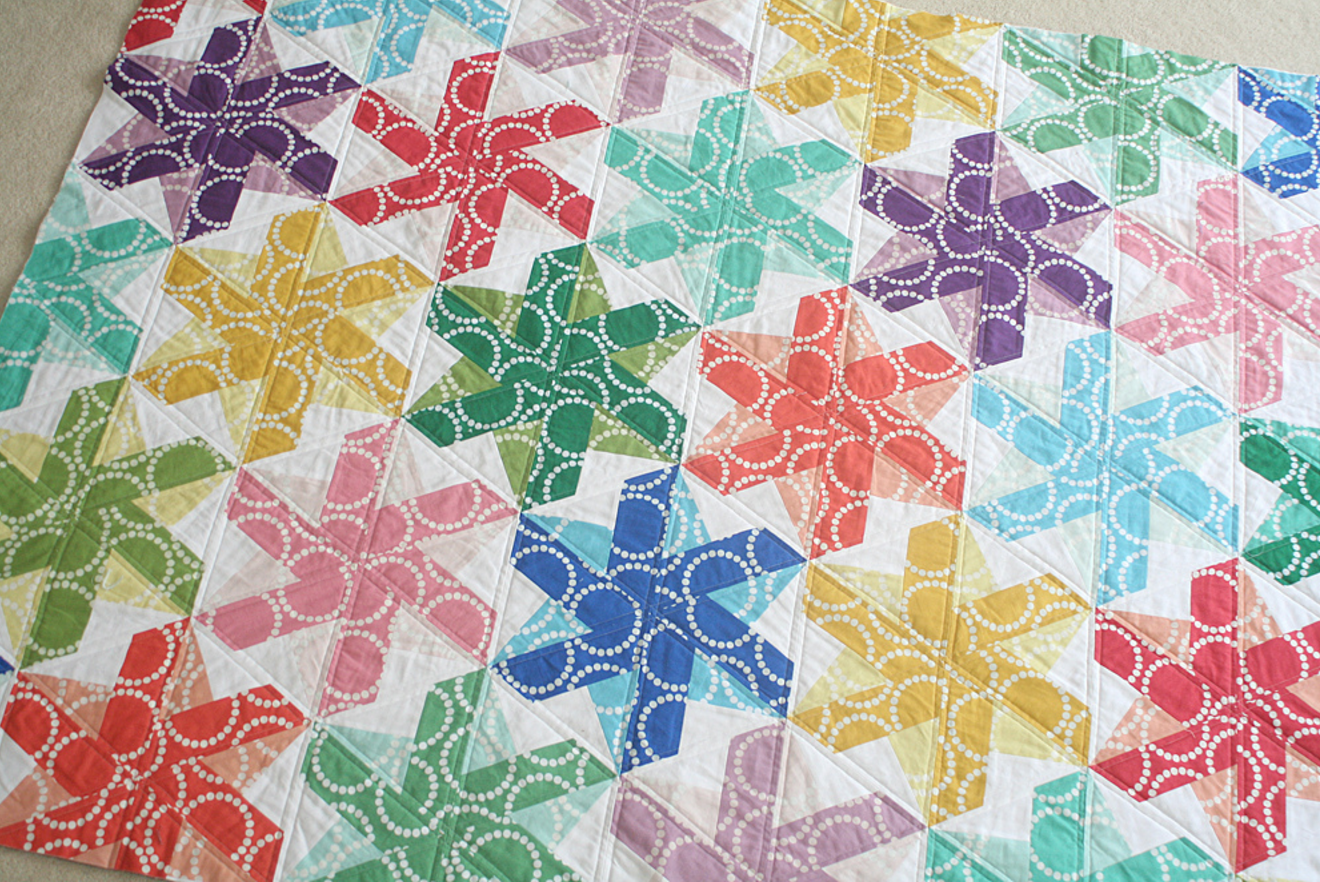
In Part Two of my series on triangles, I’ll share how to accurately piece them so that they line up perfectly, regardless of the cutting methods you used! And in Part Three, we’ll explore some of the many design possibilities of triangles—stars, hexagons, and modern, creative takes on triangles. Now go cut some up and get sewing!
What you might also like
3 comments on “Quilting With Triangles, Part 1: Cutting”
-
-
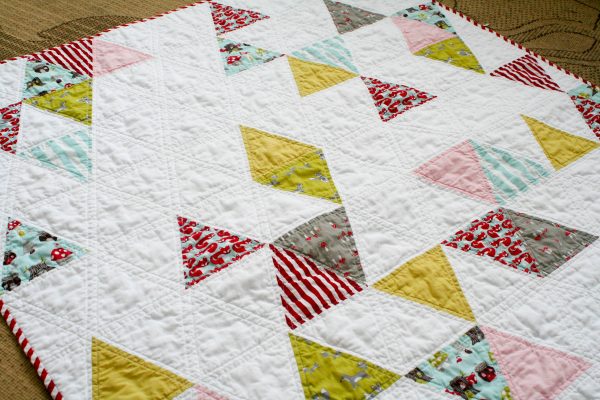
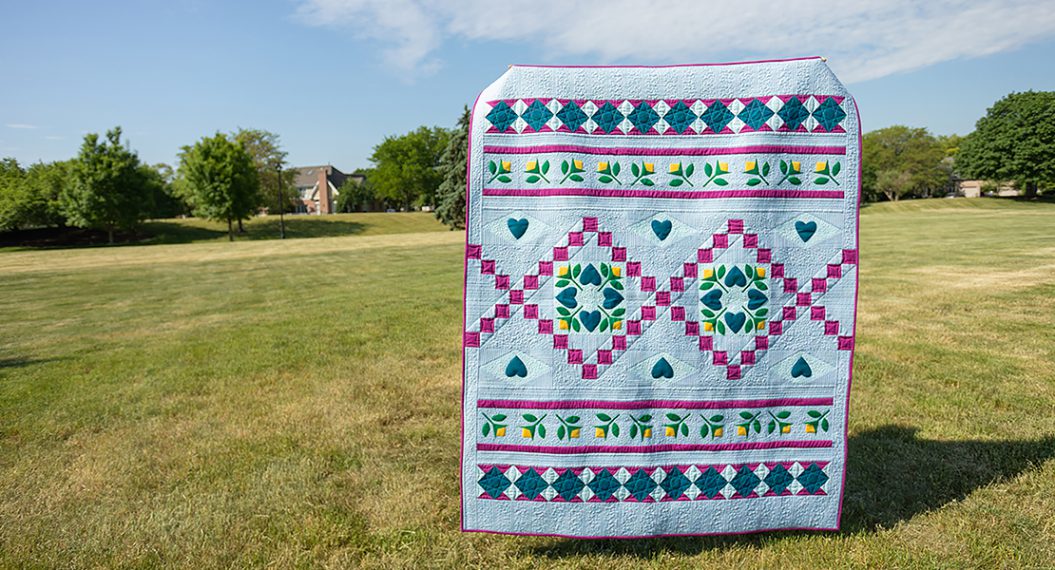
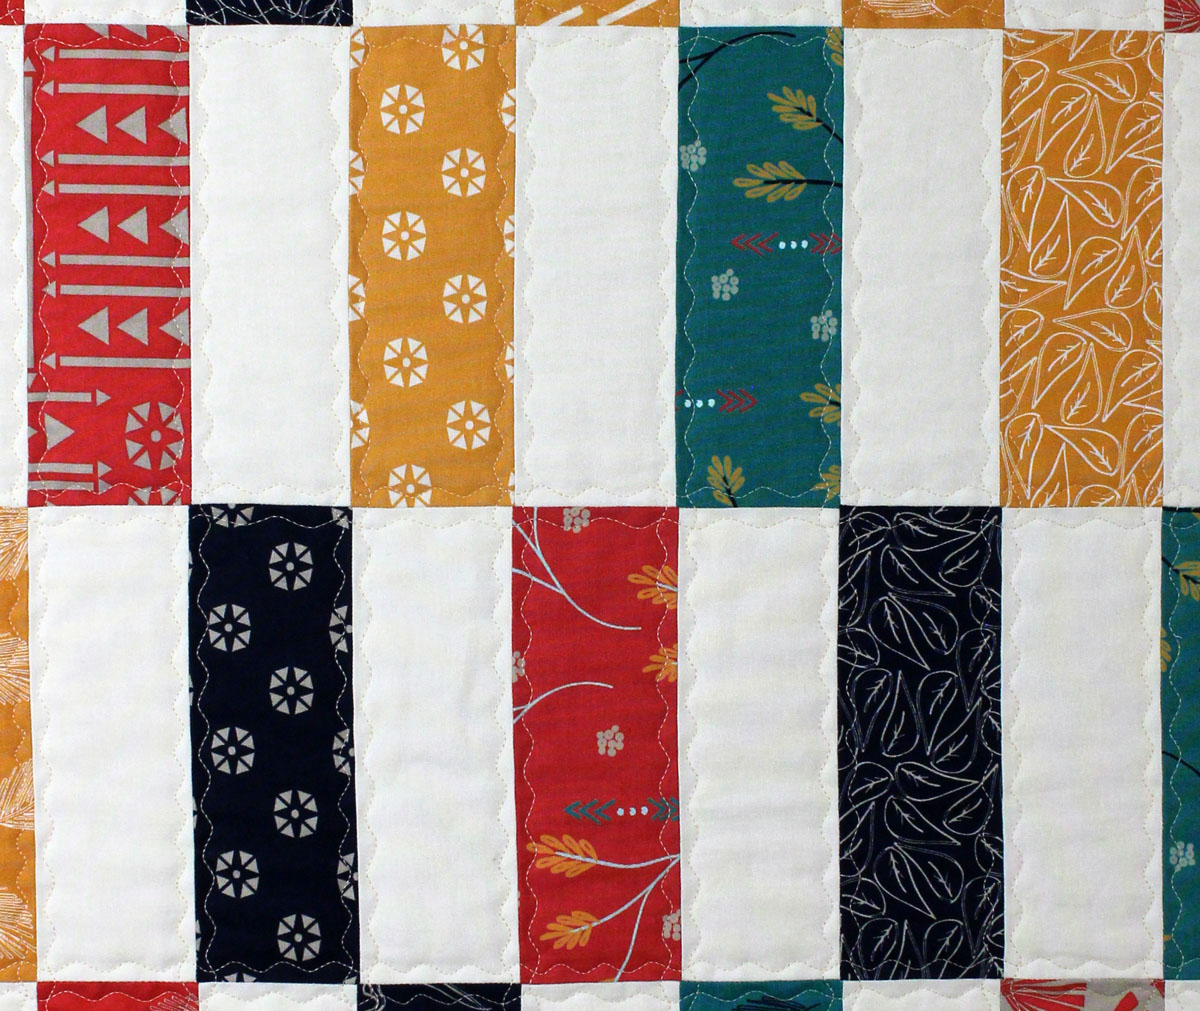
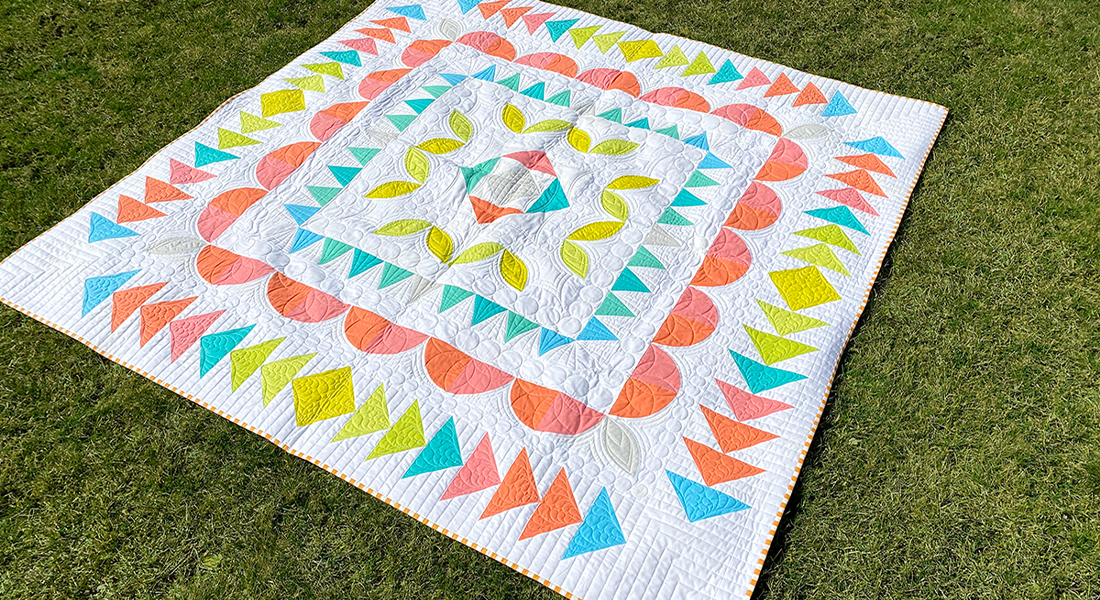
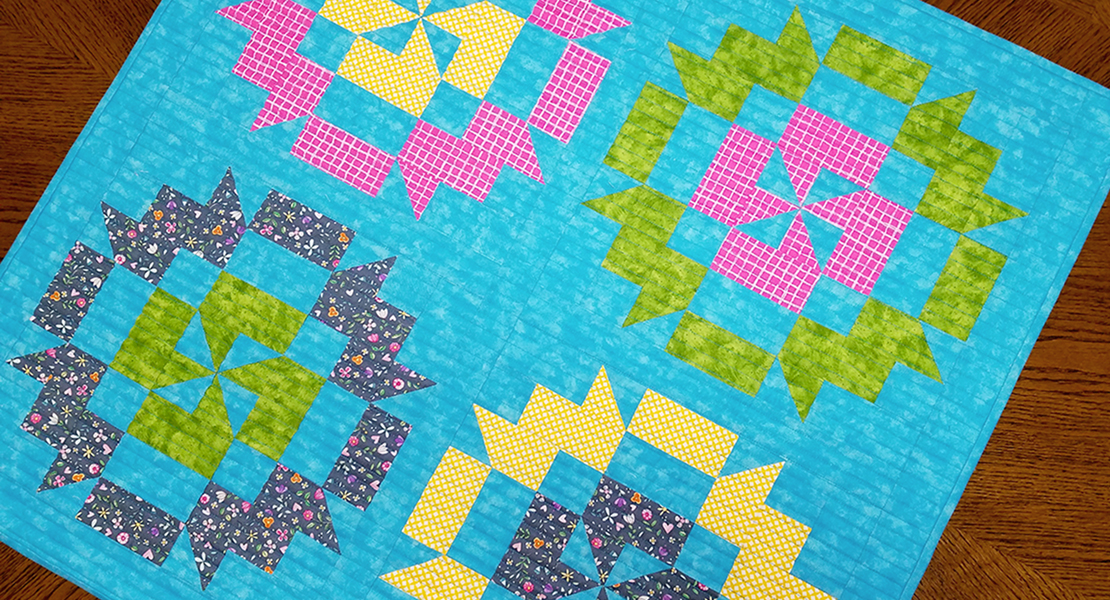
Is there a pattern or a name of the 1st picture? I would LOVE to make it….What is the fabric used called?
Thank you!
-
I totally agree – great lesson! Awesome quilt!
Leave a Reply
You must be logged in to post a comment.




I cannot wait for Part 2 and Part 3. These look so easy yet you can really make something so different and beautiful. Thank you for sharing ☺️