Accurate Piecing Basics: Cutting
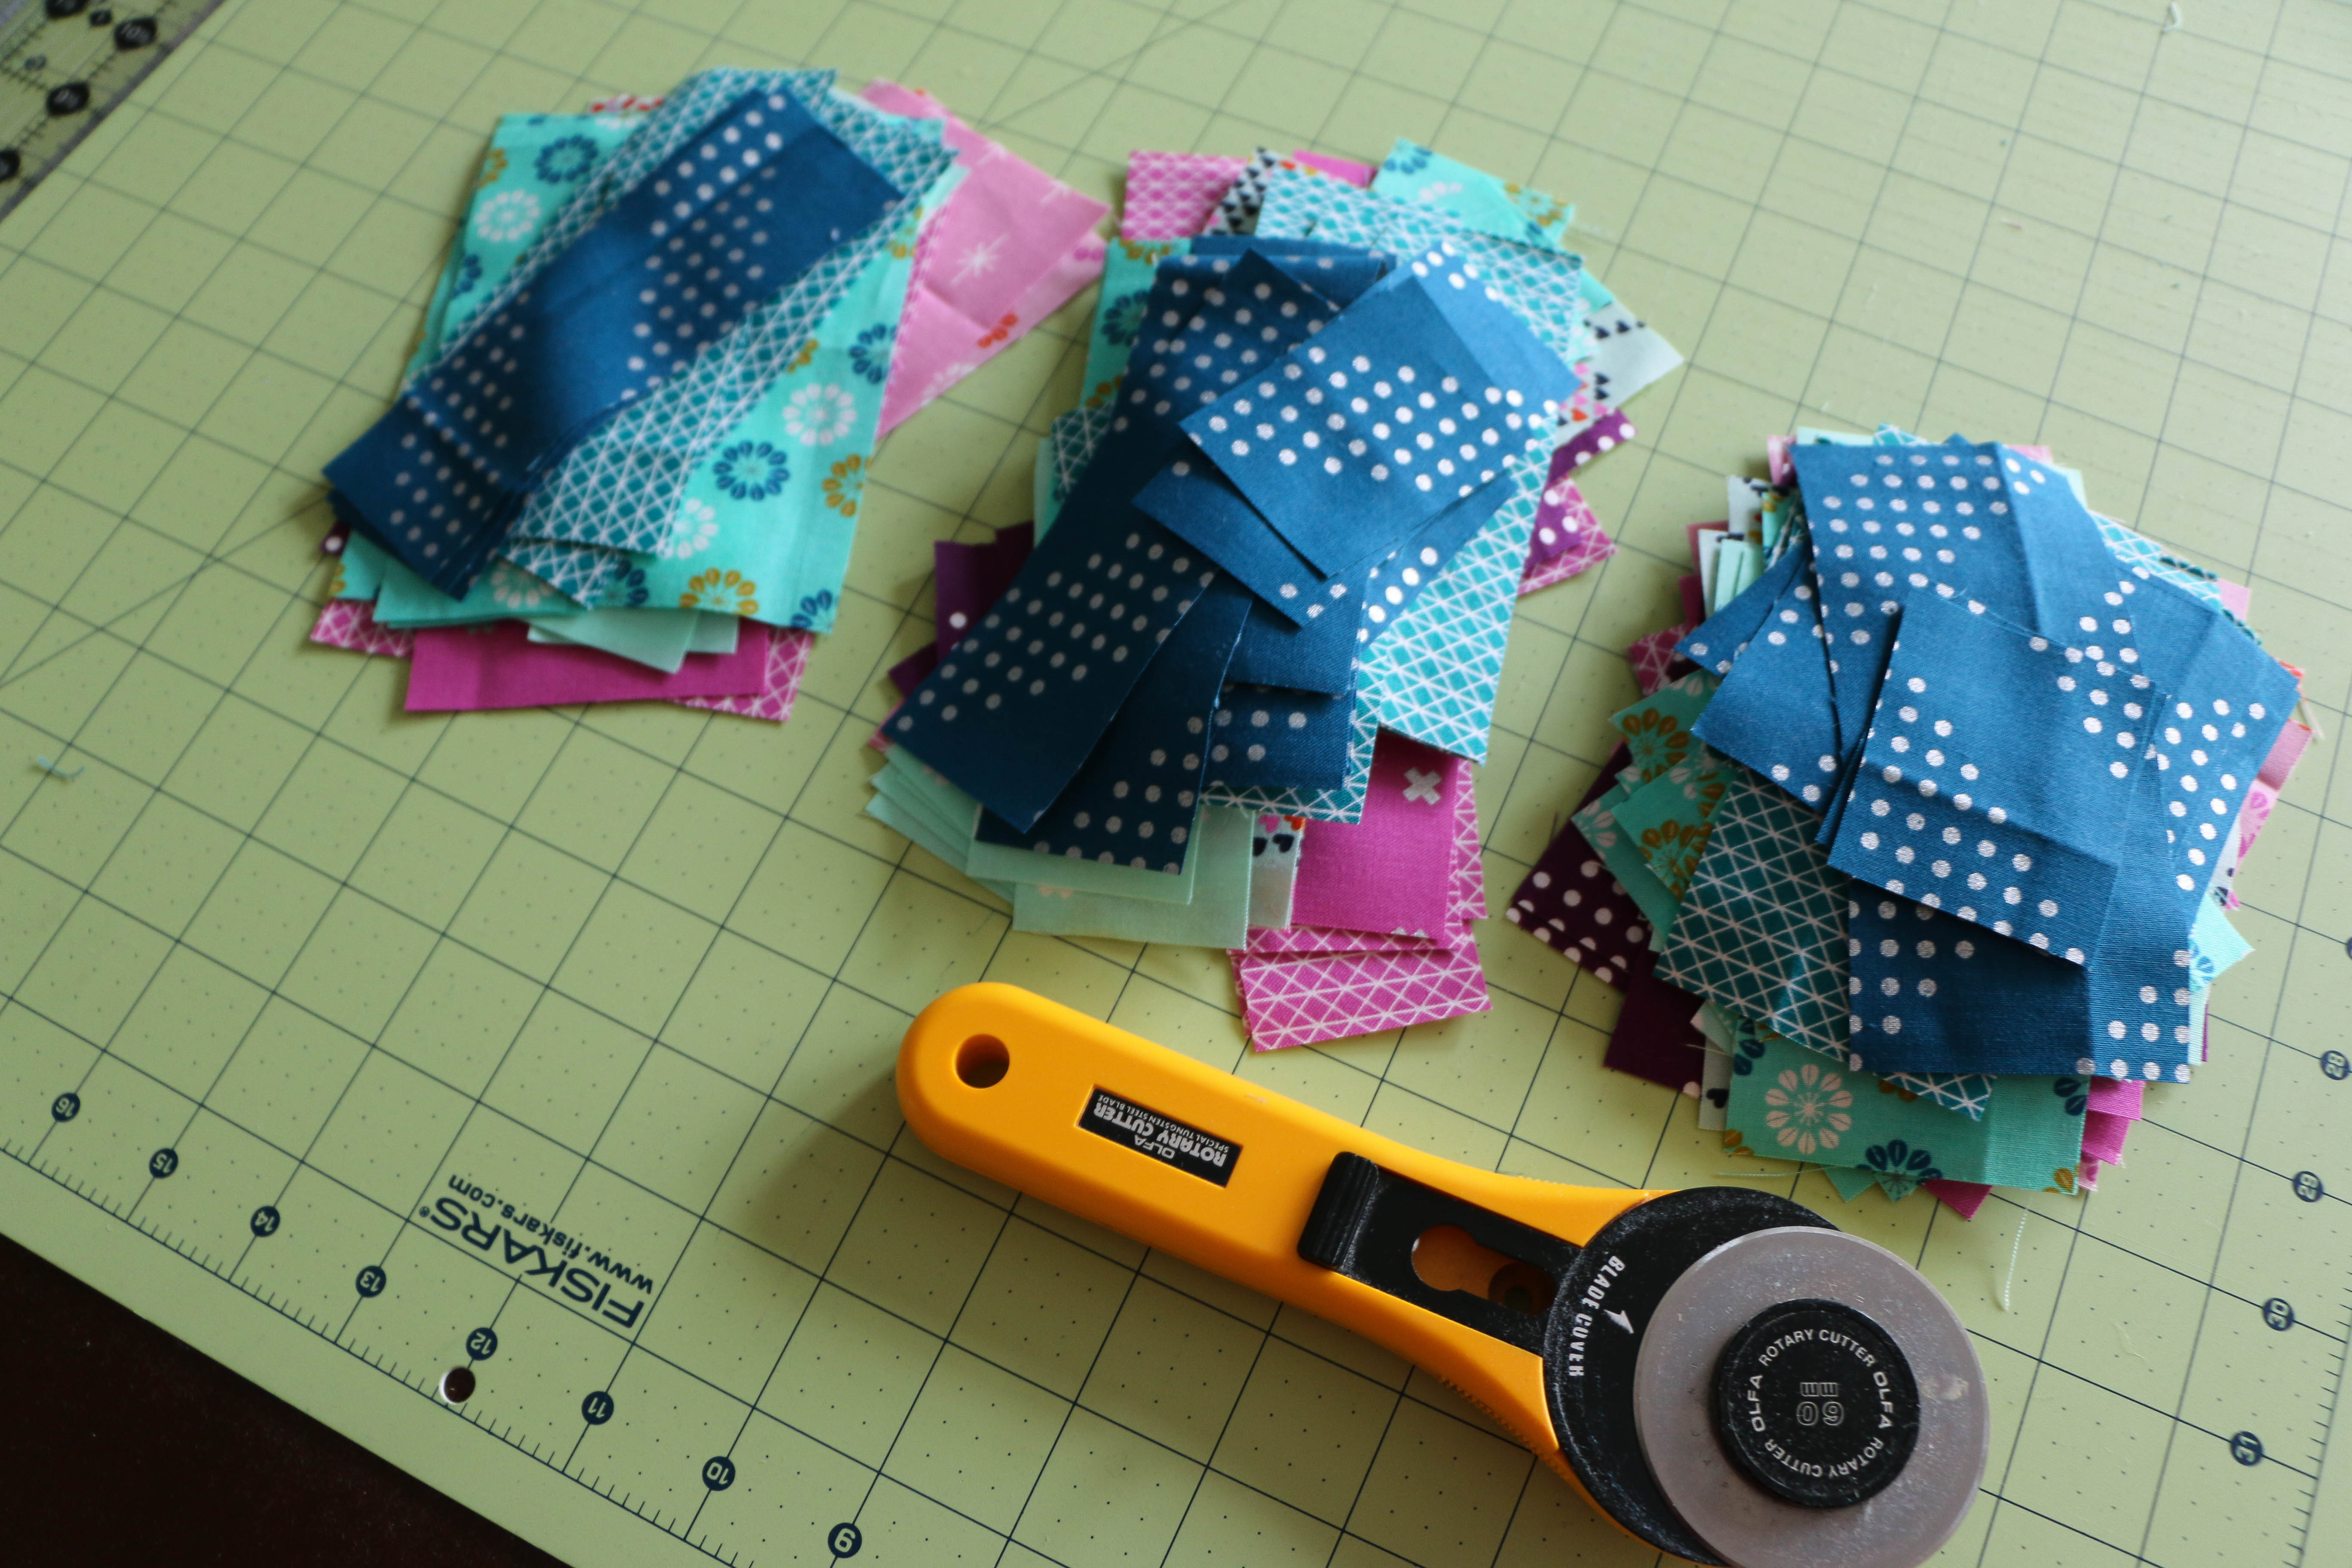
Cutting. It’s the first step in the long process of creating a quilt, and perhaps the single most important step—after all, you’re never going to get beautifully-pieced blocks if you start with fabric that’s the wrong size!
I have a confession to make: I used to hate cutting. When I first started quilting, cutting stressed me out because I didn’t think I was doing it accurately, and I was sure my projects were getting off on the wrong foot because of it. Plus, there was the added pressure of knowing that if I screwed up the cutting, I might have to buy all new fabric, and who wants to do that? These days, cutting still isn’t my favorite part of the process, but I’ve become far more confident about it and it doesn’t stress me out anymore. So if any of you feel the way I did, there is hope!
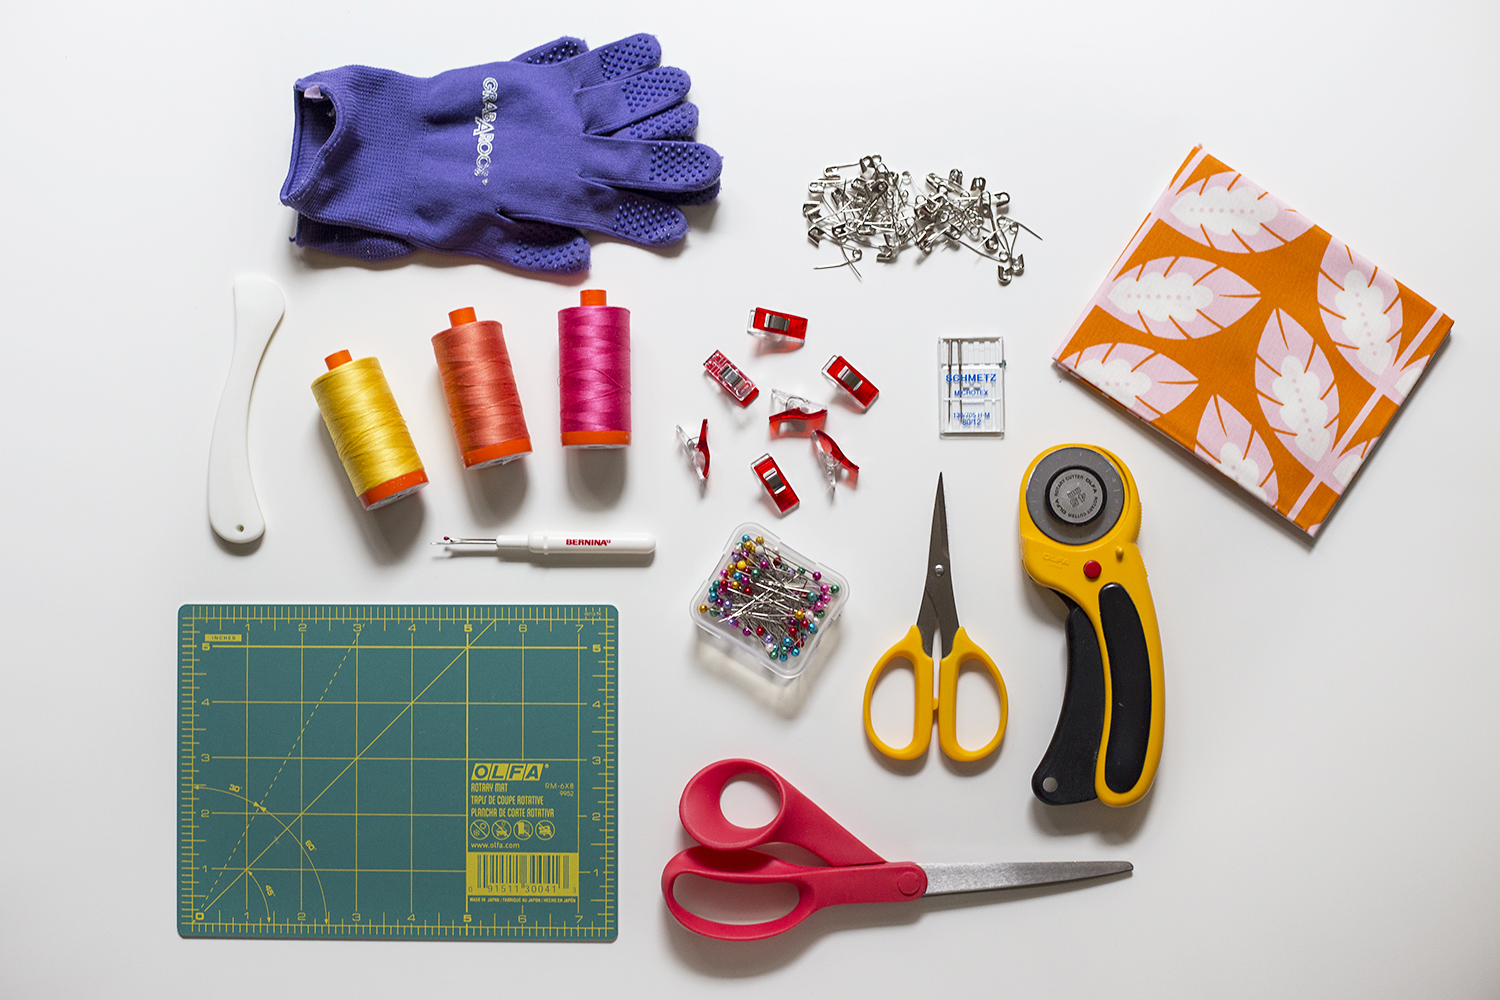
Today, let’s talk about how to improve your cutting skills and get to the point where chopping up a beautiful stack of fabric isn’t a terrifying moment. First and foremost, let’s talk about cutting tools. There are three types of tools you will need:
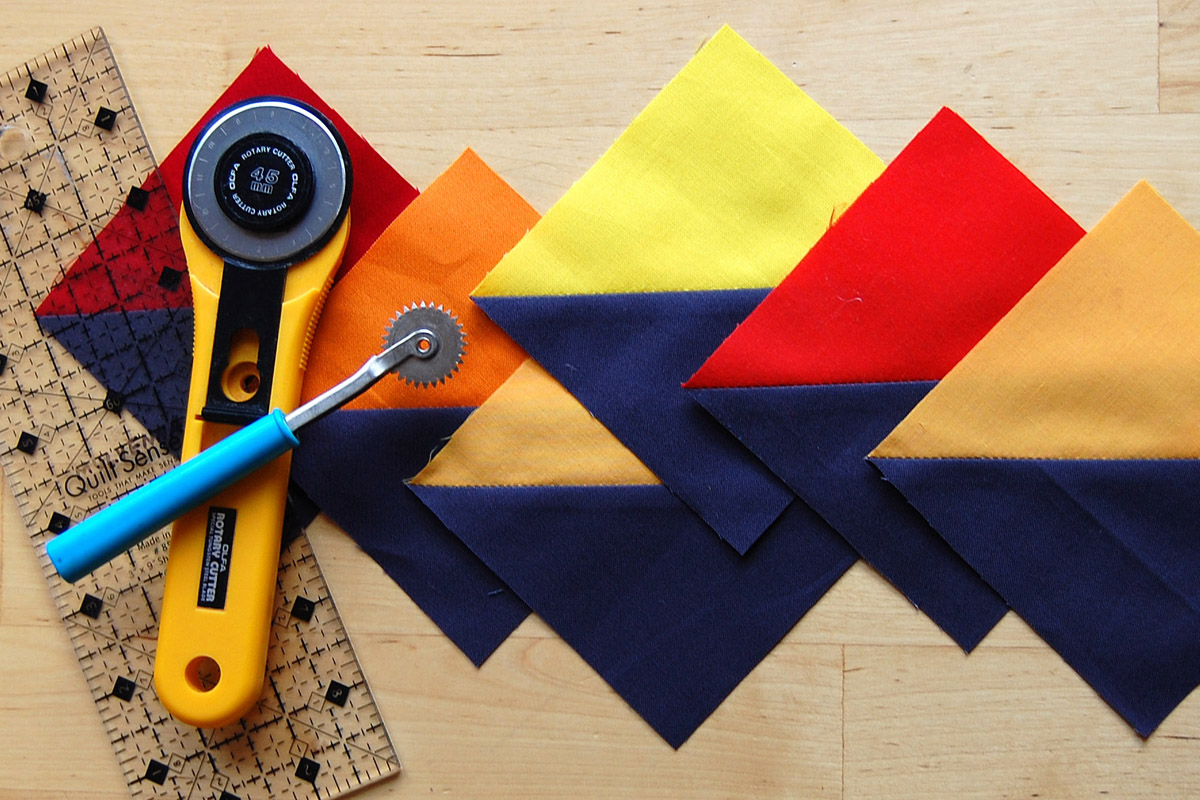
Rotary cutters
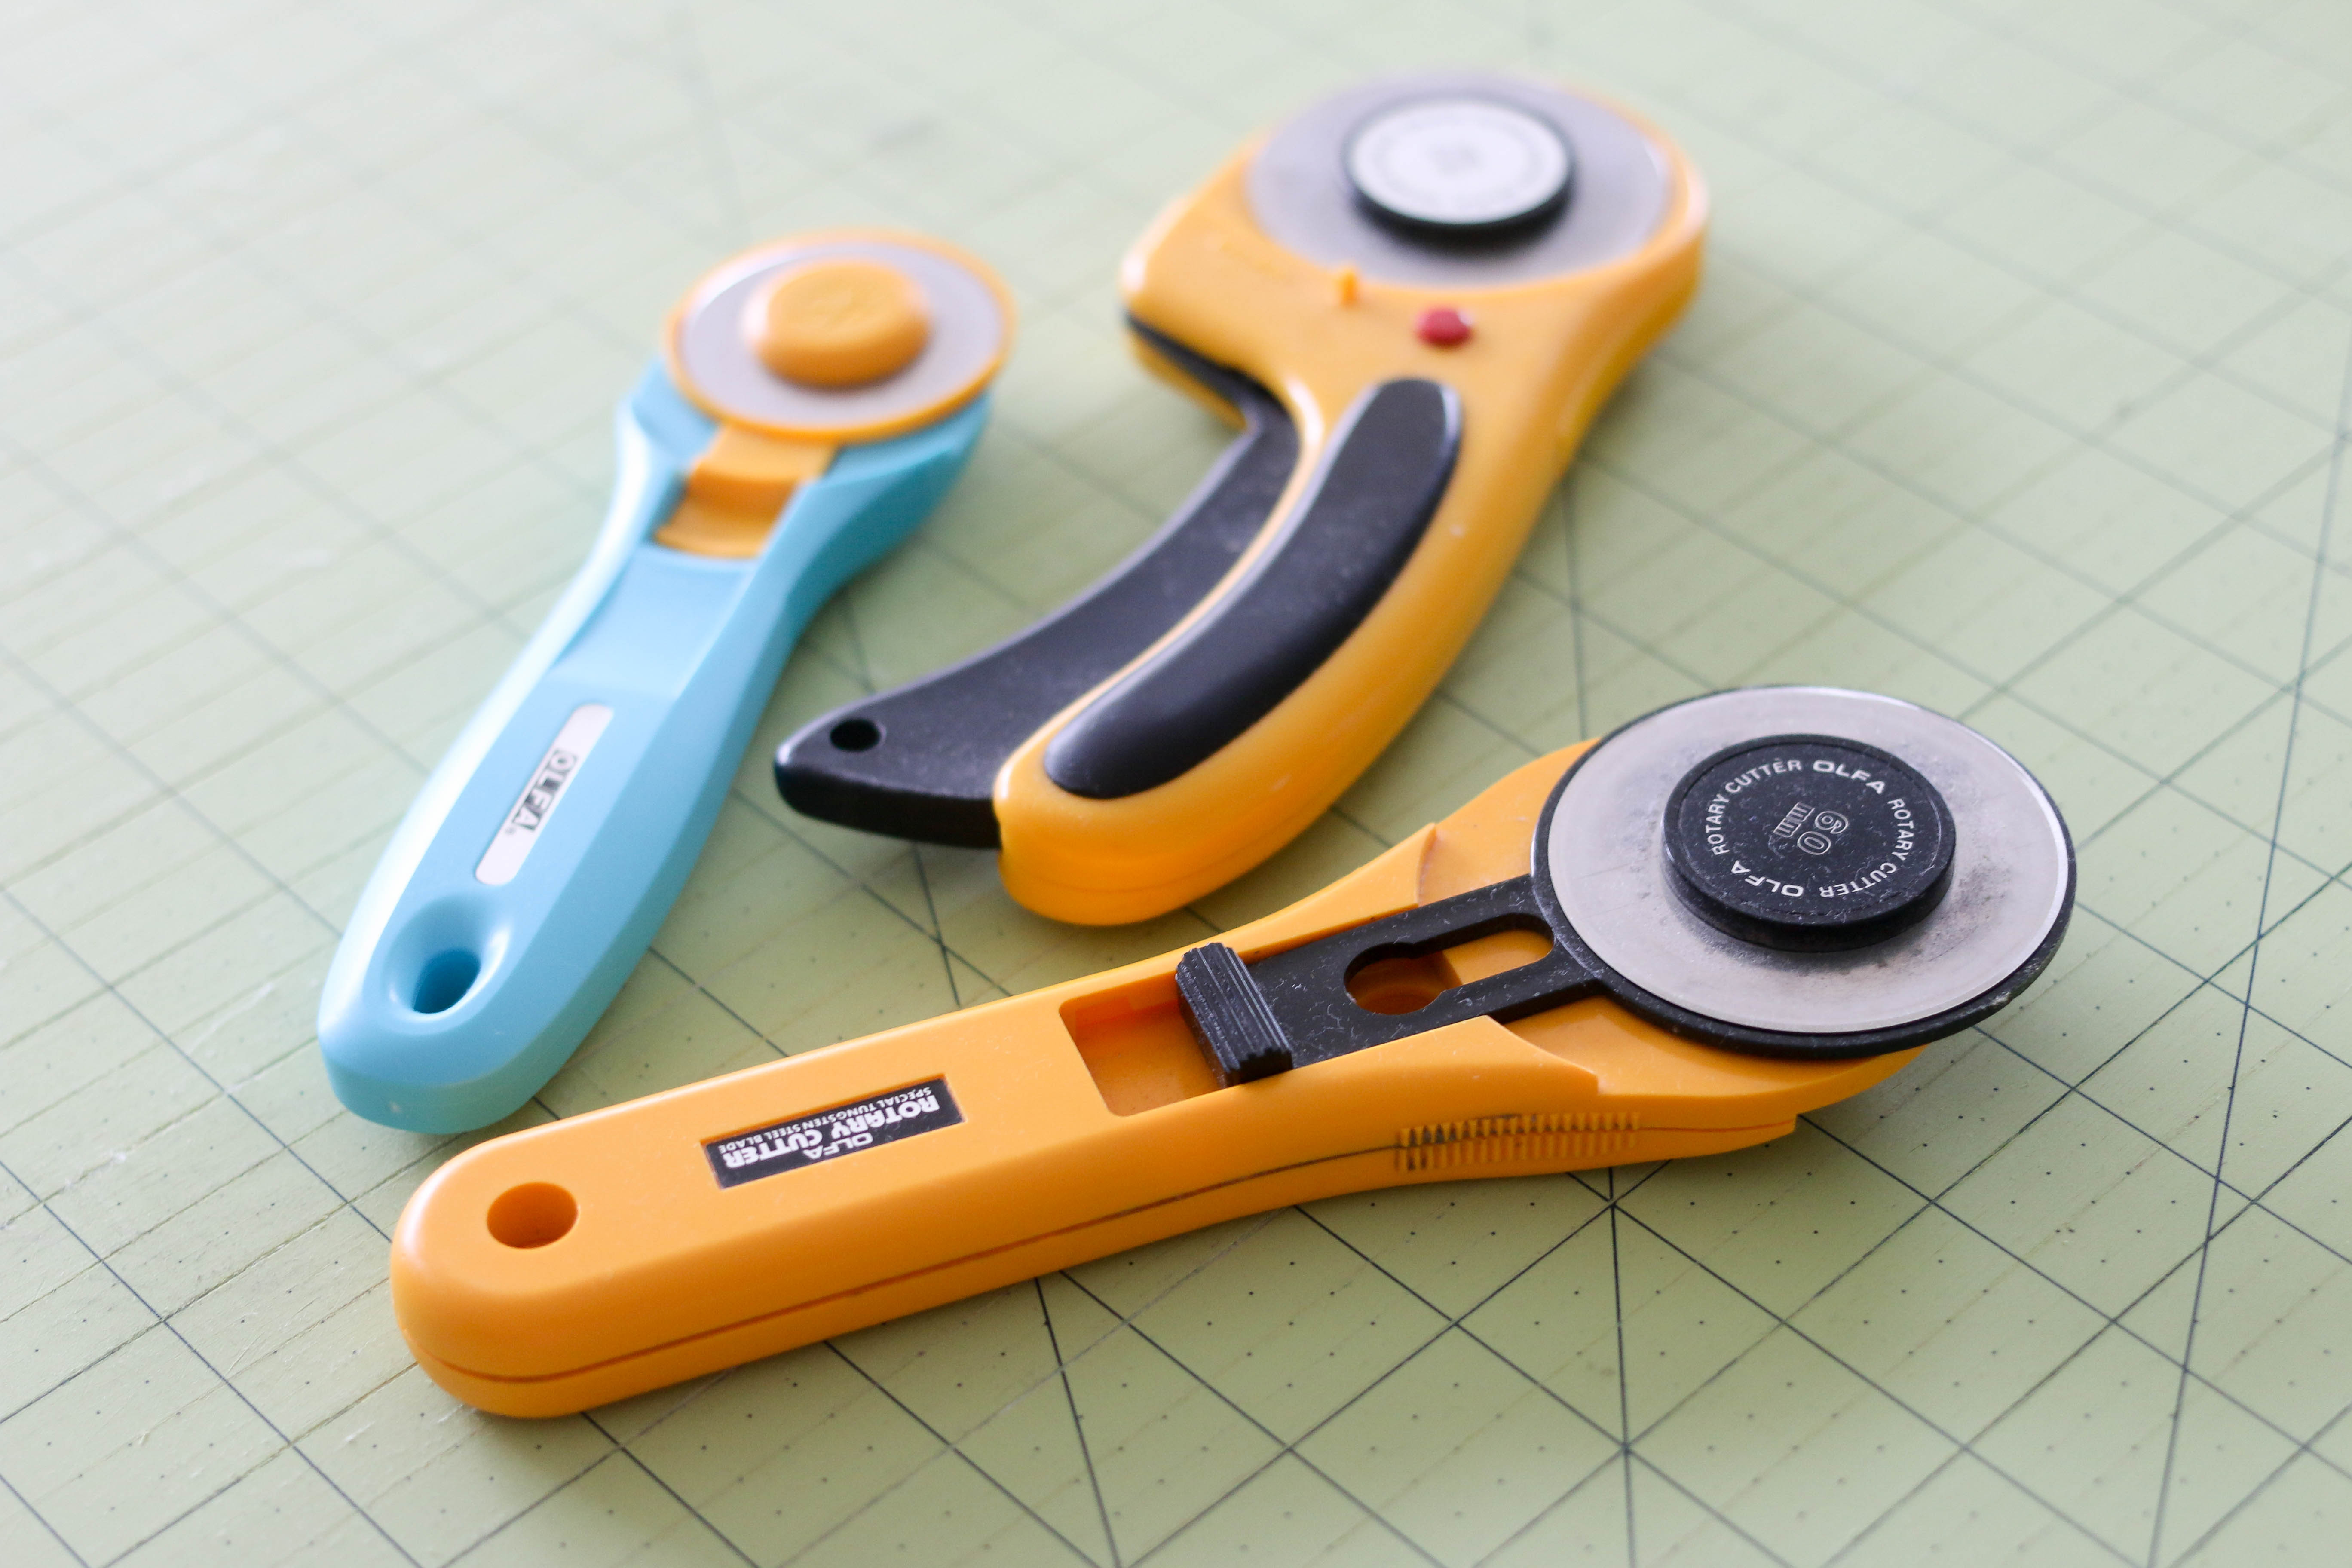
I really can’t imagine quilting without these. Just think: Before rotary cutters, quilters cut all those pieces with scissors. Scissors! Horrifying. At any rate, rotary cutters come in a range of sizes and styles, and may include options such as ergonomic grips. Some people love their ergonomic cutters, but I personally prefer a good old-fashioned straight-handled rotary cutter. Which size cutter you use may depend on what you’re cutting: Smaller cutters are best for little pieces, cutting around templates, and intricate shapes. I own several sizes of rotary cutters, but I find 45mm to be the most versatile size.
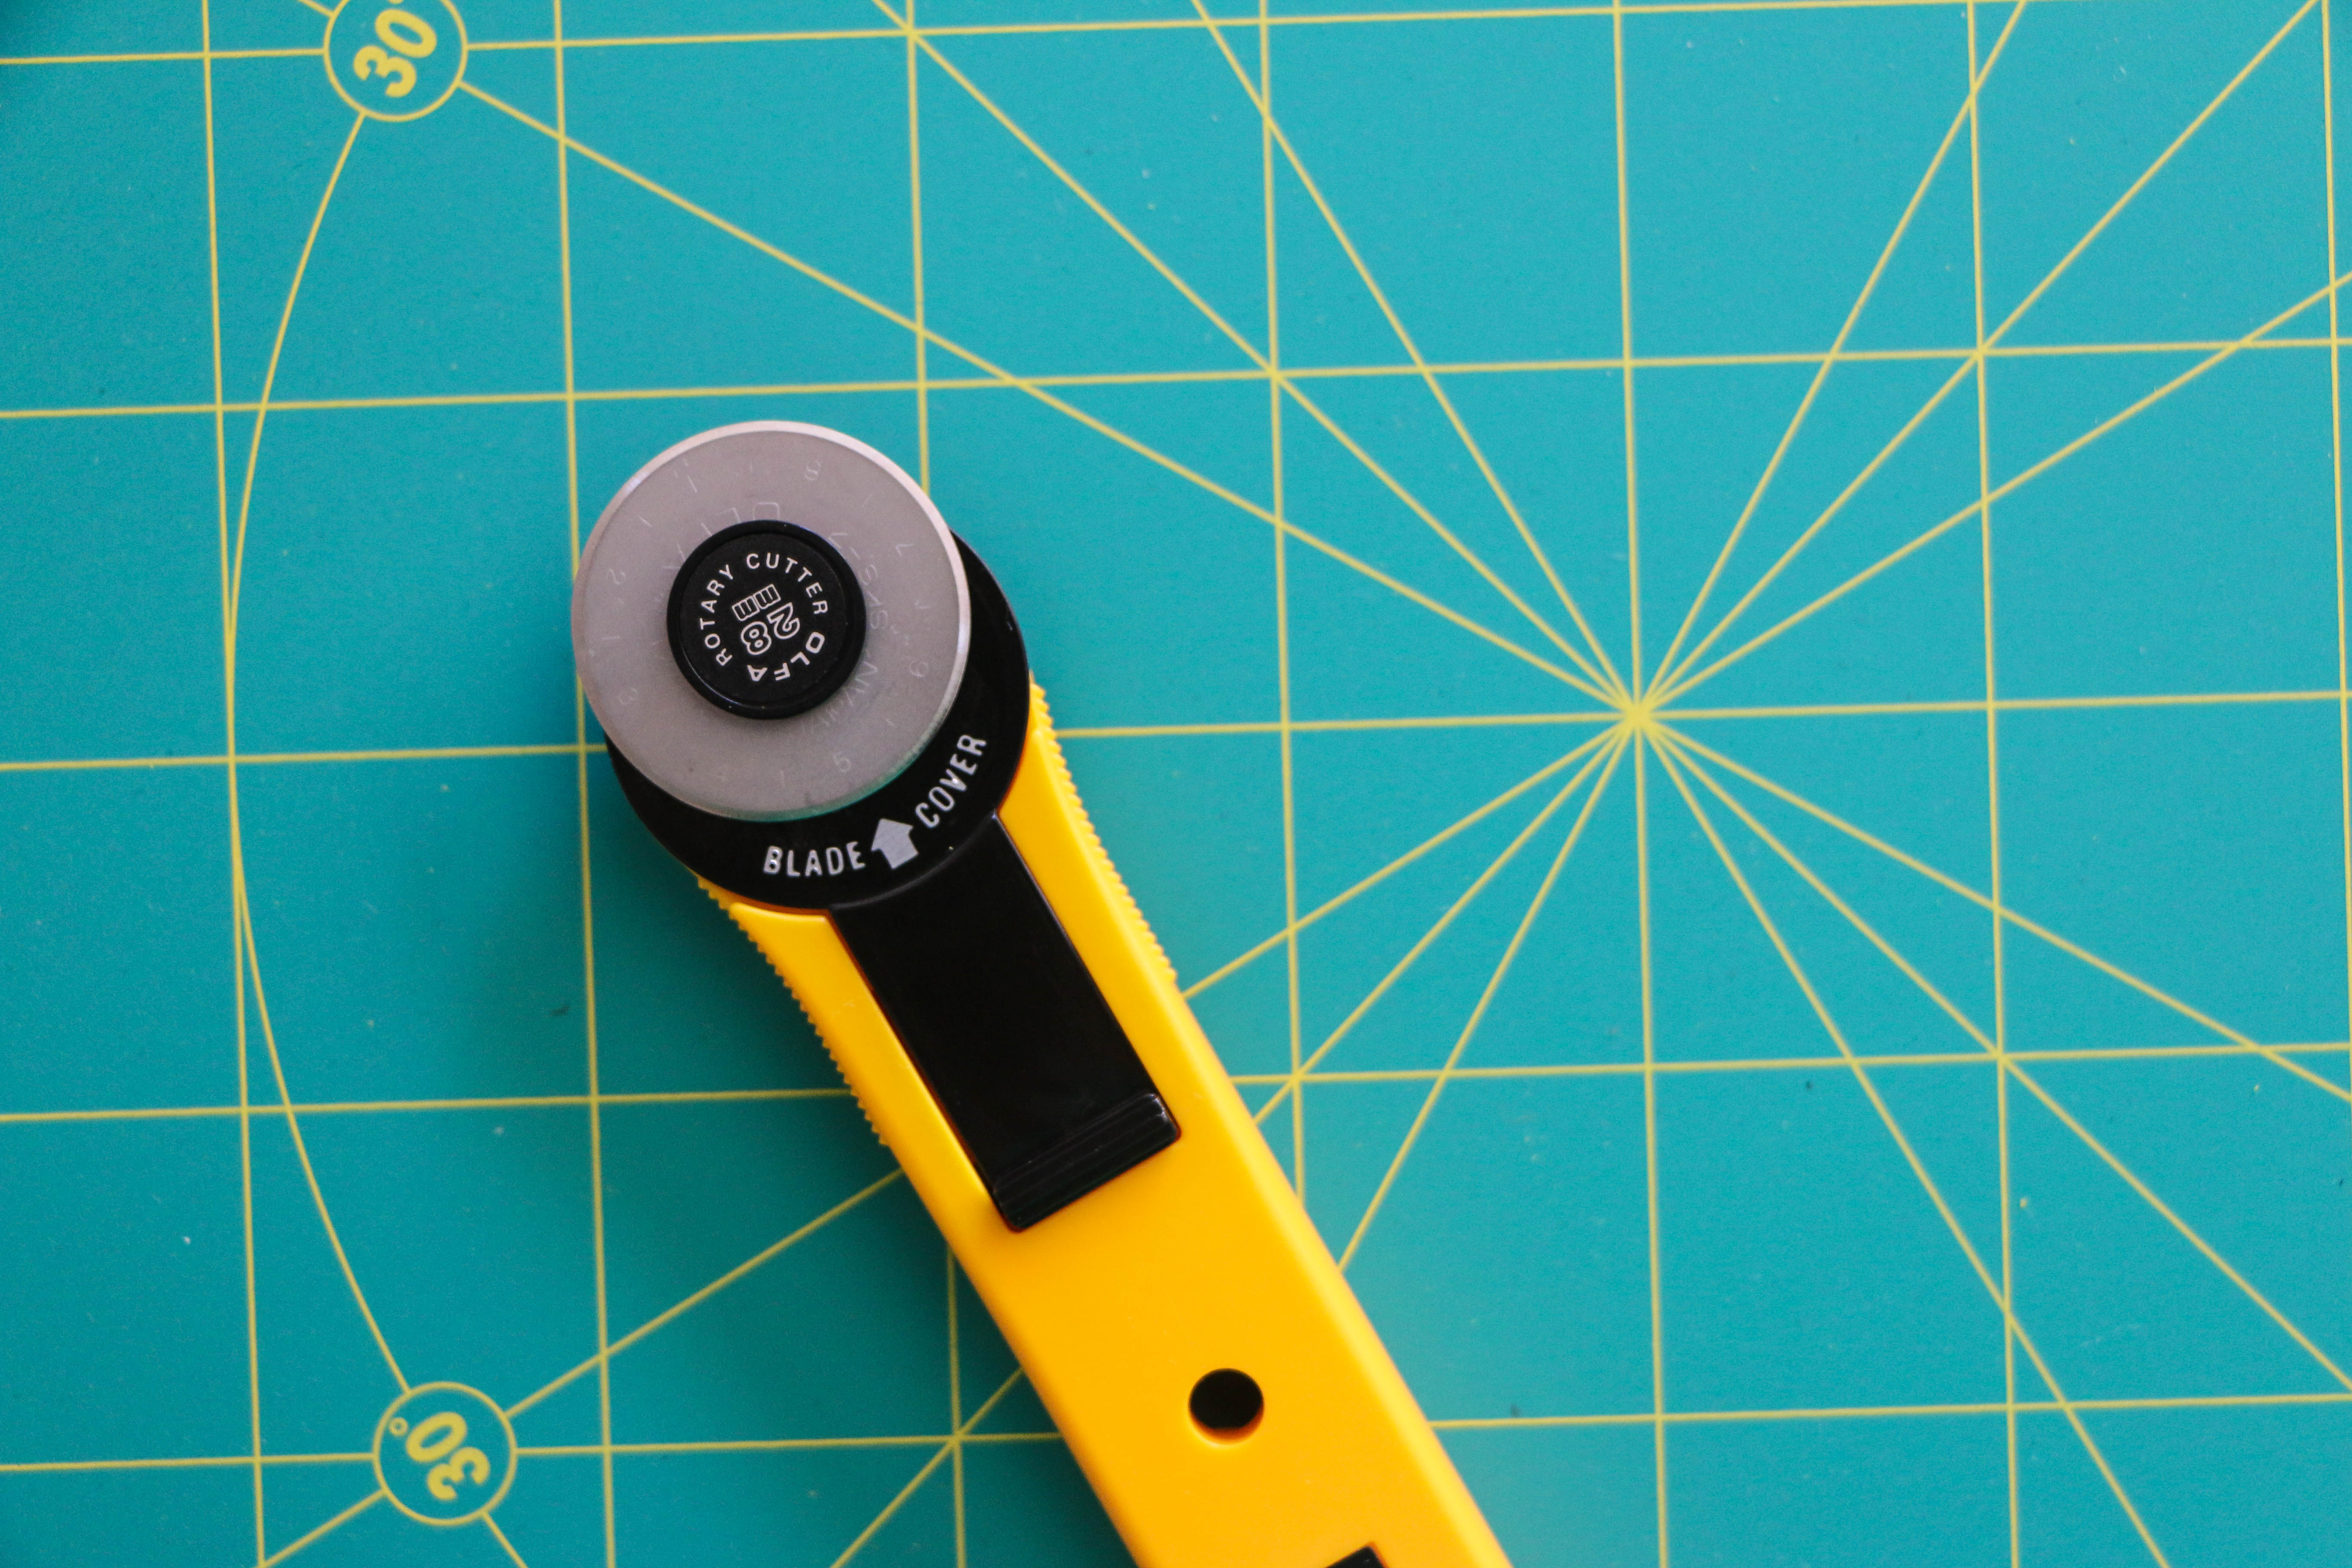
Rotary cutters come with interchangeable blades, so regardless of which size you select, you’ll need to buy replacement blades and switch them out whenever a blade gets dull. It’s time to change your blade when you notice threads and bits of fabric that are still connected after you’ve cut. Just like with your best fabric-cutting scissors, cutting paper (or any material other than fabric) will dull your blade. (If you’re a paper-piecer, I actually keep one dedicated rotary cutter just for trimming paper-piecing patterns and pieced units with the paper still on—that way I don’t dull my “normal” rotary cutting blade.) Accidentally cutting over a pin or into your acrylic ruler can wreak havoc on a new blade, so try to avoid that!
Self-healing cutting mat
Unless you want to chop up your cutting surface and dull your rotary blade quickly, a cutting mat is also a must-have. Mats come in a variety of sizes, but I recommend having just two: One that is as large as you can comfortably fit in your sewing space (mine is 24″ x 36″), and one smaller mat for travel or classes. (Olfa also has a foldable mat that I like.)
Cutting mat maintenance is important! Store your mat flat at all times, and never expose it to high temperatures, or it could warp or bubble. Using a warped mat can result in inaccurate cutting. (Whatever you do, don’t leave a cutting mat in your car on a hot afternoon! Ask me how I know this.) And although these mats are called “self-healing,” over time they will get ridges and grooves in places where you cut most frequently. Many mats are double-sided, allowing you to get double the use from them. But whenever you get a deep groove and your rotary cutter starts catching in it, it’s time to either turn over the mat or replace it entirely.
Clear acrylic rulers
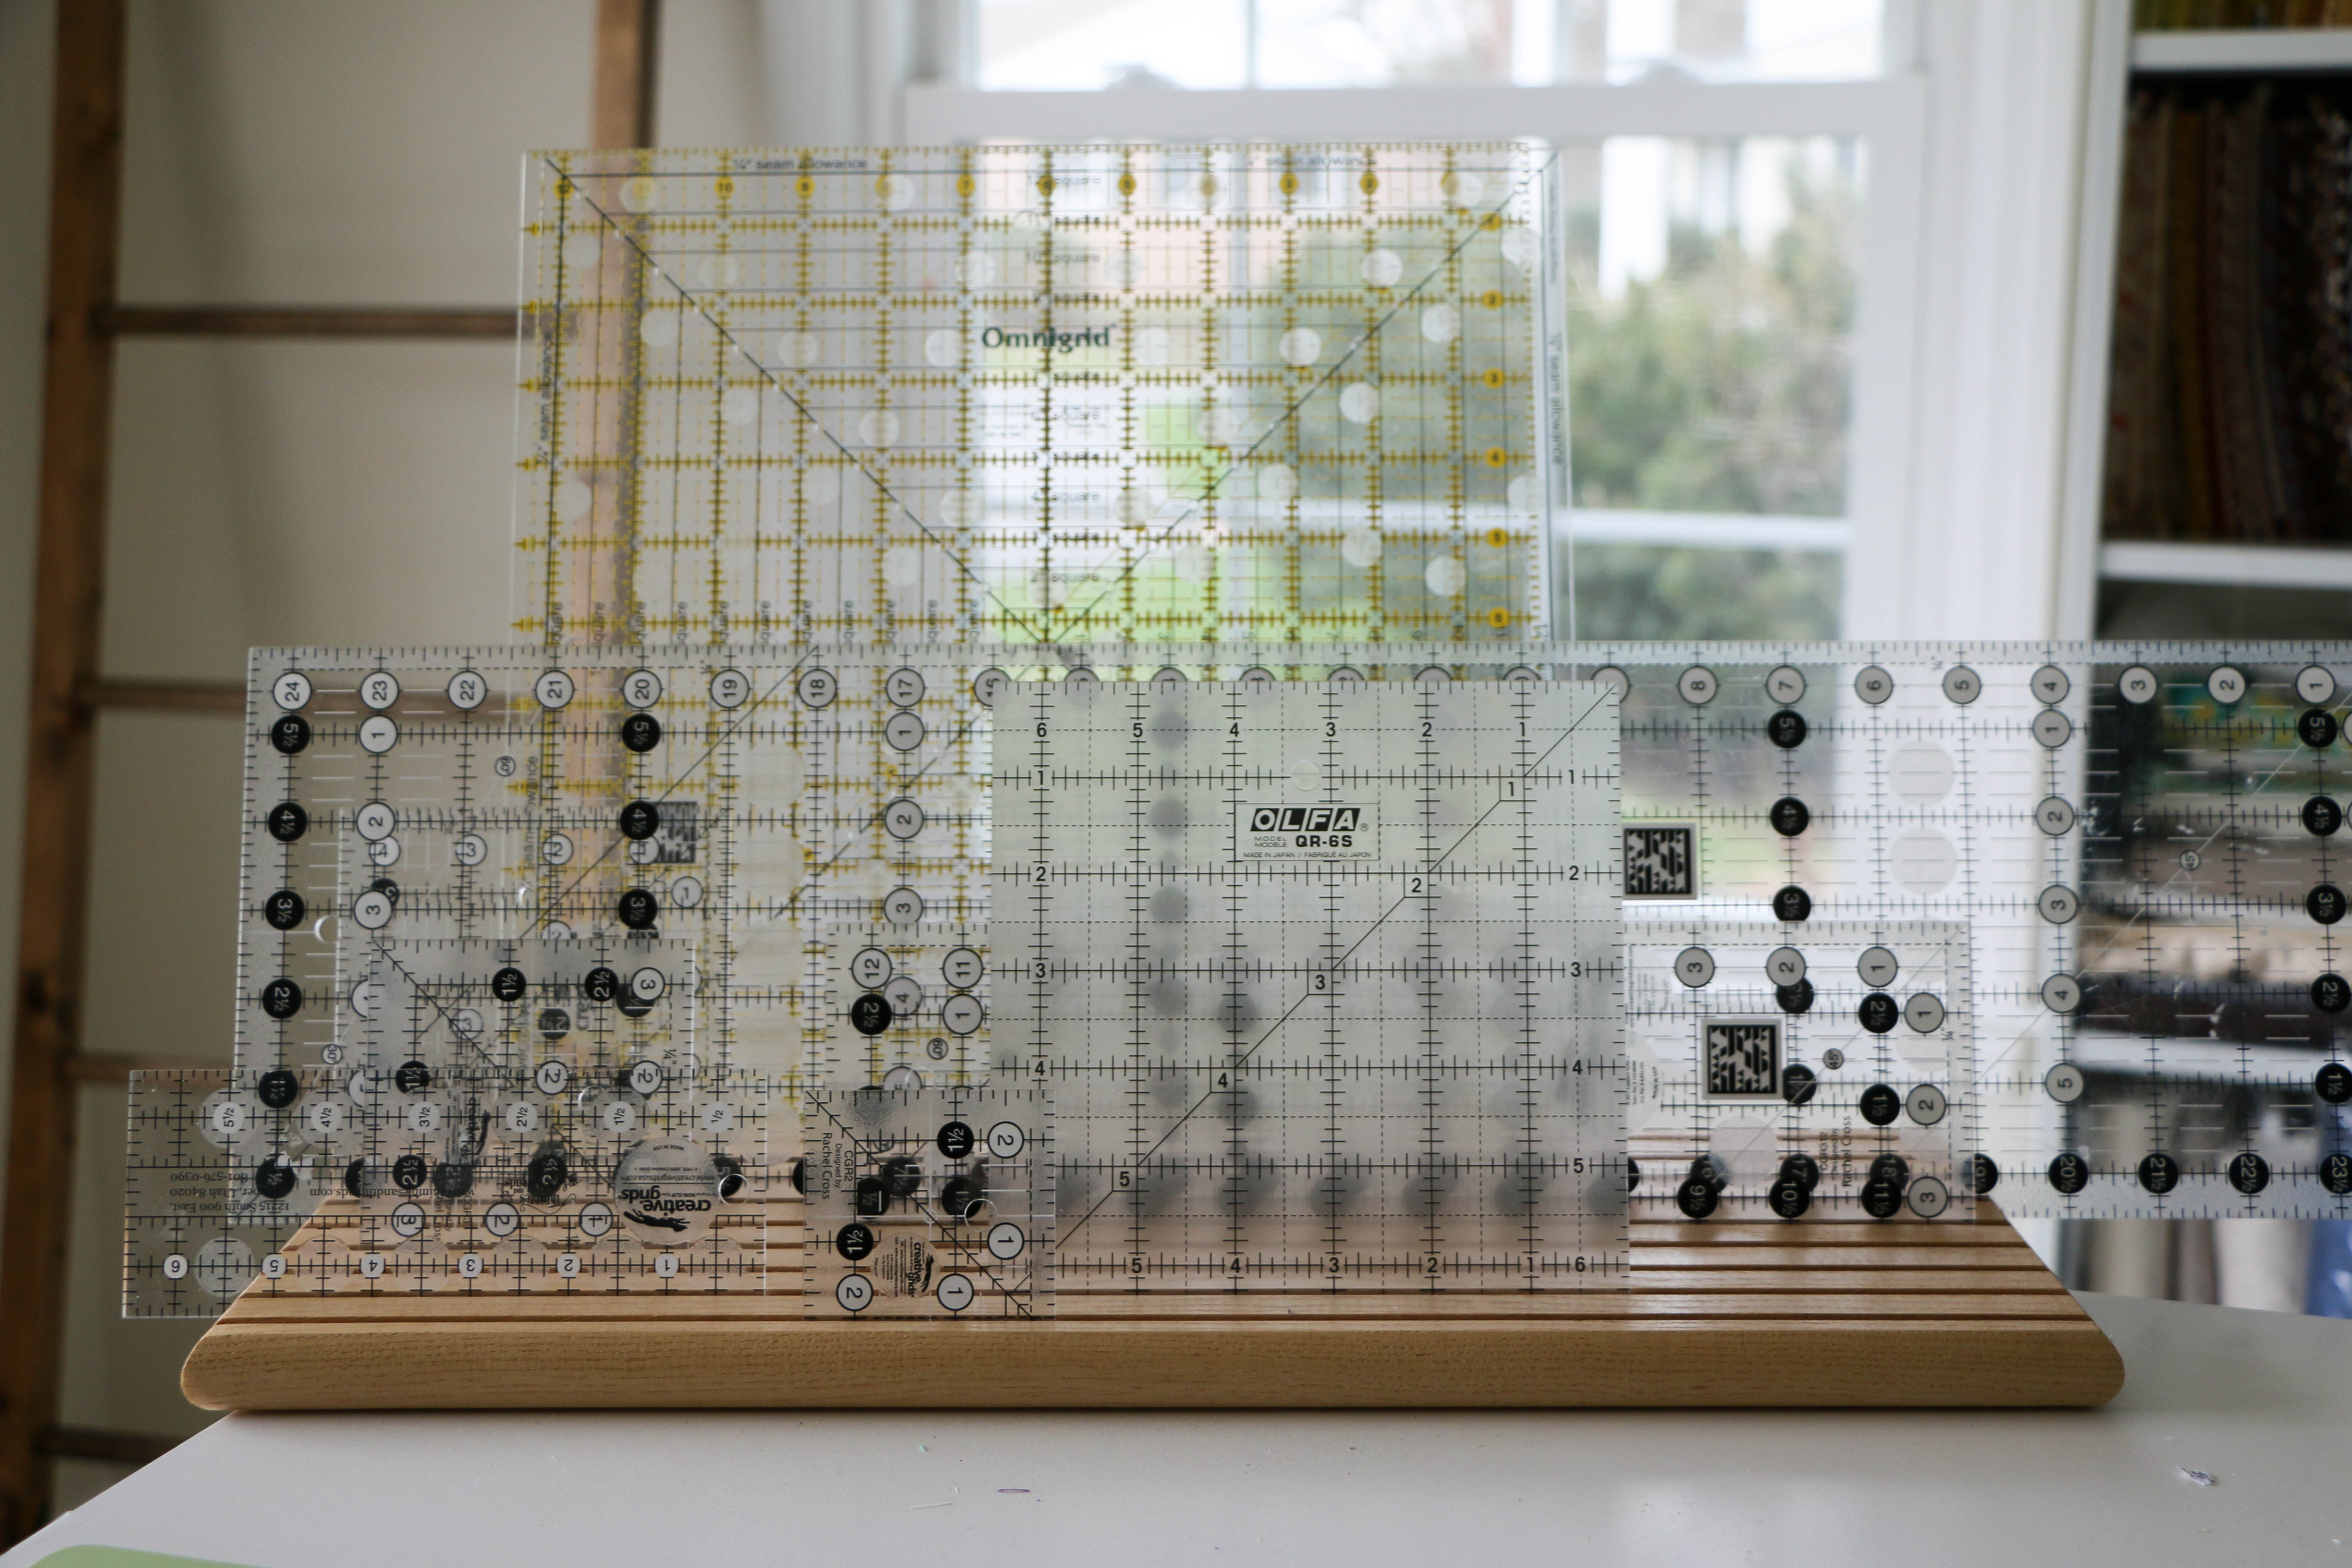
Again, with rulers, sizes and shapes abound. The more the merrier when it comes to rulers! But my most often-used sizes are 6″ x 24″ and 3″ x 12″. You will also want a variety of square rulers. Squares are used for trimming blocks and half-square triangle units. When I first started quilting, I had just one square ruler (6″), and for the longest time I tried to make that work (along with my longer rulers) for every block size. But I eventually learned that it’s much easier and more accurate to square up blocks and half-square triangle units with an appropriately-sized square ruler. I’ve since invested in at least five more sizes of square rulers, plus a rack that keeps them all organized!
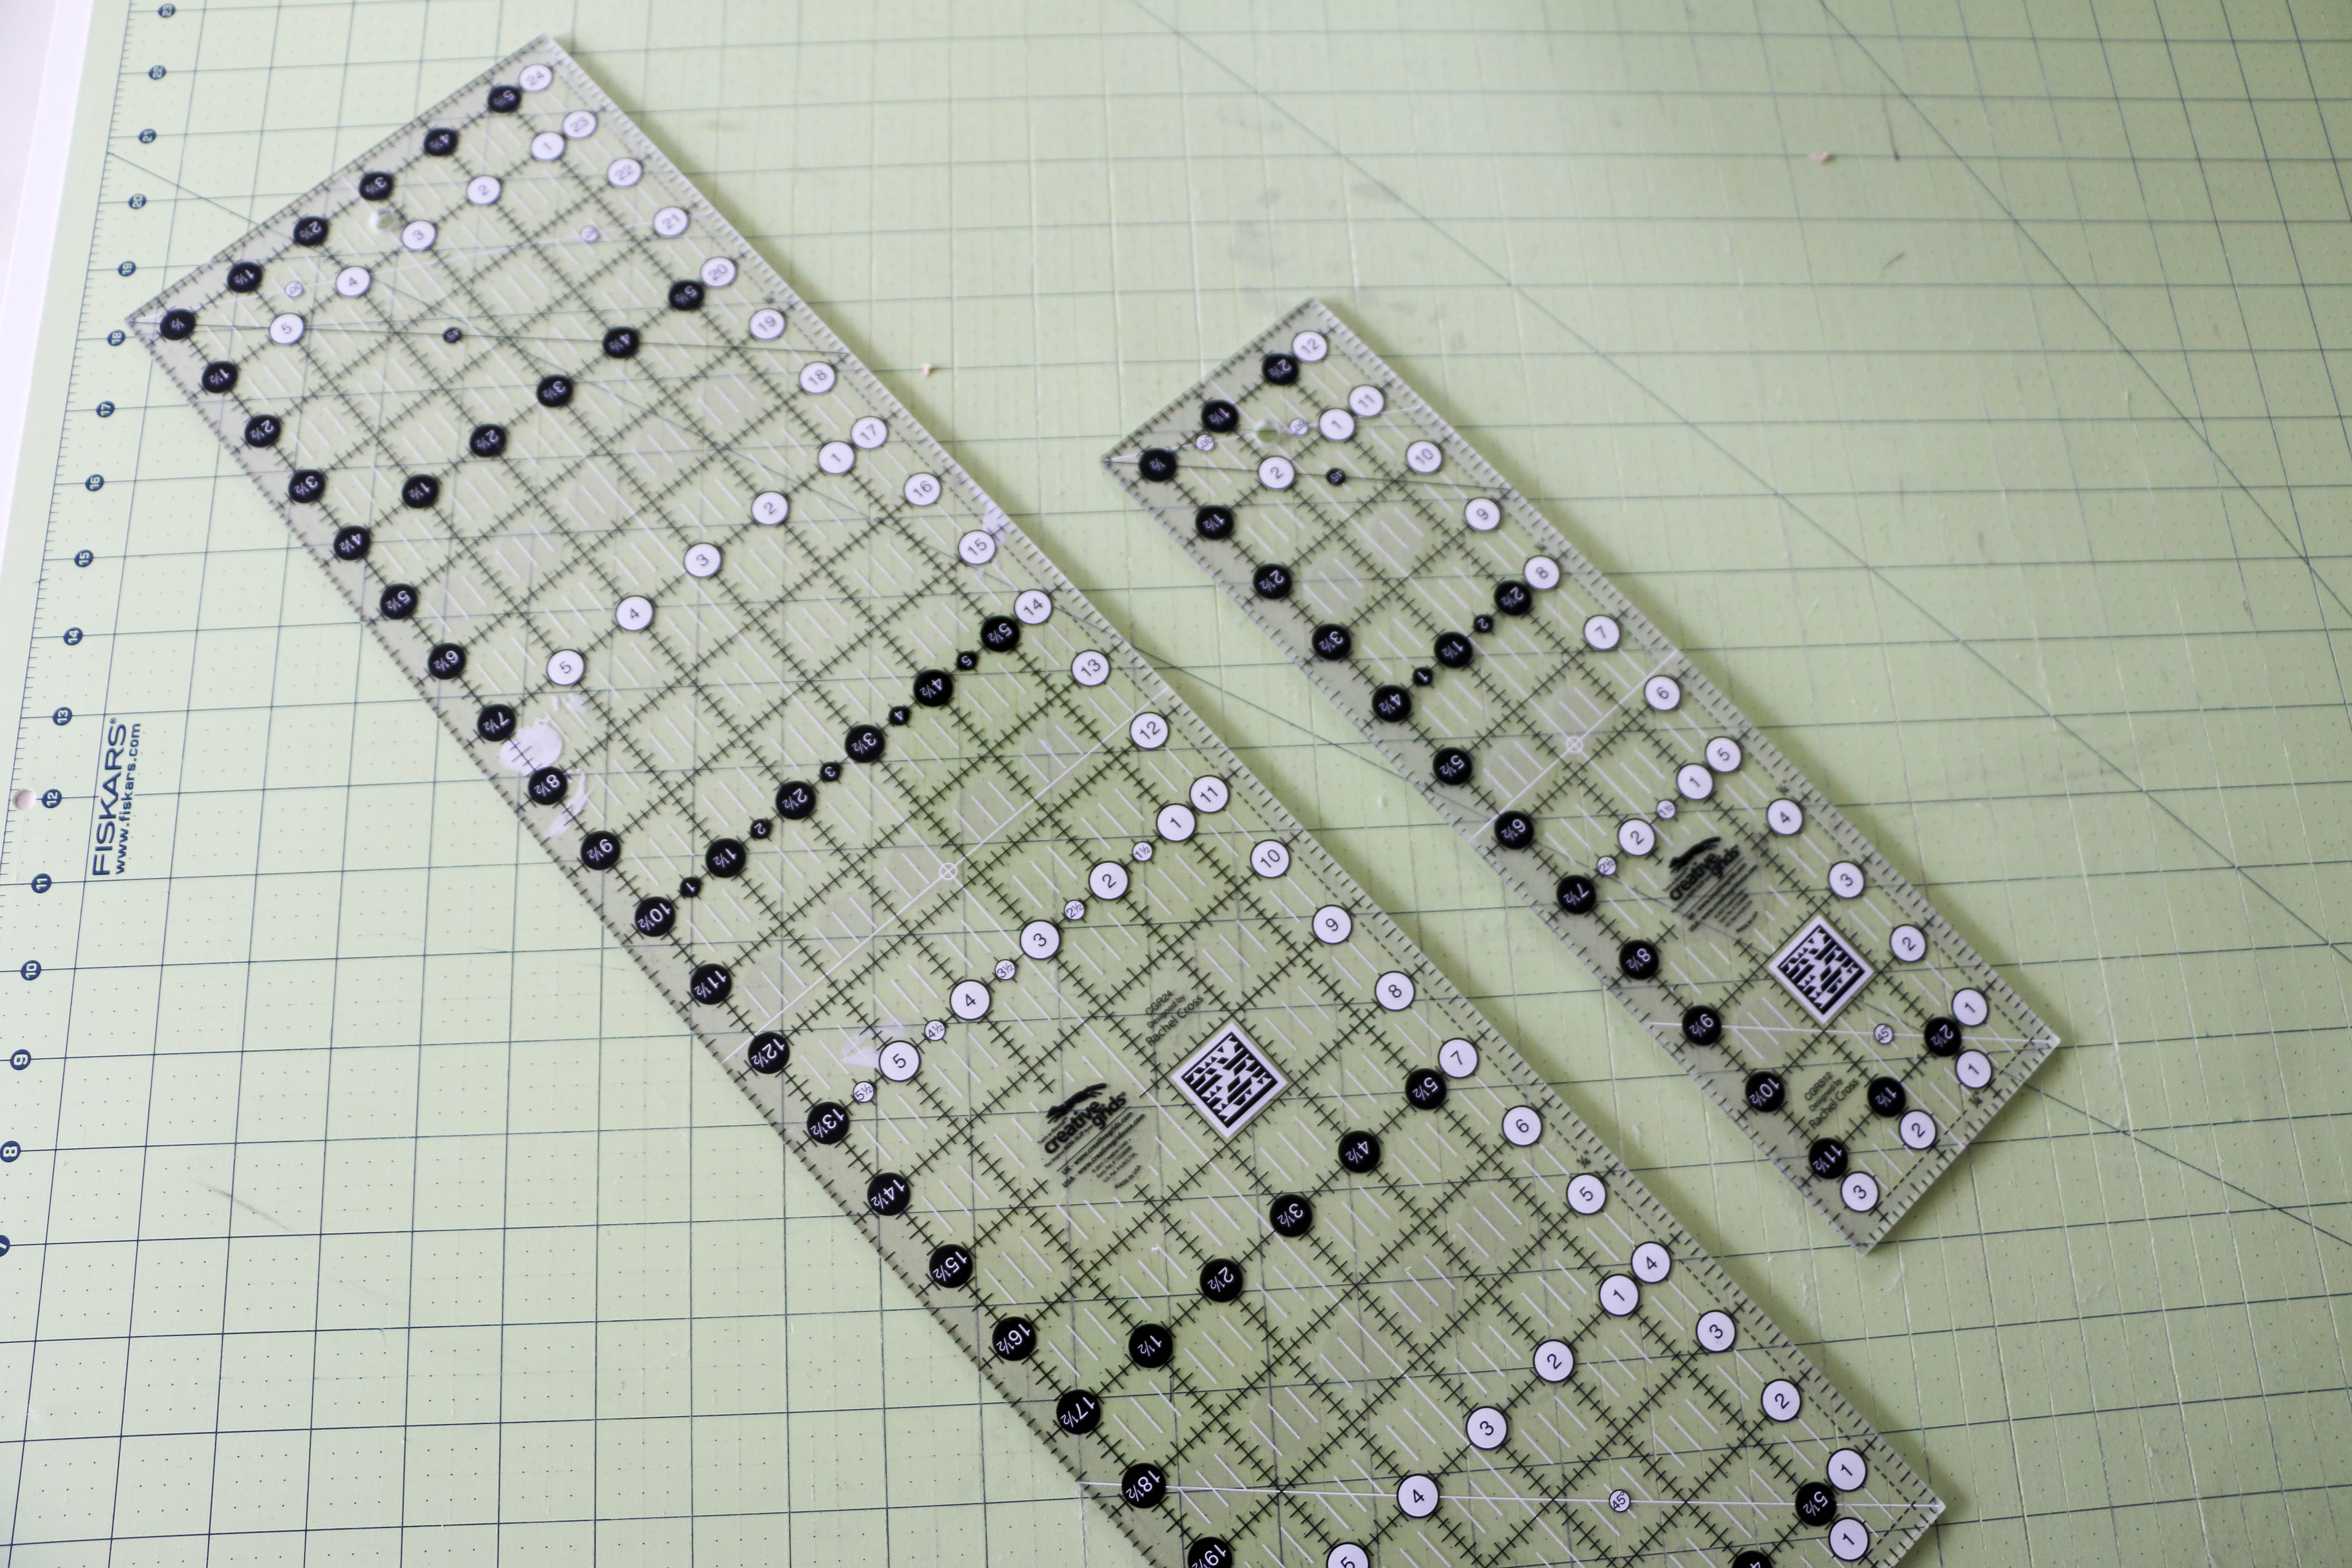
A key ruler feature to look for is “non-slip.” In order to cut accurately, your ruler can’t slide around on the fabric in the slightest. My personal favorites are Creative Grid rulers. They have bumpy textured dots spaced at regular intervals that do an excellent job of grabbing the fabric. If you find your ruler (regardless of brand) is slipping around a bit, there are sticky dots you can buy and apply to your ruler, or try adhering a bit of sandpaper to your ruler, gritty side out. The sandpaper will grip the fabric and keep everything neatly in place while you cut.
Cutting How-To
Now that you’ve got your tools, you’re ready to cut into that stack of fabulous fabric. But what’s the best way to do it?
Be sure to start by pressing your fabric—wrinkly fabric will affect your accuracy! It’s tempting to skip this step, but trust me, you will get much better results if everything is neatly pressed.
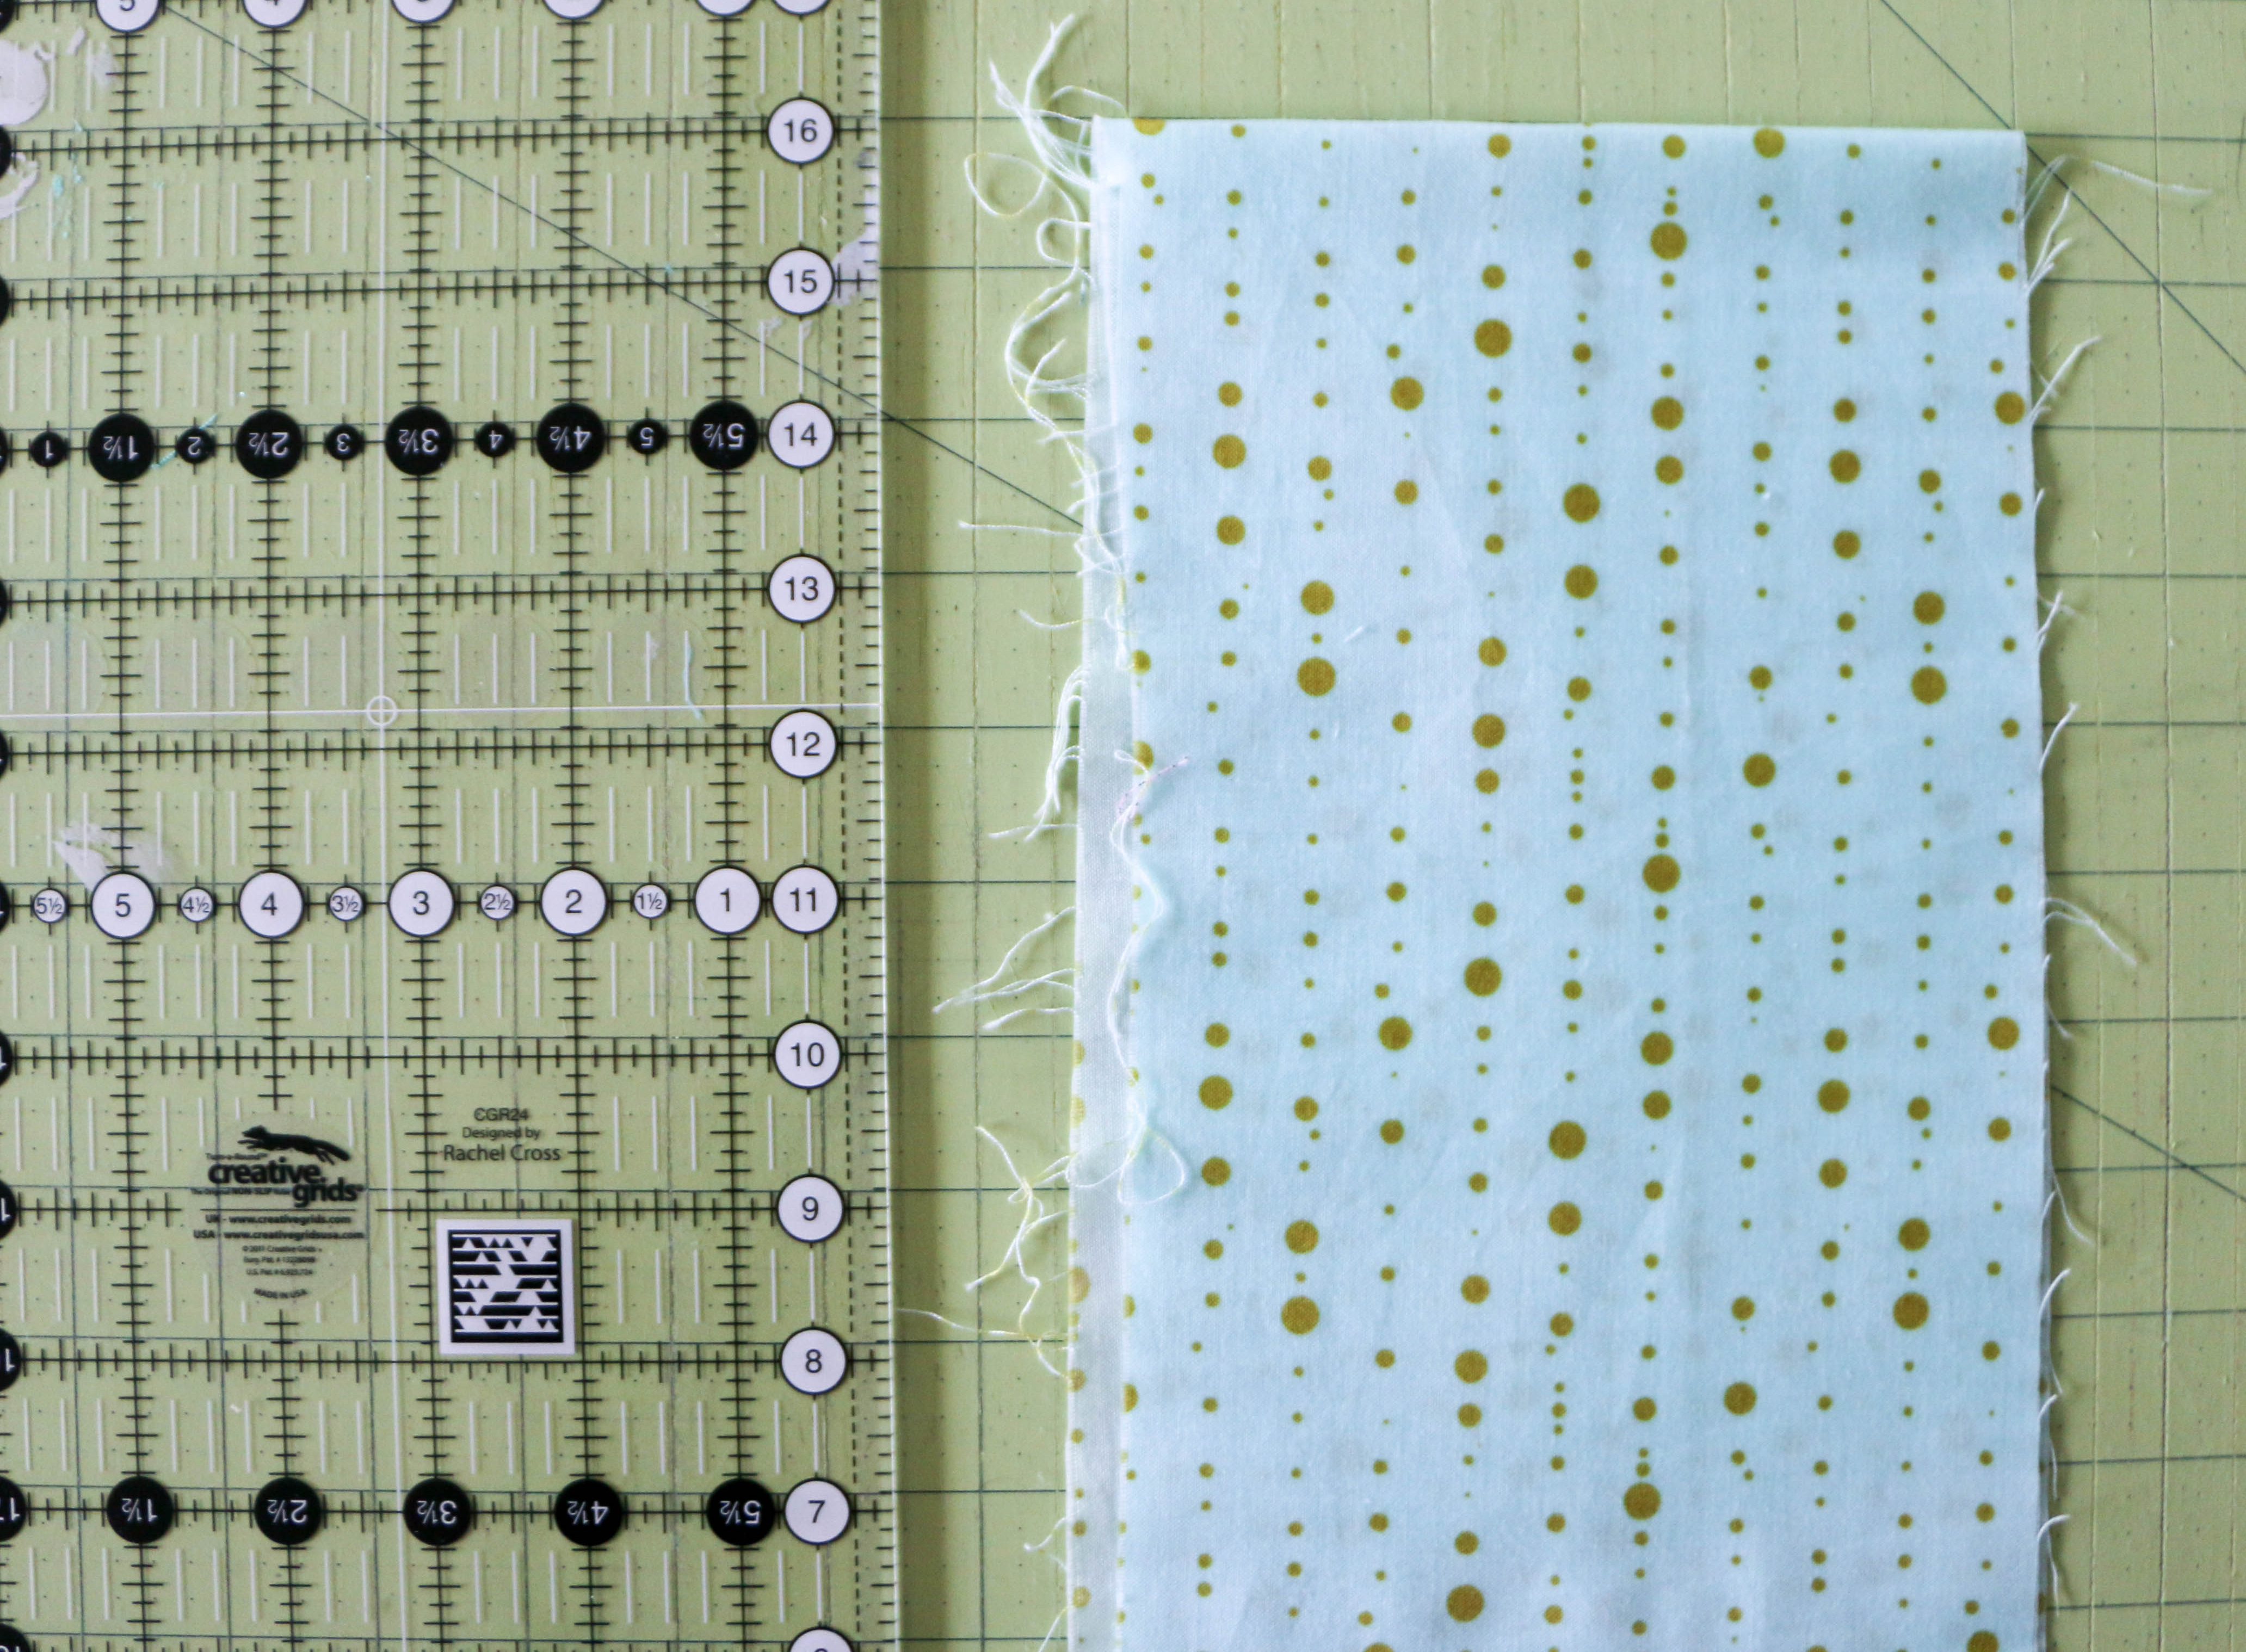
Once everything is neatly pressed, the next step is to square up the leading edge of the fabric. Fabric stores often don’t cut yardage straight, and raw edges can fray and stretch. To even out this edge, fold your fabric in half, selvage to selvage, then shake it out a bit to even out all the other edges as much as possible, and place it on your cutting mat.
The key when cutting folded fabric is to always make sure your cut is exactly perpendicular (90 degrees) to the fold line. The best way to do this is to line up your fold line with a horizontal line on the cutting mat.
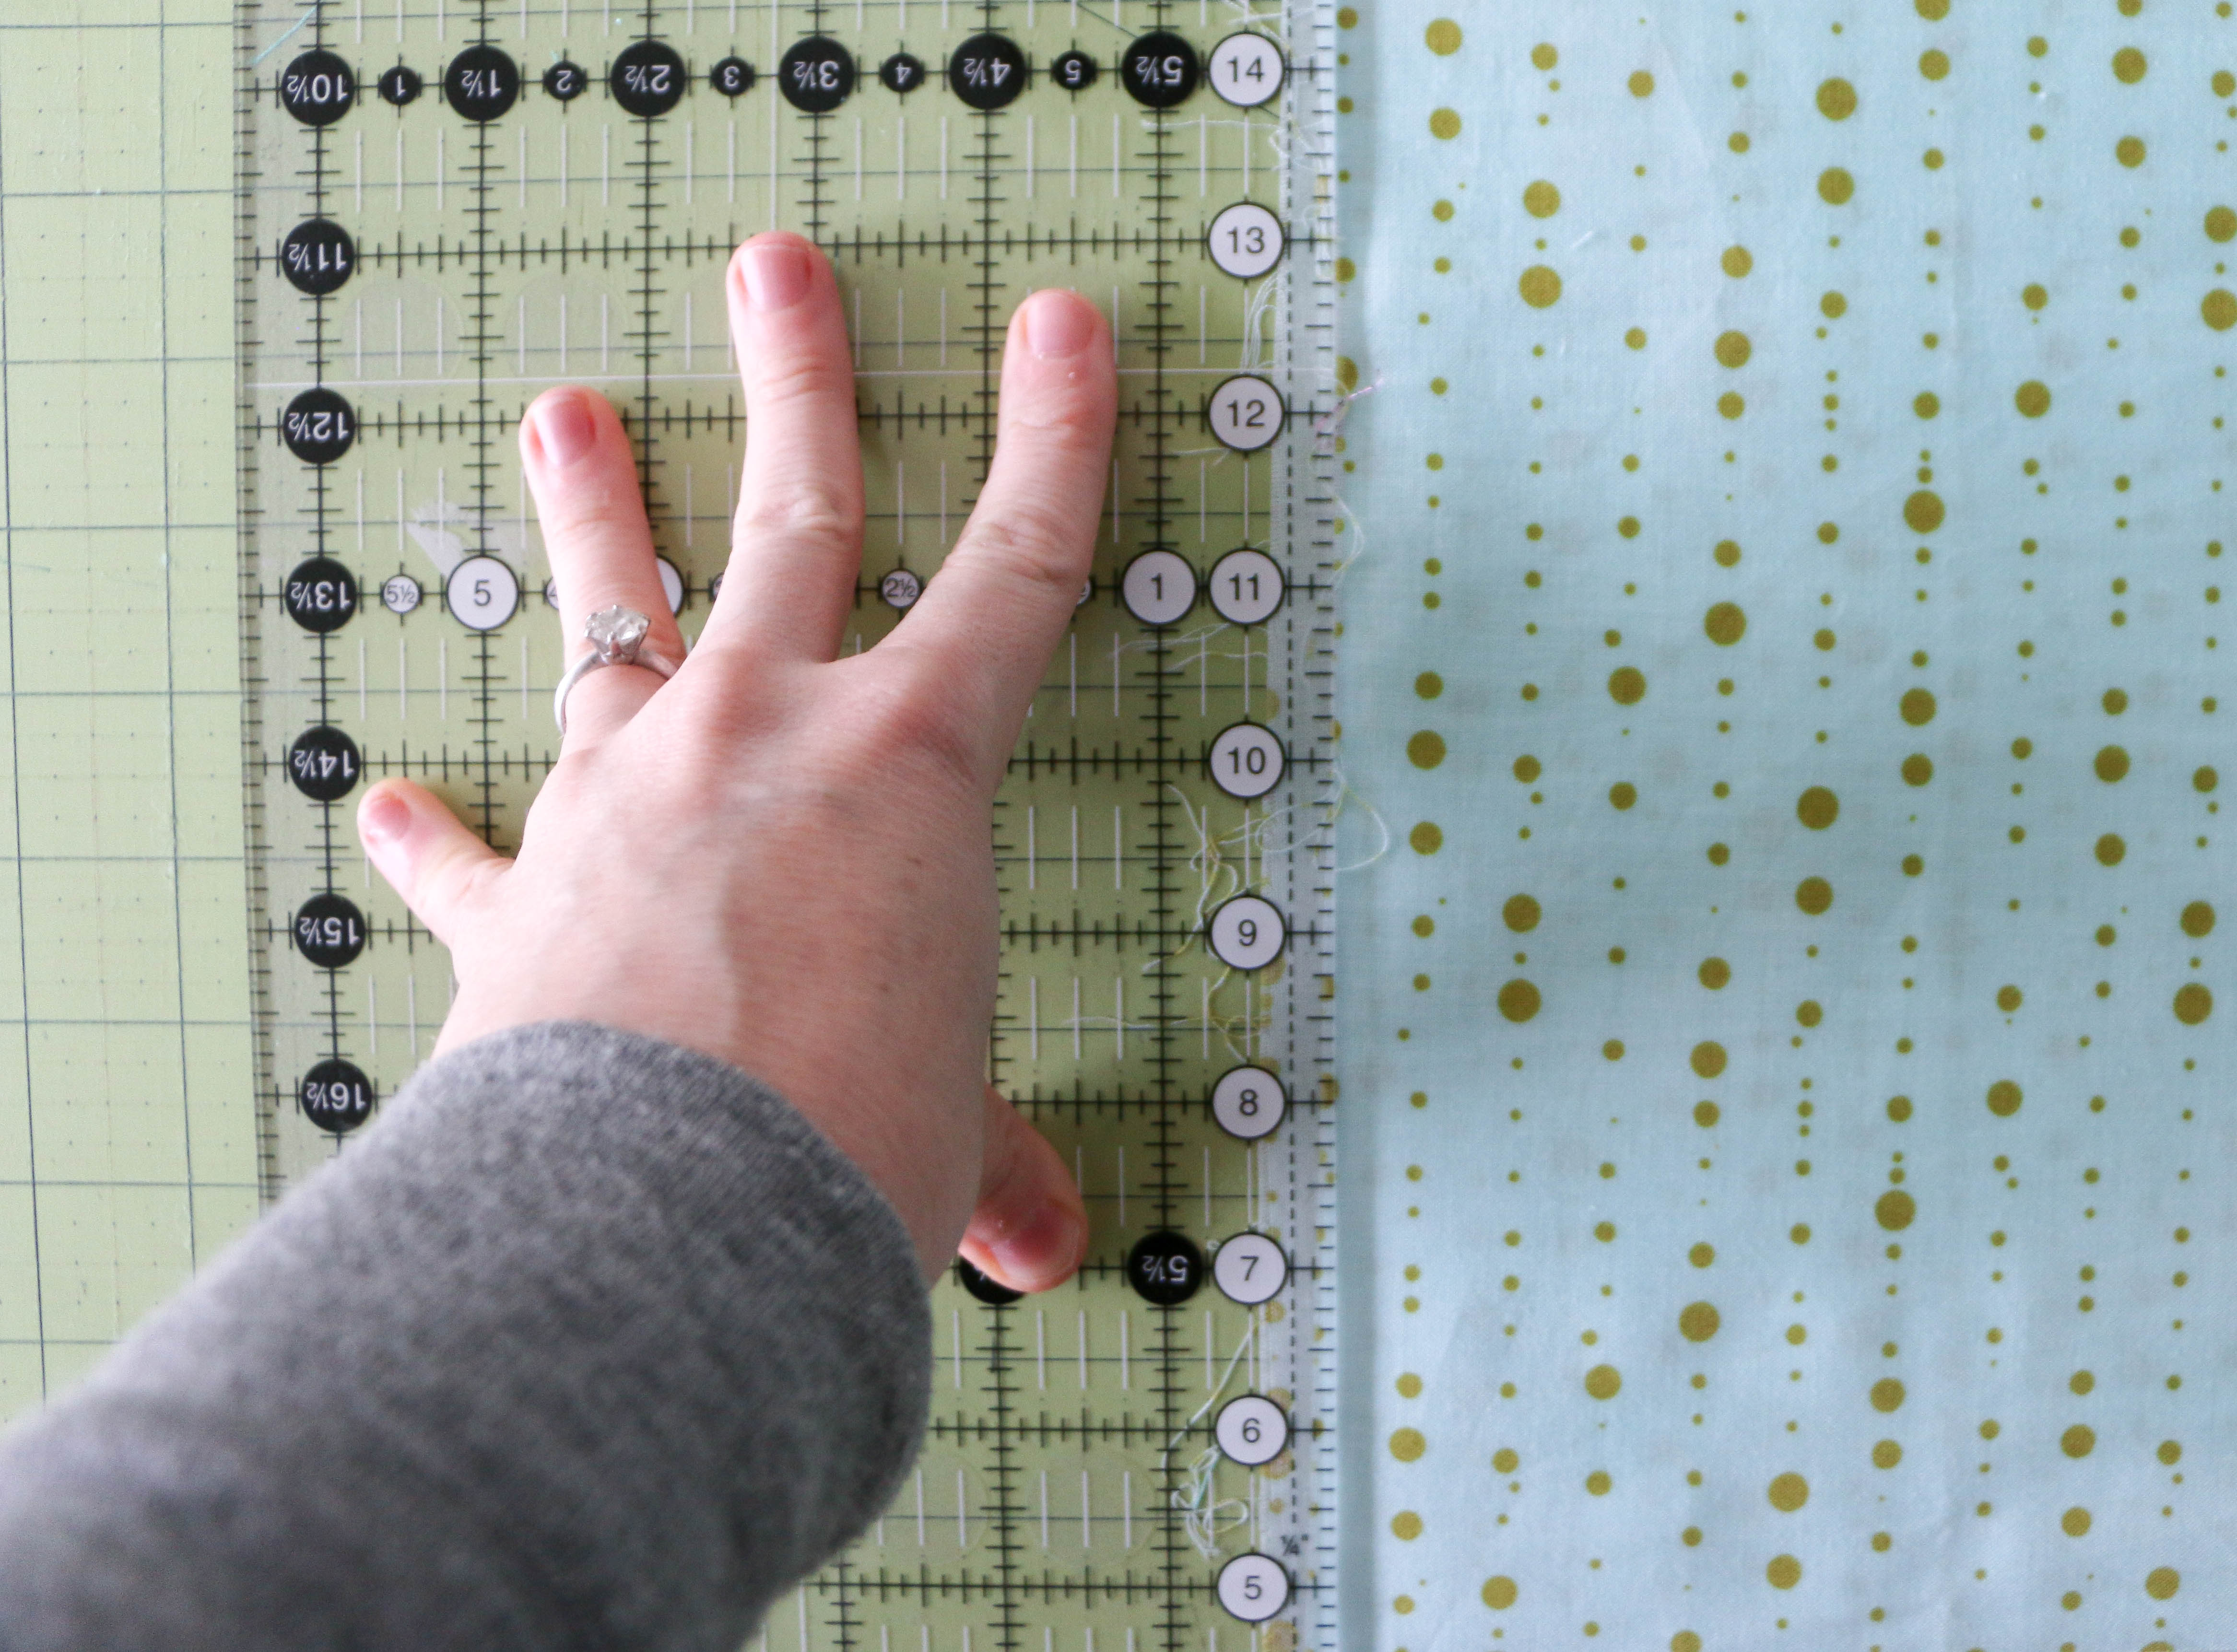
Next, position your ruler over the edge of the fabric and press down on the ruler with your left hand (if you’re a righty). I like to push straight down on the ruler with my fingers splayed out in all directions, kind of like a spider, in order to keep that ruler firmly in place. (There are also special ruler handles you can buy to help with this, though I have never tried any of those.) Remember, the goal is that the ruler does not shift while you’re cutting, or you won’t get accurate results. And of course, your thumb and fingers cannot hang over the edge of the ruler!
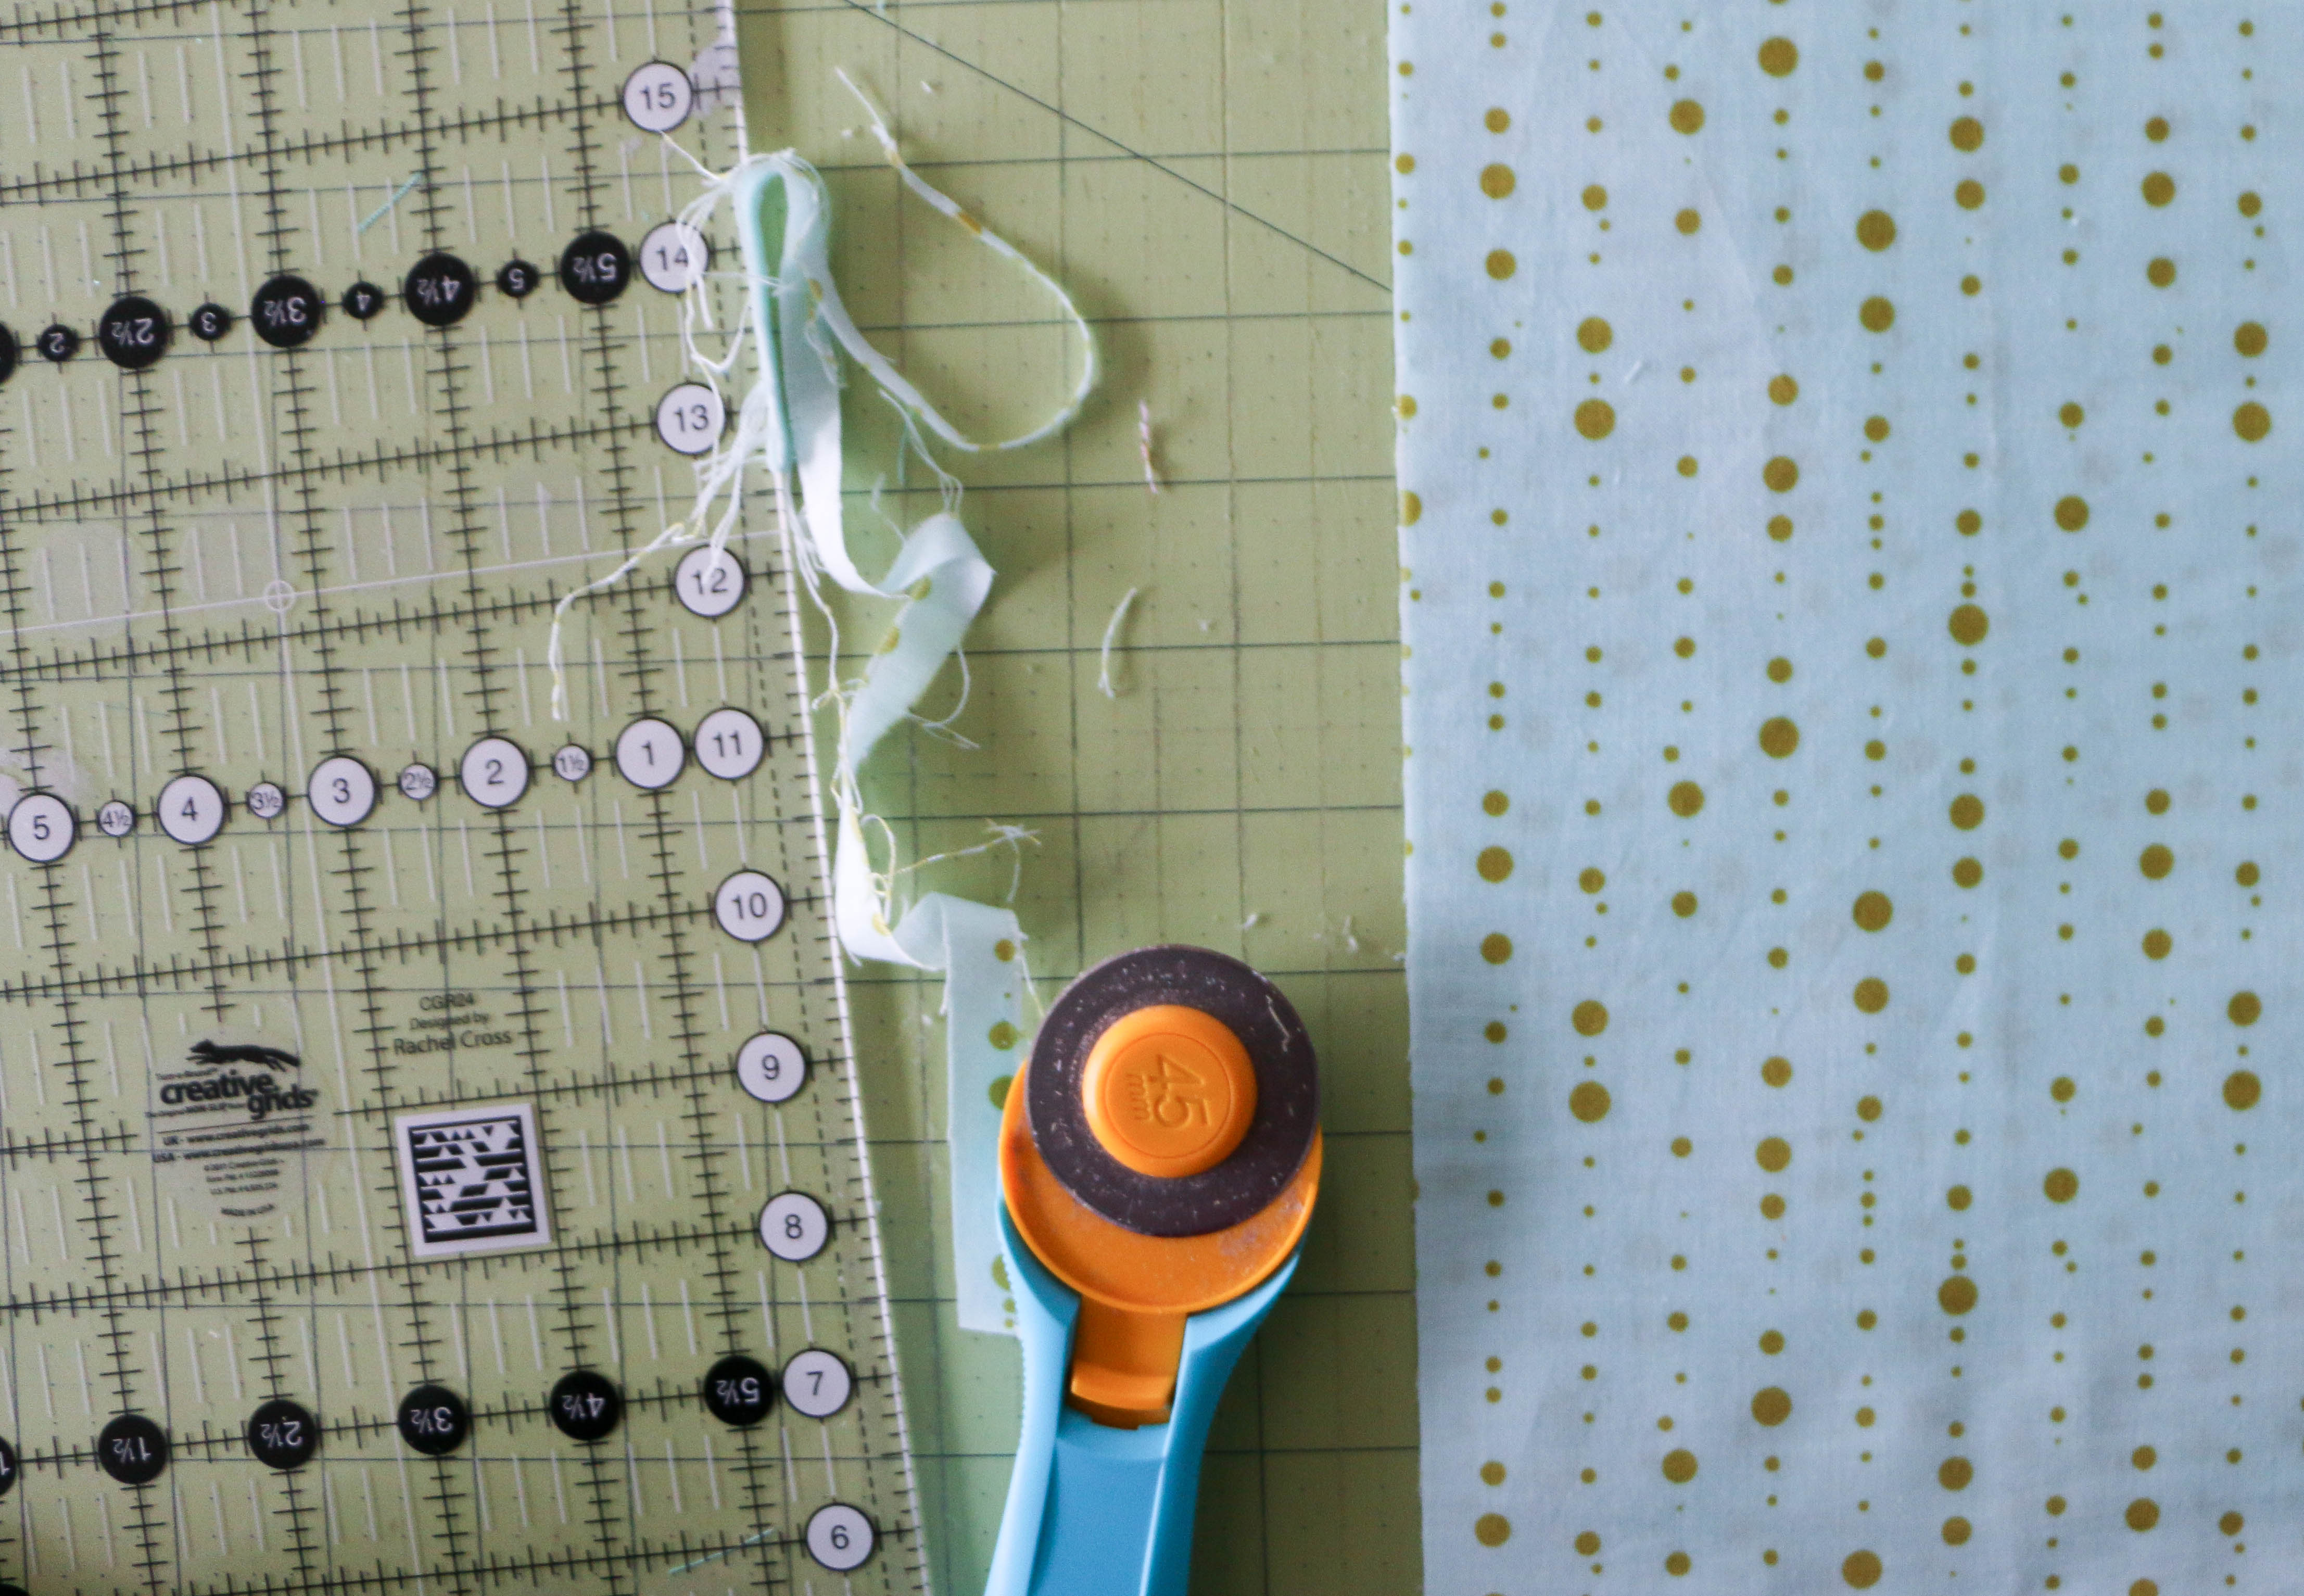
Next, applying even pressure with your rotary cutter all the way across, go ahead and cut outward, away from your body, and using the ruler to guide your cut. (I find I have to stand up in order to get the correct pressure on both the ruler and the cutter—seated cutting just doesn’t work as well for me.) Be sure to keep your wrist straight as you cut to avoid carpal tunnel. Now you have a nice, square-edged starting point for the rest of your cutting.
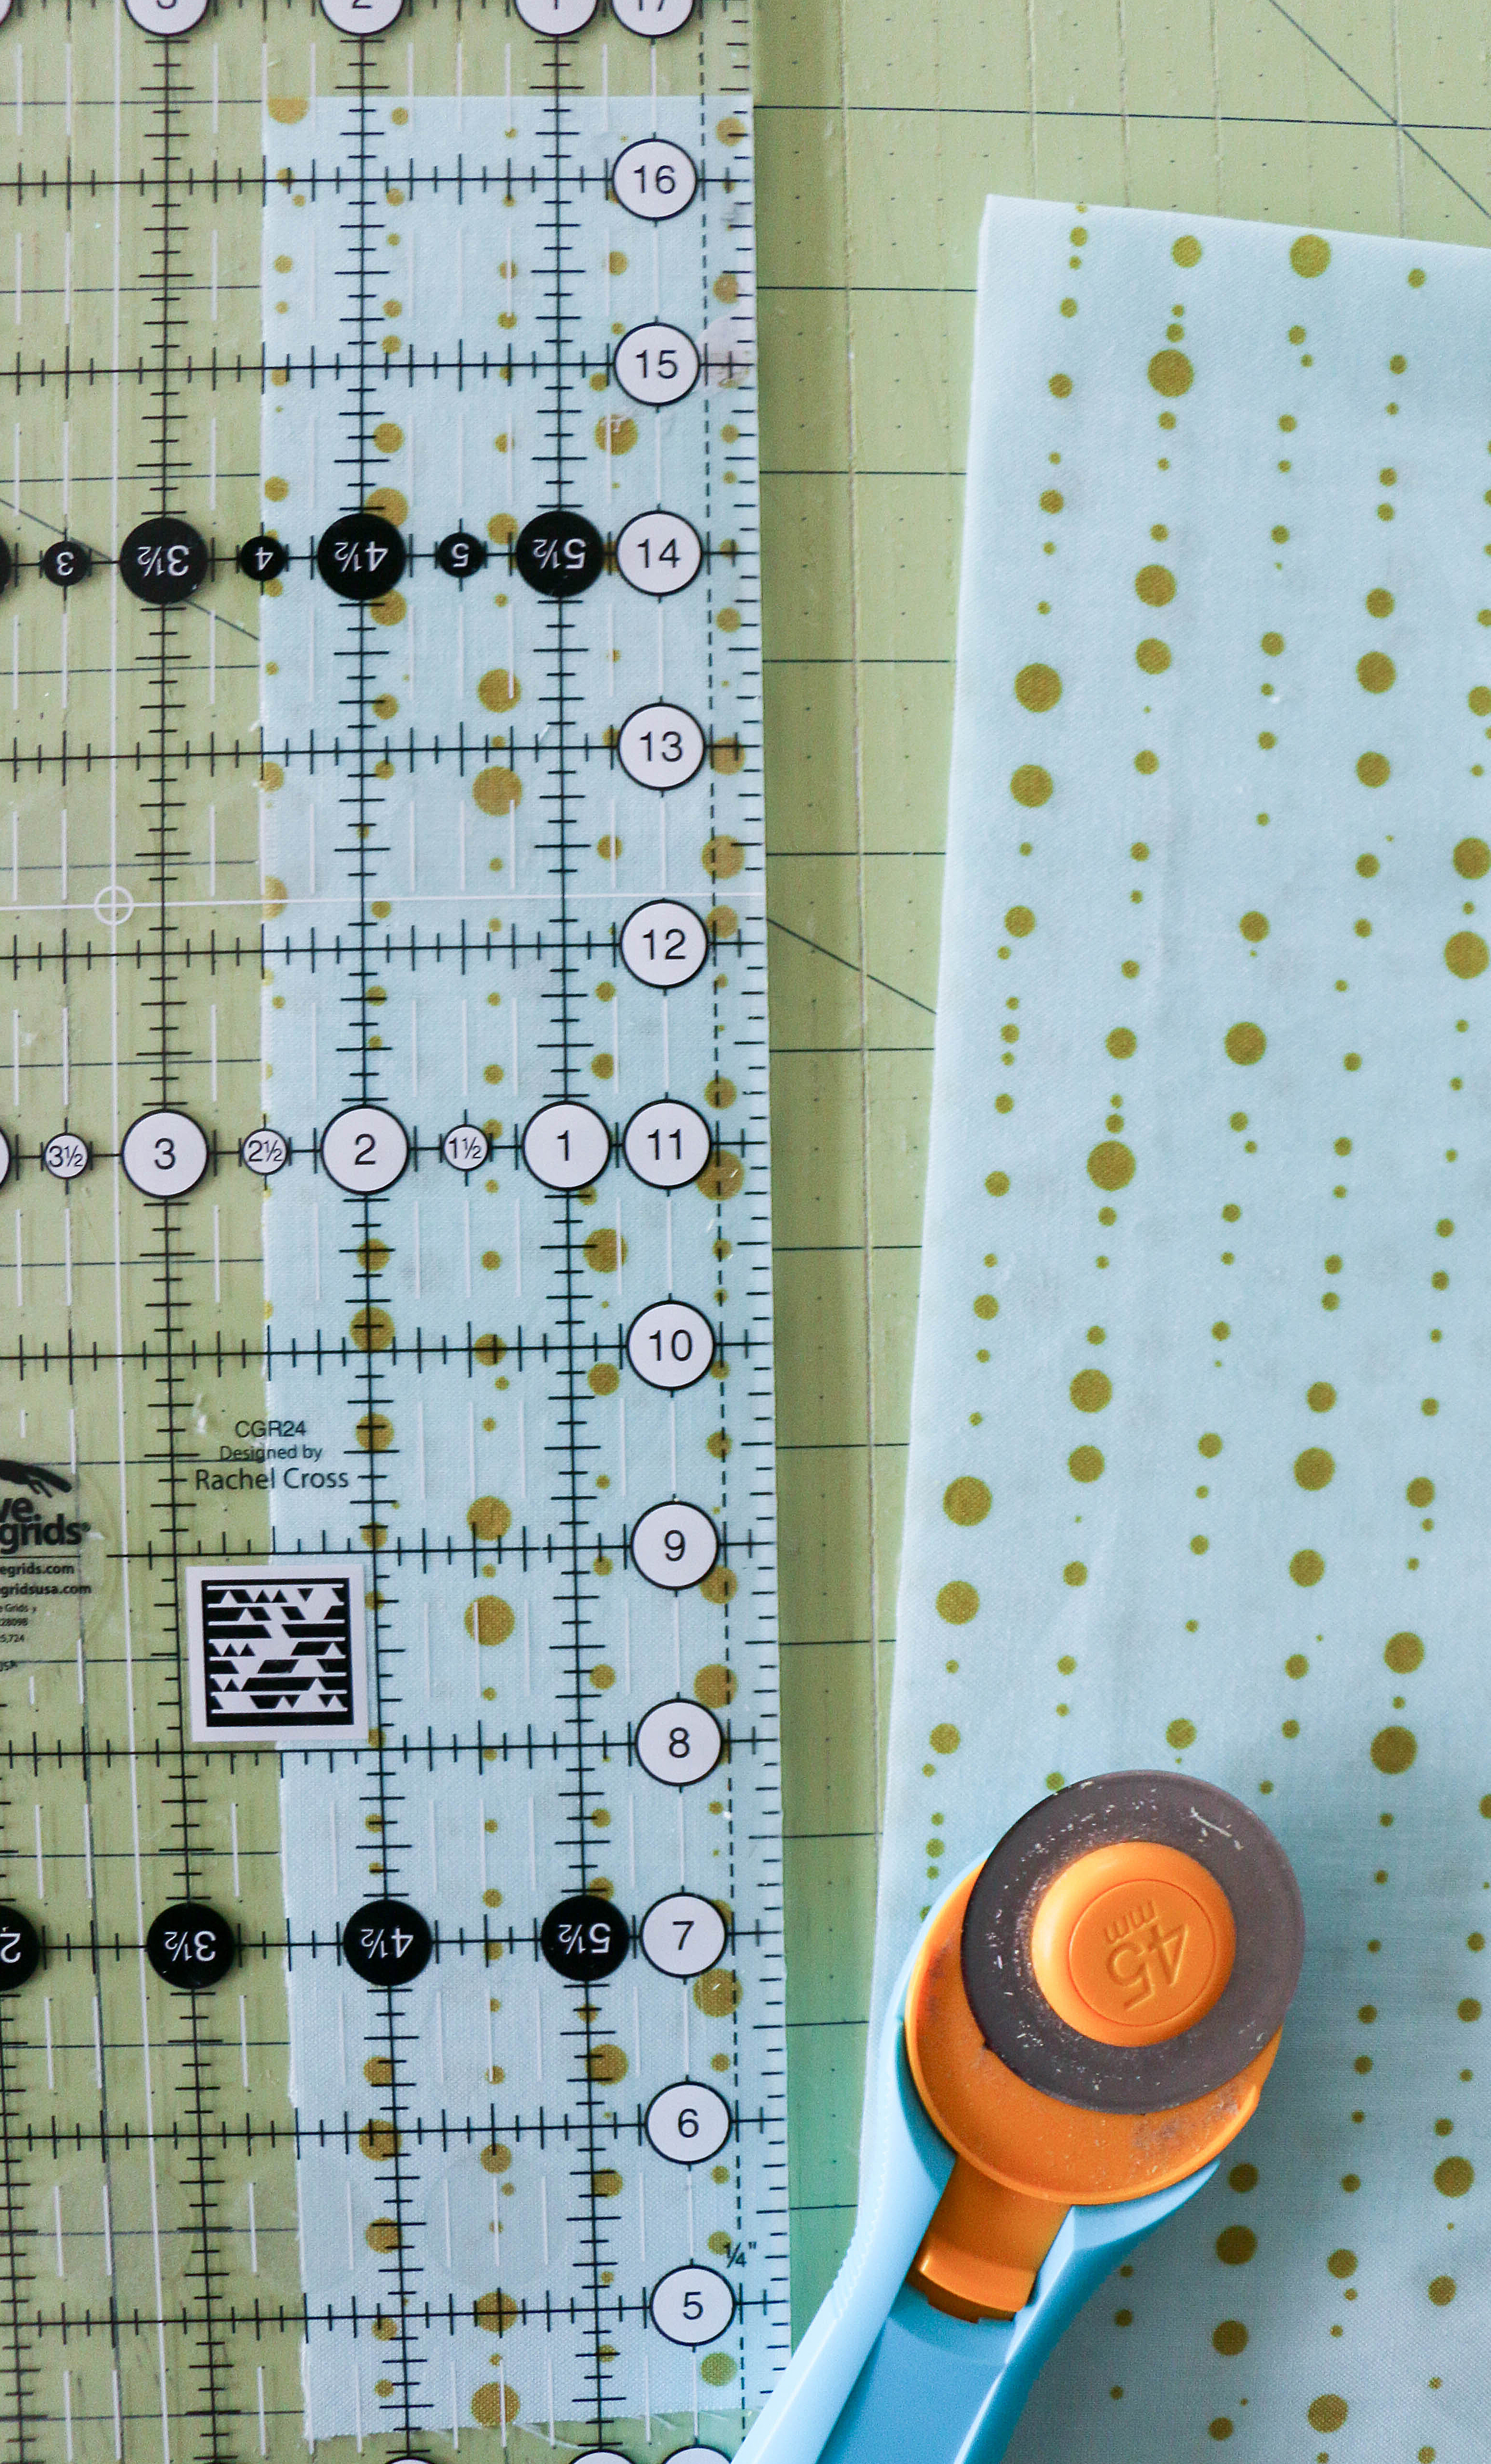
The rest of your cuts will be done the same way as that first one, but here’s where measuring becomes important. Use the lines on your ruler to measure—let’s say you’re cutting 2-1/2″ strips. Line up the 2-1/2″ mark on your ruler exactly on the edge of your fabric, using the grid on your cutting mat to make sure everything is straight and even.
Continue cutting as you did above until you have the correct number of strips for your project. And last but not least, don’t forget to close that rotary cutter when you’re finished! Safety first!
Cutting Efficiently and Quickly
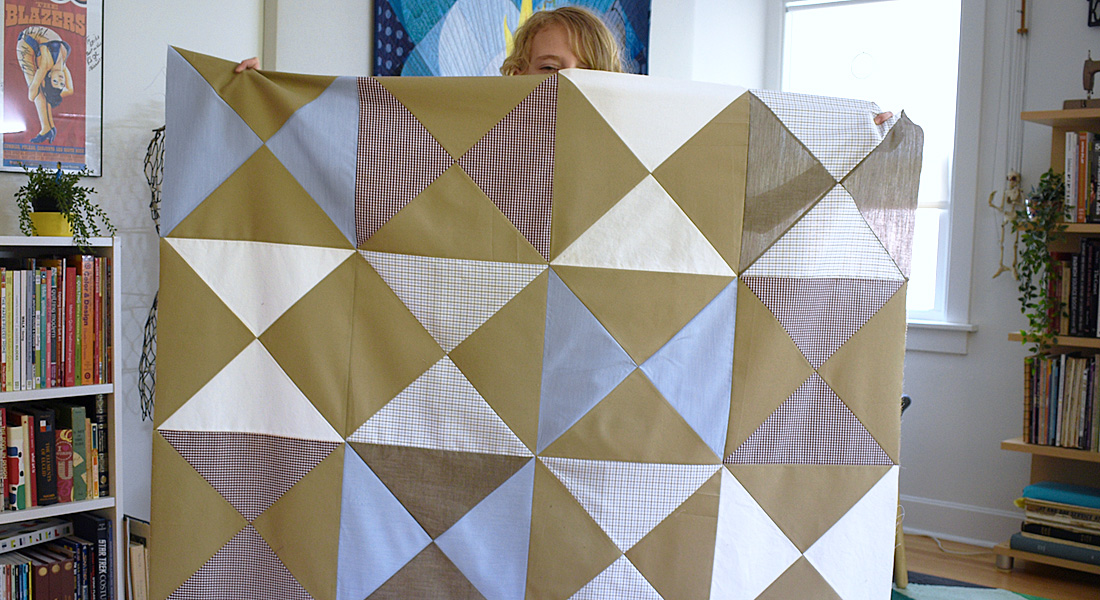
To speed things up, you can cut multiple layers of fabric at one time. I generally avoid this with longer cuts, since I have a hard enough time keeping the ruler from slipping on long cuts when it’s only one piece of fabric folded in half. But when cross-cutting strips, I will stack up the strips for easier, quicker cross-cutting. For example, say you’re cutting 20 squares 4″ x 4″, from a 1/2 yard of fabric (40″ x 18″). I would fold the yardage in half so that it measures 20″ x 18.” With the fold perpendicular to my cut line, I would then cut 2 strips along the 20″ side. Because the fabric is folded, those strips will be 4″ x 40″. Then, I would stack the strips and fold them in half in order to cut the 4″ squares from the 4″ strips. Easy and quick! Of course, you should always be cautious cutting multiple layers of fabric—if your stack gets too tall, your ruler will inevitably slip around. I generally don’t go above 4 to 6 layers of fabric when cutting.
I hope my discussion of cutting basics has been helpful to all you quilting newbies! For part two of this series, we’re going to be talking about how to sew a perfectly accurate 1/4″ seam, plus how pressing affects your piecing accuracy. See you then!


What you might also like


2 comments on “Accurate Piecing Basics: Cutting”
-
-
As I grow older I noticed my long cuts were not as accurate at the furthest end. I learned a trick to put a small 5 lb bar bell weight on the far end of the ruler after lining the ruler up. It keeps the pressure even at that furthest point so there is not veering off from ruler shift. Being a little crazy I recently substituted an antique heavy iron that I had in my sewing room for the bar bell. Works great and adds a bit of joy!?
Leave a Reply
You must be logged in to post a comment.

Thank you for the tutorial!
I would like to add that when I learned to use a rotary cutter and rulers, I was taught to never use the lines on the mat as they might be distorted. I was taught to use another ruler and butt it up against the other along the fold line of the fabric. (After being sure to fold the fabric properly, on grain). Then remove my “squaring up” ruler and cut. 🙂
Anyway, to each their own….after doing it the way i learned 20 years ago, I imagine i’ll stick with it. 🙂
(As I’m sure the author will stick with hers! ;))