Rounded Vinyl Zip Pouch
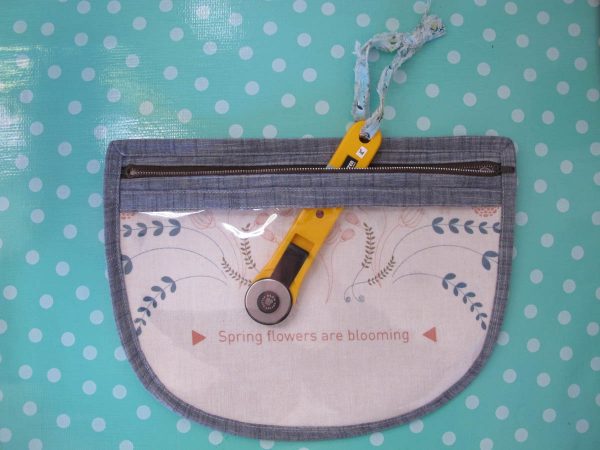
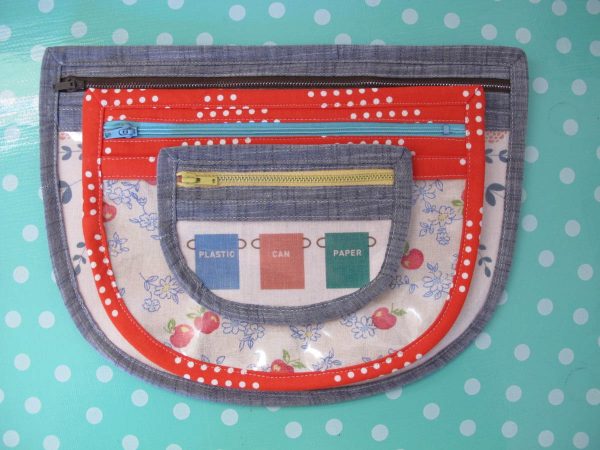
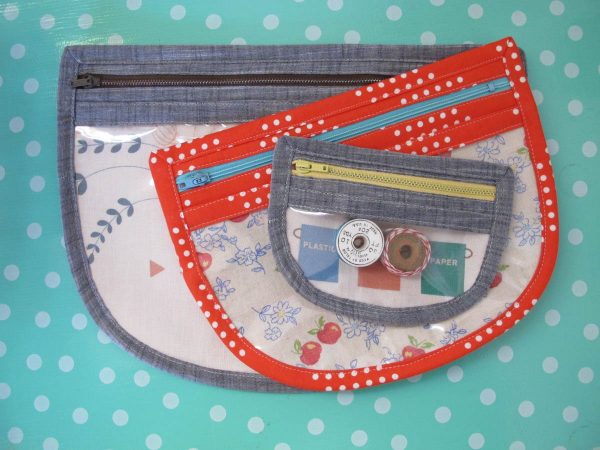
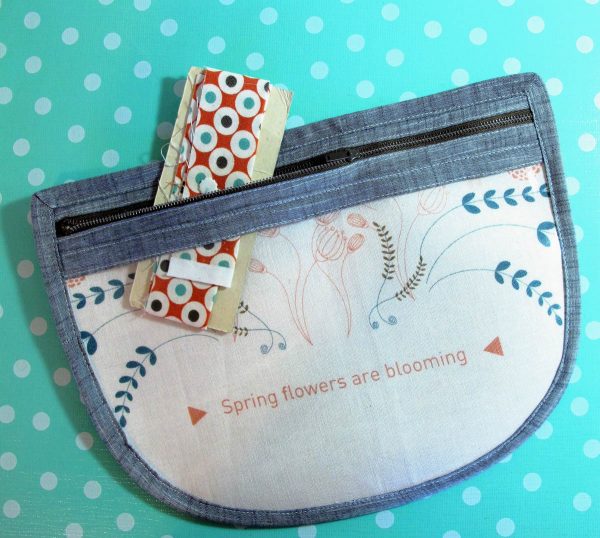
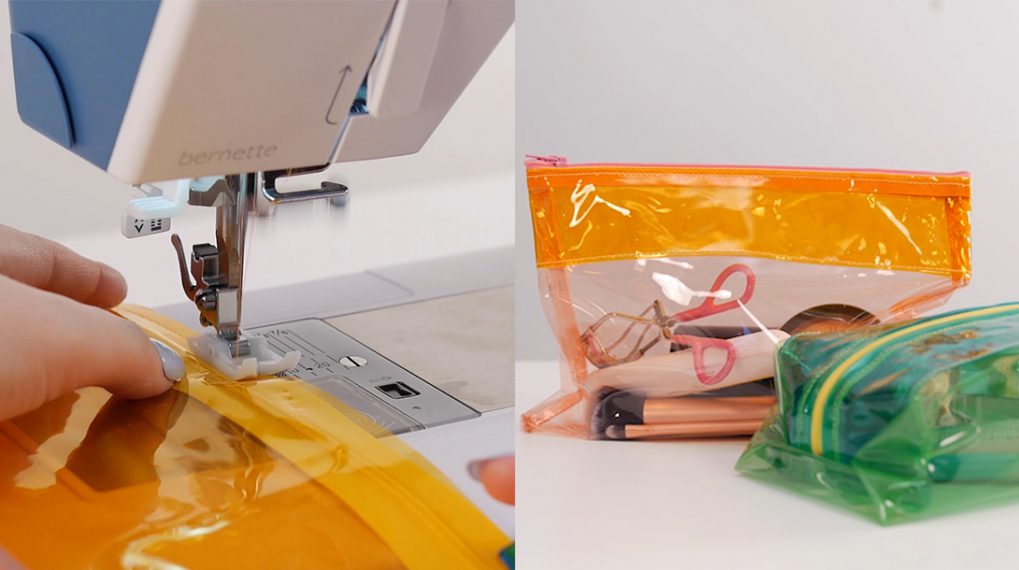
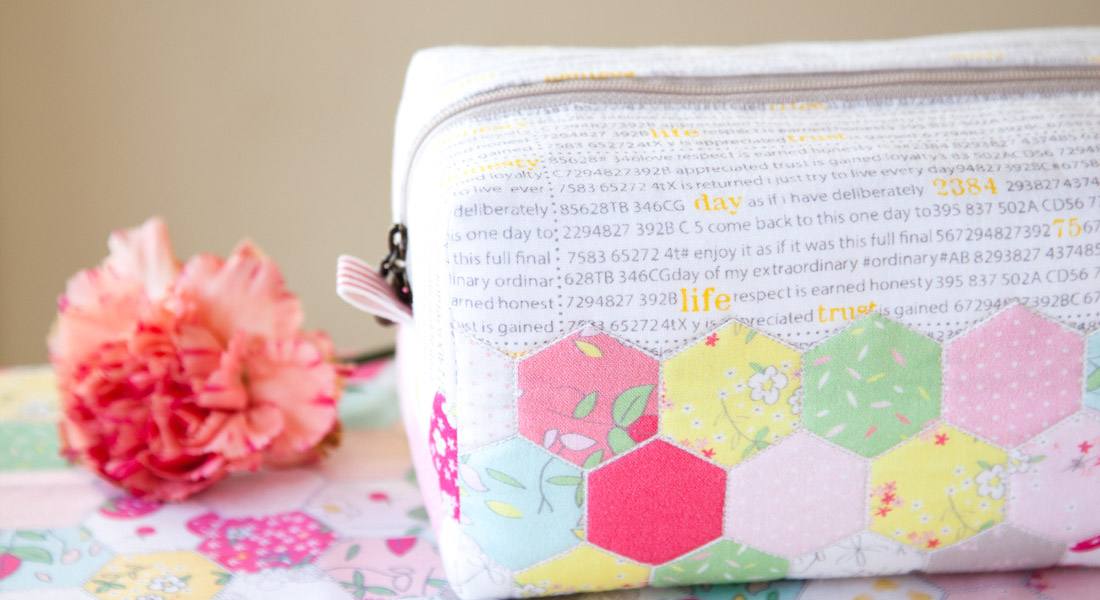
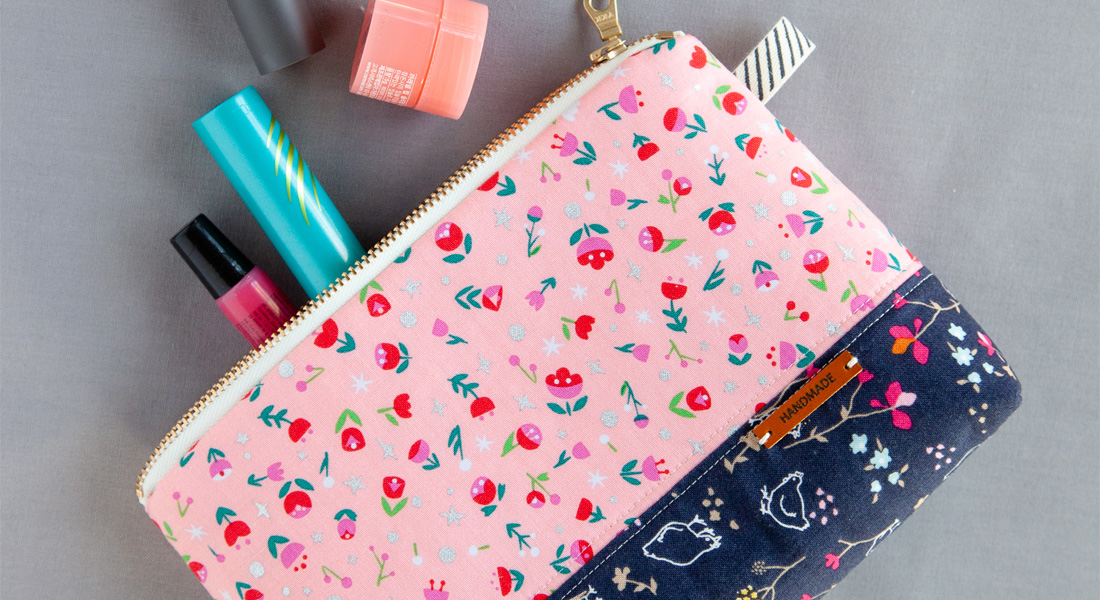
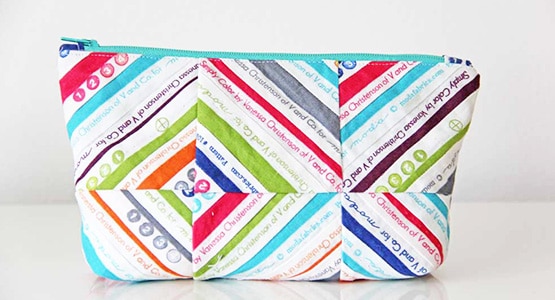
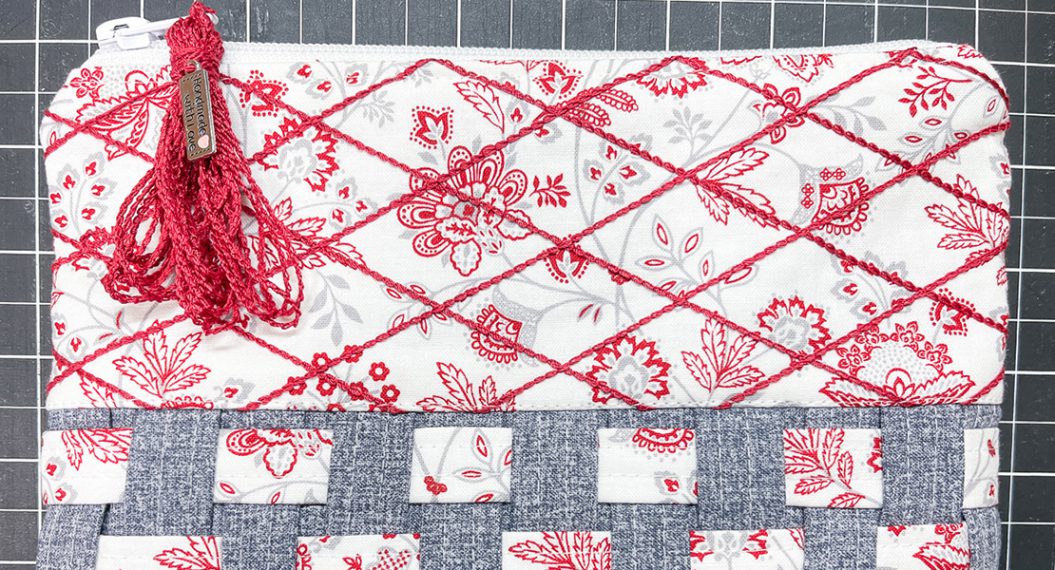
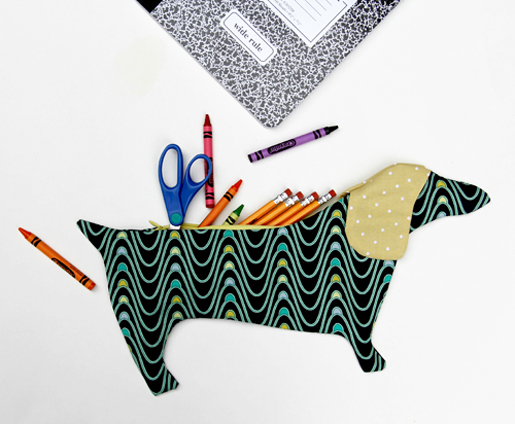
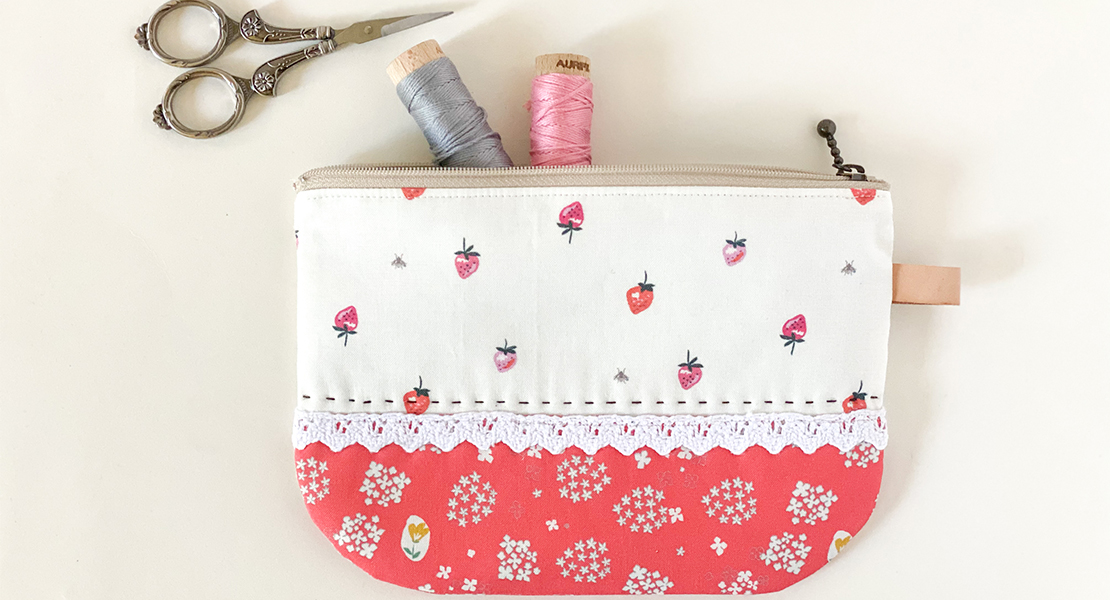
Helping you to stay organized, these rounded zip pouches are practical and fun! Make one or make several to showcase a favorite fabric and use up some of those vintage zippers on hand.
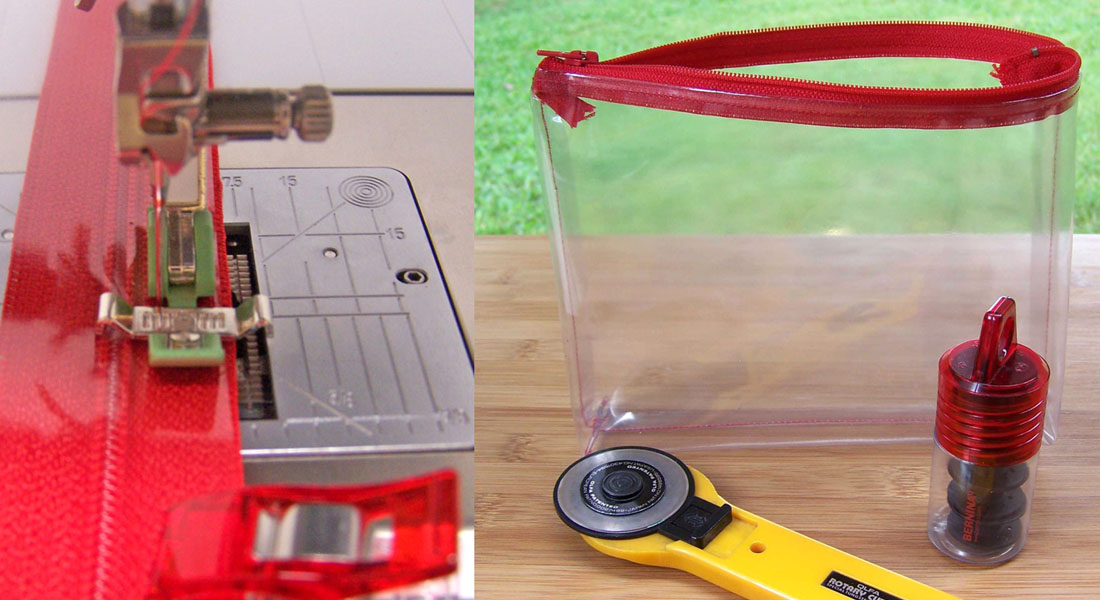
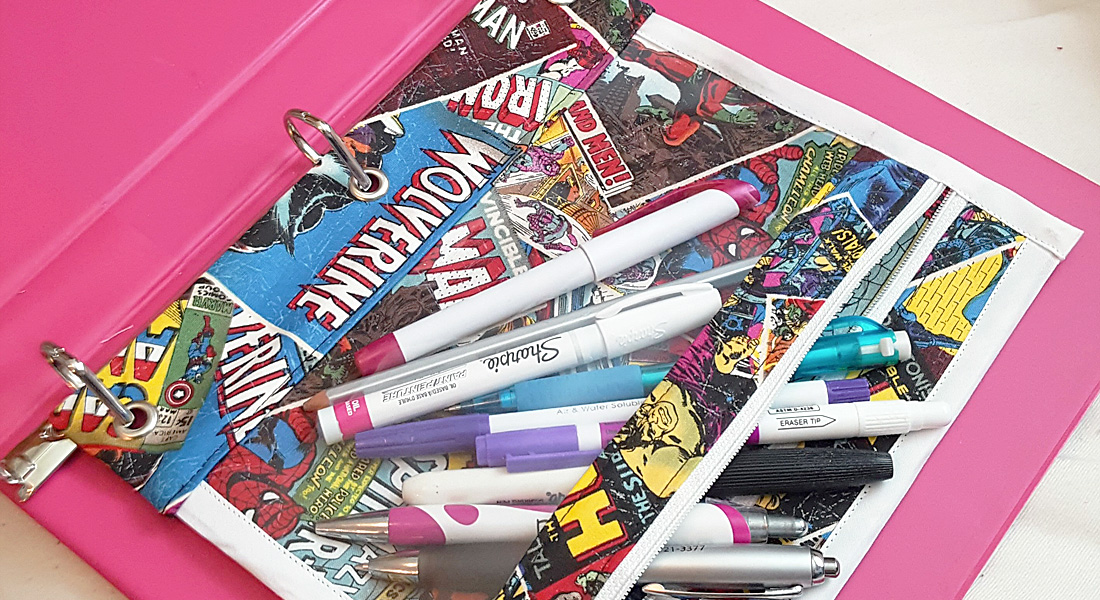
Vinyl zip pouches are quite popular at the moment! The vinyl allows you to see clearly what is contained in your pouch making them easy and practical. They are the perfect pouch to have one or several on hand for those days when going to a friend’s house to sew or for a weekend retreat. You can reduce or enlarge the pattern to change the size of the pouch and make a set! (No matter the size of your rounded zip pouch, the only thing that will stay constant is the cutting line for the vinyl piece, which should be 1 1/2″ shorter than the top straight edge of the adjusted pattern.)
Supplies to sew a rounded vinyl zip pouch:
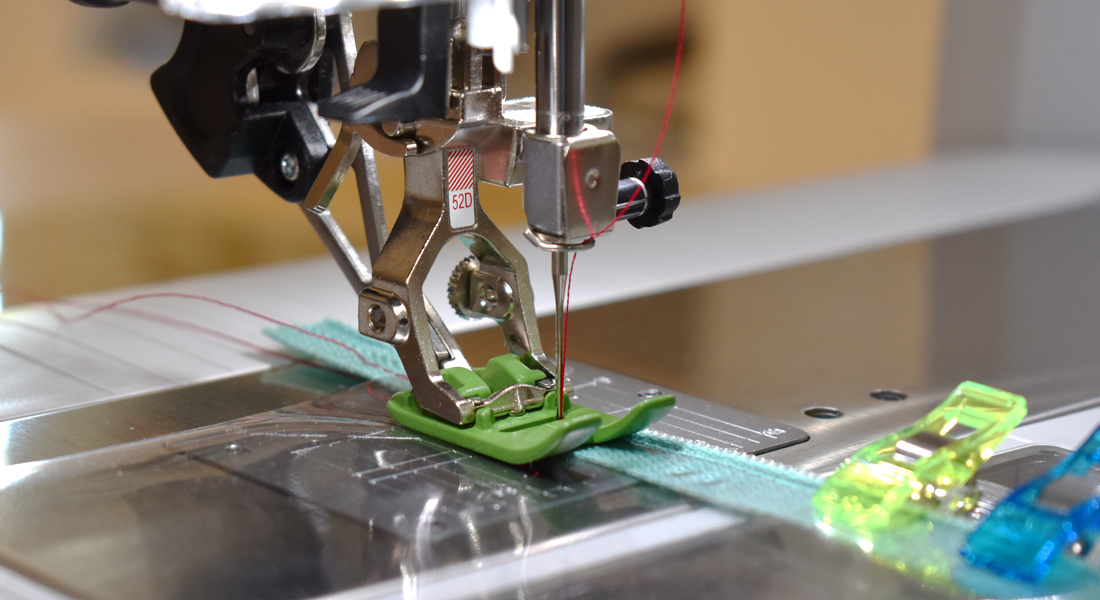
- BERNINA Zipper foot #4, #4D, 1/4″ foot
- Fabric glue for binding (optional)
- Your sewing machine, I sew on a BERNINA 740
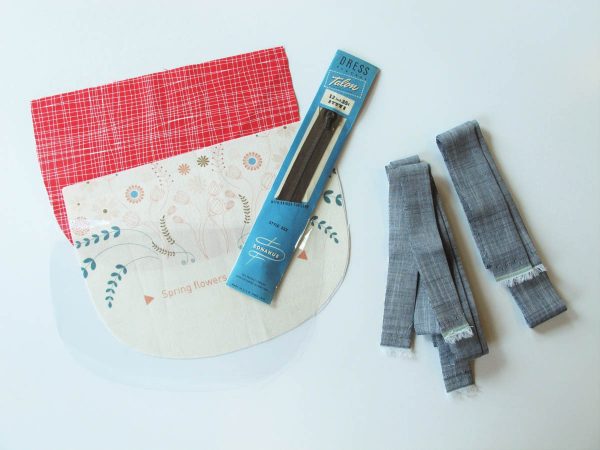
Materials to sew a rounded vinyl zip pouch:
- Backing fabric
- Lining fabric
- Medium weight fusible interfacing
- Medium weight clear vinyl
- Binding fabric: Two 2 ¼″ X width of fabric strips, one 3″ X width of fabric strip
- Zipper (10″ or so from edge to edge for large pouch which is usually a 9″ zipper). If using a larger zipper, you can resize your zipper to the perfect size by following my tutorial here:
- Rounded Zip Pouch Template
Notes:
All seam allowances are ¼″ unless noted.
When sewing over the zipper, especially if the zipper is metal, hand crank your machine to ensure you won’t hit the zipper teeth as you sew. If you do, move the pouch slightly forward then try again until you miss the zipper teeth.
When sewing the vinyl front to the lining/backing piece and when binding the two together, unzip your zipper half way to ensure you avoid hitting the zipper pull as you sew along the left edge.
Instructions to sew a rounded vinyl zip pouch:
Cut one lining, backing and interfacing piece from full pouch template, and one vinyl piece from pouch template using the mark 1 ½″ from top straight edge of template.
Press all binding strips in half along the long edge.
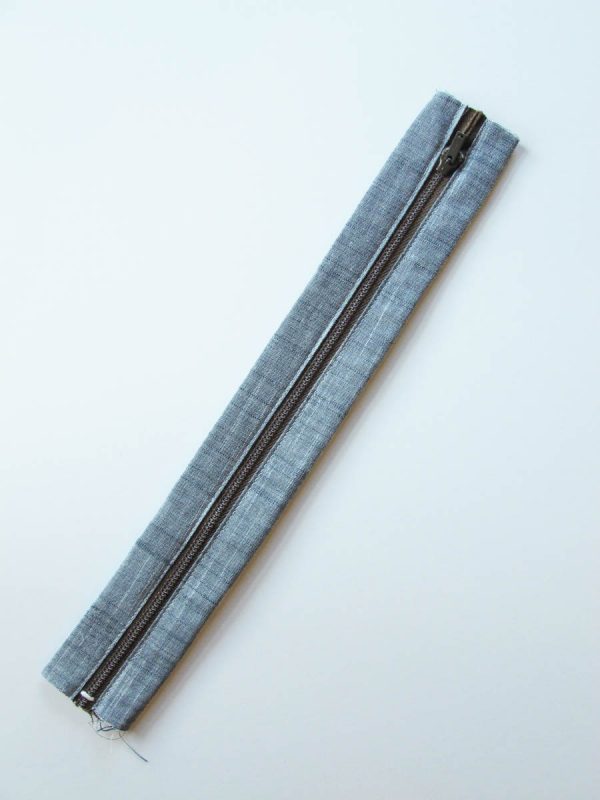
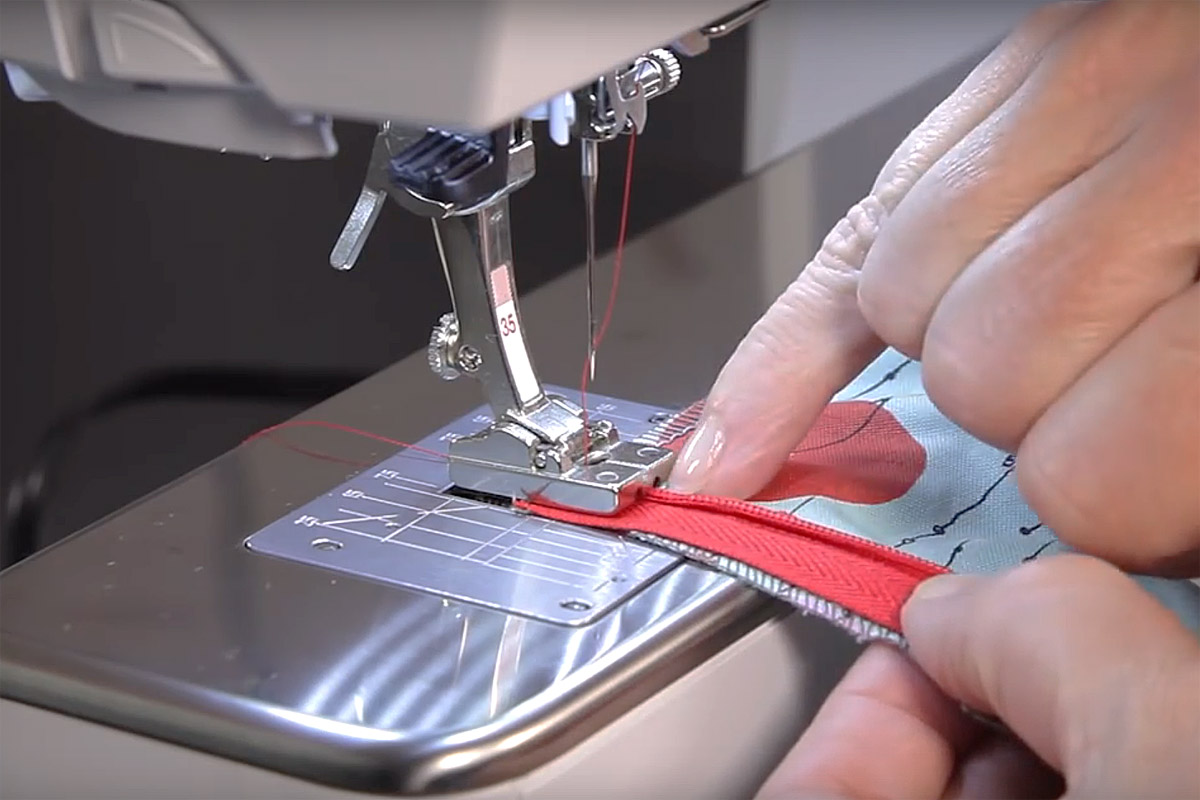
Cut two pieces of the 3″ binding slightly longer than the zipper and lay one zipper edge about 1/8″ in from the long raw edge of one of the strips and sew.
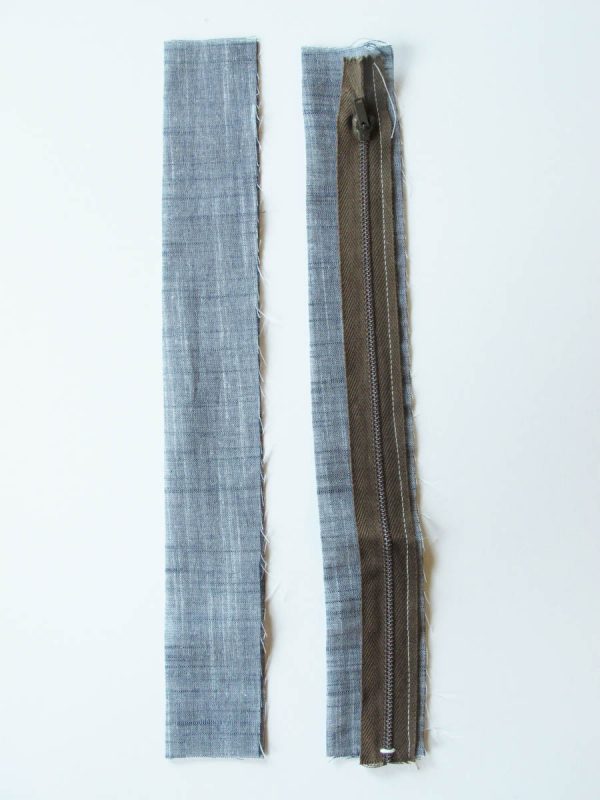
Press the binding to the front of the zipper and topstitch close to the folded edge.
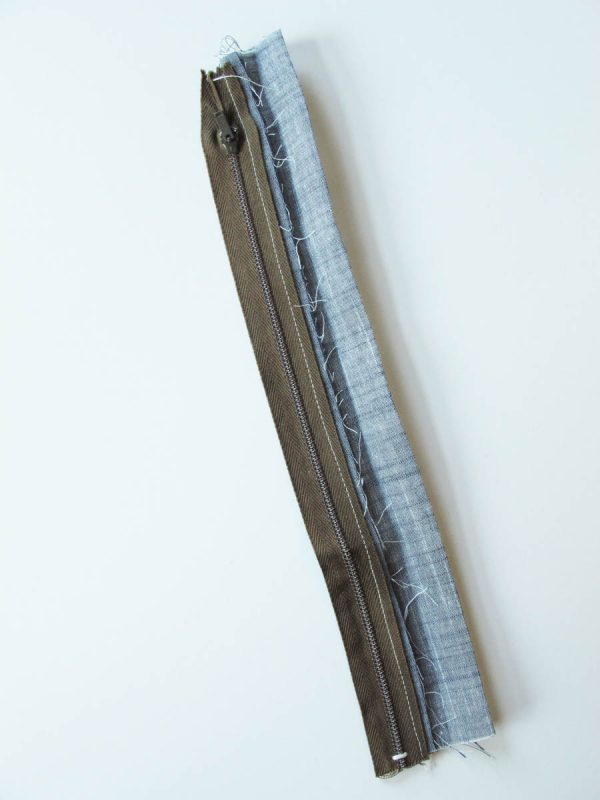
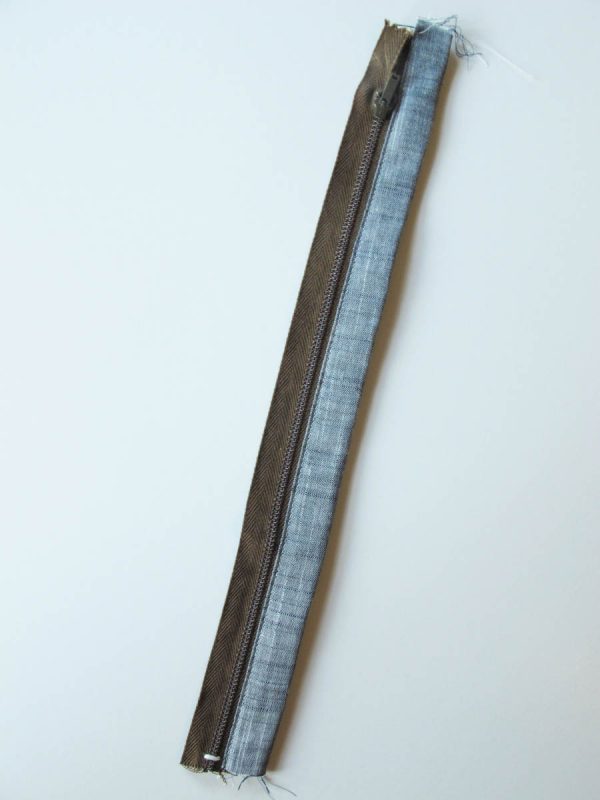
Repeat with opposite edge of zipper and trim extra fabric.
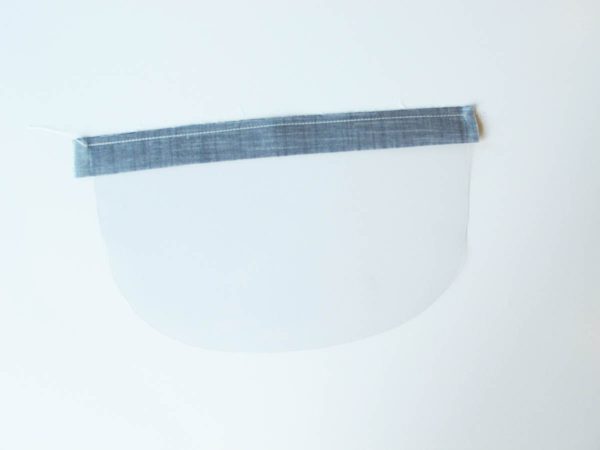
Cut one piece of the 2 ¼″ binding slightly longer than the top straight edge of vinyl then layer the straight edge of vinyl on top of the cut edge of the binding and sew.
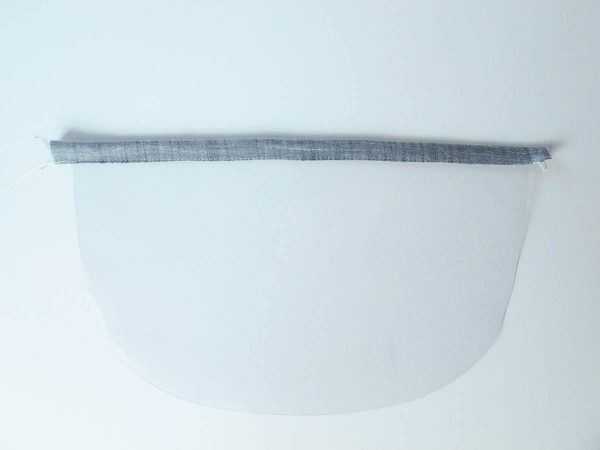
Turn the folded edge of the binding to the other side of the vinyl and topstitch close to the fold, making sure the folded edge is well past the seam line from step 6. Trim extra fabric from edges.
Fuse the interfacing to the back side of the lining.
Layer the backing wrong side up with the lining right side up. Pin and baste stitch close to the edge.
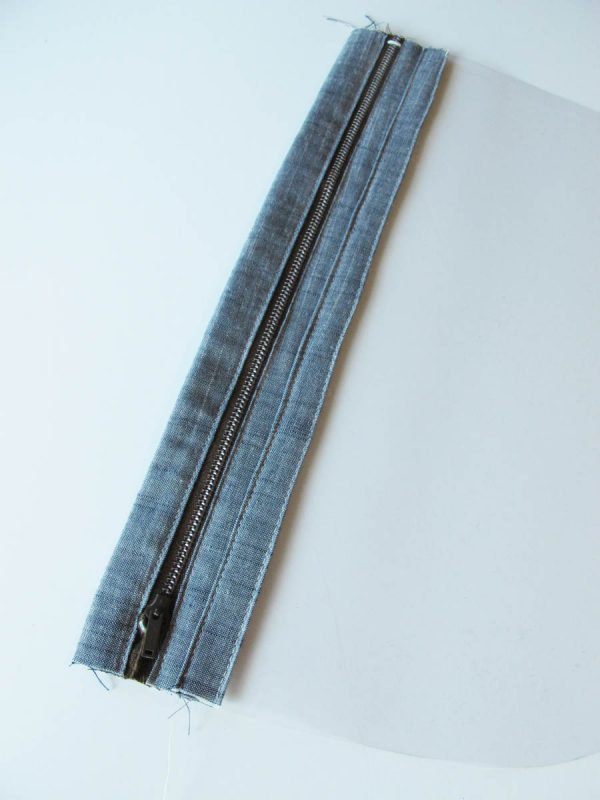
With the zipper unit right side up and the pull to the left, layer the bound vinyl piece along the lower edge of the zipper unit, overlapping them by about ¼″. Topstitch along folded edge of vinyl binding.
Layer the vinyl/zipper front right side up on top of the lining/backing piece with the lining up. Use clips to hold and baste close to outer edge.
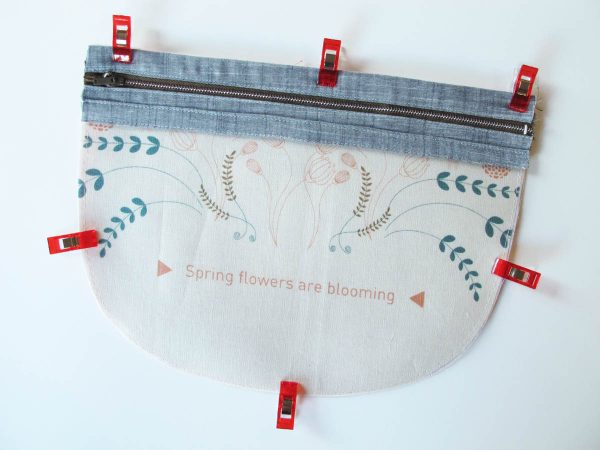
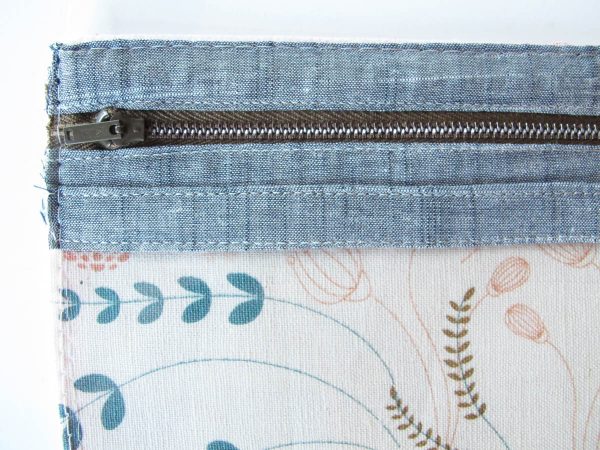
Trim any excess edges of vinyl or the lining/backing layer that don’t match up.
Leave a 4-5″ tail and start sewing the raw edge of the 2 ¼″ binding onto the back of the pouch. Start sewing right above where the pouch side starts to curve to the bottom.
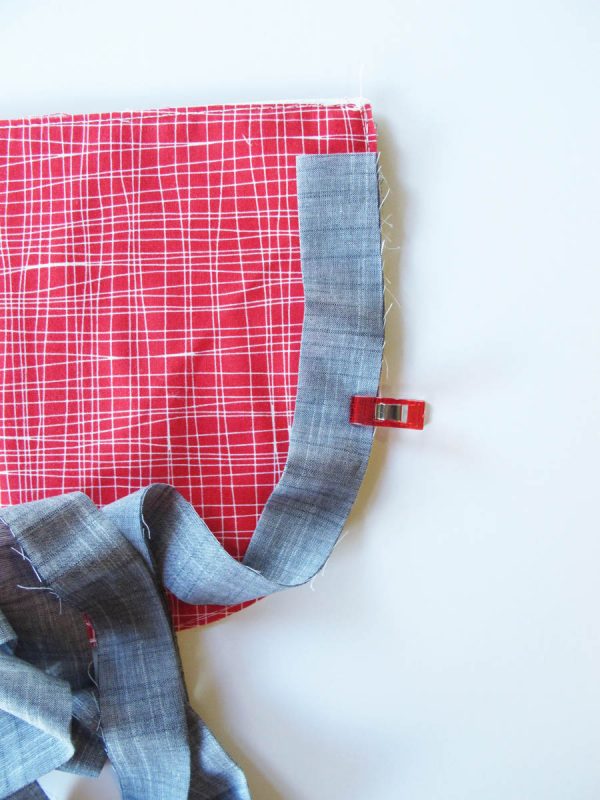
When you reach the top edge, stop sewing ¼″ or so from the edge, turn your pouch 90 degrees counterclockwise and backstitch off the edge.
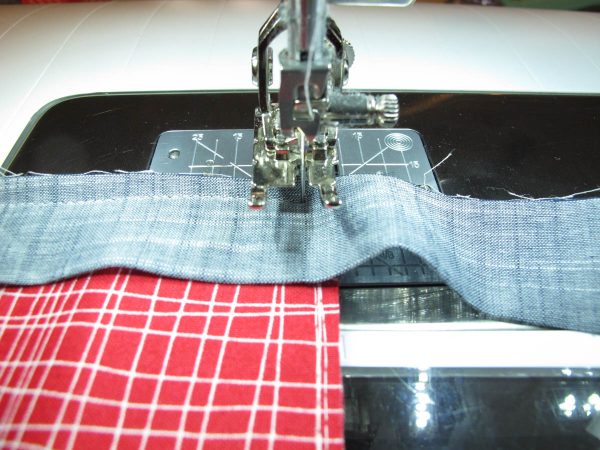
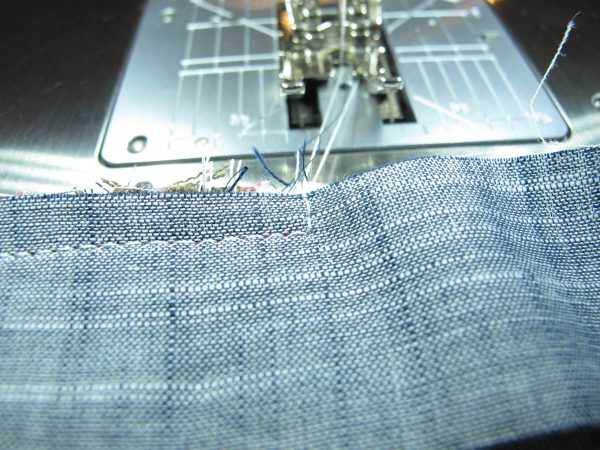
Pull your pouch towards you a few inches, fold your binding back to create a 45 degree angle, then pull it towards you so the raw edge of the binding lines up with the straight edge of the pouch. Start sewing along the top edge of the pouch and repeat steps 14-15 for the opposite top corner of the pouch.
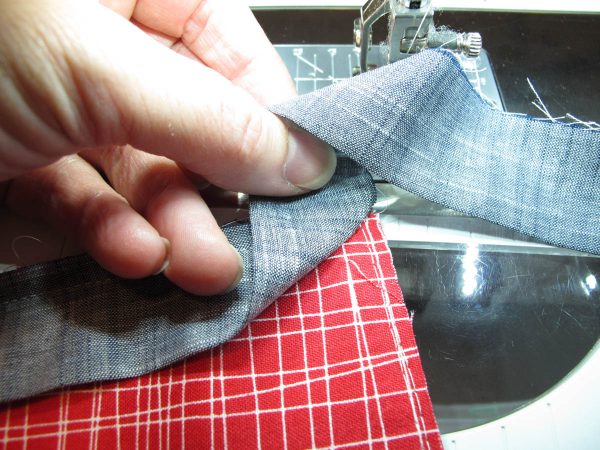
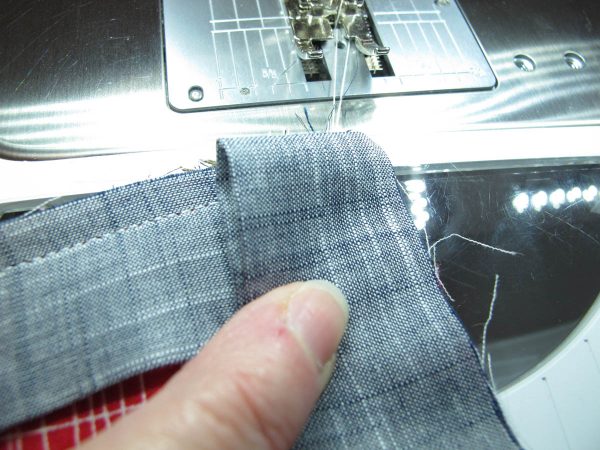
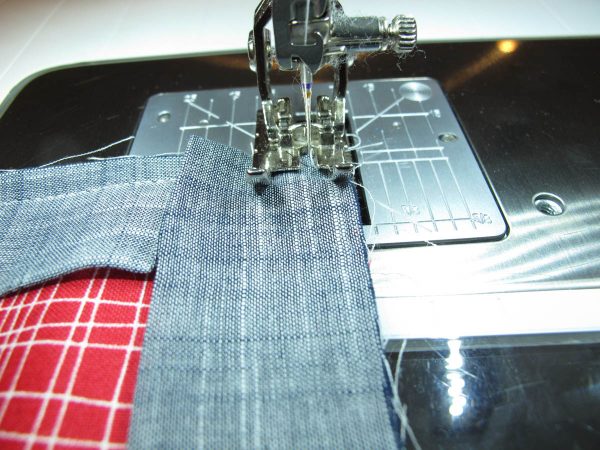
Stop sewing the binding on about 1″ past the top of the last corner and backstitch.
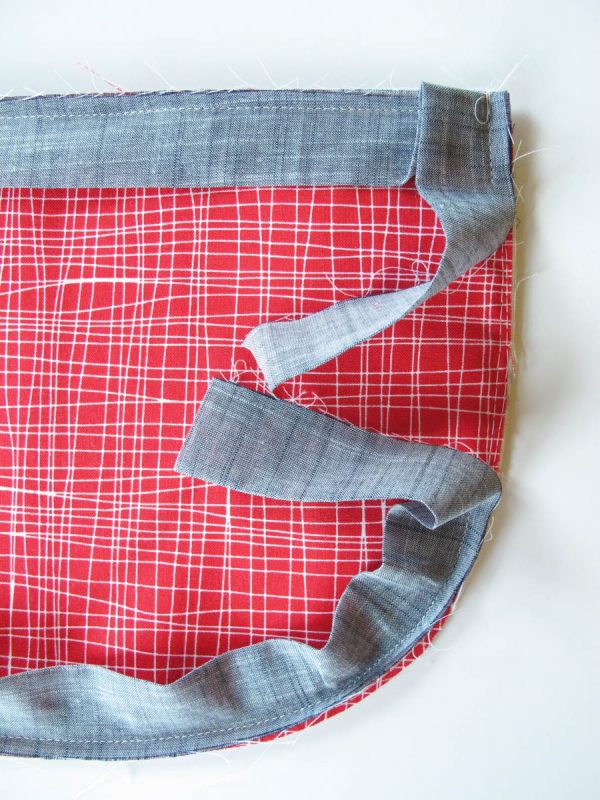
Fold and press the binding edges back, leaving a 1/8″ gap between the folded edges and trim both edges to ¼″ past the folds.
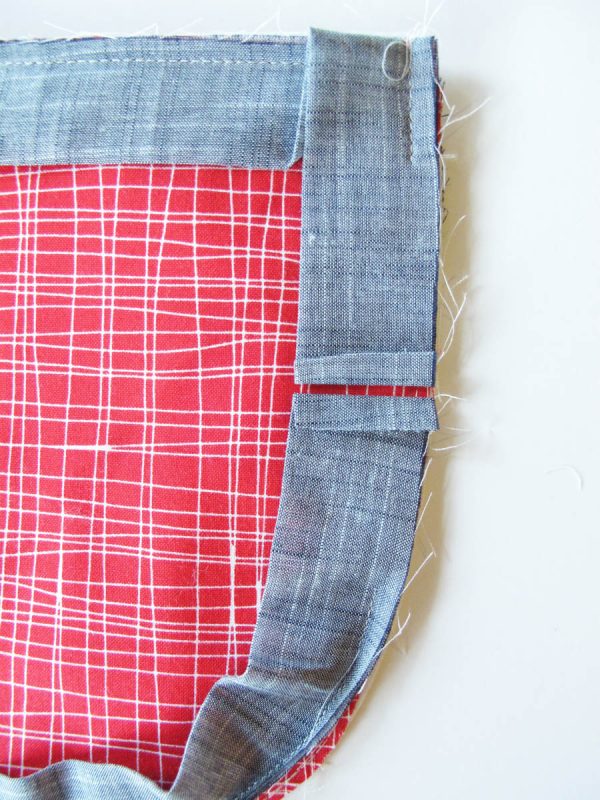
Open both edges of the binding and with right sides together, pin the edges, sew together then press the seam open.
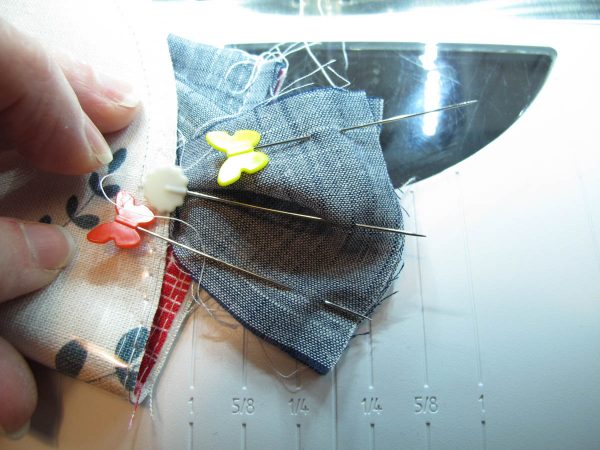
Sew the last part of the binding to the pouch, making sure to secure your stitches at the beginning and end.
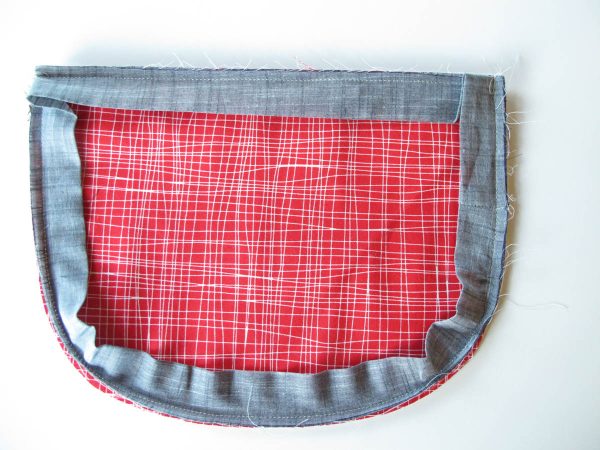
Turn the binding to the front of the pouch and topstitch close to the folded edge, mitering the top two corners as you go.






8 comments on “Rounded Vinyl Zip Pouch”
love the project, but you could use a “print” option for easy instructions , g.
Agreed about a print option
? does the foot drag on the vinyl or what to do if it does if you just sew two pieces together thank you
Hello,
If you don’t have a Teflon rolling foot, put scotch tape on the bottom of the foot you’re using to keep the vinyl from dragging.
Penny
Use a Teflon Foot .
This is a fun pattern to make. It sewed up quickly. I will definitely make more.
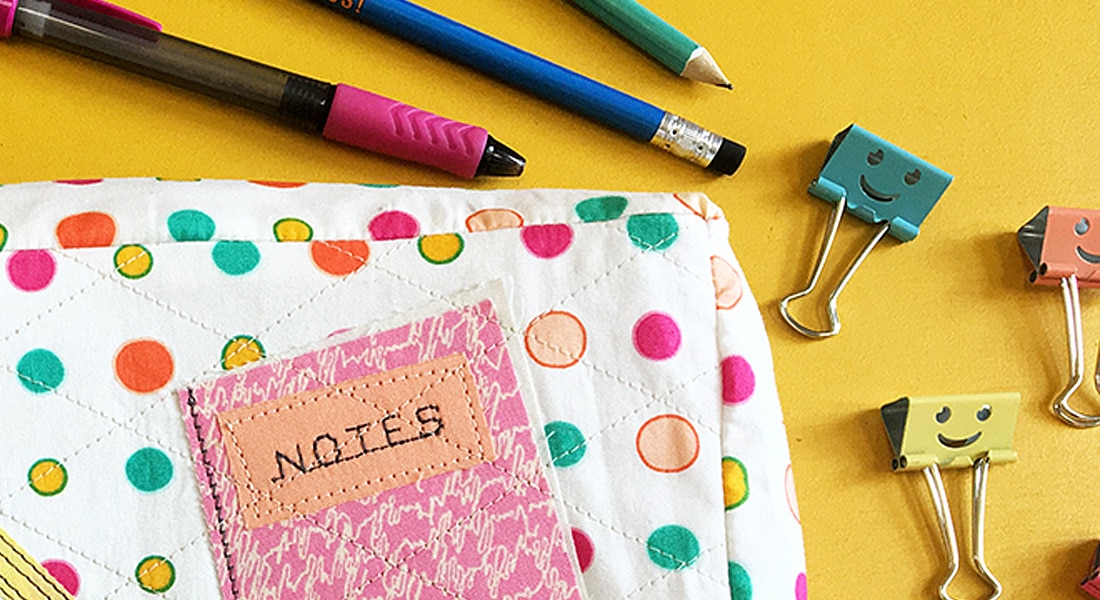
I quilted the background and lining.
I made this pouch but find the instructions are not very clear. I am an advanced sewer. How much fabric do you need? The instructions say to cut the binding length of fabric. A full 40”? This would seem to waste a lot of fabric. I used fat quarters so width of fabric was only 22”. How can you overlap the vinyl binding and the zipper binding by 1/4” to attach and not come up short on the bottom? Also, the binding is not cut on the bias so stitching around the curves caused small pleats. Not really happy with this project so will not attempt it again. Sorry. However, I did get a chance to use the teflon foot I have for my 765.