Sashiko Stitching by Machine
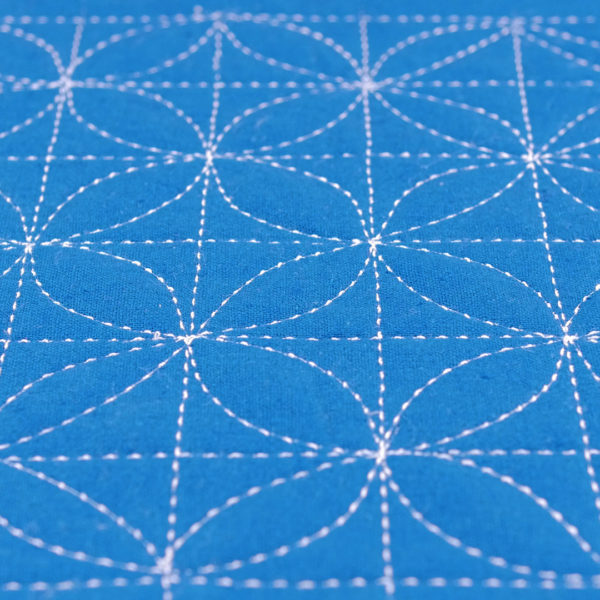
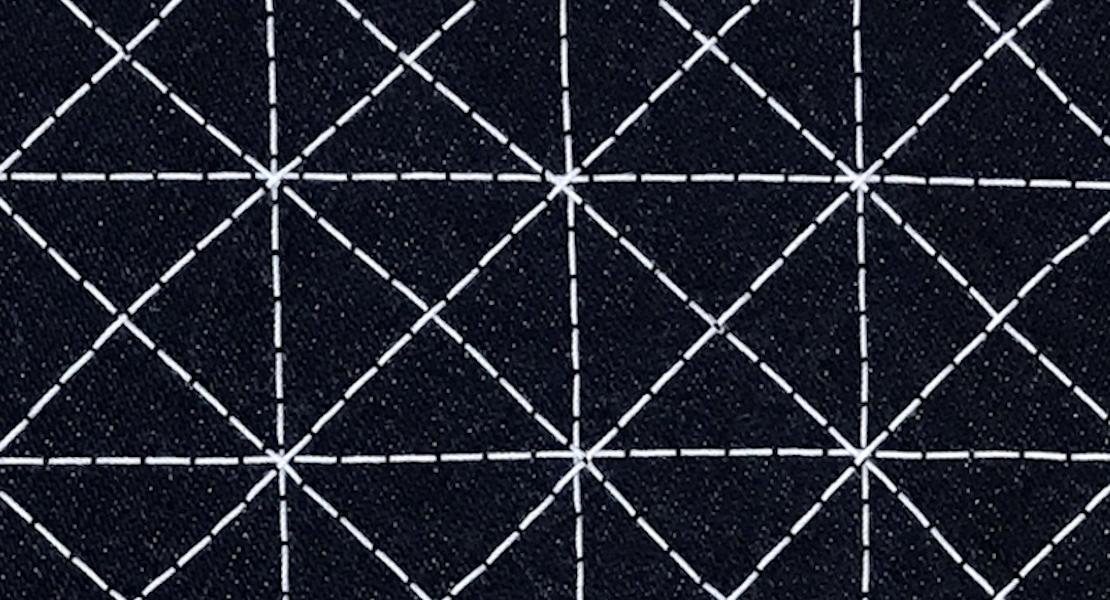
Sashiko is a popular hand-embroidery technique that originated in Japan. Most commonly, it involves white stitching on an indigo fabric in geometric patterns. Often, sashiko is done as all-over patterns that cover a whole area of fabric.
The long, separated stitches of sashiko give it a unique look that normally can only be achieved by hand. But, with the right tools, you can get this look on your sewing machine!
I did this project on the BERNINA 475, but you could use any BERNINA with a hand-look quilt stitch.
First, gather your supplies.
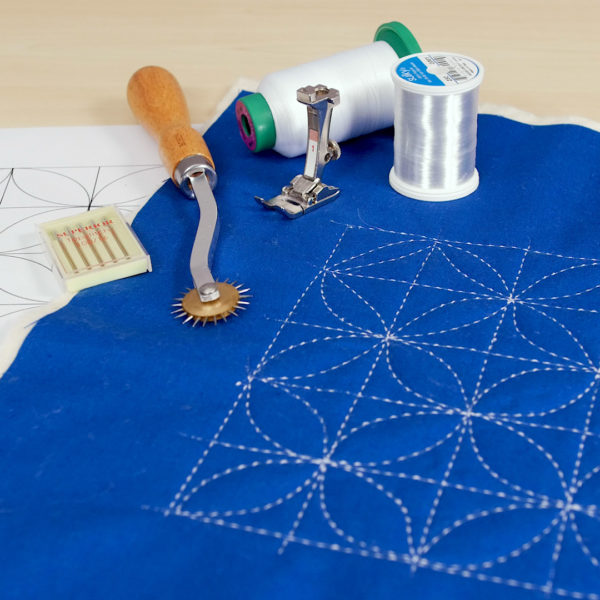
For this technique, you will need a paper pattern of your sashiko design. You can draw your own, or trace one from a purchased sashiko pattern. Or, if you want to give this technique a try, you download this free pattern, featuring the classic “orange peel” design.
Materials for the Sashiko Technique
- White embroidery thread (like Isacord 40 weight polyester embroidery thread)
- Size 100 Topstitching needles
- Monofilament thread
- Professional tracing wheel with prominent spikes (like this one)
- Indigo fabric for top and bottom
- Batting
- Temporary Adhesive Spray
- Chalk Duster (sometimes called a “pouncer”)
- Orange peel pattern
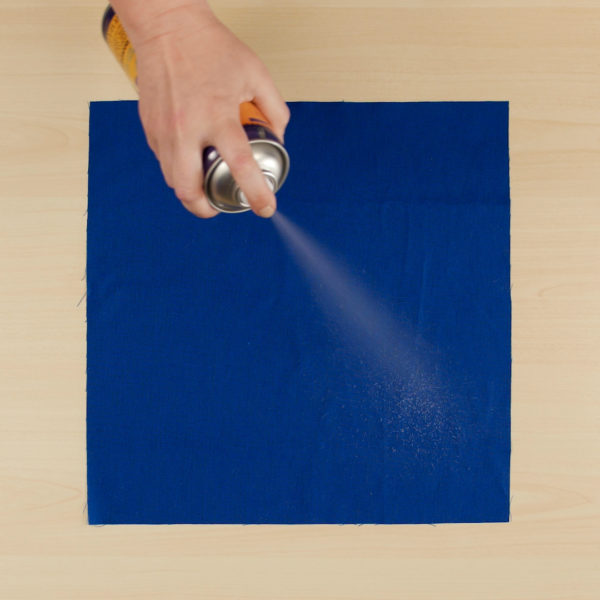
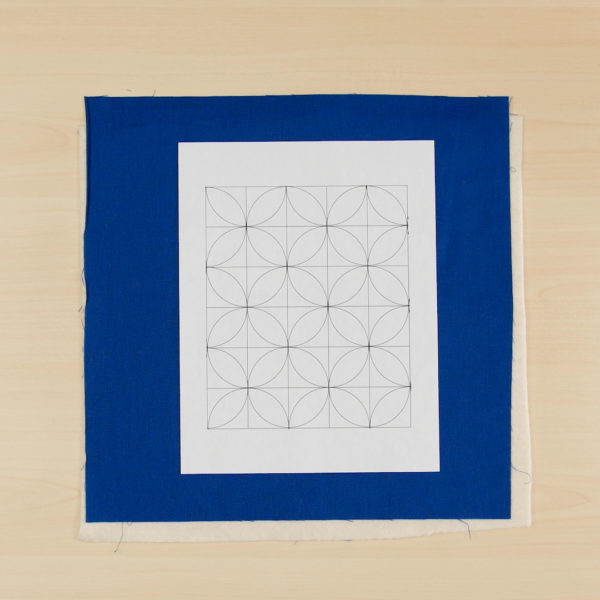
Once you’ve gathered your materials, you can prep your fabric. Spray your backing fabric with temporary adhesive spray.
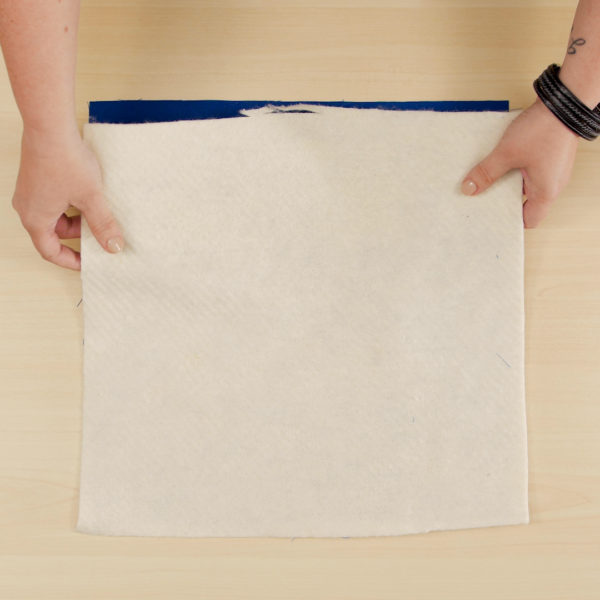
Then layer your batting on top.
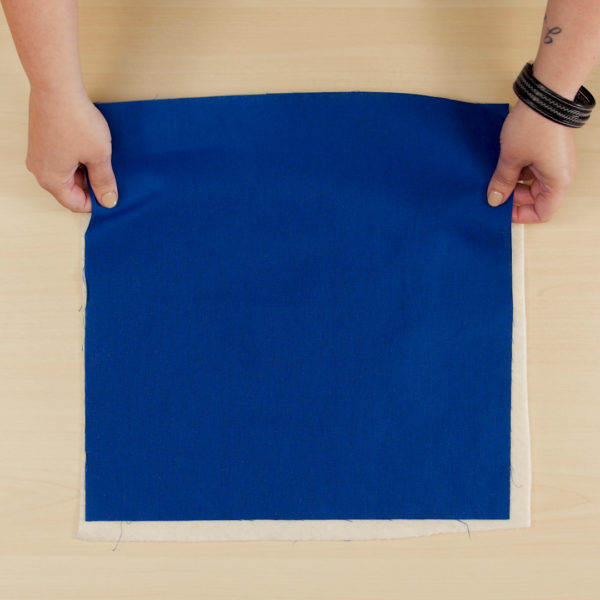
Spray the batting with adhesive spray, and then add the top fabric.
Spray the back of your printed pattern with adhesive spray, and lay it over the top of your fabric.
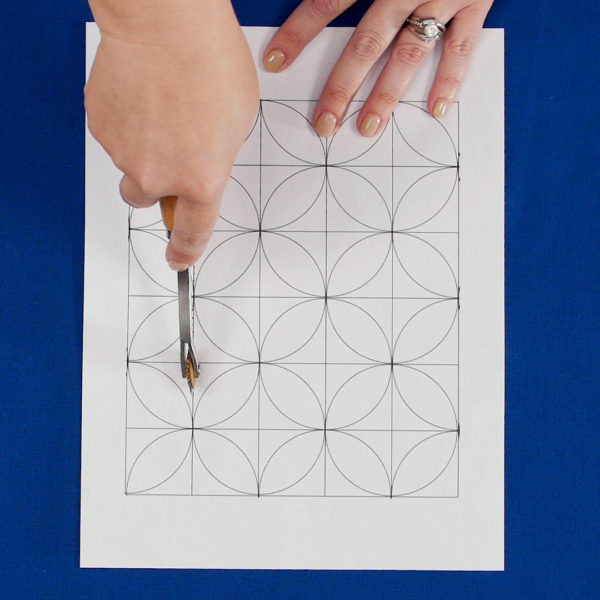
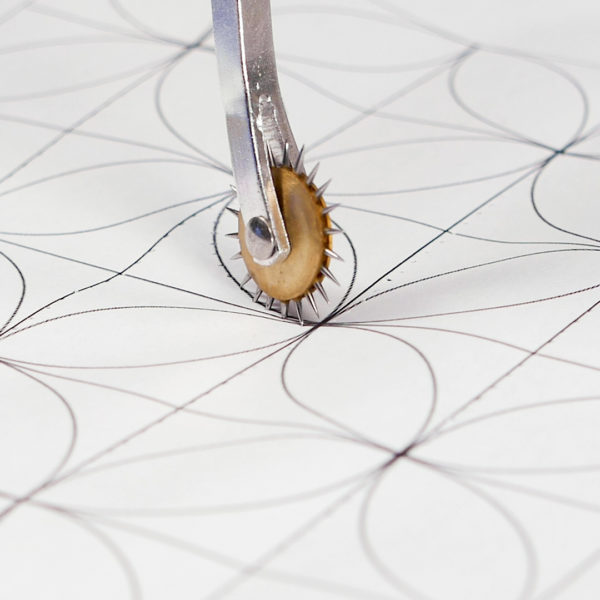
Now, use the tracing wheel and trace the lines of the pattern. Work slowly to ensure you stay on the lines. NOTE: It’s important that you layer your batting BEFORE you trace the pattern, so the spikes of the tracing wheel have a place to pierce into.
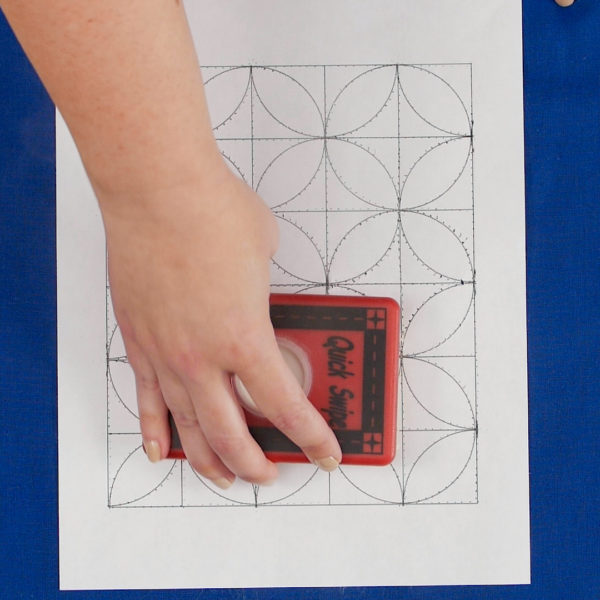
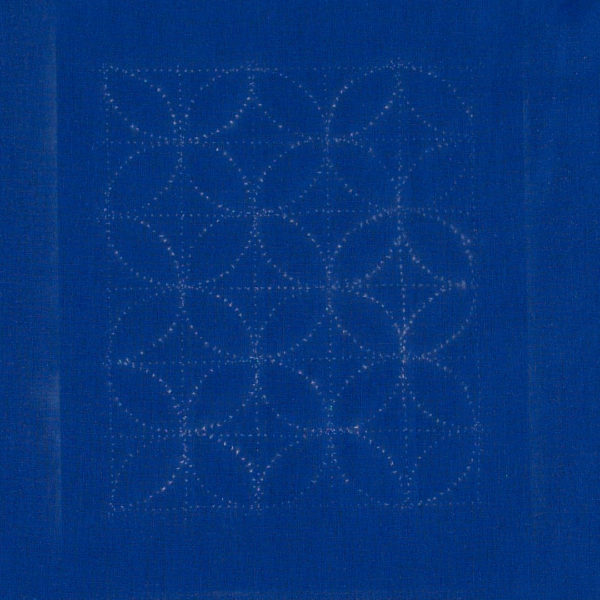
Now, dust over the pattern using a chalk duster. Be sure to apply plenty of chalk, as it will be very difficult to line your pattern back up if you don’t get enough chalk the first time.
Carefully peel away the paper pattern to reveal the now-chalked pattern. I love how the chalked pattern looks!
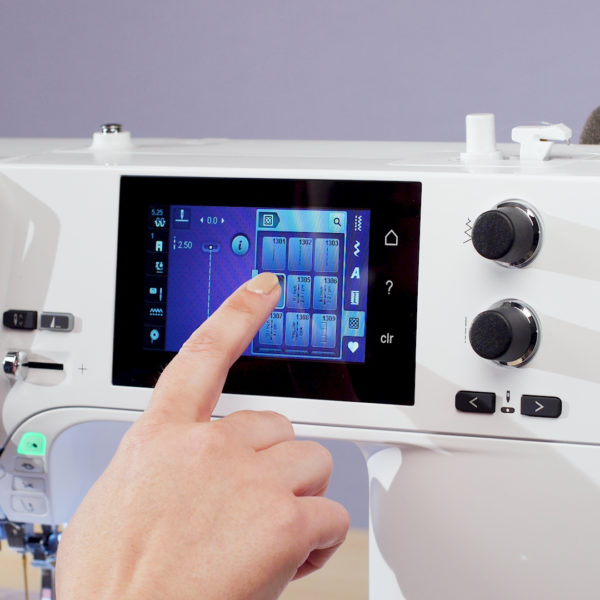
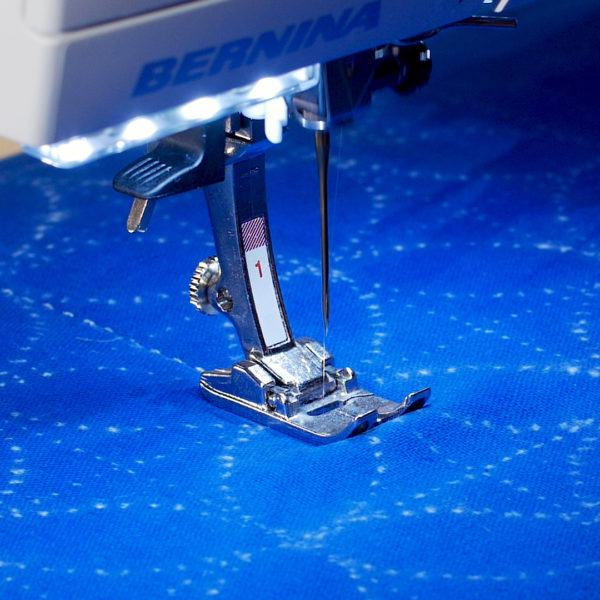
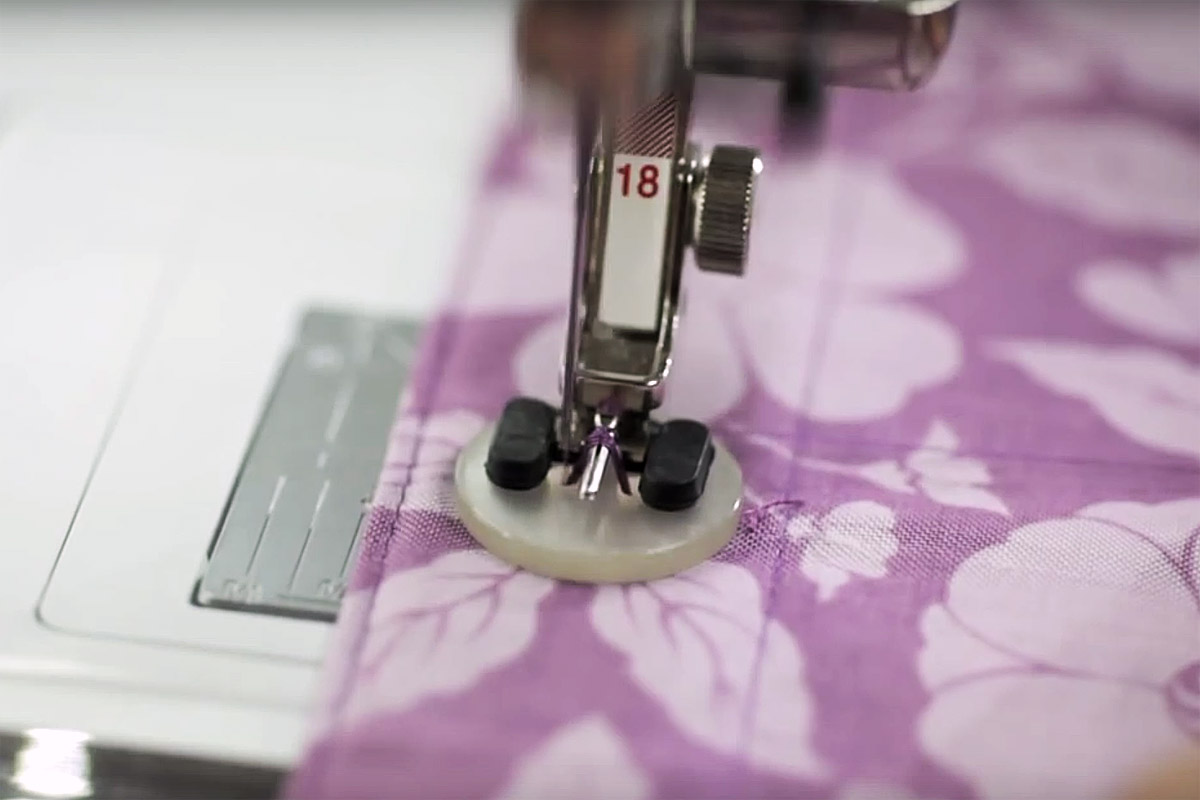
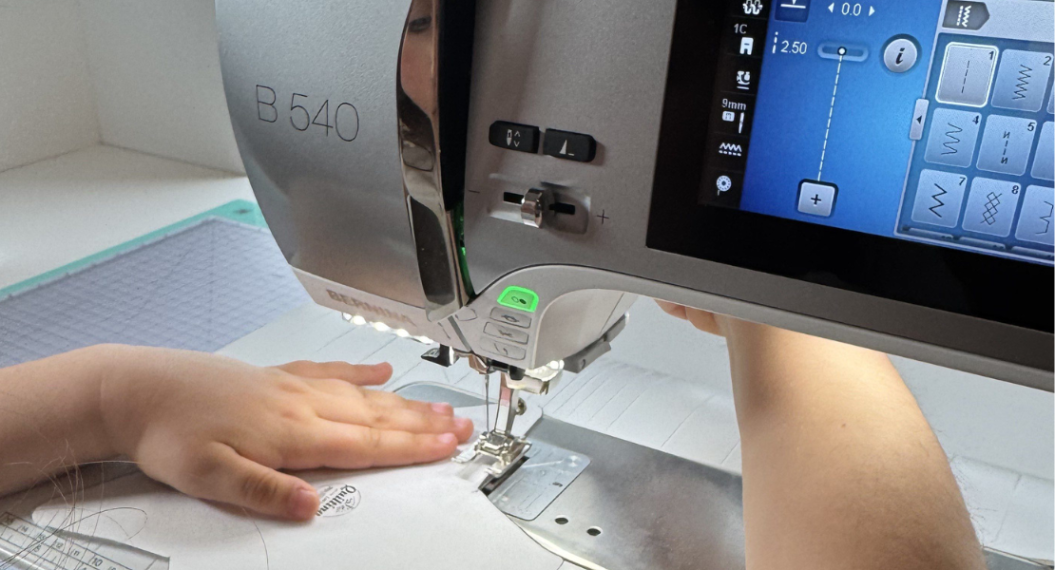
Now it’s time to set up the machine. Select the hand-look quilt stitch on your machine, found in the quilting stitches menu. This stitch is specially set up to use a forward and back stitch to pull up the bobbin thread to give us the hand-stitched look. Selecting this stitch will also automatically increase the top tension.
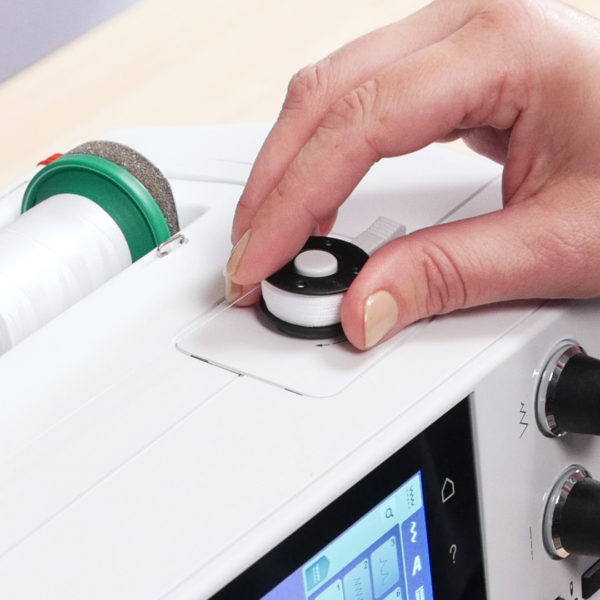
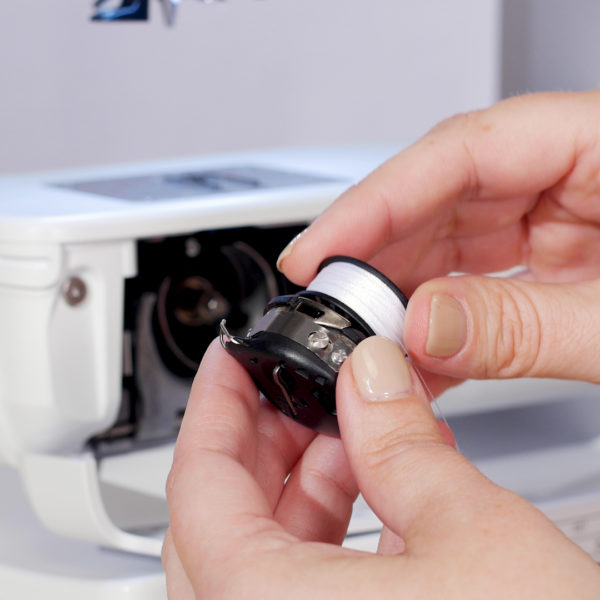
Wind a bobbin with the white embroidery thread and insert into the machine
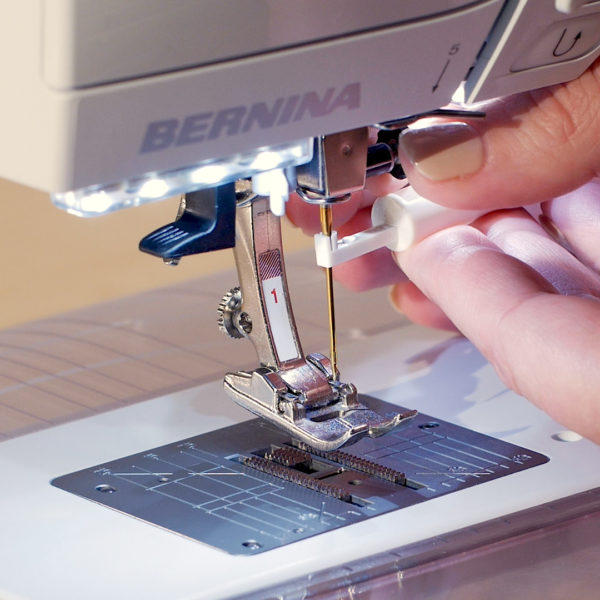
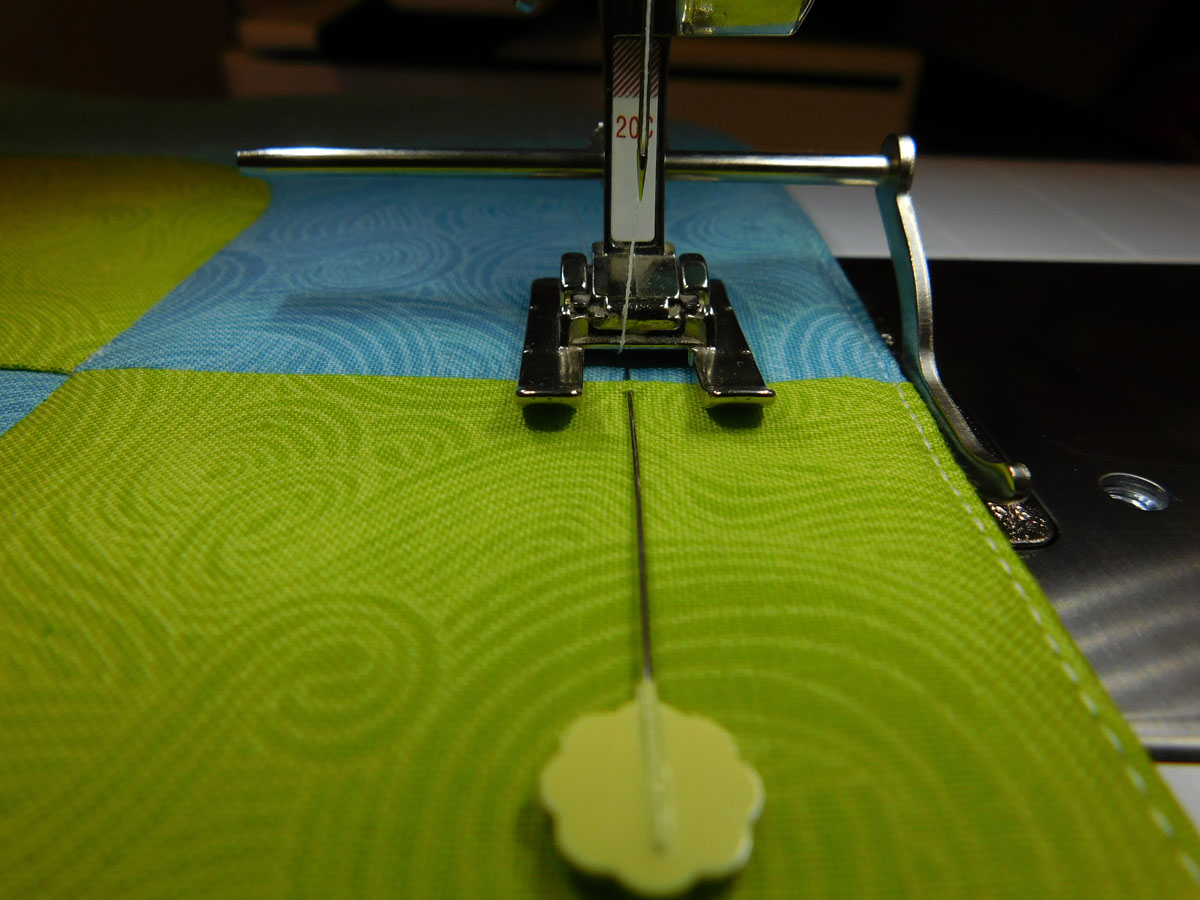
Insert a size 100 topstitch needle. The larger eye of the topstitch needle will help the monofilament thread to run more smoothly, and the larger shaft of the large needle makes a bigger hole in the fabric, allowing the bobbin thread to pull up more easily.
Thread the top thread with monofilament thread. If you haven’t worked with monofilament thread before, you’ll find it feels a lot different than regular thread. It has some “springiness” to it, so you’ll need to thread carefully and sew slowly.
Before you begin stitching on your actual project, do some test stitching on a scrap. This will give you a chance to get a feel for the stitch.
Begin stitching on your project, following your chalk lines. If you are doing the orange peel pattern, do all the straight lines first.
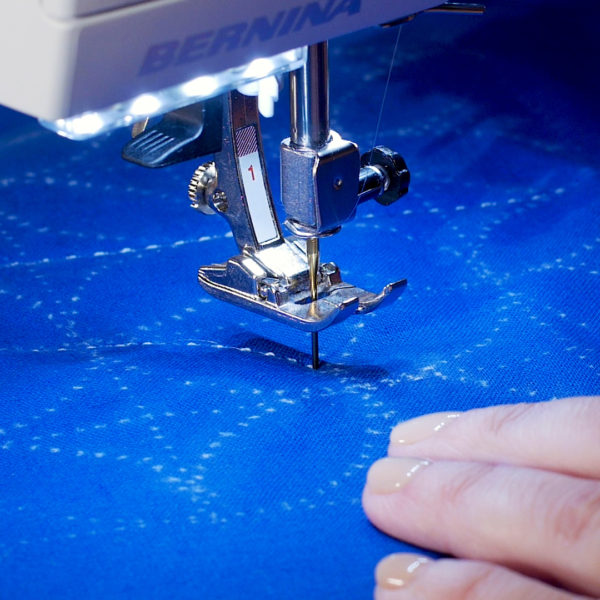
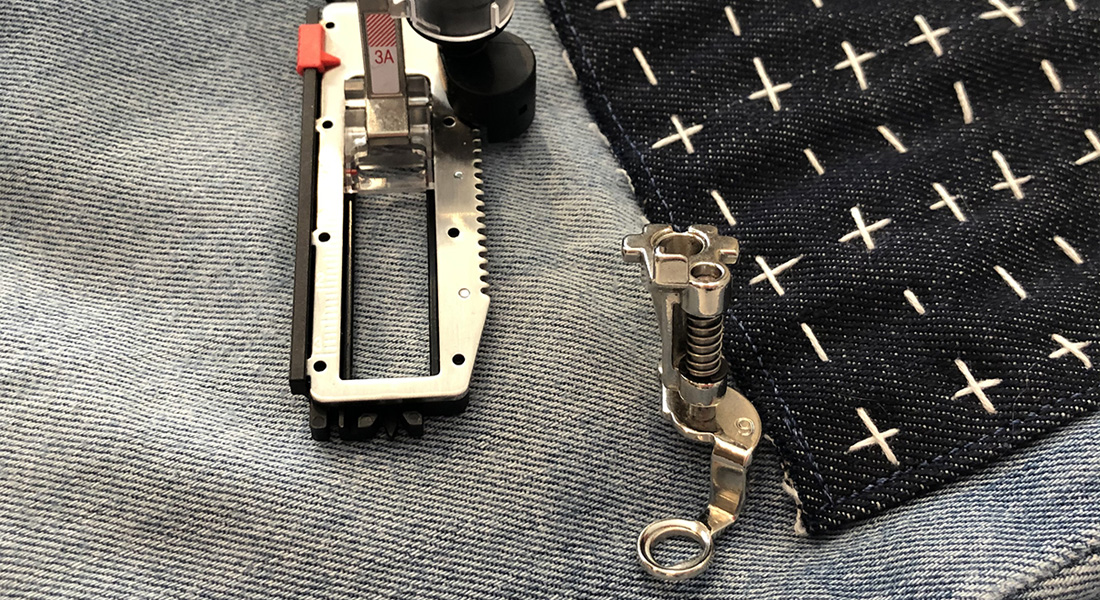
When stitching the curved lines, try to stitch as much as possible in one continuous line to get the smoothest look. As you stitch curves, you may need to pause and pivot your fabric occasionally. Engage the Needle Stop Down function and use the Free Hand System to lift your presser foot for easy pivoting.
Keep stitching until you’ve covered all your lines. You can use this technique to prepare a bag panel, quilt block, or garment detail.
What you might also like
26 comments on “Sashiko Stitching by Machine”
-
-
Click on the link in materials
Orange peel pattern for the pdf file.
. -
In the list of materials, click on the underlined orange peel pattern.
-
Hi Janette – there is a link to the pattern in the supply list above – “Orange Peel Pattern”.
-
-
I love this! I was thinking about using it for a sewing bag and then, when I got to the end, I saw you put that idea and others out there. Thank you!
-
I notice in the picture showing inserting the needle, they are using some kind of needle holder. Is this a Bernina product?
-
It is a needle tool/brush, and it is an accessory that comes with BERNINA overlockers – your dealer can order one for you!
-
-
What weight embroidery thread do you use for this? and do you wind it by hand onto the bobbin?
-
A 40 weight embroidery thread works great – and it can be wound as normal.
-
I have a Bernina 550QE and I tried to use the quilt stitch but it couldn’t be seen.
-
Hi! Do you mean the bobbin thread didn’t pull to the top? Try tightening the top tension. Also, using the right weight thread is really important – a 40 weight embroidery thread works very well.
-
Also – make sure your needle is large enough to make a hole big enough for the bobbin thread to come through. Use a 110 or even a 120.
-
-
-
-
I am confused here. Do I understand this correctly that the monofilament is the top thread and one uses the reverse side as the outer side for the finished product? Thank you.
-
Hi! The monofilament is the top thread, and the white stitching that you see is the bobbin thread that is pulling to the top. The hand-look quilt stitch increases the top tension and uses a back-and-forth stitching motion that causes the bobbin thread to pull to the top at the ends of the stitch. The backside will be a solid white.
-
-
What stitch number is that on the 440QE?
-
Hello fancy, you can check your 440 QE manual and look for the hand look quilting stitch on your model. If you need help finding the stitch you can connect directly with your local BERNINA store for personal help.
-
-
Can rulers be used to get the orange peel design?
-
Unfortunately, this stitch doesn’t work well as a free-motion stitch, which is required to use rulers. However, you could definitely use rulers to get an orange peel design without the hand-look stitch.
-
-
Hi.. I really would like to try this, but I have a Bernina Inspiration plus 1630 … what stitch would I use?? Thank you
-
HI! Go to section D2 of your machine and select stitch 10. You will need to tighten your top tension significantly to make the stitch pull to the top – do some tests until you get the right tension setting.
-
-
Is there a stitch on a 440 QE that will do the Sashiko stitch?
-
Hi! There isn’t a hand-look quilt stitch built in to the 440 QE, but you can get a similar look by using your memory and combining a single triple stitch followed by a straight stitch.
-
Hi, I have a 440 QE, who can I do a single triple stitch?
-
-
-
Is there any way to do this with the Bernette b77?
-
I tried this, the straight lines were great, but when I did the curves, it puckered up. Looks awful. What did I do wrong?
-
This technique works best on gentle curves, as the machine uses a backward and forward motion. I also found that when doing curves I frequently stopped with the needle down, raised the presser foot with the free hand system, and then did a tiny pivot. This helped me get around those curves more smoothly.
-
Leave a Reply
You must be logged in to post a comment.




Where do l find the free download pattern for this ?