Sewing Circles with BERNINA Circular Attachment #83
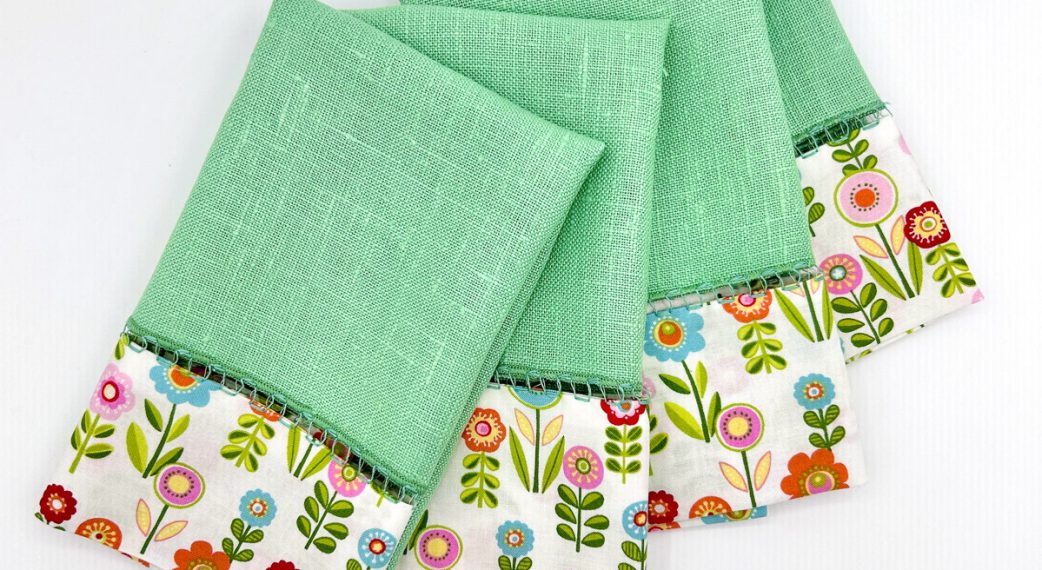
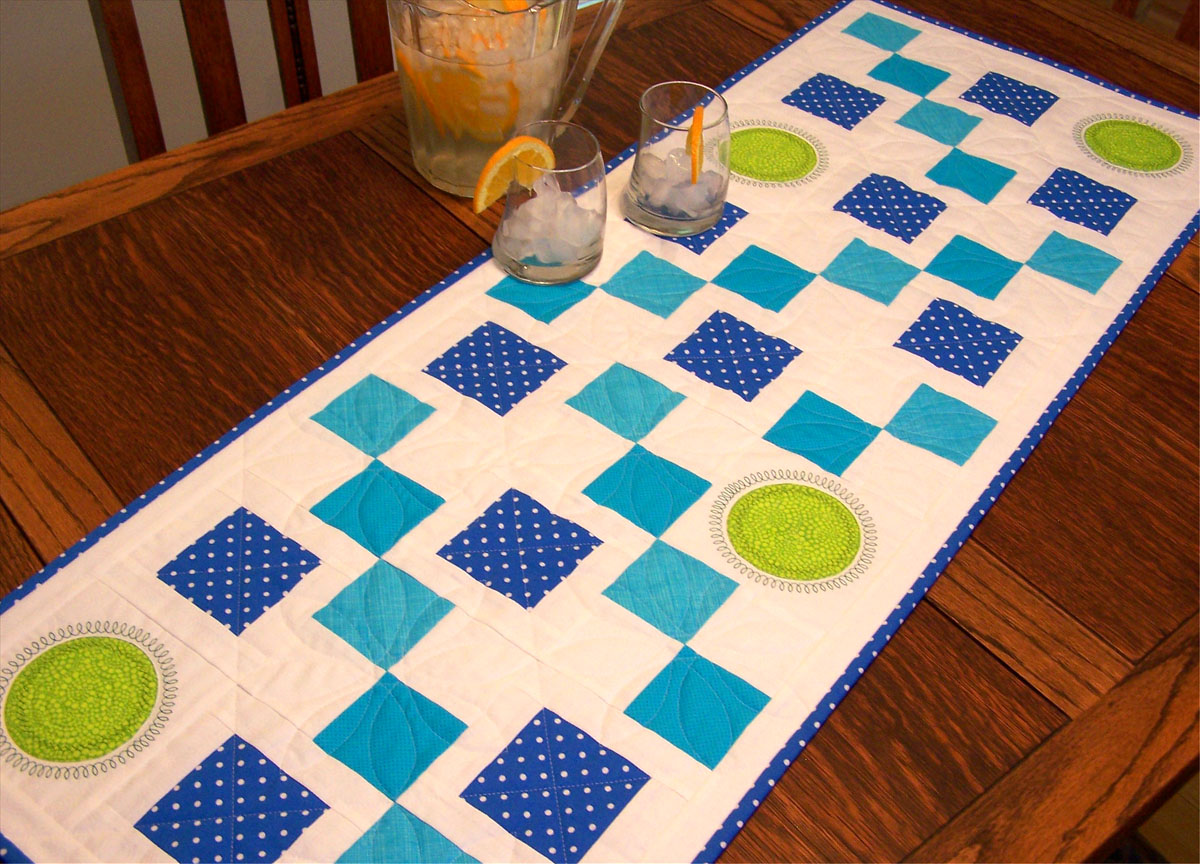
Some of the most beautiful stitching results are when you use the BERNINA Circular Embroidery Attachment #83. We all love the look of a perfect circle, and it’s even more beautiful when it is formed with stitch patterns sewn on fabric. Place the fabric on the tack of the attachment, and it rotates as the machine stitches. When you are sewing circles with Circular Attachment #83, you sew just like always, but the result is a perfect circle!

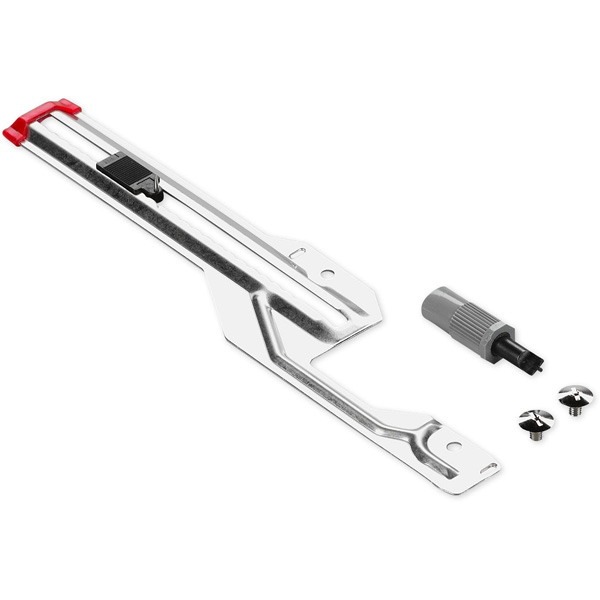
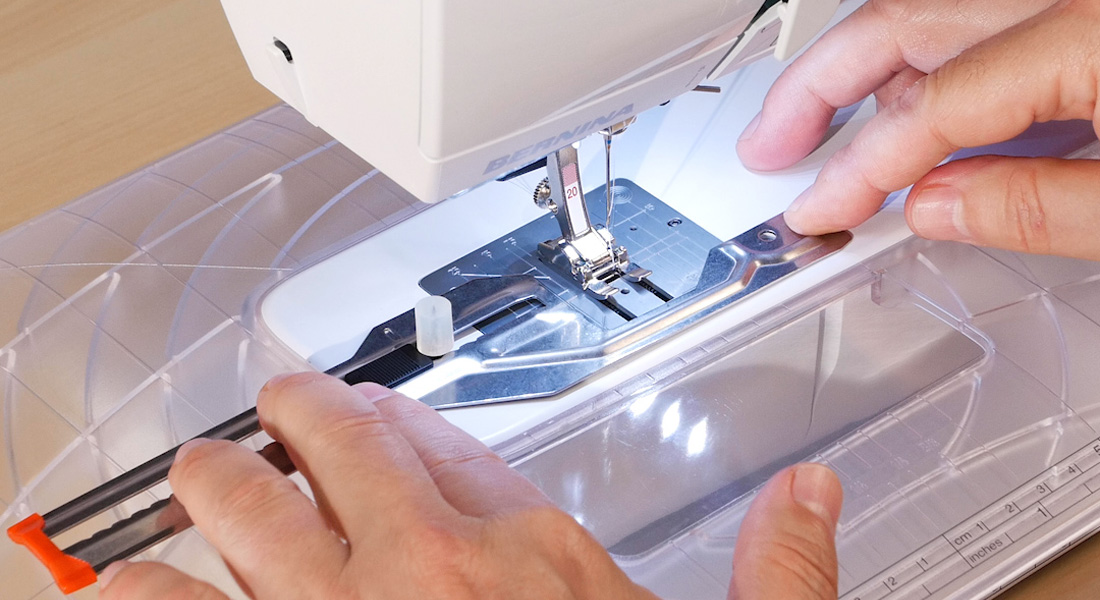
Securing the Circular Attachment
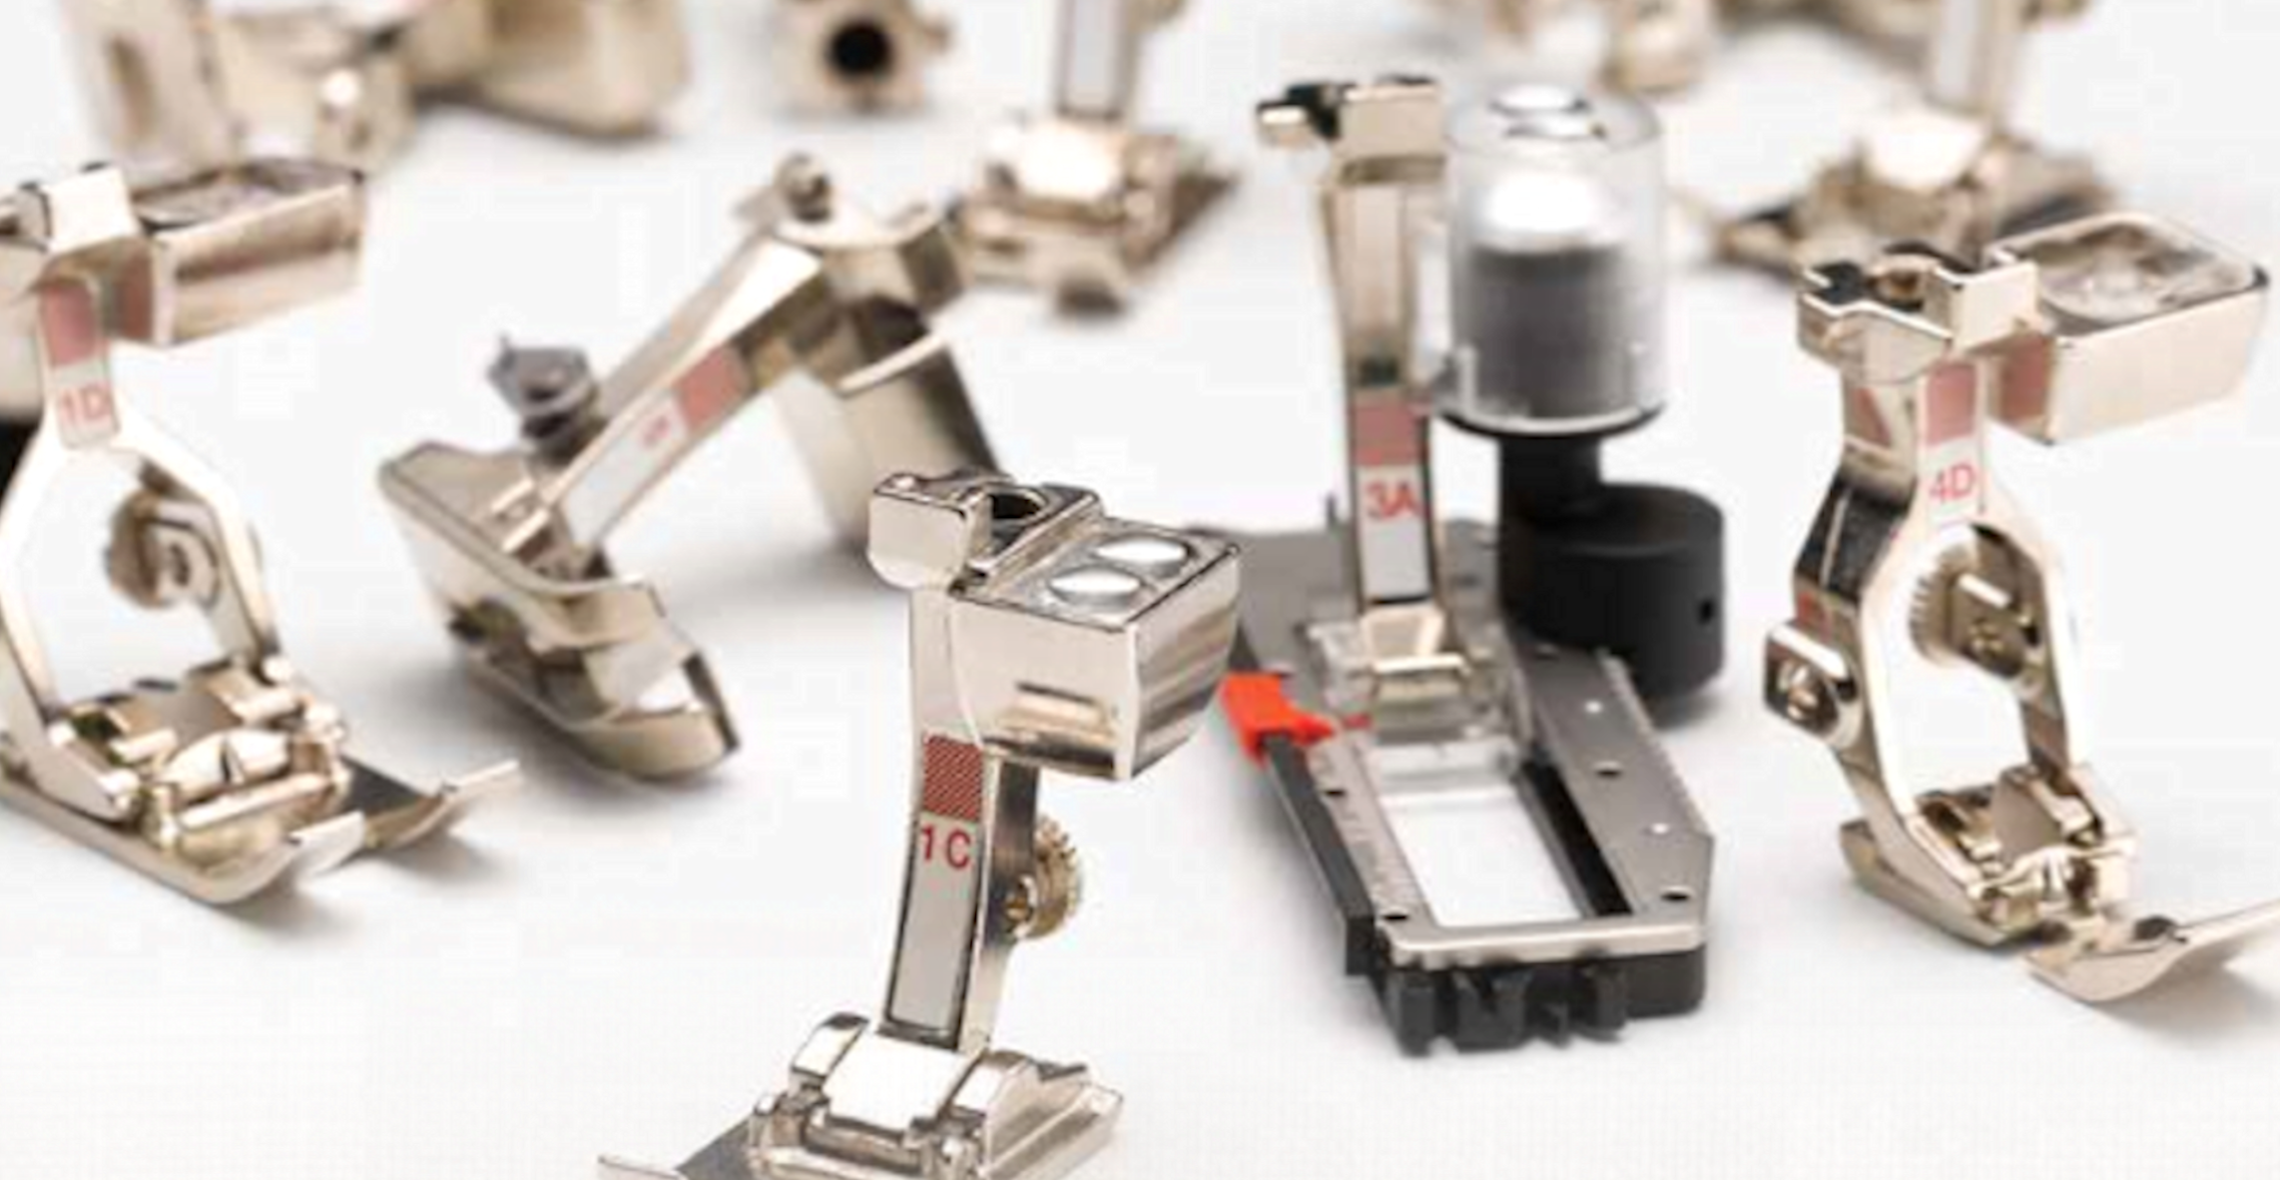
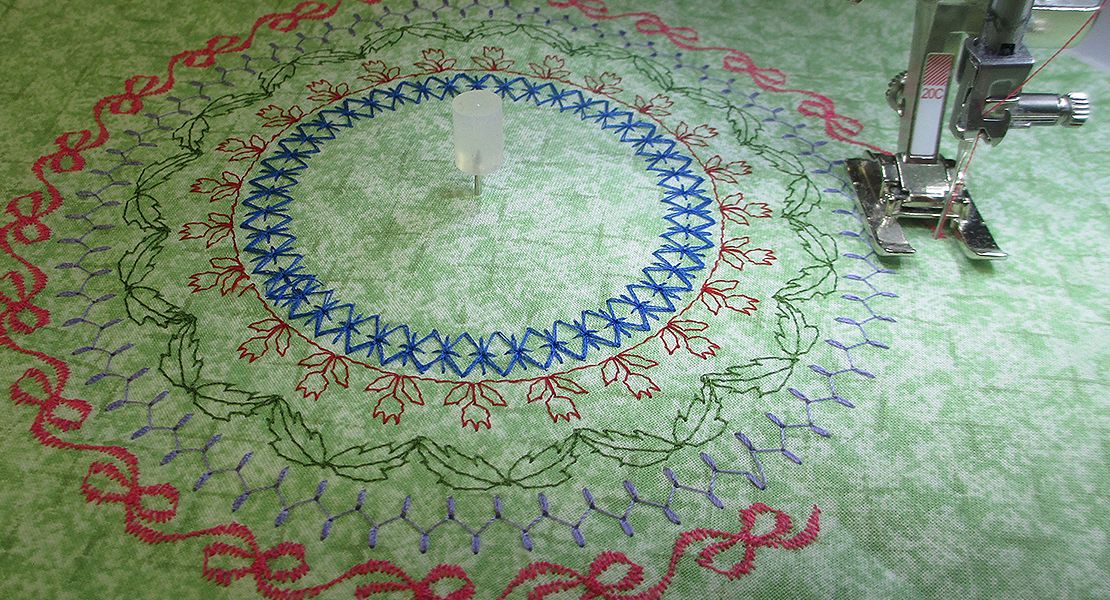
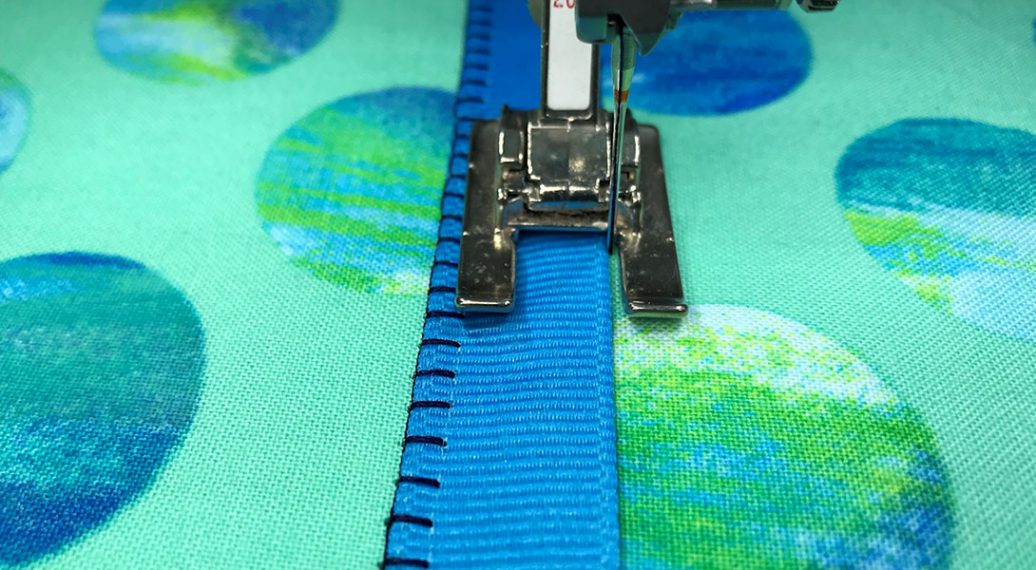
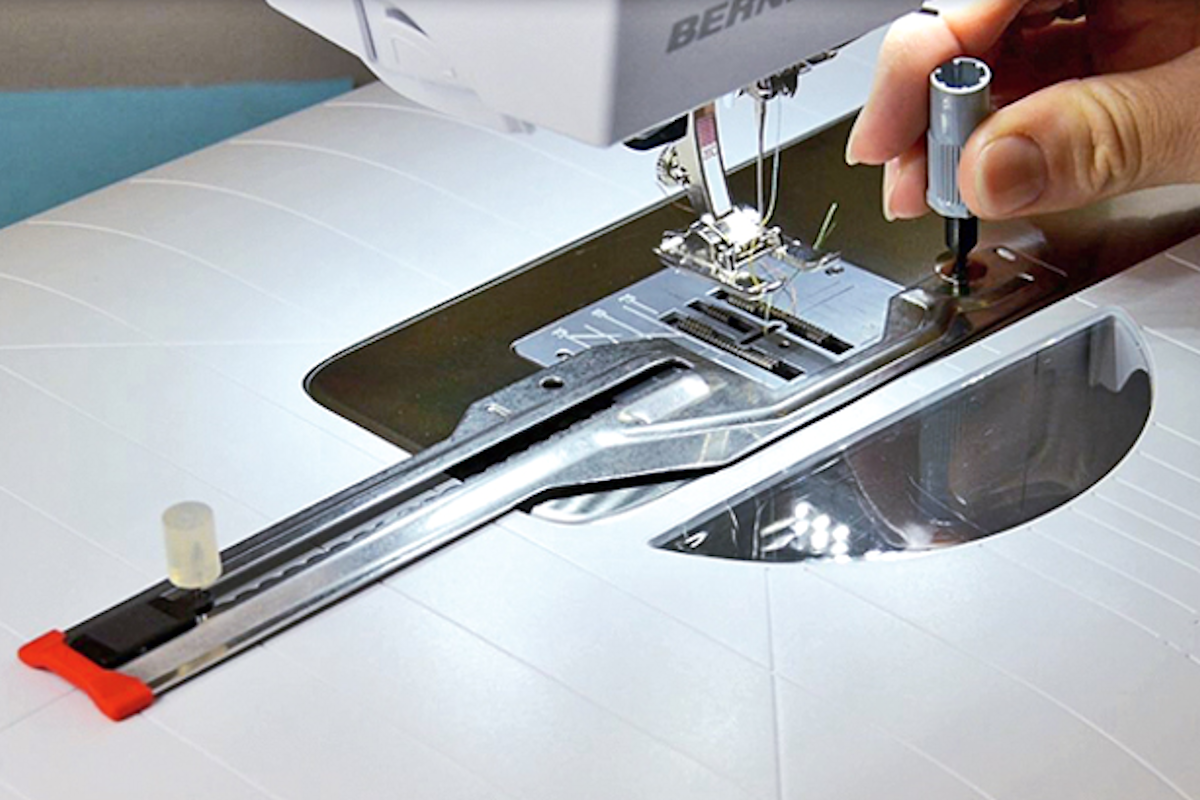
The attachment fastens to the bed of the machine with a single screw. It can be oriented to the left (sews clockwise) or right (sews counter clockwise) of the needle. The tack (covered by a plastic stopper) is where the fabric is attached and is the center of the circle The distance from the tack to the needle is the radius of the circle (half the size across). Select a presser foot appropriate for the technique you are stitching. I often use Open Embroidery Foot #20/20C/20D as I have here. The open area between the toes make it easy to see the needle as it stitches. For more information on setting up the circular attachment, click here.
Fabric Prep
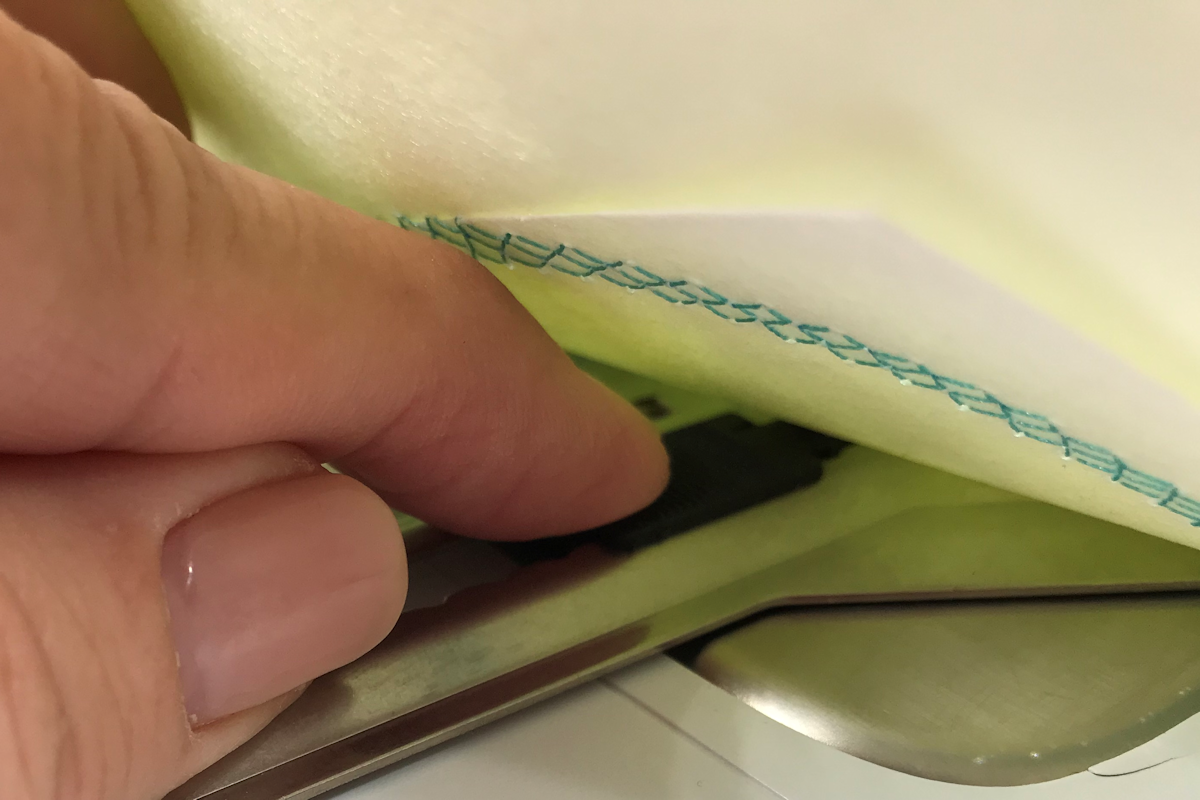
The secret to successfully stitched circles is stabilization (say that three times!). The fabric must be firm using interfacing, stabilizer (tear away or cut away) or batting. Use any combination of these will work and select them to work with your project. If using a very sturdy fabric, you may be able to stitch circles without any additional stabilizer.
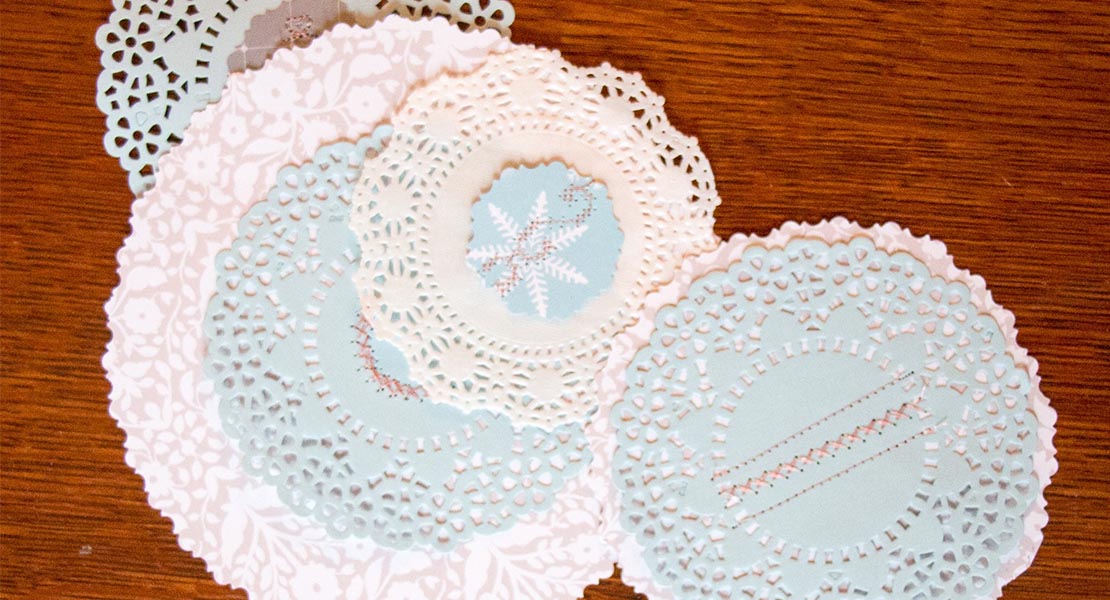
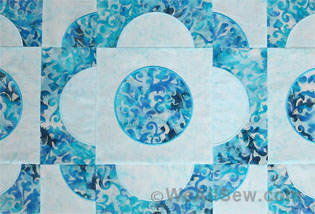
Stitching Circles
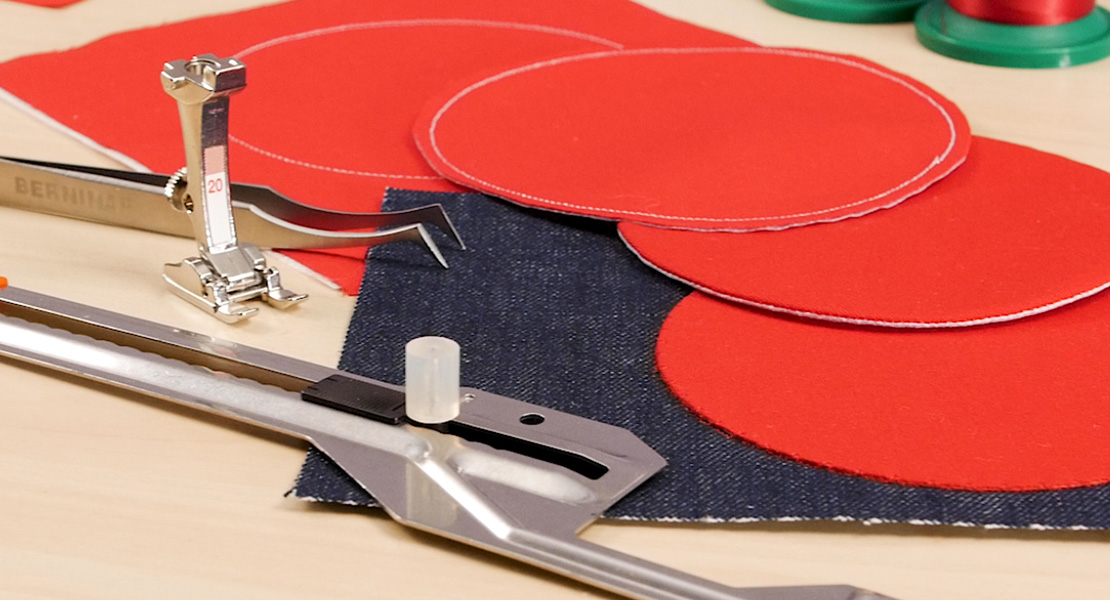
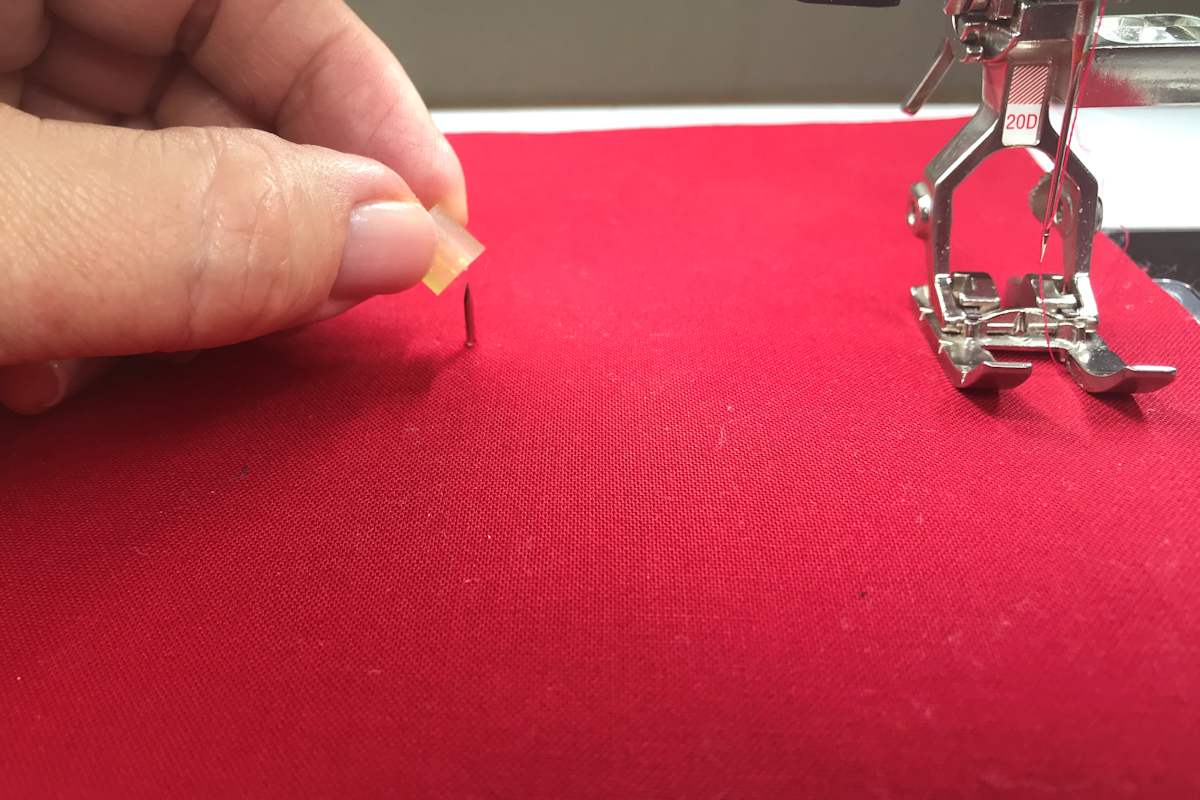
Place the prepared fabric on the tack at the desired center of the circle. Note: Keep the plastic stopper on the pin until ready to secure the fabric; the pin is very sharp and needs to be handled with care. You should always replace the stopper after the fabric is attached for your safety.
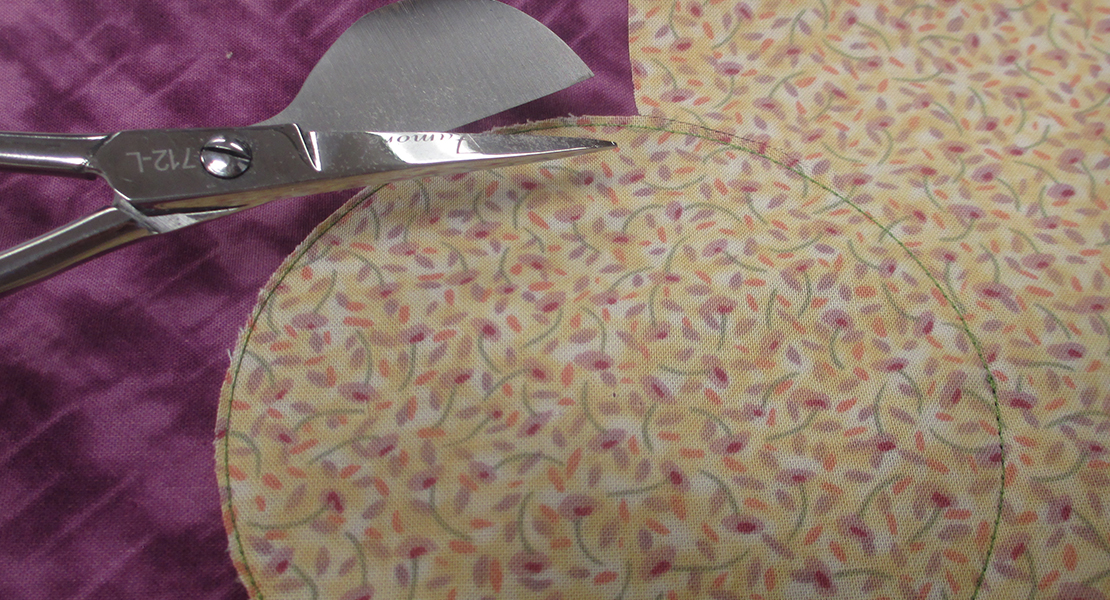
Lift the fabric and use the black tab (never use the tack to adjust the size of the circle) to slide the tack to make the desired size circle. You can stitch circles up to 10” in diameter with the BERNINA Circular Embroidery Attachment #83. When sewing a decorative stitch pattern, select an odd number notch (1, 3, 5, etc.). In most cases, the stitch at the end will match the first one without a gap.
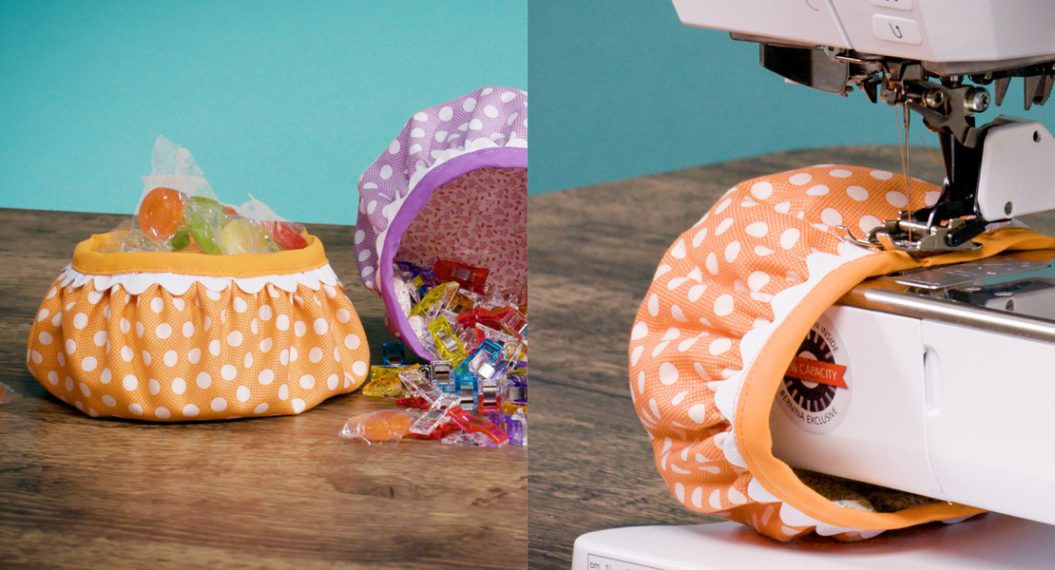
Stitch a circle, making sure that the fabric rotates smoothly. The edges of the fabric should not touch the inner wall of the sewing machine. When the fabric touches the wall, it interrupts the movement of the fabric, causing the circle to be distorted. If the fabric piece is large, roll or fold it, securing it with clips so it can rotate smoothly.

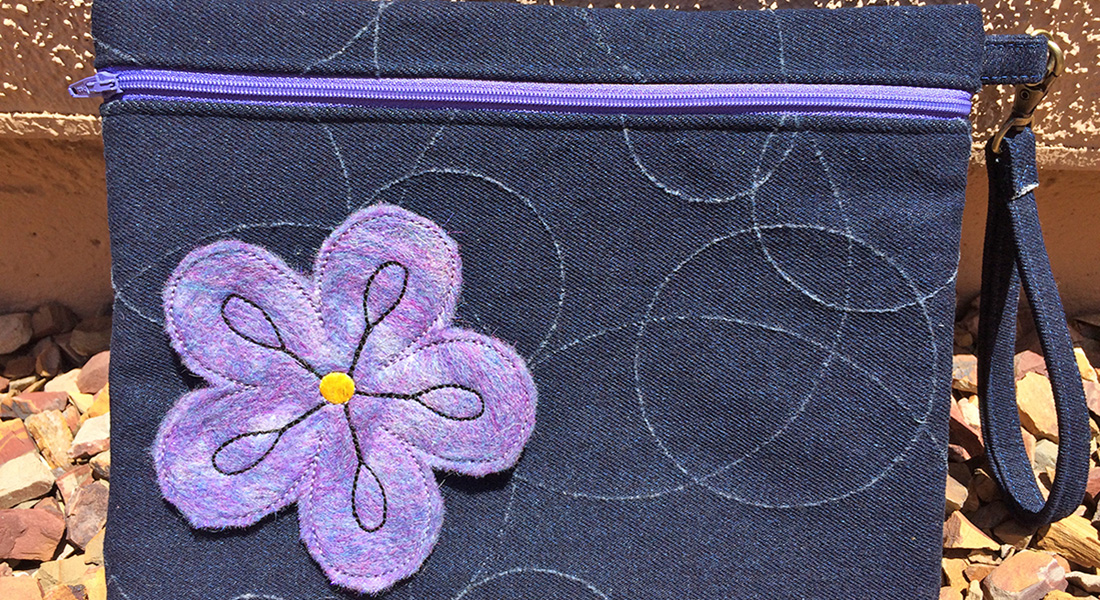
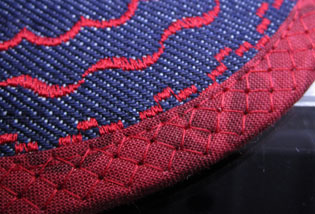
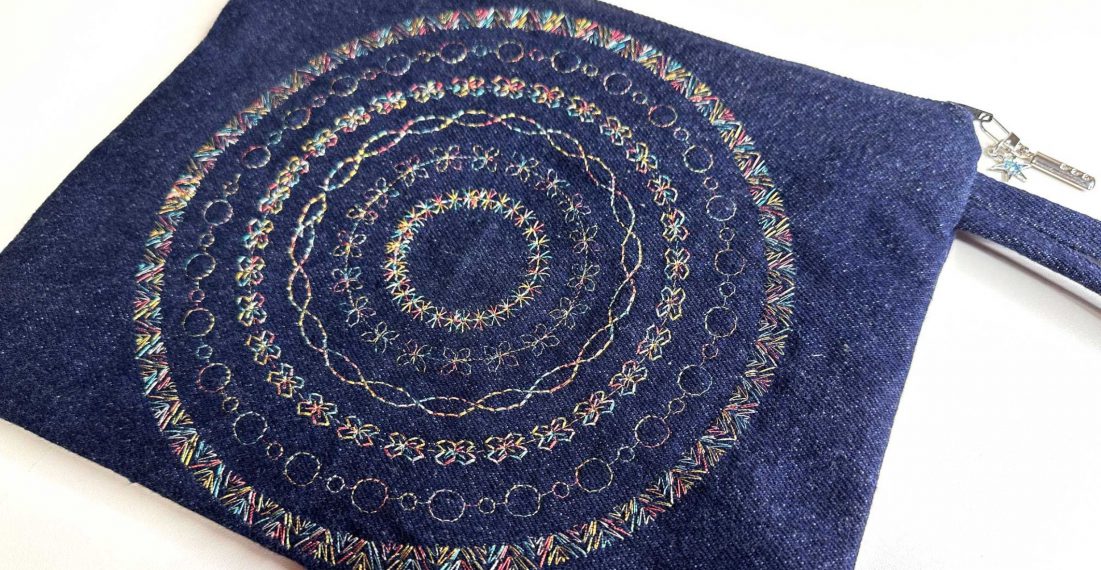
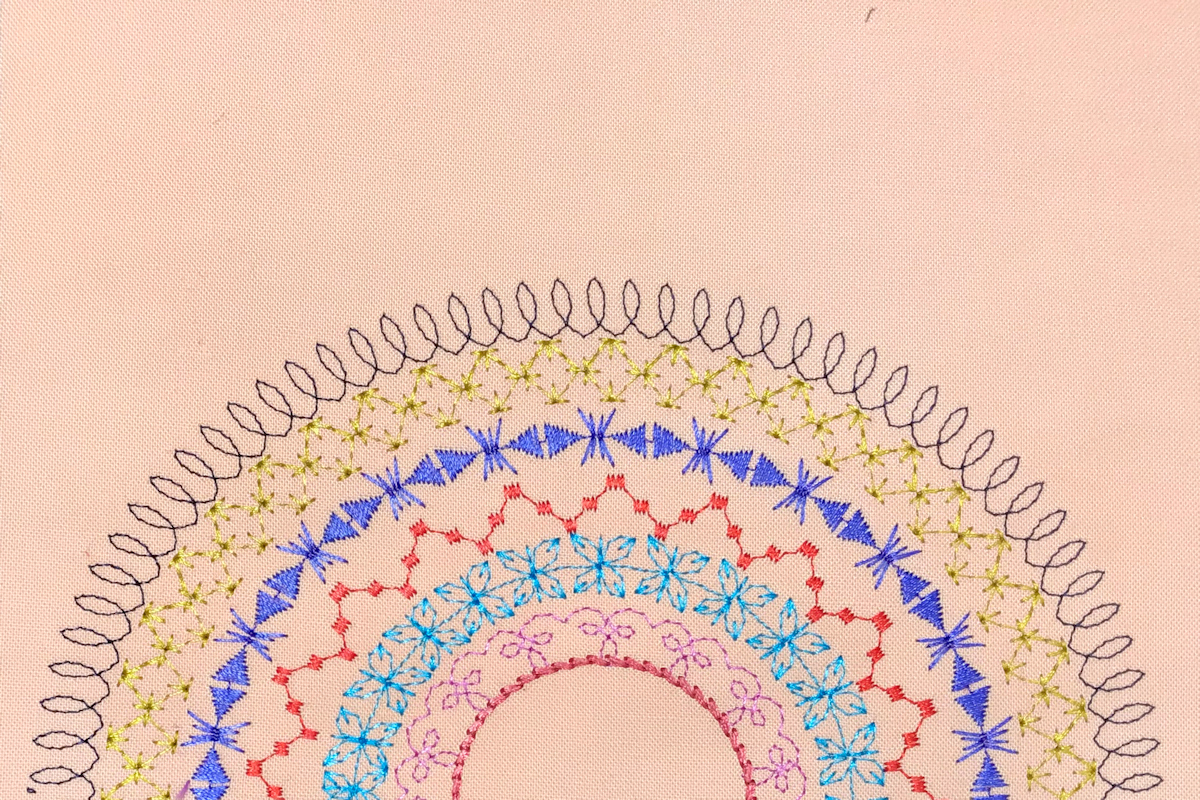
Concentric Circles
When stitching concentric circles, start in the center with the smallest one and make larger ones as you move to the outer part of the fabric. Tip: No matter what type of stabilization you use, place a patch of cut away stabilizer in the center to keep the fabric stable. As the fabric rotates in the same place for each circle, it needs the extra stabilization to keep it from breaking down and becoming loose on the tack.
Click here to download the free BERNINA eBook, Sewing Circles.
For more information on BERNINA Patchwork Feet, see The Big Book of Feet at your local BERNINA store.