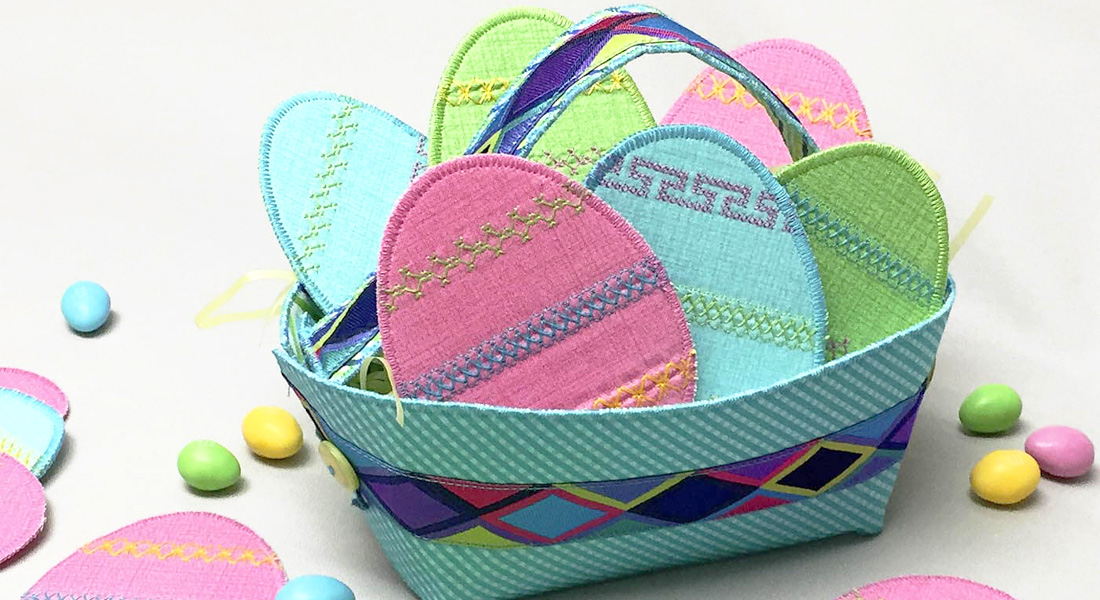
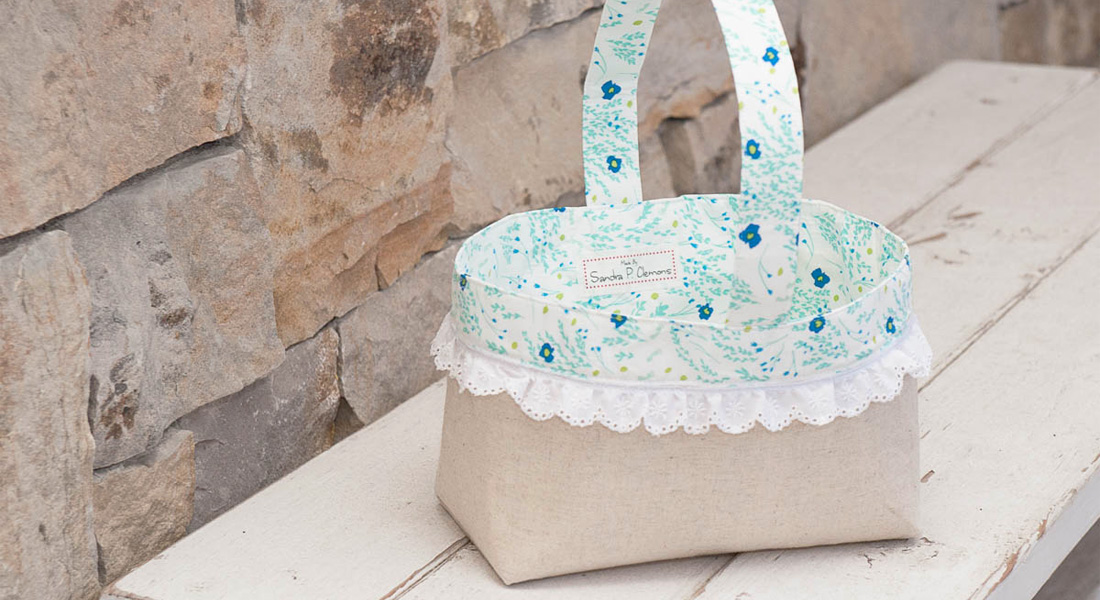
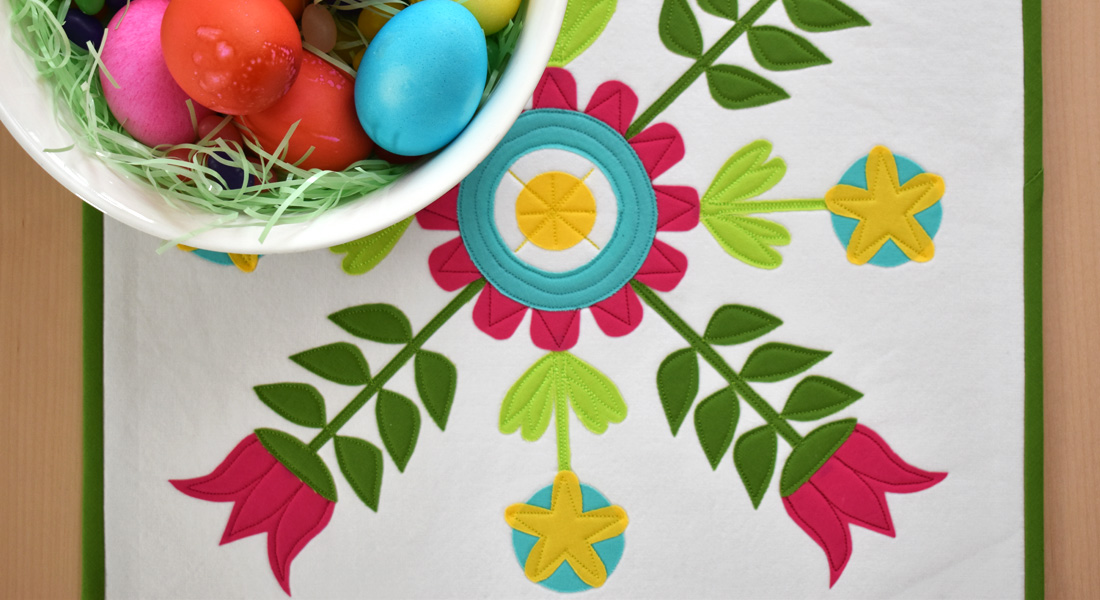
Spring Gift Bag
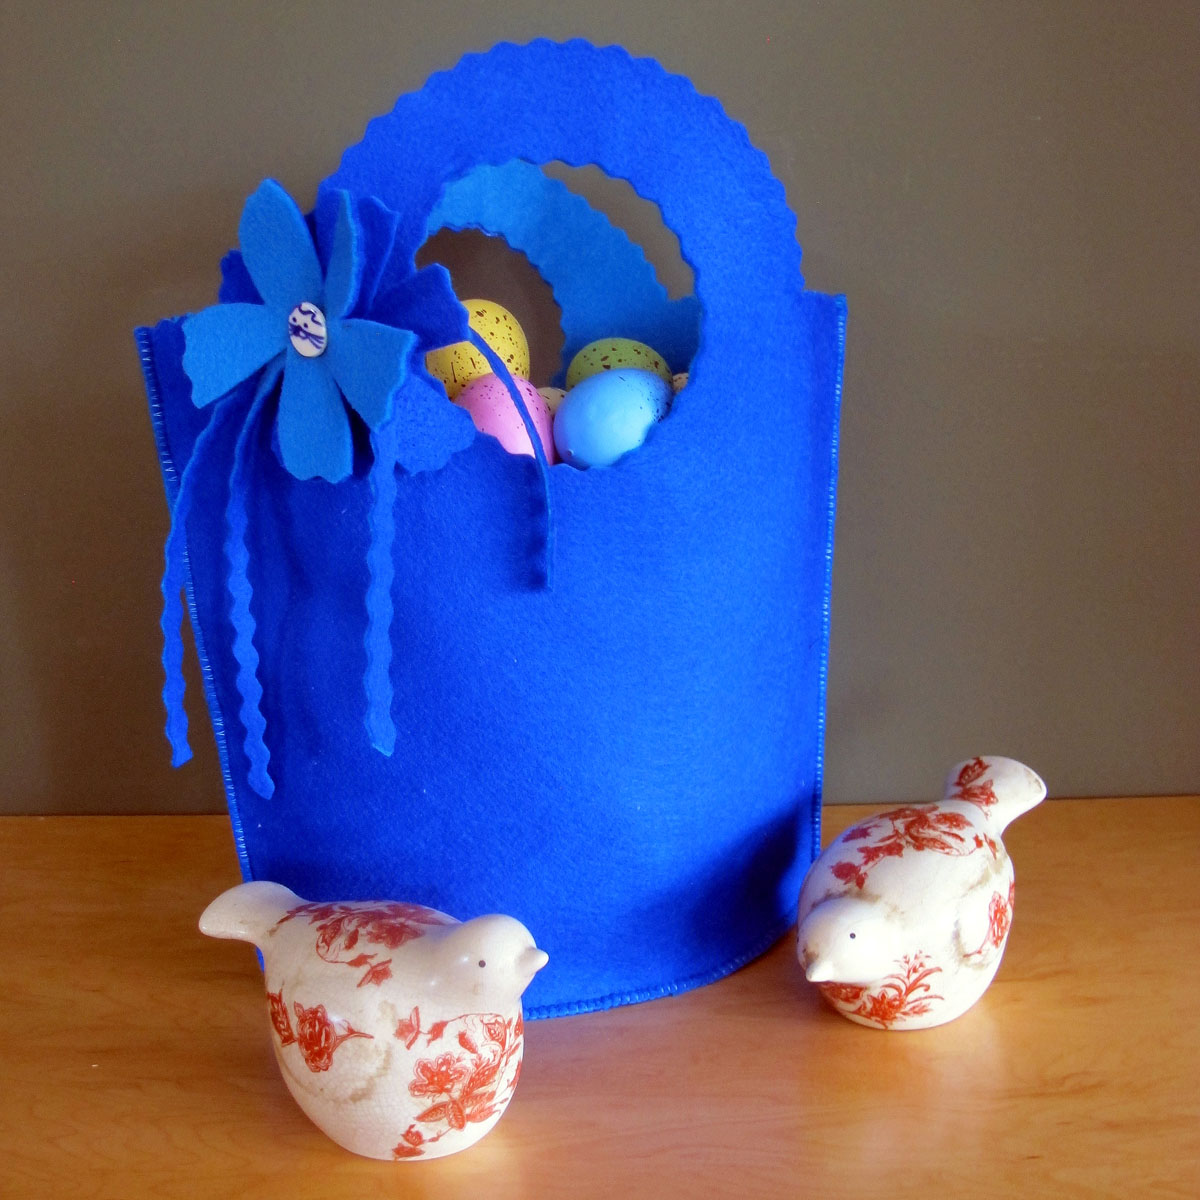
Last Christmas season I found a wonderful red felt decorative bag that was great for holding little presents and ornaments. I decided I could adapt it for a great spring decoration. Use for Easter eggs (with crinkly paper shredding), a May basket with some tulips or daffodils, or a simple springtime purse.
Materials to make a Spring Bag:
- ½ yard each of 72″ wide Eco felt, 2 different colors (JoAnn fabrics carries it in many colors)*
- 2 yards of Wonder Under Heavy weight fusible web (if you can’t find it use the medium weight)
- White paper for a pattern
- Pencil, ruler, cutting board, iron, ironing surface, pins, scissors
- Sewing machine (I use a BERNINA 750 QE)
- Reverse pattern foot #1/1C/1D
- Decorative stitching thread
- Rotary cutter with both a straight blade and a scallop or zigzag blade
*You can also use a much heavier weight felt and only use one layer
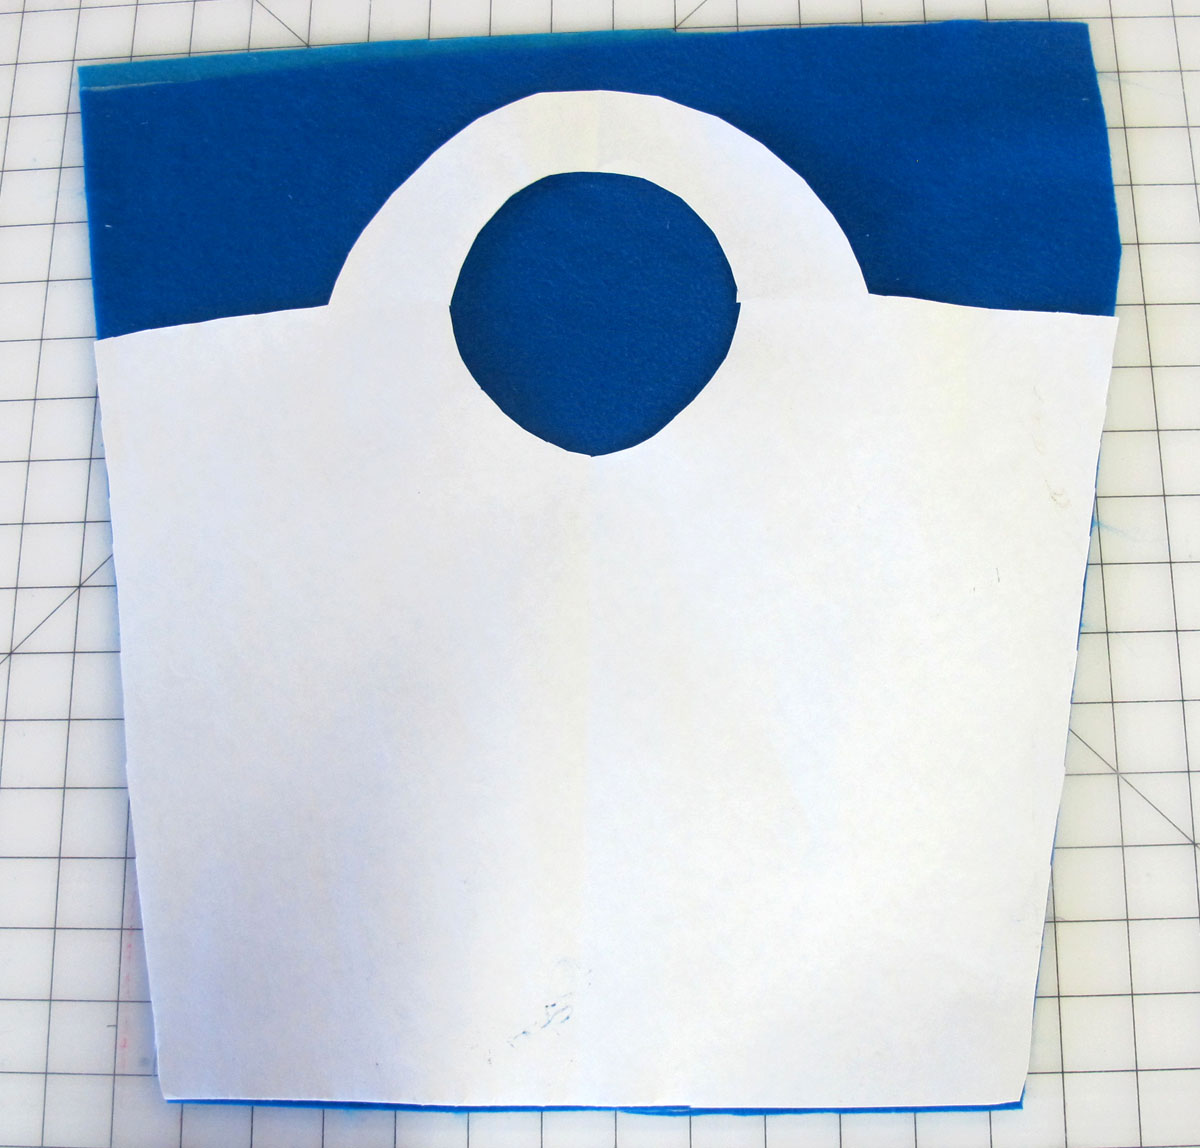
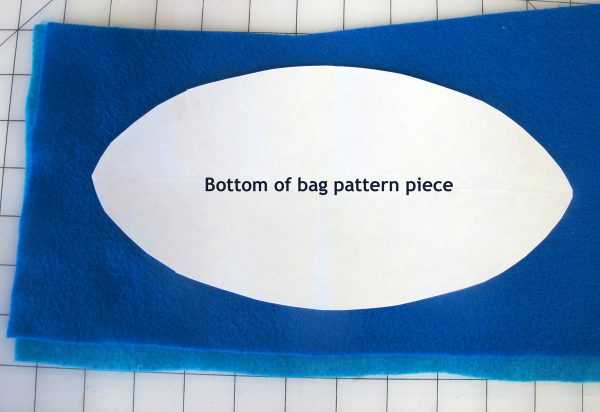
Make the Spring Bag pattern to the dimensions shown.
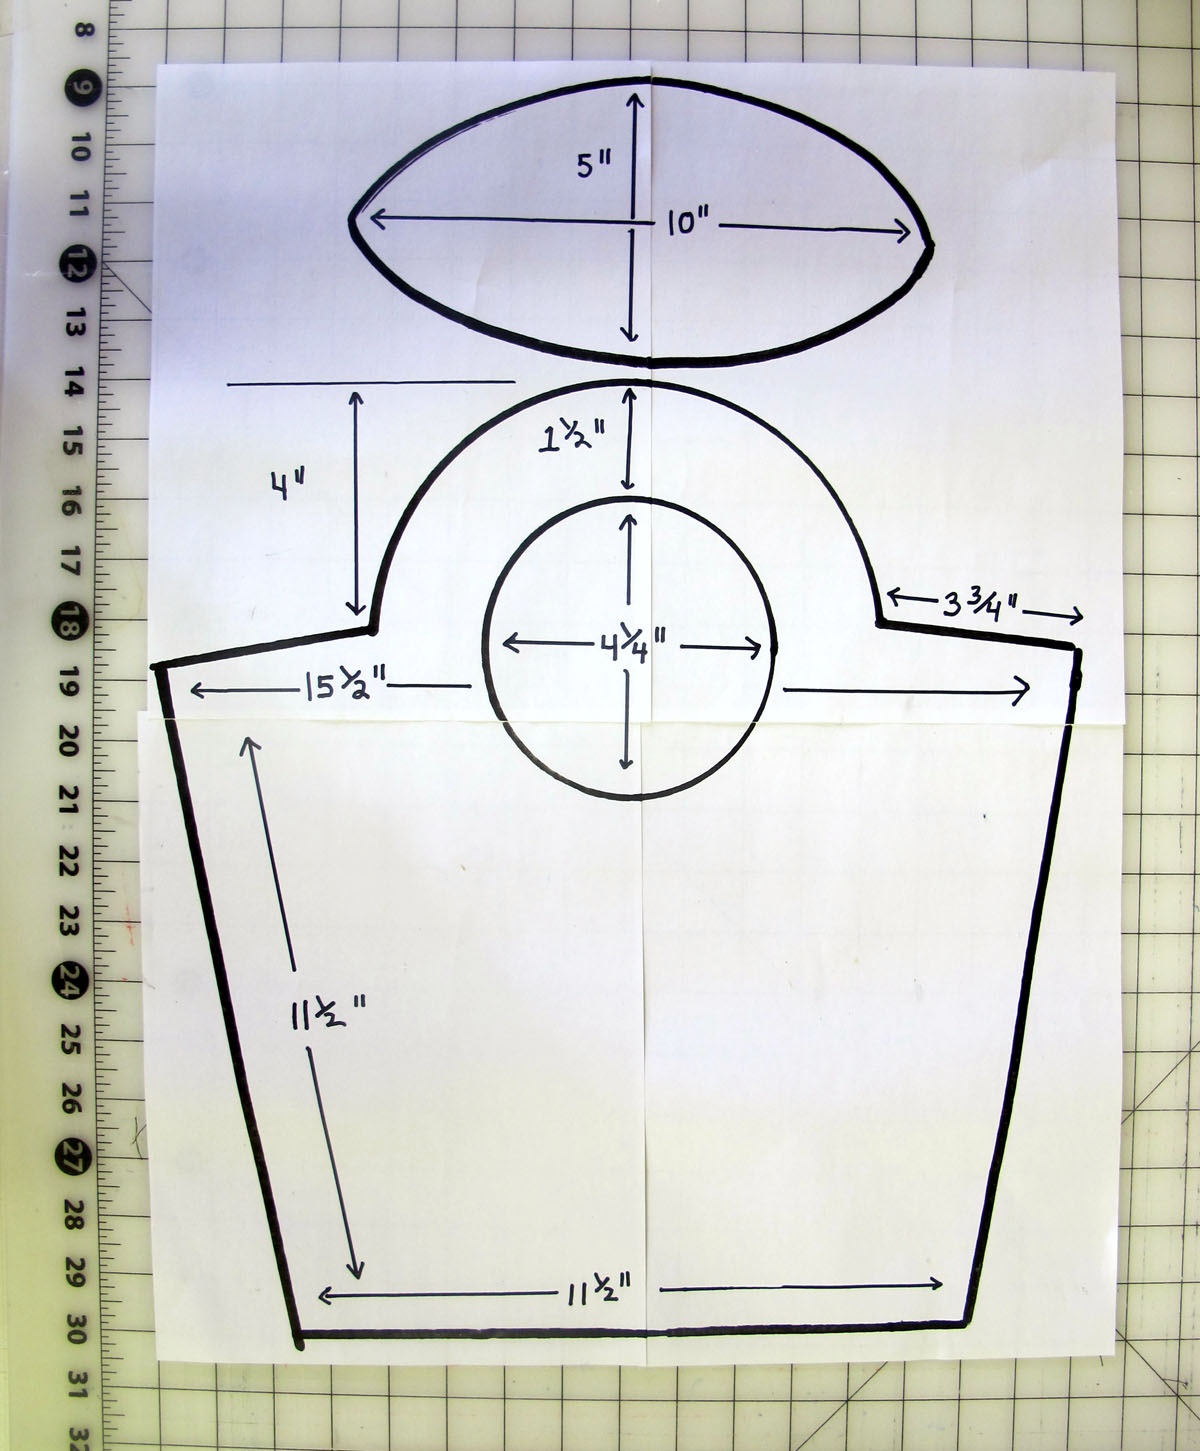
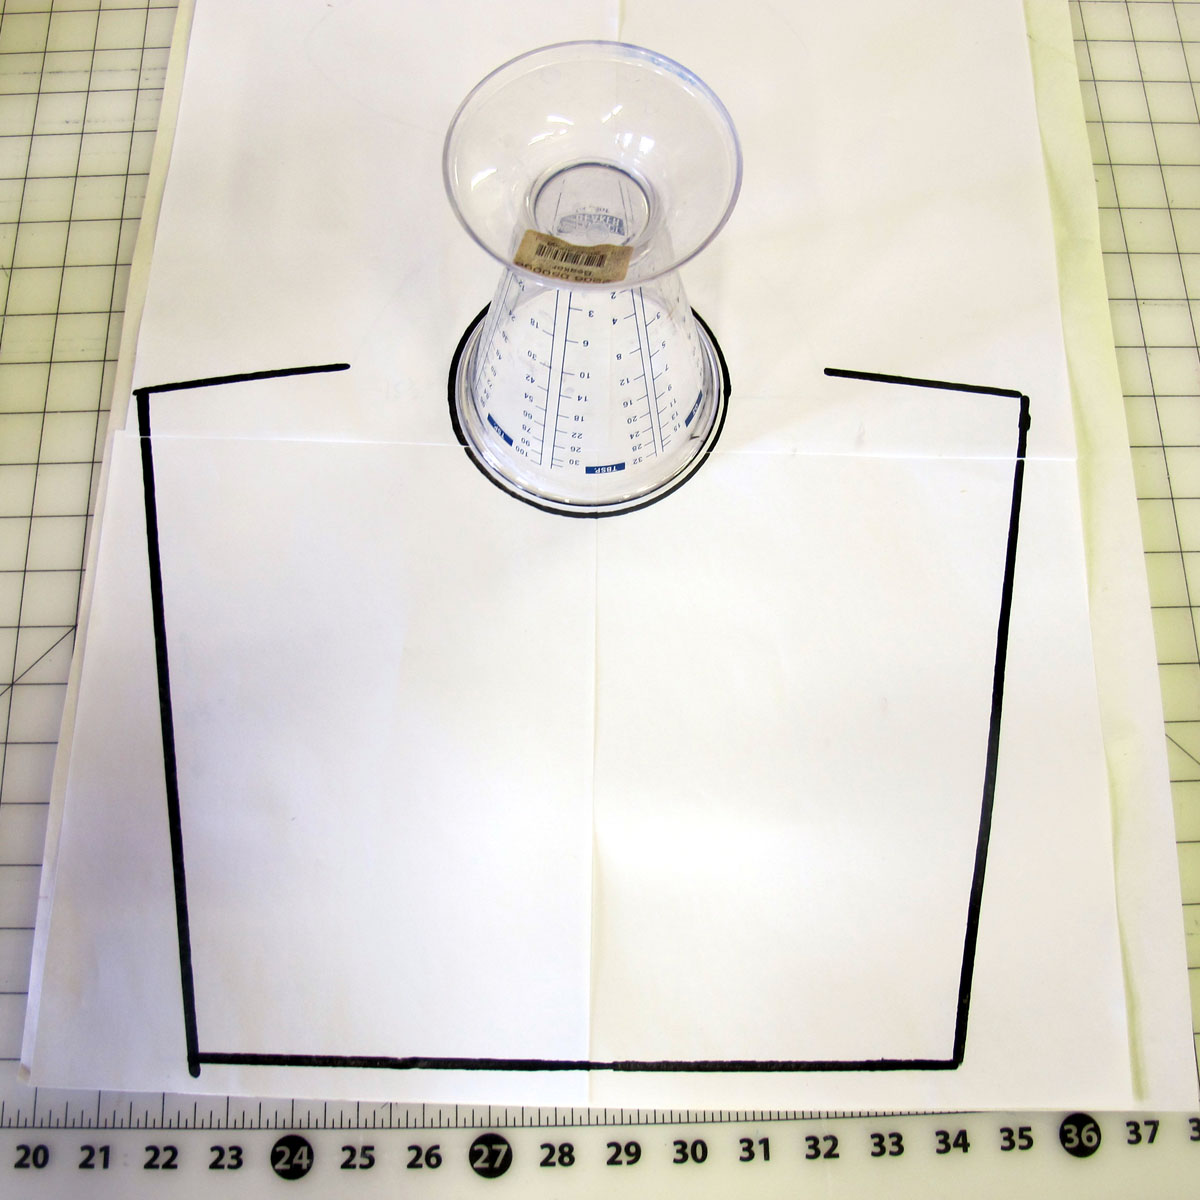
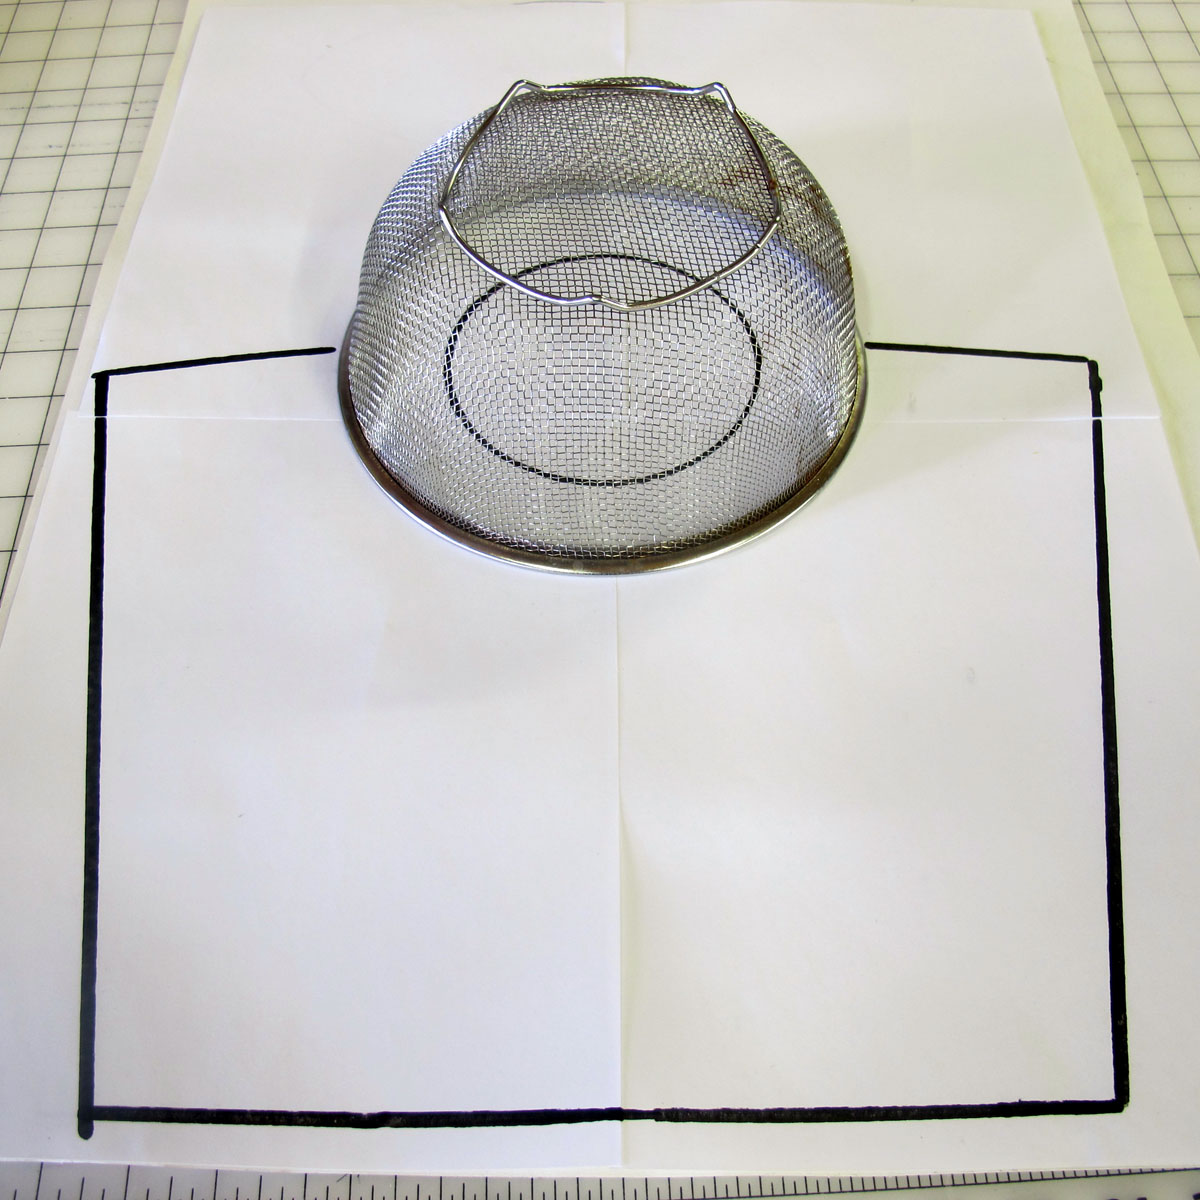
You can vary the dimensions to make it smaller but larger would be floppier. If you do not have a large piece of paper you can tape 8.5″ x 11″ sheets of paper together (turn it over so tape is on back side). Use a heavy marker to draw your patter according to the dimensions I show in the photo. If you need to improvise to draw the circles—look for objects that are about the right size and use them. For this pattern I used a metal colander and a measuring cup. Whatever works!
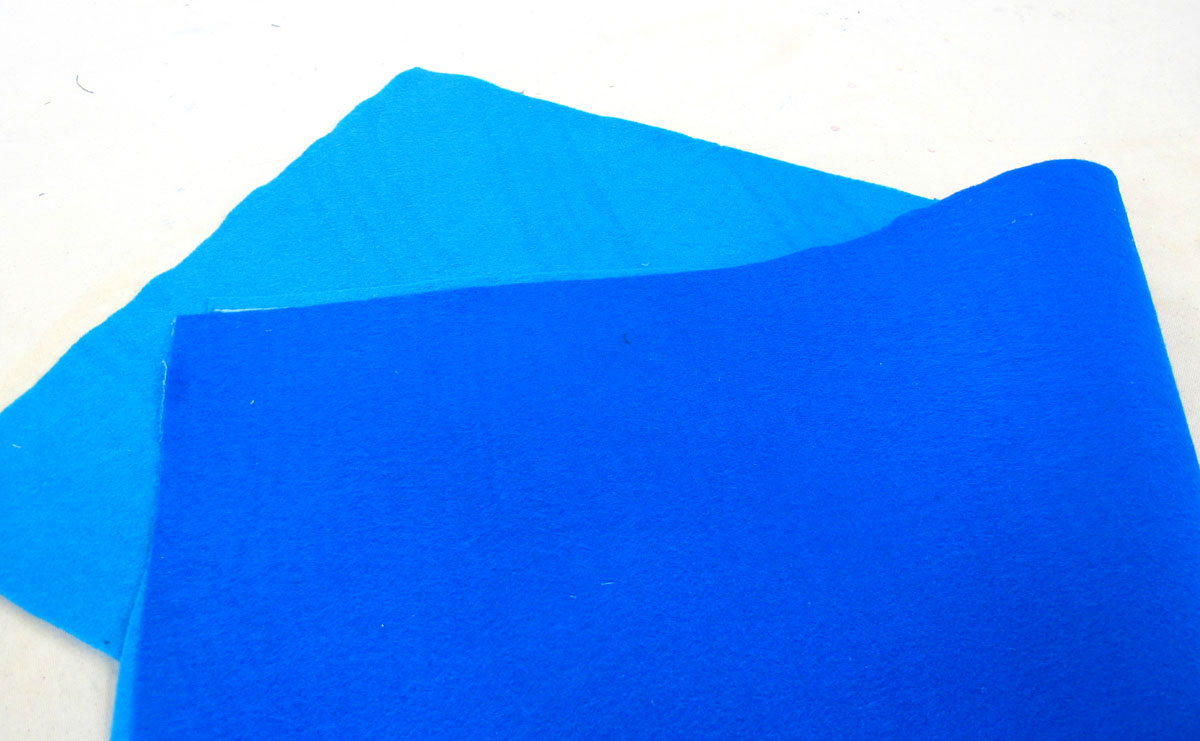
Choose 2 colorful felts; one for the inside and one for the outside of your bag.
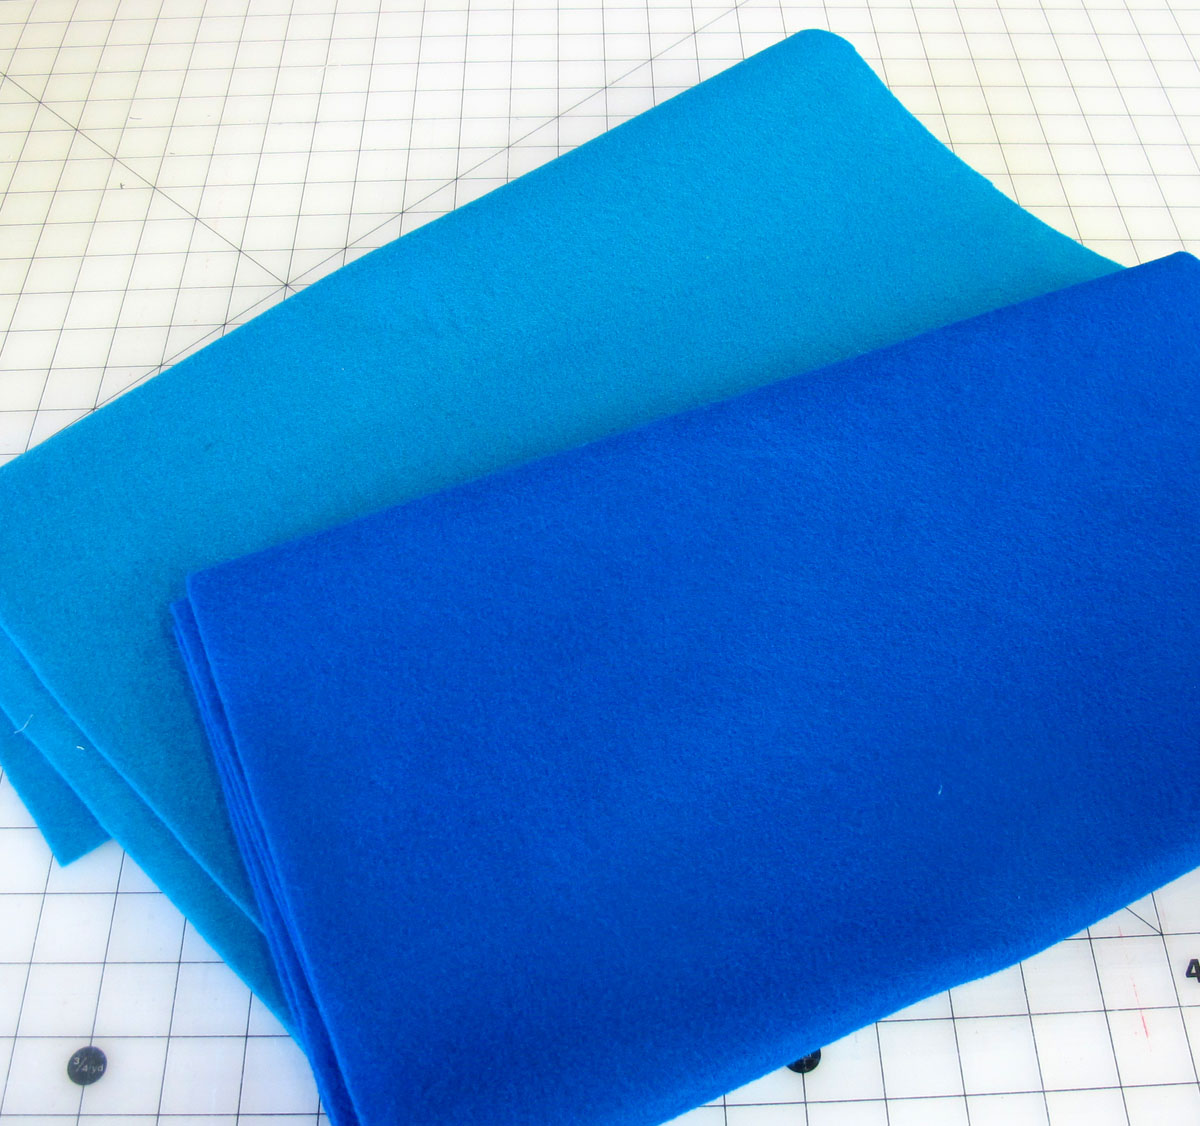
I made my bag with the darker blue on the outside and the turquoise blue on the inside, but you can decide to flip flop and have each side be a reverse of the other.
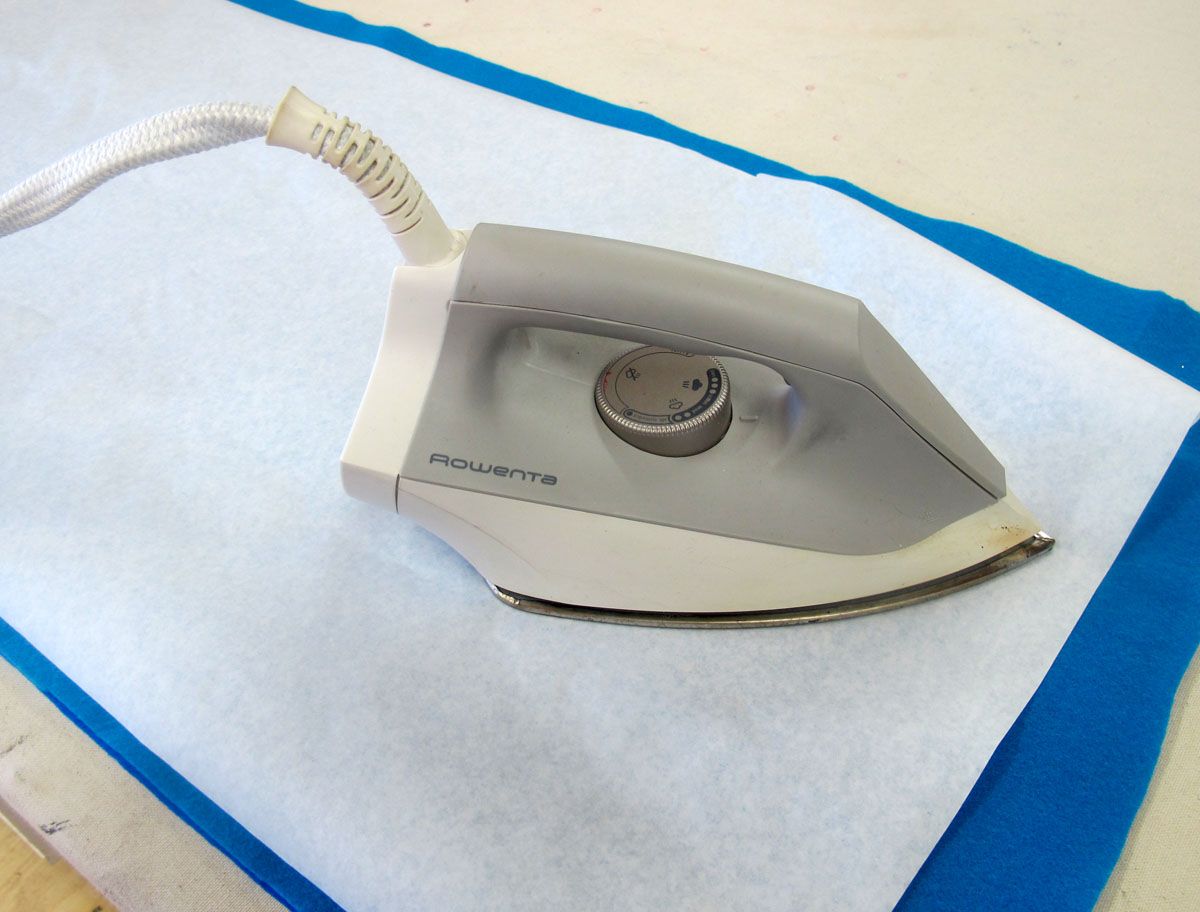
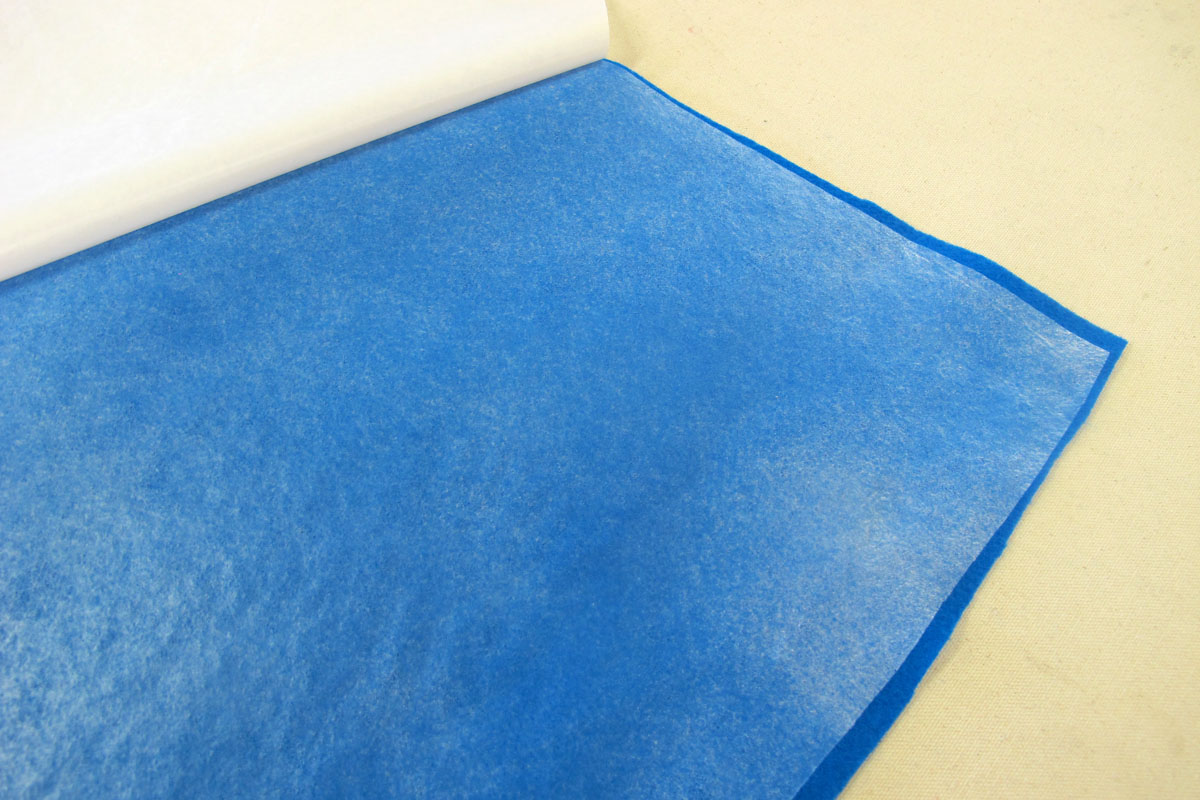
Apply the fusible webbing to the one piece of your felt. Because the felt is 72 inches wide, you will only be putting the web on about 36 inches of it (you will have ½ yard x 36″ left for another bag or another project). Pellon Wonder Under heavyweight fusible web works the best but you can use medium weight as well—the bag will be a little softer overall.
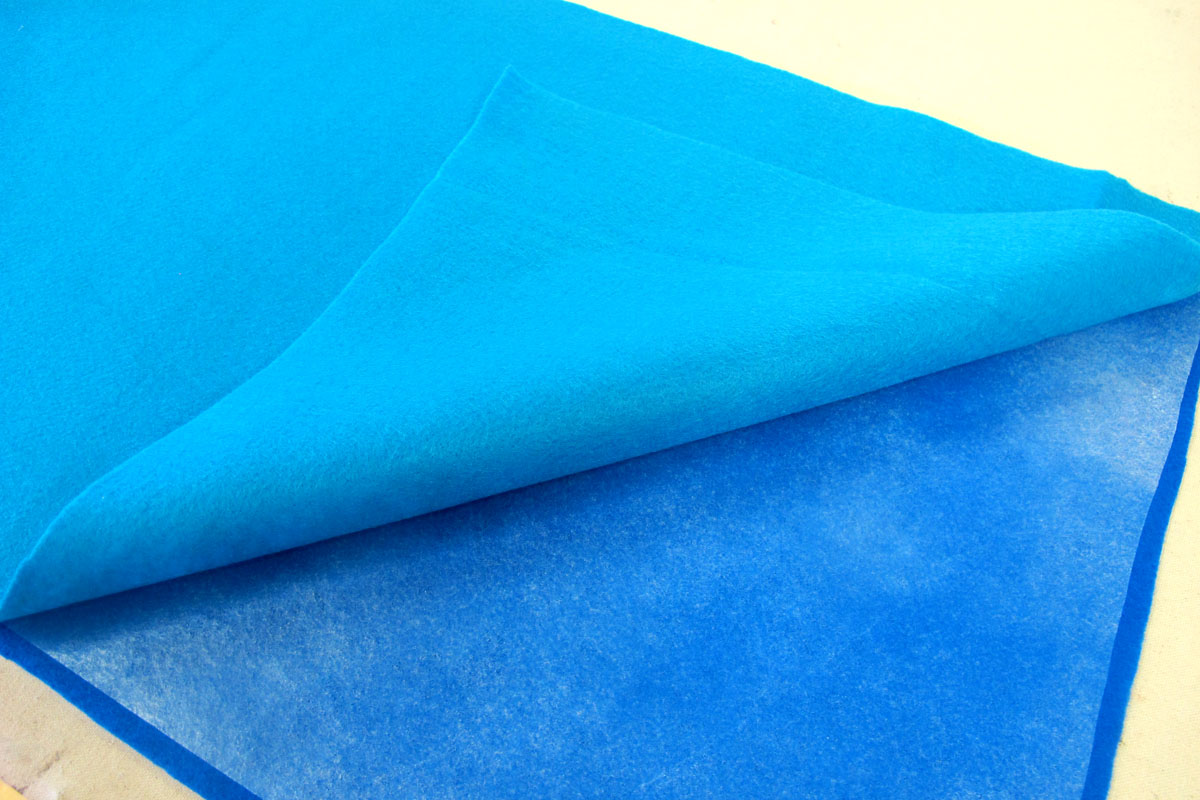
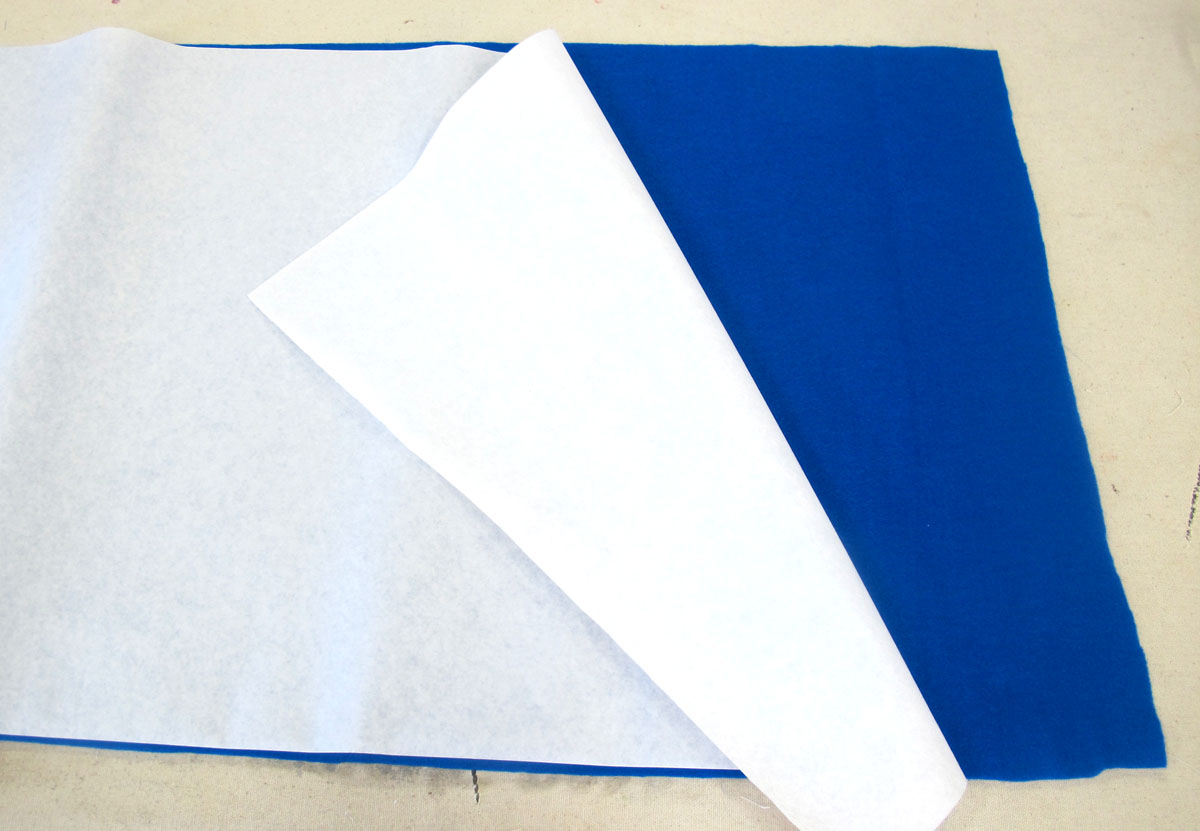
Peel off the backing paper very carefully and lay your second piece of 36″ wide x 18″ felt on top of the first piece. Smooth carefully. Cover with a press cloth or the removed paper backing from the Wonder Under and iron down the length in the middle first and then work out the edges to avoid any bubbles or wrinkles. Make sure everything is securely bonded.
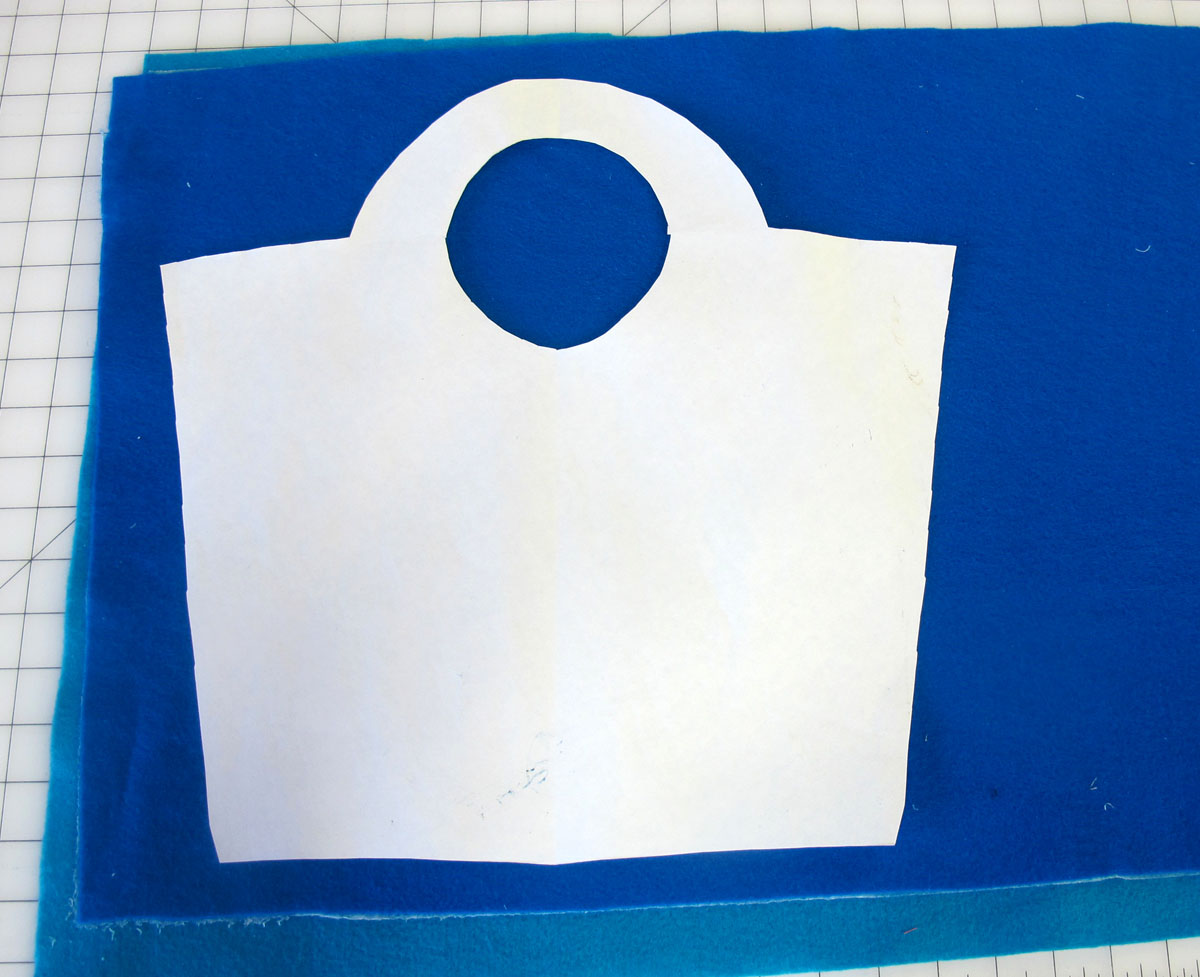
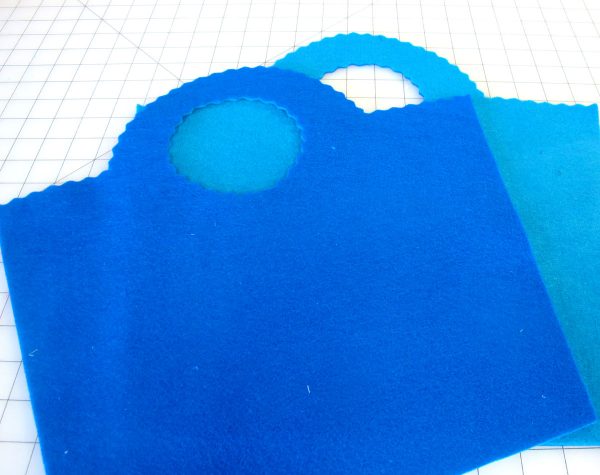
Place your pattern pieces and lay them out on the felt. Pin and cut carefully around the pattern on the bottom and 2 outside edges using your rotary cutter, mat and a ruler. Do not remove the pattern as yet.
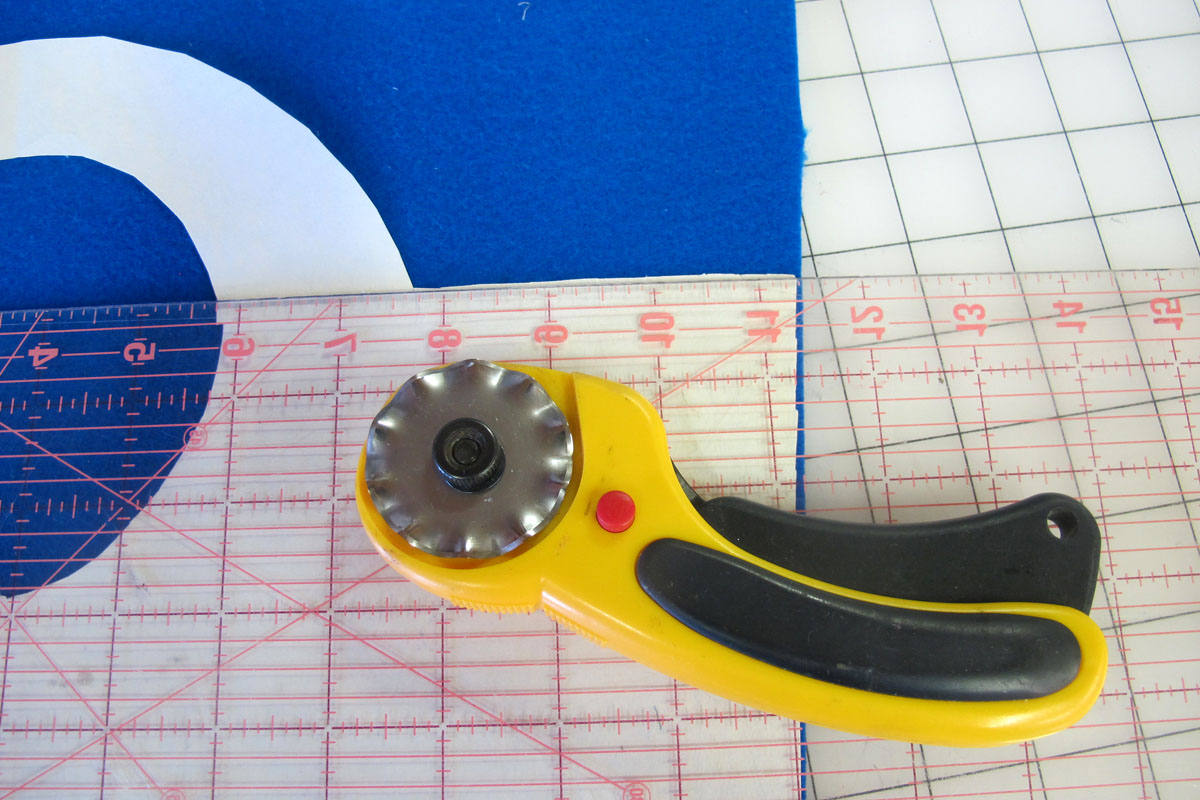
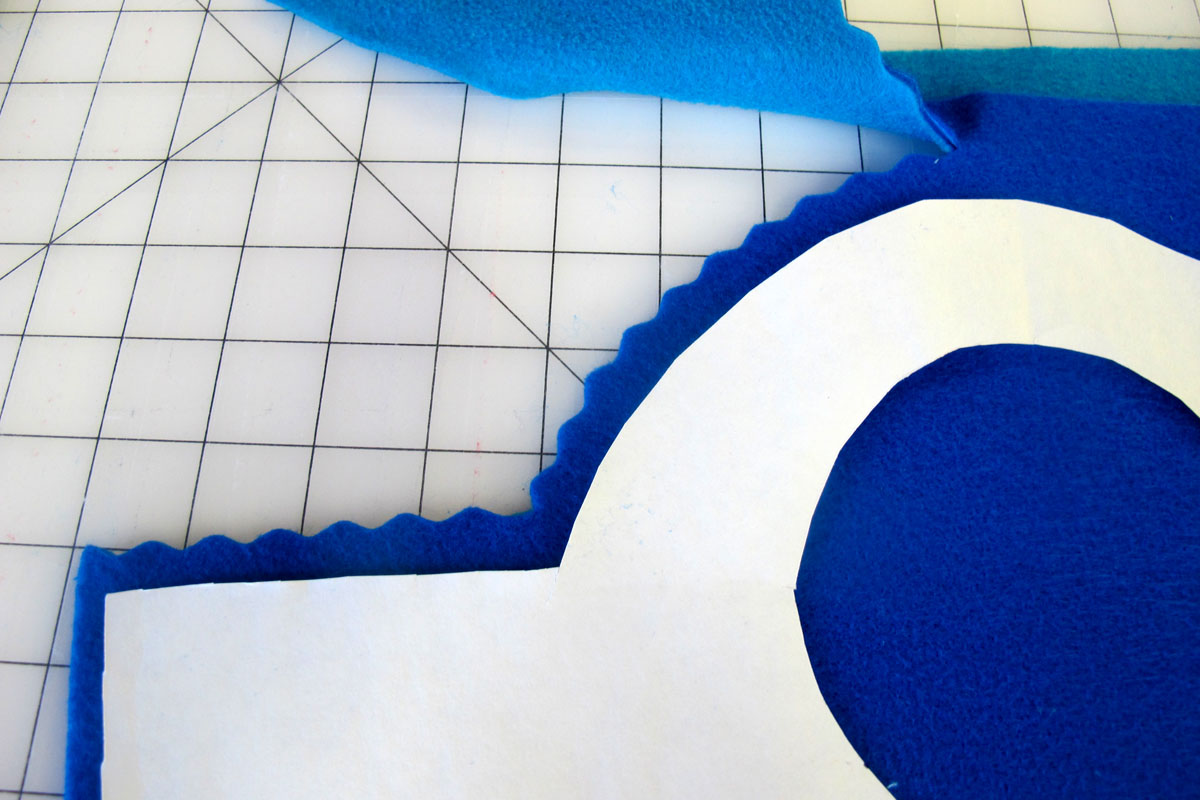
This step is tricky! Using a scallop blade on your rotary cutter (wave blade or zigzag blade could work as well but the scallop is my favorite) cut from the sides to the handle on the top of the bag.
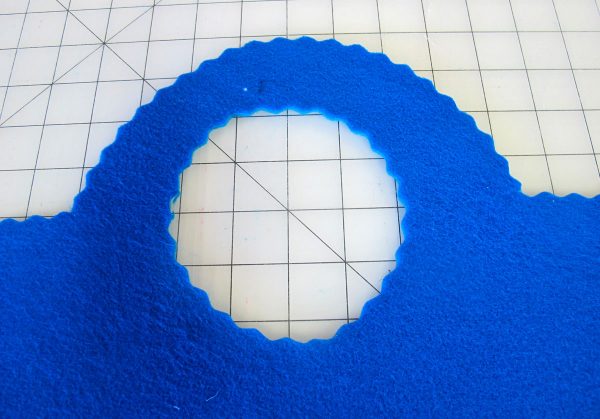
Then carefully cut around the handle. Because it is curved you need to do it freehand. Just take your time and move slowly. If you lift the blade, try to reposition it right back in the same pattern spot so there are no gaps. Do the same thing on the inner circle of the handle. If you stop and carefully turn the pattern and felt while holding the blade in place you can make it easier to go around the circle. I recommend practicing this on some of your scrap felt first!
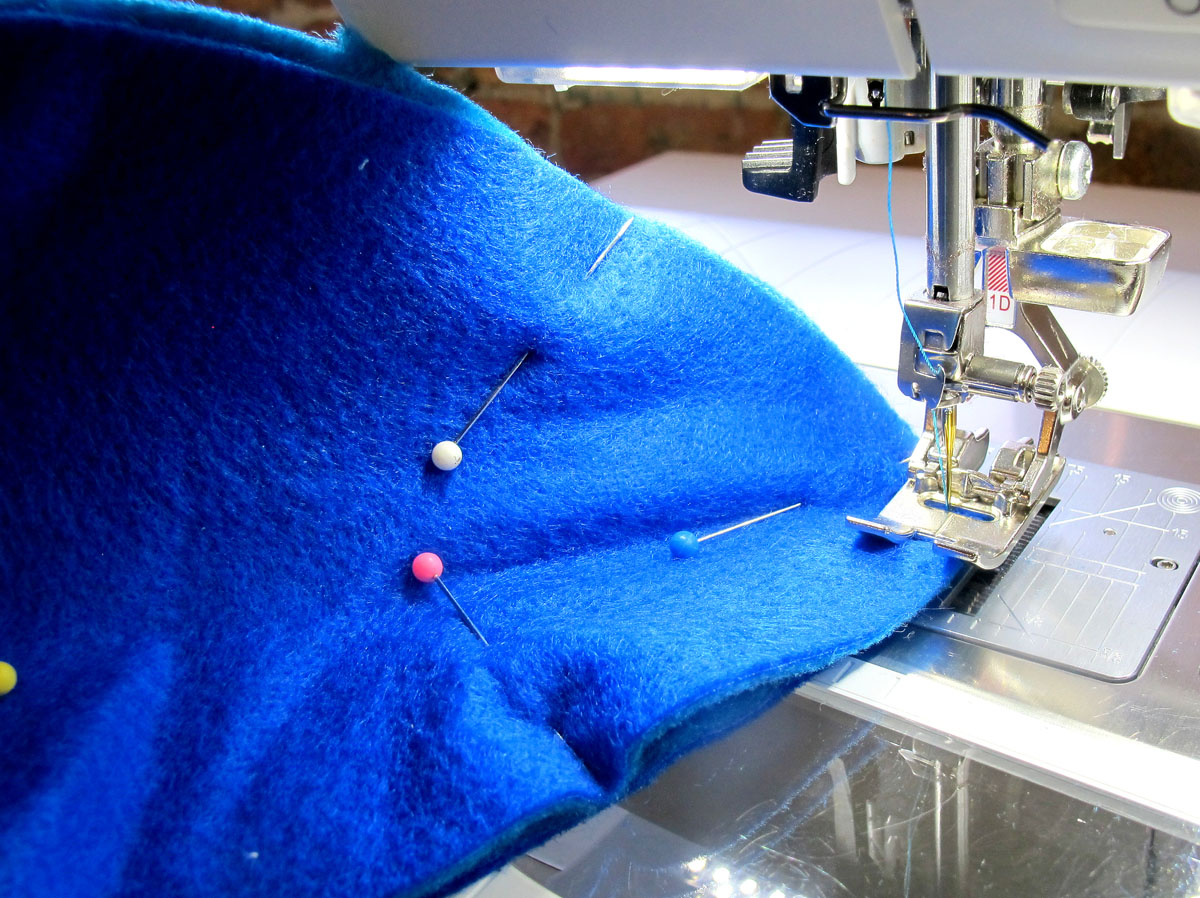
Time to sew! Pin your bag together so that the sides are aligned and get ready to stitch with a beautiful decorative thread. I chose a variegated blue/green thread. On my BERNINA 750 QE I chose decorative stitches from the Group 3 folder, but I suggest you try a few different stitches and settings for width and length to find something that appeals to you. Try them out on scraps of your felt, and make sure that the stitch goes to the edge of the felt or slightly over it.
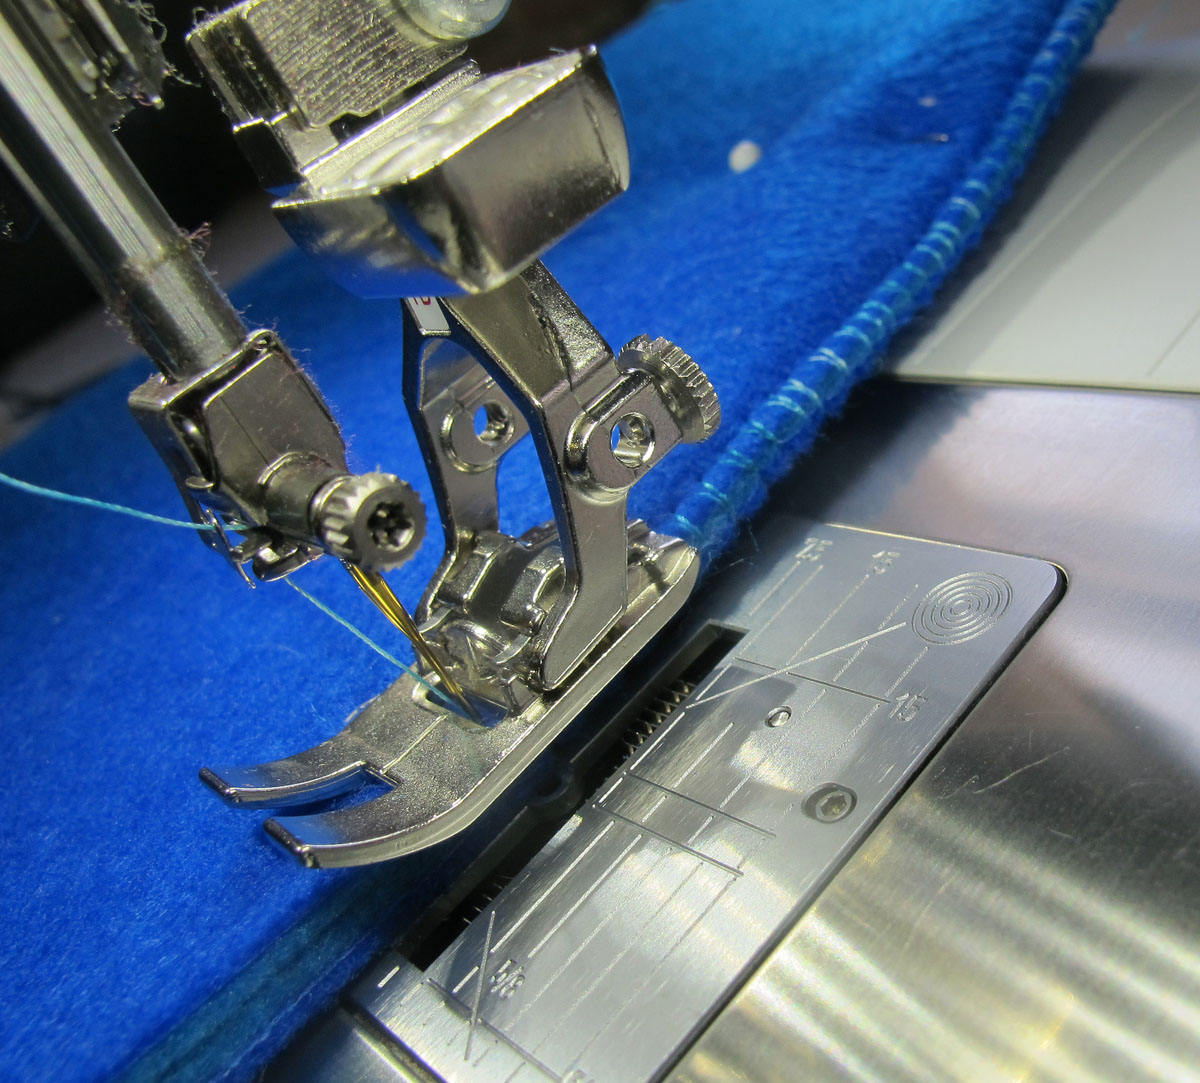
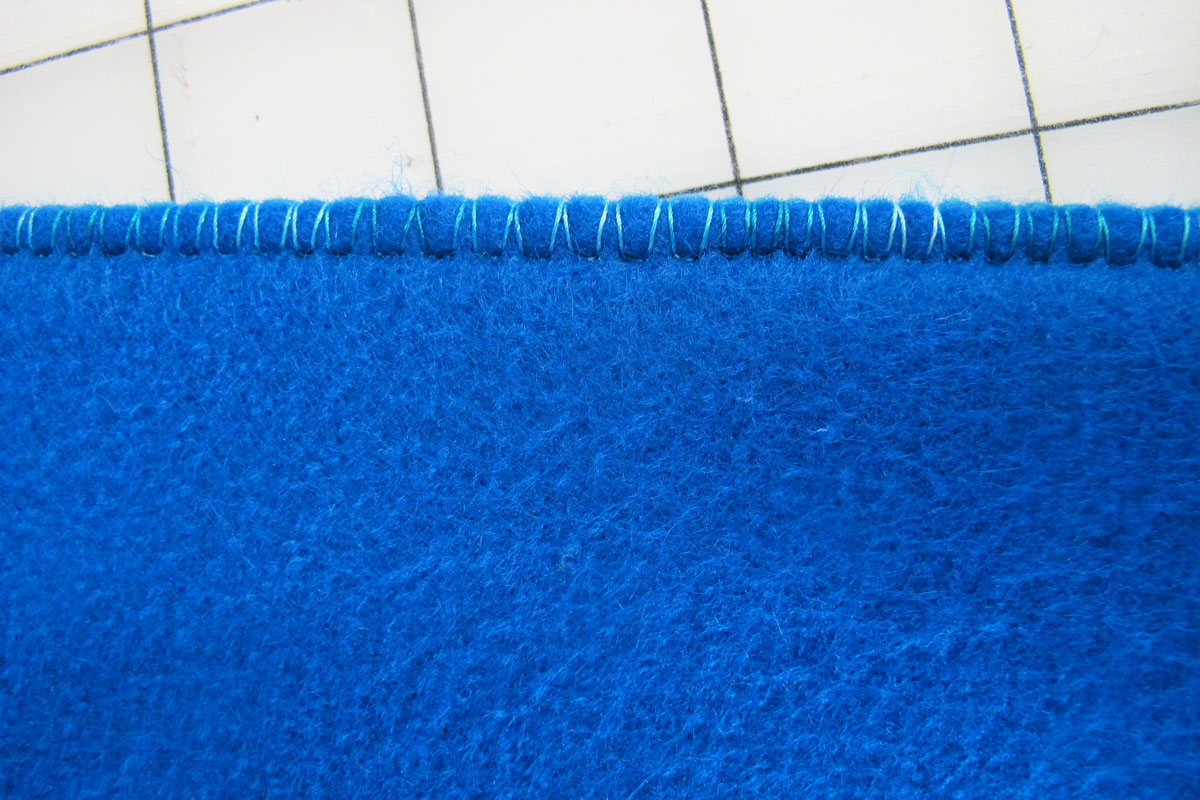
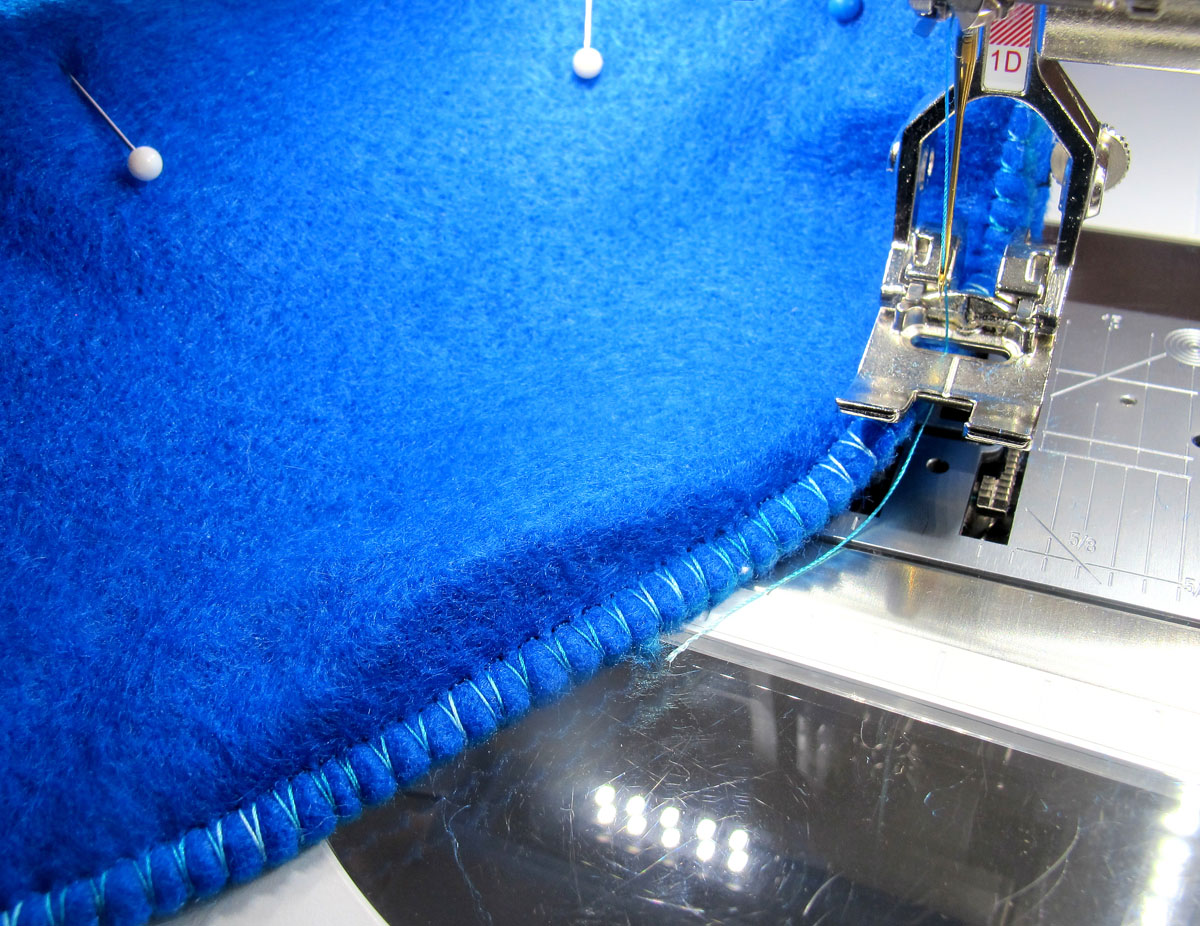
Start stitching at the top of one side. Repeat for other side. Trim.
Now it’s time to add the bottom to the sides.
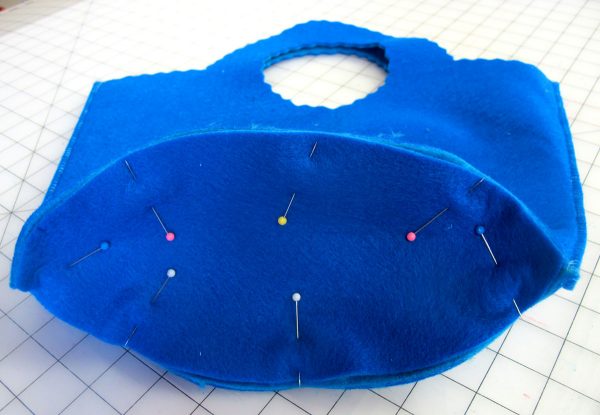
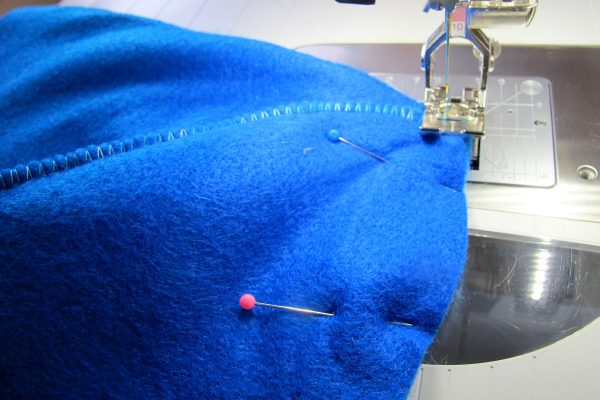
Pin you bottom felt piece to the inside, making sure that the points at each end are right at the side seams. Use several pins and make sure it fits exactly. There is nowhere for any extra fabric to get absorbed.
Start stitching the bottom to the sides at one side seam. Go slowly and carefully around to the other side seam and stop and reinforce. Use the same decorative stitch as you did on the sides or a simple zig zag.
Turn the bag around and start again at the side seam and stitch carefully around to your starting point. Make sure that your stitching goes all the way to the edge or slightly over the edge of the felt.
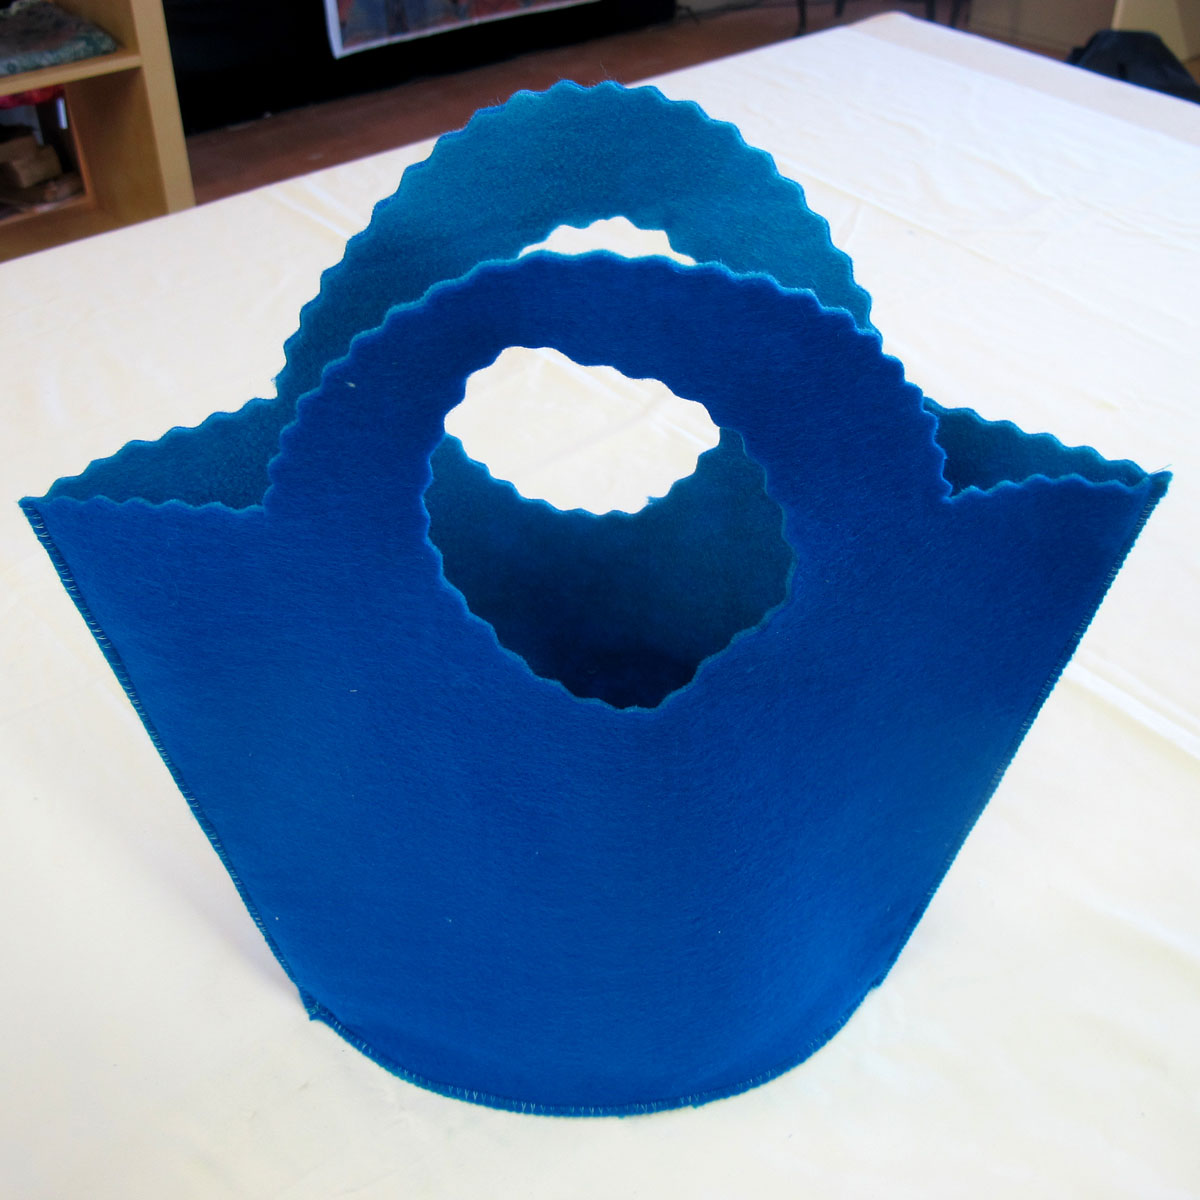
Stand your bag up and admire!
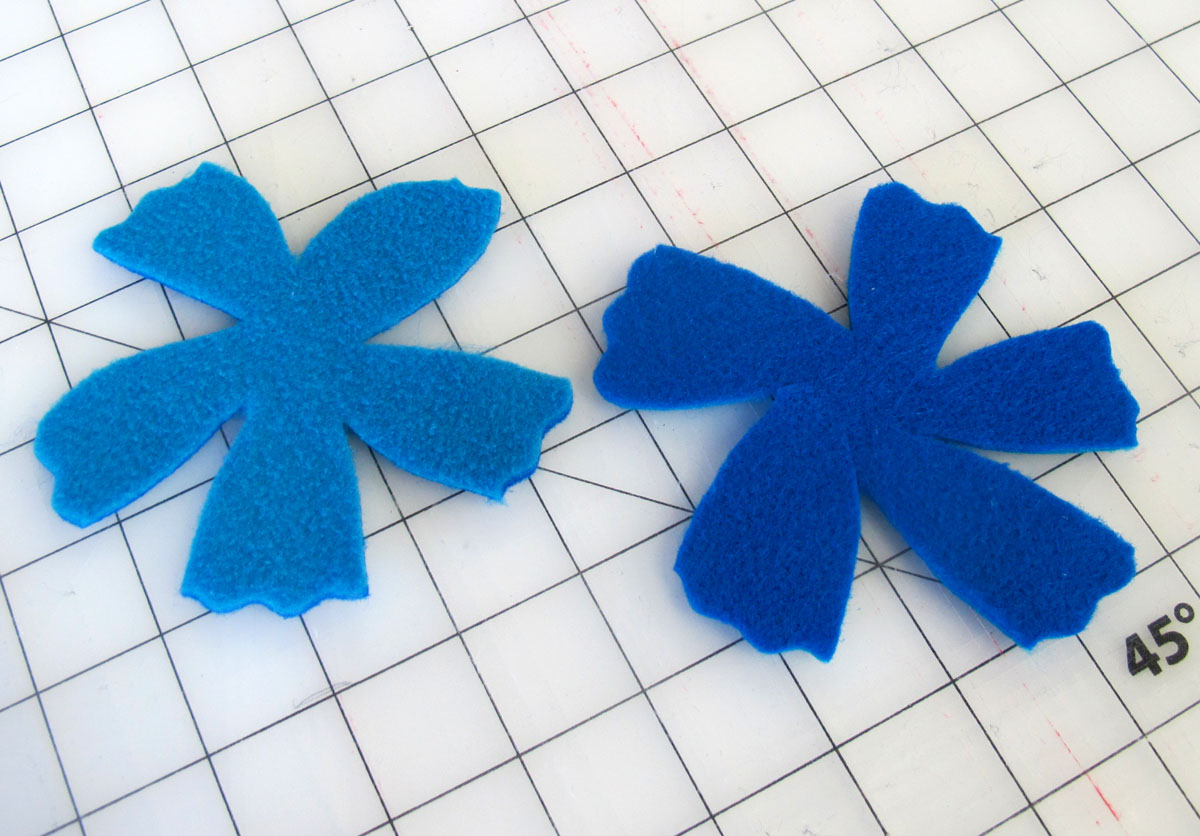
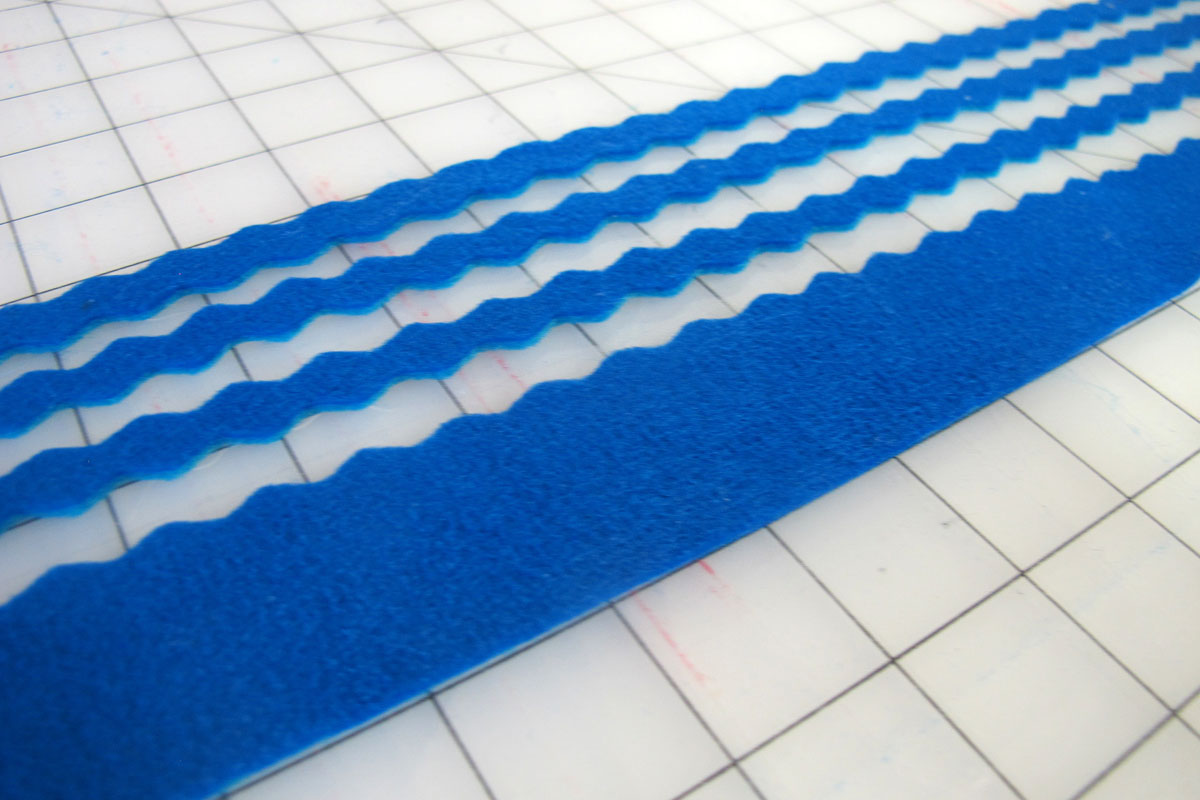
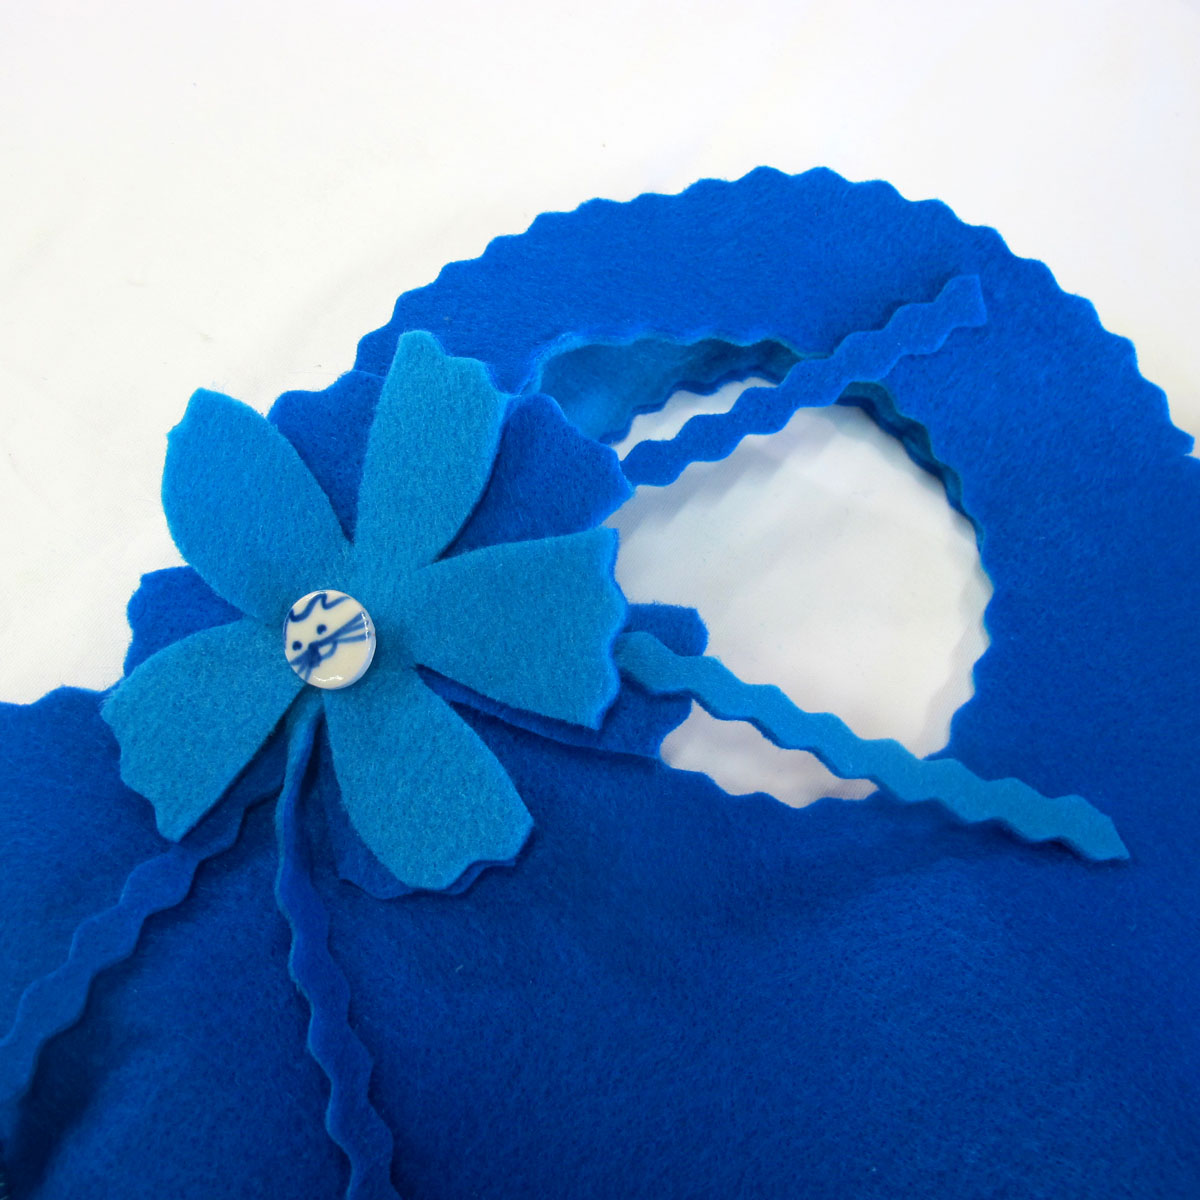
The best thing about this bag is that you can add some decorative elements adds more interest. I cut scalloped ribbon and some free form flowers from my scraps. I attached them at the base of the handle with a couple of reinforcing stitches and then added a fun button!
You can use your bag in many ways. A centerpiece with a vase of flowers tucked inside and covered by some tissue or shredded papers. An Easter basket! A gift bag!
Now that you have learned this simple technique you can make others in different colors or with more decoration on the side pieces, or different stitching. It is adaptable to different decorations for the changing seasons. Enjoy!


One comment on “Spring Gift Bag”