Steampunk Office
This project is one of many featured in the BERNINA 2013 Holiday Look Book. Visit your local BERNINA store for more information.
Wikipedia describes Steampunk as a genre influenced by, and often adopted from, the style of the 19th-century scientific romances of Jules Verne, H.G. Wells, and Mary Shelley. We added our own elements to give our Steampunk office vignette an industrial flare.

Steampunk Clock by Gayle Schliemann, BERNINA of America
Anytime there’s an opportunity to make something with a sewing machine that requires using paint and a drill, sign me up – using gears, washers and, wait for it…. An aluminum can, even better!
I have been inspired by several items accrued in the past months: Textured scrapbook paper, printed tissue paper from a recent online order from All Saints Spitalfields, a bag of gears and watch pieces I found in a friend’s garage, metal craft accessories found while perusing the aisles at Michaels and, of all things, my recycle bin. All of these items I planned on incorporating into a clock.

Every clock needs a face and I started with a 6″ square of 1/4″ thick luaun plywood (available from your local hardwood store) and spray-painted it black. Have you seen the Every Stitch Counts Steampunk embroidery collection? I am such a fan of software and digital tools – I could play with them all day. So I made some changes to design #12378-06.ART in BERNINA DesignerPlus Embroidery Software 6 and saved it in the EXP file format so my DesignWorks software would recognize it. I used the DesignWorks Software Suite to turn this embroidery design into a PaintWork design so that I could paint on wood with my sewing machine thanks to Sharpie gold and silver markers.

The Clock face detailing was painted in the Jumbo on a BERNINA 830 using Sharpie Gold and Silver pens in the PaintWork tool.
Using the DesignWorks Software CutWork options I created the textured silver scrapbook paper shapes and stencil. I cut both at the same time – the CutWork Tool is amazing as it can cut through many layers at once.
After the clock face dried, I drilled a hole in the middle and added a clock mechanism. This was mounted to a 12” x 12” basswood canvas (available at your local craft store) with a variety of different screws (it looks better if you use unmatched screws).
One of the simplest crafting projects is decoupage. I used this technique to add printed papers, scrapbook paper, and other items. I even used an old electric fixture sticker I found in a closet.

After the decoupage was complete, I used black spray paint and the cog stencil to embellish the clock face. I didn’t worry about over-spray; this just added to the distressed loop of the piece.
Finally, I used some utility scissors to cut the top and bottom off of an aluminum can, then made a vertical cut and opened out the sides to form a rectangle. I used a rotary wavy edge cutter to clean up the edges (no, I can’t use this blade for fabric after cutting metal!) and then painted the wrong side with chrome spray paint. I flattened out the can and created creases in it before I glued it to the center of the basswood canvas with E6000 glue.
The final steps were very simple, but subjective.
1. I used a jig saw to cut a square in the middle of the basswood canvas, just large enough to fit the clock mechanism.
2. I added the aluminum can piece and trimmed the excess piece away from the hole.
3. I attached the clock face using a Dremmel tool with a screwdriver bit.
4. I added bits of nuts, screws, gears, keys, chains, et cetera – when making your own clock, use whatever you find and like.
5. I glued feet and corner pieces from the craft store to the corners of the basswood canvas.
Create your own clock following the steps above, and you will always know when it is time to create your next project!
Coordinating steam punk desk accessories: I created some smaller gears with my DesignWorks software and cut them out of contact paper. I stuck these cut pieces and spray painted and etched some jars I found at the grocery store. These make for great office jars. I use mine for paper clips, tacks and rubber bands.

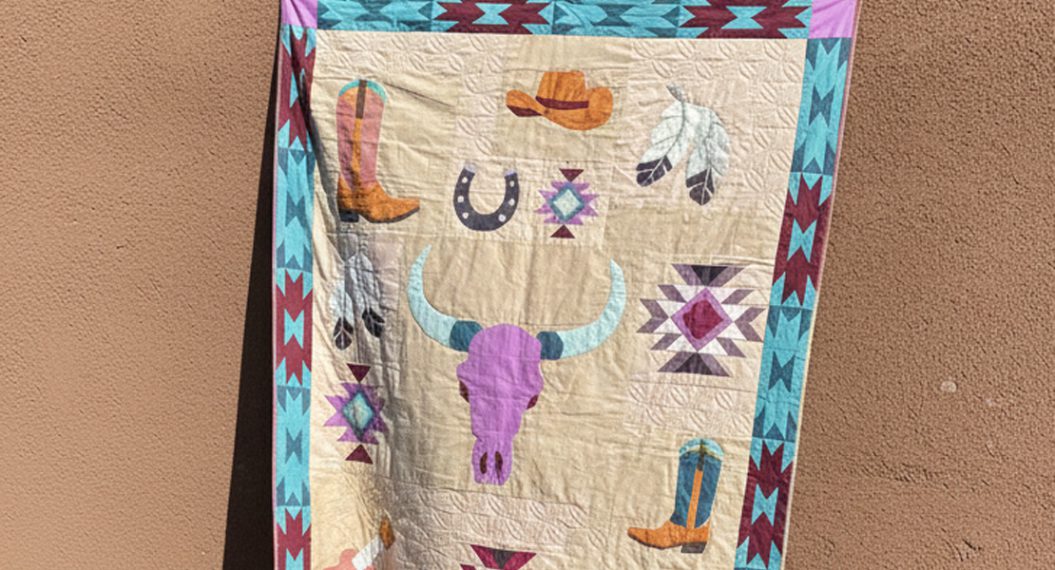
Steampunk Crazy Quilt by Mary Collen, Renton Washington
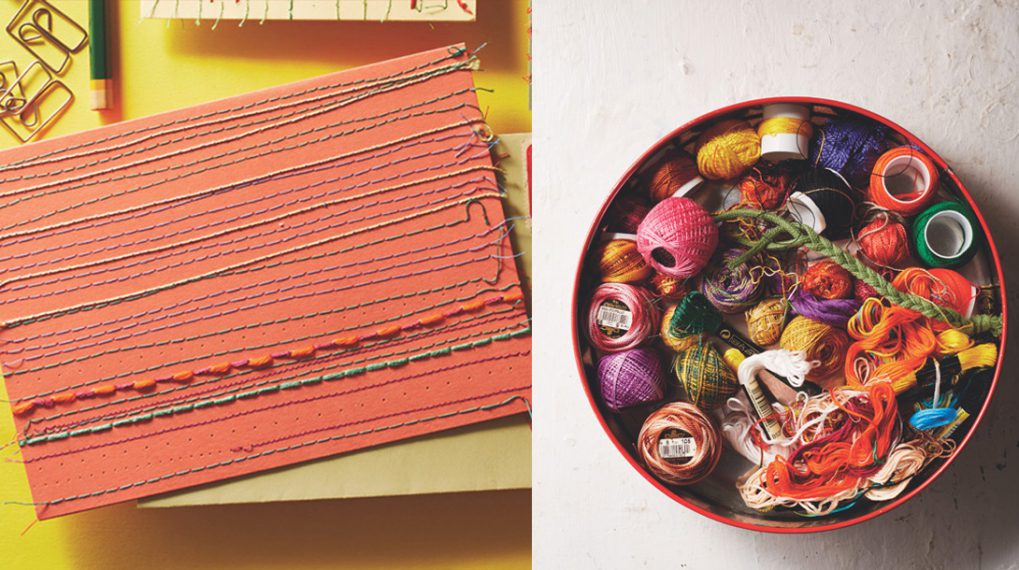
Mary put her BERNINA 780 to great use by incorporating decorative, quilting, and utility stitches in this modern Steampunk-inspired wall-hanging. (Mary calls it a throw, but we think it should be showcased on a wall. It really popped in the Atlanta house we used for our photo shoot!) With a bag of old scraps and lots of embroidery thread colors for in playing with the different stitch functions, Mary not only showcased the stitches but also the unlimited choices she had with pattern elongation, length, width, and combi-mode functions.

The piece is completely free-form and improvised, using a sturdy foundation muslin, low loft batting, and flip and sew techniques. Mary normally uses 12” blocks in creating crazy quilts because they are easy to work with, but in making this piece she used wedge shapes to emulate a portion of the spider web; a traditional crazy quilt often includes an embroidered spider and web to signify good luck.
To make your own Steampunk Crazy Quilt, place a layer of batting on top of a piece of foundation fabric (muslin). Cut a piece of decorative fabric into a pentagon. If you have Microsoft Power Point® you can draw a pentagon shape easily and use this as a template.
Place the fabric pentagon wrong side down on the batting, somewhere close to the center of the block.
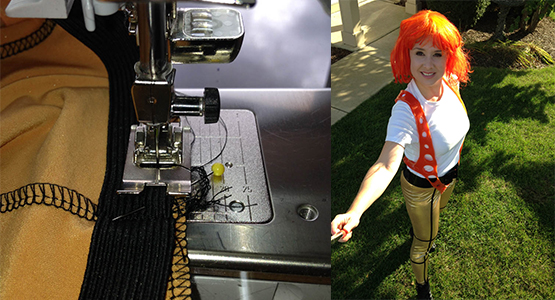
Pick another fabric and lay this one right side down on top of the first piece, aligning one edge. Sew ¼” from the stacked edge, through all layers. Flip the top piece over along the seam so it becomes right side up; press. Sew a decorative stitch over the well of the seam. Keep repeating this process until the entire base piece is covered.
If you would like to add embroidery, the Every Stitch Counts Steampunk collection works great. Complete the embroidery before piecing the blocks together.
Decide how many blocks you want in your quilt; once you have made enough, sew them together. Press the seam allowances open and add more decorative stitches over these seams.
Add backing fabric before you finish the edges to hide the bobbin thread stitches.
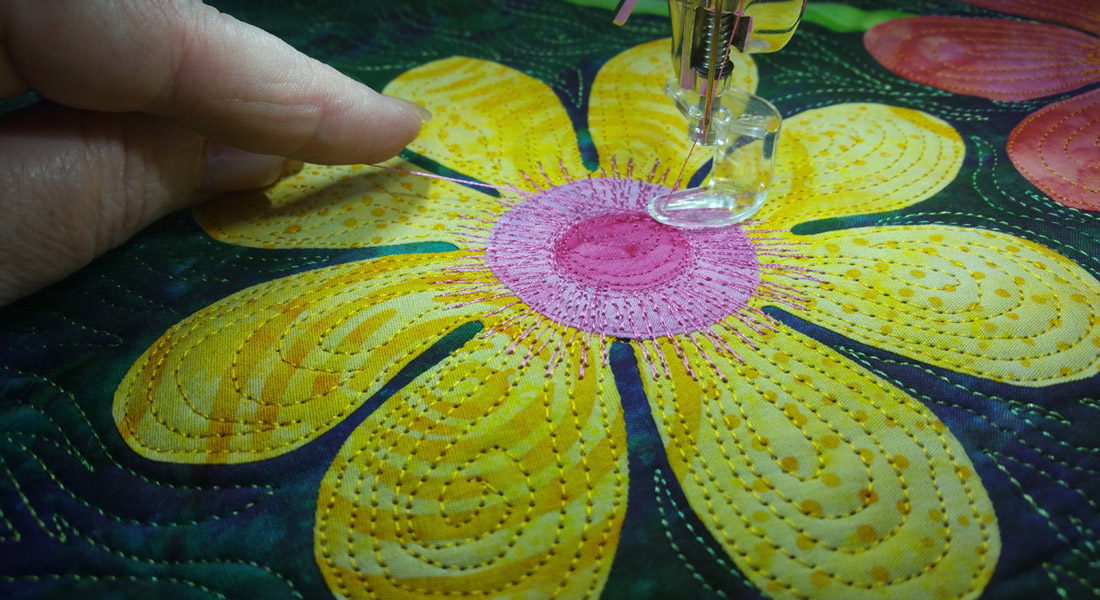
Quilt with your favorite method.
Consider adding trinkets, buttons, bobbins and various other findings using Button Sew-on Foot #18.


What you might also like


3 comments on “Steampunk Office”
-
-
Ver nice, Mary!
-
I think it would be a wonderful Christmas Tree skirt if made out of my left over Christmas scraps
Leave a Reply
You must be logged in to post a comment.

Love Mary Collen’s Steampunk Crazy Quilt. I had the oportunity to see her work at a sew-in event at Quilt Harbor in Aberdeen, WA not long ago — loved what she had done with the crystals and paintwork and cut work tools. Her creativity shines brightly in this crazy quilt. Thanks for sharing it. I