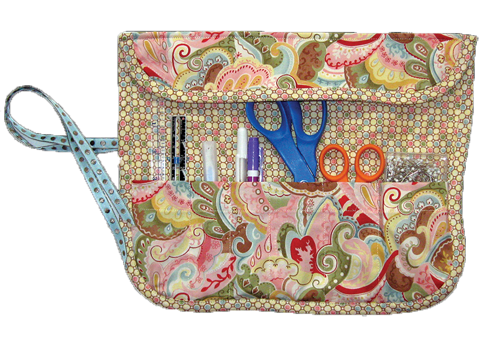
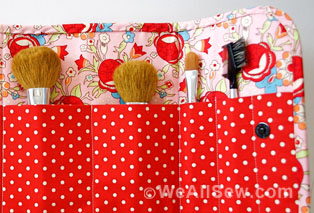
How to Make a Sewing Supply Case
One scissor, two gauges, three threads, four markers . . . well, you get the idea. Sewing tools come in all sorts of shapes and sizes, so what’s a crafty gal to do to keep them organized? Enter this superb sewing case project. Talk about a great way to keep all your tools clean and orderly so you can spend less time searching for them, and more time working on your creations!
Supplies
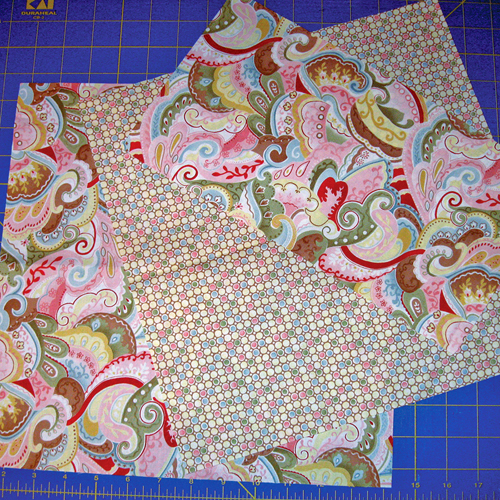
- 3/8 yard of cotton fabric for outside of case and inside pocket
- 3/8 yard of cotton fabric for case lining
- 13″ x 13″ square of low-loft cotton batting
- 1 package of 1/2″-wide double-fold bias tape or enough fabric to make 1-3/8 yards of bias binding
- 1 yard ribbon, leather string, or cording
- Coordinating thread
- Scissors or rotary cutter and mat
- Ruler
From outside material, cut one piece 13″ x 13″ and a second piece 7″ x 13″.
From inside material and batting, cut one piece 13″ x 13″.
Cut two 15”-long pieces of ribbon, leather string, or cording. Knot on one end to prevent fraying, if needed.
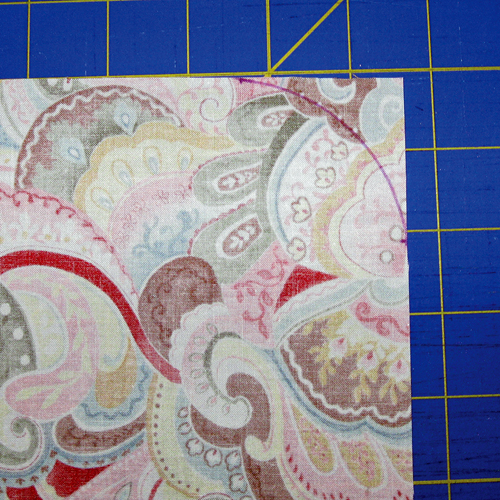
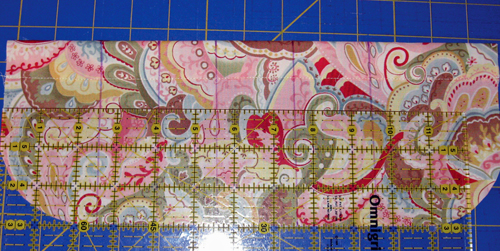
Round all four corners of each 13″ x 13″ square (rounded corners will allow for easier application of bias tape). To do this, measure 2″ from a corner. Mark dots 2″ away from this mark, moving clockwise. Connect these points by making a curve around the corner. Repeat for the three remaining corners and cut off excess material along the drawn lines. Also repeat for one long edge (two corners only) of the 13″ x 7″ piece. The same look can also be achieved by tracing around a jar lid.
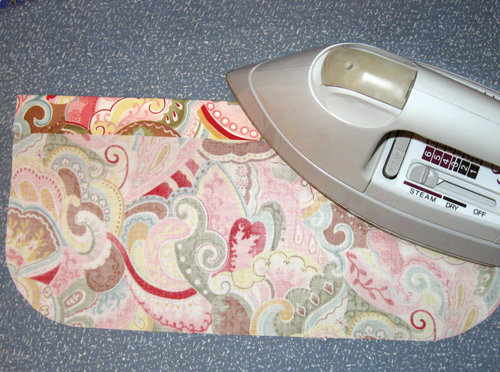
Hem the long straight edge of the 7″ x 13″ pocket piece: Fold over 1″ to wrong side of material and press. Fold over 1″ again and press. Straight stitch close to pressed edge.
To mark the front pocket sections, measure over from one short side and mark vertical lines at
- 2-1/2″
- 4″
- 5-1/2″
- 7-1/2″
- 9-1/2″
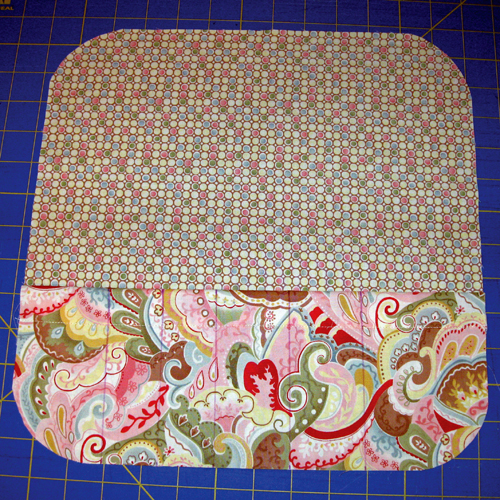
Place pocket on top of lining material, matching raw edges and rounded corners. Baste pocket in place by sewing 1/4″ around the outside pocket edge.
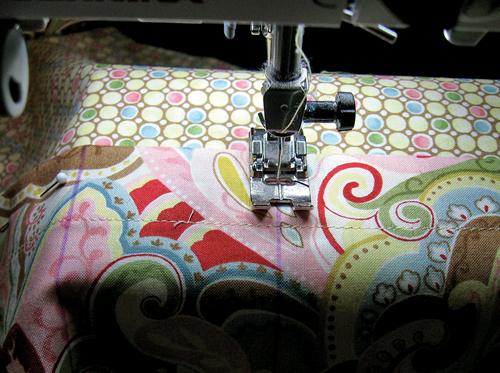
Stitch pocket to lining across marked lines. Be sure to backstitch at pocket openings to secure your stitches so the pocket does not come loose when in use.
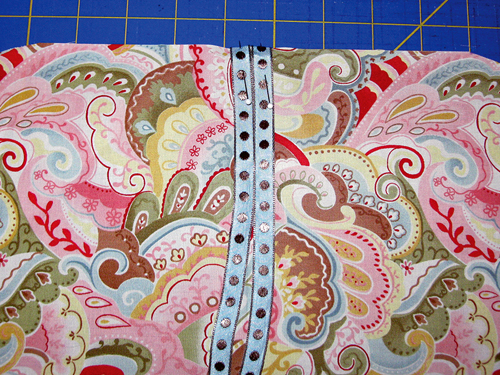
On the outside of the case material, find the center of the side edge and mark. Place ribbon on wrong side of material and sew 1/4″ from edge (if there is a right and wrong side of the ribbon, make sure the ribbon is facing down with the right side on the wrong side of the fabric).
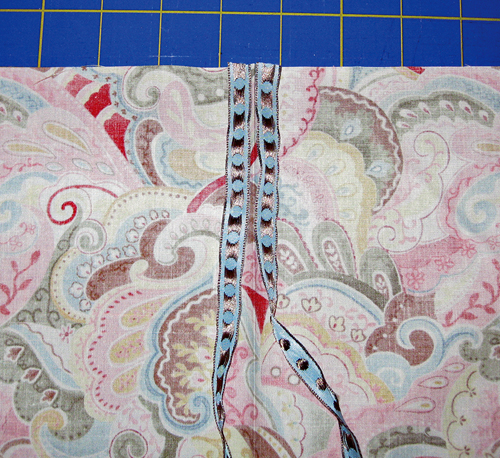
Then fold ribbon to the right side and stitch 1/4″ from edge. This process will keep the ribbon from coming loose when pulled tight.
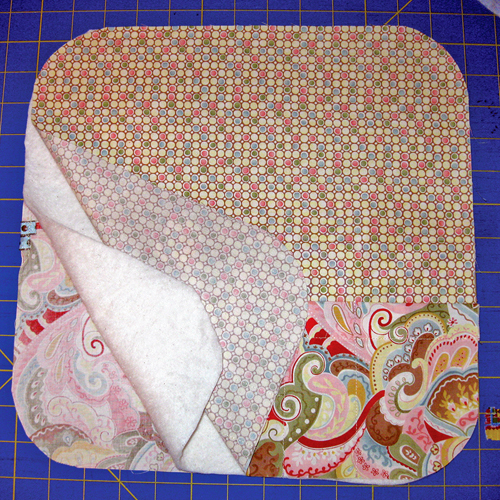
Sandwich the fabrics and batting together by first placing the wrong side of the outside case material facing up. Then, layer the batting and lining material on top (with pocket facing up) making sure to match all raw and rounded edges. Baste 1/4″ around all outside edges, making sure the ribbon’s loose ends do not get caught in the stitches.
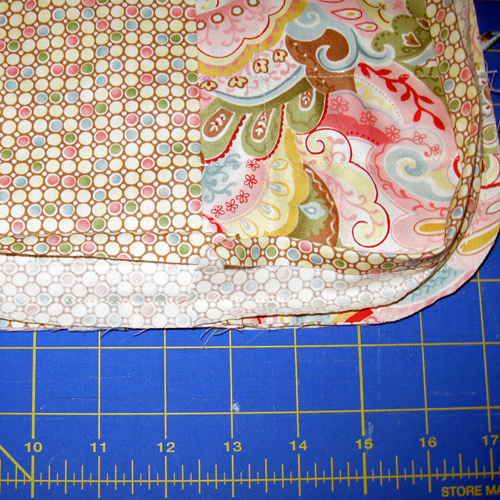
Attach double-fold bias tape according to package directions.
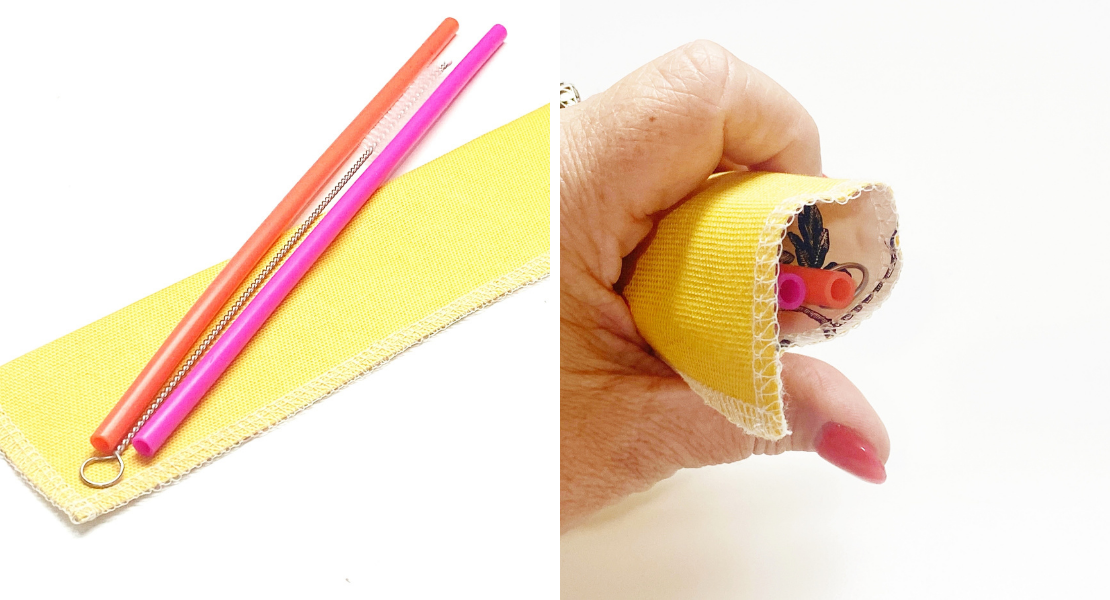
From top edge of roll, measure down 2-1/2″. Fold outside material to inside lining, press in place and sew 1/4″ from the folded edge.
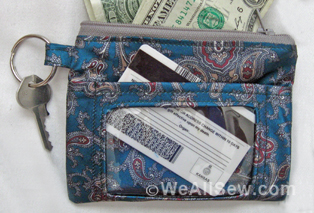
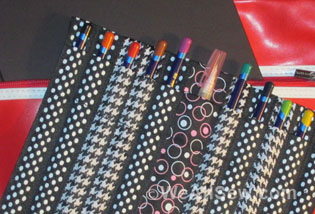
Fill with sewing essentials, roll and go!


One comment on “How to Make a Sewing Supply Case”