Tidy Tray
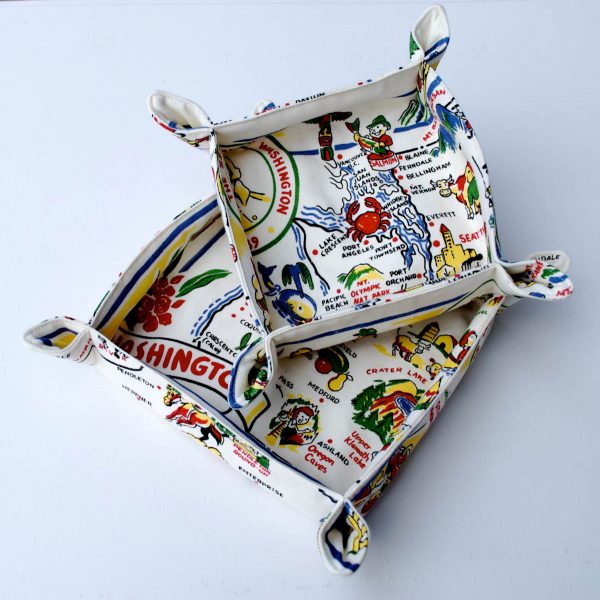
A tidy tray is a little tray you can leave by the front door or on your dresser. Empty out your pockets when you come home, and it will secure your keys, cell phone or jewelry until you need them again. To make this project special, recycle a vintage dishcloth or a canvas bag picked up during your last vacation. I especially love the printed towels that feature a map showing all of a state’s attractions. Your vide-poche will be a wonderful reminder of some lazier days.
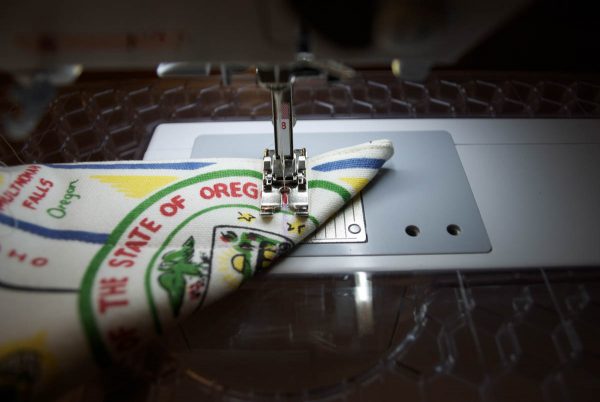
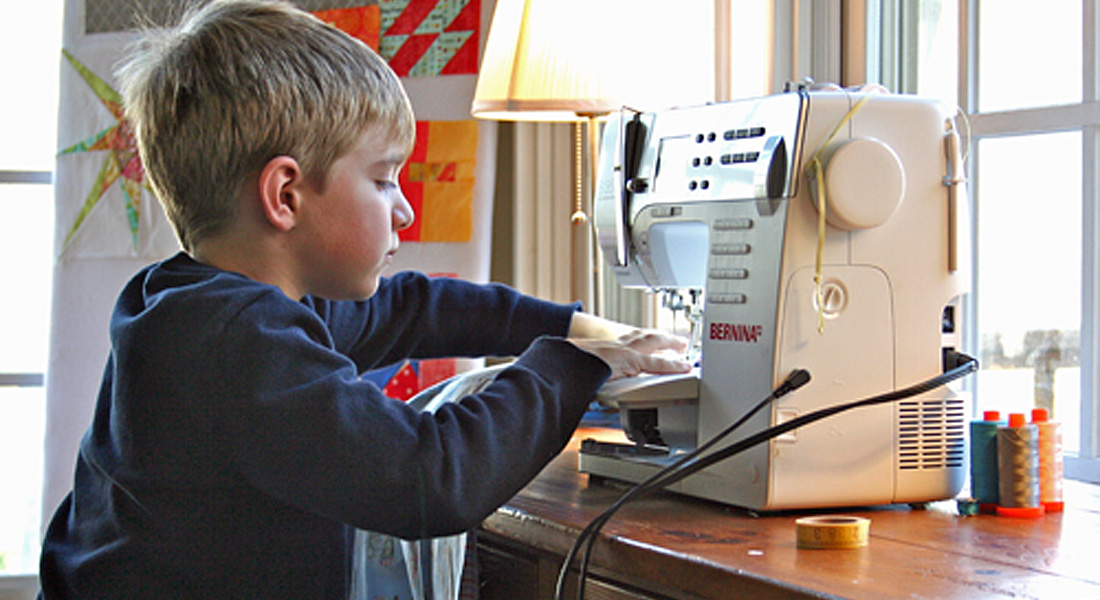
To make sewing through all the layers in this project easier, I recommend using the BERNINA Jeans foot #8, a straight stitch foot meant for topstitching jeans. This will yield beautiful stitch quality.
Materials to sew a tidy tray
The tray can be made in a variety of sizes, but I find that squares between 8″ x 8″ and 11″ x 11″ produce a nice sturdy surface.
- Two squares of fabric measuring between 8″ x 8″ and 11″ x 11″
- One square of cotton batting the same size as the two squares
- Purple vanishing fabric marking pen
- Pins
- Thread
- Hand-sewing needle
- Your sewing machine
- BERNINA Jeans foot #8
Step One
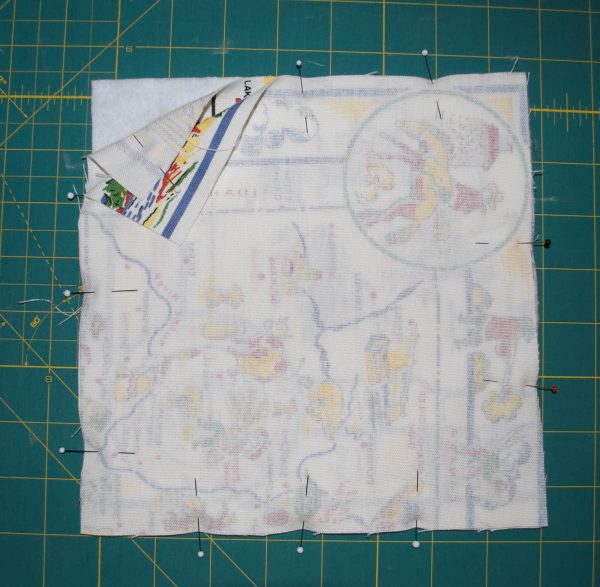
Place the square of batting on a flat surface. Place the two squares of fabric right sides together on top of the batting. Pin the three layers together, leaving a space measuring about 2 ½” wide along one side for turning. In the photo the opening is between the two colored pins.
Step Two
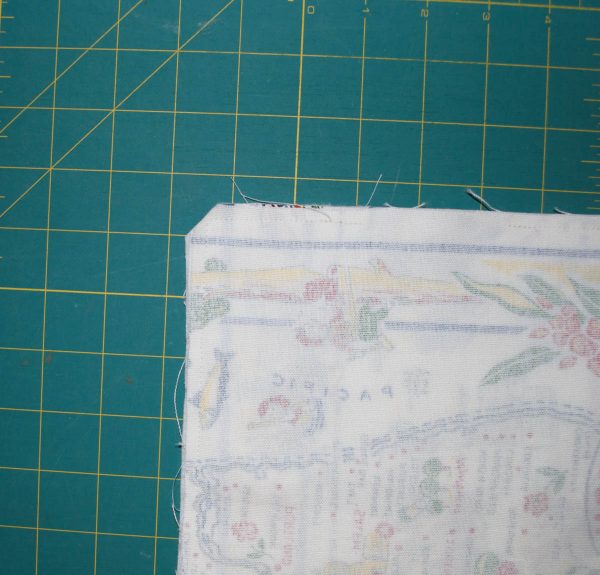
Sew all around the perimeter of the square using a ¼” seam allowance, being careful not to stitch over the opening. Clip the four corners and turn the square right side out. Press the opening closed and topstitch close to the outside edge.
Step Three
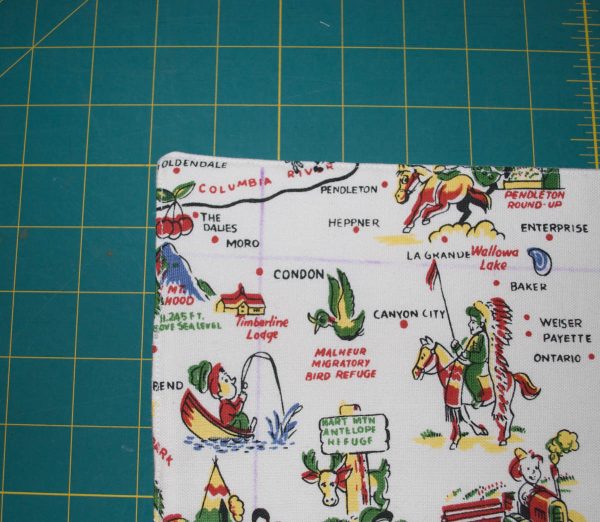
With the purple marking pen draw lines 1½” from each of the four sides. Sew around the perimeter of the square you have just created with the purple pen.
Step Four
Now is a good time to attach the jeans topstitching foot to the sewing machine, because in the next step you will be sewing through six layers at once!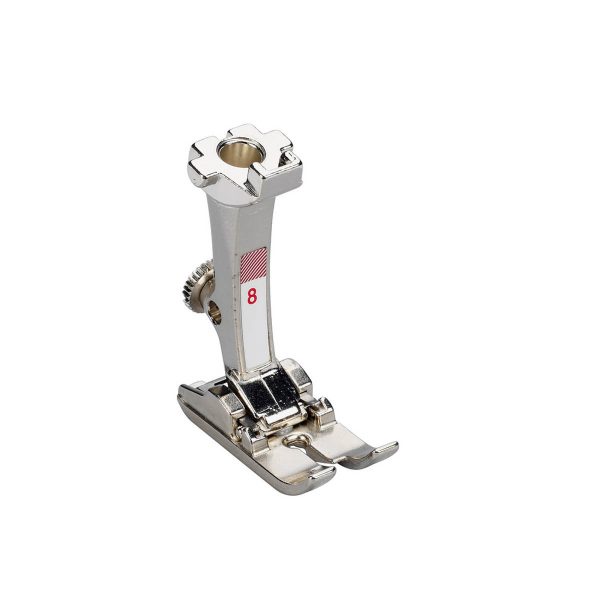
Step Five
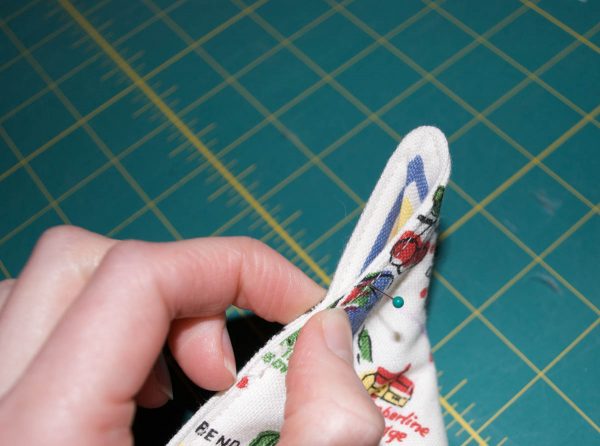
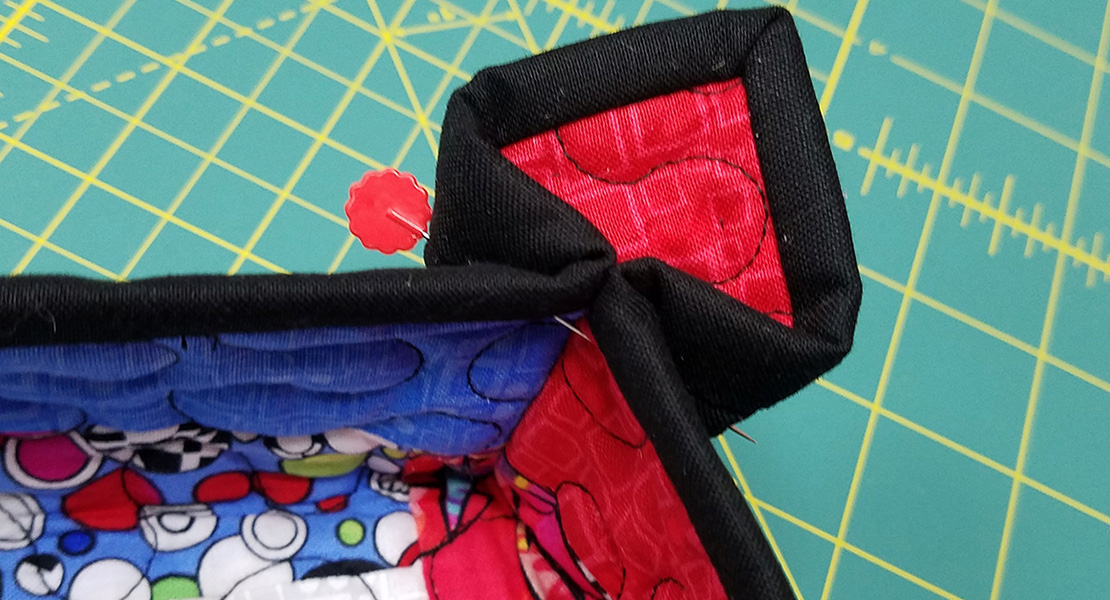
Fold one corner, matching two of the purple pen lines.
Step Six
Sew along the part of the line that joins the edge of the fabric to the corner of the inside square.
Step Seven
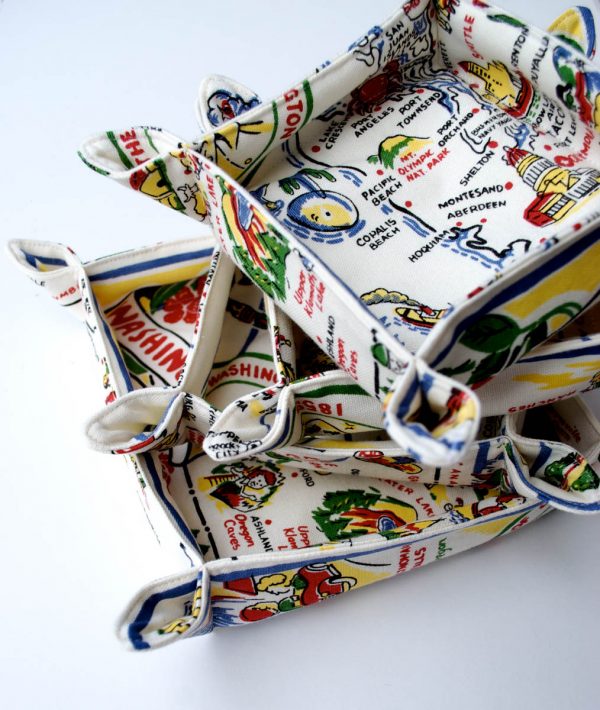
Repeat this process on all four corners. To round and open the corners, press them toward the tray firmly with your fingers. And here you are with another project wrapped up!
What you might also like
5 comments on “Tidy Tray”
-
-
Great idea
-
-
Made one of these trays for “bureau stuff” that the cats take great delight with which to play hockey! Only design change I think I’d make is to do a bit of quilting in the bottom of the tray to make it a bit stiffer. These would make great Christmas gifts, as we all have “stuff” on our bureau that needs to be controlled!!! Linda from Maine
-
Has anyone triedc this using Terial Magic? It would make it much stiffer
-
-
Great idea! Does anyone know how I can get some of this same fabric? I livre in this area and would love to have some of it!
Thank you.
Leave a Reply
You must be logged in to post a comment.


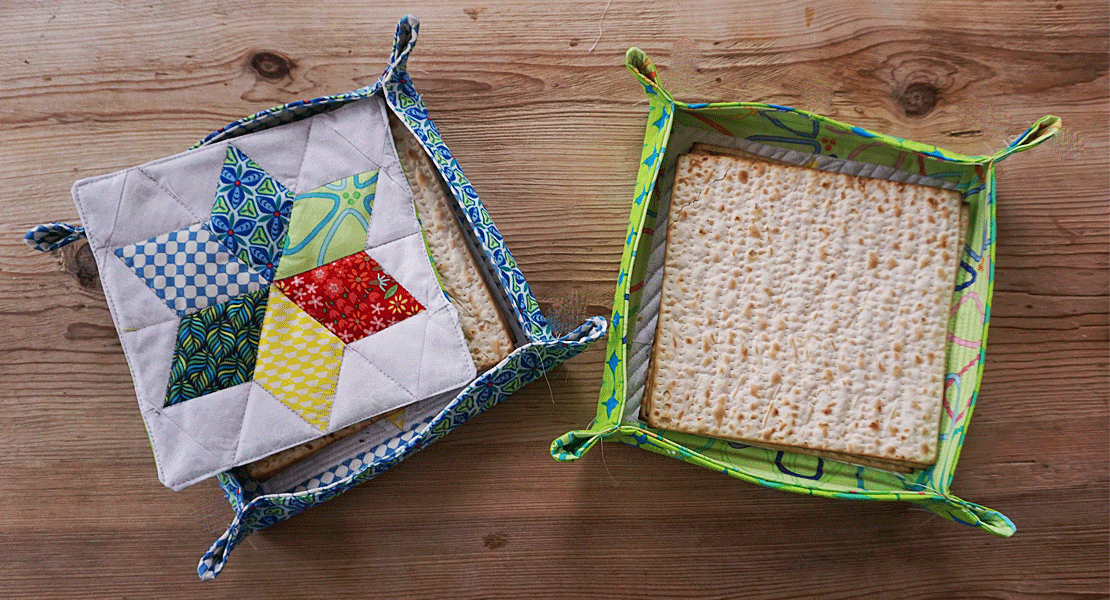



I’ve made several of these, but instead of sewing the corners, I use large snaps. They are great for traveling to place your phone, glasses, etc by the bed or on the dresser so everything is in one place. By using snaps, they lay flat in your suitcase and edges continue to stand up in use.