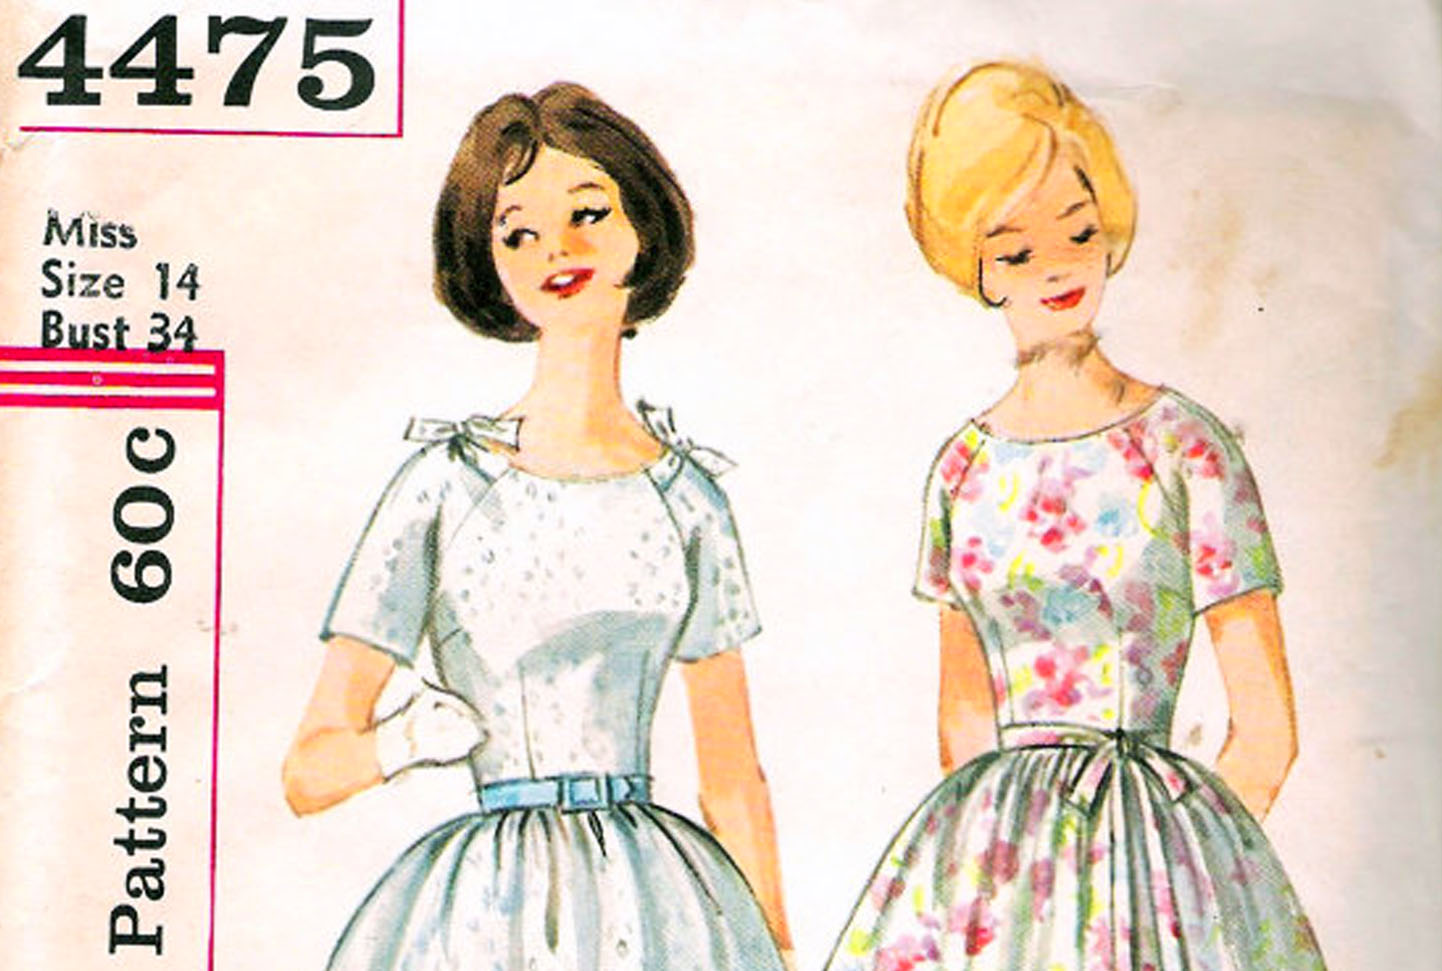
Vintage Dress-Along Week Three
![]()
Welcome back to the Vintage Dress-Along! We’re sewing vintage dresses together, and this is our last week of sewing. The first half, where we constructed the body of the dress, is here—there’s still time to join the dress-along!
This week, we’ll be completing our dress! There’s only a bit left to do: attach the skirt, insert the zipper, and sew the hem—then we’ll think about any special finishing touches.
I’m using a traditional center zip (If you want to get vintage points though, a hand-picked zip is the best—you get the most control over your insertion and a beautiful finish).
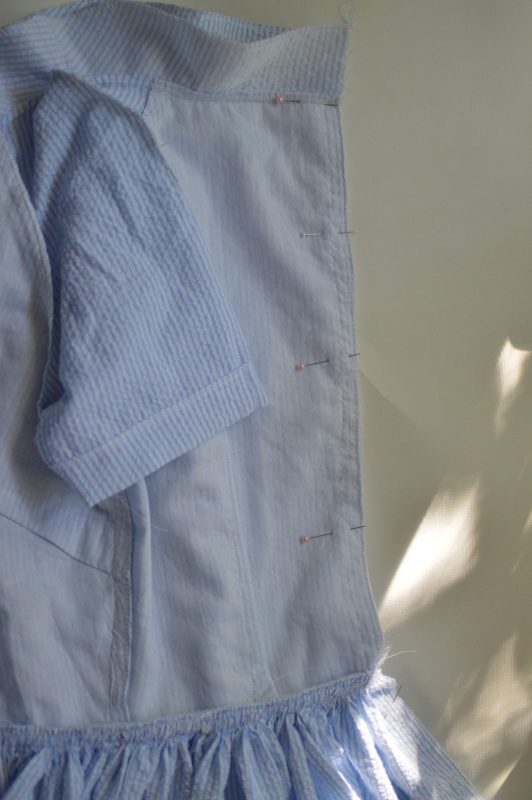
Pin and sew your back seam using a long basting stitch for the length of your zipper, then switch to your regular stitch length and backstitch before sewing the rest of the hem.
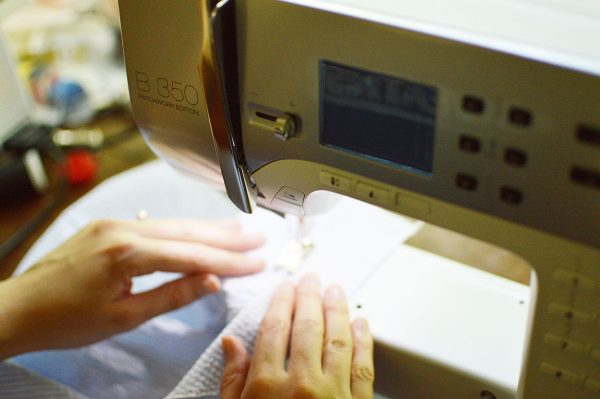
Press the seam open, then pin (or I have seen people use glue sticks even!) your zipper, centered on the seam line. Then, install your Zipper foot #4 and set your needle position to the side. If you’ve never sewn a zipper in, this tutorial is great for a centered zip!
One last tip I have for sewing zippers is to sew one side of the zipper top to bottom, then do the same on the other side, switching which side of the zipper foot your needle and fabric are on. If you (like I used to) sew down one side of the zipper, then around the bottom, then up the other side, you risk misalignment of your fabric as it shifts slightly.
So easy! Zippers aren’t that scary, right? (And again: if you are scared of doing zips by machine—which you shouldn’t be!—you can always do a handpicked zip.)
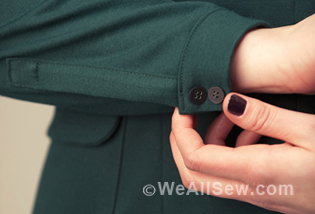
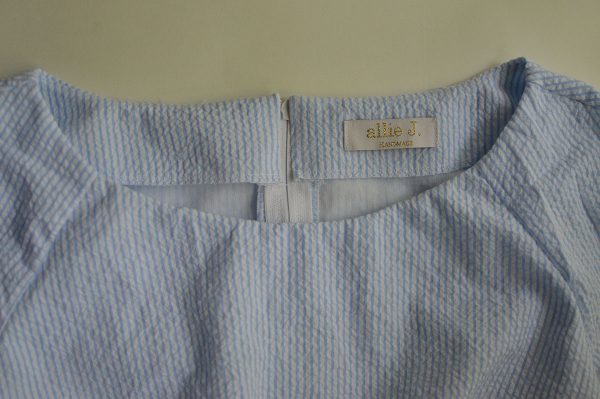
Hand sew your back neck facing to the zipper tape.
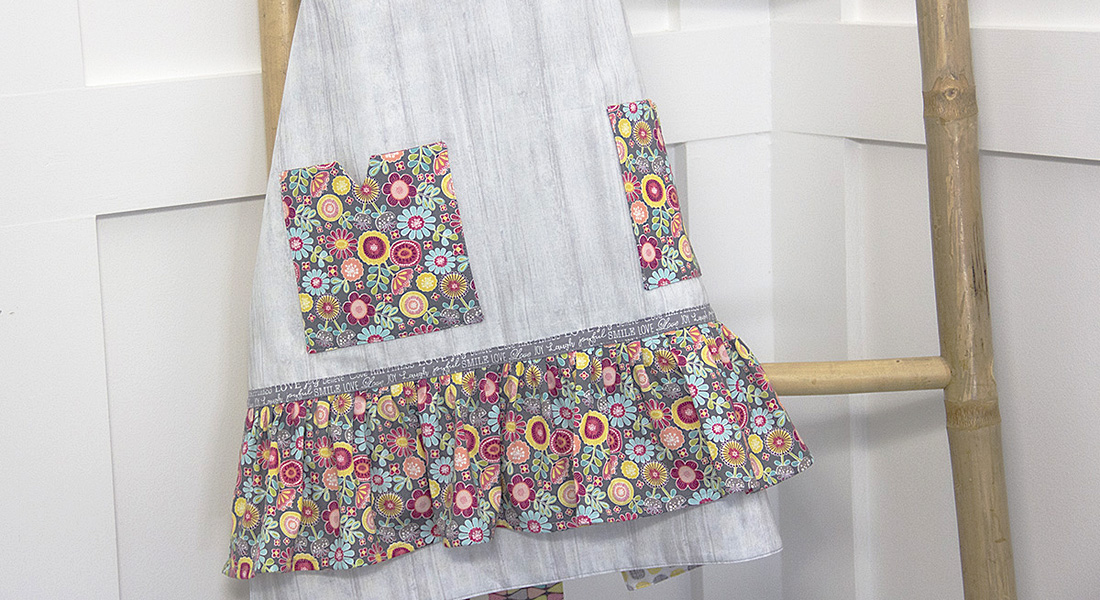
The last necessary part of this dress-along is the hem! Finish the edge of your fabric with a zig-zag stitch, overlocking, or pressing it up 1/2″. Then, press your hem to your desired length and pin it before sewing it in place. One of the benefits of this type of gathered-rectangle skirts (also known as dirndl skirts) is that there’s no easing in the hem, like there is for a circle skirt. I decided to topstitch my hem for a casual look (I topstitched my sleeves too), but you could hand sew your hem or use the Blindstitch foot #5 for an invisible hem.

Your dress can be done now, if you want…but I can never resist a little embellishment! Here are some ideas:
- A self-fabric covered buckle belt (you can often find vintage kits on etsy or ebay, tutorial here)
- A self-fabric or coordinating sash (like this one)
- An applied bow at the front waist (like on the Emery) or neckline (seen here)
- A small applied bow at the back neckline, covering the zipper and fastening with a snap or hook and eye (like this)
- Rick rack at the hem, neckline, or sleeve (lots of ideas here)
- Patch pockets (tutorial here)
- A hand-embroidered monogram (any Southern girl can tell you if it’s not moving, monogram it! video tutorial here)
- A bow belt like this one by Tilly and the Buttons
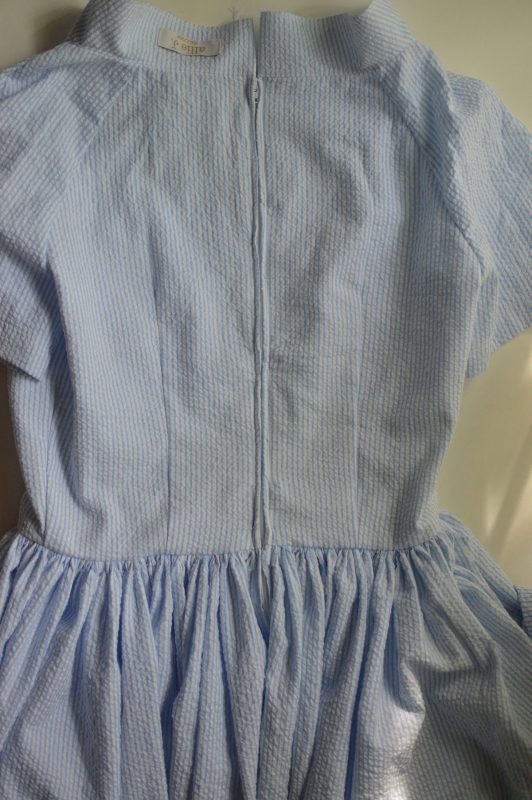
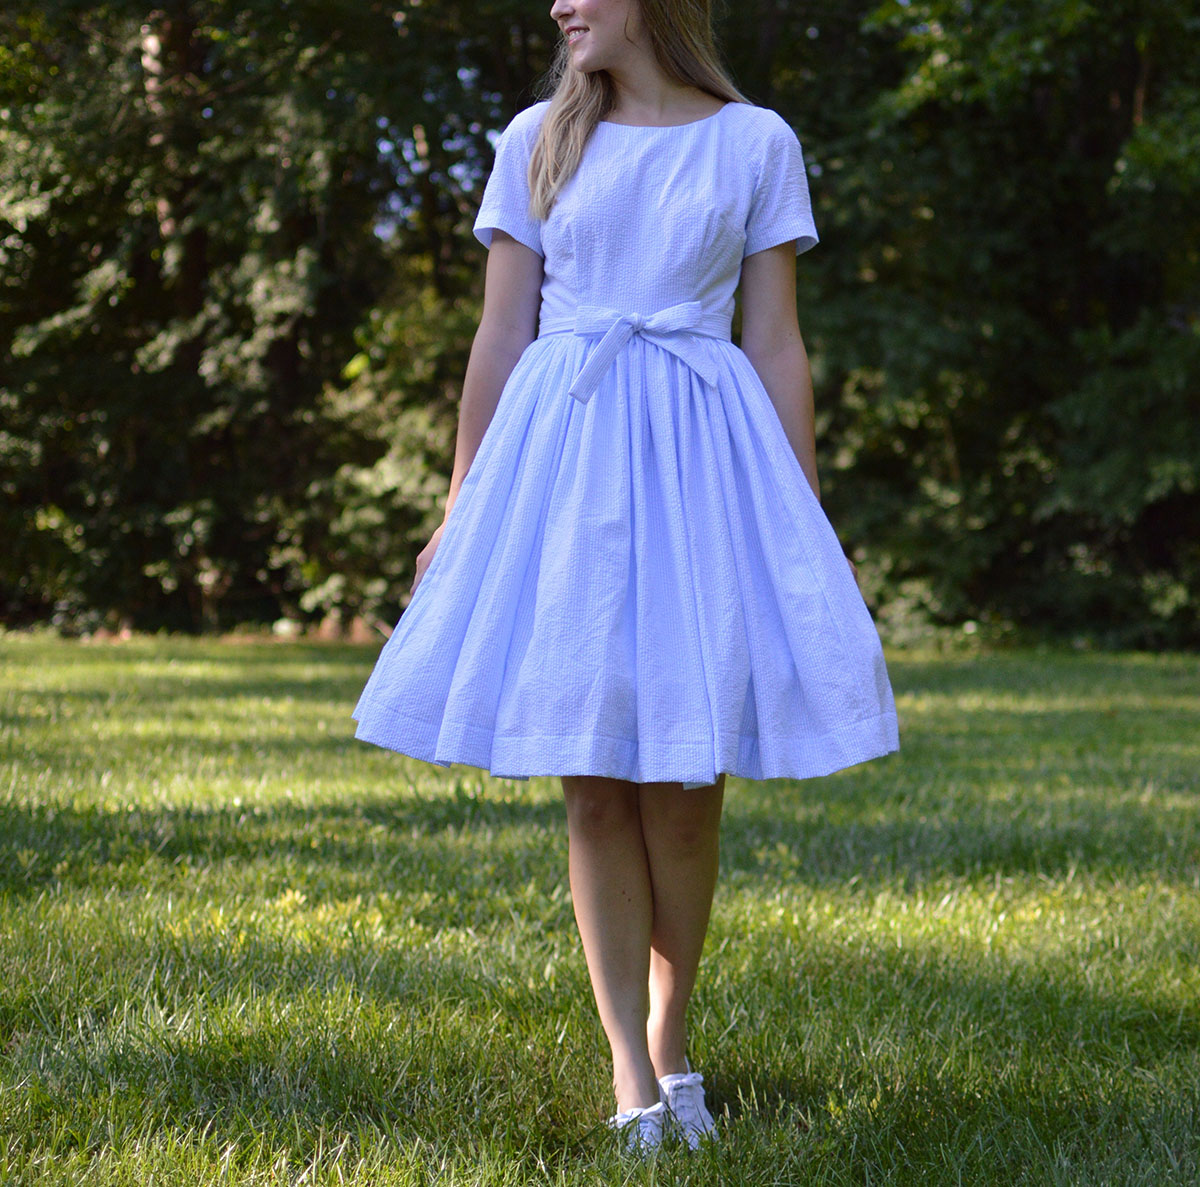
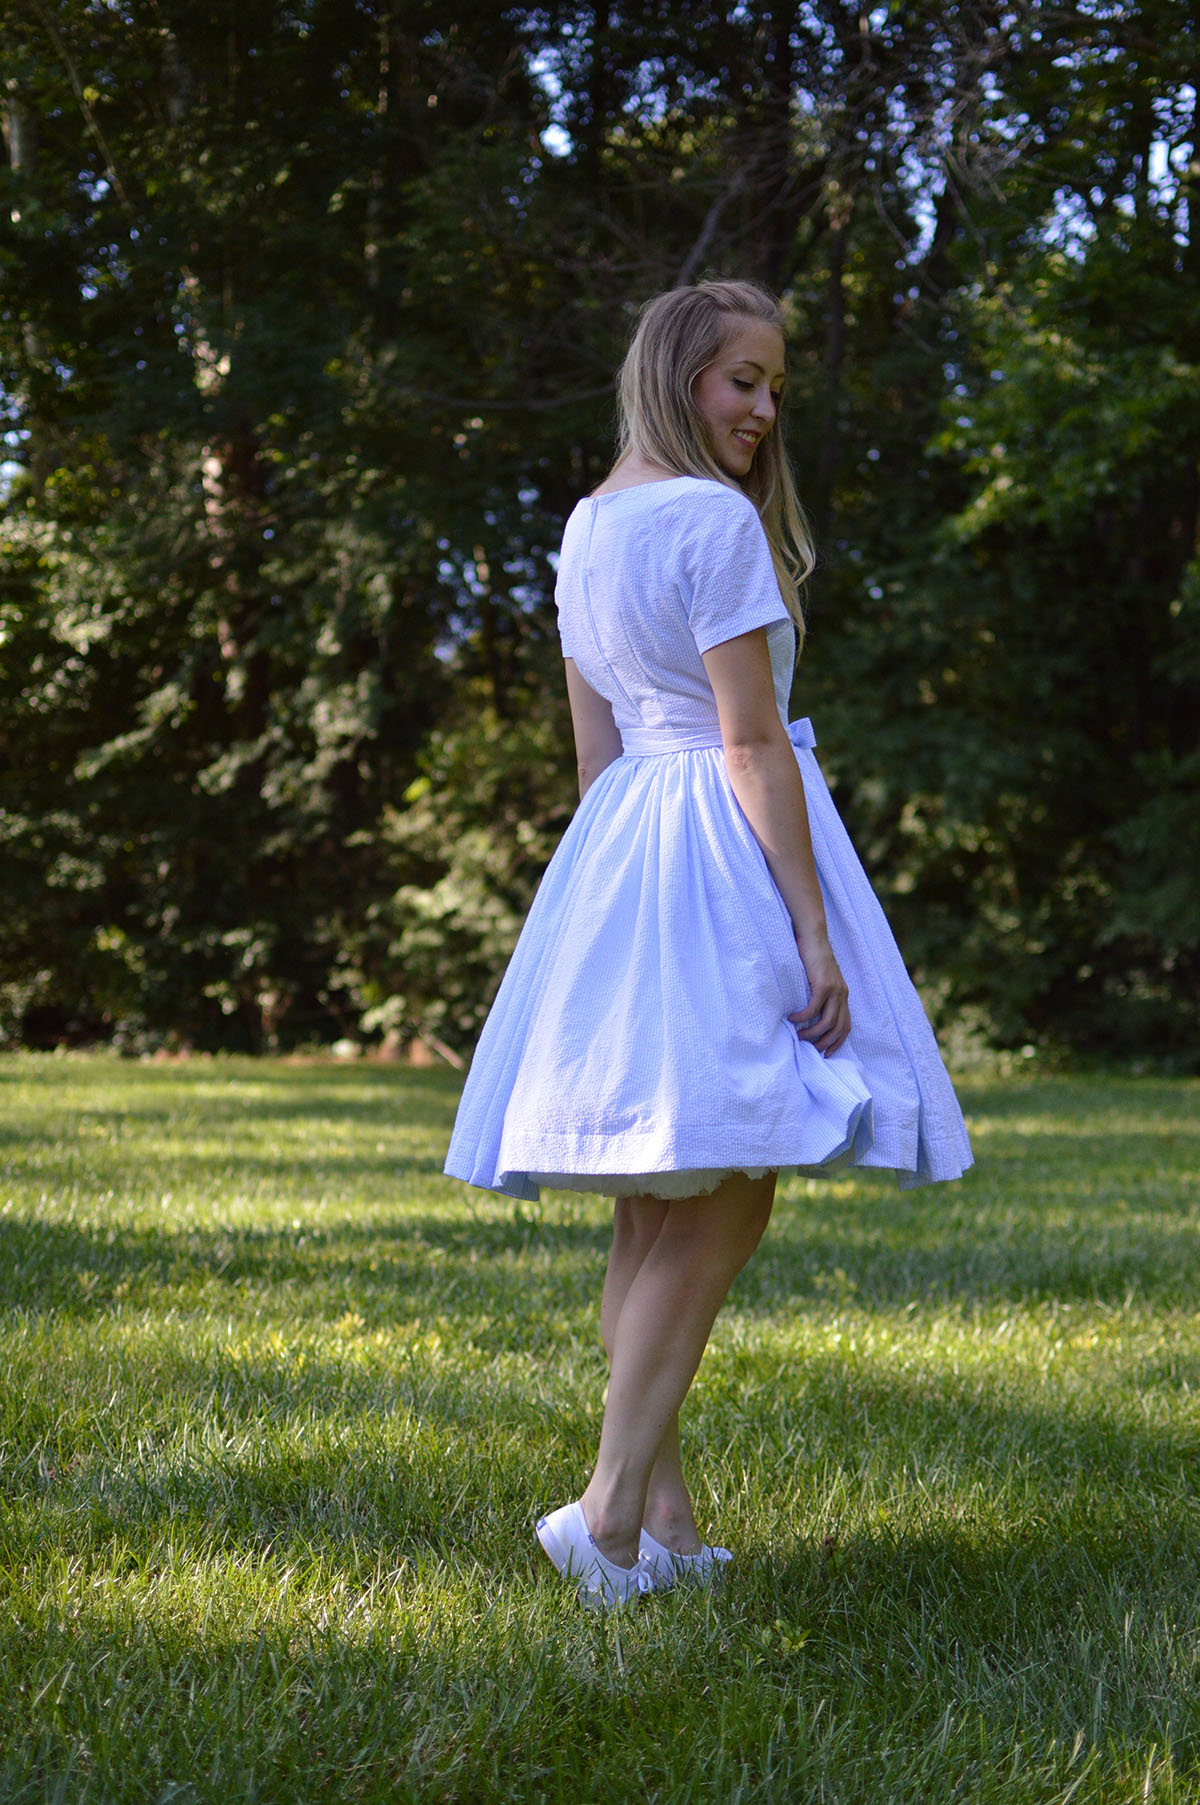
I made a little self-fabric tie belt which I can tie in the front or the back, or leave off, for a couple different looks. Here’s my final Vintage dress!
If you have been sewing along, I’d love to see what you have made as well—in the comments, or on instagram @helloalliej (and even better–tag @berninausa)!