Mini Travel Checkerboard Game
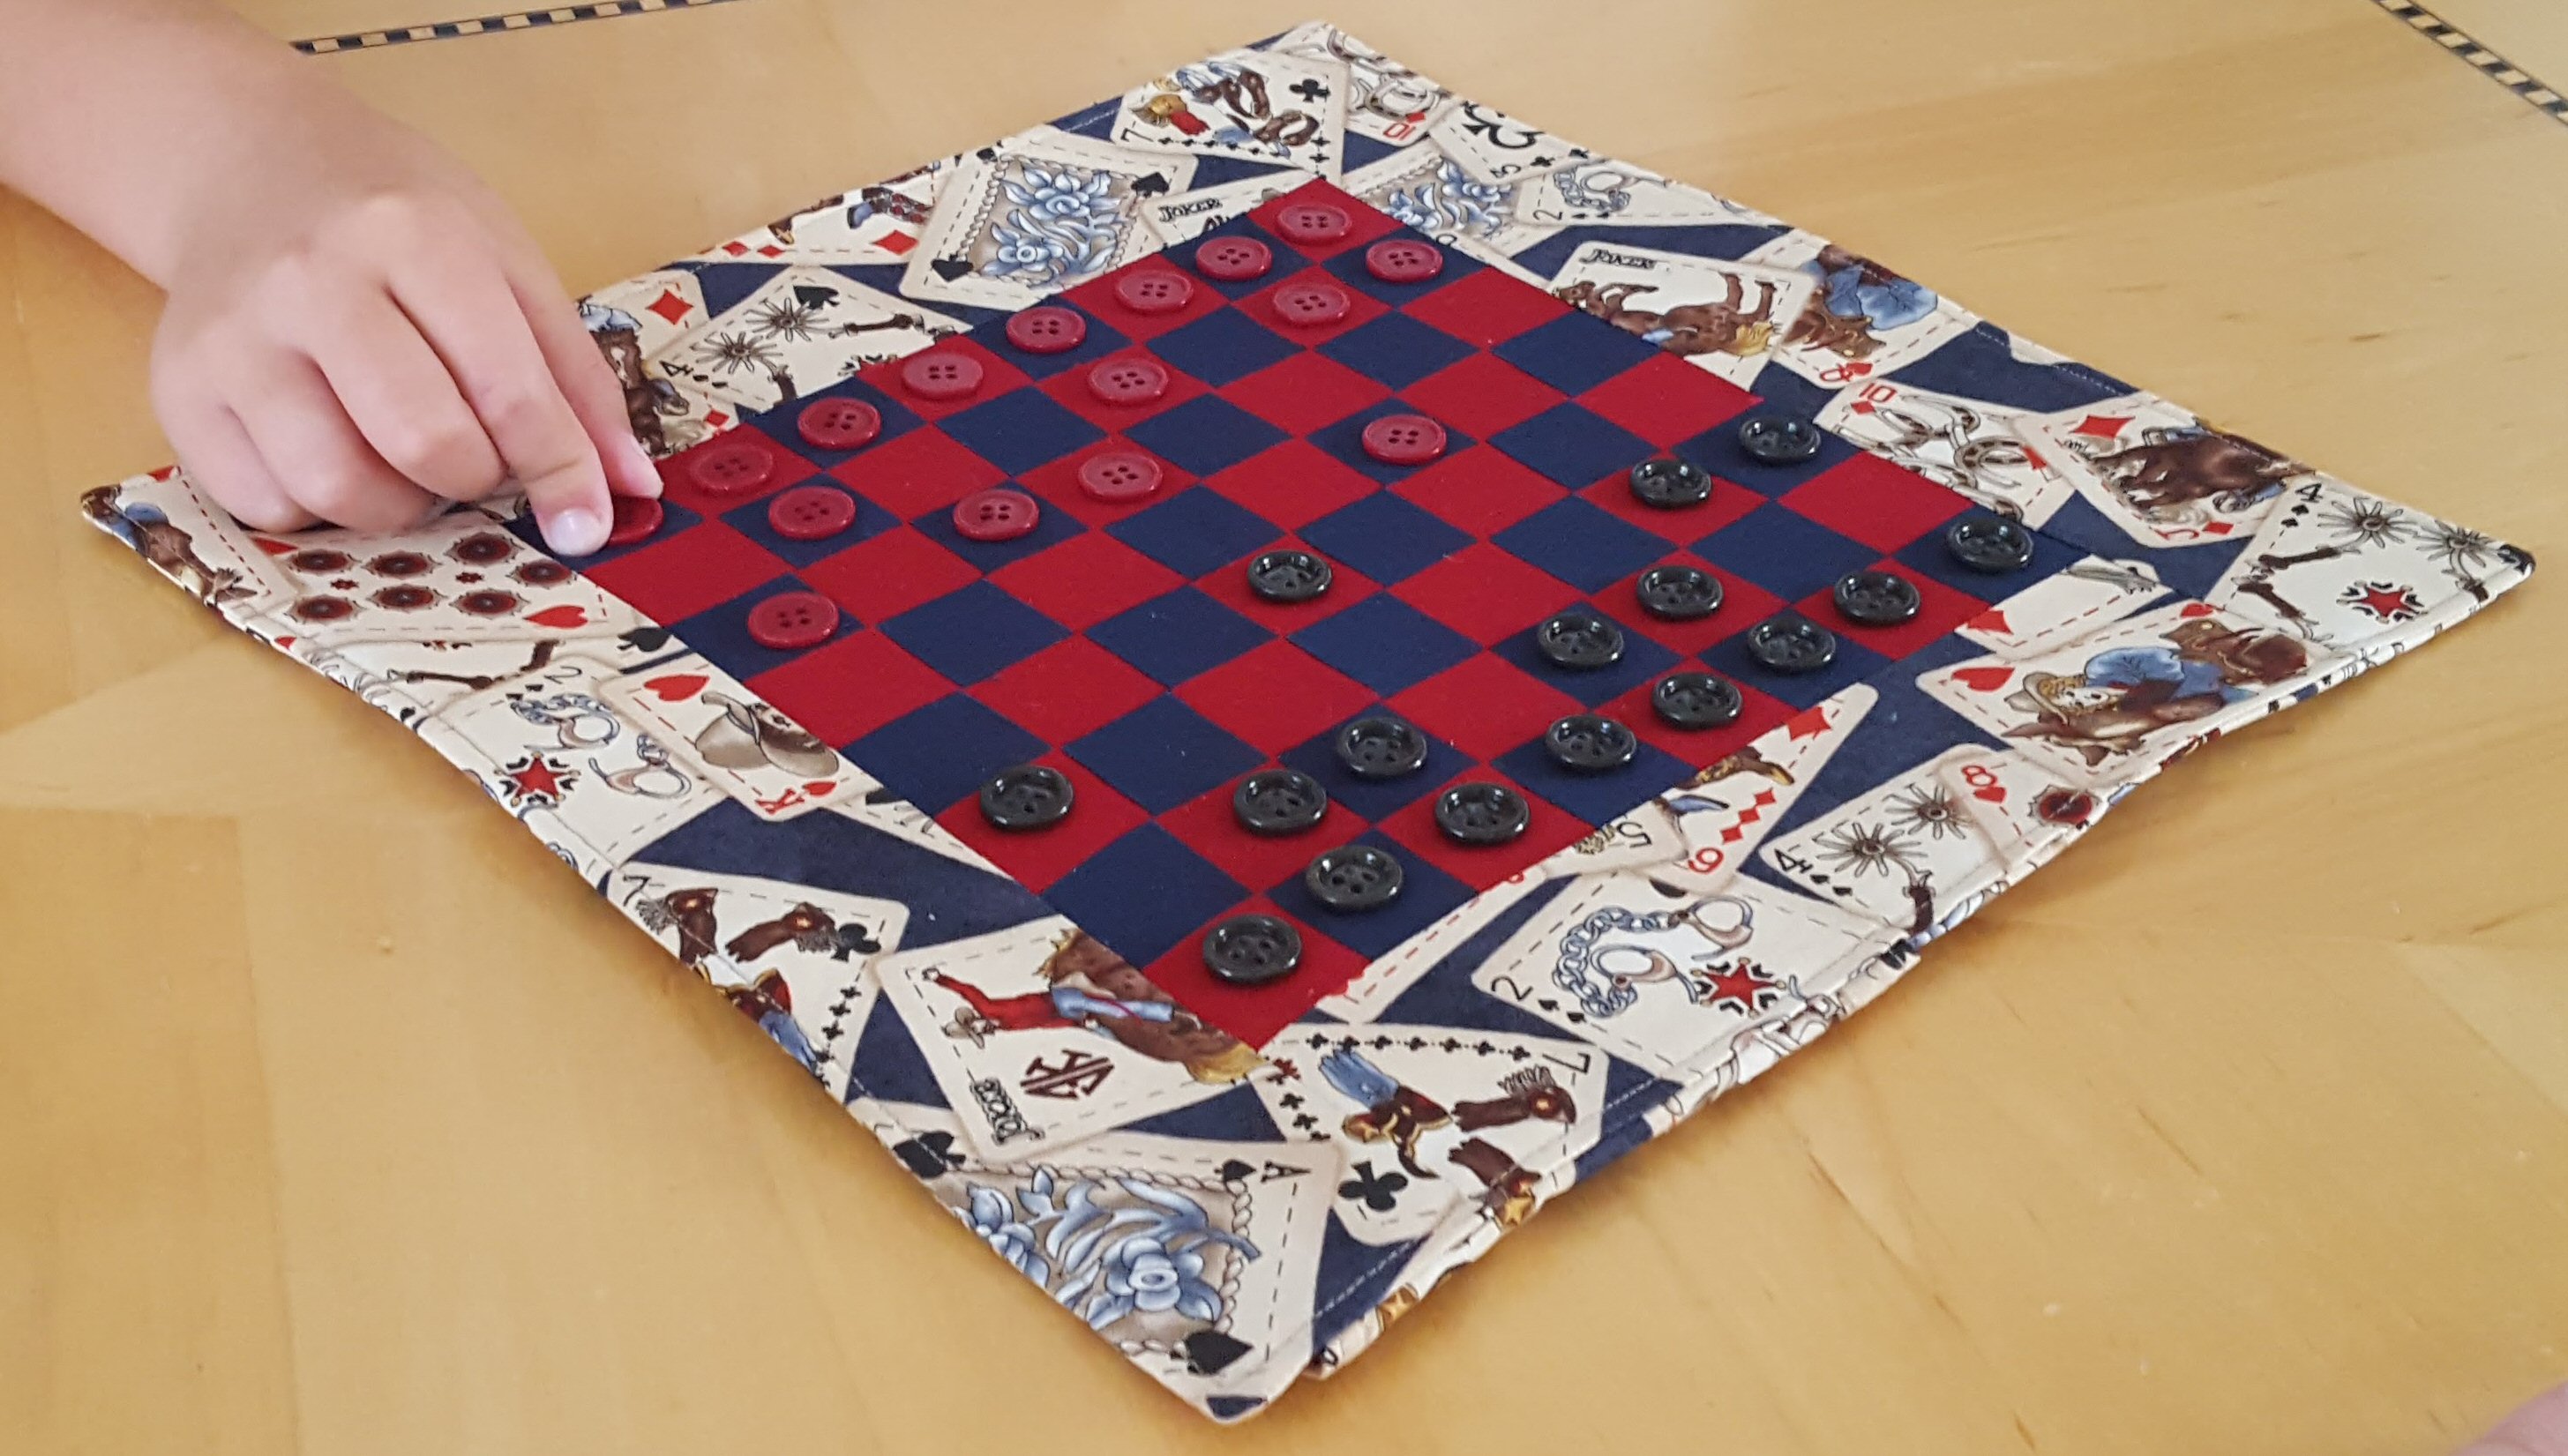
With summer travel season officially underway, it’s time to start thinking about how to keep the kids (and maybe even the adults) entertained in the car. This mini checkerboard game is the perfect way to keep everyone busy, is small enough that it won’t take up much space (and easy to store when not in use), plus it has a handy pocket in the back to that can hold game pieces. Finished size 12″ square.
Materials to sew a Mini Checkerboard:
- 2 contrasting fat quarters (one light, one dark)
- 1/2 yard of material for border, backing, and pocket
- 1/2 yard of fusible fleece or lightweight batting
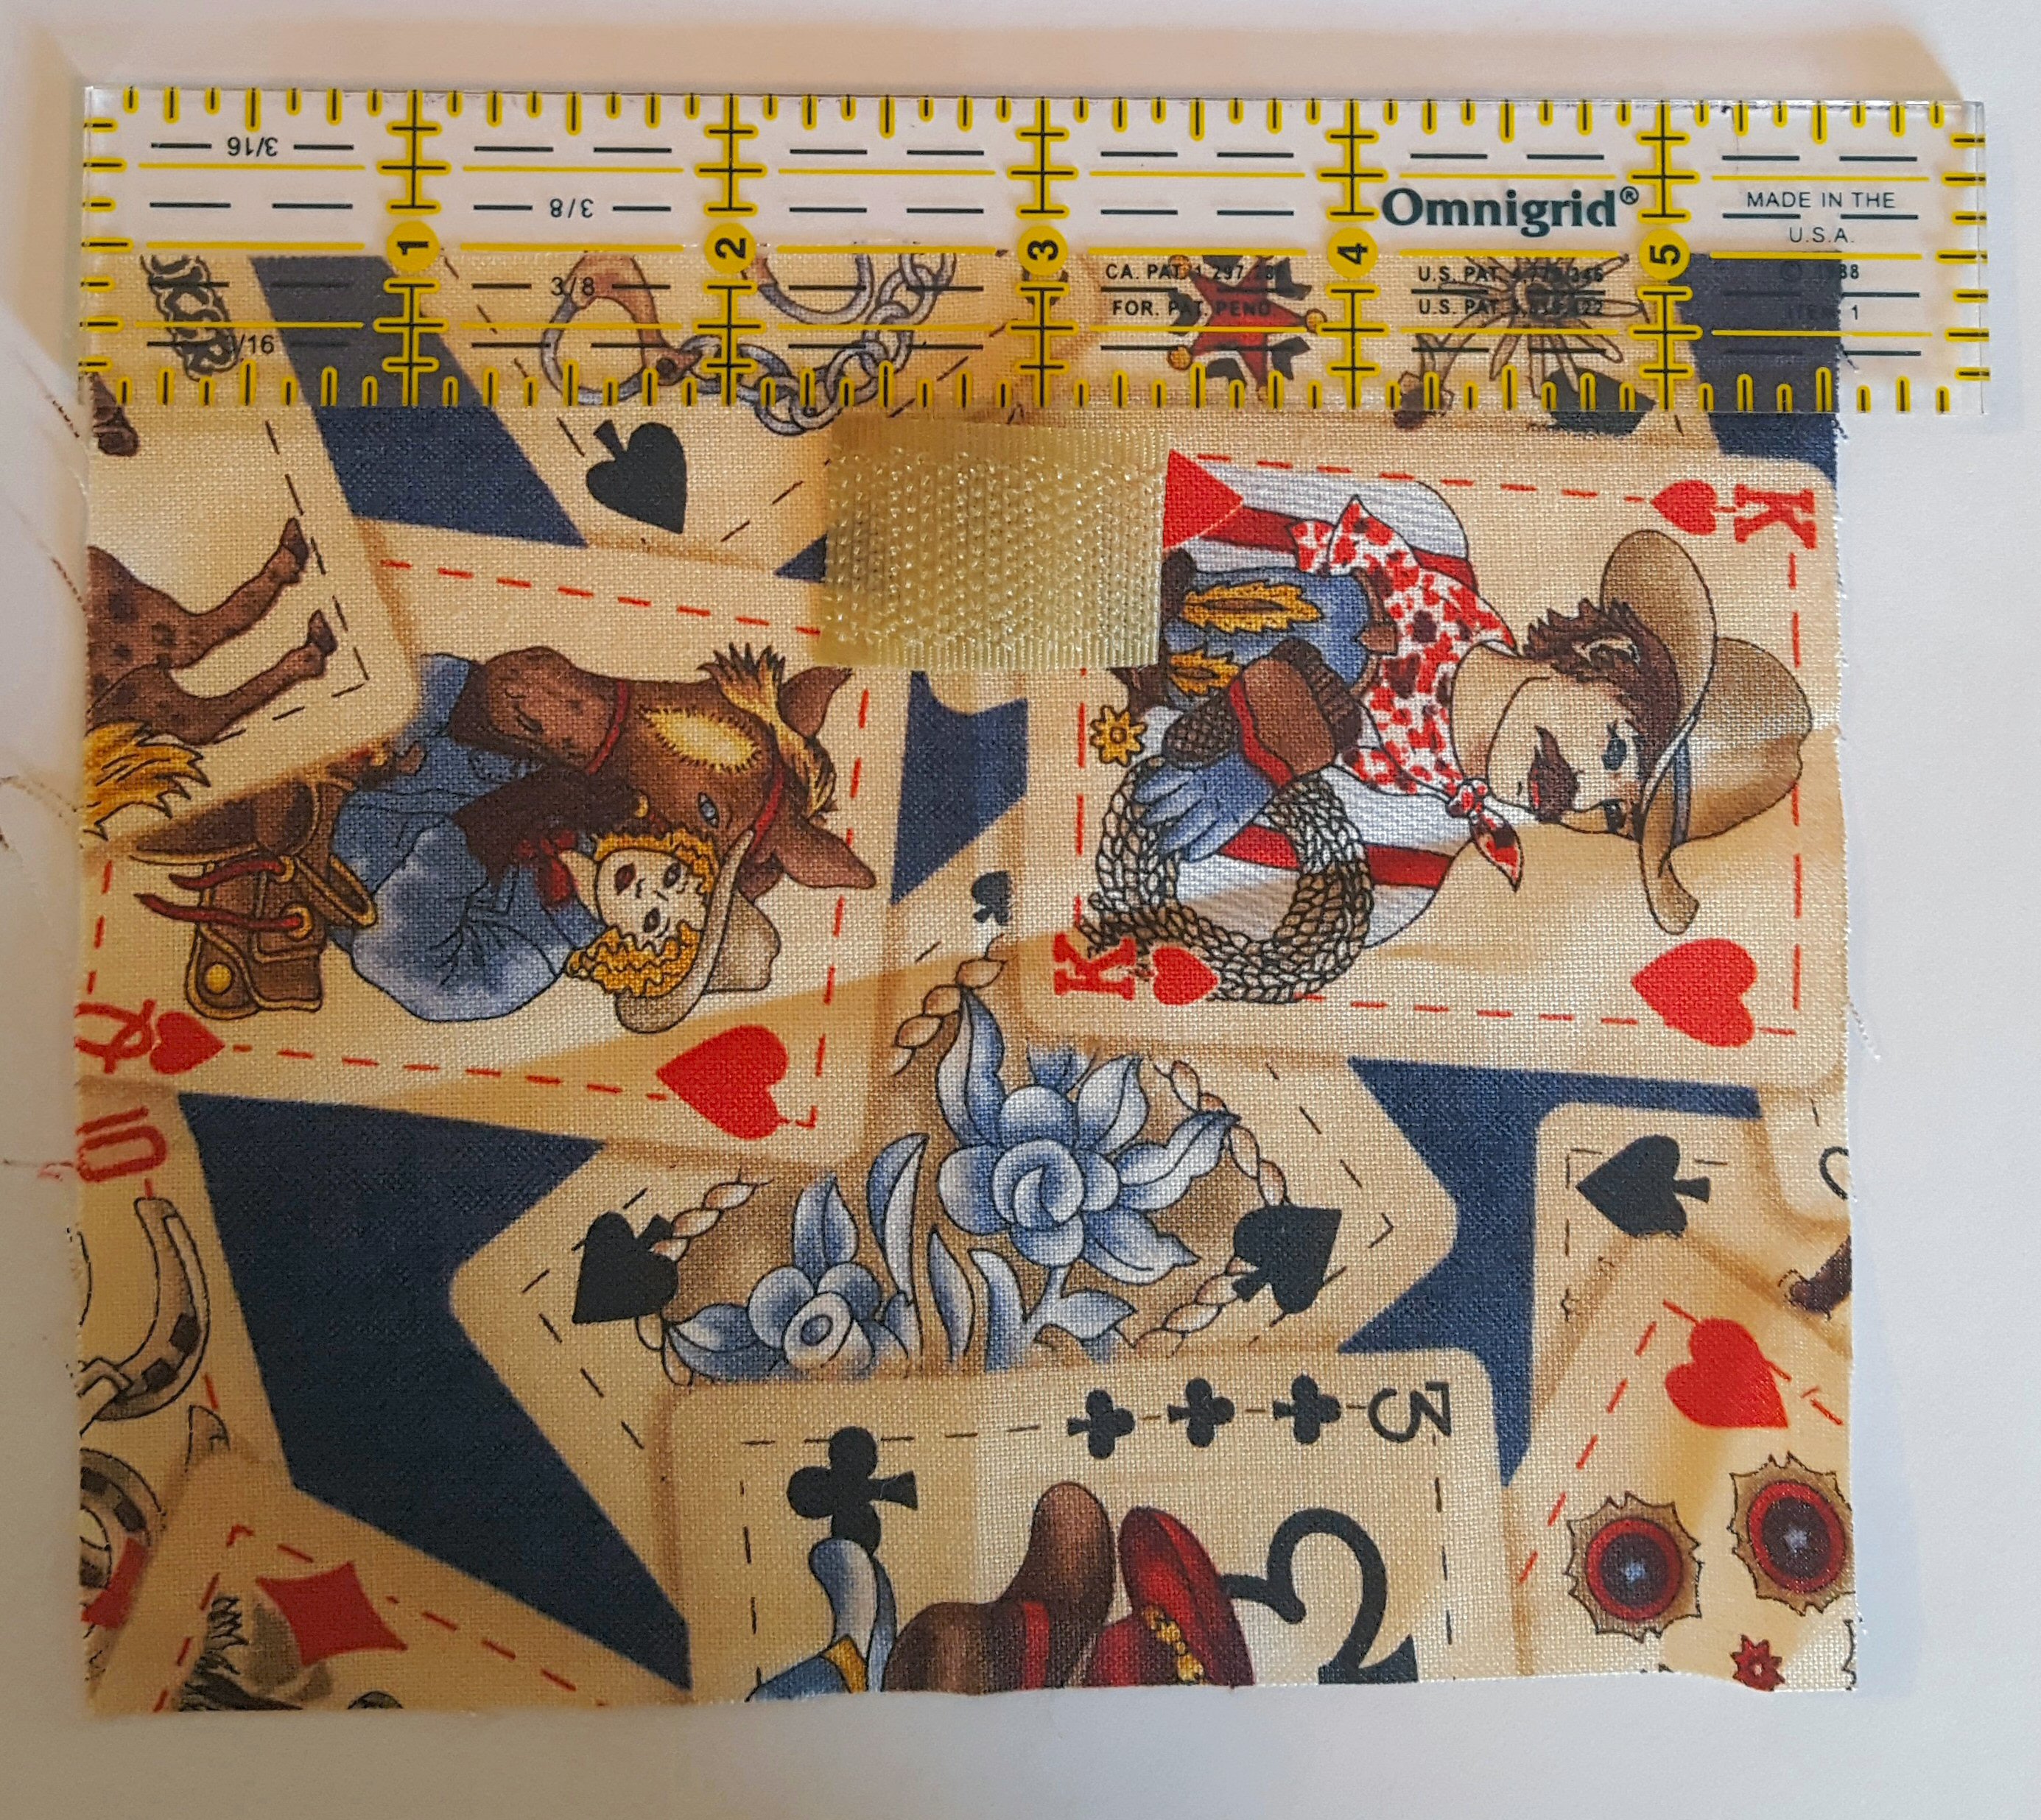
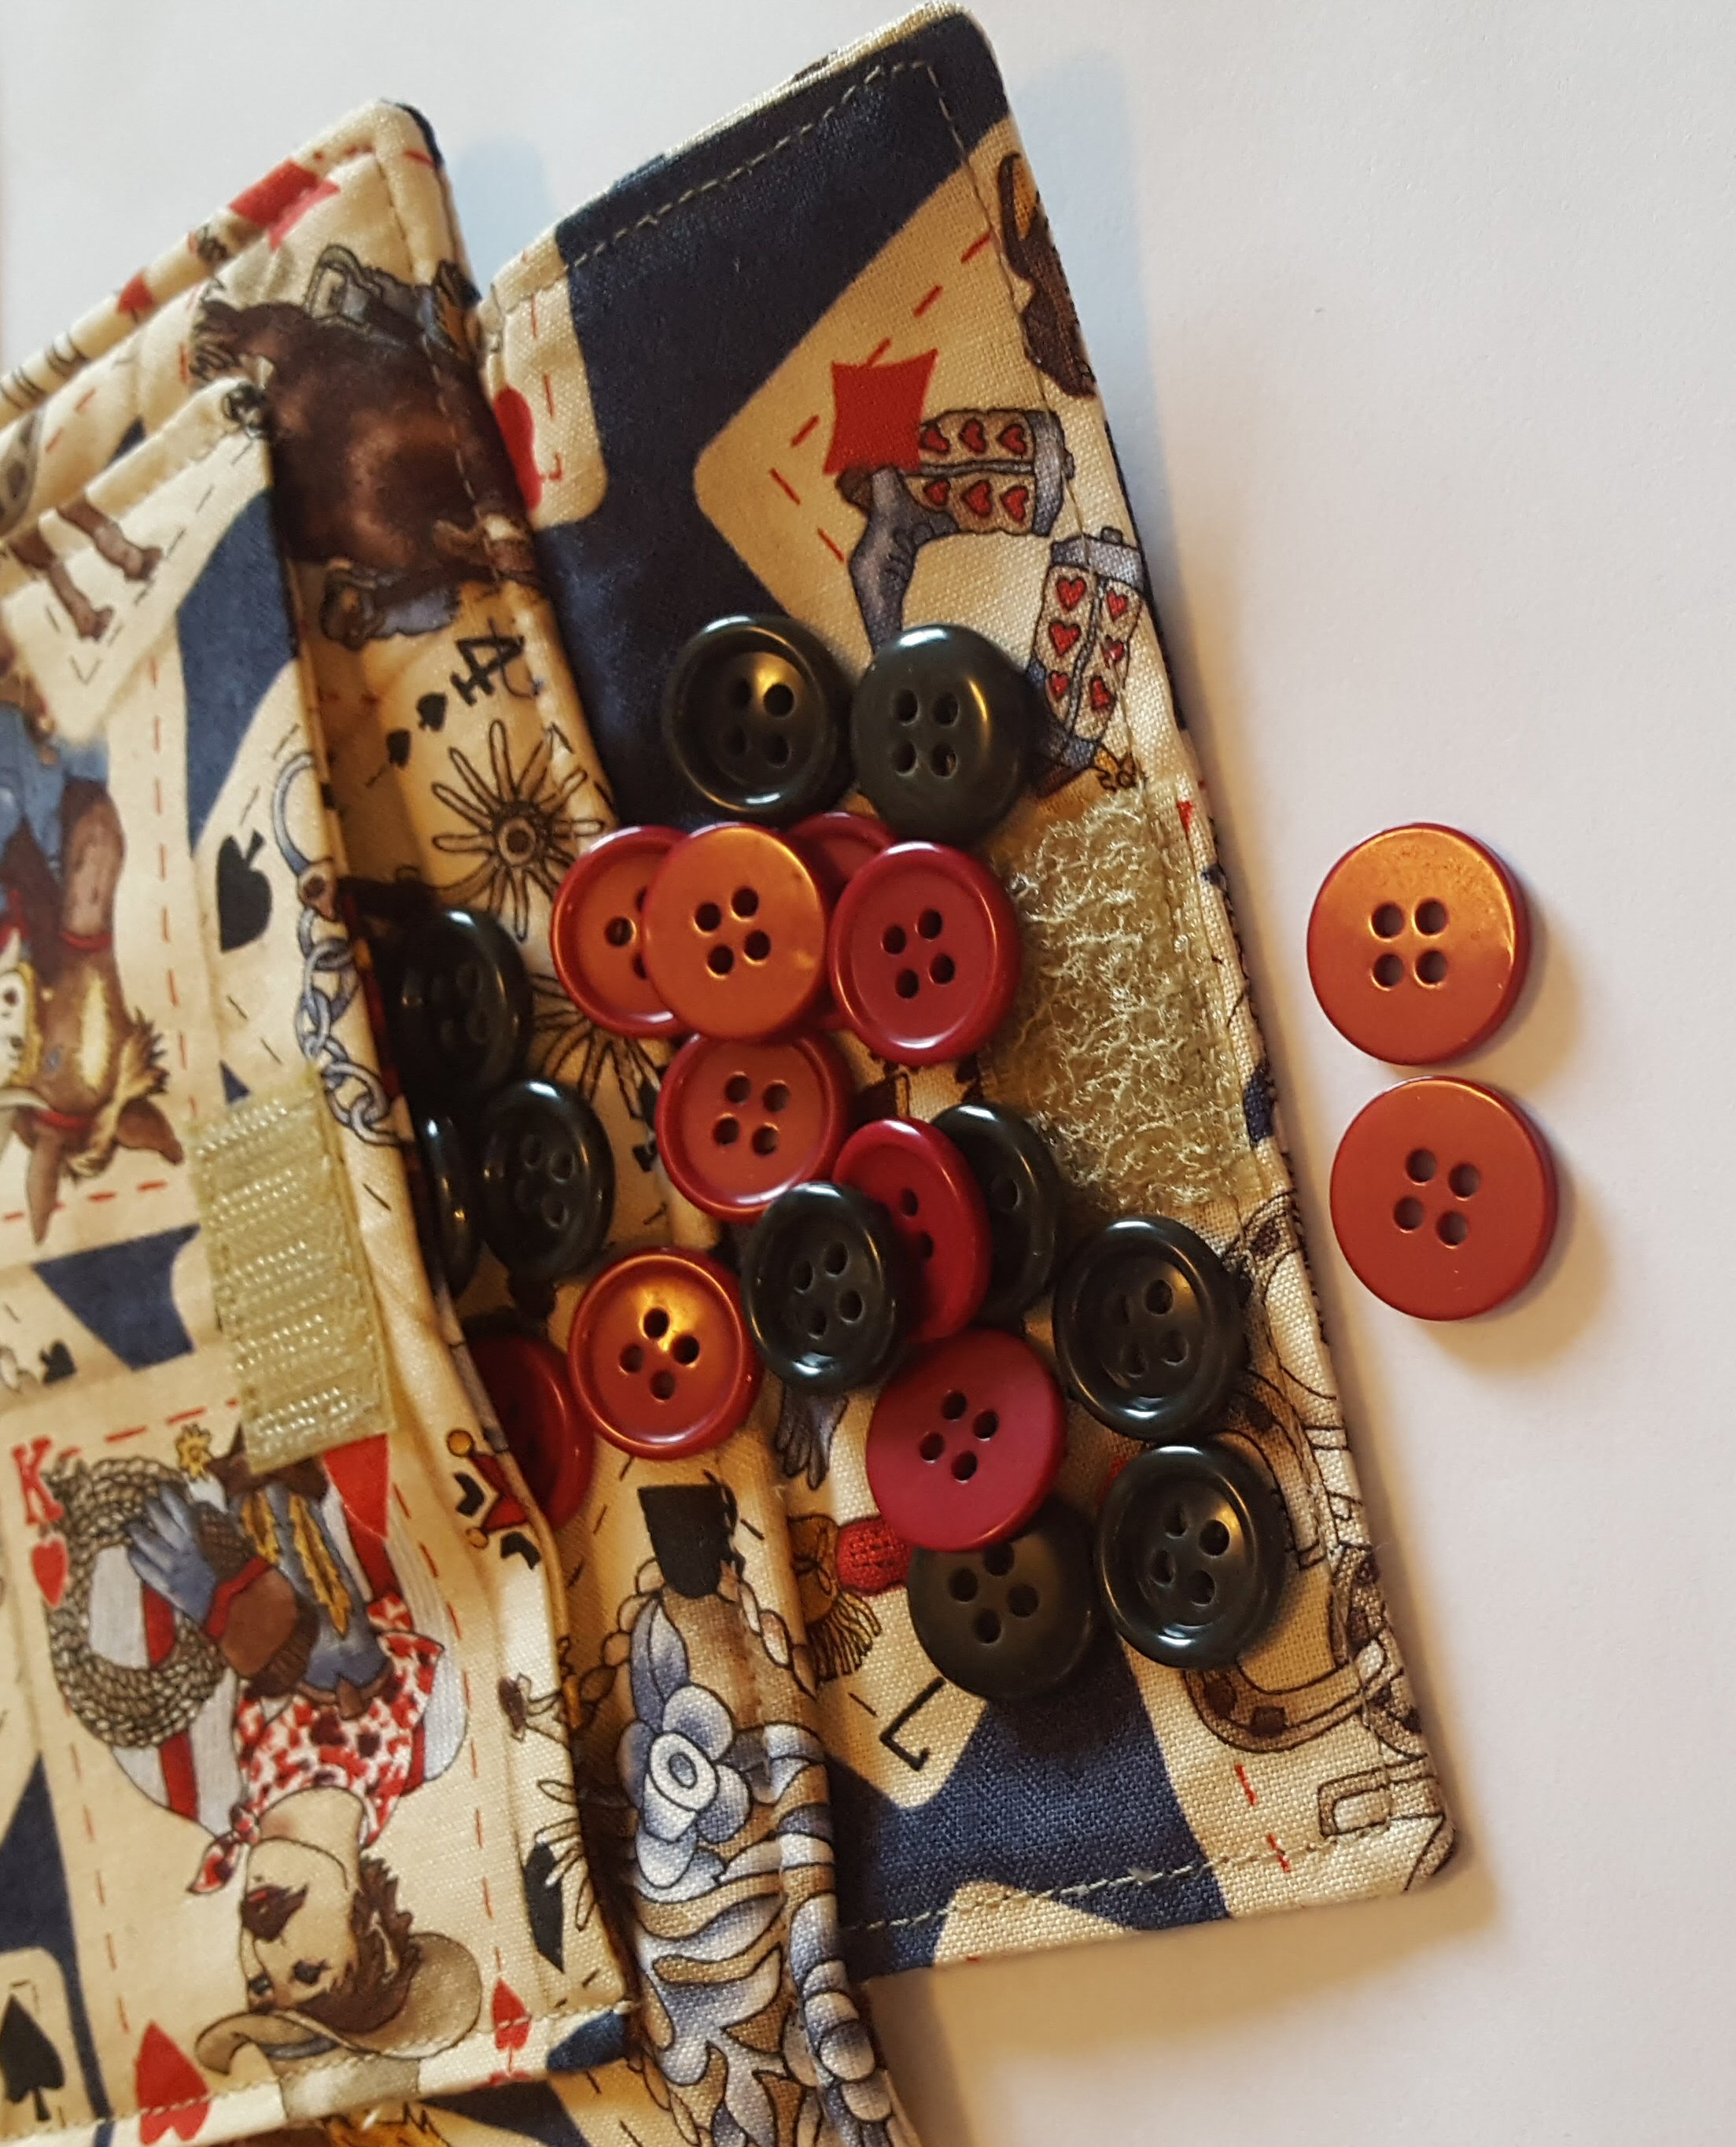
- 1″ piece of hook and loop tape
- 32 buttons, money, or trinkets to be used as game pieces (16 light, 16 dark)
- Rotary cutter and mat
- Ruler
- Patchwork Foot #37/#37C
Cutting Fabrics for Mini Checkerboard:
From each fat quarter cut 4, 1 1/2″ x 18″ strips
From Batting\Fleece cut 12 1/2″ x 12 1/2″ square
From material cut:
- 2, 2 1/2″ x 8 1/2″ rectangles for border
- 2, 2 1/2″ x 12 1/2″ rectangles for border
- 2, 4 1/2″ x 5 1/2″ rectangles for pocket
- 2, 2 1/2″ x 5 1/2″ rectangles for pocket flaps
- 12 1/2″ square for backing
After cutting, fuse the fleece to the wrong side of of the 12 1/2″ square, following manufacturer’s directions.
Instructions for sewing Mini Checkerboard:
(Seam allowances are 1/4″ unless otherwise specified)
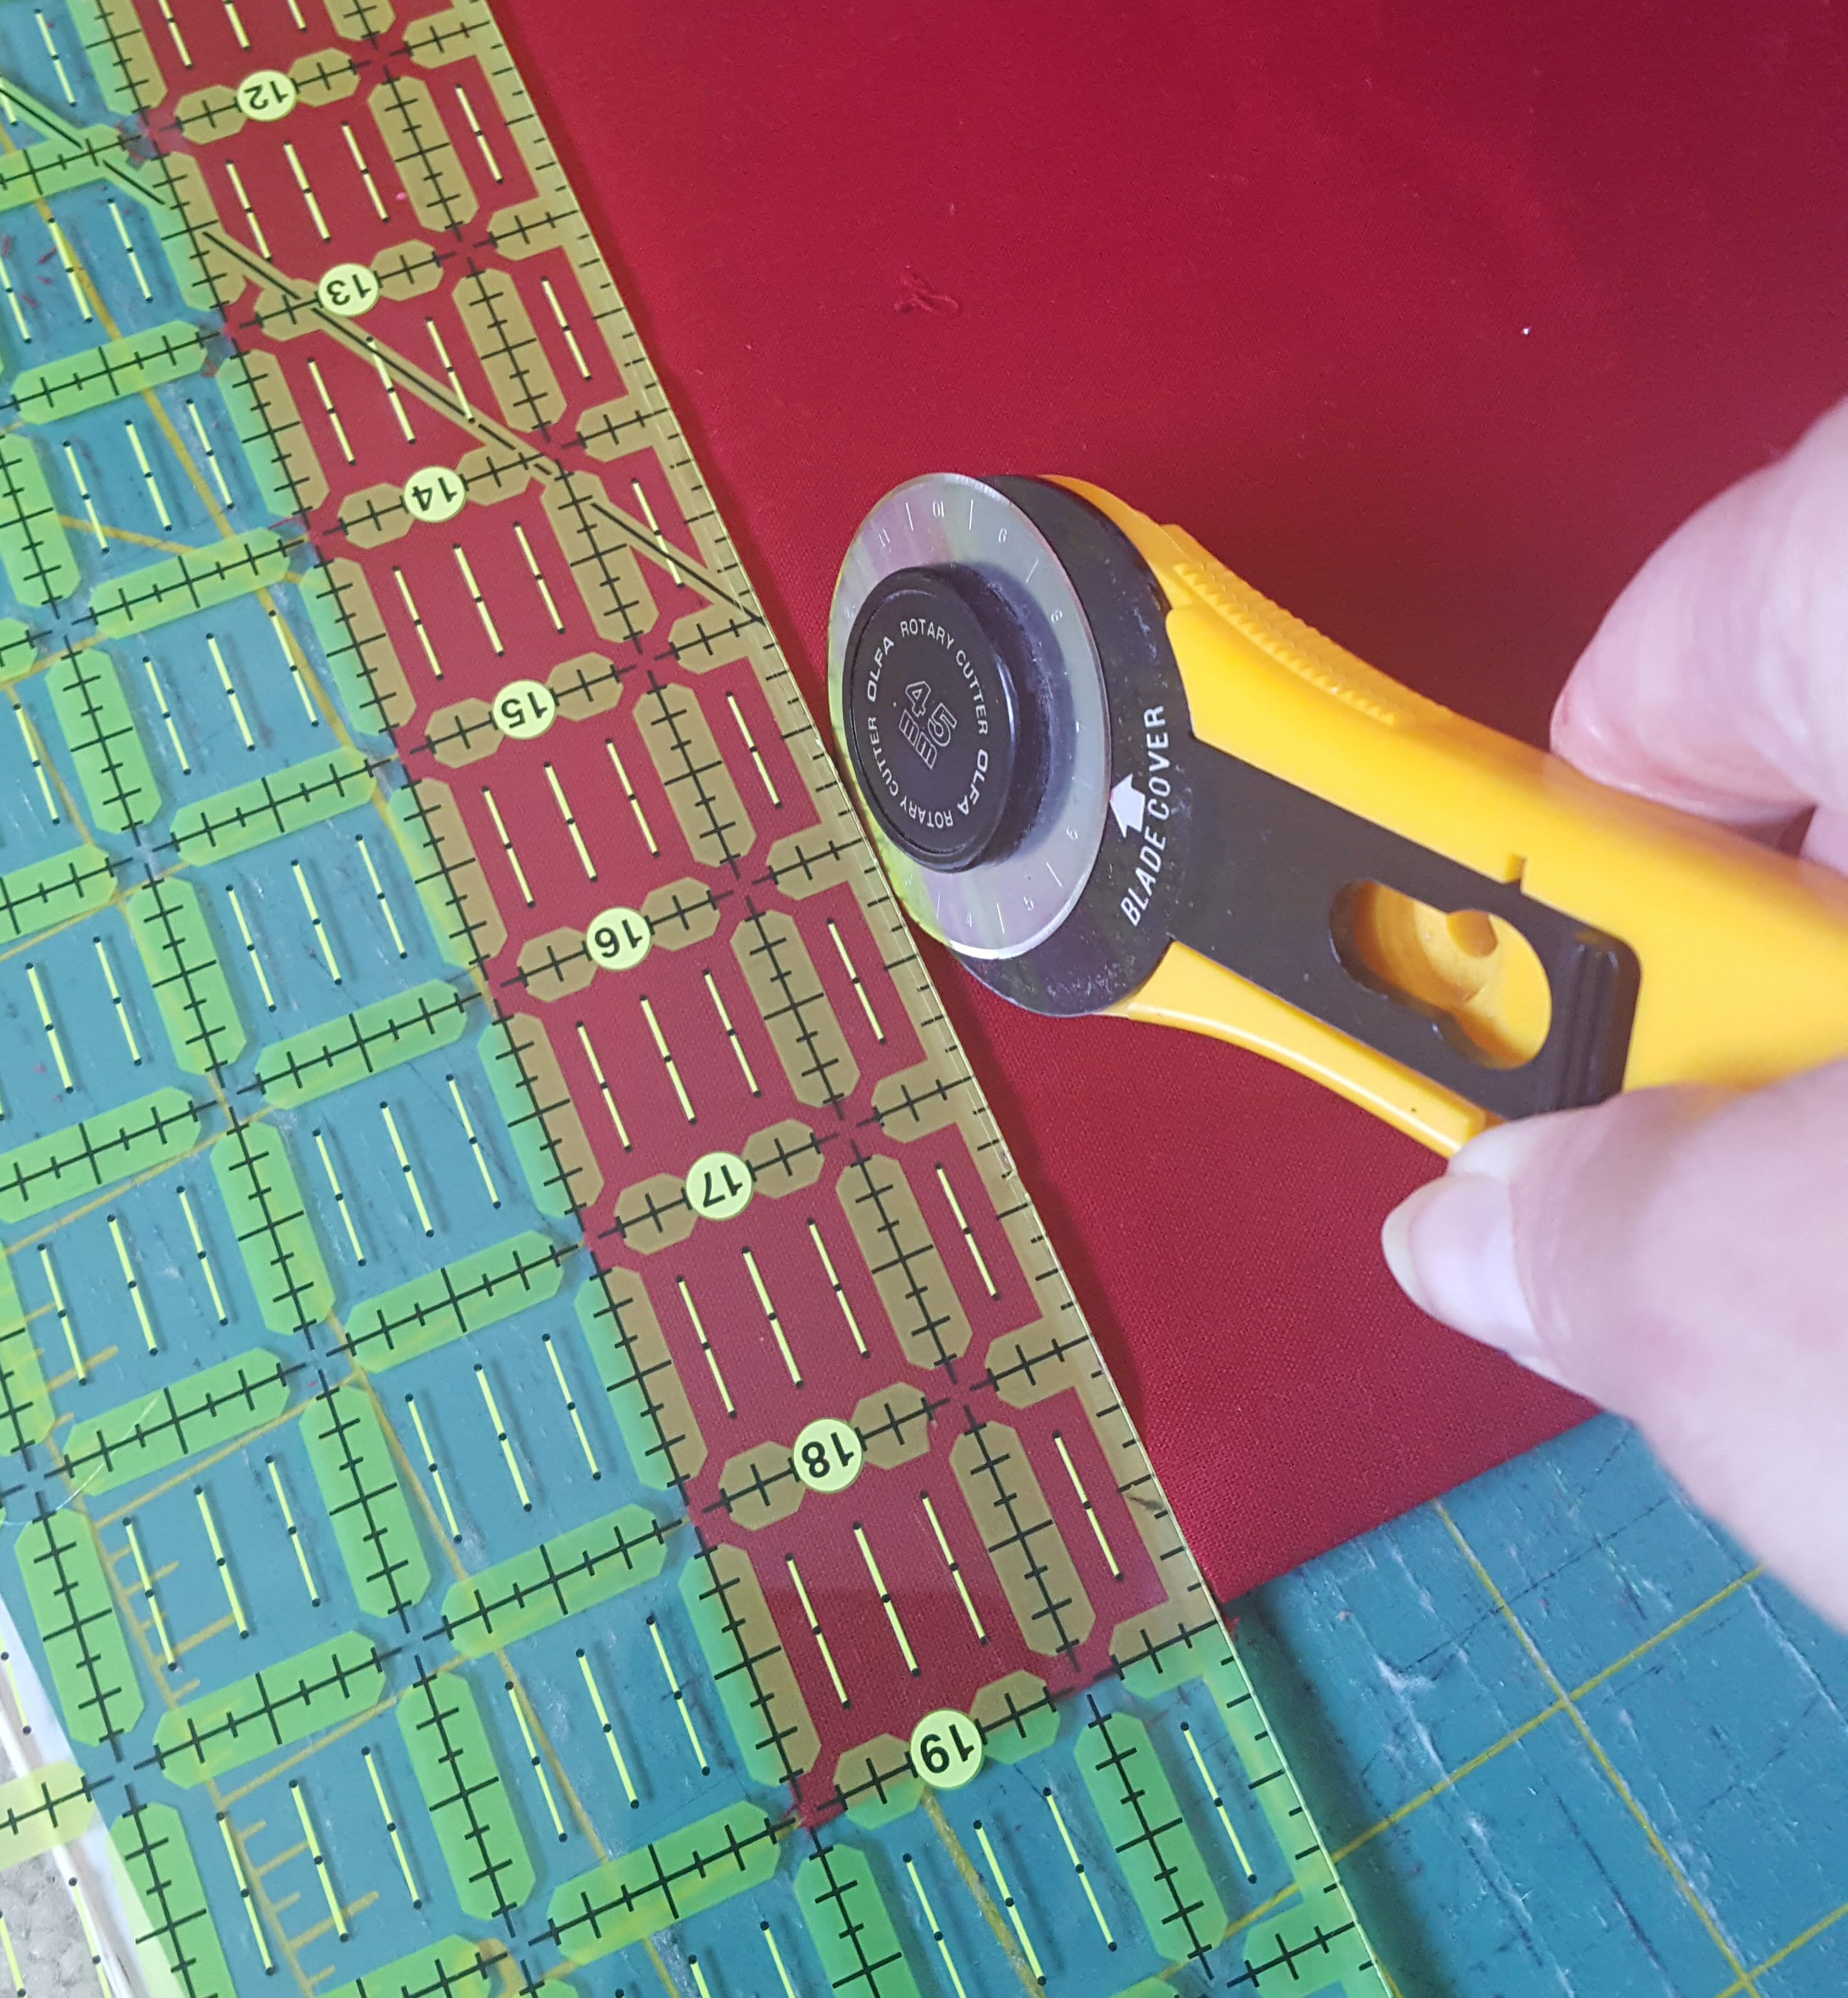
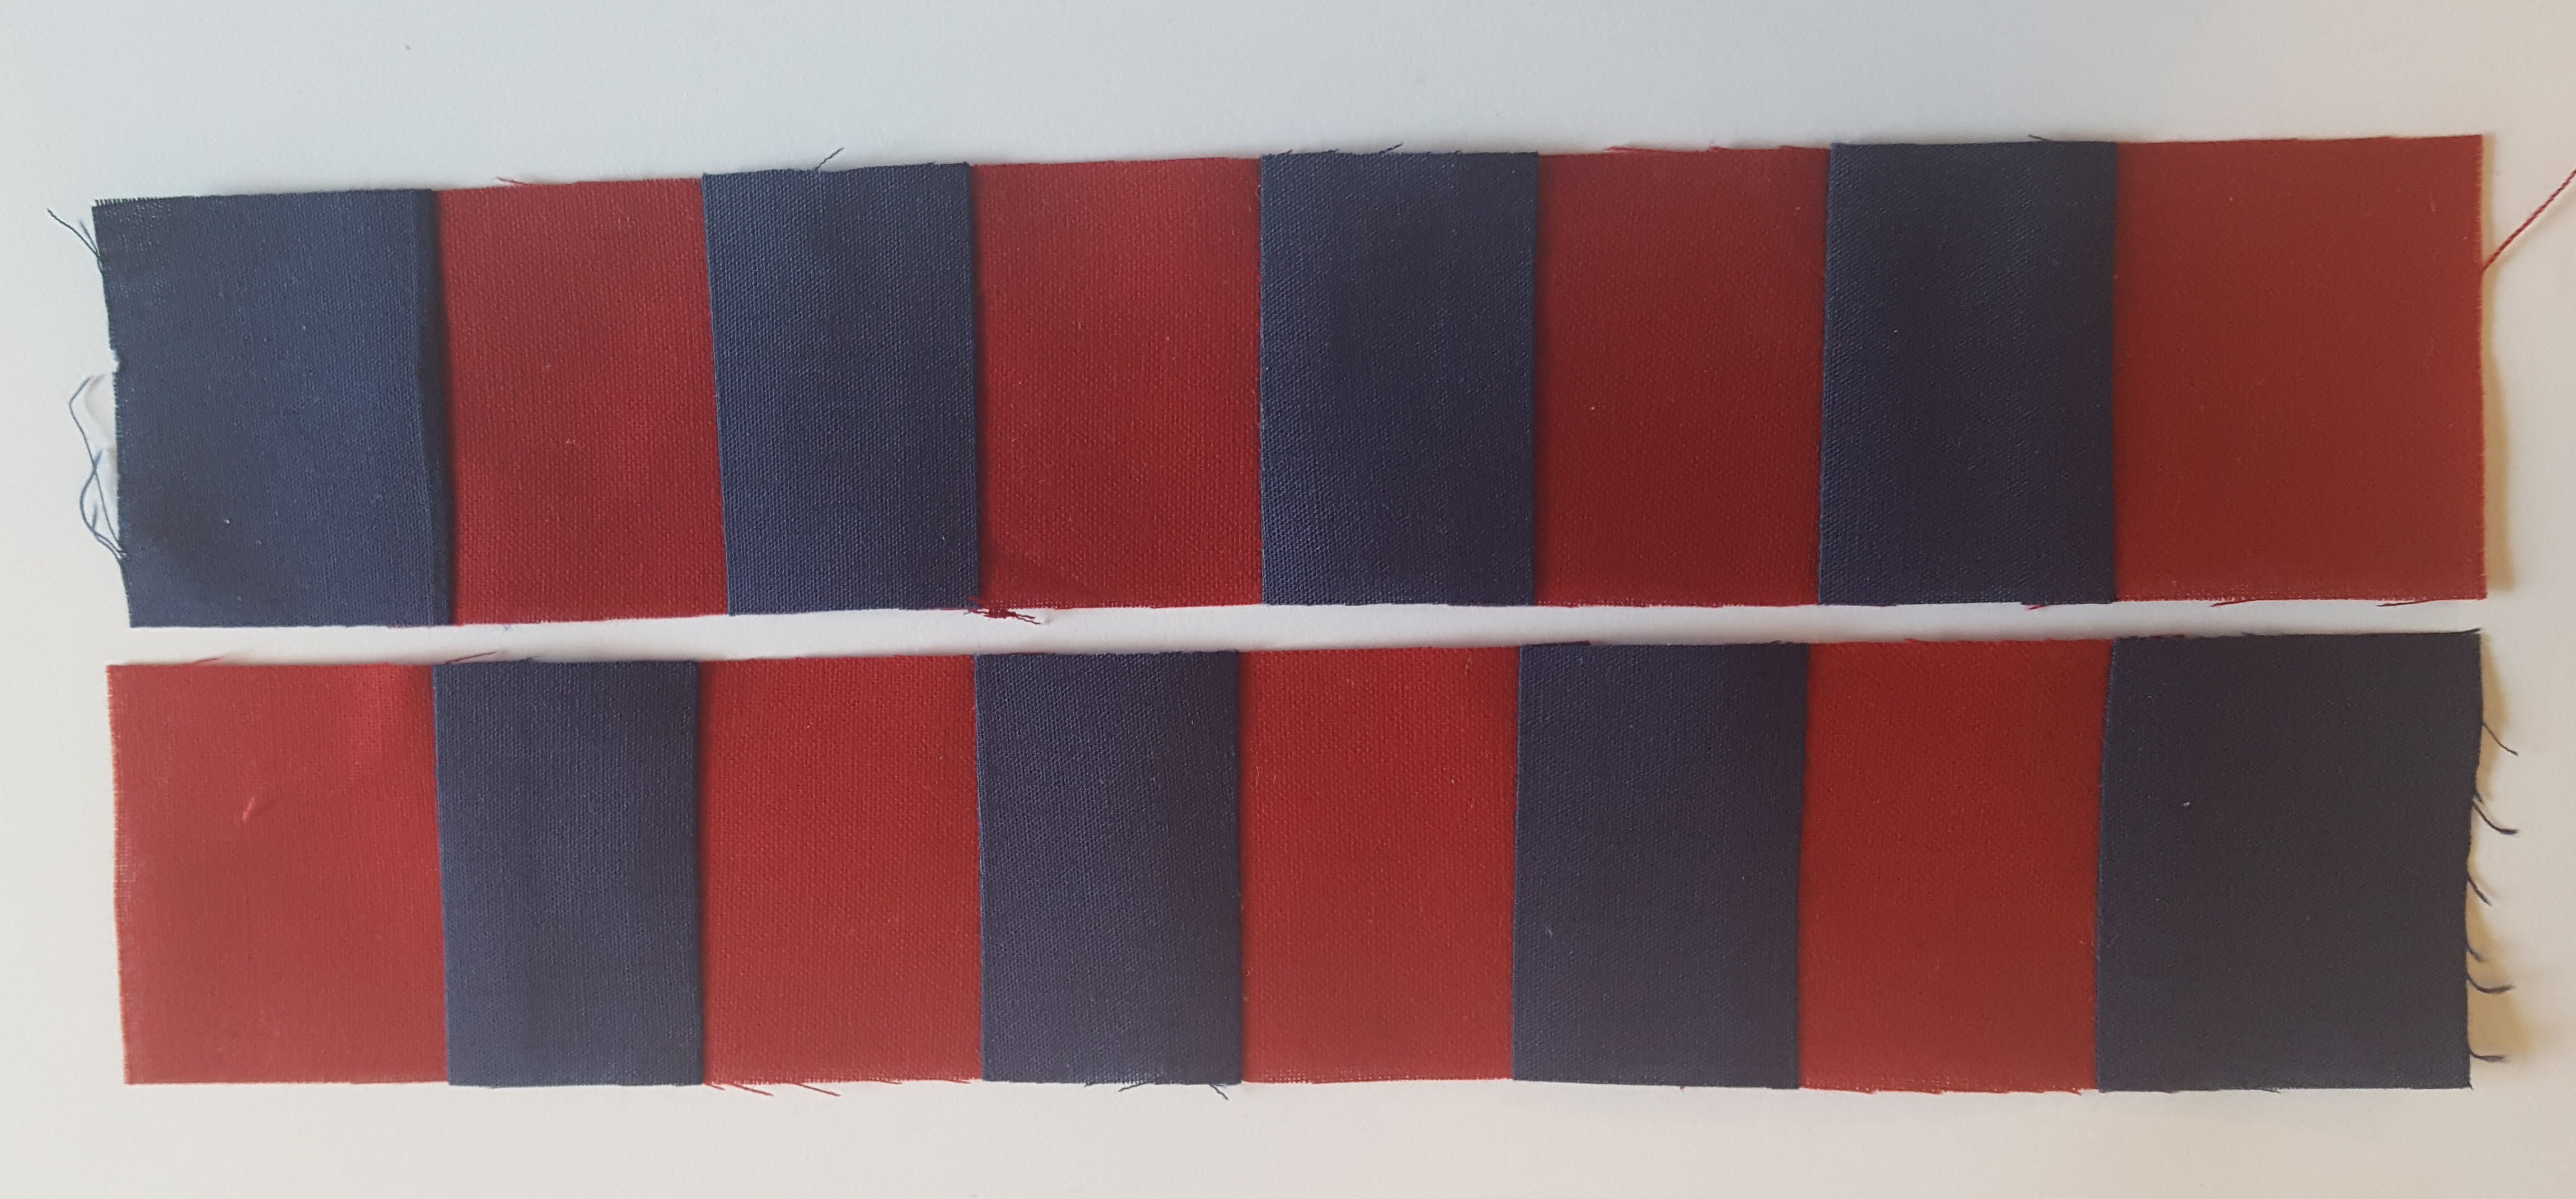
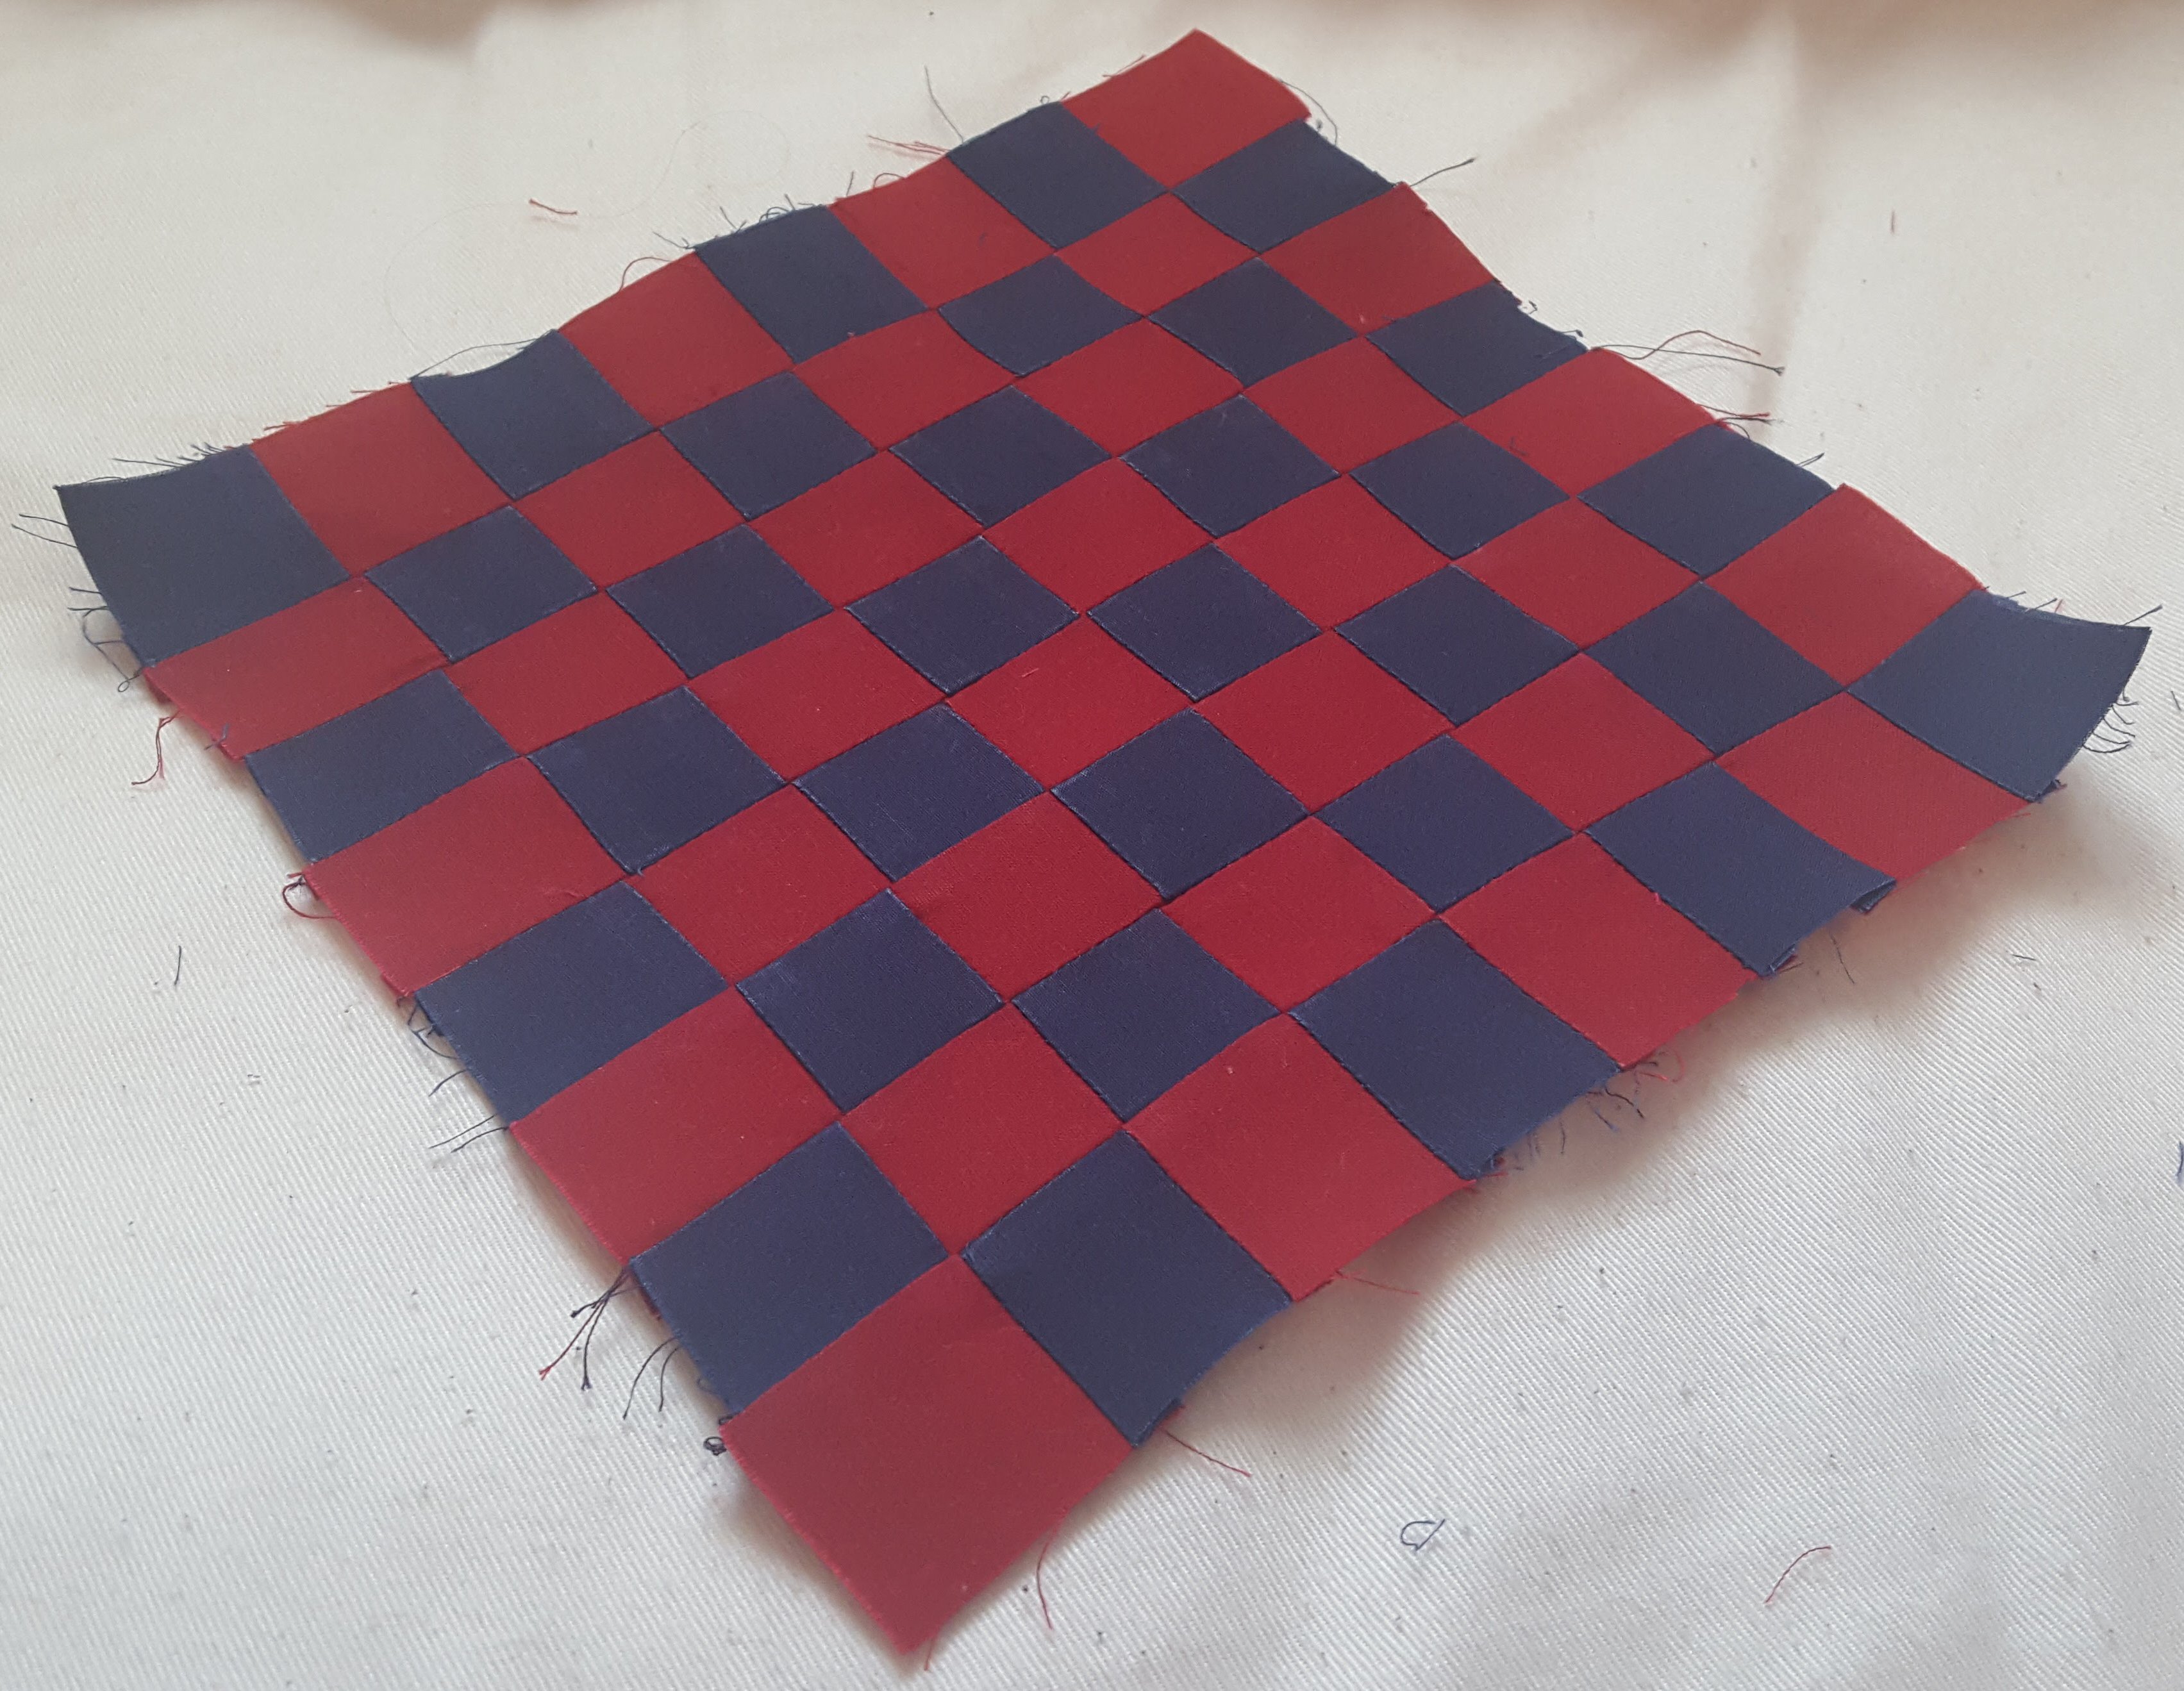
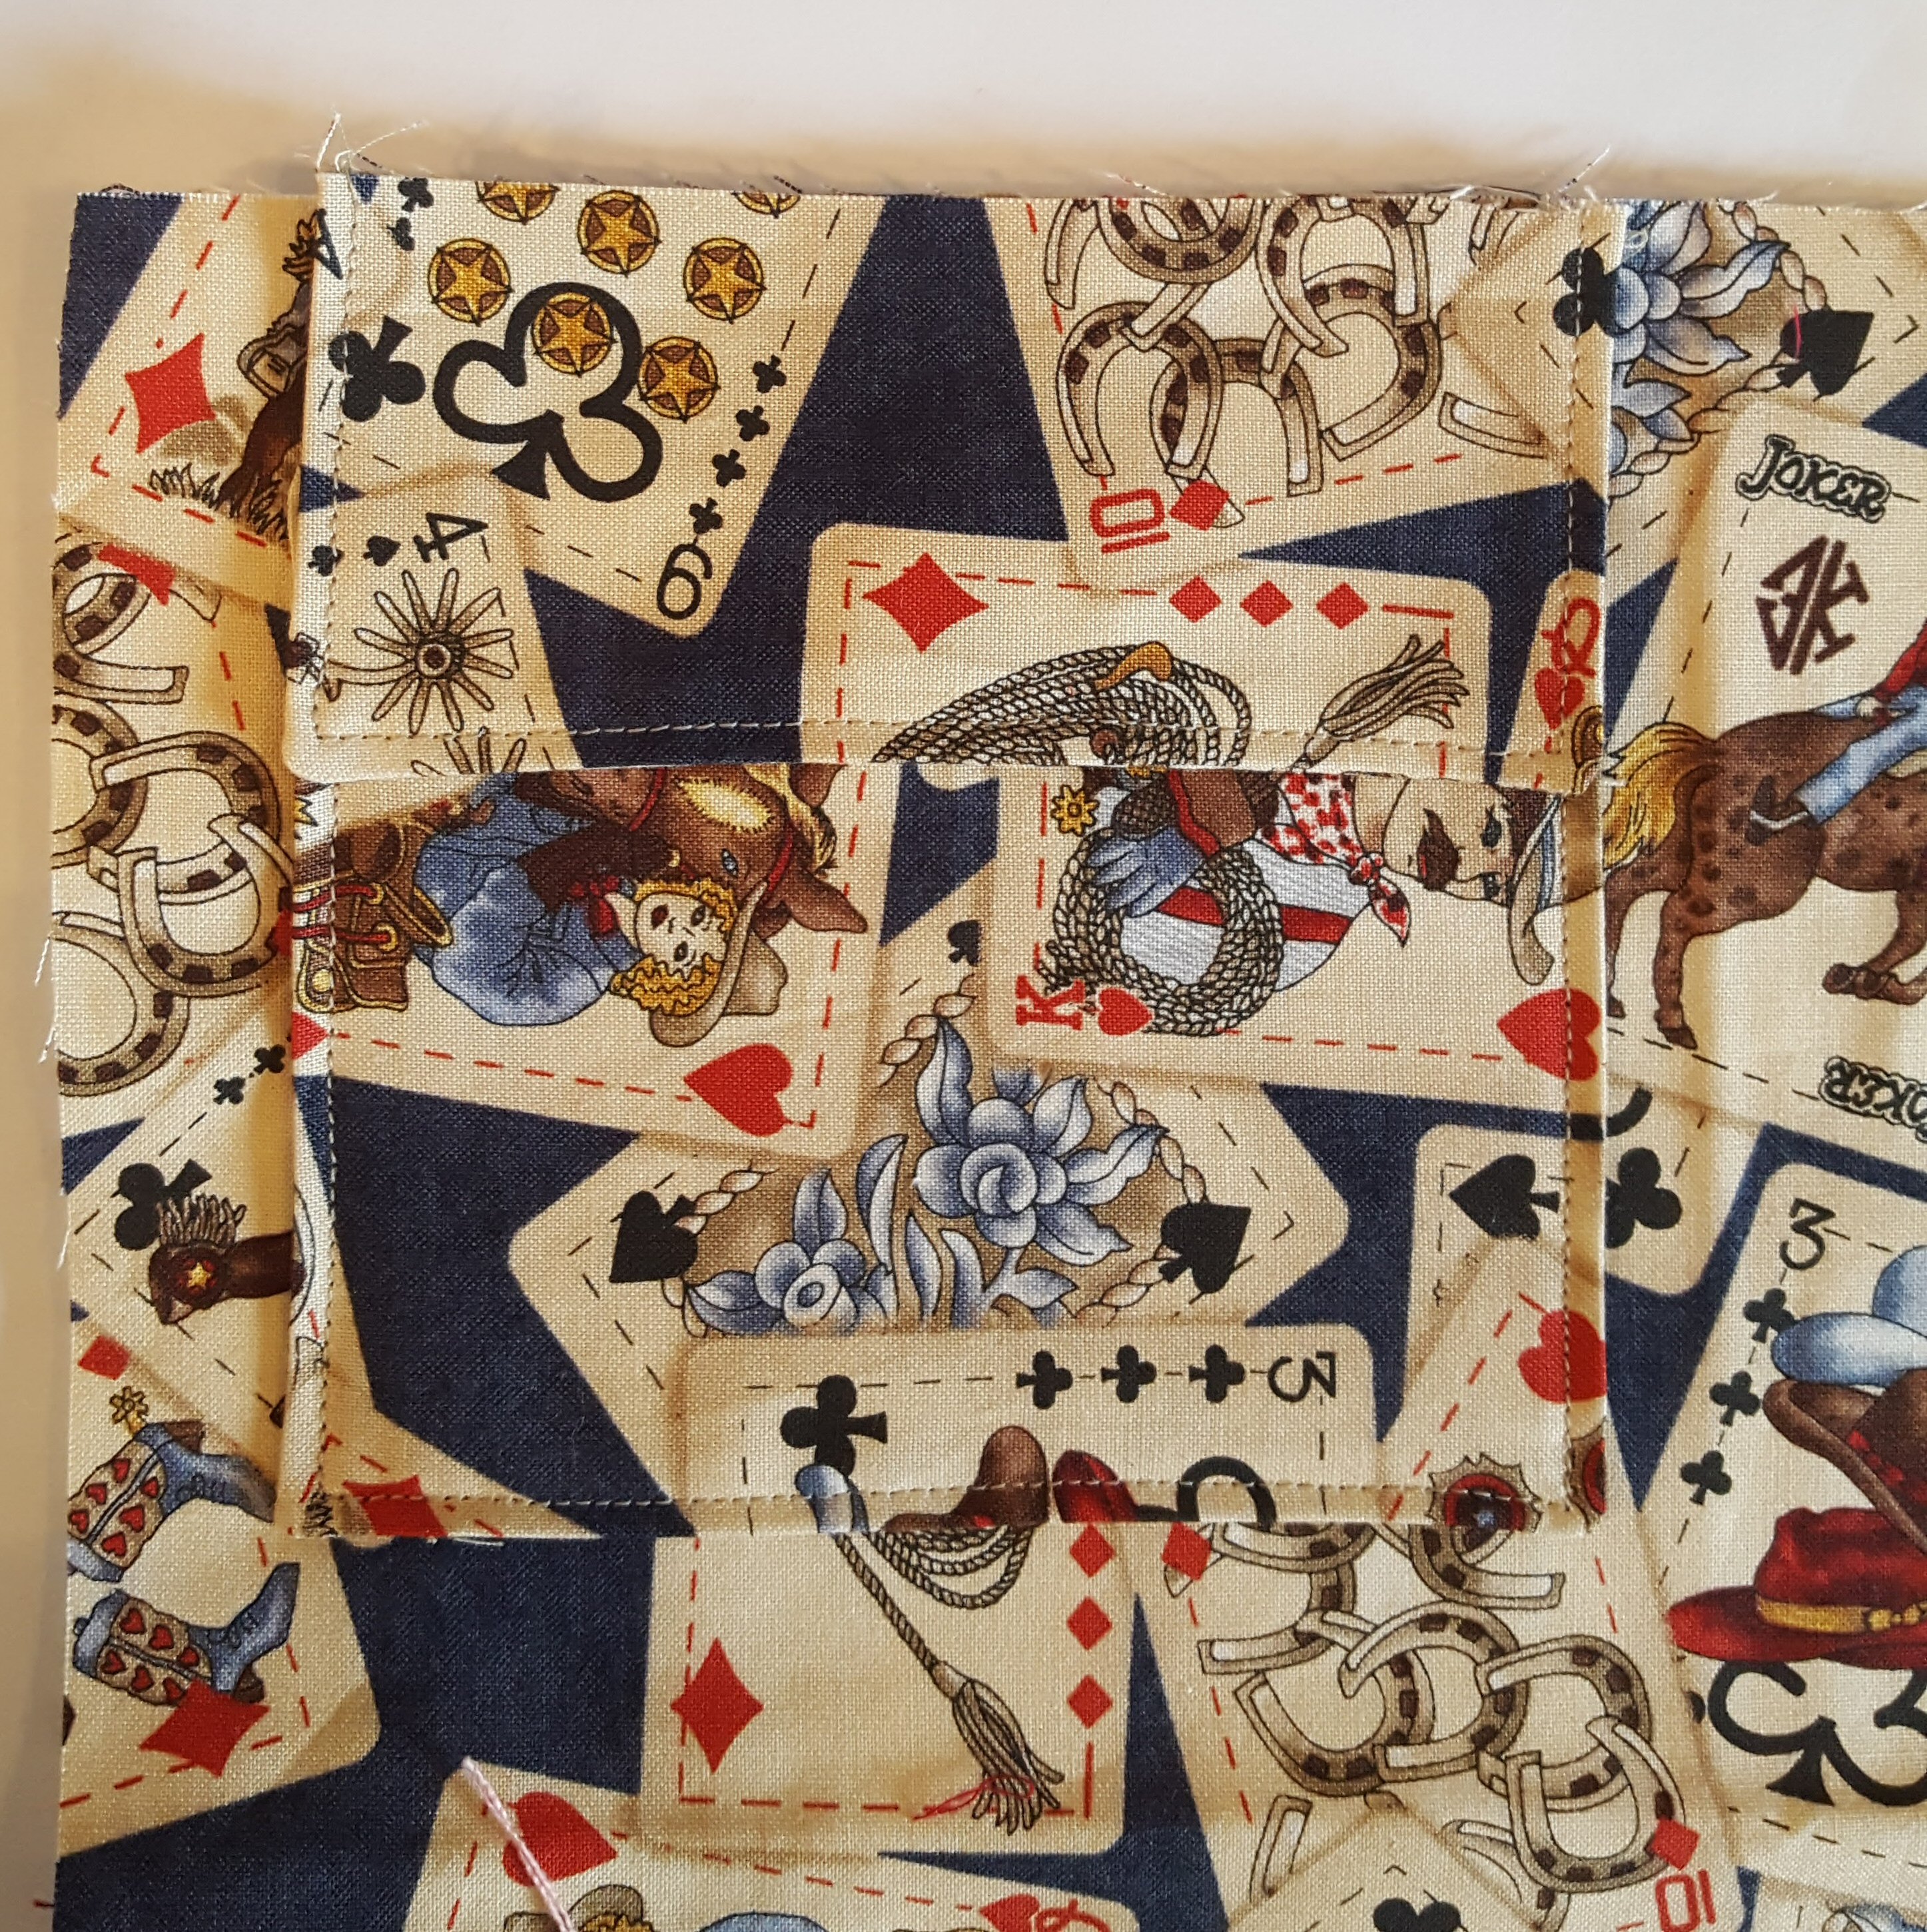
With right sides together, sew one light and one dark strip. Continue sewing alternating light and dark strips until you have a block eight layers wide.

Square up one end of block, then cut into 8, 1 1/2″ wide strips.
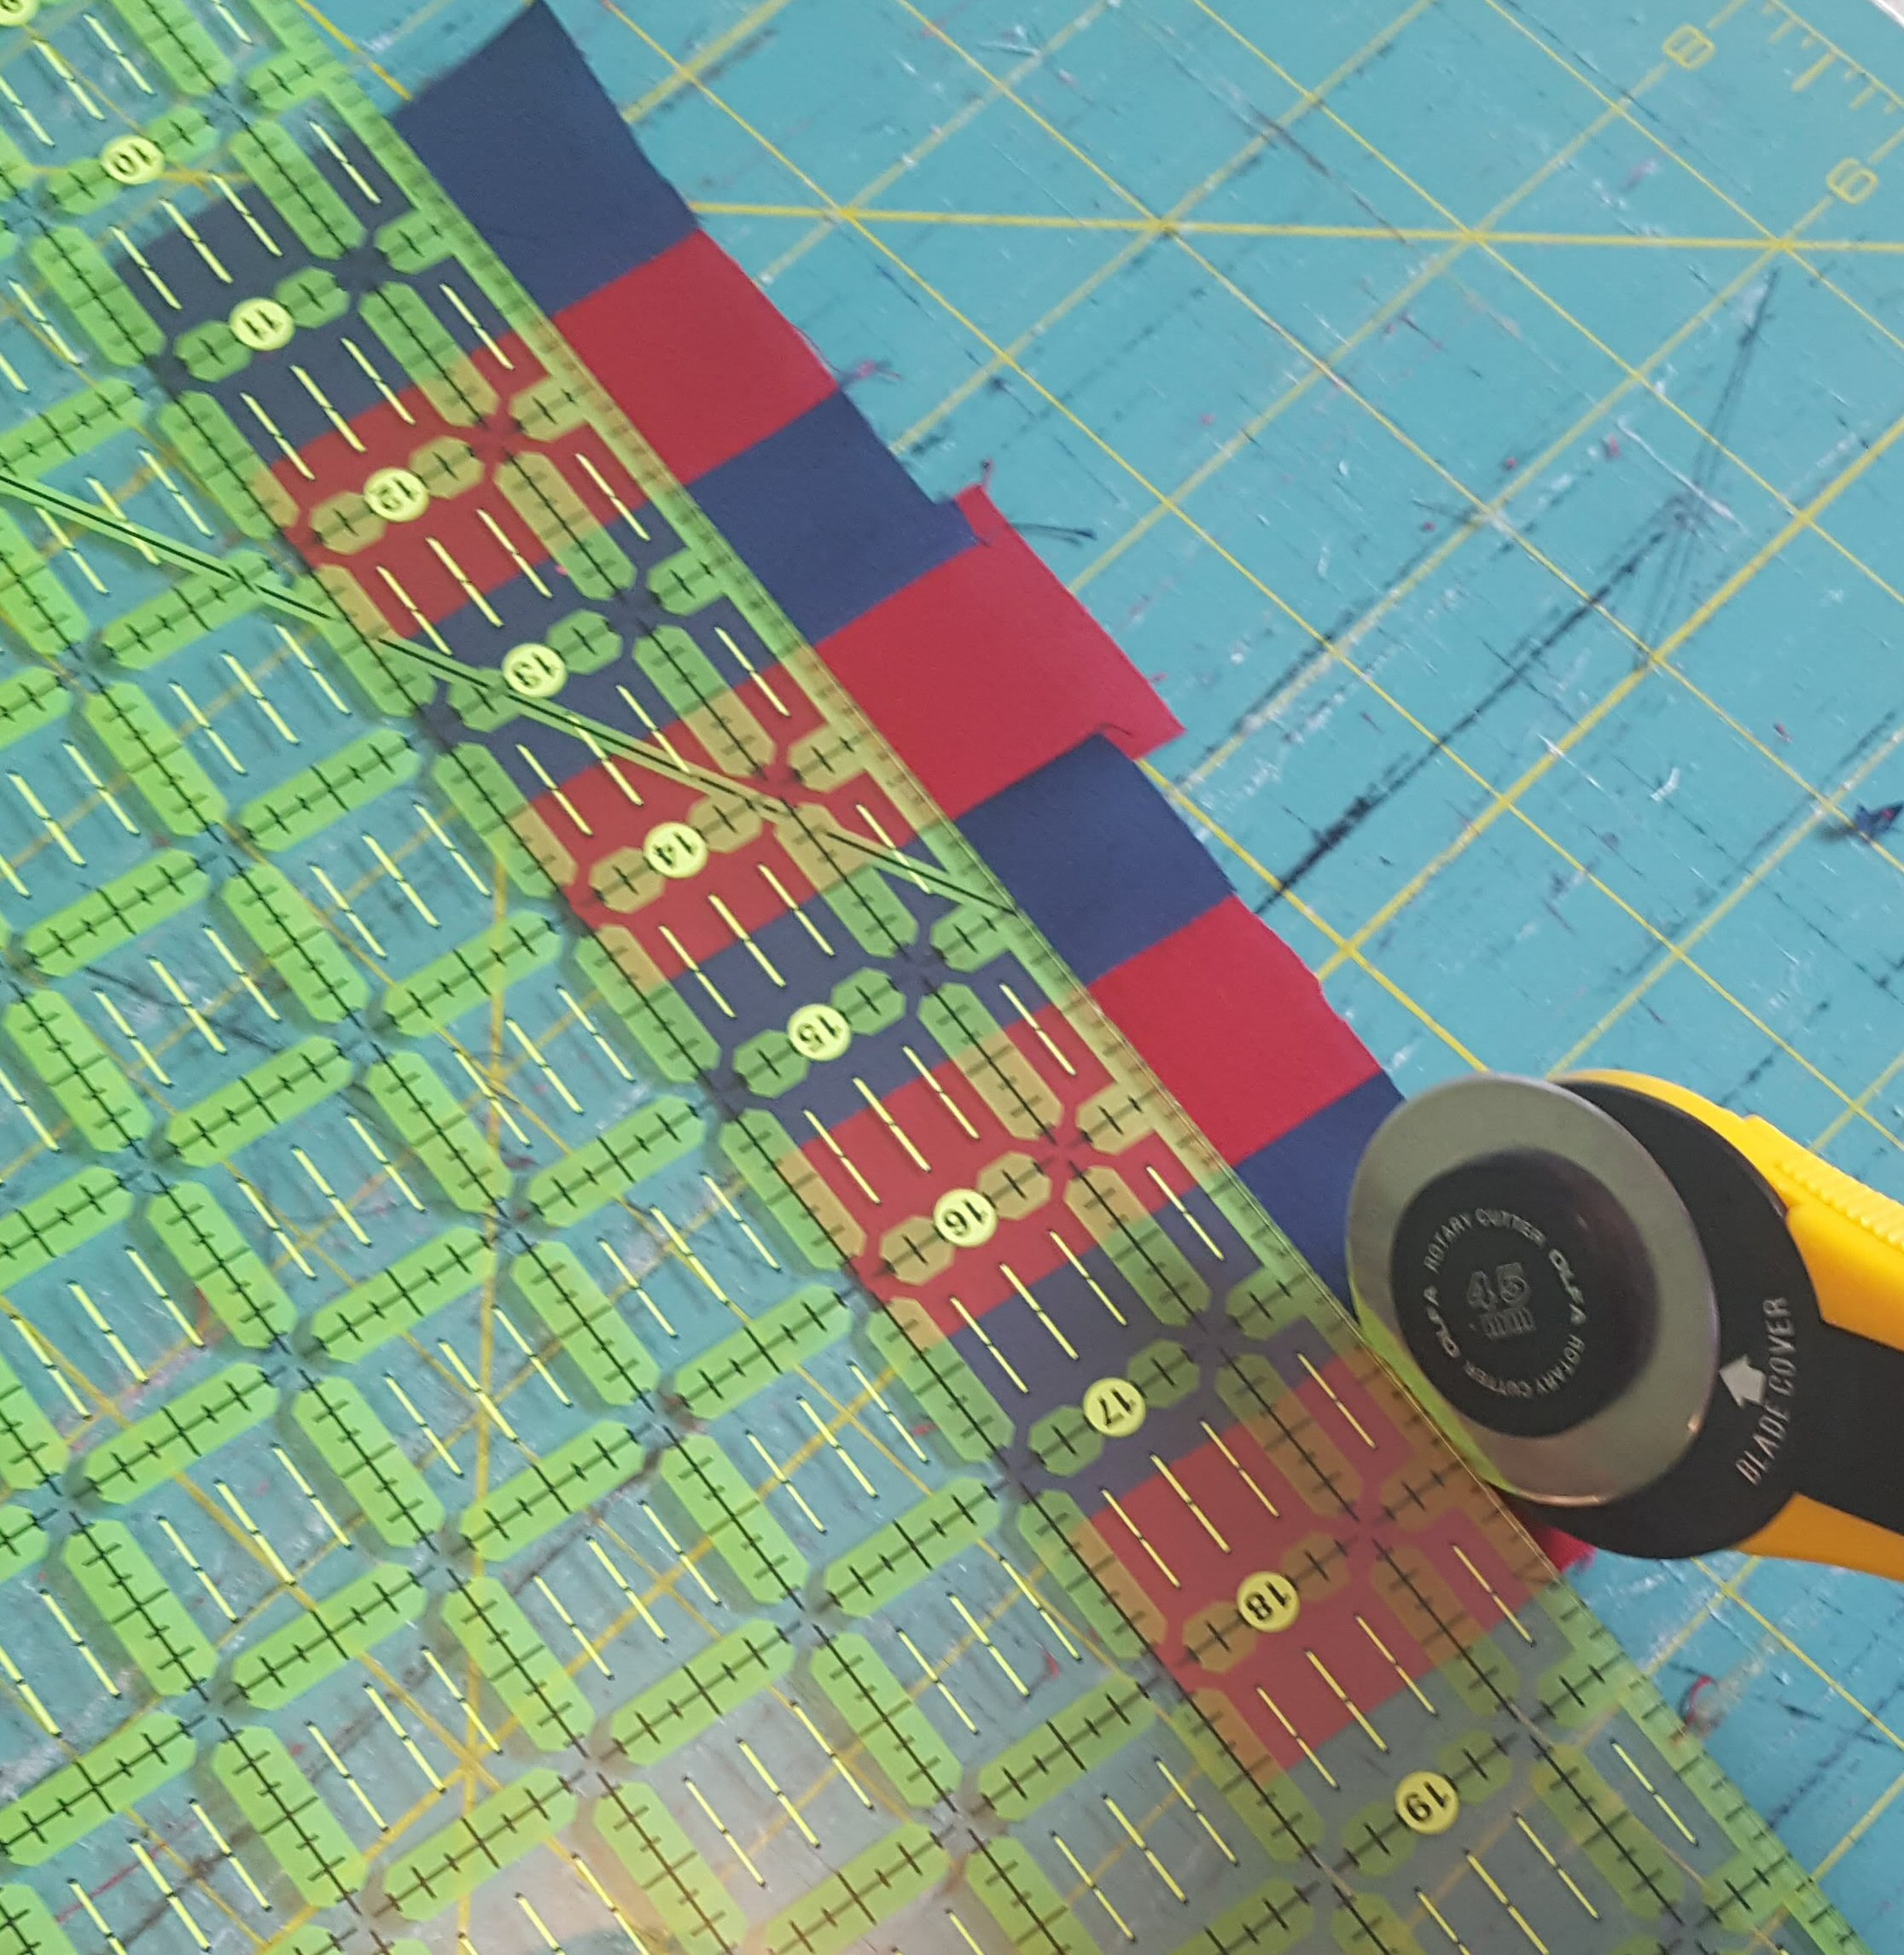
Reverse the pattern of the strips, matching seams and raw edges, and sew.
TIP: To create perfect squares, it’s important to match the seams precisely. One way to do this is to place the fabrics right side together. Insert a pin into the top layer of the seam then guide the point through the seam of the second fabric strip. Carefully bring the pin back up through both layers of material through their seam lines.

Continue sewing alternating strips until all segments have been used. The finished game board will have 64 total squares.
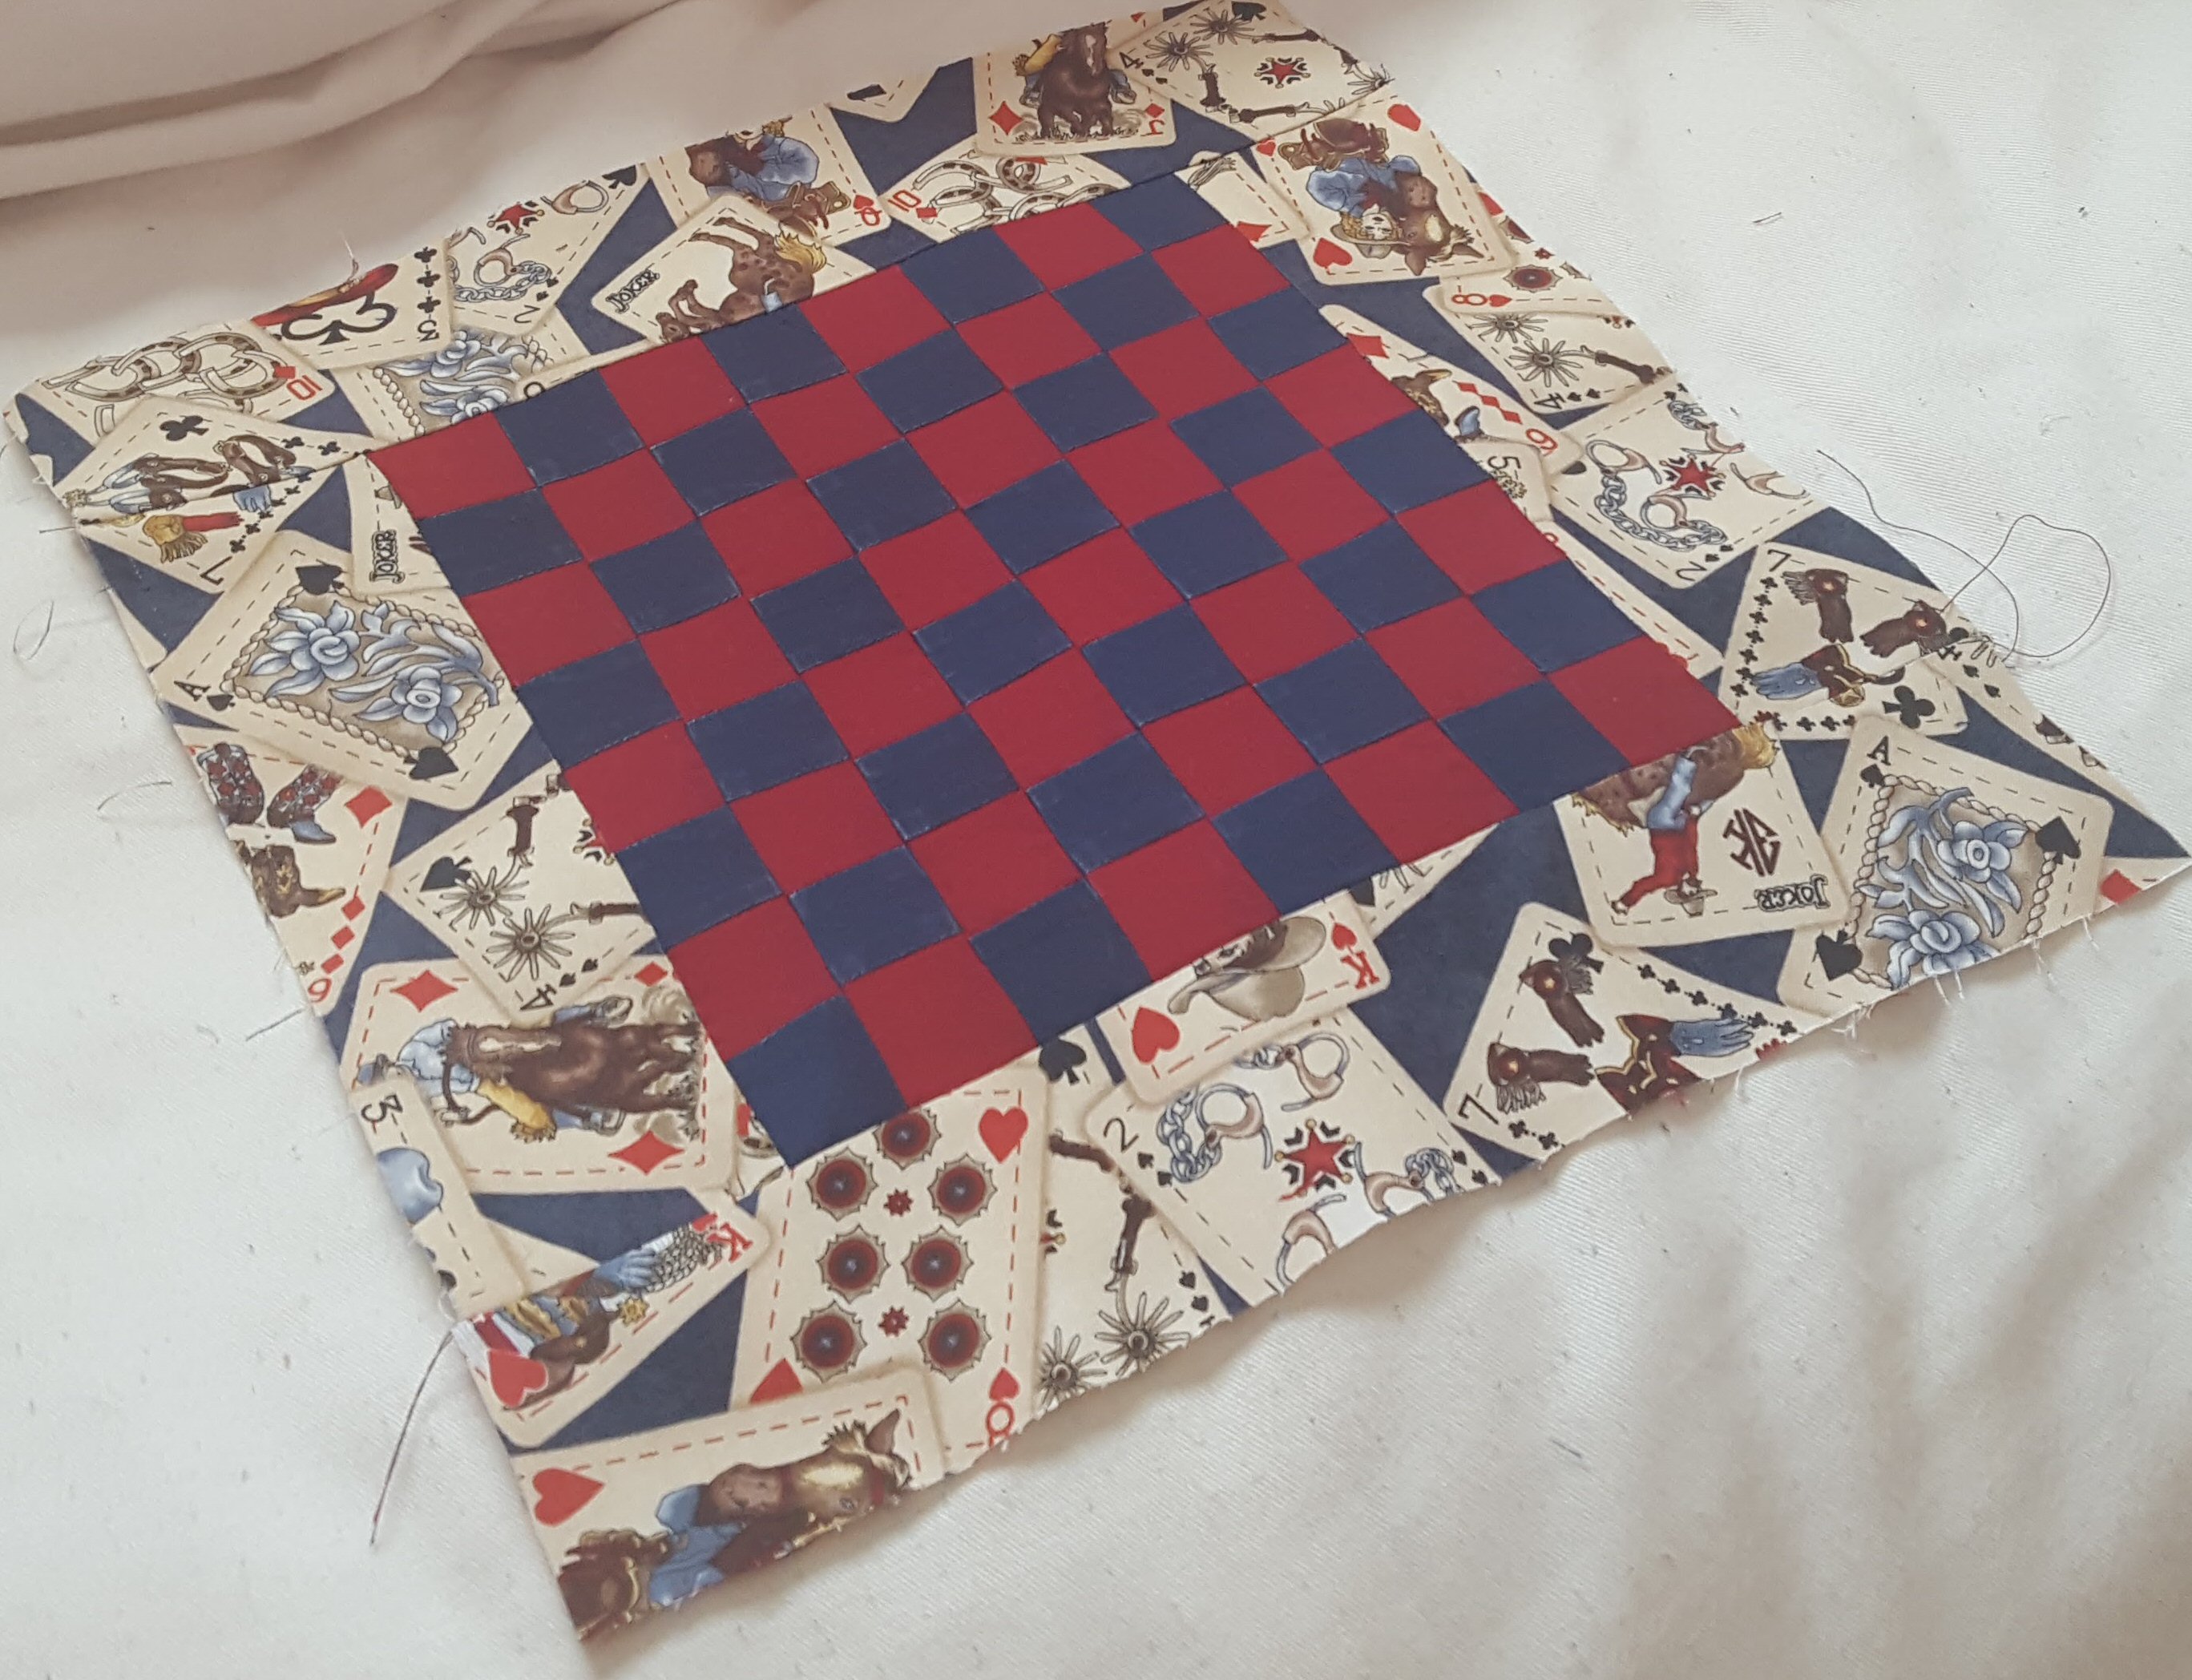
Sew the 2 1/2 x 8 1/2″ rectangles to either side of game board.
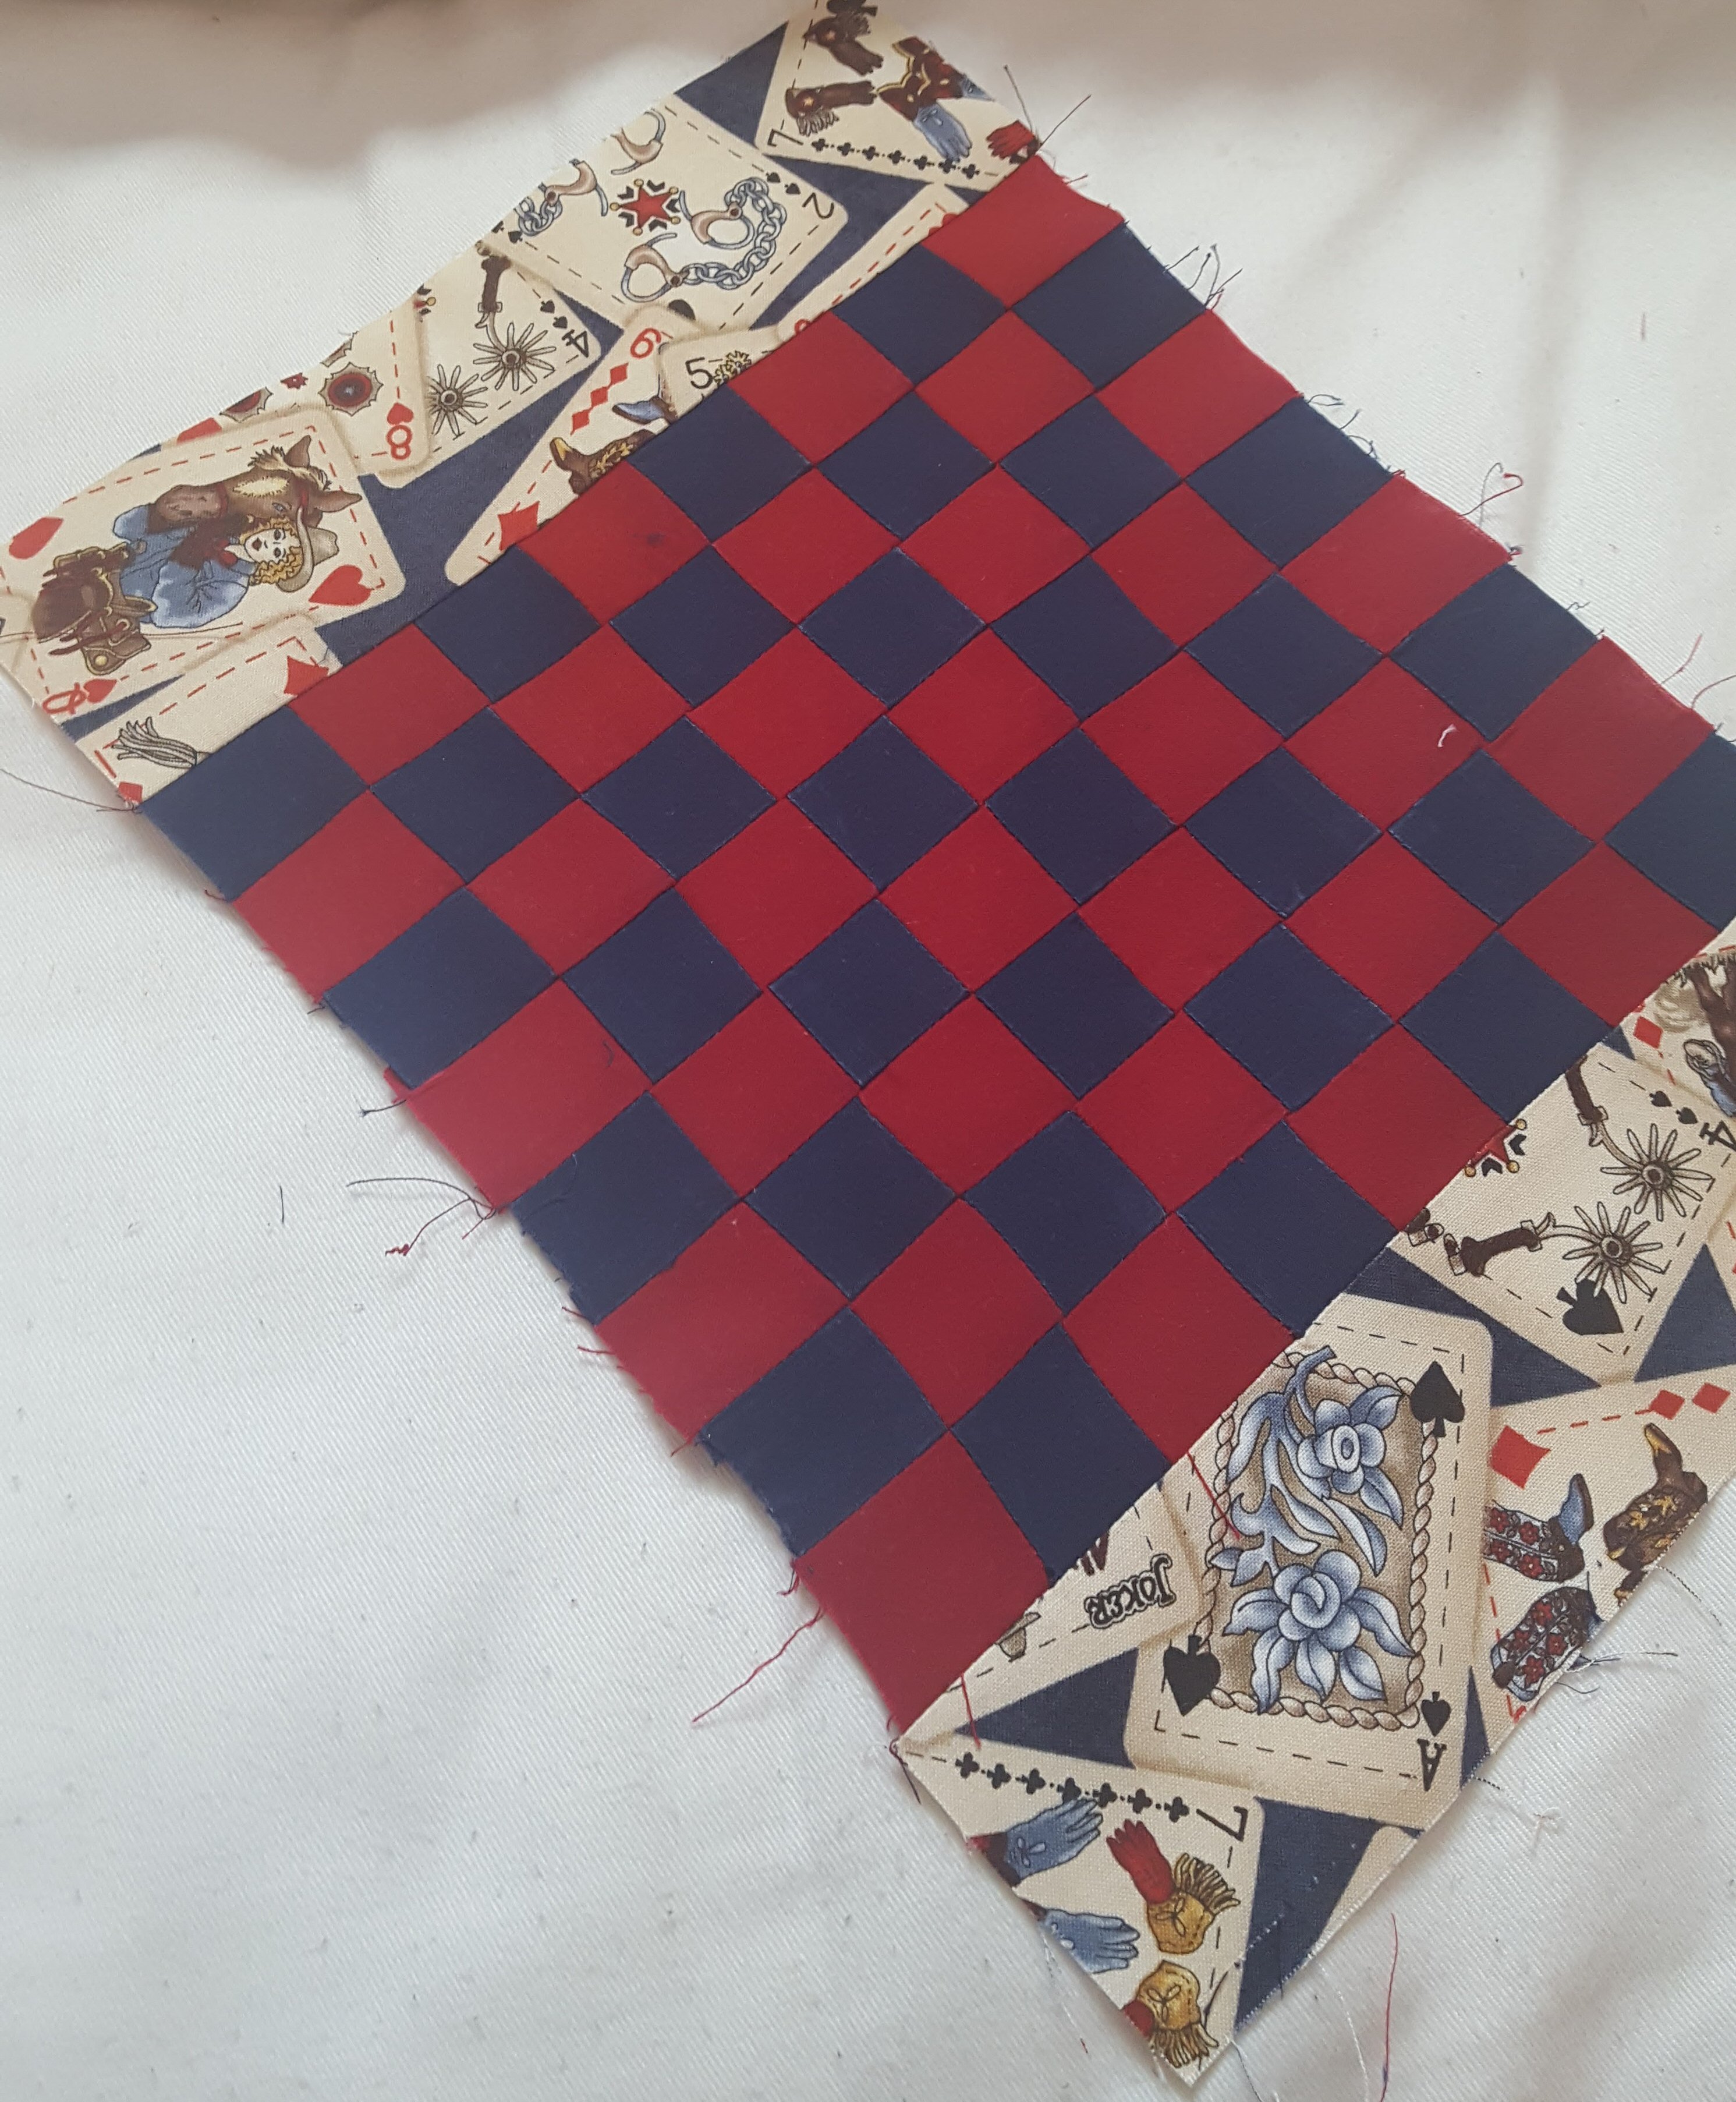
Sew the 2 1/2″ x 12 1/2″ rectangles to remaining edges of game board. The top is now complete!
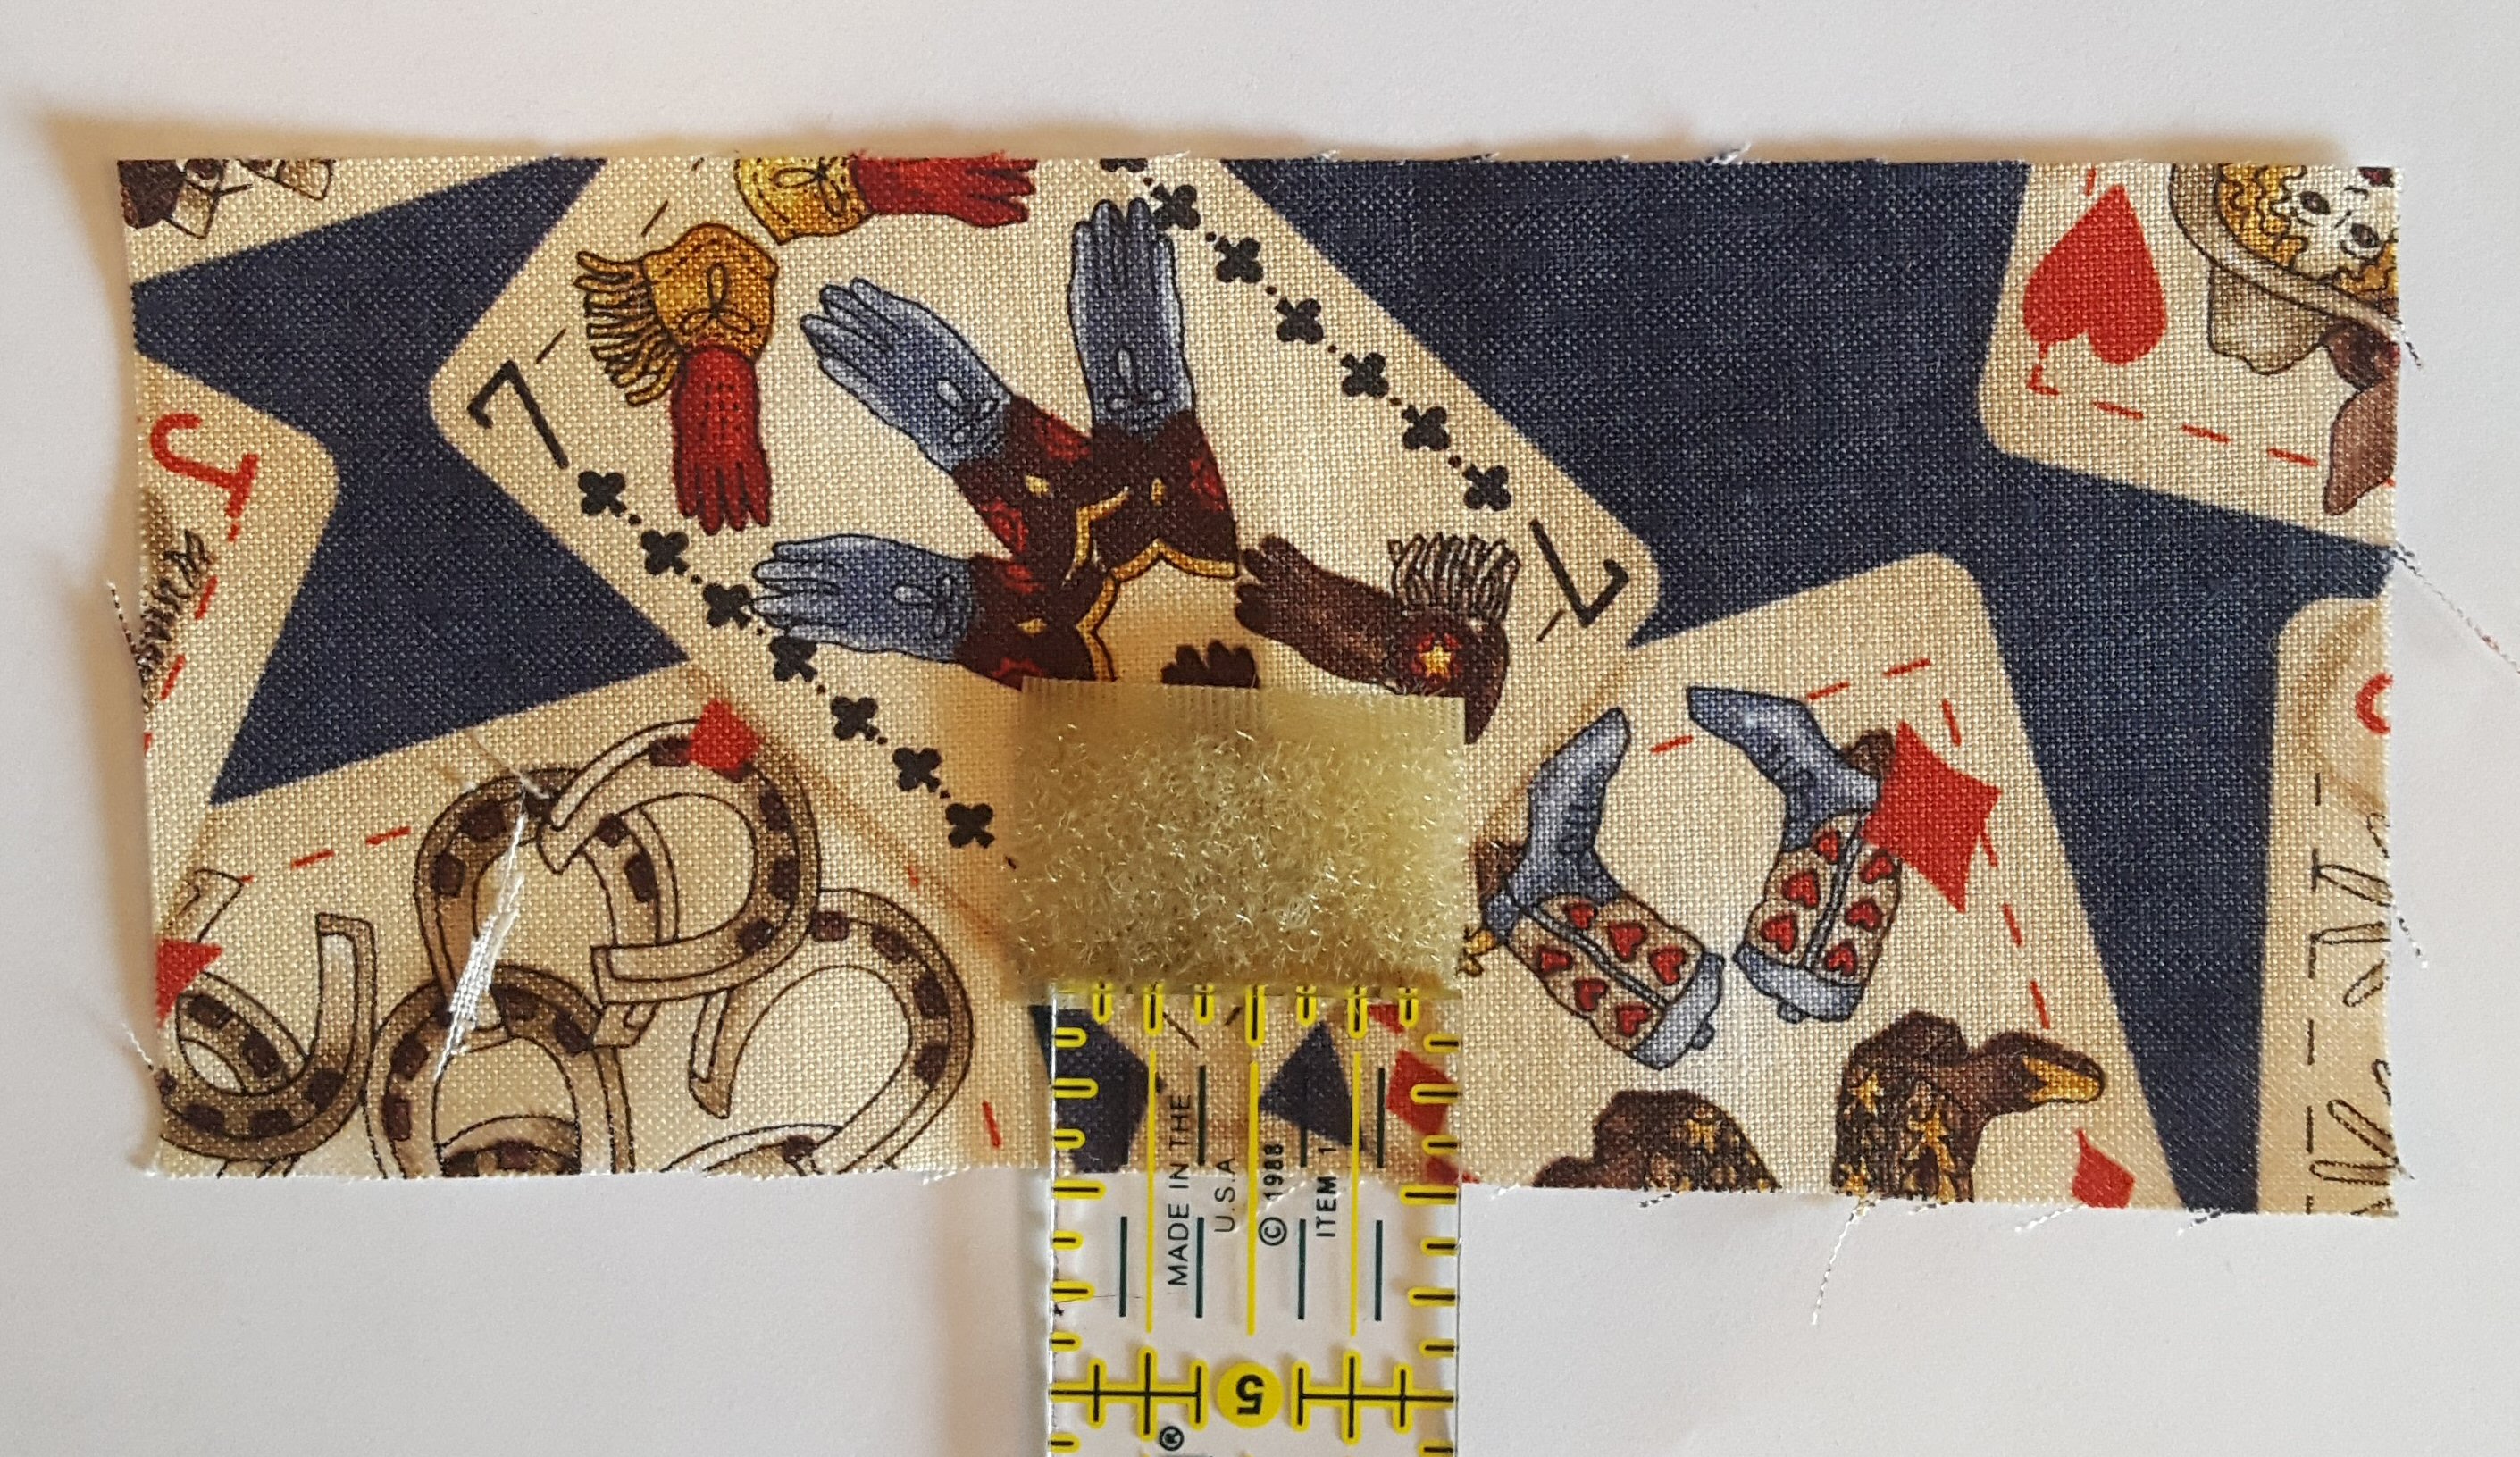
On one 2 1/2 x 5 1/2″ rectangle, center the loop side (the softer piece) of the Velcro 1/2″ above the bottom edge and sew.
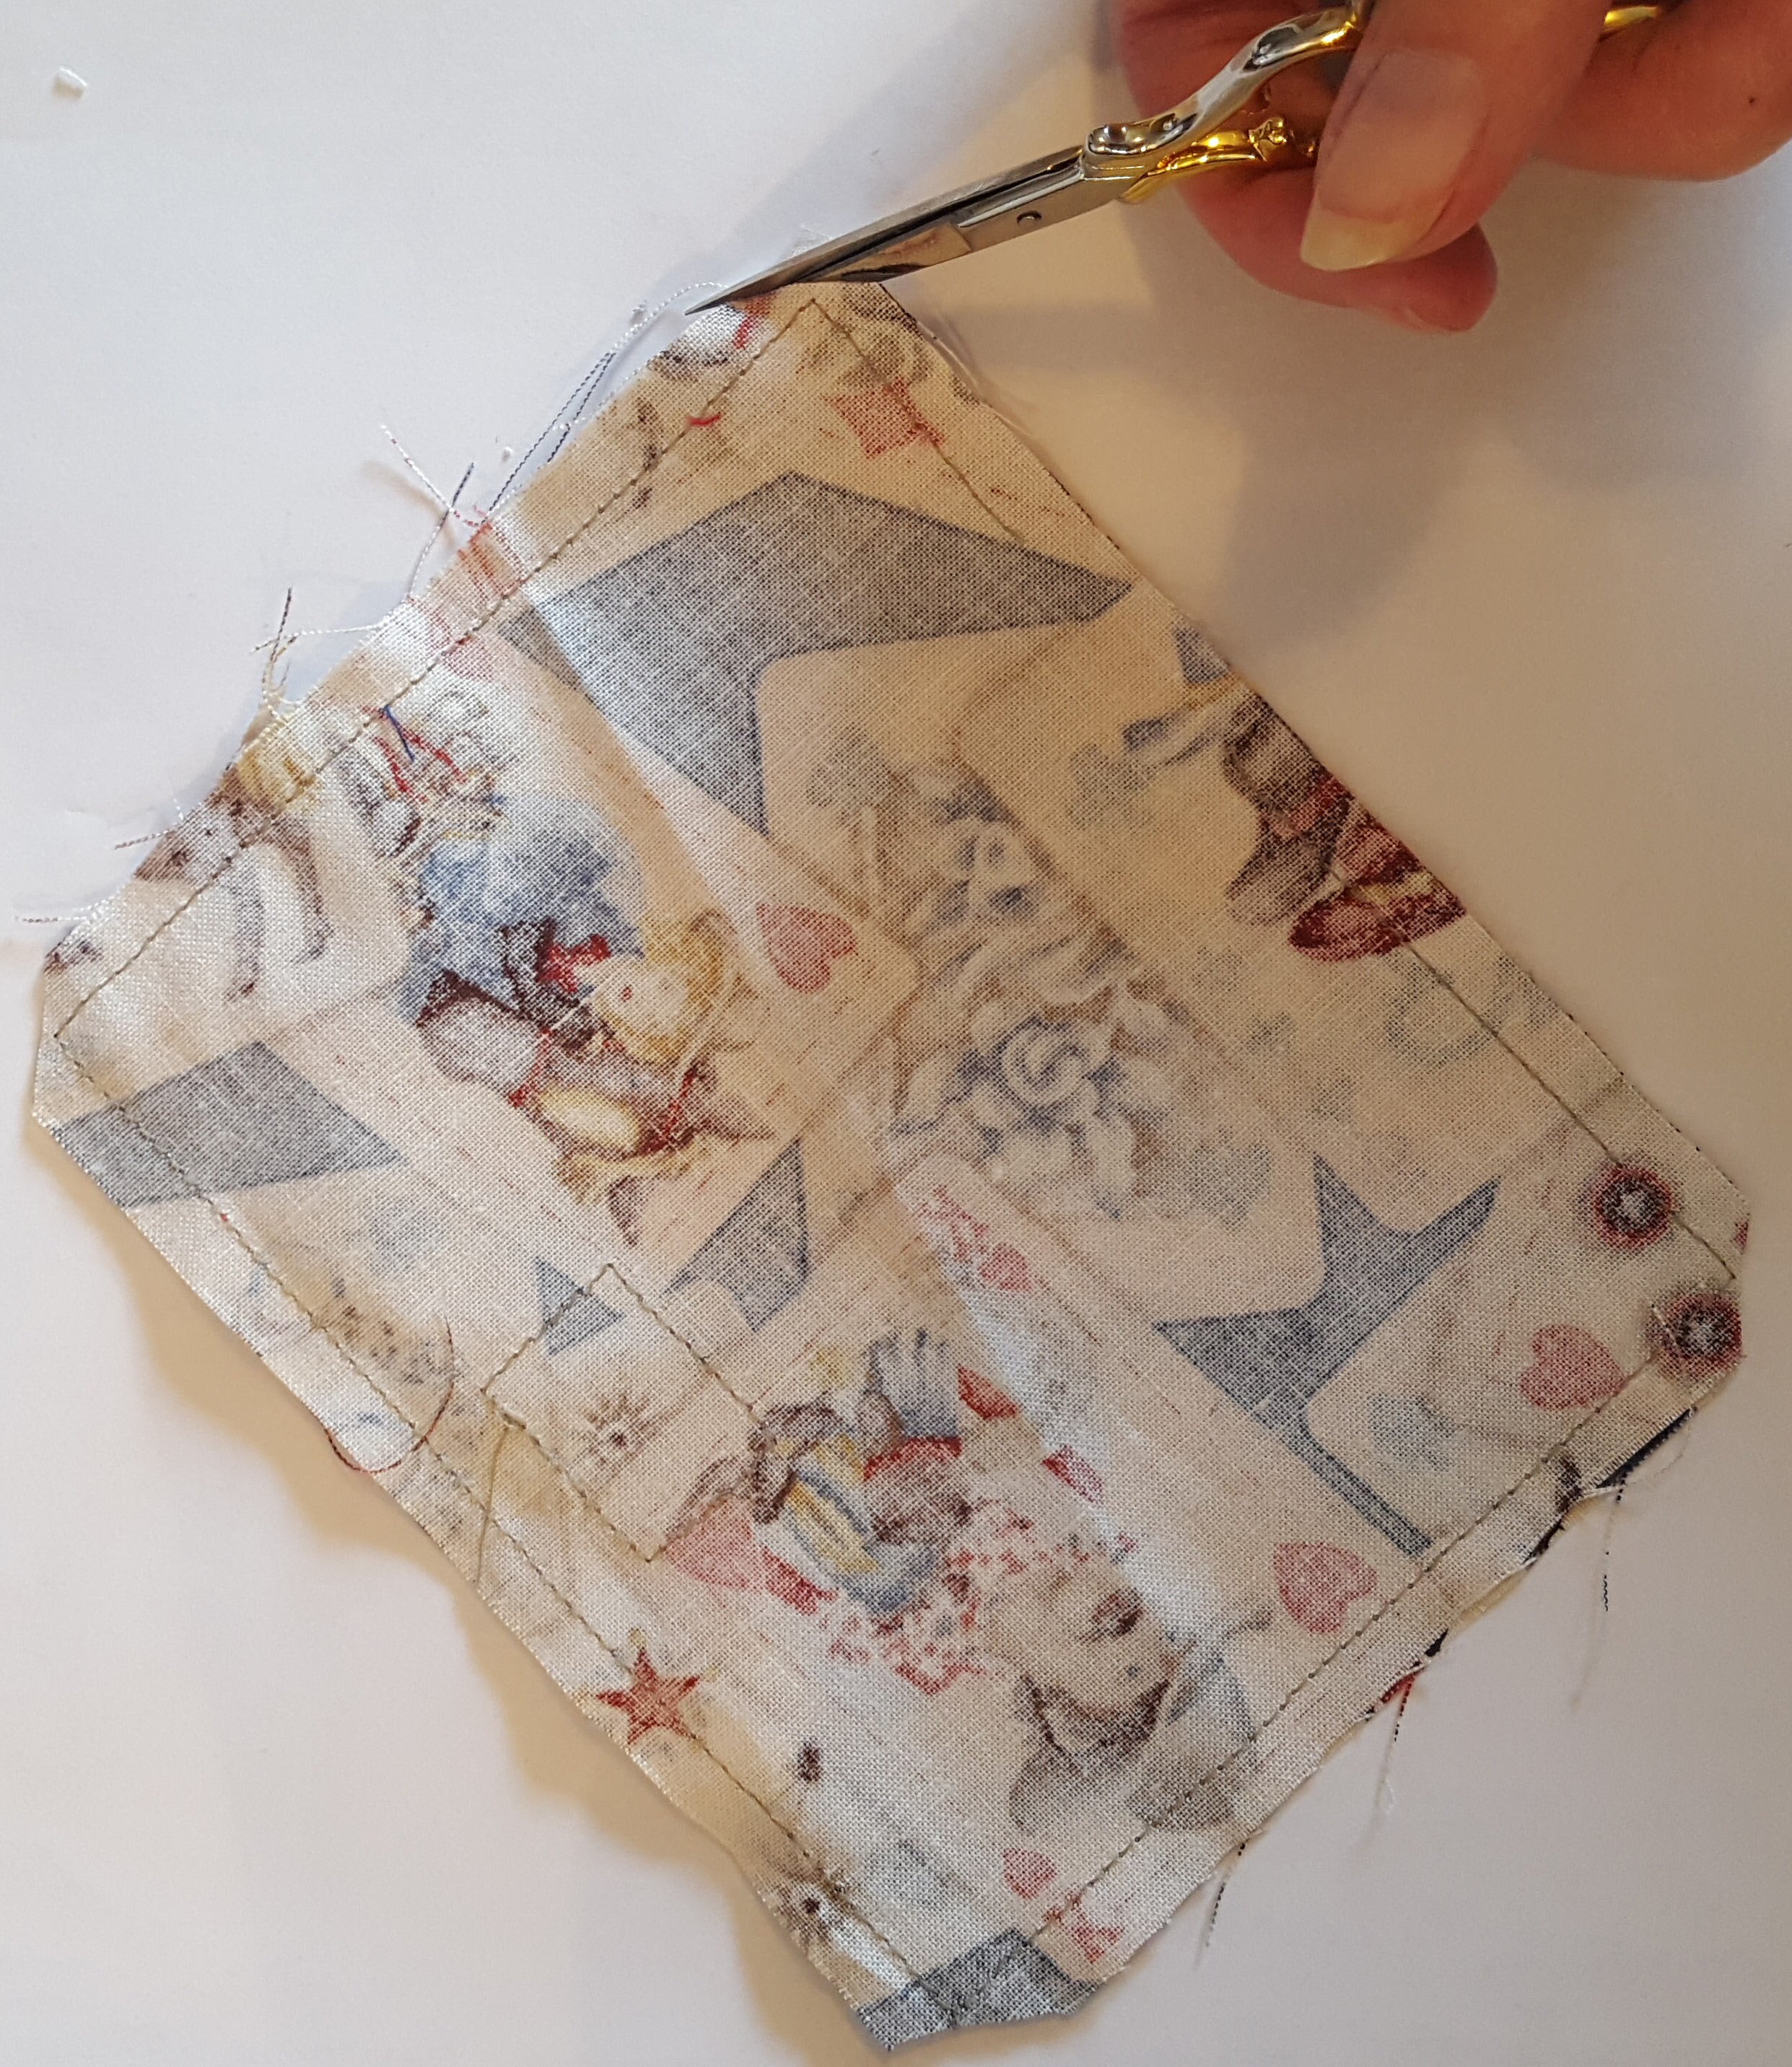
With right sides together, sew the 2 1/2 x 5 1/2″ rectangles together, leaving the top edge open. Clip corners, turn right side out and topstitch the edges.
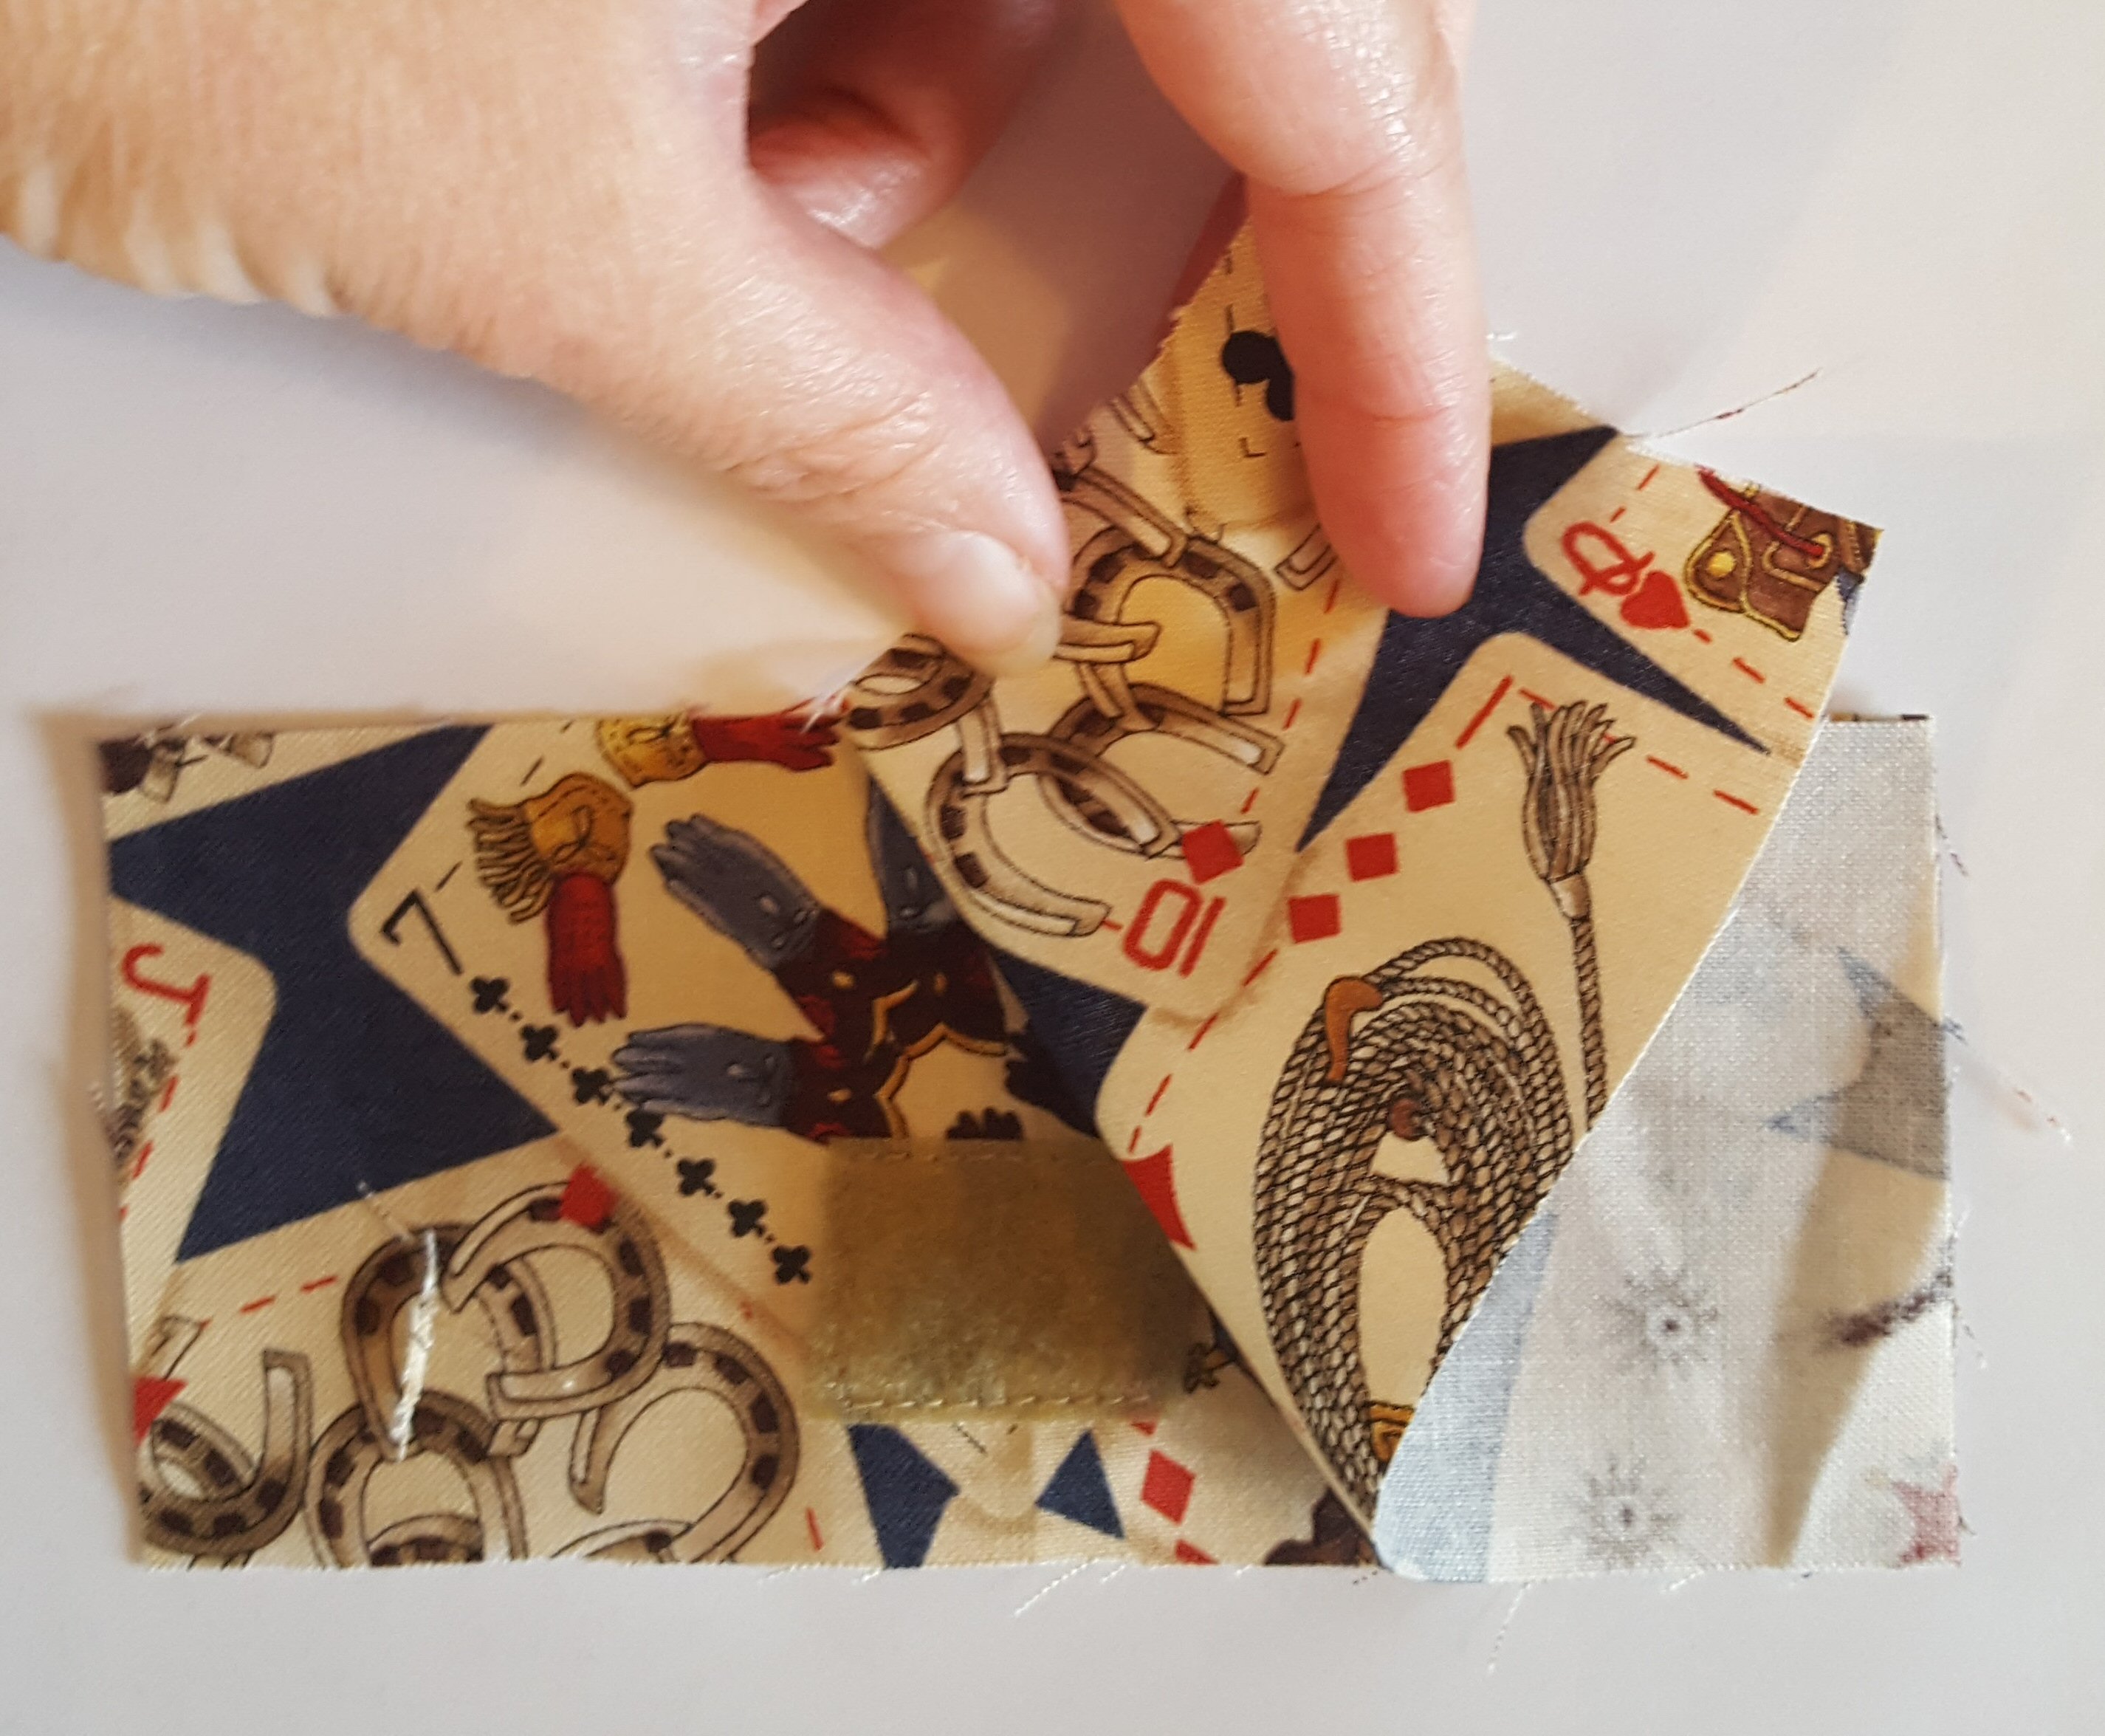
On one 4 1/2 x 5 1/2″ rectangle, center the hook side (the scratchy piece) of the Velcro 1/2″ below the top edge and sew.
With right sides together, sew the 4 1/2″ x 5 1/2″ rectangles together, leaving a 2-3″ opening along bottom edge for tuning. Clip corners, turn right side out through opening, and press.
Place pocket (with Velcro side up) on 12″ square backing fabric; 1″ down from top and 5/8″ over from side edge. Stitch sides and bottom edges of pocket only.
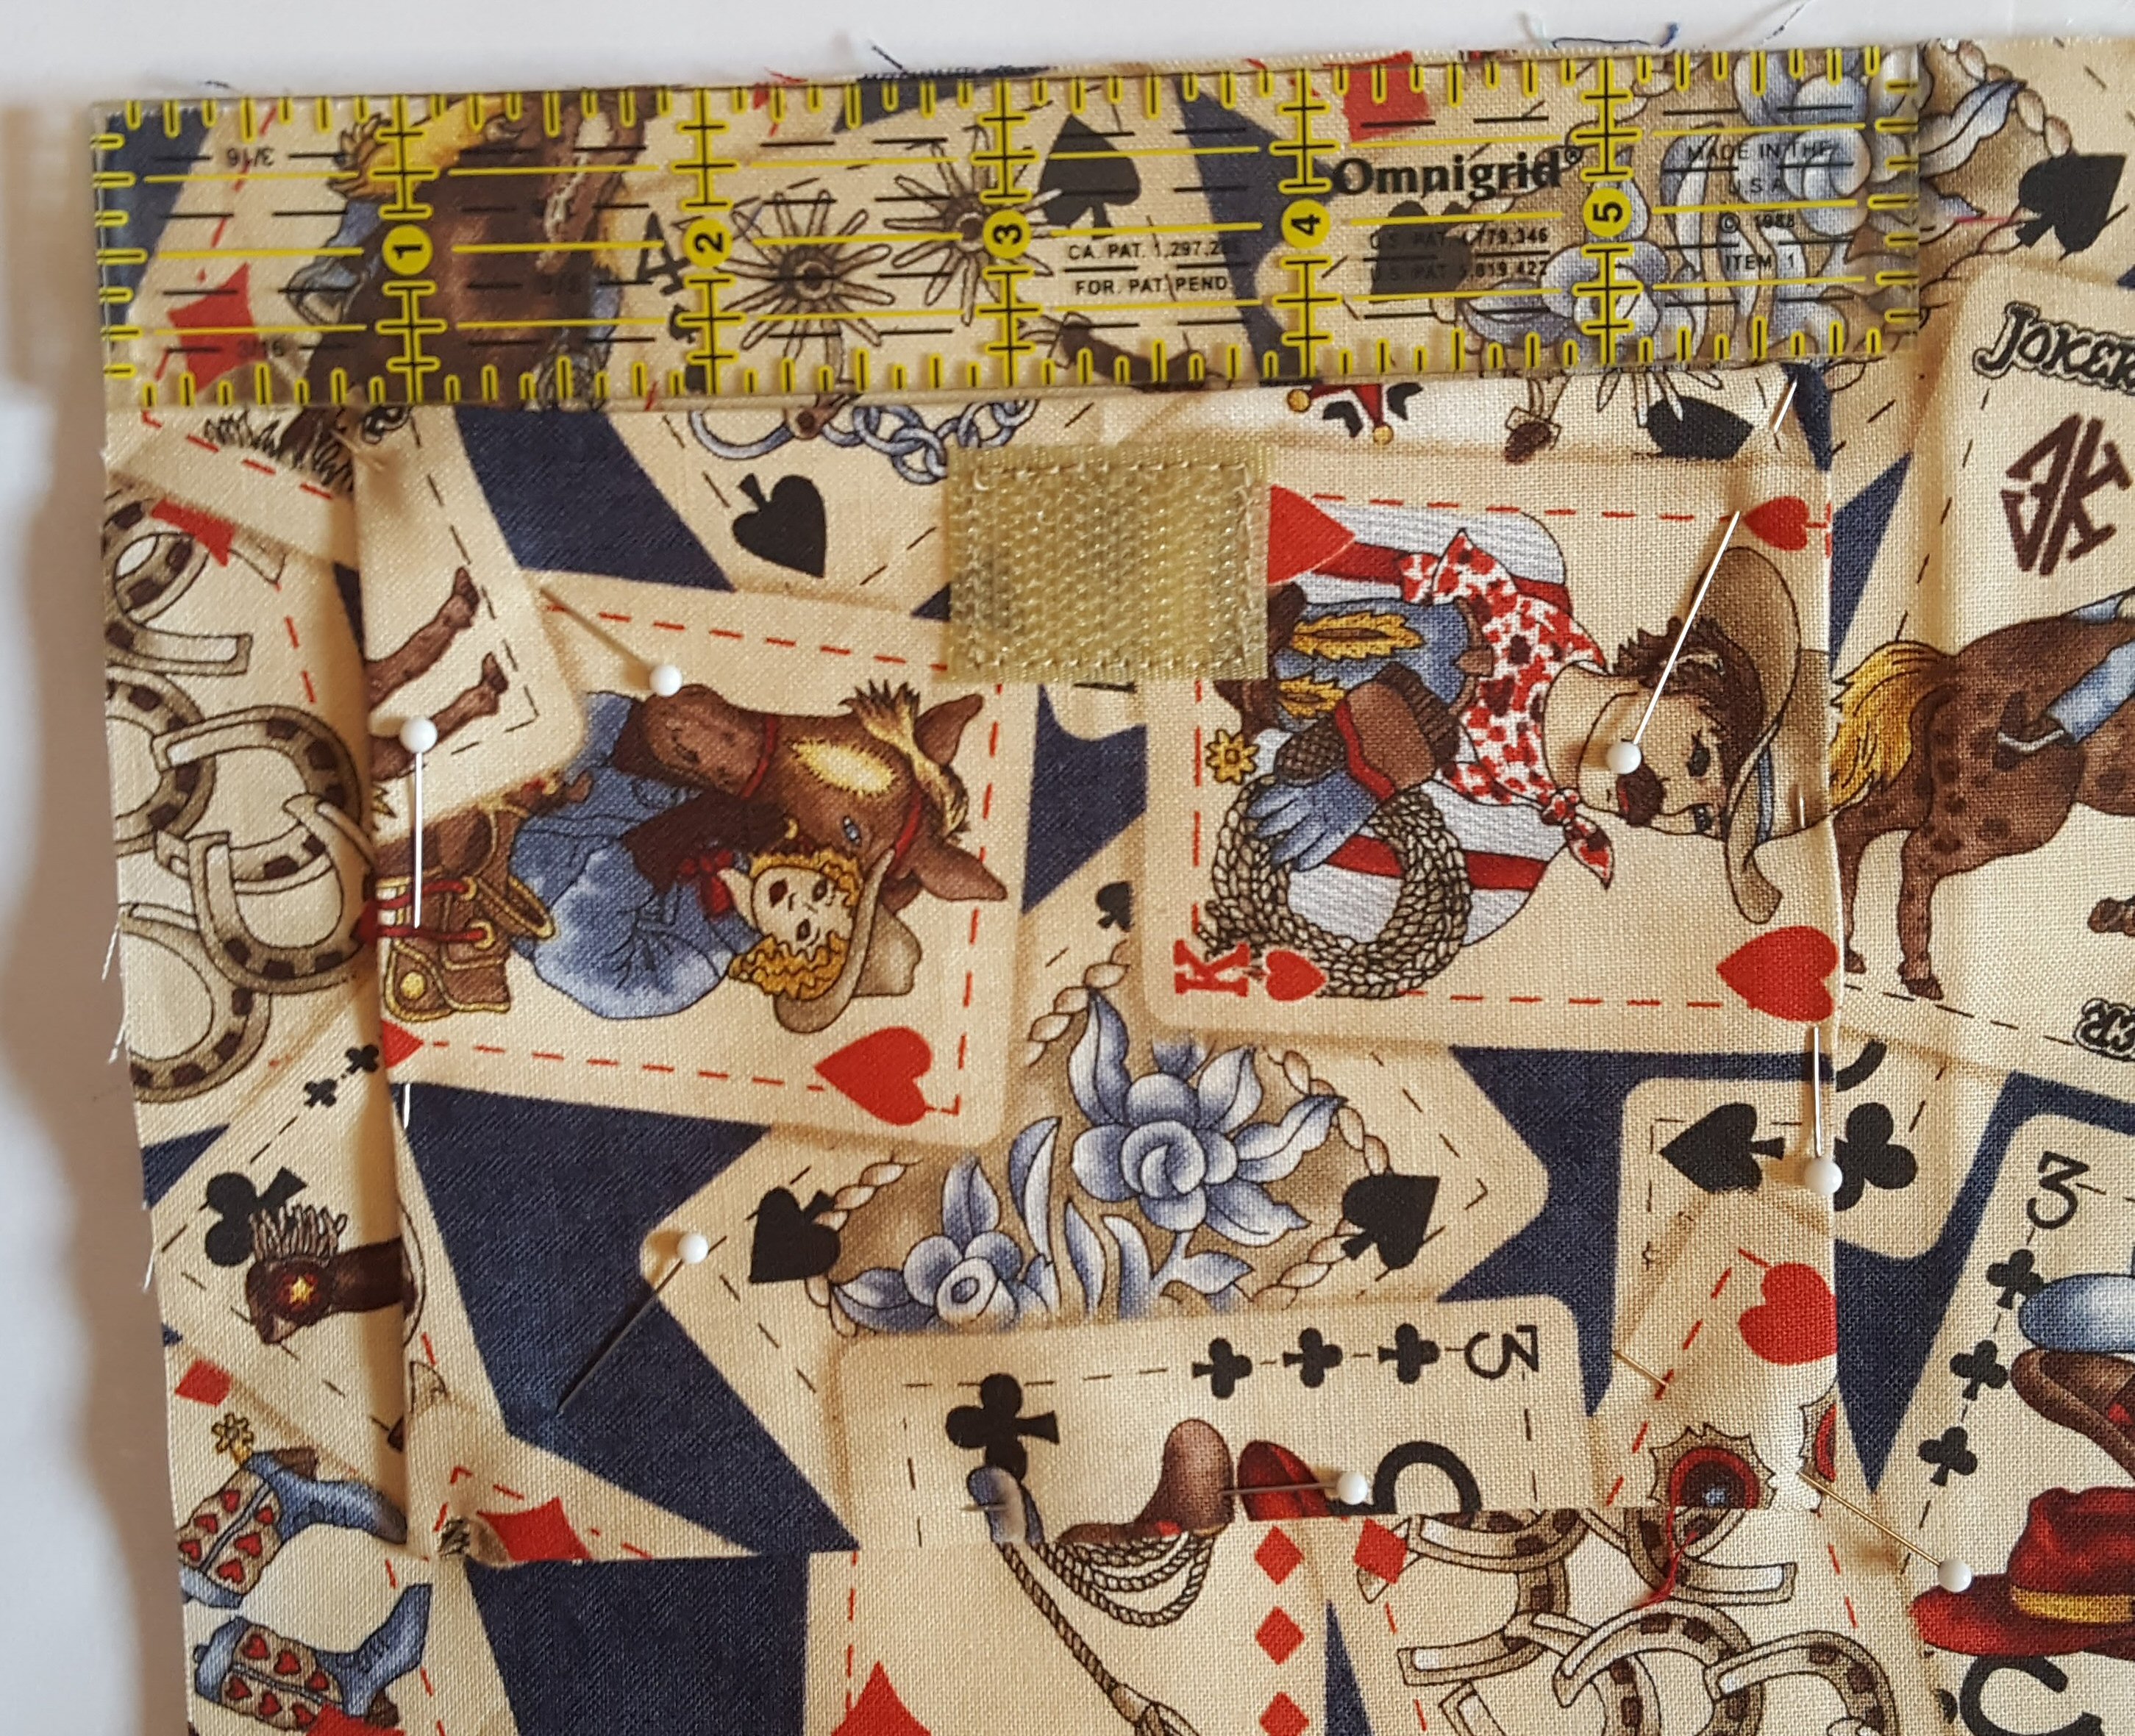
Place pocket flap, Velcro side down, on top of pocket (5/8″ over from side edge). The Velcro segments should match and close—if they are ‘off’ adjust as necessary. Baste along top pocket edge.
With right sides together, place pieced game board on top of backing with pocket. Sew around all edges leaving a 4-5″ opening for turning. Clip corners, turn right side out, and topstitch around the edges.

Store game pieces in the pocket when not in use.
And enjoy!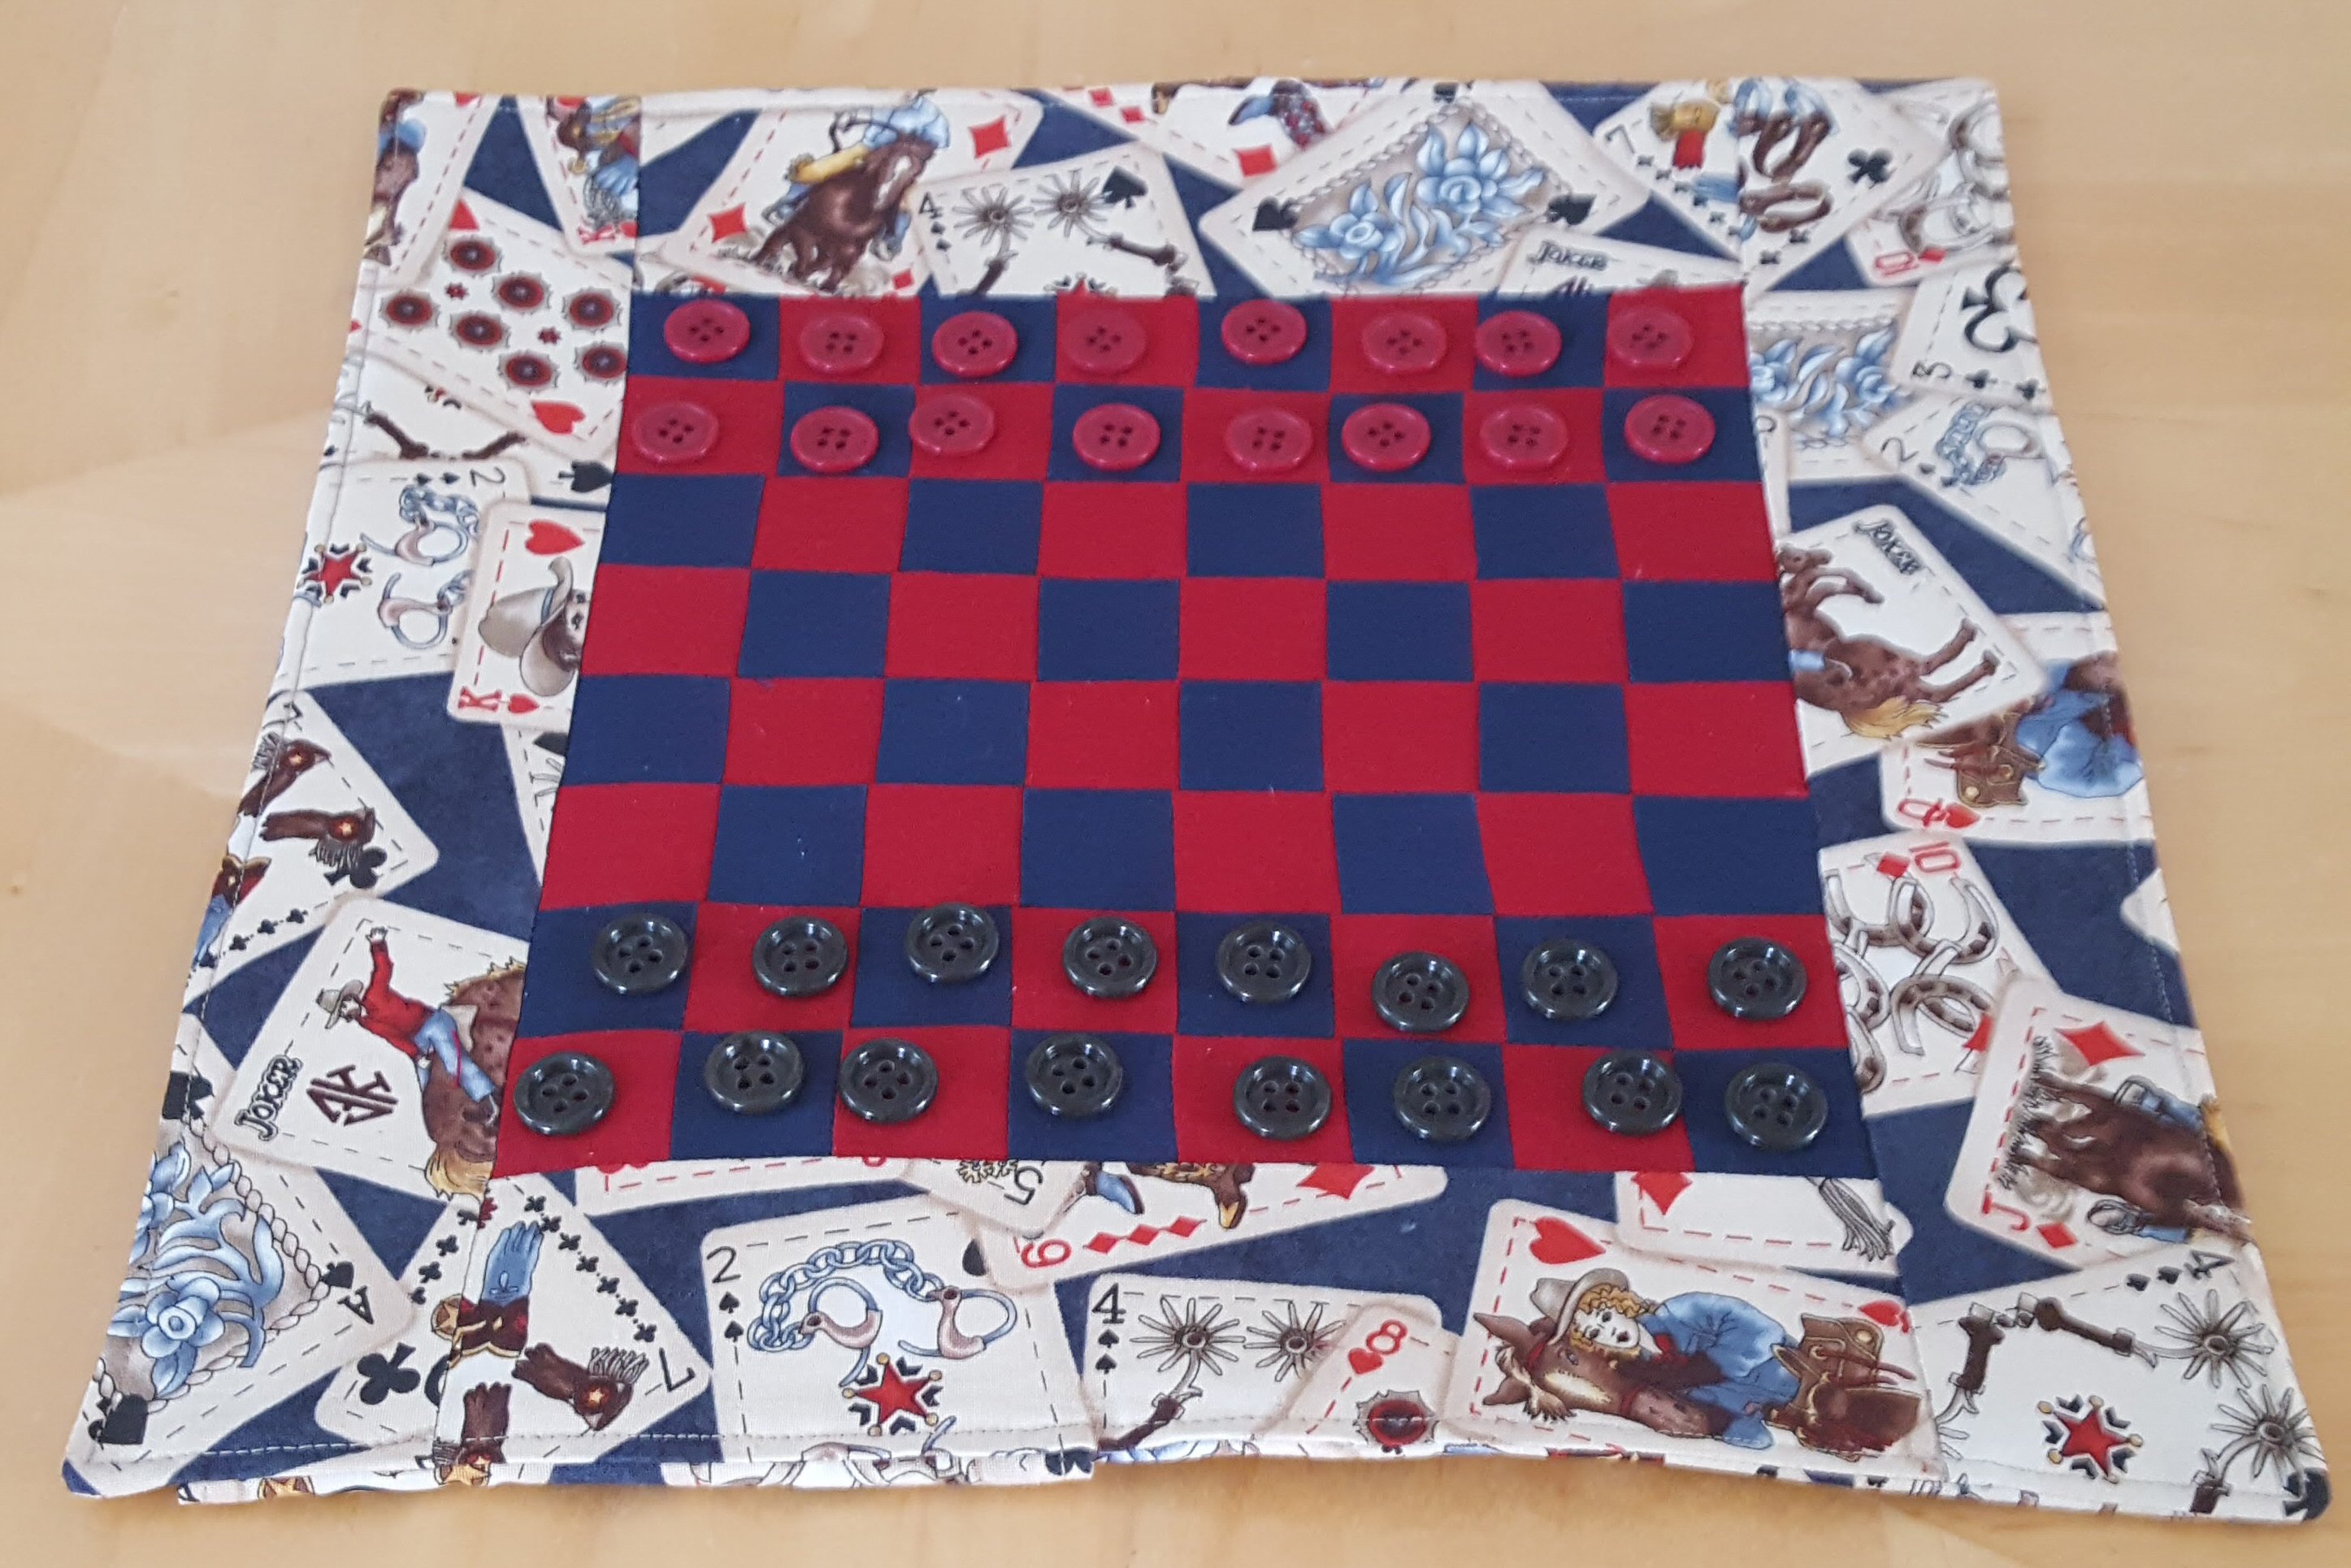


What you might also like


2 comments on “Mini Travel Checkerboard Game”
-
-
Love the card fabric, where is it available please?
Leave a Reply
You must be logged in to post a comment.

I’m just wondering what happens to the pieces on the board when the car hits a bump (unless everyone’s watching their own personal movie!). Maybe flannel for the board and small strips of velcro on the pieces so they stay in place?