How to Make a Square Deal Vest
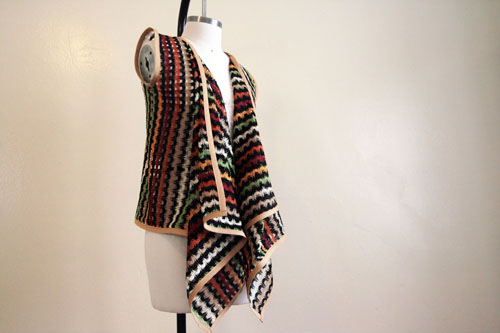
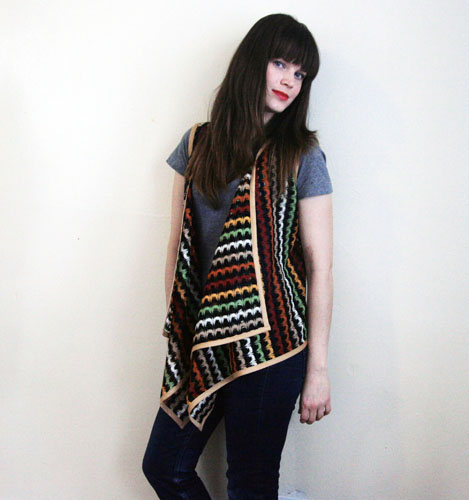
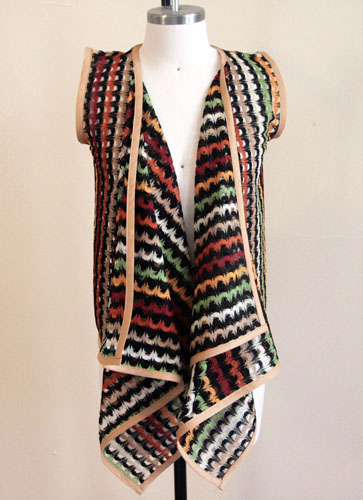
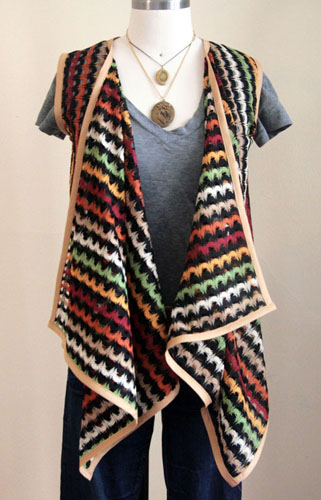
The boldest statements are often the simplest. Based on a simple geometric shape, this vest is easy to sew and striking to wear. Drape yourself in contemporary style with a modern take on a traditional garment.
materials and tools
- 2 yards of fabric
- 6 yards of 1/2ʺ-wide double-fold bias binding
- Measuring tape
- French curve, optional
- Pattern paper
- Marking tools
- Pins
- Thread to match binding
- Steam iron
- Edgestitch foot, optional (BERNINA Edgestitch Foot #10/10C)
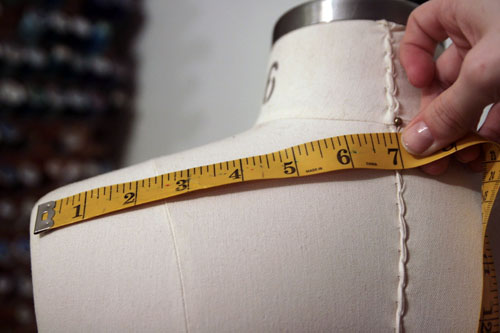
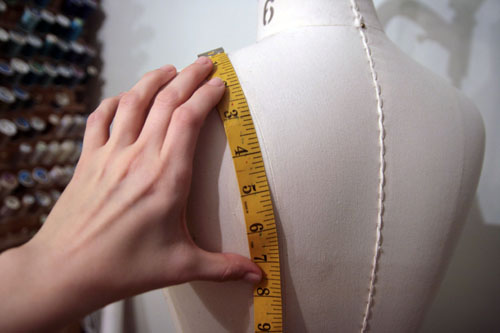
Step 1) Take your measurements.
Measure from the end of your shoulder to the middle of your neck.
Record this as Measurement A.
A = ________
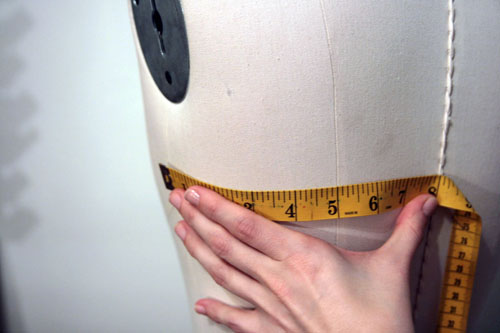
Measure the width of your back at your bust level, just below your arm, from the side seam to the center back.
Record this as Measurement B.
B = ________
Measure the distance from your shoulder down to the line where you took Measurement B.
Record this as Measurement C.
C = ________
Step 2) Draft your pattern.
Draft your vest pattern—custom fit to your personal measurements—following the instructions below.
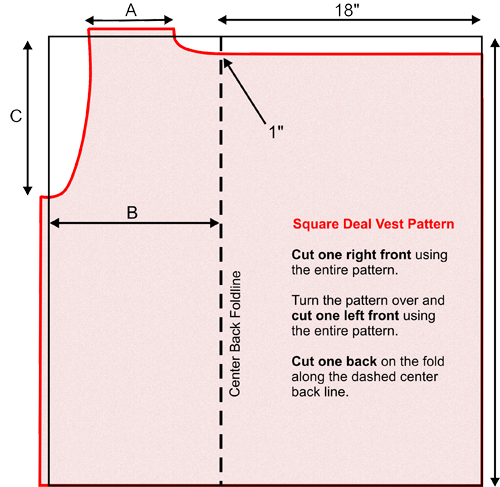
For the armhole, draw the shoulder (A) about 1-1/2ʺ from the side edge.
Drop the neckline 1ʺ. For help drawing the armhole and neckline, use a French curve.
Make the vest as long as you like.
Add ½ʺ-wide seam allowances to the shoulder and side seam edges.
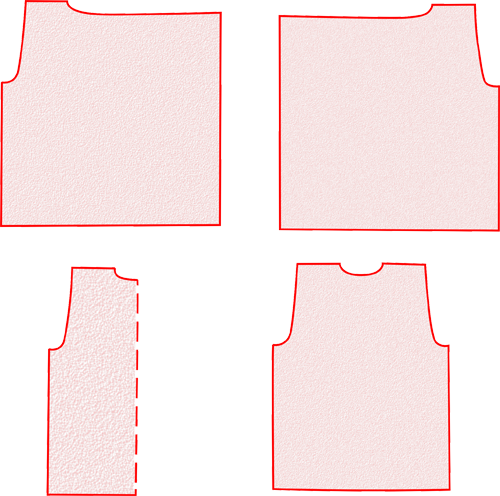
Step 3) Cut the fabric.
Cut one right front using the entire pattern.
Turn the pattern over. Cut one left front using the entire pattern
Cut one back on the fold, omitting the 18ʺ extension.
Step 4) Sew the front and back together.
Sew the vest fronts to the vest back along the shoulder edges with a 1/2ʺ-wide seam allowance, right sides together.
Press the seam allowances open.
Sew the vest fronts to the vest back along the side edges with a 1/2ʺ-wide seam allowance, right sides together.
Press the shoulder and side seam allowances open.
Step 5) Bind the edges.
Bottom Edge
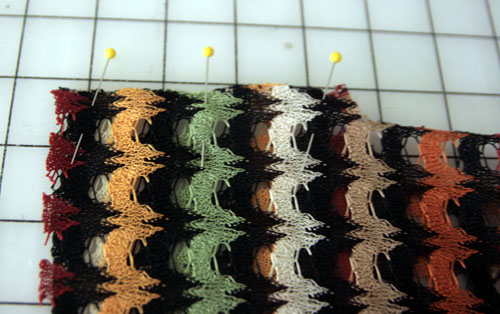
Pin a piece of bias tape to the bottom edge of the vest, enclosing the raw edge.
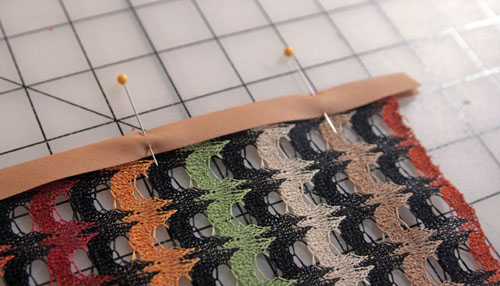
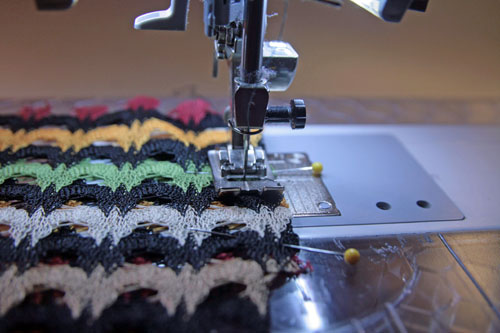
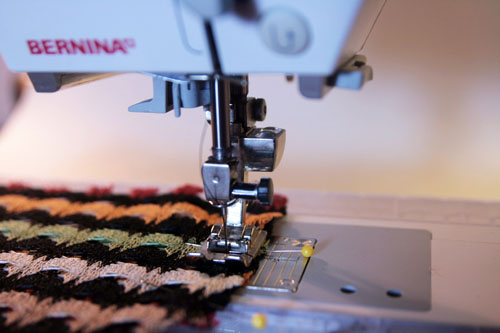
Sew the bias tape in place, stitching along the inner edge.
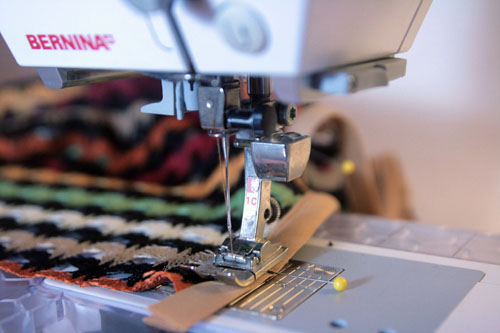
TIP: Having trouble stitching along an edge evenly? Try an edgestitch foot! Adjust the blade (or your needle position) so the blade rests on the edge and the needle is 2-3 mm to one side. Move the edge (or seam or fold) along the guide, and your stitching will be perfectly placed—so easy!Armhole
Armhole
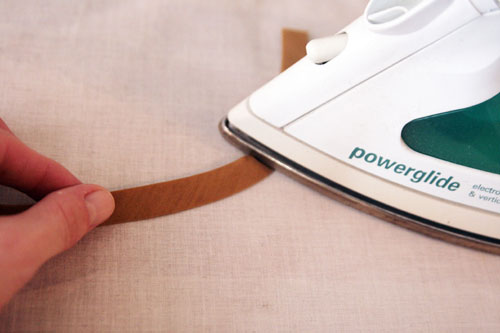
Measure the circumference of one armhole. Cut a piece of bias tape 1ʺ longer than the armhole measurement.
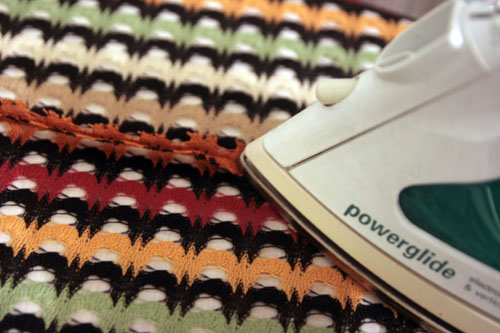
With a lot of steam in your iron, press the bias tape into a curve by pulling the bias tape as you press it.
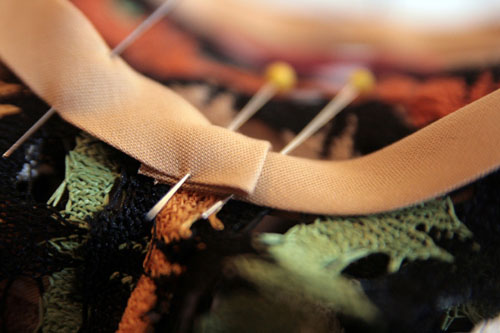
Pin the bias tape to the vest armhole, starting at the side seam (bottom of the armhole), enclosing the raw edge inside the bias tape.
At the end, open the bias tape and turn under about 1/2ʺ.
Refold and pin in place, overlapping the other end of the bias tape.
Stitch the bias tape in place along the inner edge.
Neckline
Apply bias tape to the neckline edges (including the top edge of the extensions), enclosing the raw edge. Steam, curve, and press the bias tape to fit.
Stitch the bias tape in place along the inner edge.
Center Front
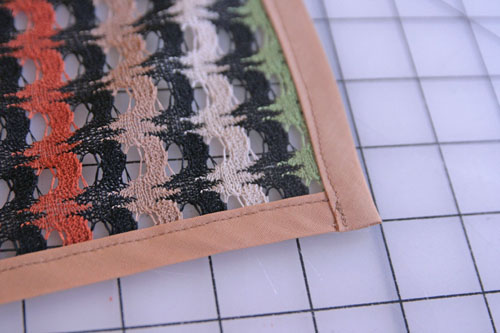
Apply bias tape to the center front edges, enclosing the raw edges, leaving 1/2ʺ tails at the beginning and end of each edge.
At the upper and lower corners, open the bias tape and turn under 1/2ʺ. Refold and pin in place, overlapping the previously bound edge.
Stitch the bias tape in place along the inner edge.


What you might also like


3 comments on “How to Make a Square Deal Vest”
Leave a Reply
You must be logged in to post a comment.

Just finished making this. Love the design, but I believe there is an error.
Measurement A on the instructions is the measurement from the centre of neck to edge of shoulder. Use of this measurement results in a very long shoulder in the finished garment.
If however, measurement A is taken from the base of neck to edge of shoulder it all works perfectly. This can be confirmed by looking at the drawing supplied at step 4, where measurement A is clearly shown on the pattern piece as coming from the base of the neck to the shoulder.
Thanks for the great tutorials, keep them coming.