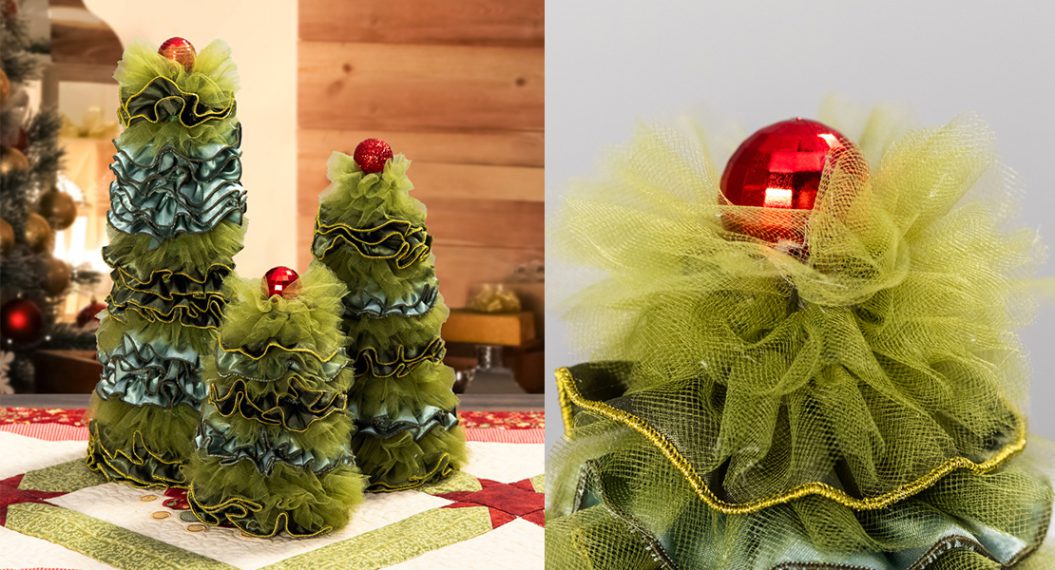
How to Make Felted Trees
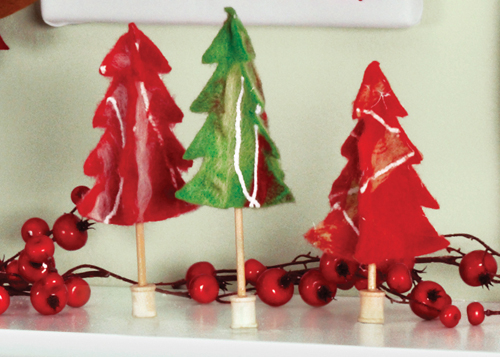
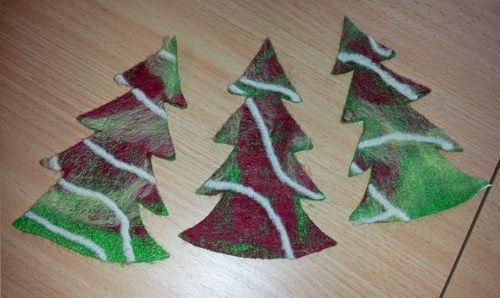
This holiday season brings warmth to your décor with these cute felted trees. Whether for a mantel or a table centerpiece, they are the perfect accent to your seasonal decoration.
Tip: If you have the BERNINA CutWork Tool you can quickly cut out the pattern pieces and use the BERNINA Needle Punch Accessory to embed decorative fibers into the felt.
Supplies
- 8ʺ x 11ʺ pieces of wool felt in green and/or red
- Wool roving in white, red, and/or green
- Scraps of worsted weight wool yarn
- OESD StabilStick Cut-Away or Tear-Away stabilizer
- 505 Temporary Fabric Adhesive
- Fabric or craft glue
- 5/16ʺ wooden dowel for tree stands
- Small wooden spools for tree stands
- Sharp scissors
- Sewing machine with BERNINA Needle Punch Accessory and appropriate Needle Punch Stitch Plate
- Embroidery machine with BERNINA CutWork Tool and appropriate CutWork Stitch Plate
- Jumbo hoop or Large Oval hoop
- Echo-Quilting and CutWork Foot #44C (recommended)
Download and print the tree template: Felted_Trees_-_template_-_121814.pdf
Download free Felted Trees DRAW CutWork files at www.bernina.com > Experience > Free Downloads.
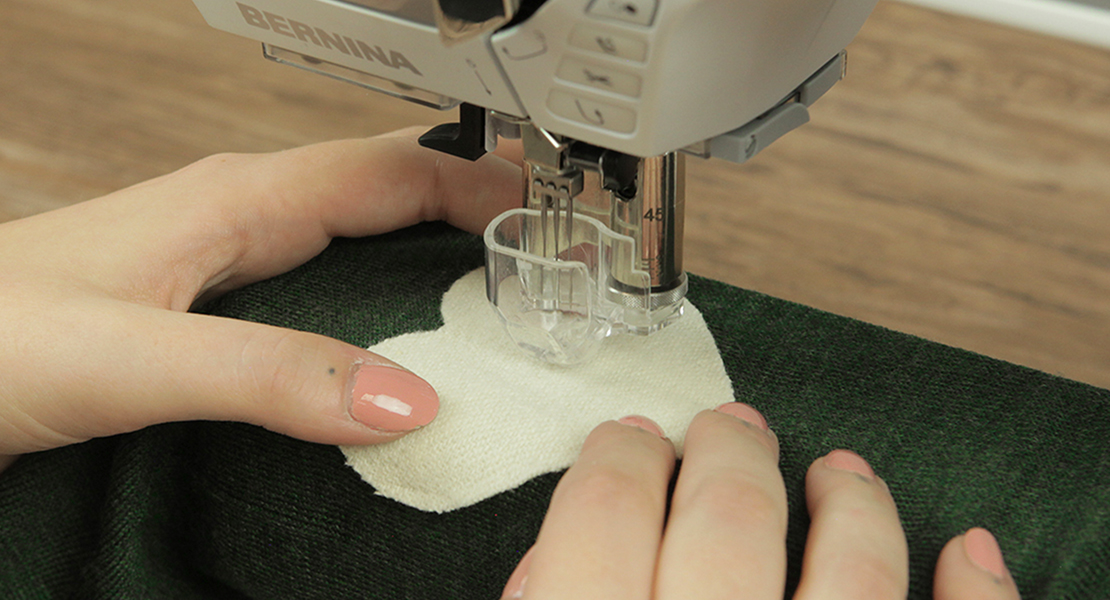
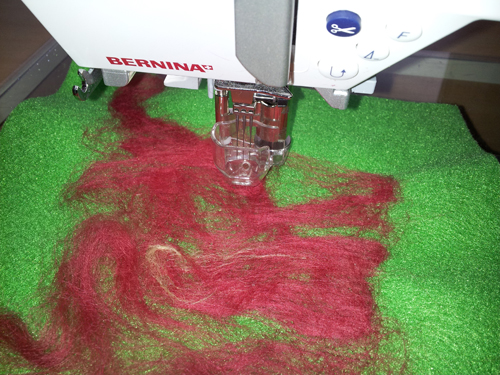
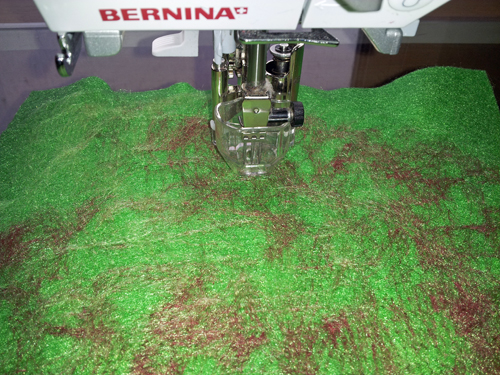
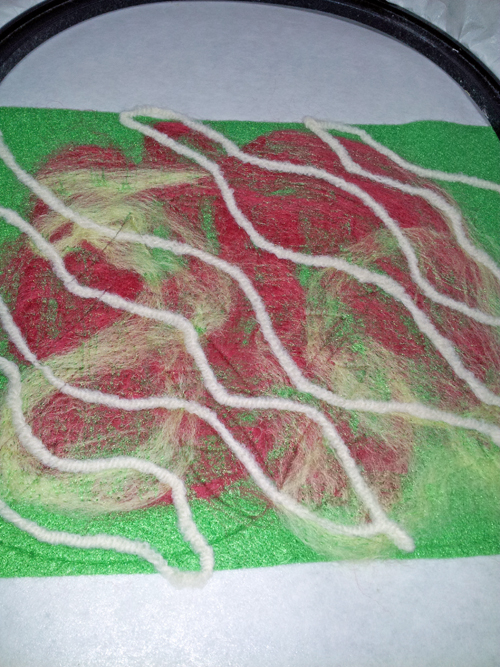
Step 1) Needle-punch the roving into the felt.
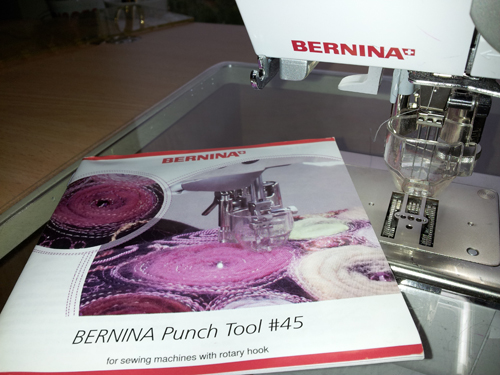
Following the instructions included with the accessory, install the BERNINA Needle Punch Tool on your sewing machine—insert the needle set, attach the foot, and replace the stitch plate. Remove any thread from the thread path and be sure to remove the bobbin and bobbincase from the machine.
Lay some roving on the felt and start needle-punching.
TIP: This is a great way to practice your free-motion stitching technique —with no thread!
Repeat, punching a second layer of roving into the felt.
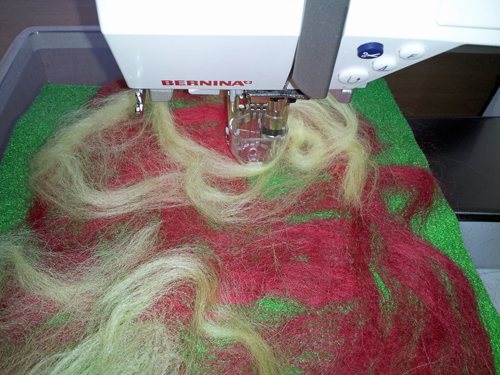
Turn the piece over and continue needle-punching from the reverse side. This will ensure that the roving is fully incorporated into the felt.
Step 2) Add the yarn “garland.”
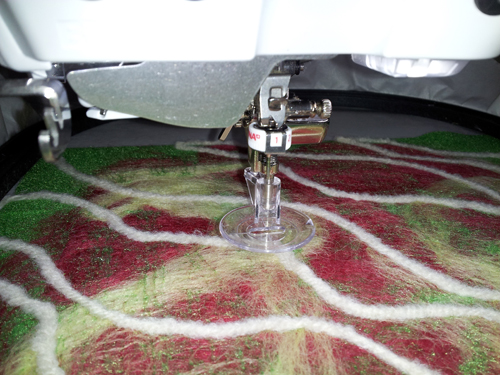
Thread the worsted weight yarn through the guide on the foot of the Needle Punch Attachment.
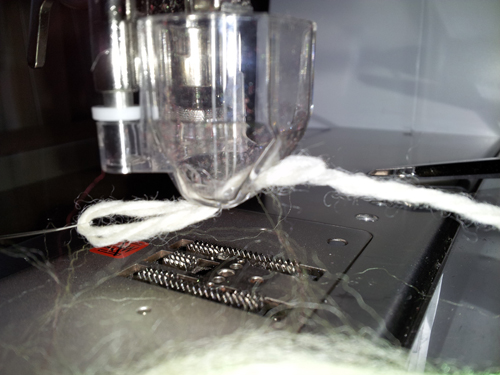
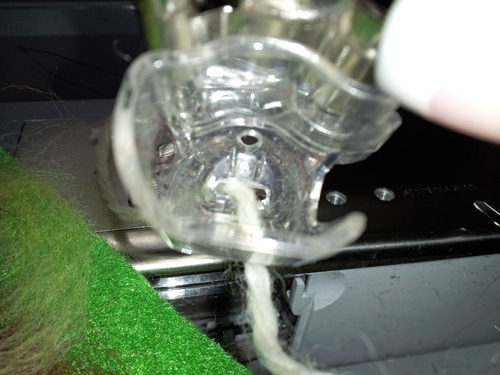
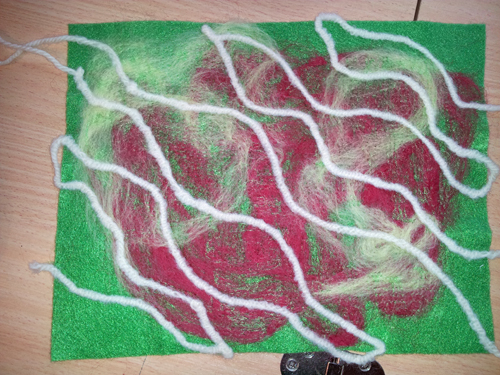
Needle-punch the yarn into the felt. This will be the “garland” on the finished tree, so be sure to leave space for the “branches” to show through.
Step 3) Cut the trees.
If you are cutting your trees by hand, cut three pieces using the template and sharp scissors, then skip to Step 4.
If you are cutting your trees using your embroidery machine and the BERNINA CutWork Tool, download the free Felted Trees DRAW files from www.bernina.com > What’s New > Free Downloads.
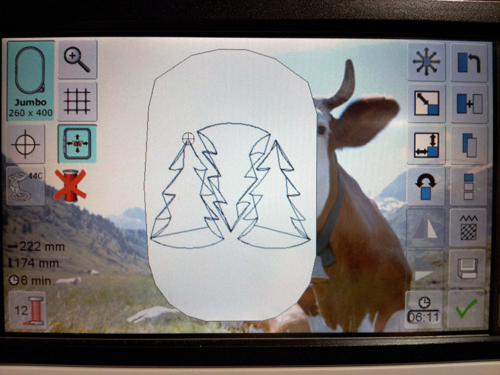
At your embroidery machine, open the tree file. Three trees (3DTrees.Draw) fit into the Jumbo hoop of the BERNINA 830. A single tree (3DTreesSingle.Draw) fits in the Large Oval hoop.
Following the instructions included with the accessory, install the BERNINA CutWork Tool on your embroidery machine—insert the CutWork Tool, attach Echo Quilting and CutWork Foot #44C, and replace the stitch plate.
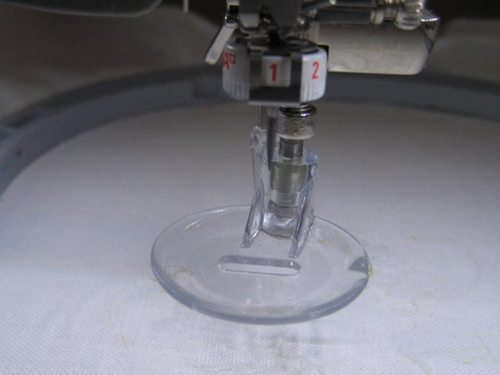
Remove any thread from the thread path and be sure to remove the bobbin and bobbincase from the machine.
Hoop a layer of StabilStick Cut-Away or Tear-Away stabilizer. Spray the stabilizer lightly with 505 adhesive and smooth the felt into place on the stabilizer.
TIP: If you’re using a BERNINA 830, use its Virtual Positioning feature to align the CutWork design over the felt.
Follow the on-screen prompts to cut out the tree pieces.

When the CutWork is complete, remove the hoop from the machine and carefully remove the trees from the rest of the felted piece.
Step 4) Assemble the trees.
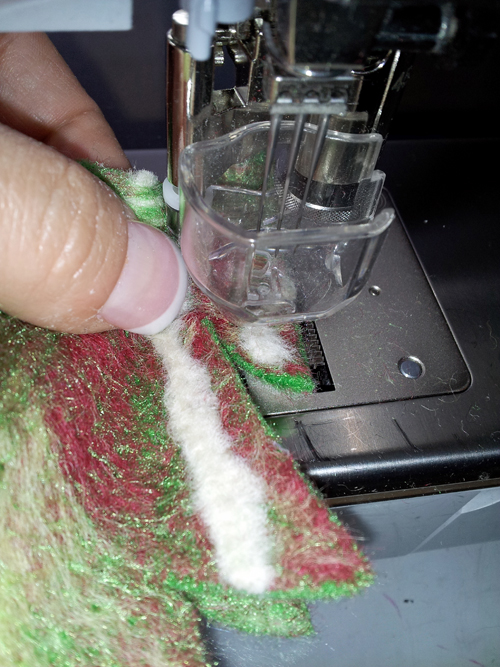
Re-install the Needle-Punch Tool on your sewing machine.
Place two tree pieces wrong sides together.
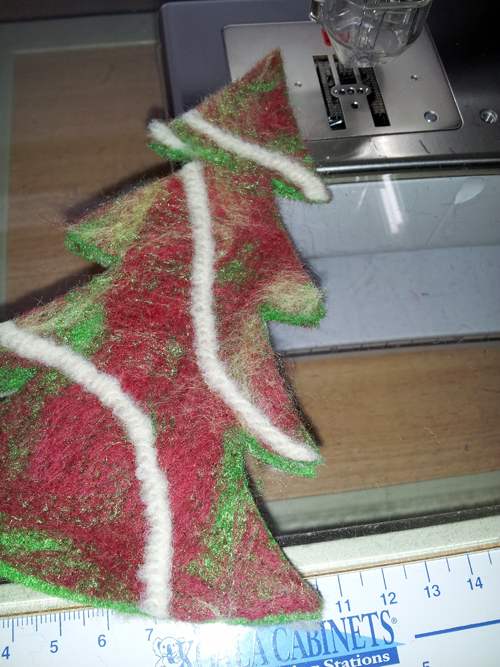
Punch along one edge to fuse one edge of the tree.
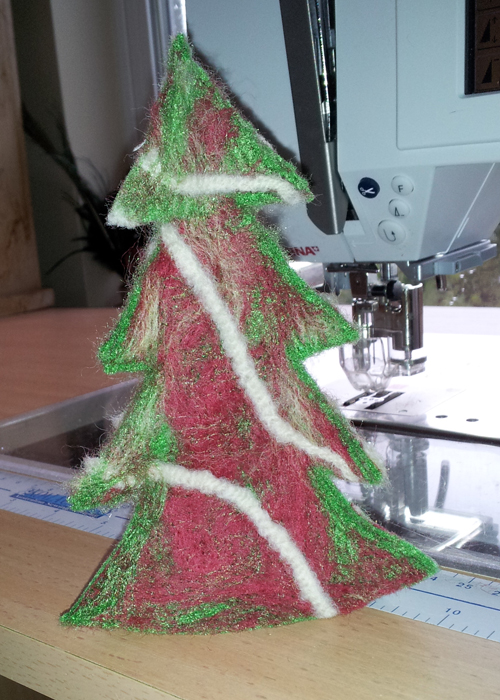
Repeat for the third tree piece, joining its edges to the open edges of the first two trees to create a three-sided, three-dimensional tree.

If needed, trim the tree edges using sharp scissors.
Cut a 10ʺ-long piece from the wooden dowel.
Attach a spool to one end using craft glue.
Glue the other end of the dowel inside the top of the tree.