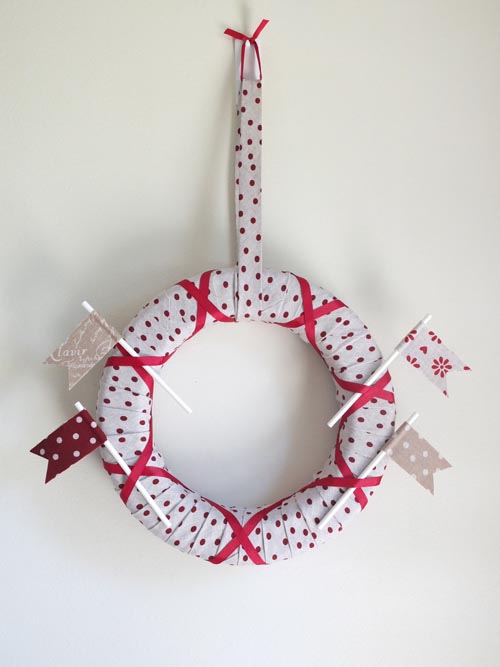
How to Make a Danish Wreath and Banner
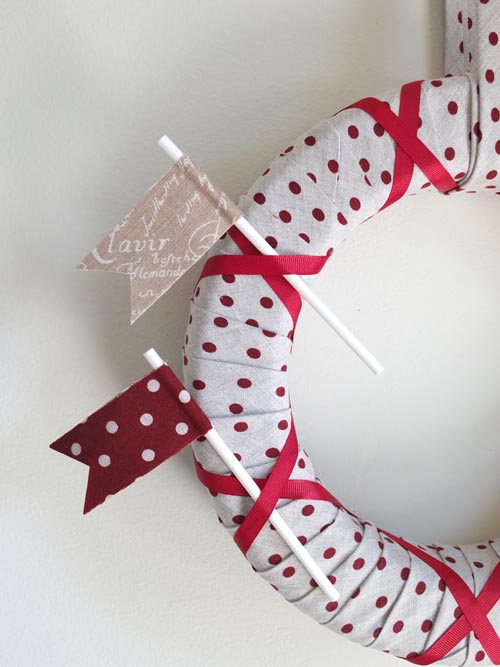
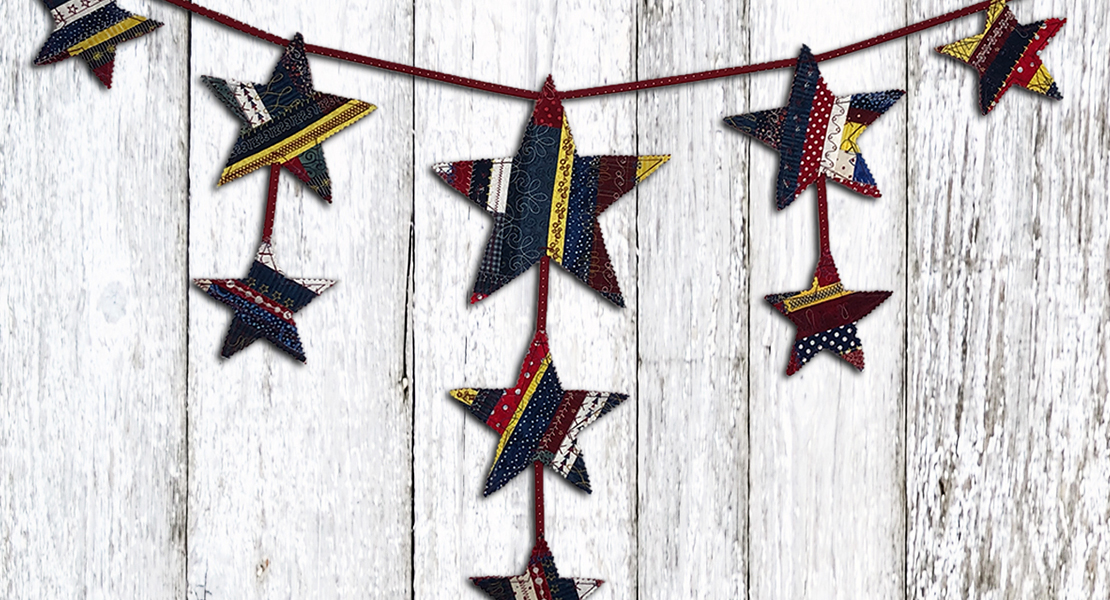
The wreath and garland are sewn from gorgeous Danish linen from Stof. They will give your Christmas décor a hint of the great north and an authentic Scandinavian look. The wreath—wrapped in a long strip of bias tape— is merely pinned together. At the end of the season you will be able to use the bias tape to bind a quilt if you would like to reuse the fabric.
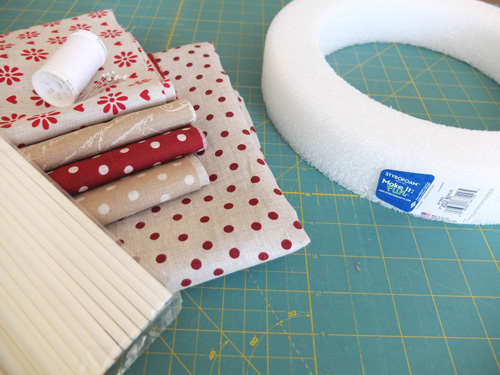
Supplies
- One foam wreath
- 2/3 yard of 60ʺ-wide linen
- 1/8 yard of coordinating fabrics
- 1/2 yard of fusible web
- All-purpose polyester thread
- 4 yards of ribbon
- A handful of pins (these will stay in the wreath)
- 2 to 4 yards of attractive cording or trim for the garland
- A package of cake sticks (cake pop handles)
- Clear, gridded ruler
- Water-soluble fabric marker
- Steam iron
- Rotary cutter and mat (optional, but very helpful)
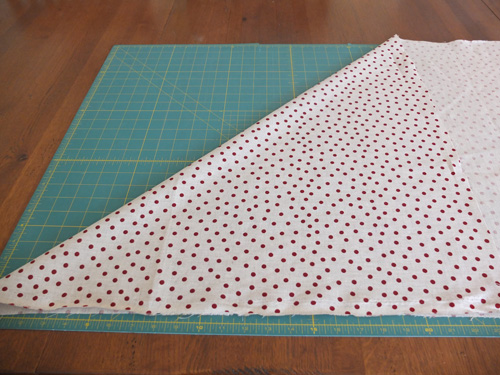
Step 1) Prepare the bias strips.
Cut the linen fabric into 3”-wide bias strips. You can achieve this by folding the fabric on the bias (diagonal) and starting your first cut along the fold. To cover the wreath you will need at least seven yards of bias strips.
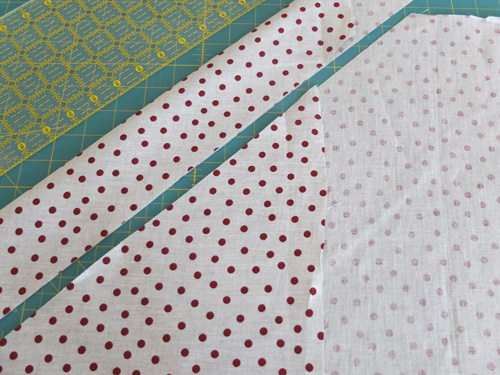
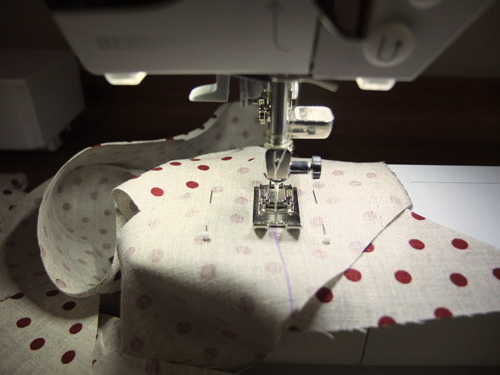
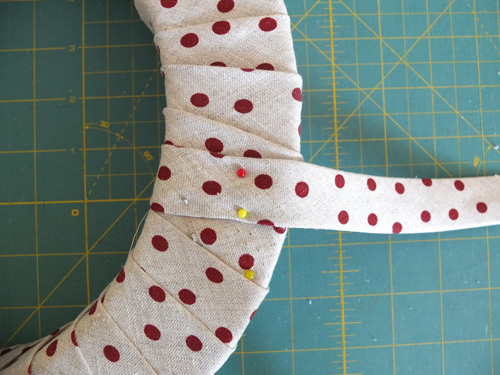
Sew the bias strips together:
- Place two ends right sides together as shown in the photo.
- Draw a line joining the two inner corners and place a pin on each side of the line.
- Repeat with all your bias pieces until the strip is at least seven yards (twenty-one feet) long.

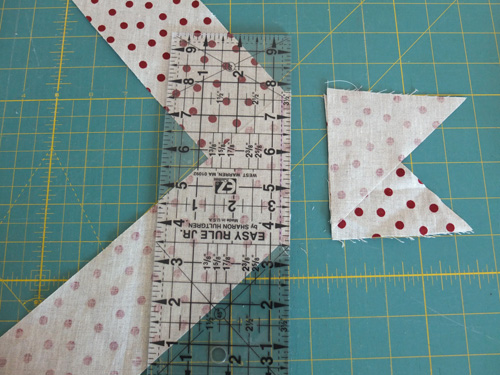
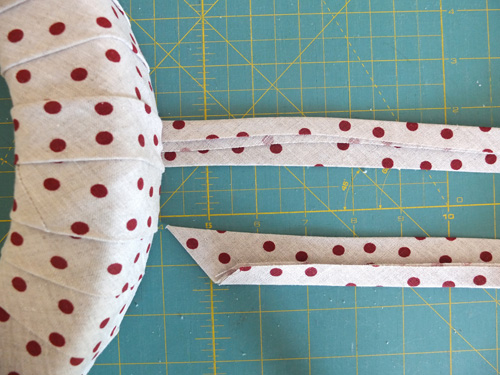
Stitch along the drawn lines.
Trim the excess fabric ¼ʺ from the stitching.
Press the seam allowances open.
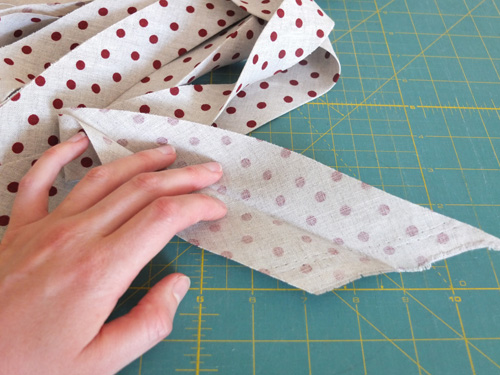
Fold the bias in half, wrong sides together. Press well.
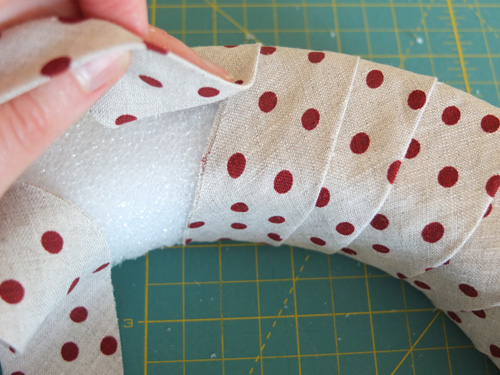
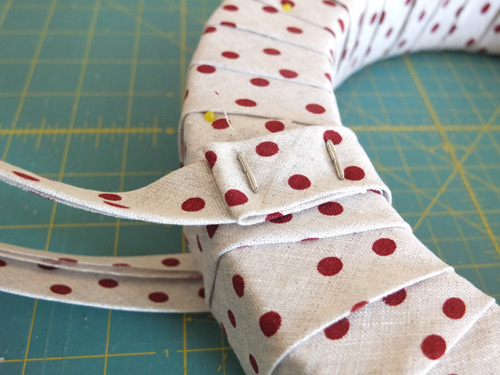
Step 2) Wrap the wreath.
Pin the folded bias to the back of the wreath.
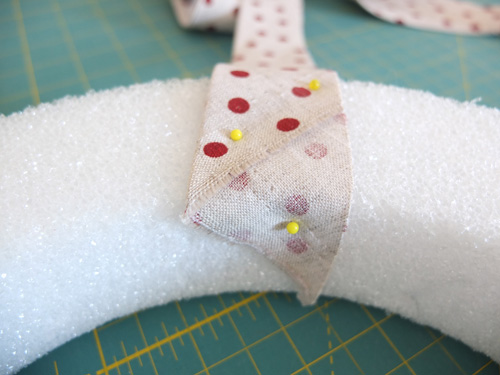
Wrap the bias around the wreath, making sure to overlap the raw edges by only about ¼ʺ or you will quickly run out of bias.
When you have wrapped around the entire wreath, fold and press the excess bias, and pin as you wrap the wreath one last time.
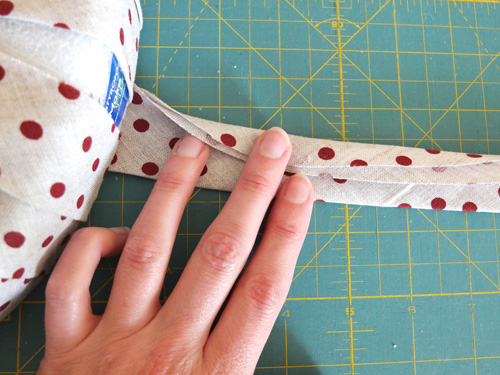
Create a handle with the excess bias. Fold the end, wrap it around the wreath, and use two large pins to secure it in place. (These pins will be pulled out again when wrapping the ribbon.)
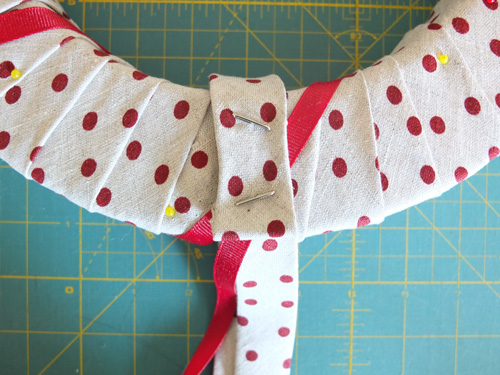
Step 3) Add the ribbon.
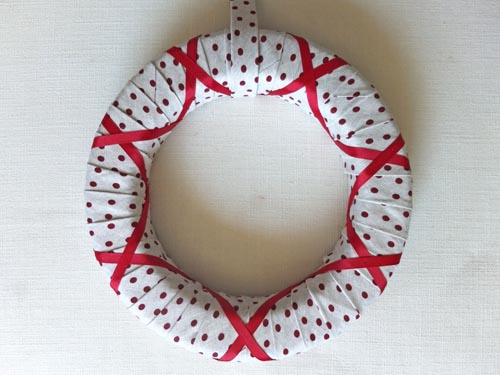
Secure the ribbon with one of the large pins (see above) and wrap it around the wreath seven times.
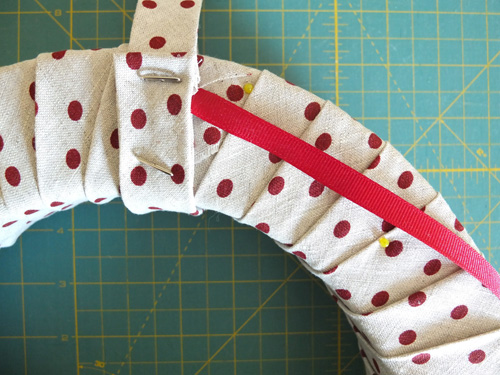
Secure the ribbon again and wrap it around the wreath in the opposite direction to create crosses.
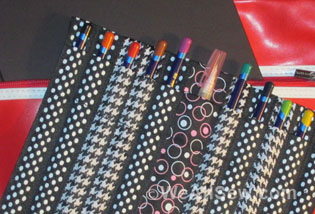
Step 4) Make the flags and garland.
For the flags, cut several 1½ʺ x 6ʺ rectangles of fabric and 1½ʺ x 4ʺ rectangles of fusible web.
Fold the fabric rectangles in half and place the webbing on one side and the cake stick in the middle.
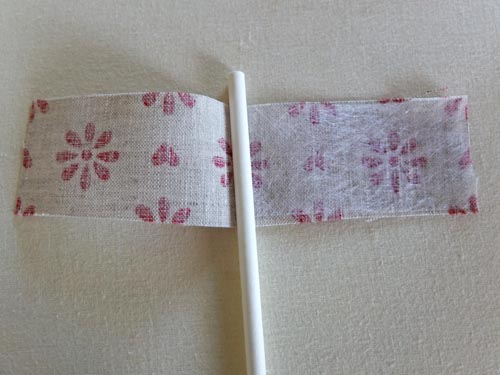
Fold the fabric over and press to fuse.
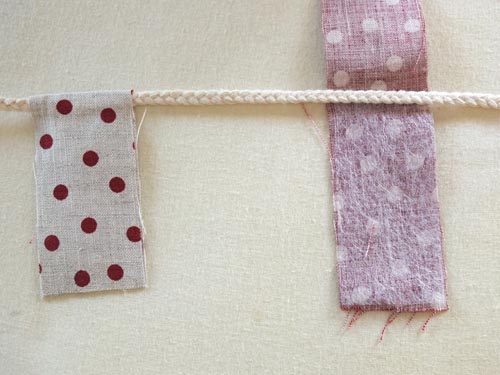
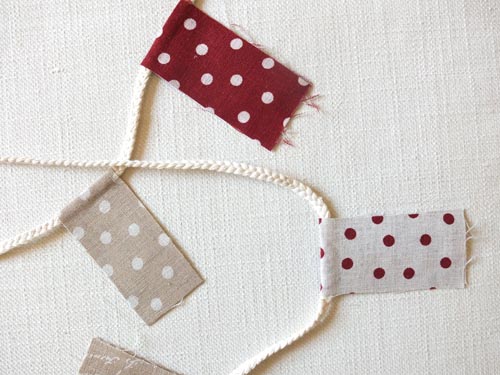
Repeat this process for the garland, using trim instead of cake sticks, and spacing the flags 2” to 3” apart.
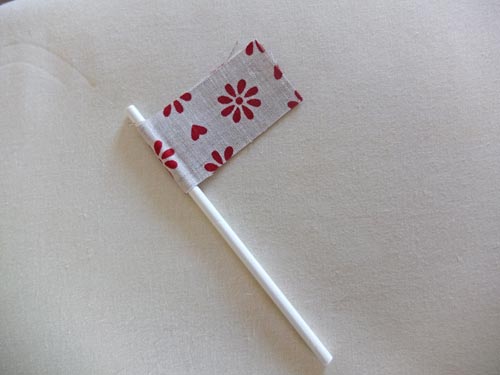
The flag edges will need to be trimmed a little for stray threads. You can also cut triangles of fabric from the ends or leave them as they are.
Insert flags into the wreath as desired, weaving the cake sticks under the crossed ribbons.


One comment on “How to Make a Danish Wreath and Banner”