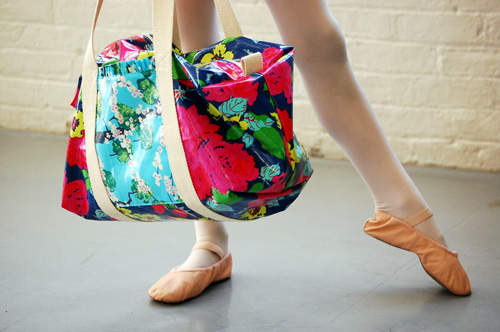
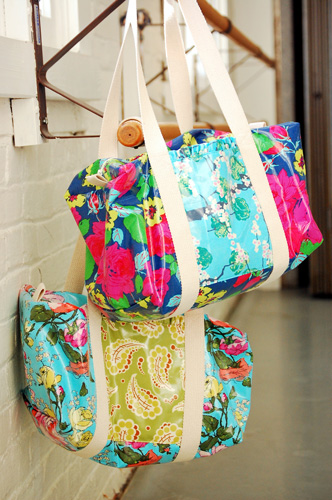
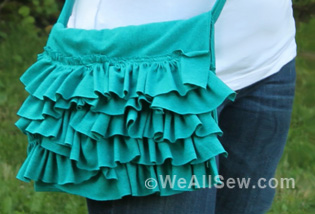
How to Make a Ruffle Duffle Bag
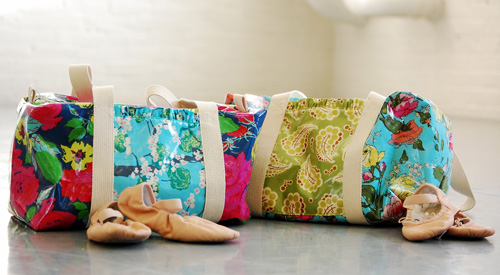
Who said functional has to be boring?
This ruffle duffle bag is the epitome of practicality, wrapped in a stylish presentation. No more drab canvas. Combine roominess, pockets and a zipper closure with a bright print to turn this utilitarian bag into a designer one-of-a-kind.
Tip: Use cotton laminate to make your duffle bag even more road-ready. It is easier to clean and will keep its appearance longer.
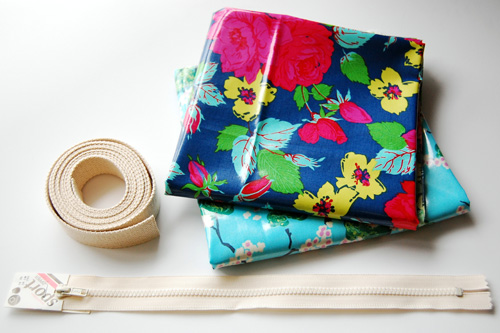
Supplies to Sew a Ruffle Duffle Bag
- 1 yard main fabric*
- 1 yard lining fabric*
- 14 inch zipper
- 3 yards of webbing (synthetic or natural fiber)
- Coordinating thread
- Iron, press cloth, and ironing surface
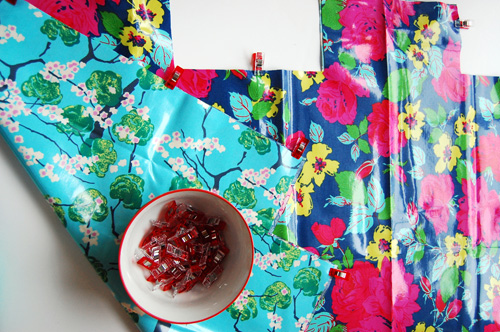
- Clover Wonder Clips
- Tape
- Walking foot (BERNINA Walking Foot #50)
- Sewing machine
*A note about the fabric: For this project I used a cotton laminate (purchased from Oilcloth Addict). You could also use a heavyweight home décor or canvas fabric, but in this tutorial it is assumed that you’re using a cotton laminate. I recommend using a walking foot, Wonder Clips, and tape (instead of pins) when working with laminates.
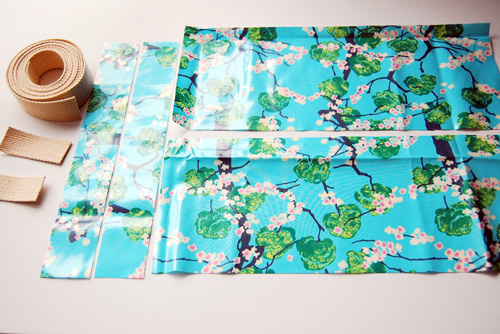
Step 1) Prepare the fabric pieces.
Cut out the main bag, lining, pockets, pocket ruffle pieces, webbing straps, and webbing pull tabs as noted below.
Duffle Bag exterior:
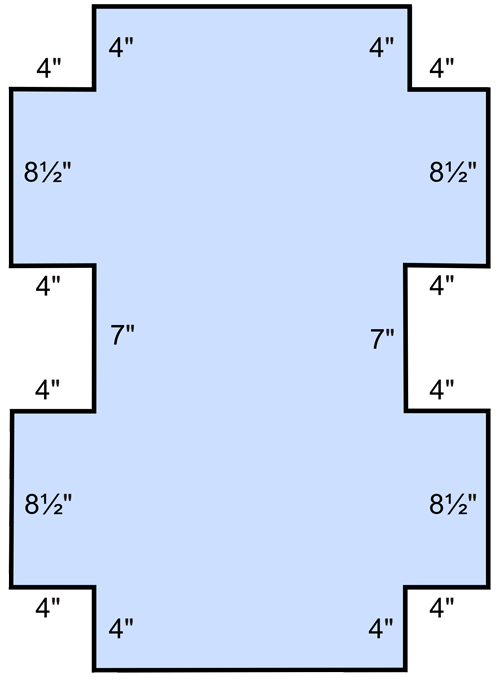
- Cut a 23″ x 32″ rectangle from the main fabric.
- Fold in half to 23″ x 16″.
- Cut the corners as shown in the diagram.
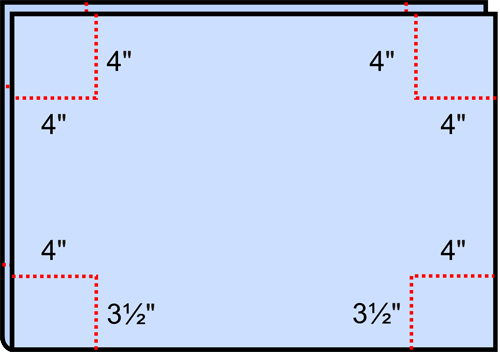
- Open the fabric; the measurements should be as shown below.

Lining: Cut one from lining fabric to the same dimensions as above, using the main fabric piece as a pattern.
Pocket: Cut two 6-1/2″ x 16″ rectangles from lining fabric.
Ruffle: Cut two 2″ x 13″ strips from lining fabric.
Pull tabs: Cut two 3″-long pieces of webbing.
Straps: Cut one 100″-long piece of webbing.
Baste or serge the main and lining fabrics together, placing them wrong sides together.
Tip: Avoid using pins in laminated fabrics — Wonder Clips are a great alternative.
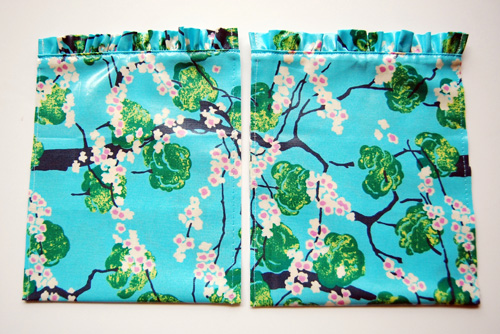
Step 2) Make the pockets.
Tip: When ironing laminate fabrics, set the iron on a low to medium setting and use a press cloth to avoid melting the plastic coating.

Fold each pocket in half lengthwise; press.
Fold the top edges 1/4″ to the wrong side; press.
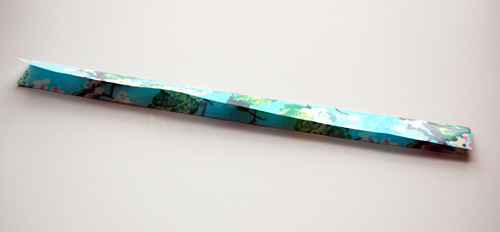
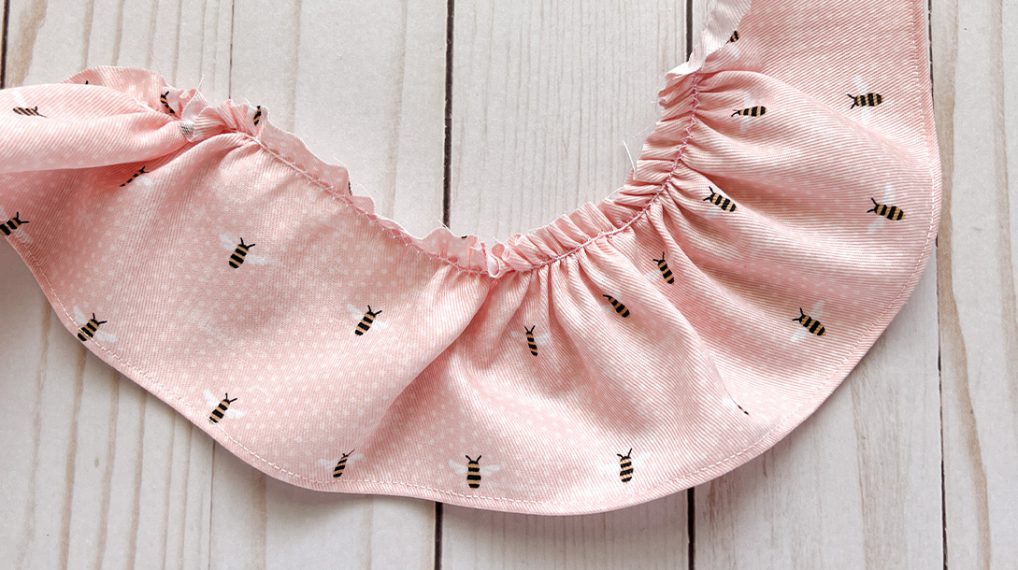
Next, take the ruffle pieces and fold them in half lengthwise so they’re each 1″ x 13″; press.
Increase your machine’s stitch length to the longest setting. Sew 1/4″ away from the raw edges. Do not backstitch!

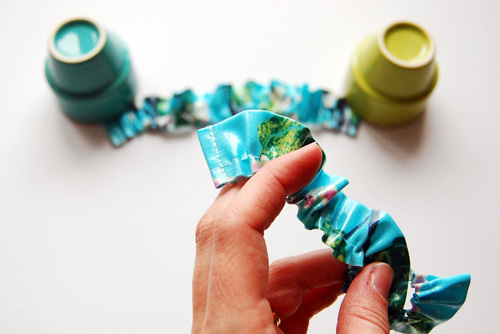
To create a ruffle, gather the fabric by pulling on the top thread while pushing the fabric toward the center. You can work from both ends, but only pull the top thread.
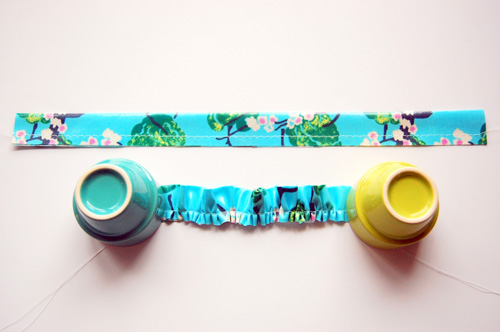
Once the ruffle piece is about 7-1/2″ long, set your stitch length back to normal. Turn the ends under 1/4″ two times; stitch in place to finish the edges. The final length of the ruffle piece should be 6-1/2″.
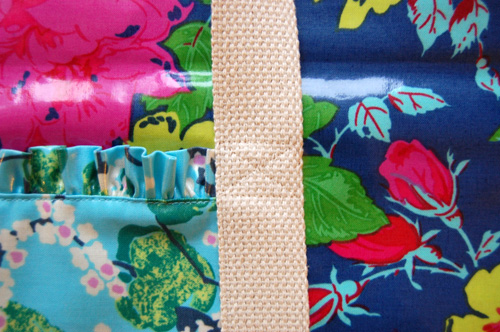
Now attach the ruffle to the back layer of the pocket, and baste 1/4 away from raw edge.
Fold the top layer of the pocket over the ruffle.
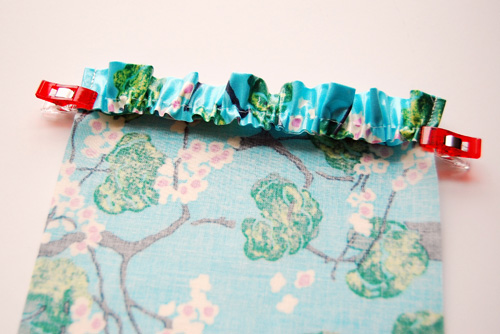
Topstitch, securing the ruffle seam allowances to the pocket.
Baste both unfinished sides of the pocket to hold the layers together.
Center the bottom of the pocket in line with the two right angles at the bottom of the bag (center of the fabric), about 4-1/2″ away from those corners. The top edge of the pocket will be about 4″ away from the edge of that part of the bag. Tape the pocket in place.
Topstitch both sides and the bottom of the pocket to the bag. Reinforce the bottom of the pocket by sewing it twice, with a small stitch length. Remove the tape as you go and, of course, make sure you don’t sew the top of the pocket shut!

Step 3) Attach the Straps.
Take the long webbing pieces and sew the ends together. Use a zig zag stitch to protect the raw edges and prevent them from raveling.
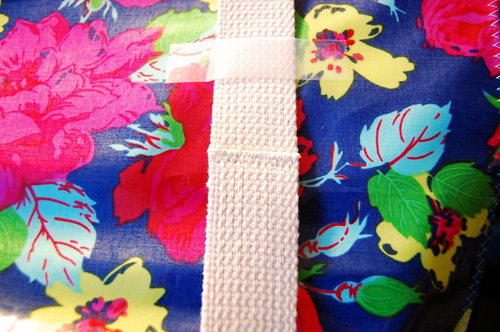
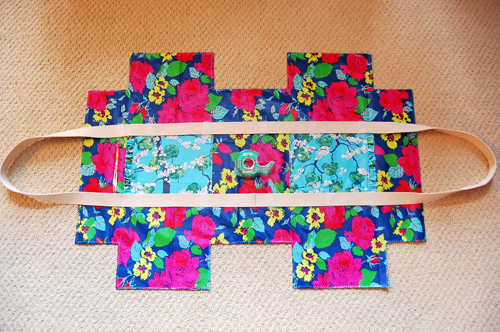
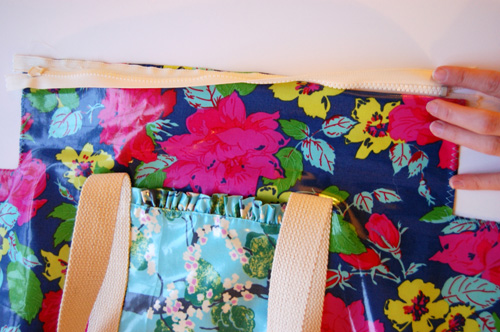
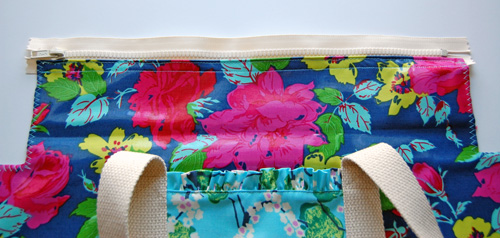
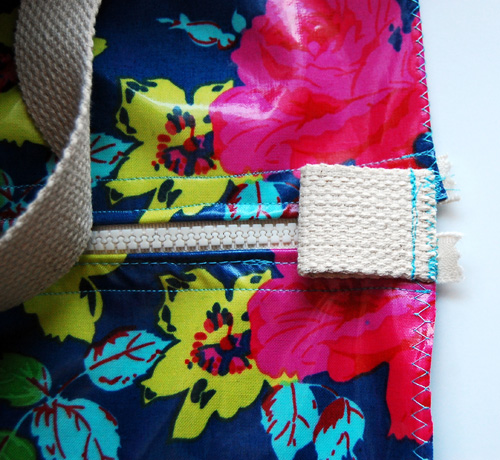
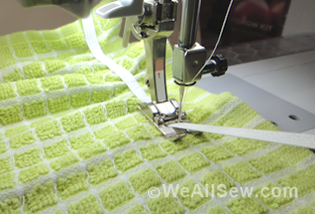
Carefully measure and position the straps, and tape them to the bag. Be sure the handles of the bag are equal in length. Position the straps to cover the raw edges of the pockets as shown in the photo below.
Edgestitch along both sides of each strap, stopping at the top edge of the pockets. Then repeat on the other side for the other strap.
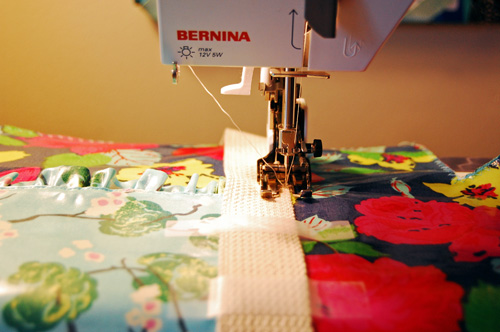
Create a box with an X at each end of the straps, parallel to the pocket’s top edge.
Step 4) Insert the zipper.
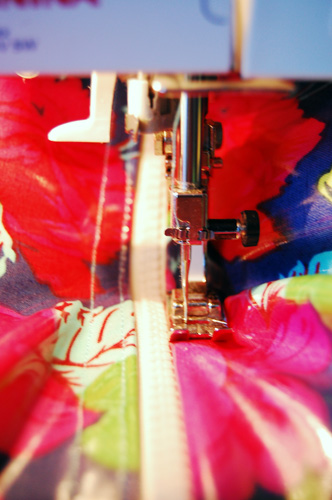
For inserting the zipper, use either a zipper foot, standard foot, or perhaps the walking foot. Sew as close to the zipper’s edge as possible.
On the top edge of the bag, place the zipper wrong side down (so right sides are together). Pin (in the seam allowance) one side of the zipper to the edge of the bag. Stitch.

The zipper is now attached to one side of the bag; now it needs to be turned right side out and topstitched.
Line up the presser foot with the edge of the zipper, put the needle a little to the left, and topstitch.
Tip: What should you do when you get to the zipper pull and you can’t sew a straight line around it? Put your needle down, lift the presser foot, and zip the pull up and out of the way. Continue sewing.
After the first row of top-stitching is complete, add a second row by following the first row with your presser foot edge.
Now it’s time to attach the zipper to the opposite side of the bag. Place right sides of the bag together, with the zipper sandwiched inside. Tape the unsewn zipper to the edge, and sew like you did the first time. Be sure the edges of the bag are directly across from each other, so they will meet when the zipper is closed.

Now turn right side out and topstitch twice like you did on the other side.

Step 5) Add the pull tabs.
Fold the pull tab in half and place the raw edge along the raw edge where the zipper ends. Sew across, perpendicular to the zipper. Make sure you don’t break your needle on the zipper or metal! Repeat for the pull tab at the other end of the zipper.
Step 6) Finish your tote!
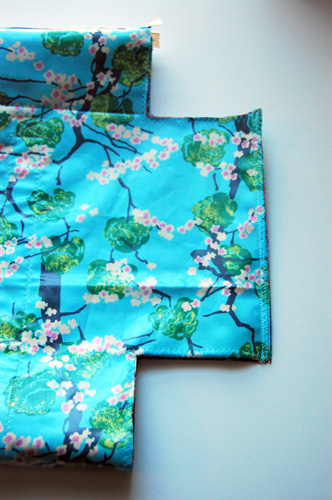
Put the 8-1/2″ edges at one end of the bag right sides together. Stitch using a 1/4″-wide seam allowance. Sew this seam twice for reinforcement, then zigzag or overcast the raw edge for extra security. Repeat for the 8-1/2″ edges at the other end of the bag.
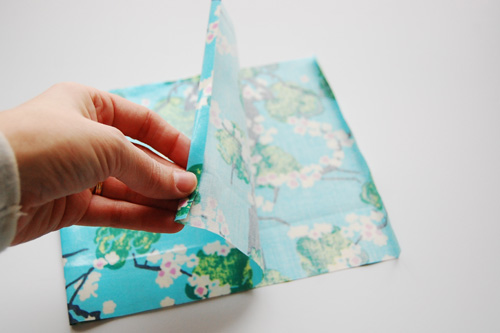
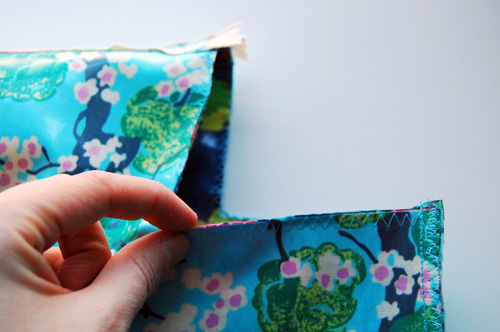
This is the last part! Where the two right angles meet up, pull them away from each other to make a straight seam. So, where my finger is, that corner will be at the beginning of the seam, and the other right angle will be at the end of the seam.
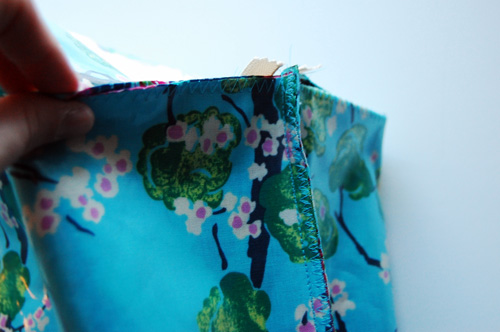
Here’s what I mean. Pull the corner away, and the sides line up. Sew a straight line 1/4″ from the raw edges to connect the bottom of the bag to the side. Do the same thing at the top of the bag. Make sure the side seam is folded the same way at the top and bottom. Repeat this process on the other side of the bag.
And now you are almost done! Trim all your threads, then unzip the bag and turn it right side out.


18 comments on “How to Make a Ruffle Duffle Bag”
Brilliant bag and great tutorial – thank you! Though made it with a grey herringbone upholstery fabric so not so colourful – I think my next one may be!
Is there a way to get this tutorial in pdf format to be printed?
What are the dimensions of the finished bag? I want to size up and make a bigger duffle. Thanks!
Hello Sita, it looks like from the measurements in the project that the finished bag will be about 14″ wide by about 7″ tall.
Great tutorial. Just what I wanted. Did make mine more masculine though. Did not use the ruffle on the pockets and seamed fabric pieces together in a vertical stripe pattern and then quilted the layers together.
Did the whole thing on my 36 year old Bernina 830 Record.
How can I get a PDF of this project for use in a class?
Hello marijean, I see you’d like to print our project for use in a class. Our WeAllSew blog content is posted in an open format. If you wish to print the post, you can easily print your tutorials from the WeAllSew blog. If you attempt to print directly from the screen a pdf will be generated for your convenience. Please give it a try.
What is the seam allowance for this bag??