Embroidery Basics: Marking and Hooping Your Project
As I travel around the country, I find that I am often asked about hooping. Hooping is the most essential – but probably the least understood – component of embroidery. A lot of the embroidery “mistakes” that we tend to blame on stabilizers or designs may actually be a result of improper hooping techniques.
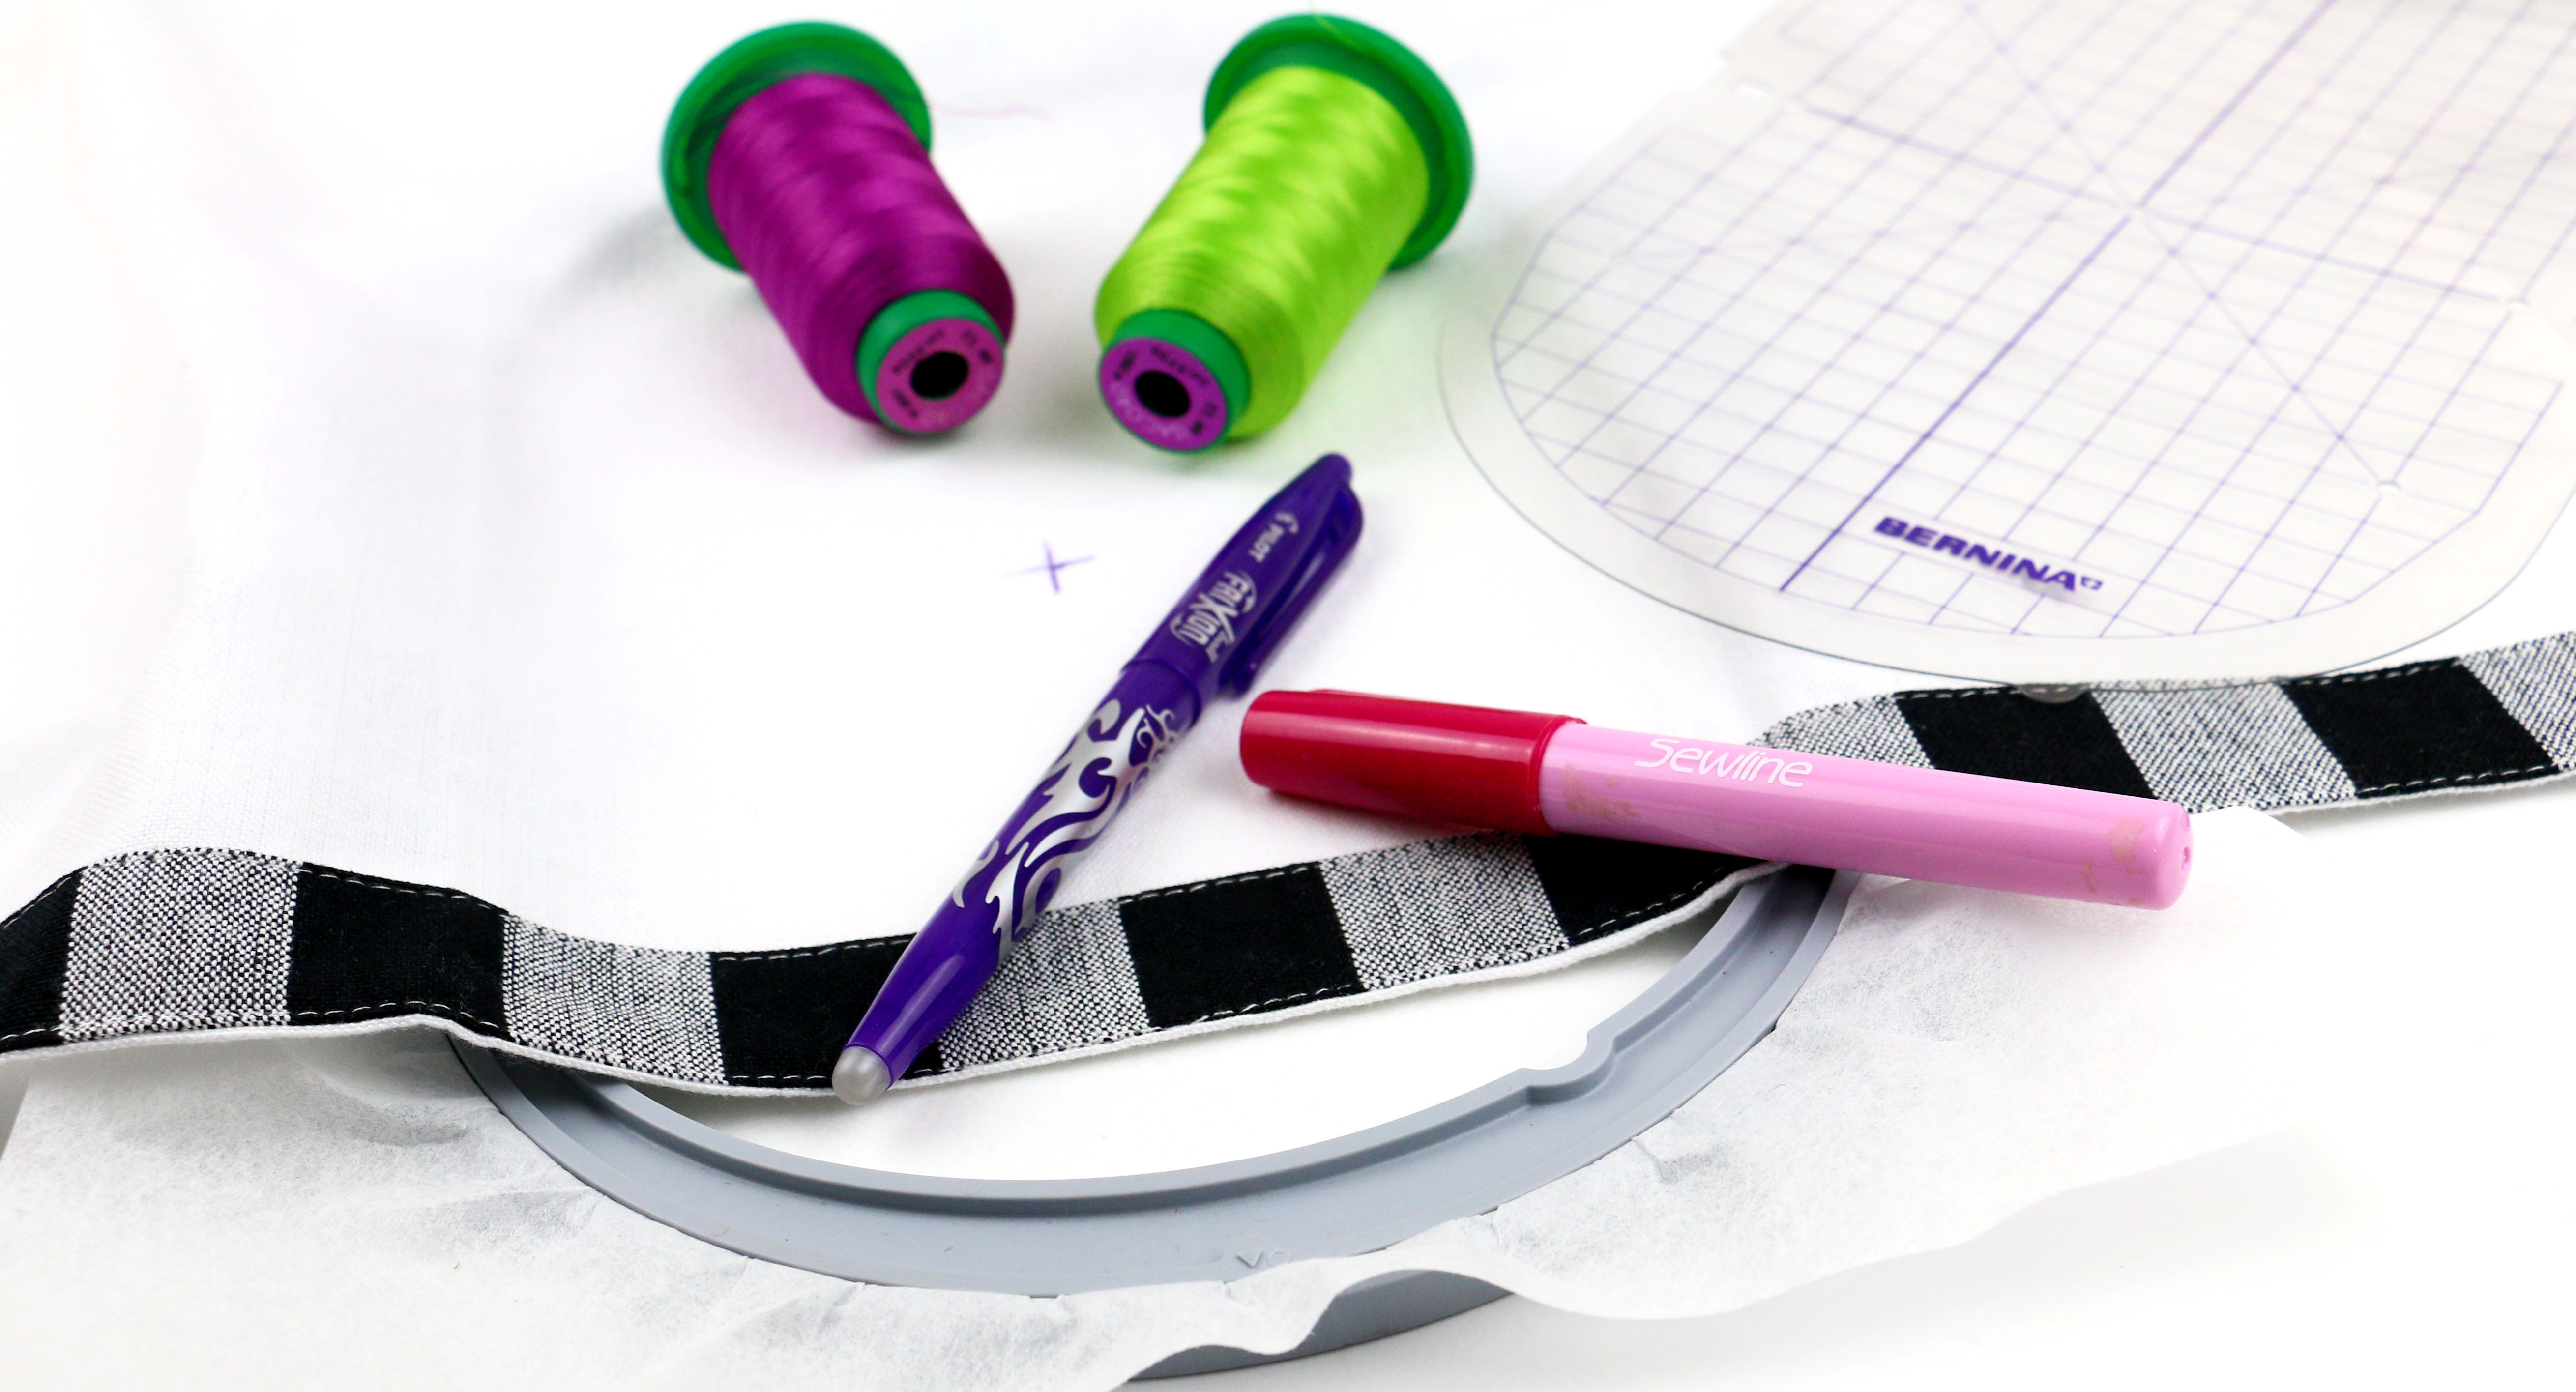
One of the first things you need to do is to mark the position for the design on your project.
You can always guess at this and mark a cross-mark at what you suppose might be the center of the design, but a far more accurate technique is to use a printed paper template of the design. The BERNINA exclusive design collections have a PDF on the CD or USB stick that you can print out yourself. You can also print out a template from BERNINA Embroidery Software. If you don’t have software, then download the free ArtLink Embroidery Software 6 program at bernina.com.
After printing your template, cut a slit along the vertical axis and a slit along the horizontal axis, and then fold back two opposing corners.

Audition the paper template on the garment.

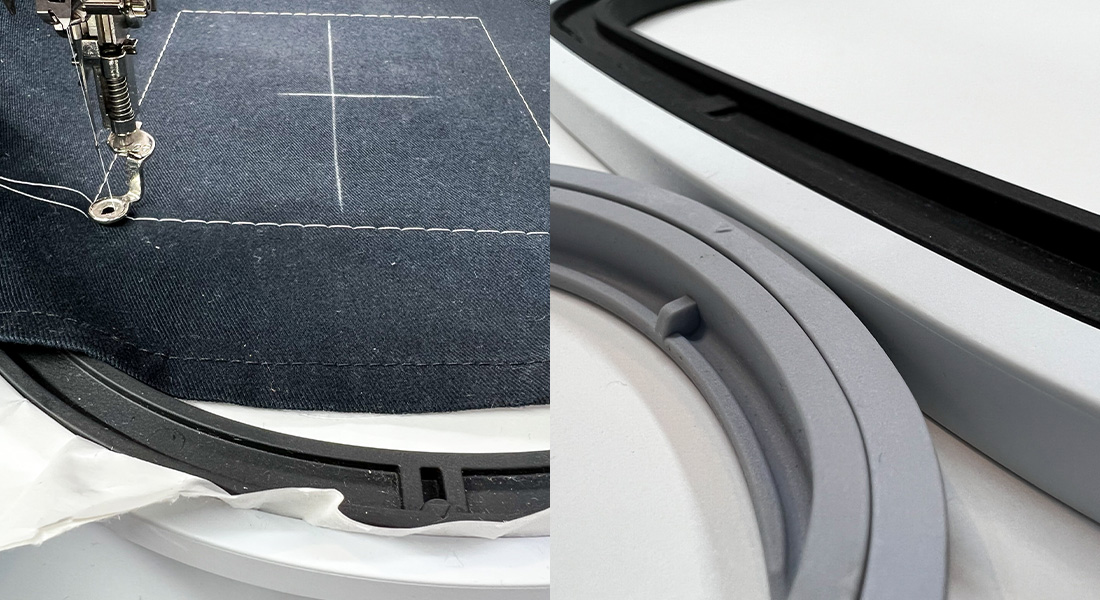
When you are satisfied with the placement, use a water soluble marking pen to mark a horizontal line and a vertical line on the project through the slits on the paper template.

Remove the paper, and for ease in hooping extend the lines.

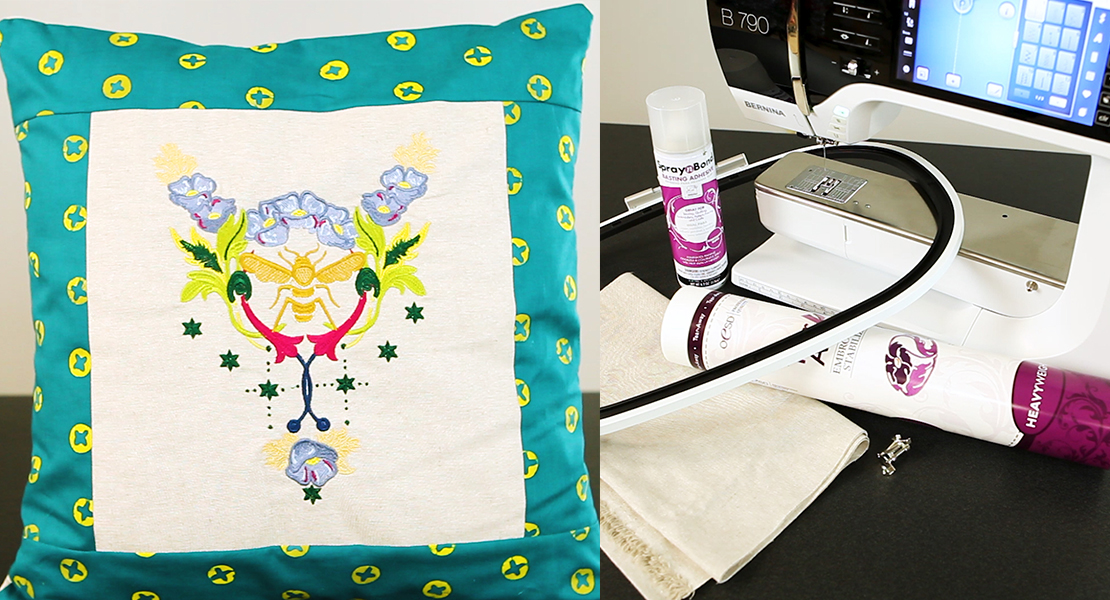
The next step is to stabilize your fabric. Stabilizers are used on the back of the project to support the stitches. Professional stabilizers are designed especially for machine embroidery and do not stretch in any direction. In addition, care is taken to ensure that all components of the product are safe for the machine. Non-embroidery products – such as coffee filters or dryer sheets – will not support the stitches (resulting in mis-matched outlines, puckers, etc.) and could potentially contain elements that dull the needle and might even be harmful to the machine.
You will almost always get a better sew-out if you adhere all layers of stabilizer and fabric together with a temporary spray adhesive and hoop them all as one unit. If you use more than one layer of stabilizer, the layers should be adhered together first with a temporary adhesive spray such as 505 Temporary Adhesive Spray. Spray the top layer with additional temporary adhesive spray and position it on the wrong side of the fabric in the area to be embroidered. The spray adhesive helps to prevent shifting of the fabric and stabilizer during the hooping and stitching processes.
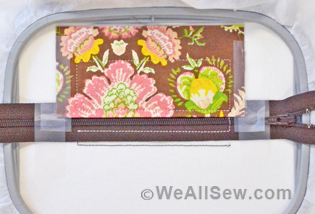
Finally, hoop your project. If your machine comes with more than one hoop, you will generally get better stitching results if you choose the hoop that is closest to the size of the design you are stitching. Whenever possible you should position the hoop so that the bulk of the fabric is to the left (if your hoop attaches to the machine on the left) or to the back (if your hoop attaches at the back of the machine).
There are two major components to a hoop: the outer ring which expands through the use of a screw, and an inner solid ring.

During the hooping process it is important to unscrew the screw on the outer ring so that it is expanded enough to accommodate the thickness of the fabric and the stabilizer layers.
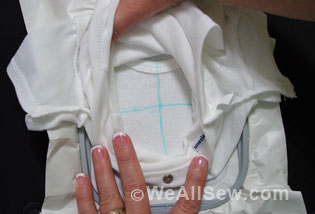
Place the hoop’s plastic template in the inner ring and align its horizontal and vertical center lines with those marked on the fabric.

Pick up the fabric/stabilizer/inner ring as one unit…

…and nose it inside the upper edge of the outer ring of the hoop.

Then use the palm of your hand to position the lower portion in the outer ring. If the screw is sufficiently loosened, this should be relatively easy to accomplish.

At this point, you can very gently pull the fabric/stabilizer to get rid of excess fabric looseness. This is the ONLY time that you will be able to adjust the fabric without the risk of distortion of the fabric. Do NOT pull only the fabric as this can cause distortion of the fabric.
With the hoop on a table or other flat surface, slide the hoop to the edge of the table so that you can easily access the screw. Leaving the template in place and placing your fingers in the inner ring area near the screw will help reduce puckers in the hoop while the screw is tightened. Turn the screw to the right until it is “finger tight”. Remove the plastic hoop template.

Lastly press the inner ring down just ever so slightly so that is extends just a hair below the outer ring. This will help the fabric to become taut and improve the appearance of your stitch-out. Attach the hoop to the machine. It is wise to use the machine’s layout features at this time to check that the design has the proper orientation and that it will fit properly in the hoop.
You’re ready to embroider!
Used Products


What you might also like


2 comments on “Embroidery Basics: Marking and Hooping Your Project”
Leave a Reply
You must be logged in to post a comment.

Thanks Kay! Wonderful instructions and pictures!