How to Make a Scrappy Eyeglass Case
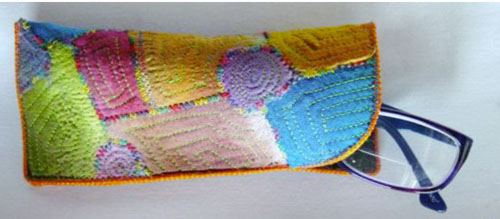
If you’re like me, you can’t bear to throw out even the smallest leftover pieces of your favorite fabrics. So, you keep them safely tucked away, waiting for the right project to let each piece shine. Well, this might just be what you’ve been waiting for! This scrap-busting project from fiber artist Carol Ann Waugh (you might remember her from her “Stitch Bible” post a few months ago) features randomly-arranged pieces of fabric free-motion appliqued in place. There’s no “right” or “wrong” way to create your pieced panel, anything goes! – Jo
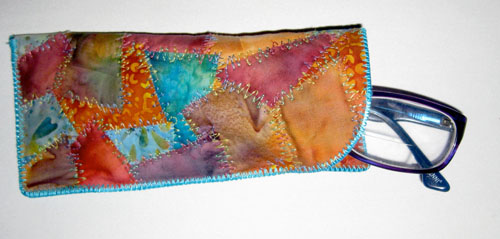
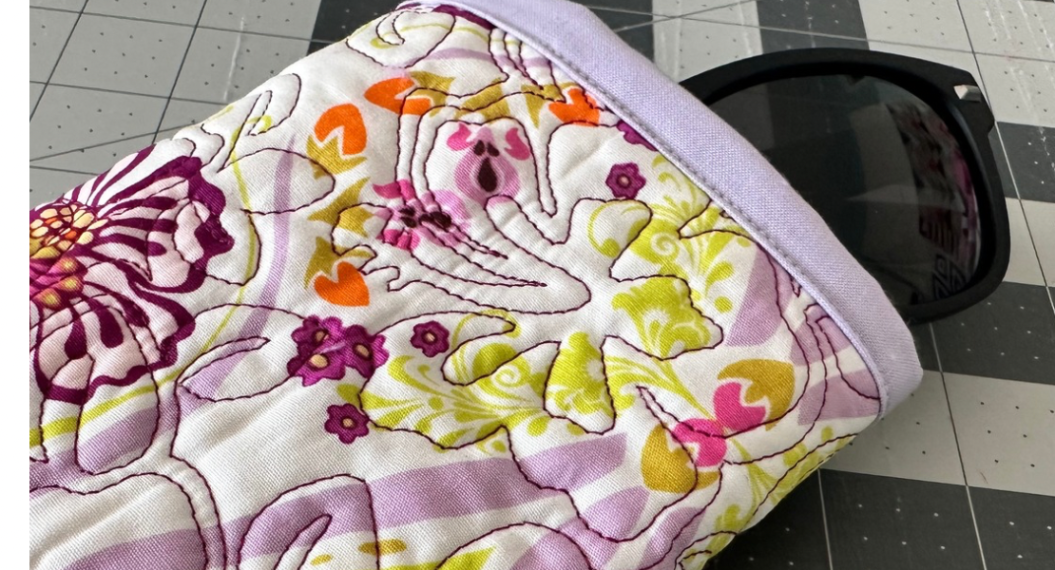
This is an easy and fun way to use leftover scraps to make an elegant and useful case for your eyeglasses. Actually, depending on how large you make your initial fabric panel, you can create other things like pillows, cases for smartphones and tablets, or – if you are really ambitious – a spectacular jacket.
Supplies
- Fabric scraps of any color or design
- Backing fabric to coordinate with the fabric scraps
- Fusible fleece – a piece the size of your backing fabric
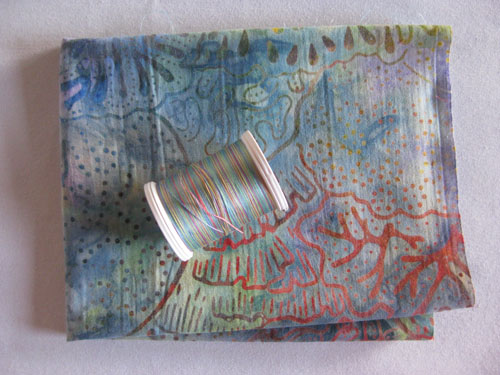
- Variegated thread to coordinate with the fabric scraps
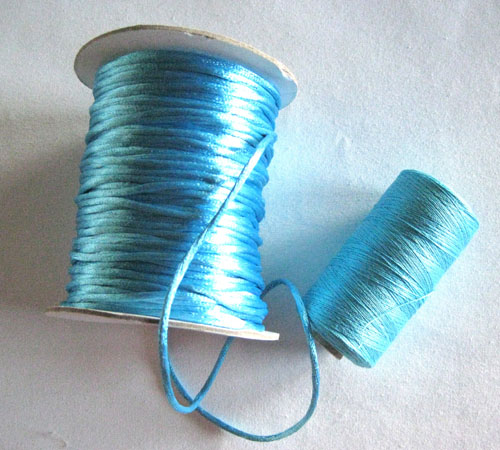
- 1 yard of 2 mm-diameter rattail cord (also called satin cord) in a contrasting color
- Thread to match the color of the rattail
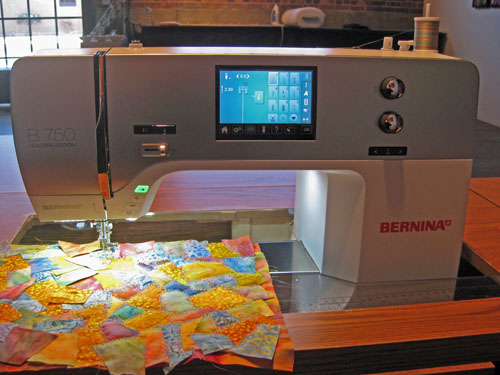
- Free-motion foot, such as BERNINA Darning Foot #9 or Freehand Quilting Foot #29/29C
Step 1) Prep your fabric scraps.
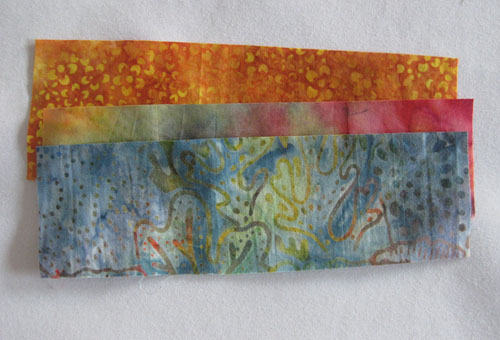
Cut your scraps into 1”- to 1-1/2”-wide strips. No need to measure – the more irregular the better!
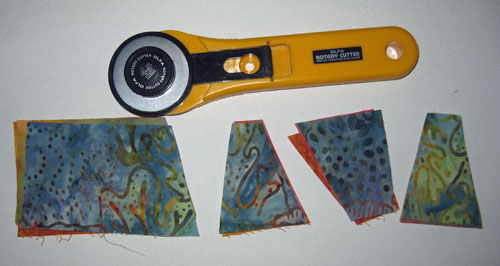
Cut the scrappy strips into squares or irregular triangles, trapezoids –whatever shape you like. I don’t use a ruler but you can if you want.
Cut a piece of fabric to use as your background. For this project, if you are only making one eyeglass case, an 8” x 8” pieces works well. I made mine twice that size (8” x 16”) because I wanted to keep one for myself and give one to a friend.
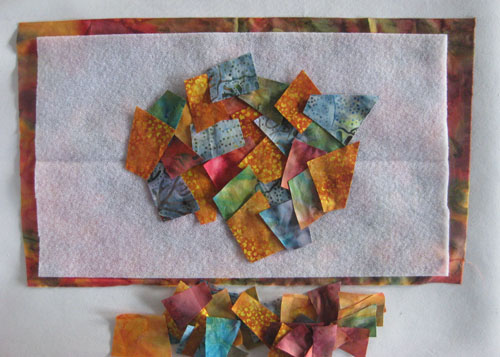
Cut a piece of fusible fleece to match the backing fabric. Place the fleece glue-side-up on top of the background fabric.
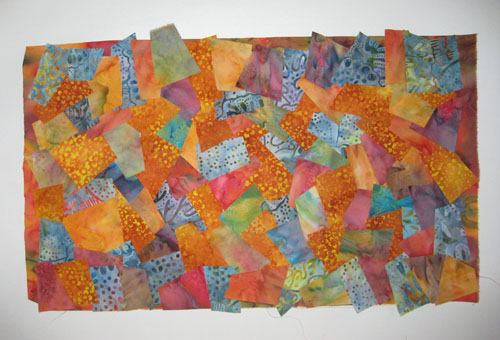
Arrange your scraps on top of the fleece in a pleasing pattern and be sure to overlap them so the fleece doesn’t show through. Cover the entire fleece panel with scraps.
Take the layered piece to your ironing board and fuse all the scraps down onto the fusible fleece. Because the scraps overlap, they won’t be perfectly glued, but the fusing will still help keep the scraps in place as you machine stitch over them.
Select a variegated thread for the top (needle thread) and something you like (either matching or contrasting with the backing fabric) for the bobbin.
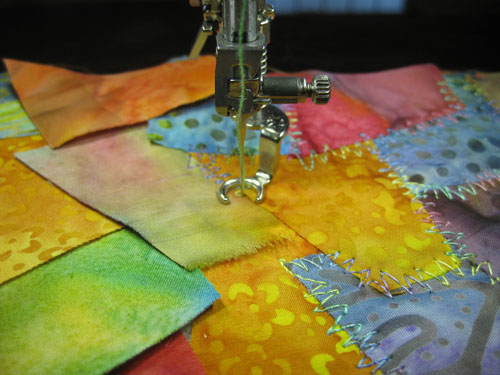
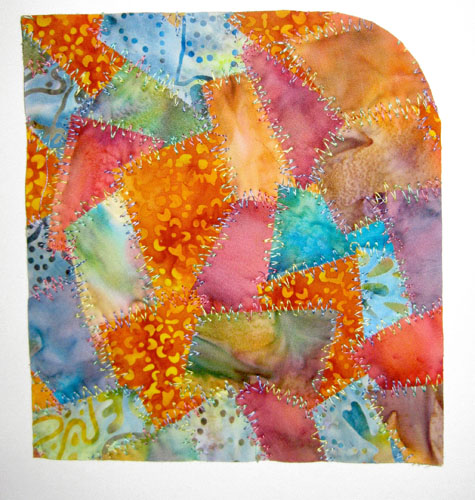
Using a darning or freehand presser foot and a straight stitch, free-motion stitch with a zigzag motion around the edge of every scrap. This is a great exercise to improve your free-motion stitching skills, since it doesn’t matter if the stitches are even, and you can get a good feel for the speed of the stitching and the motion of your hands as you move the fabric. (This coordination is the secret for making nice free-motion stitches!)
Tip: If you are not comfortable doing free-motion stitching, you can use a simple zigzag stitch to cover all the edges. Adjust your stitch to the widest width available on your machine.
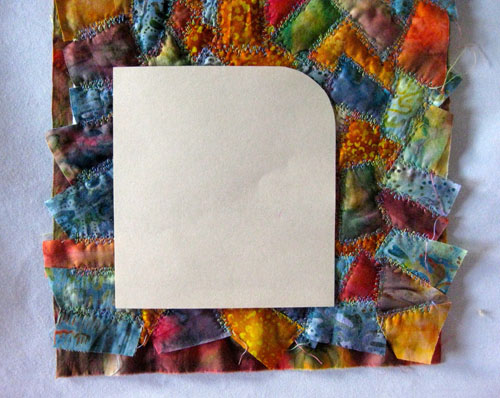
Once you have stitched over every edge, make a pattern for the eyeglass case. I used a file folder and draw a rectangle measuring 6” x 6-1/2” and used a coffee cup to trace an arc on one of the corners. Then I cut out the pattern and placed it on top of my fabric.
Using a ruler or pattern weights to keep the pattern in place (you could use pattern weights), I used a rotary cutter to cut out the fabric.
Cut a piece of rattail cord long enough to go around the edge of the fabric plus an extra 5”. Thread your machine with a matching thread in the needle and on the bobbin.
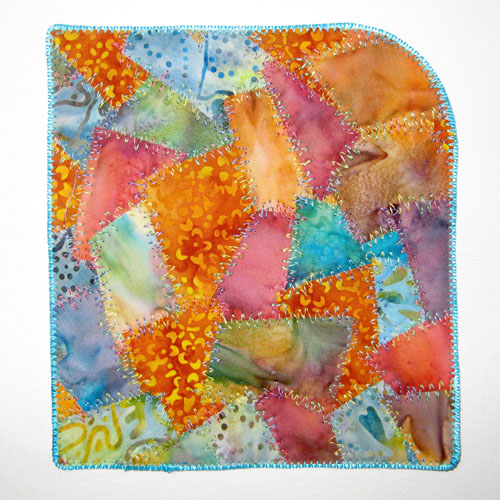
Pin one end of the cord at the lower edge of the quilted fabric piece. Using a wide zigzag stitch, attach the cord all the way around the edge.
Tip: Click HERE to visit my website for a video demonstration of my rattail binding technique.
To complete the case, fold it in half and use a zigzag stitch to sew around the bottom and side edges.
Enjoy your new eyeglass case!
Variation – Echo-quilt the stitched scraps, spacing lines of stitching 1/8” to 1/4” apart.
For more stitch tips and ideas, visit Carol Ann at carolannwaugh.com/blog/
What you might also like
One comment on “How to Make a Scrappy Eyeglass Case”
Leave a Reply
You must be logged in to post a comment.






love the technique! Can’t wait to try it!