How to Make a “Stitch Bible” – by Carol Ann Waugh
Here’s a super tip from fiber artist Carol Ann Waugh. (I love Carol’s gorgeous “paintings” with fabric and thread as well as her delightful mixed media portraits. Be sure to check out her gallery.)
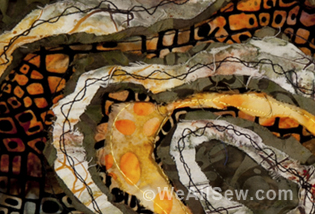
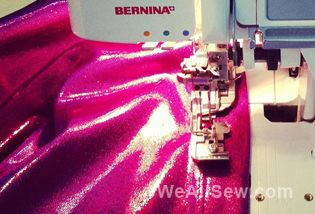
One of the things I encourage students to do prior to taking my Stupendous Stitching class is to make a “stitch bible” for their sewing machine. You would be surprised at how the stitches look quite different from the illustrations on the cards/instruction booklets that come with your machine. But the main reason to stitch out all the stitches is to see the “hidden” stitches in your machine that you can make simply by varying the stitch length and width. Here’s the one I made for my BERNINA 440. I’m still working on one for my new BERNINA 750 machine that I just got last month.

I made my stitch bible in pages so it’s handy to take with me when I travel and easy to reference just the right stitch to add to my pieces. I changed the background fabric and the thread color just because it was more interesting but you could make your bible all black and white if you want – having high contrast is always easier on the eyes.
Because you are doing decorative stitching on one layer of fabric, you will need to back your fabric with a stabilizer. I use a heavy-weight fusible stabilizer manufactured by Pellon (931TD).
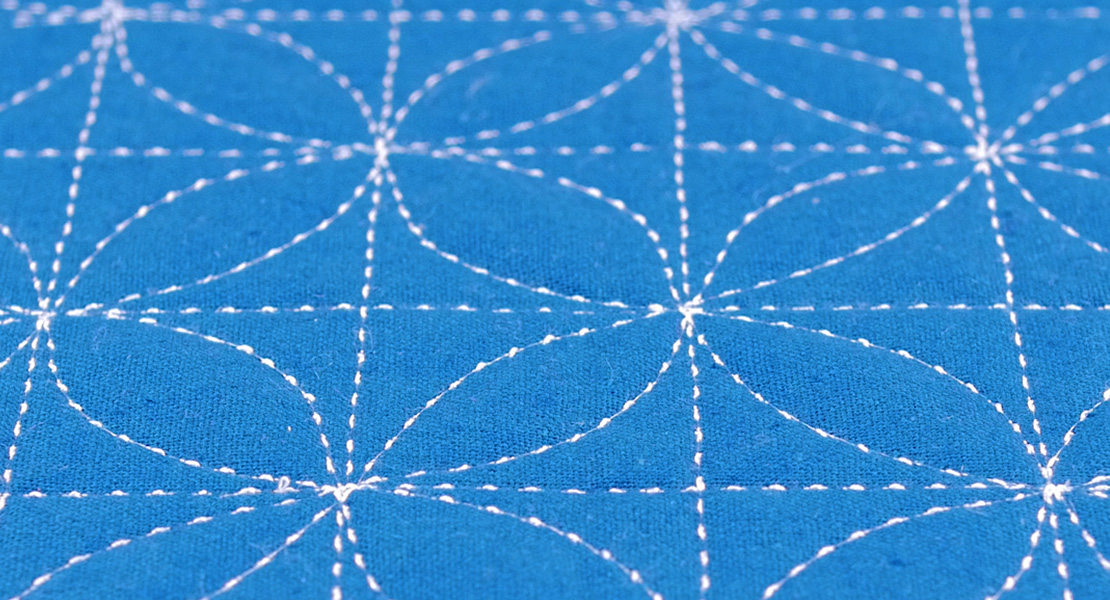
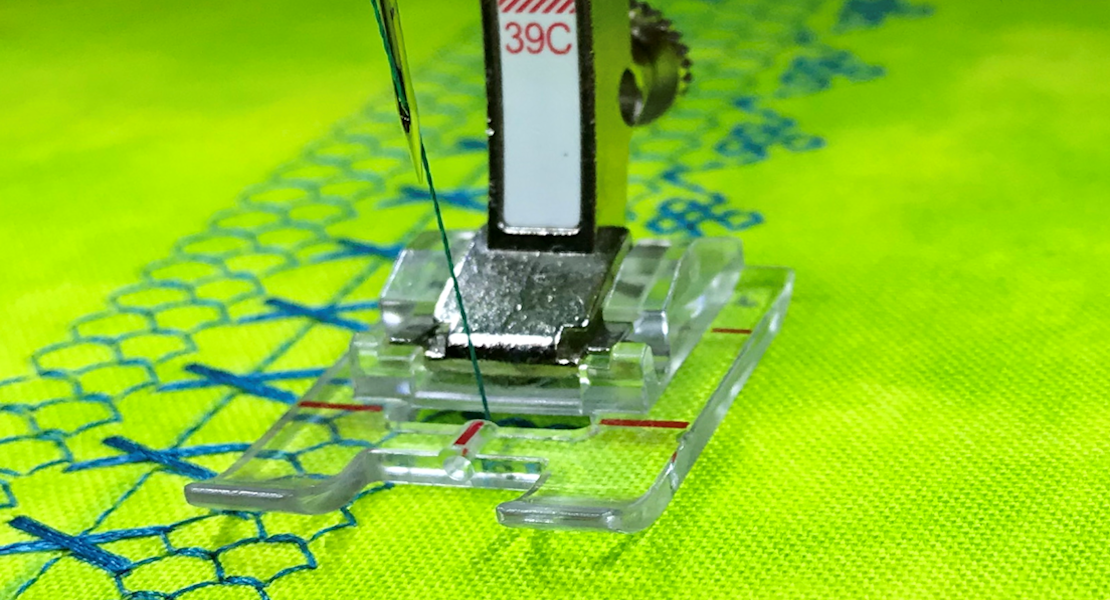
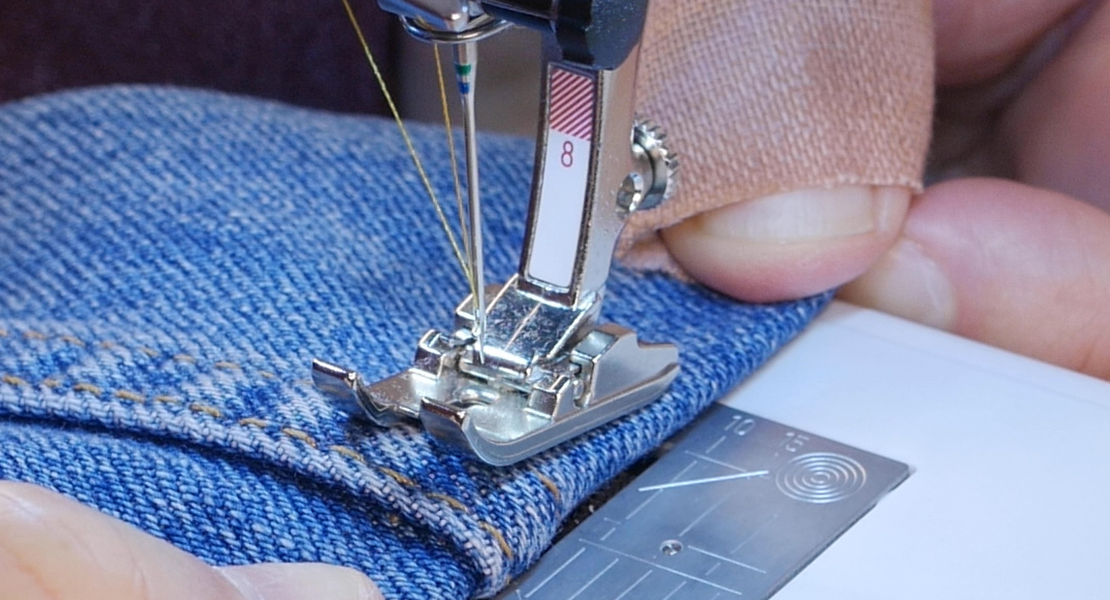
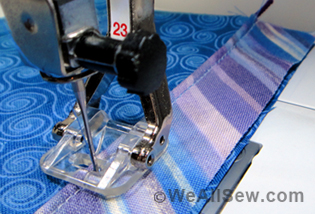
I start on the top with the default decorative stitch settings and then alter the width and then the length. This gives me three looks for each stitch. And don’t forget to stitch out the utility stitches (usually numbers 1-20) since there are some interesting stitches that dressmakers uses that can also be used in creating Stupendous Stitching fabric. I write the stitch number next to each stitch with a permanent marker.

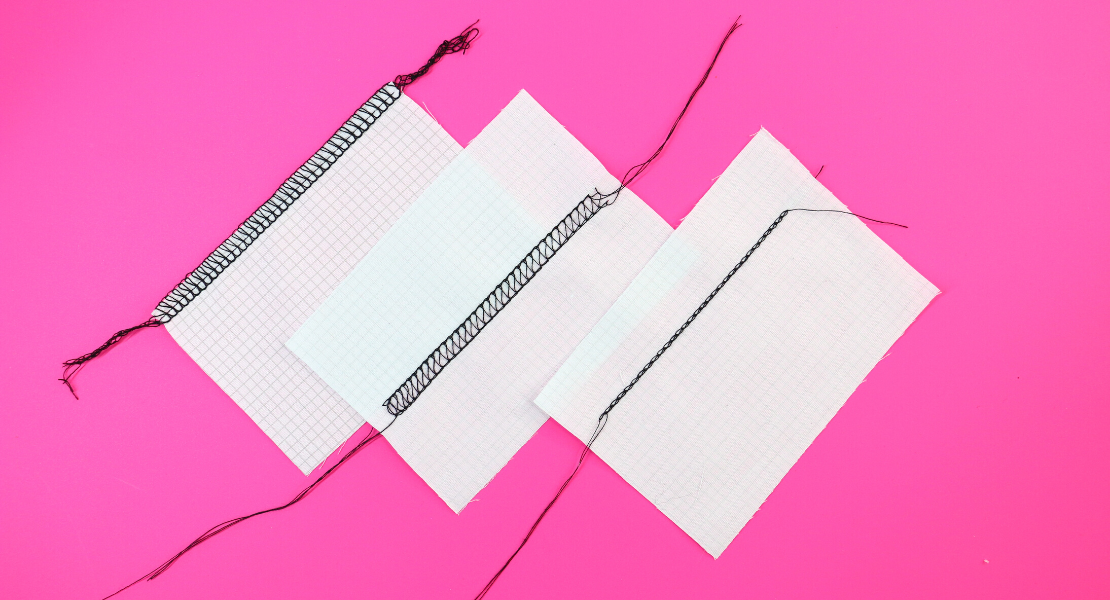
Once you have stitched out all the decorative machine stitches, trim the pages so they are the same size and fuse them together, back-to-back. You can zigzag all around the edges to finish them off or use my rattail binding technique. (See my website for a video showing this technique.) I used grommets and put two holes in the sides of my pages and then hooked everything together with metal rings.
Once you make your stitch bible, you will find yourself using it all the time as your handy reference guide when creating fun and fabulous fiber art!

Be sure to check out Carol’s classes on Craftsy, including Stupendous Stitching, Stitch & Slash, and Snazzy Stitched Portraits.


One comment on “How to Make a “Stitch Bible” – by Carol Ann Waugh”