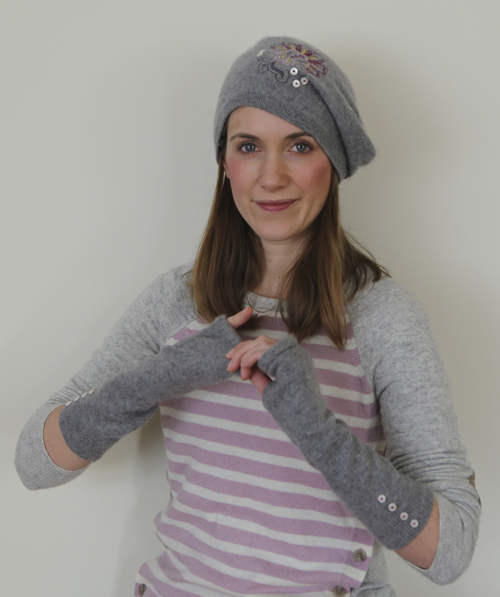
How to Make Juliette’s Namaste Beret and Wrist Warmers
We all know what it feels like to find your most beloved sweater coming out of the wash in a matted, shrunken condition – about five sizes too small! Re-craft the now thicker wool into something you can wear and enjoy again. Add a touch of embroidery and you have a designer exclusive!
Recently faced with the felted remains of the first cashmere hoodie I ever bought – a garment almost 10-years-old that accommodated my growing belly while I was pregnant and later magically shrank back to size afterward – I had a decision to make: Let go of it or recraft the now thick and matted wool into something I could enjoy a bit longer.
First and foremost a word of advice: If you find a felted sweater among your sheets in the washing machine I would not necessarily recommend drying it in the dryer. The wool might still be soft and drapey at that point, while the action of the dryer could make it firmer and stiffer.
Supplies
- Felted wool hoodie
- Small buttons
- Matching thread for seams
- Constrasting thread for buttons
- Water-erasable marker
- Pinking shears
- Pins
For optional embroidery:
- Embroidery machine
- Embroidery design (Design shown is #21000-10, Flower One, from the BERNINA Exclusive Stitch ‘n’ Bloom Collection #21000.
- Update per January 2017: The Stitch ‘n’ Bloom BERNINA Design collection is now discontinued.
- You can find embroidery designs you might like among our current BERNINA Exclusive Design Collections.
- Embroidery thread in desired colors
- Medium-weight cut-away stabilizer, such as OESD PolyMesh
Step 1) Make the hat.
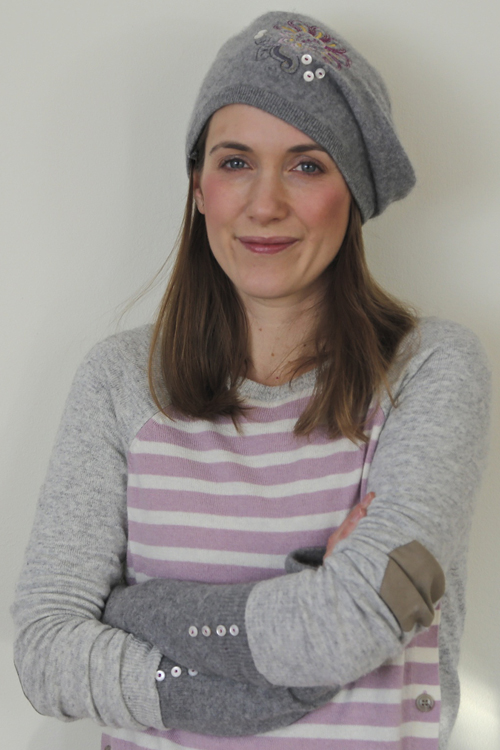
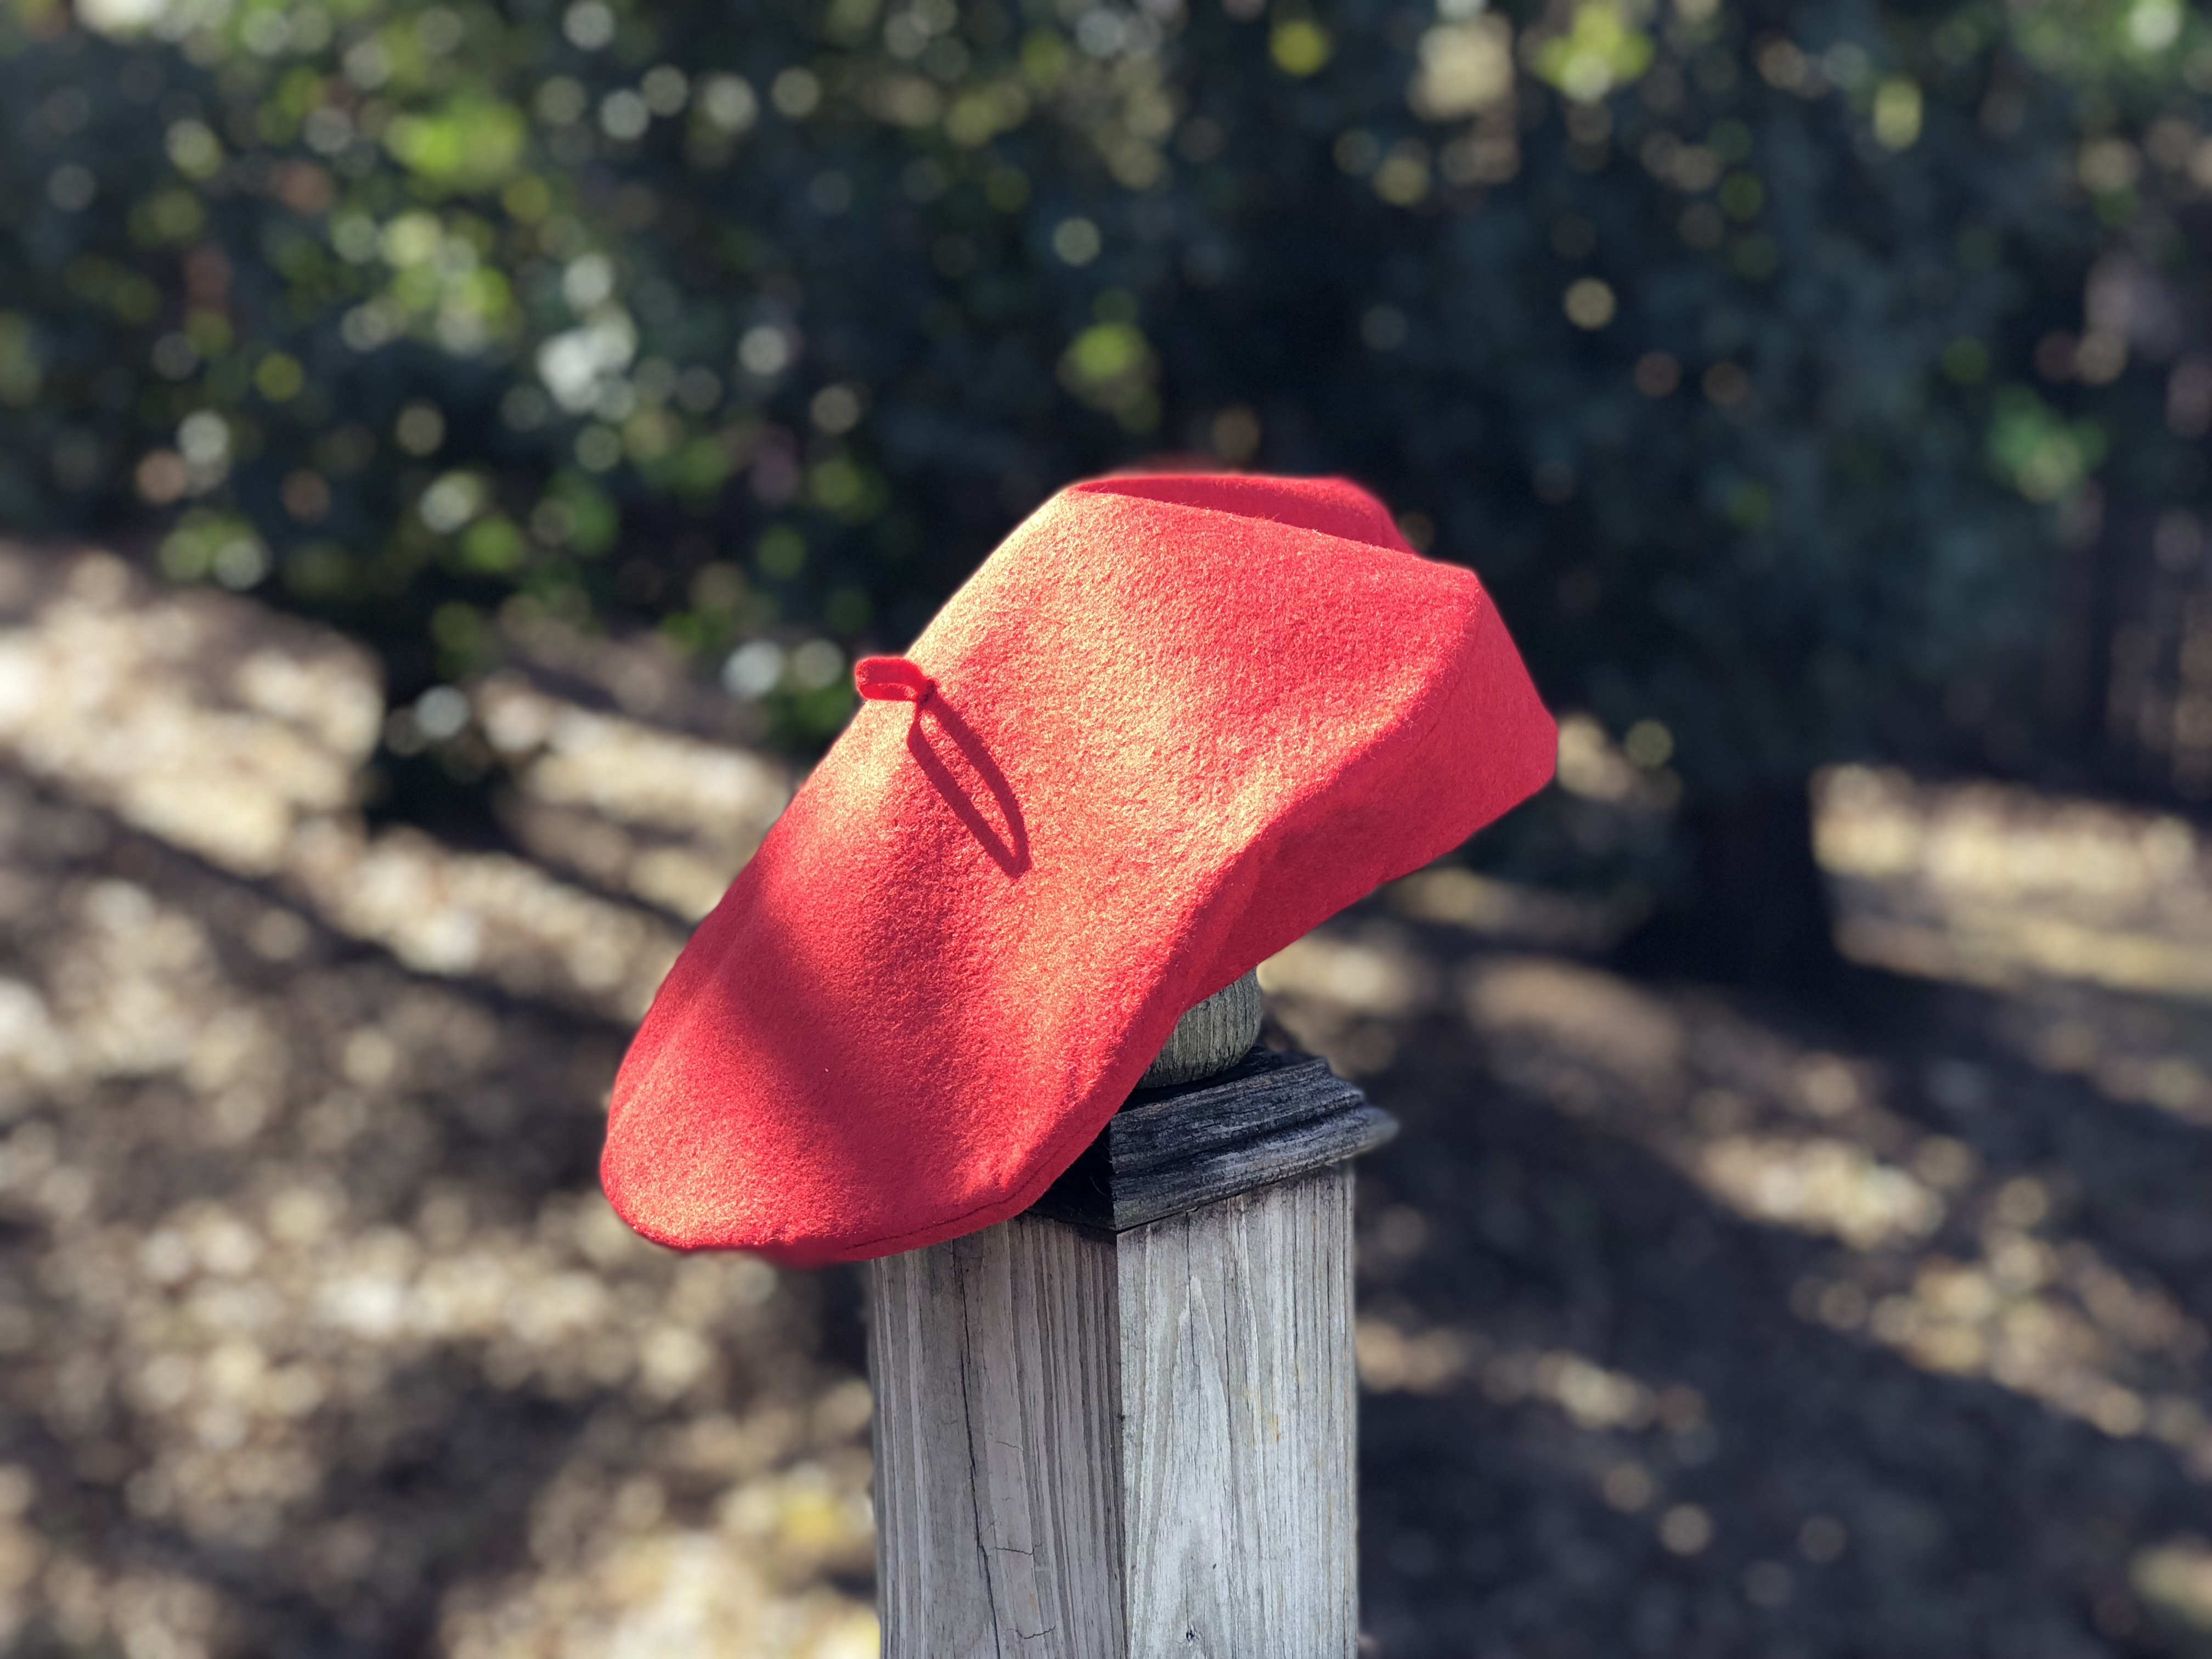
I decided to repurpose the hood of my shrunken hoodie into a hat, as the shape seemed to fit well around my head. Most importantly, the ribbing along the edge could be used to its best advantage.
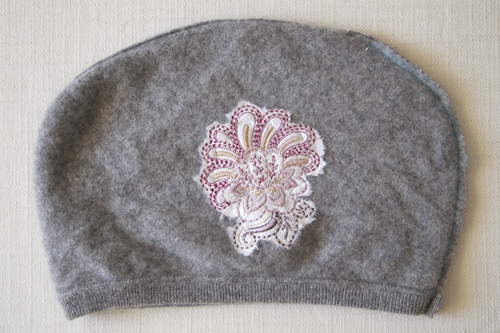
Mark the shape of the hat with a water-erasable pen. Use the shape of my hat as a guide, but adjust the proportions and lines to accommodate the size of your head and the shape of the hood. You want it to fit loosely around your head, with enough depth to “slouch” a bit (see the photo of me wearing my beret).

Cut out the hat shape with pinking shears, cutting 3/8” outside your drawn line.
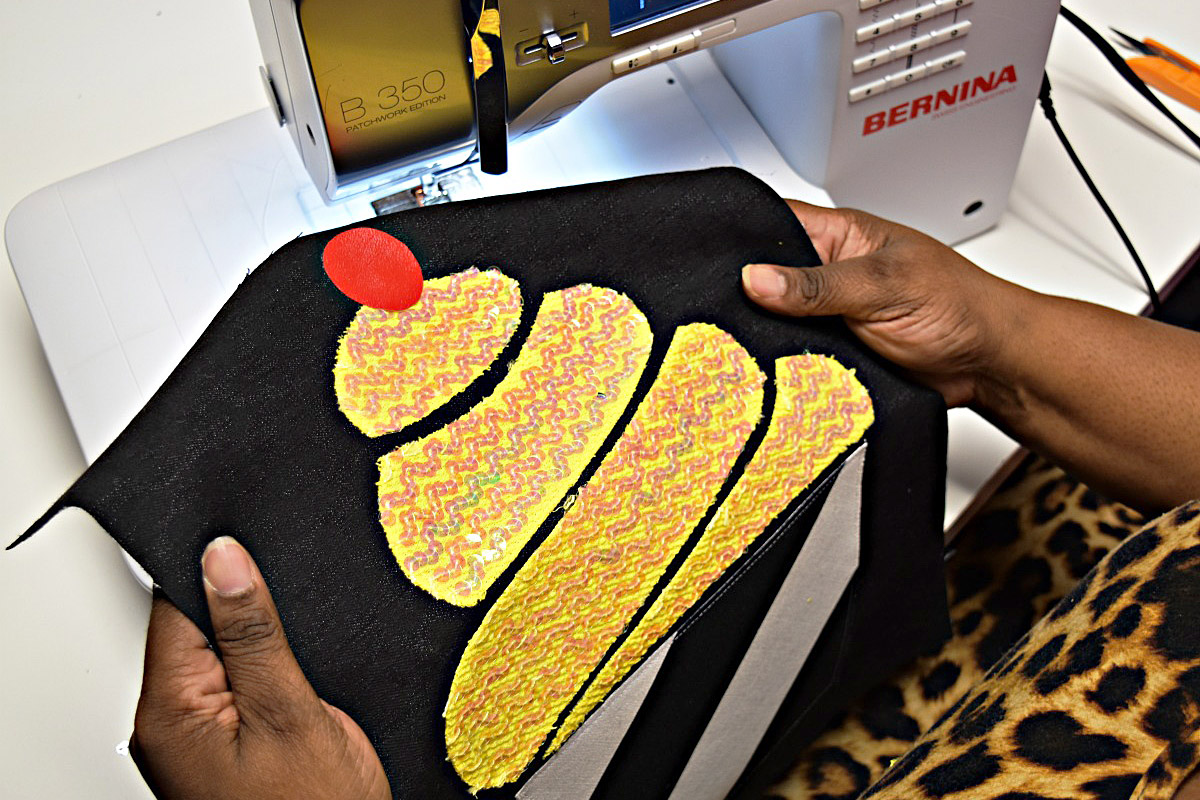
Optional: Embroider a design on your hat before cutting it out. I used a Flower One (#21000-10) from the BERNINA Stitch ‘n Bloom collection and added a few button accents.
Stitch on the marked line using a small zigzag stitch, securing the threads at each end.
Turn right side out.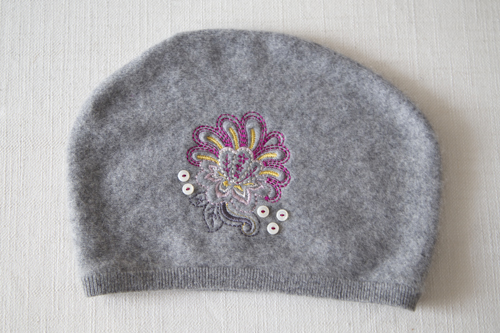
Step 2) Construct the gloves.
Note: These are general guidelines only. Adjust your wrist warmers to fit your hands and forearms, remember that the thickness of the wool cloth will affect the fit enormously.
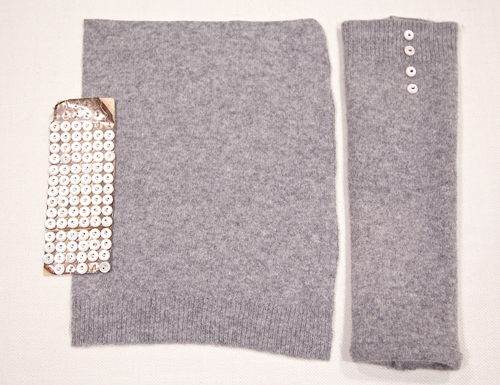
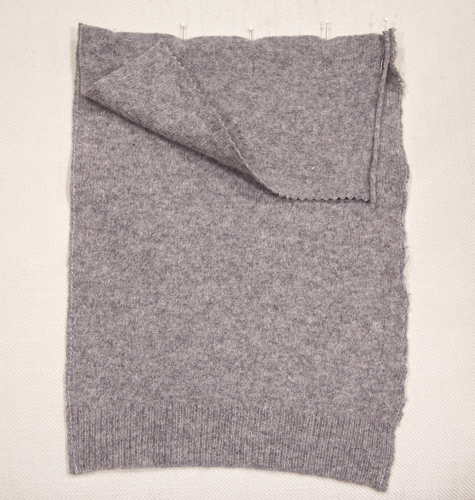
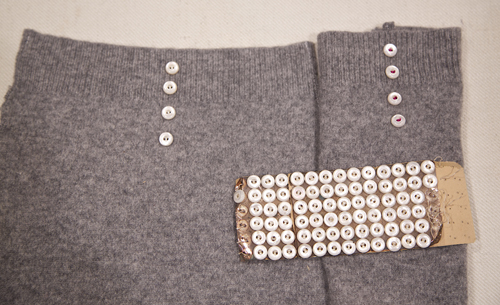
For my narrow hands and forearms I used rectangles measuring 9″ x 11″. If at all possible, make the most of the original sweater ribbing. I recommend using the ribbing on the forearm end of the sleeve, which is what I did.
Sew a zigzag or overlock stitch along the long sides of the rectangles to reinforce the wool and stabilize the seams.
Bind the finger opening:
- Sew a strip of wool to the the unfinished short edge using a 3/8″-wide seam allowance.
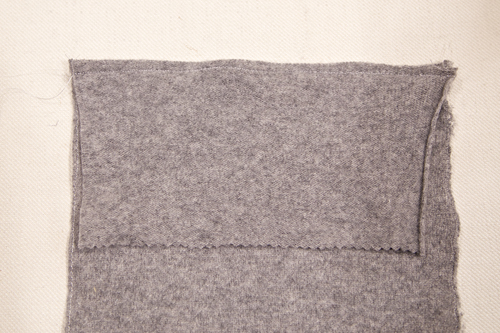
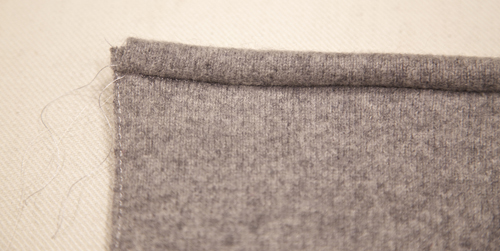
- Turn the strip around the new seam; the seam allowances will act as a filler for the edge. Pin.

- Sew from the front, sewing in-the-ditch using a small zigzag.
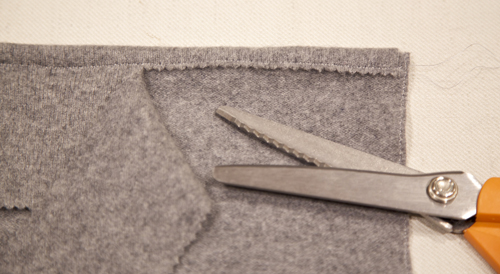
- Trim the excess fabric using pinking shears.
At this point you can embellish the sleeves with embroidery or buttons. I chose to sew four small antique mother-of pearl-buttons to each one using contrasting thread.
Tip: Use the button sew-on stitch on your sewing machine (#60 on my BERNINA 580) to make quick work of attaching those eight buttons.
When you are ready to sew the side seam, decide how far you want the wrist warmers to cover your fingers. I prefer my warmers not to cover them at all. I stitched a 1″-long seam at the hemmed end, left a 1-1/2″ opening for my thumb, then completed the rest of the side seam. It is more comfortable if your entire thumb joint can come out of the write warmer.

I hope these few easy steps will encourage you to give your accidentally-felted favorite a second chance. I wear my wrist warmers every morning while driving and they feel just as comfortable as the sweater once did.


One comment on “How to Make Juliette’s Namaste Beret and Wrist Warmers”