Twin Needle Hemming
Hemming is a common mending or upcycling task. The goal is always to do this easily with a professional finish and even better if I can do it all on my domestic machine! On ready-to-wear clothing, your hems are likely sewn using a coverstitch machine. But today I will show you a great trick to achieve the same look on your regular sewing machine.
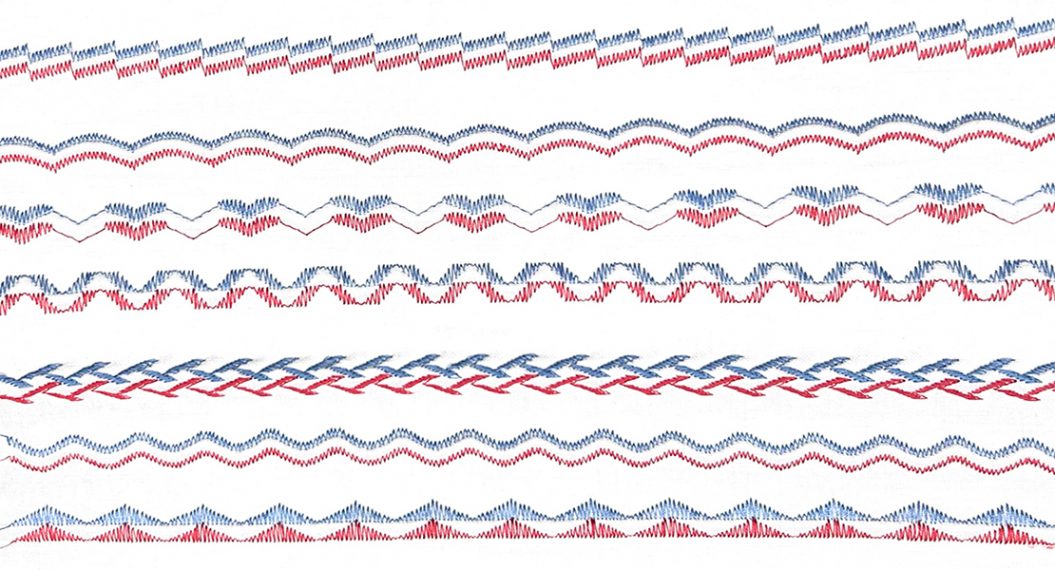
The trick is in using a twin needle. Twin needles come in many different sizes, distances, and needle types. While they might look unusual, or even a little scary, I promise using them is much easier than it seems!
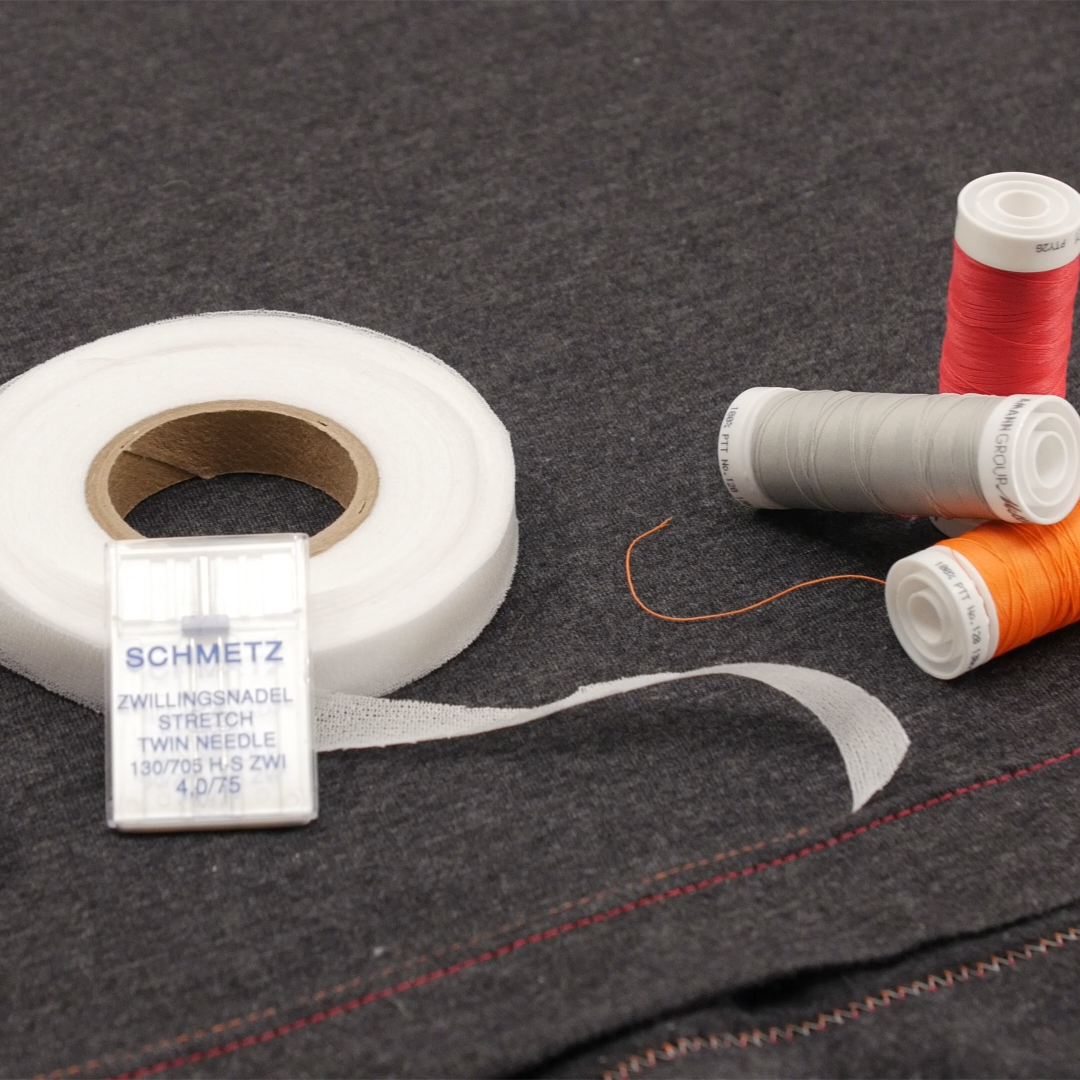
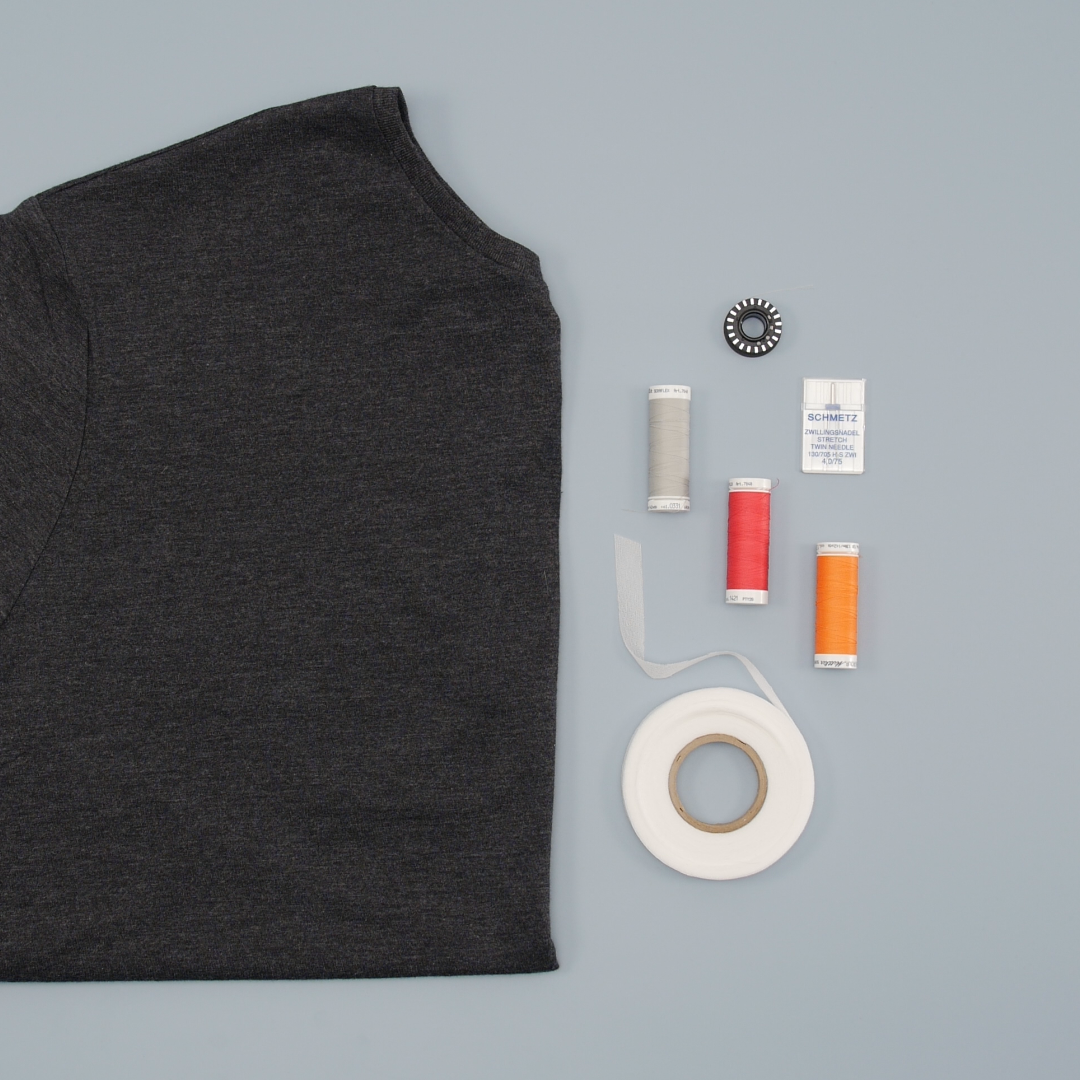
Supplies:
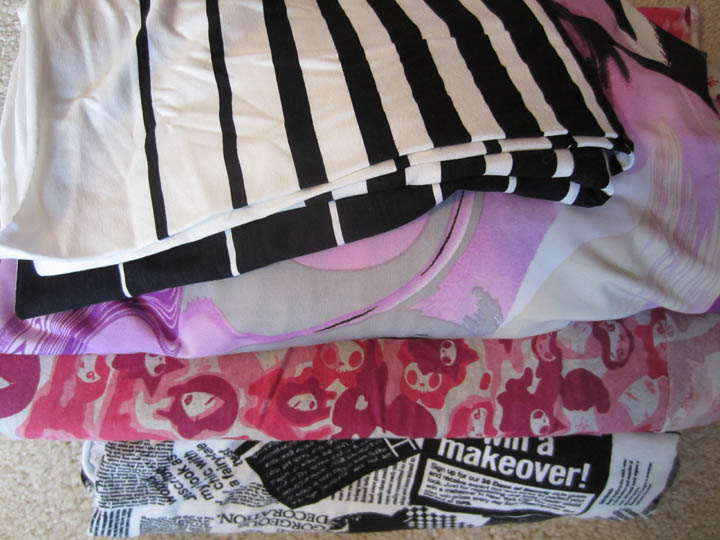
- T-shirt to be hemmed
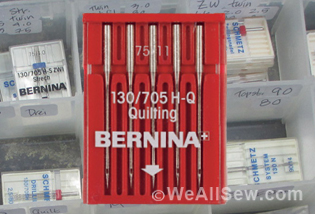
- Stretch twin needle (4 mm size 75 suggested)
- 1/2″ fusible knit stay tape
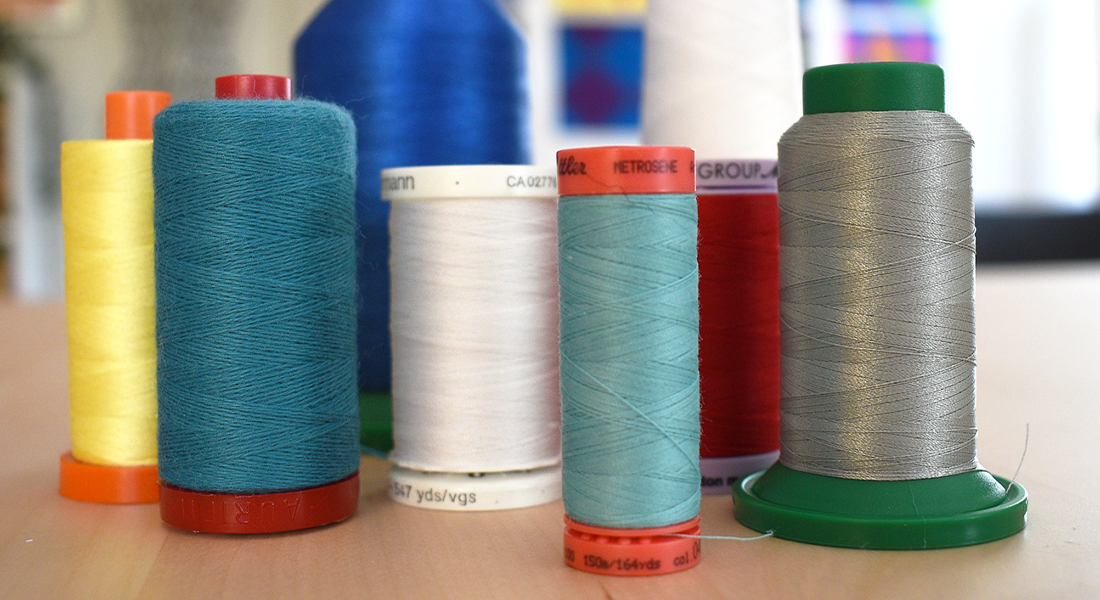
- 2 spools of polyester or stretch thread (we used Mettler Seraflex, a stretchy but non-elastic thread that is great for knits)
- Rotary cutter + mat
- Ruler
- Iron + pressing mat
- Pins (I love these Magic Pins—they’re super fine, easy to grip, and heat resistant so you can press over them!)
- Thread snips
- Hand sewing needle
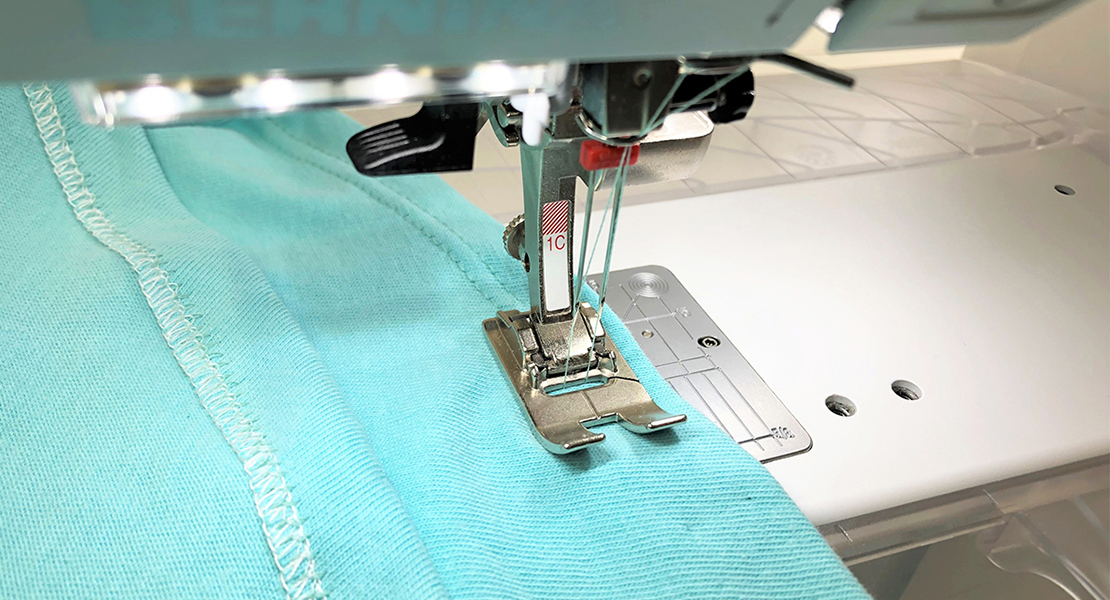
- Reverse Pattern Foot #1C
- Right Seam Guide (optional)
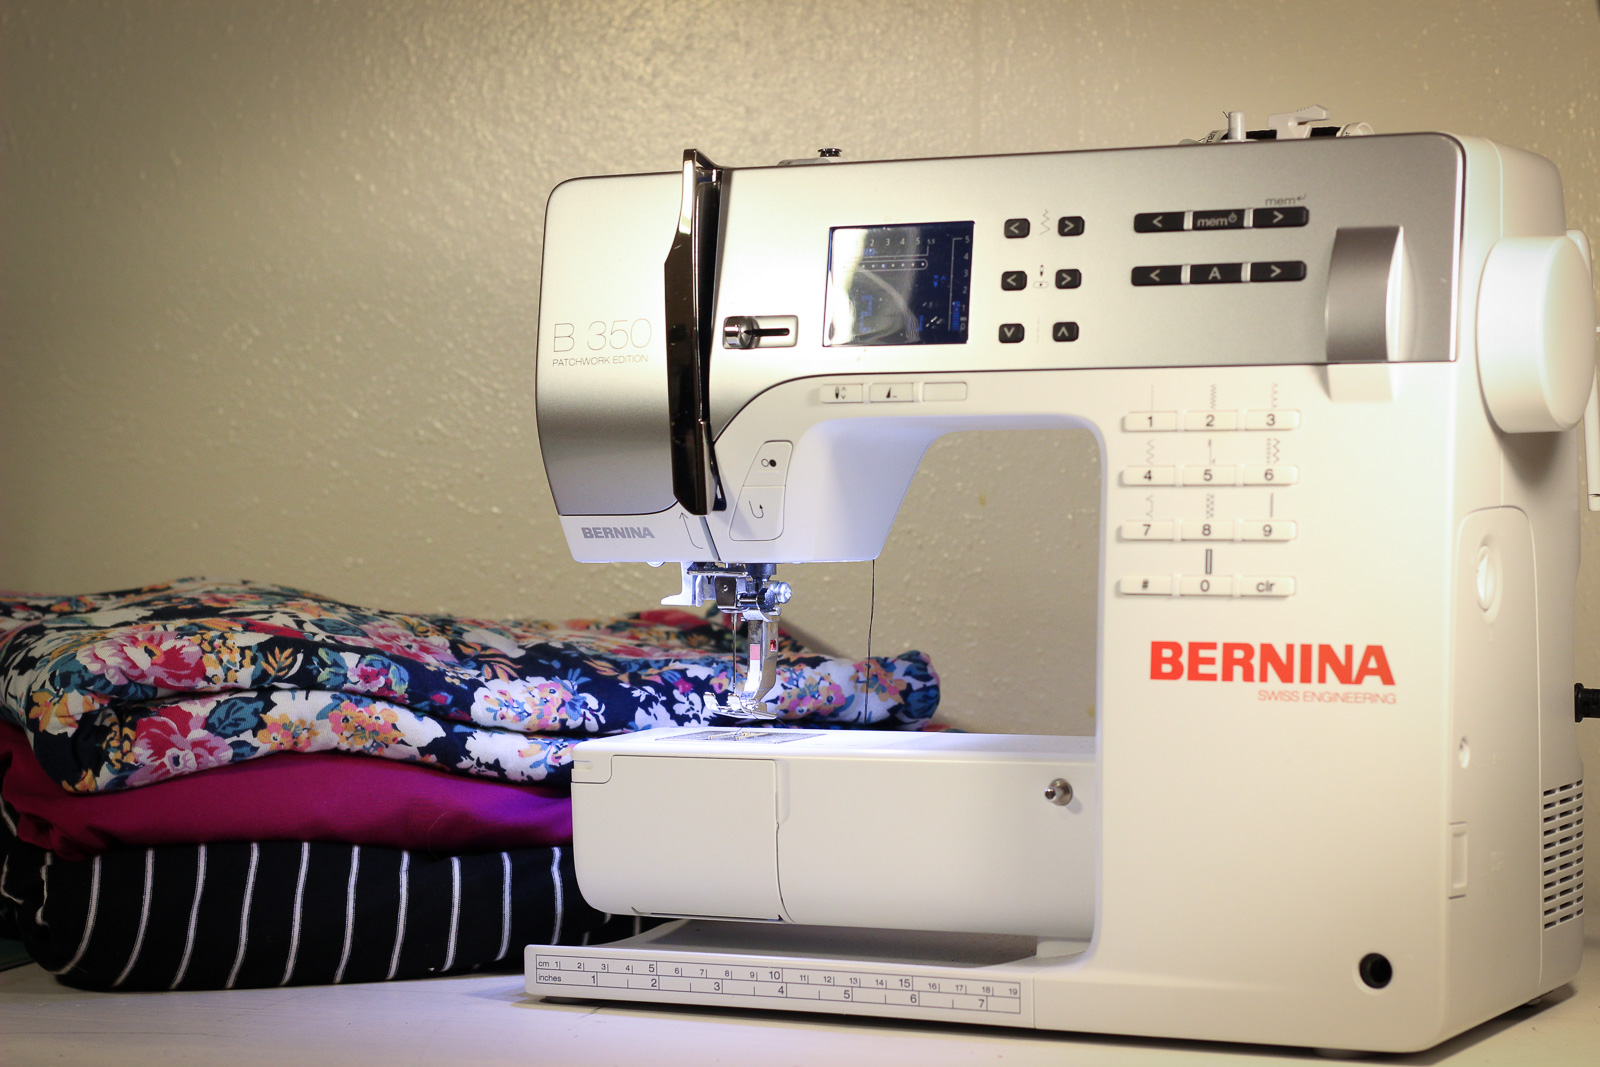
- BERNINA 480
Steps for Twin Needle Hemming
-
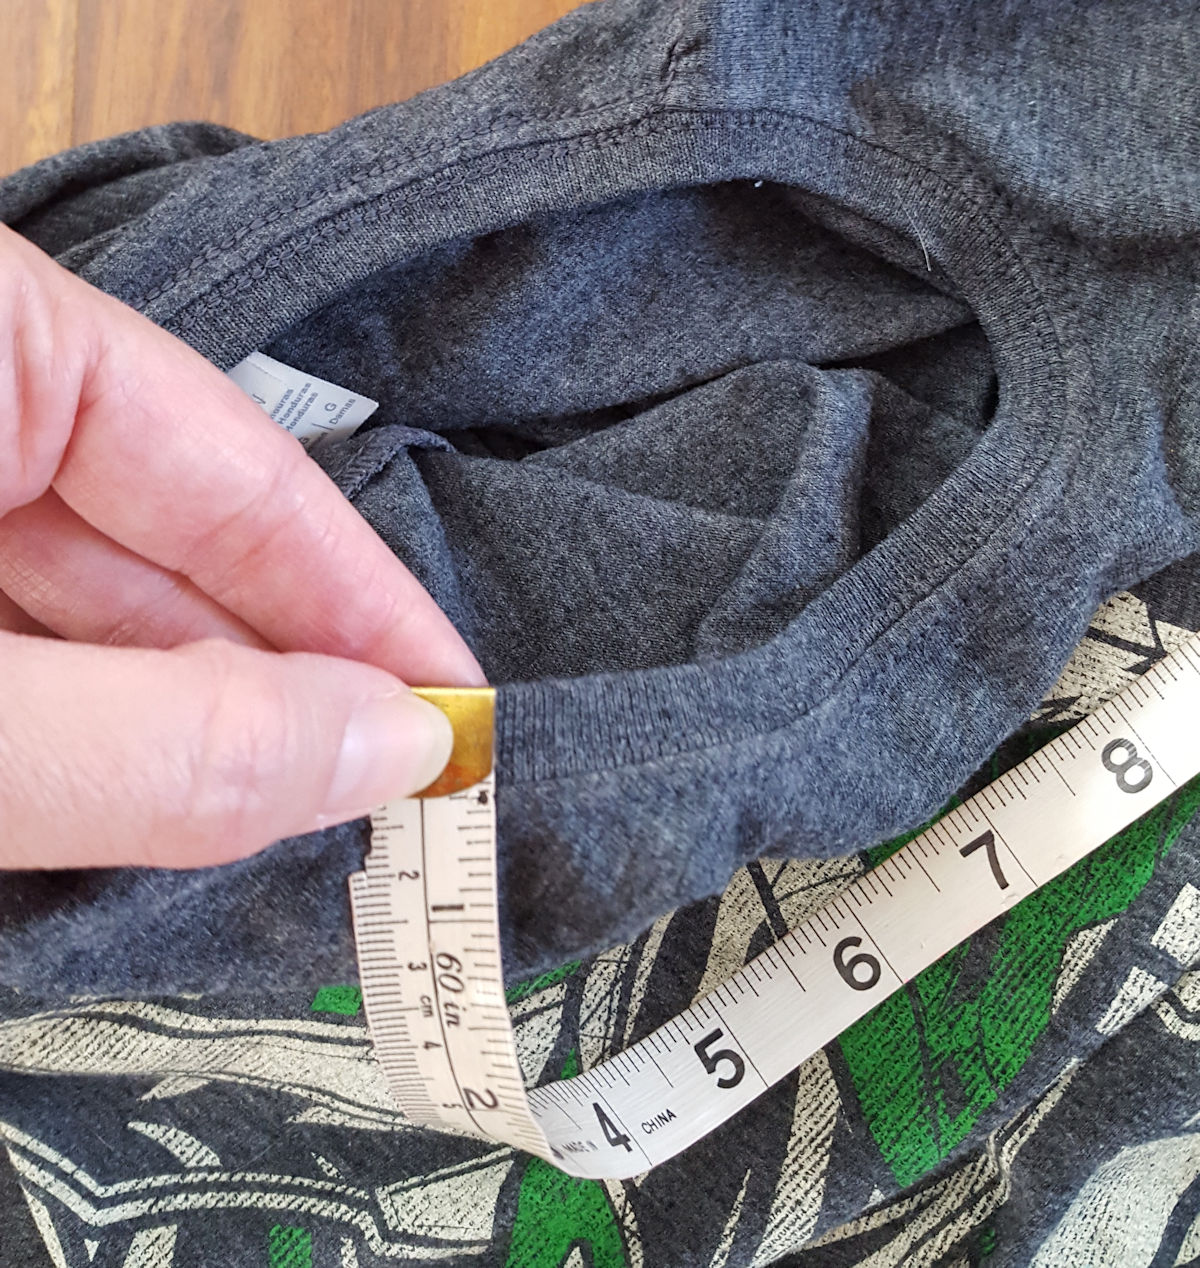
Determine desired hem length
First, try on your t-shirt. Determine the desired length of either the hem or sleeves. Mark with a pin.
Remove the t-shirt. Measure the desired length and add 1 3/8”. Re-measure for the new hem and cut with this added length.

-
Press the hem
Fuse knit seam tape around the raw edge of your new hem. This tape will help add stability and structure to the new seam. Using a bit of steam with your iron can help activate the adhesive.

Fold the raw edge of the hem up 1 1/4″ with wrong sides together. Use a tape measure or seam guide as you go to keep your hem consistent.

After pressing, pin the hem to hold it in place.
-
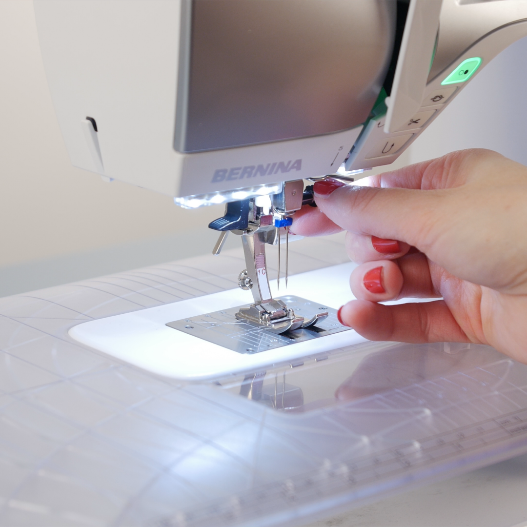
Thread the machine
Threading your sewing machine for a twin needle is much simpler than it seems! Begin by inserting your twin needle.
My BERNINA 480 has an awesome feature called Needle Security. On the machine, I can tell it what kind of needle I’m using and it will make sure that the stitch I choose can be safely sewn out with that needle. With twin needles, because they are so wide, the machine will limit how wide I can make my stitches to make sure I don’t hurt the machine, presser foot, or myself.
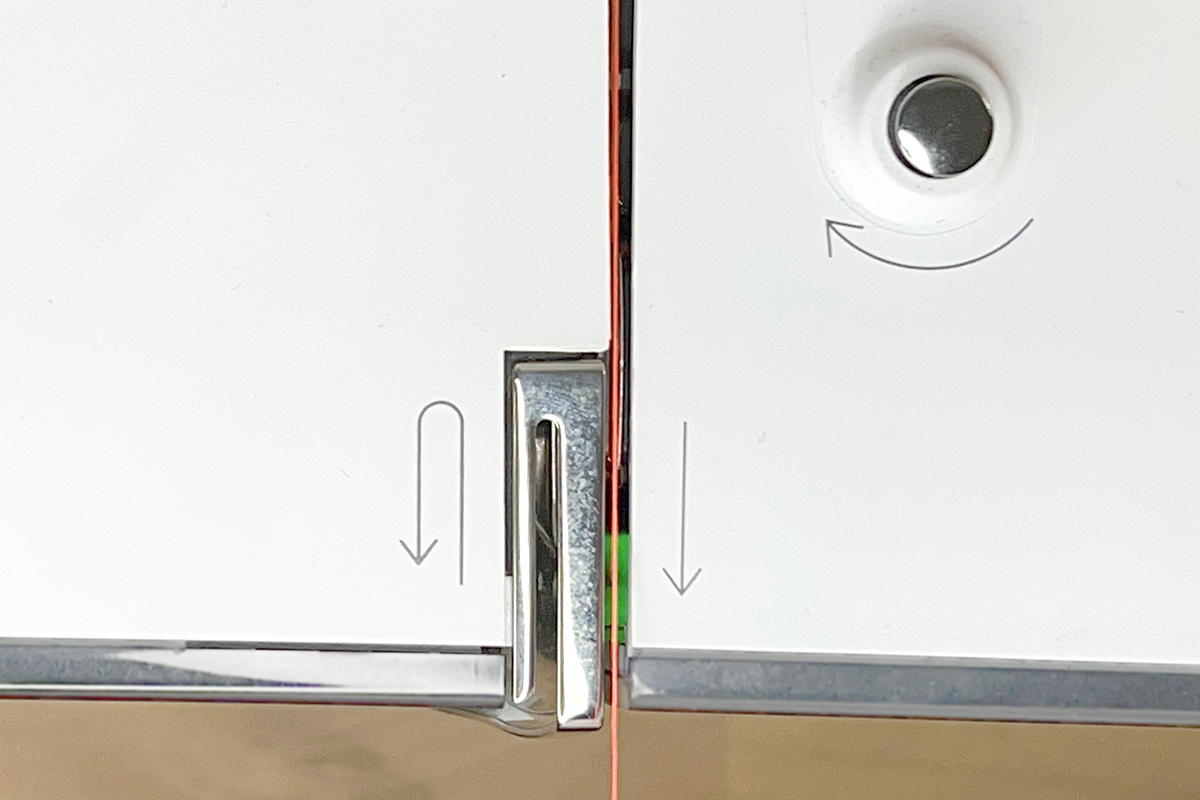
On the machine screen, select Needle and Stitch Plate Security from the Status Bar at the left side of the screen.
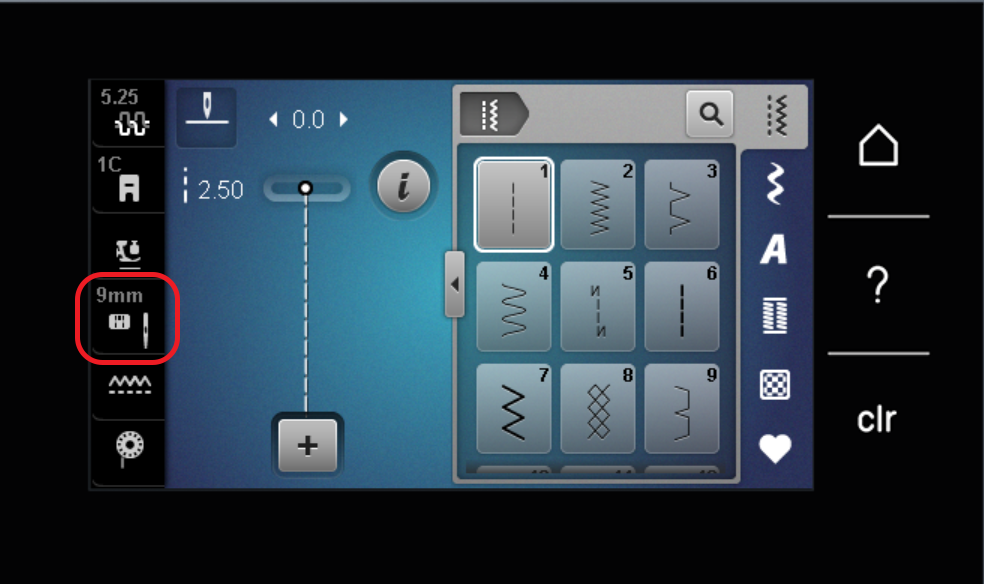
Then select your needle type. You can see visually which needles are twin needles (there are also triple needles, wing needles, or combinations) but there is also a number at the upper left corner of each needle icon. This indicates the distance between your needles in millimeters. The needle I’ve chosen today has needles 4 mm apart, so I will choose the first needle from the bottom row.
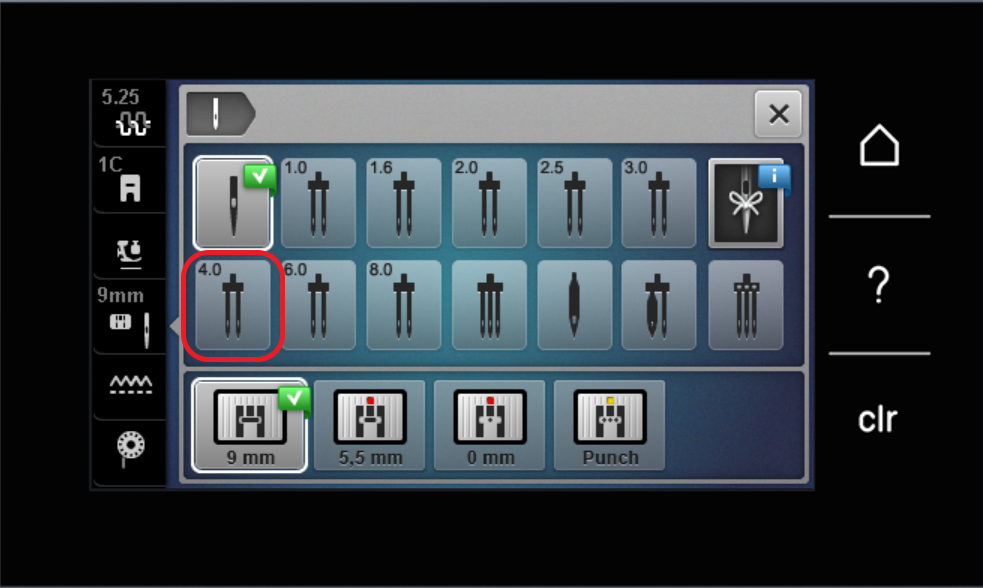
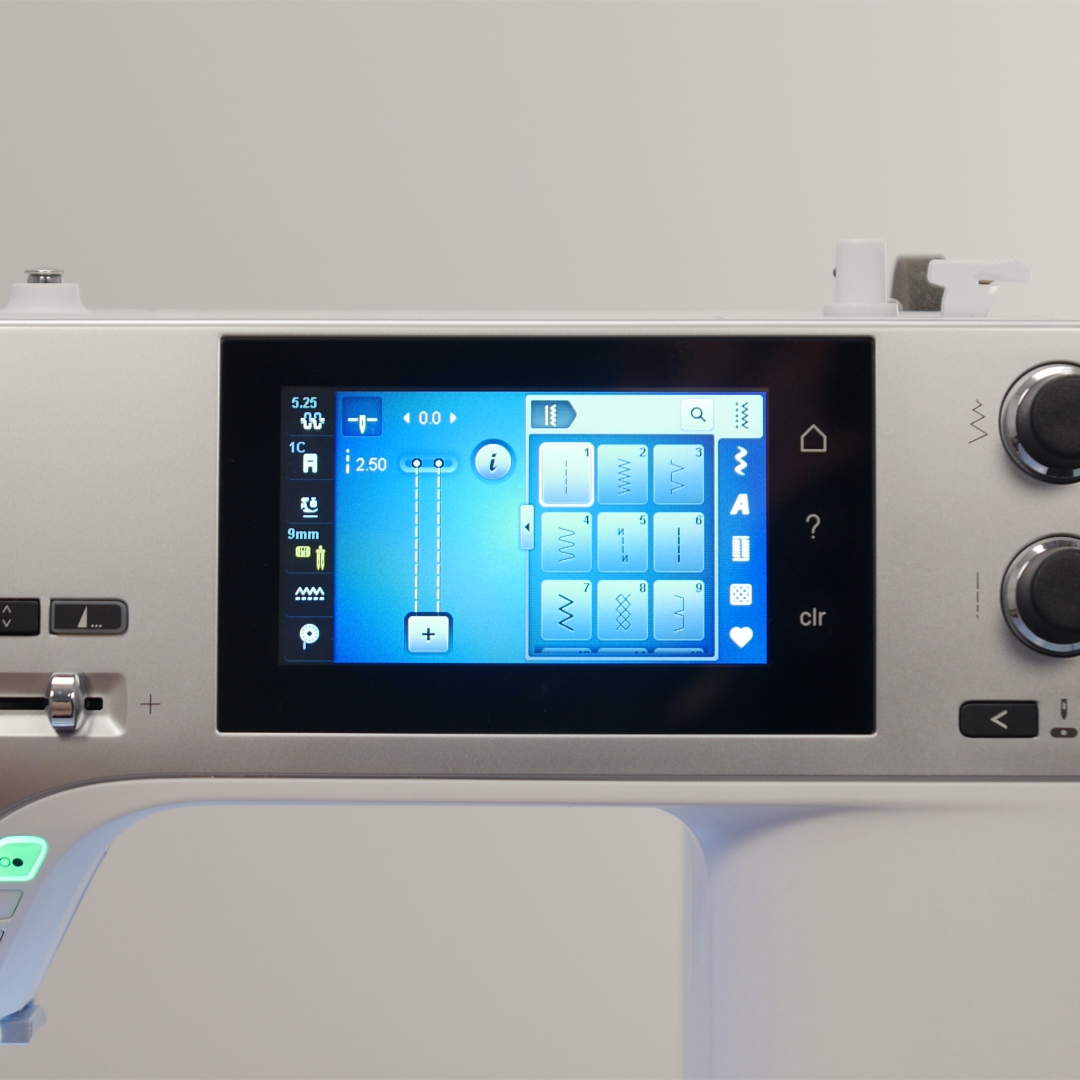
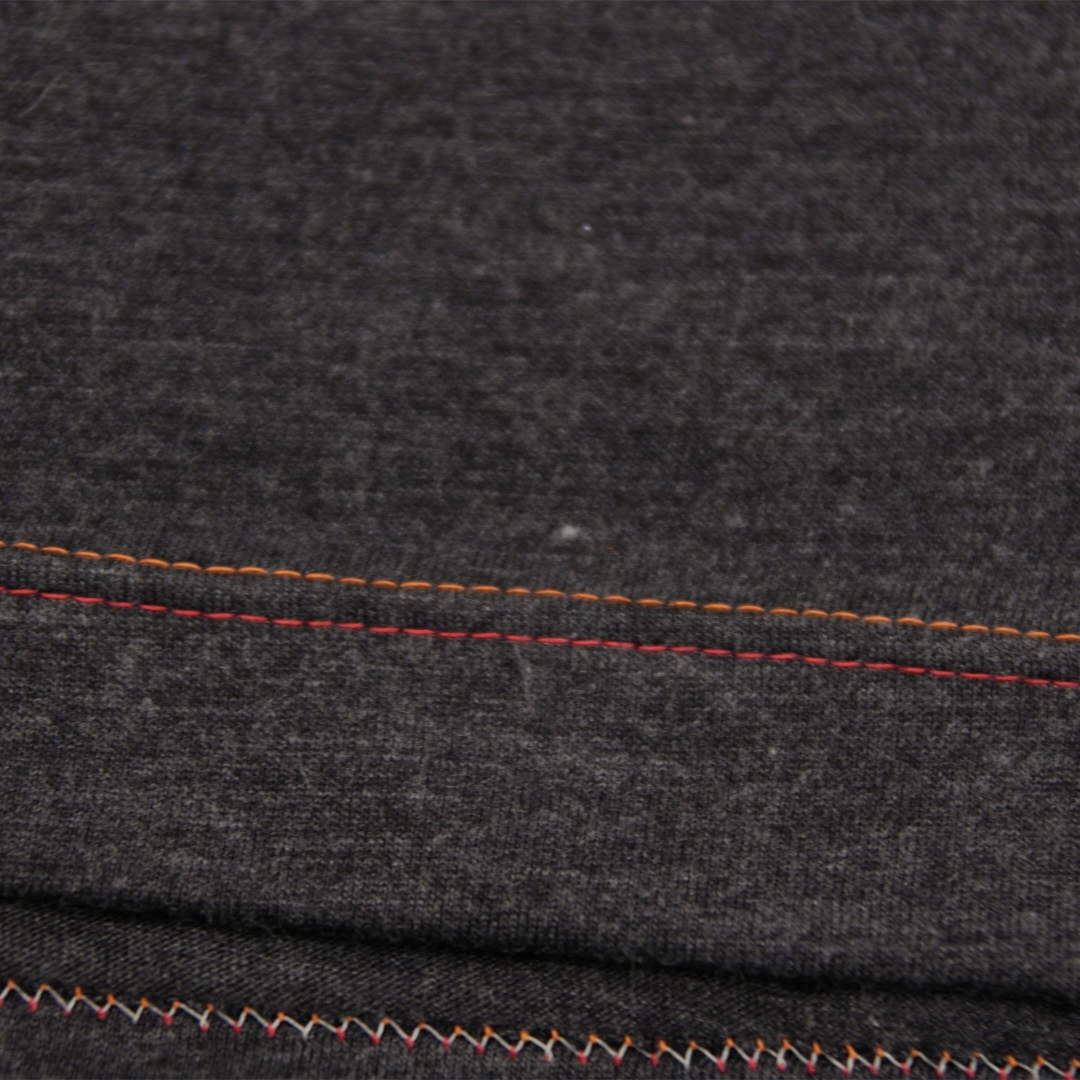
Now on the main screen, the machine shows me two rows of stitching at the Stitch Altering Area, exactly how my twin needle will sew out!
Before we thread the machine, I want to mention the thread itself. For most garment sewing, 100% polyester is recommended as it is incredibly strong and can hold up to the stress of stretching, wearing, and washing your clothes in their lifetime.
For this project, I used Seraflex, a new thread developed by Mettler. It is a new synthetic material engineered to be stretchy without any actual elastic and has the fine, smooth appearance of a normal thread. It can give so much more stretch to seams sewn on a standard sewing machine, even using a simple straight stitch. Plus, it can be used in both the needles and the bobbin.
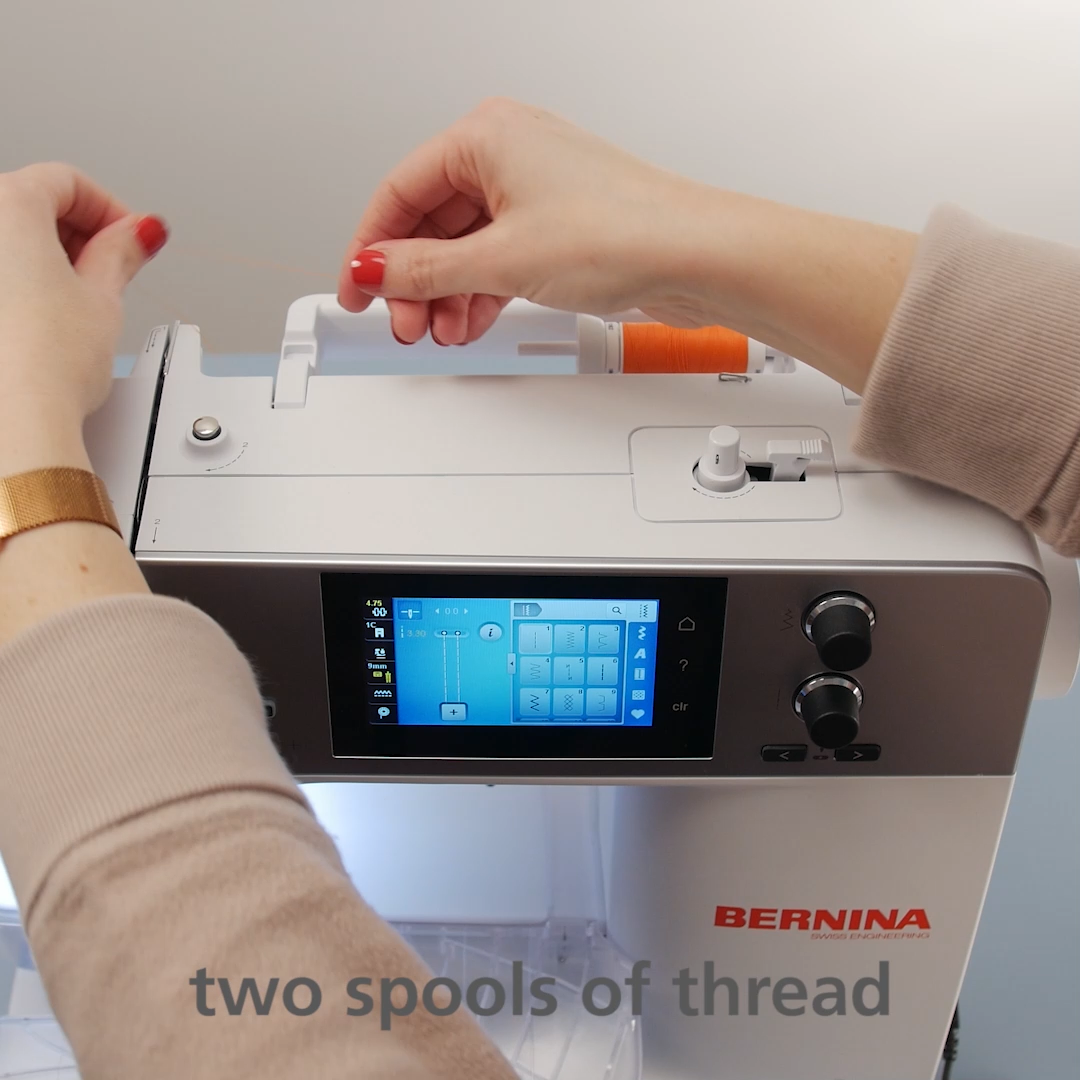
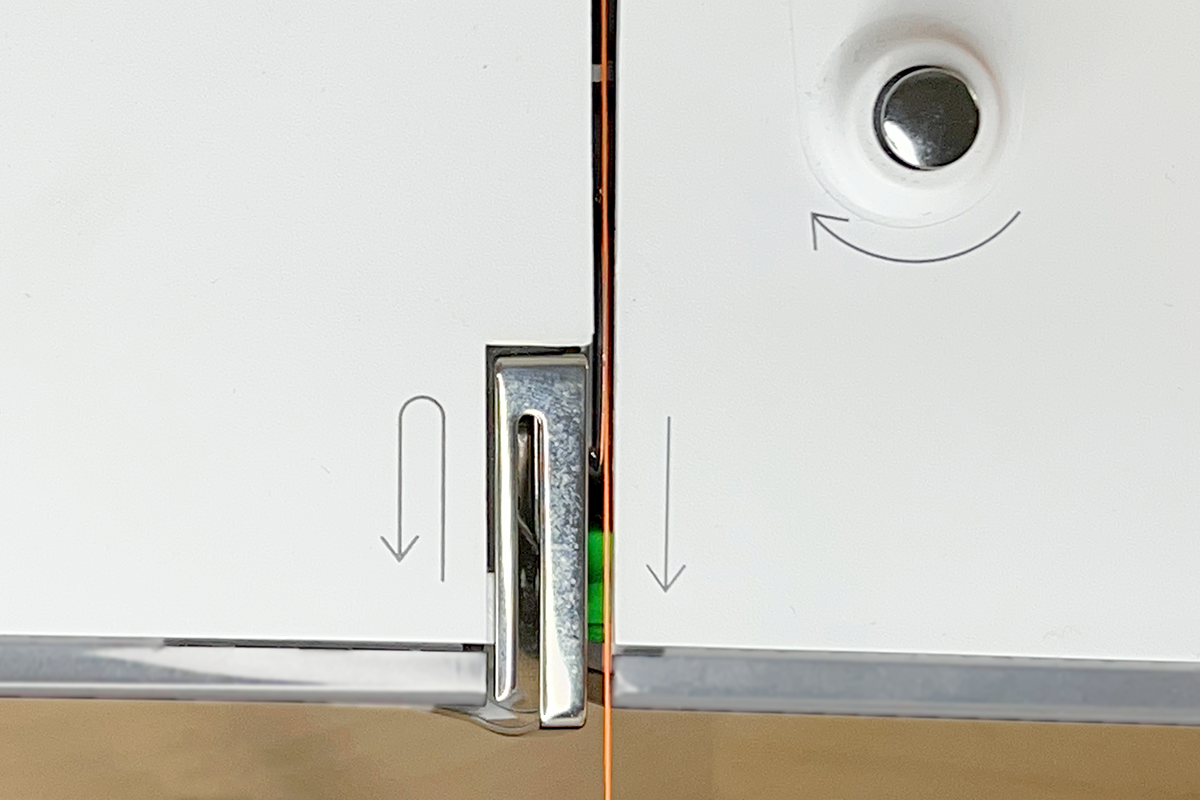
We will now thread one needle at a time. Begin by adding your first spool of thread to the Horizontal Spool Pin on the machine. Then, following the normal threading path, pause when you get to the tension disc at the front of the machine.
Making sure that your presser foot is raised, lay your first thread on the right side of the guide in your tension discs.
Continue threading as usual. When you come down to the twin needle, thread your first thread through the right needle. Note that you will have to do this by hand—your automatic needle threader won’t work with a twin needle, but you can use a Needle Threader tool!
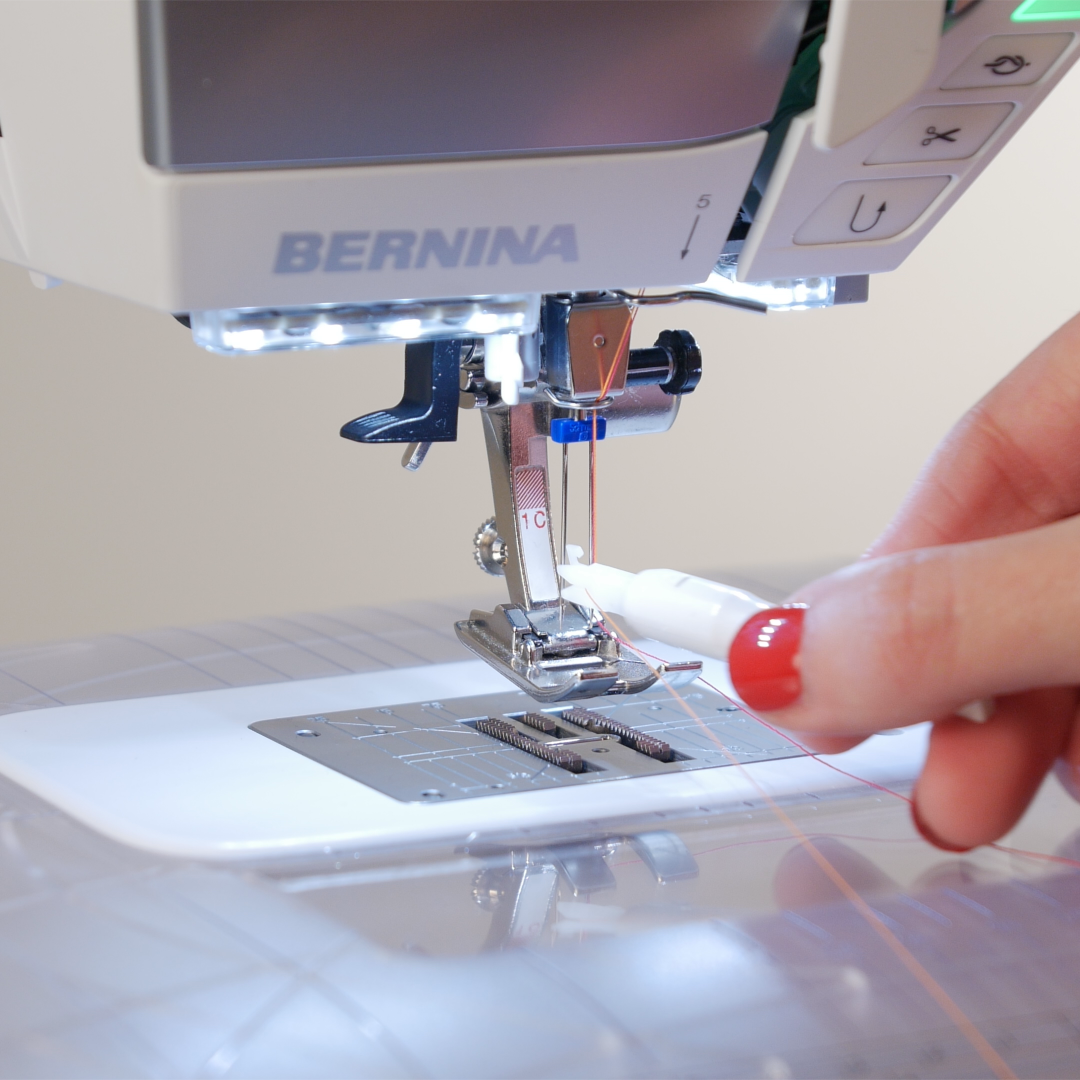
Now we will thread the second needle. Place a second spool of thread on the Vertical Spool Pin. Bring your thread through the small wire thread guide just to the left of the vertical spool pin and then back to the normal threading path.
This time, when you reach the tension disc at the front of the machine, lay your second thread on the left side of the guide.
Continue on and finally thread this thread through the left needle.

Wind a bobbin using the same type of thread as your needles and insert into the machine.
-
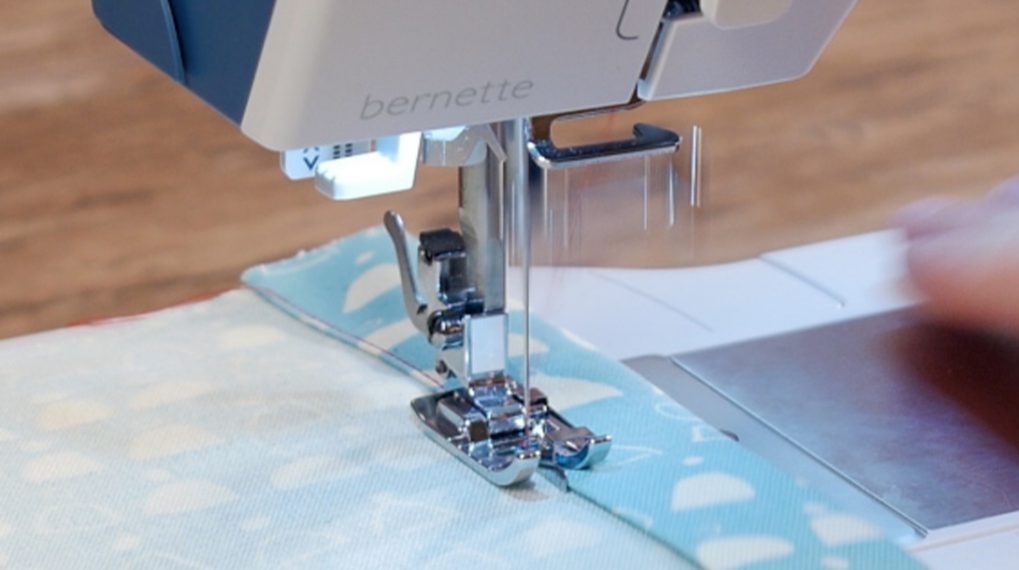
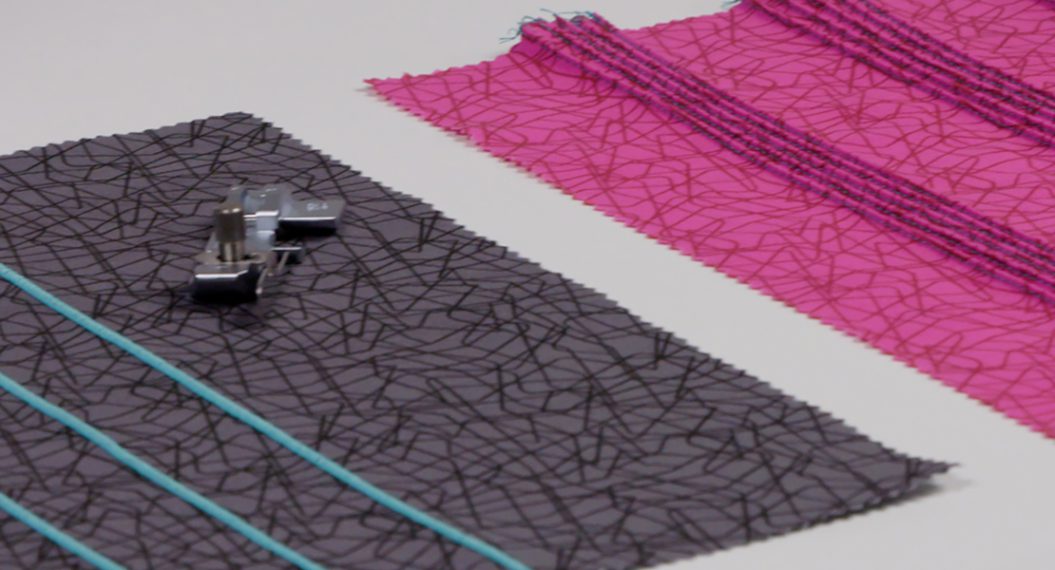
Sew your hem
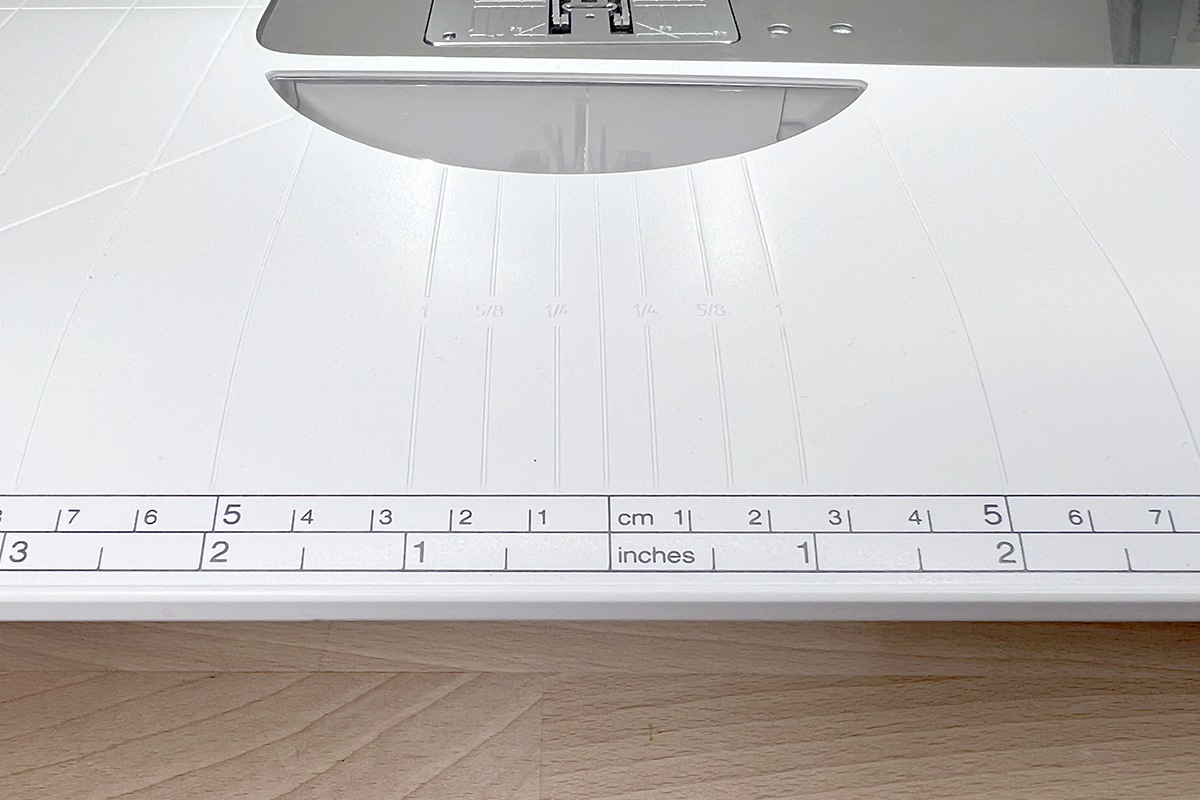
We are now ready to stitch this hem! Prepare to stitch by setting your t-shirt under the presser foot with the right side up. My BERNINA is fantastic for this because I can work on the larger surface area of my Slide-on Table while still being able to use the Freearm. The table will support the weight of my project but the area I’m not stitching can move freely under the machine!
I want my start and end point to be somewhere inconspicuous on the shirt. I typically start near one of the side seams (if there are any). Then I need to make sure I am set up to sew the correct hem length.
On the slide on table, there are measurements marked for distances from the center needle position. I want to line up the fold of my hem with the 1” measurement to the right of center. At this measurement, my left needle will stitch about 1 1/8” from the fold. You can also add the Right Seam Guide to your presser foot once you have your hem measured and positioned.
Hold your two needle threads as you begin to sew. Sew all the way around your hem, making sure that your fabric is feeding straight for an even hem. I like to slow down the speed of my machine for this.
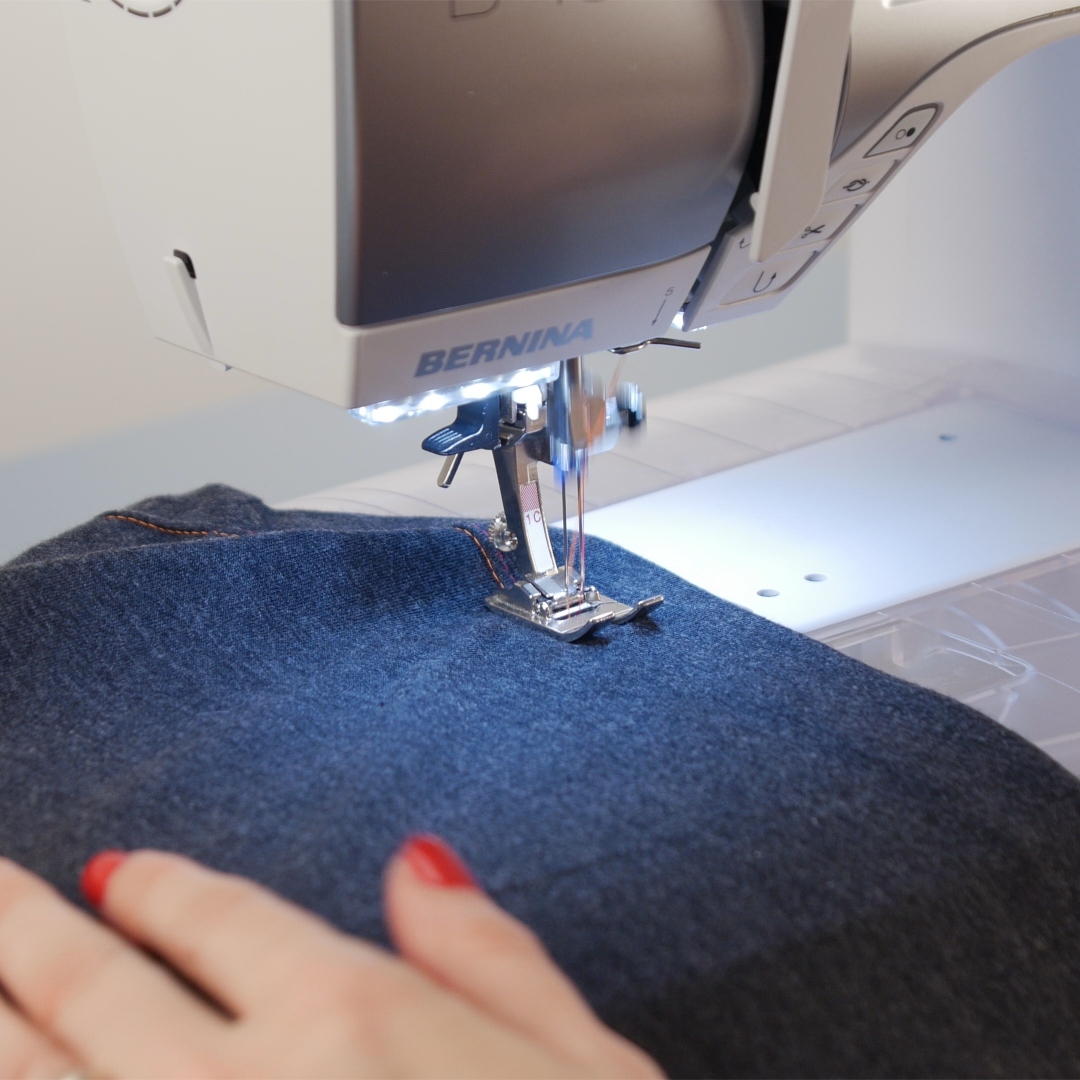
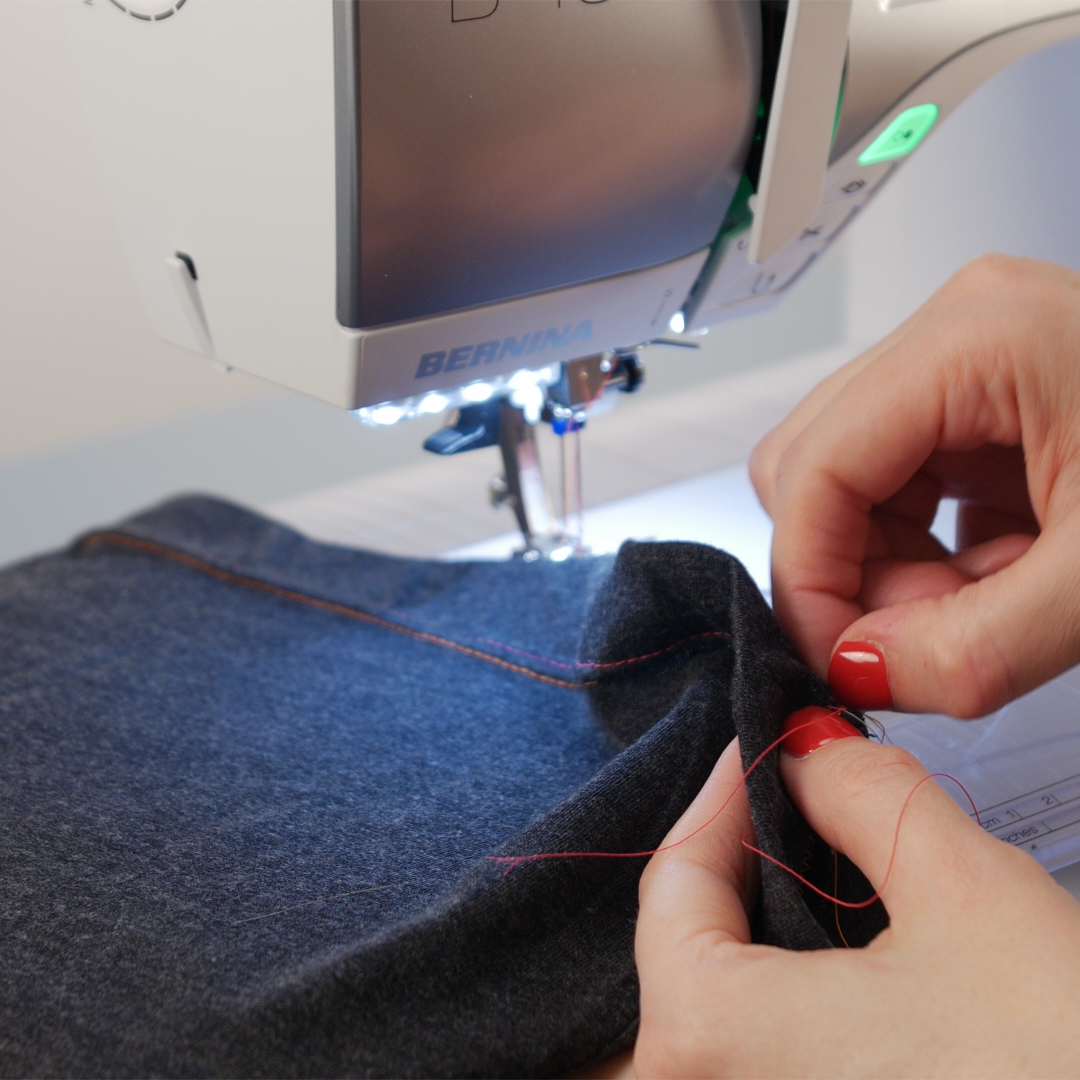
When you reach your starting point, overlap your stitching by about 1/2″. Remove the shirt from your machine and cut your threads manually, leaving 4-6” thread tails.
-
Finishing
To make sure that your hem holds securely, use a hand sewing needle to bring all four needle threads to the back side (inside) of the shirt. Tie off your threads with a small knot and trim.
And just like that, you have a professional-looking hem all sewn on your domestic sewing machine!


when starting and ending when using a twin needle i drop the feed dogs sew in place a couple of stitches put dogs back up and sew onward until i end the same way