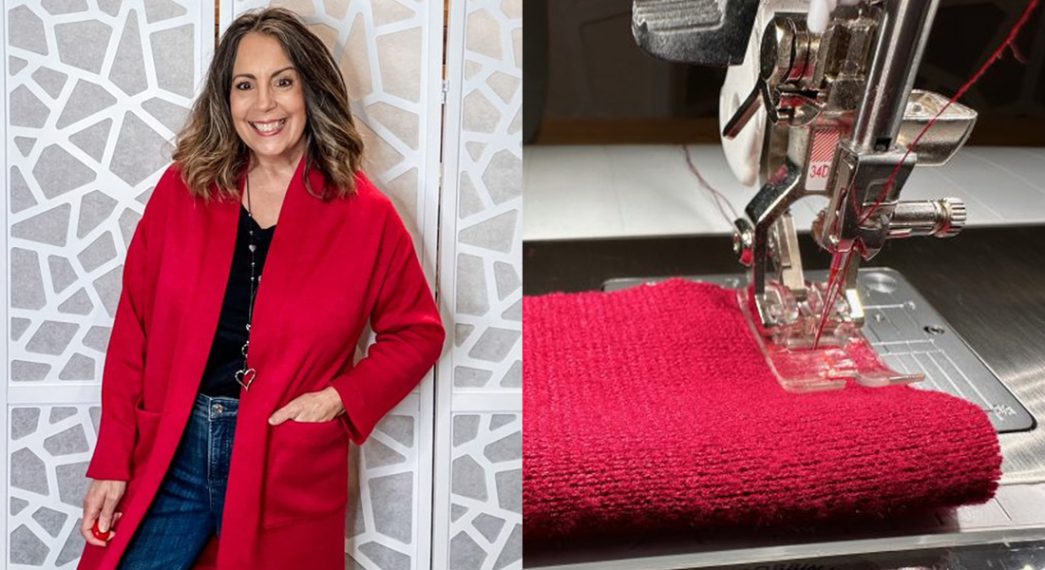
Style Arc Como Knit Cardi, Part Two
Welcome to Part Two of the Como Knit Cardi Sew Along! In Part One we discussed the pattern, sizing, ease, fabric suggestions, stitches and seam finishes, and went over the supplies needed for the sew-along.
In this blog post, the pattern pieces will be cut out, the pocket placement and darts marked, and construction of the cardigan will begin.
 Hello everyone! It’s Sharon from Sharon Sews. You can connect with me on YouTube, Instagram and Facebook, where I share sewing tips, projects, reviews, and fashion sewing ideas.
Cut Out the Pattern Pieces for the Como Knit Cardi
No cutting guideline is provided in the pattern instructions. Arrange the pattern pieces making sure they are on the straight of grain then pin in place, or use pattern weights. I like to place my larger pieces first and fill in with the smaller pieces to make sure everything fits before I begin cutting.
Lay out the pattern pieces in the same direction even if your fabric doesn’t visibly appear to have a nap. There can be very subtle directional differences that you might not notice until after the garment is sewn.
Be sure to place the pattern pieces so the greatest stretch of the fabric goes around your body. The Como Knit Cardi pattern pieces indicate the direction of the greatest stretch.

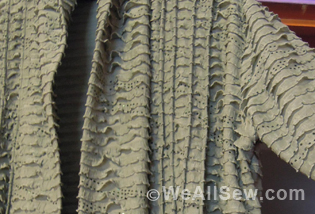
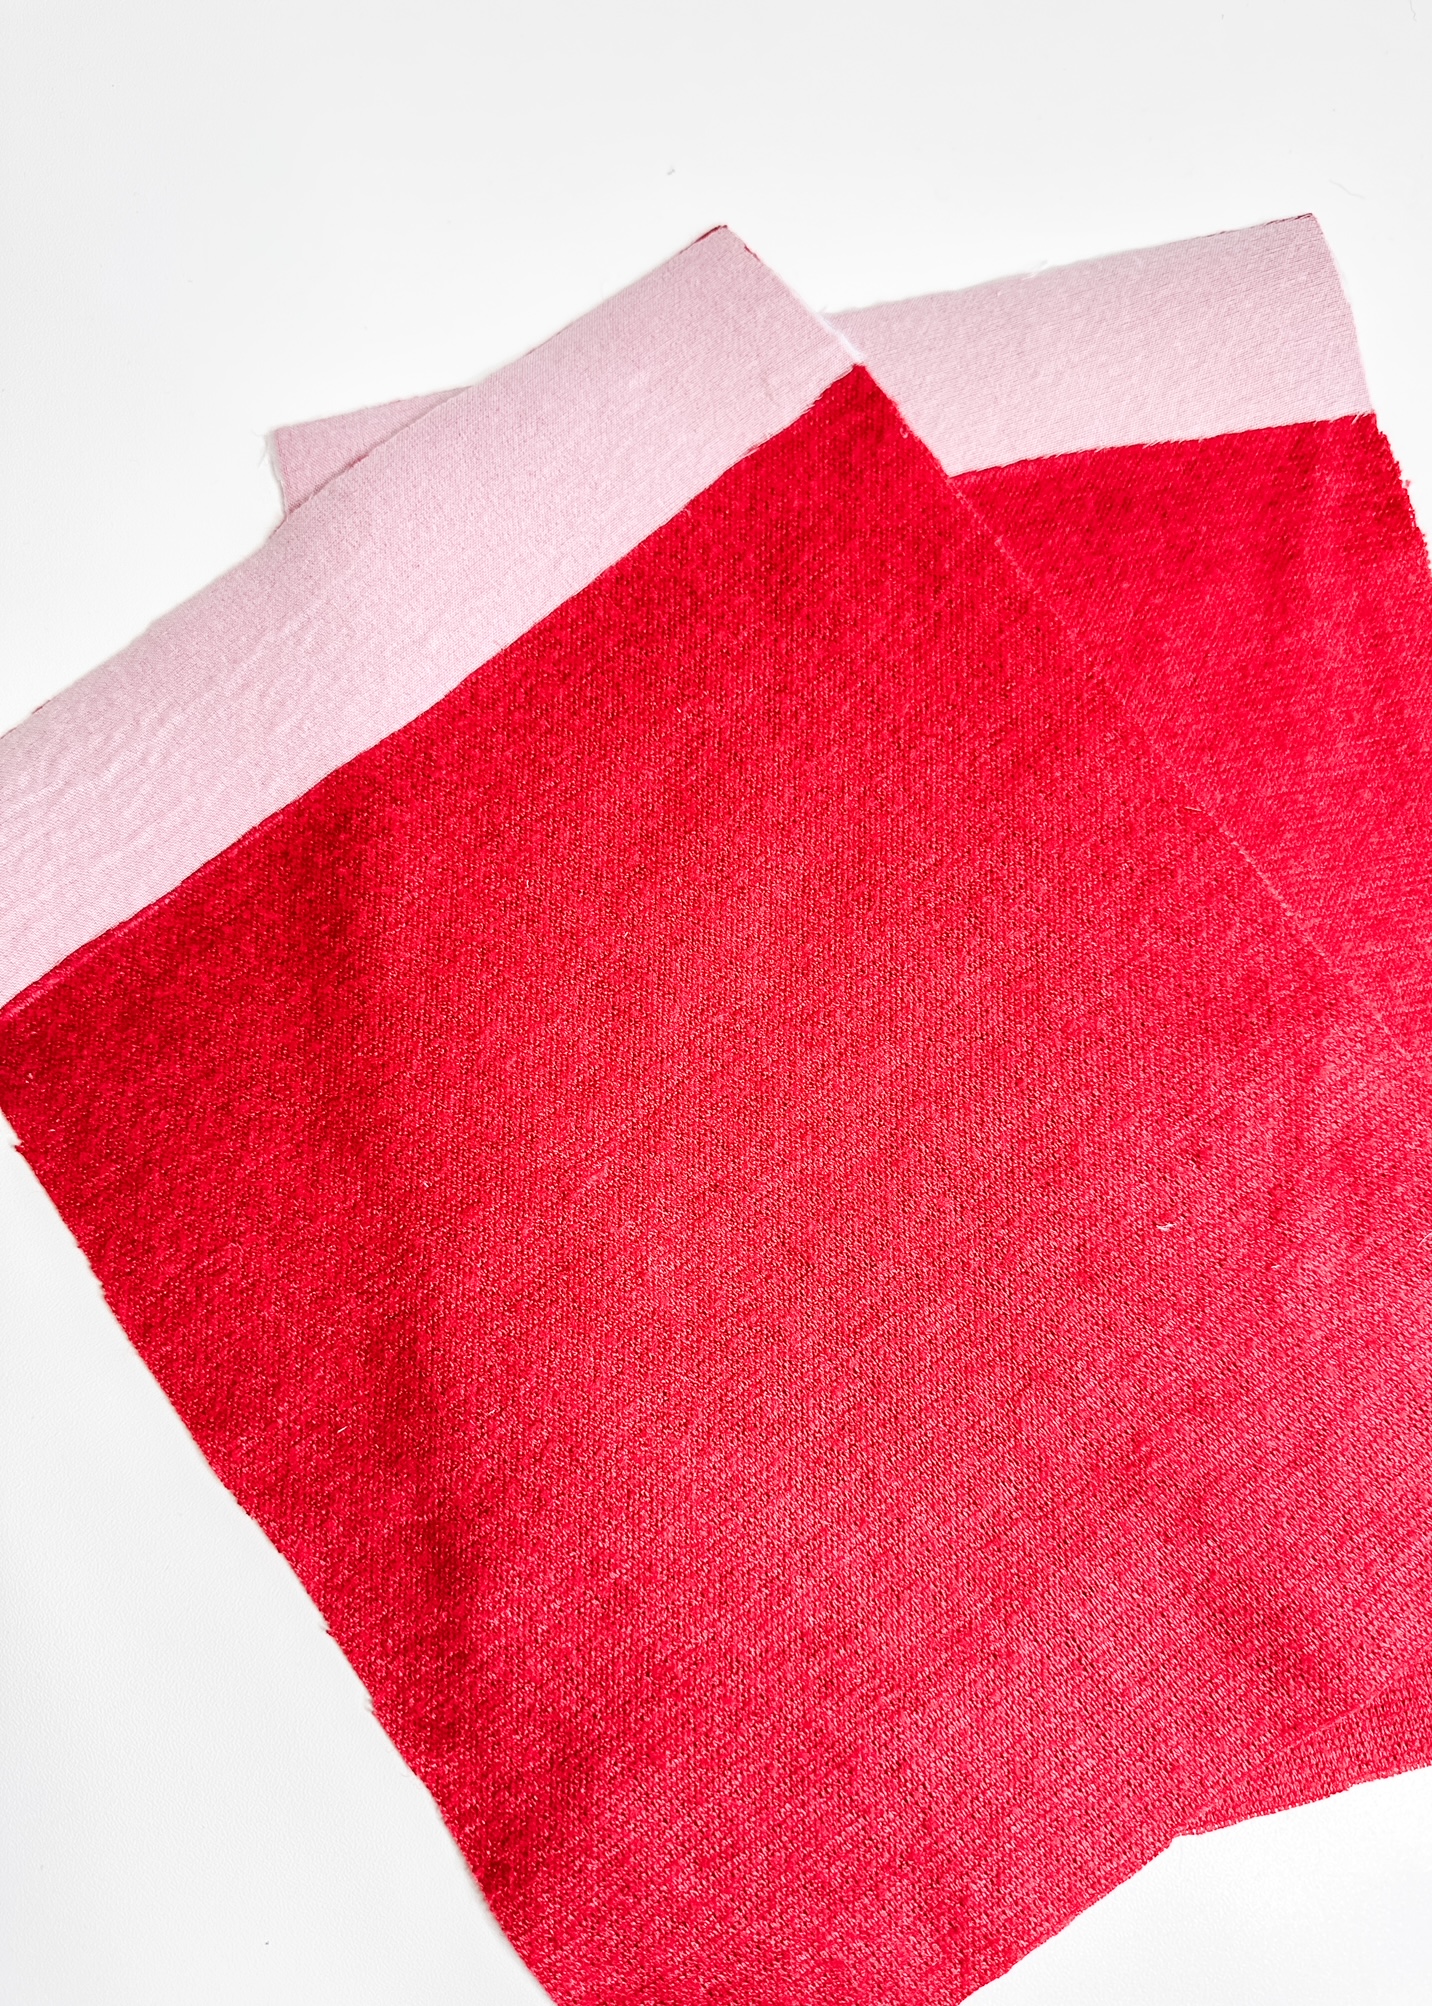
If you’re working with a sweater knit that has a print, or stripe, cut the pieces out single layer.
If your fabric does not fit entirely on the cutting surface, fold up the fabric at one end so it does not hang over the edge of the cutting surface as that can distort the knit fabric. Use pattern weights or pins to secure the pieces to the fabric.
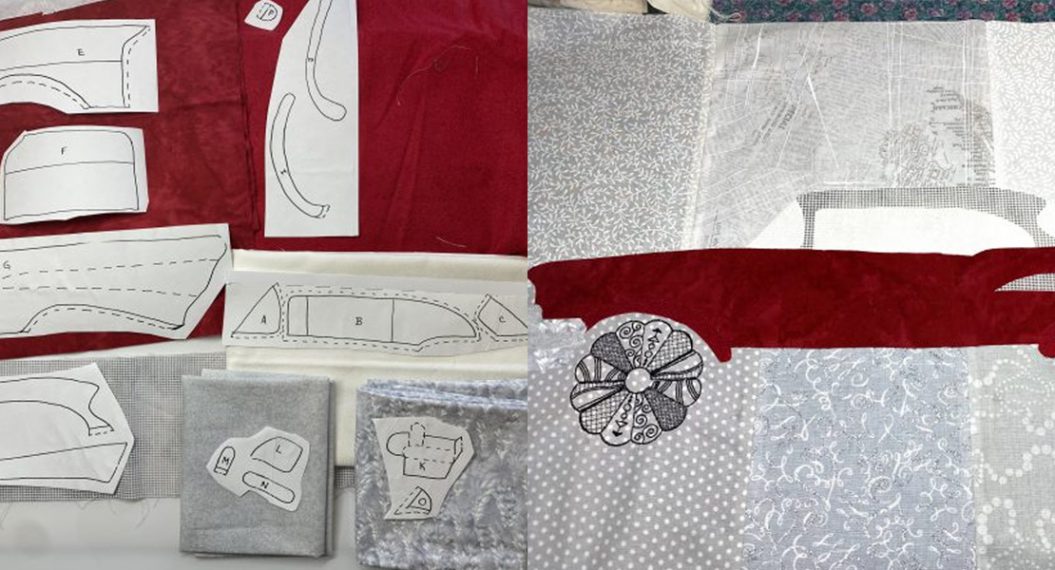
Pattern Piece Inventory
As mentioned in Part One, there are six pattern pieces for the Como Knit Cardi.
You will cut:
- 2 sleeves (piece #1)
- 1 back on the fold of the fabric (piece #2)
- 2 fronts (piece #3)
- 2 front bands cut on the fold (piece #4)
- 1 back neck band (piece #5) and
- 2 pockets (piece #6)
Cutting the Notches
It will be important for all of the notches to be clearly marked when constructing this cardigan. You can make a small 1/4″ snip into the seam allowance, or cut the notches outward. Because the seam allowance is only 3/8” I cut my notches outward.

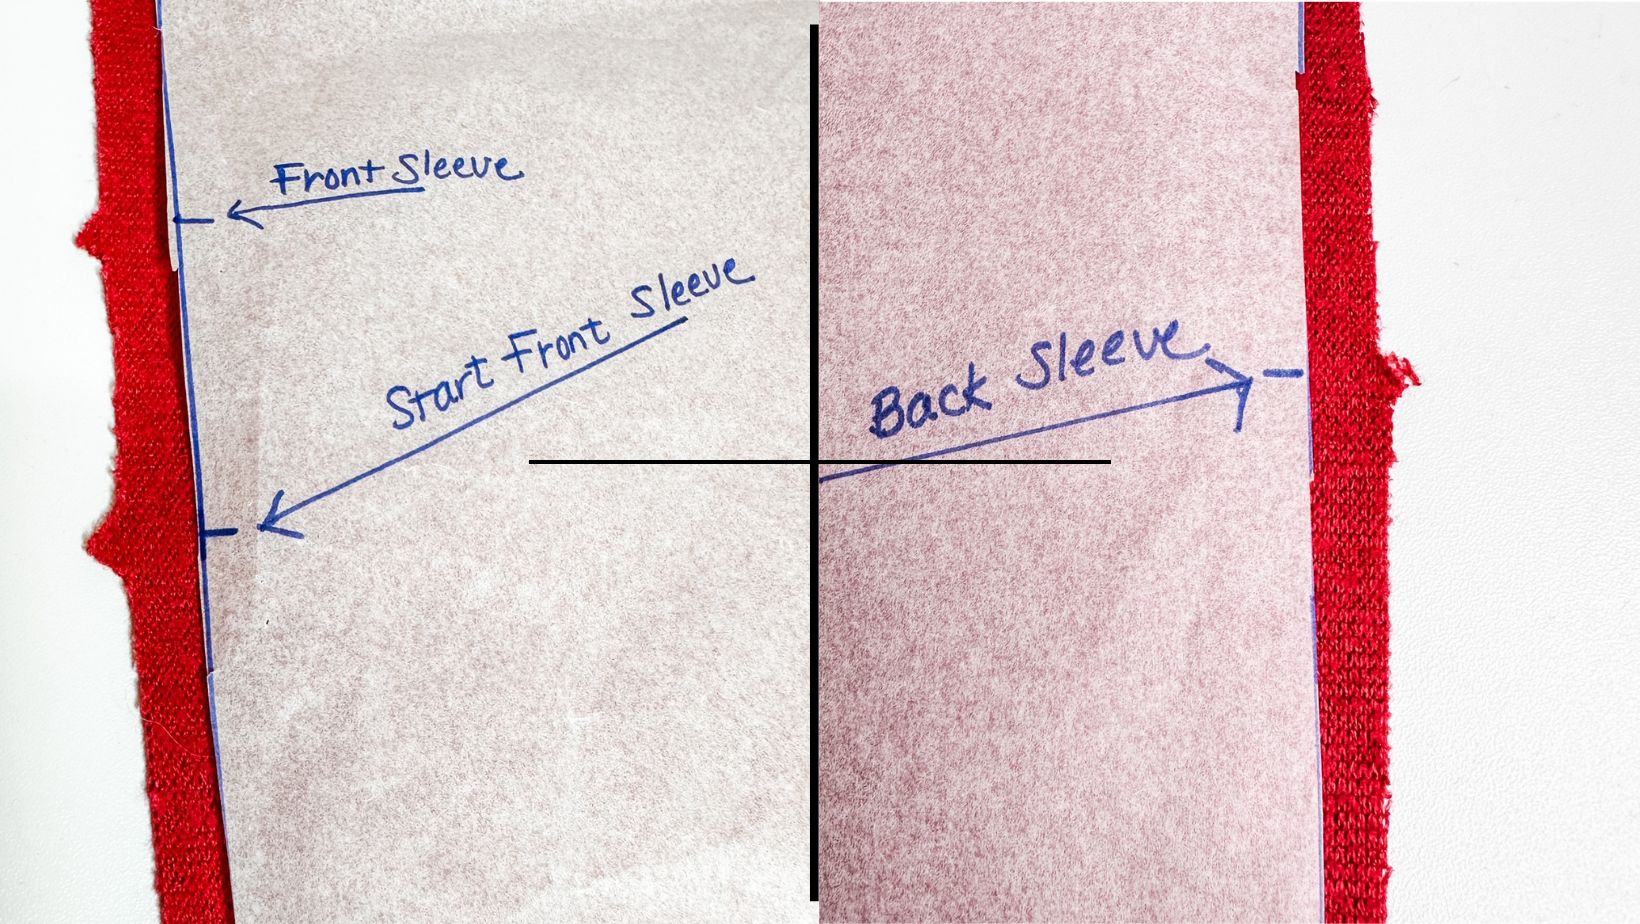
The sleeve notches on the front and back pattern pieces will be important when it is time to add the sleeve to the cardigan.
Before removing the pattern pieces from the fabric, the pocket placement and the shoulder dart need to be marked.
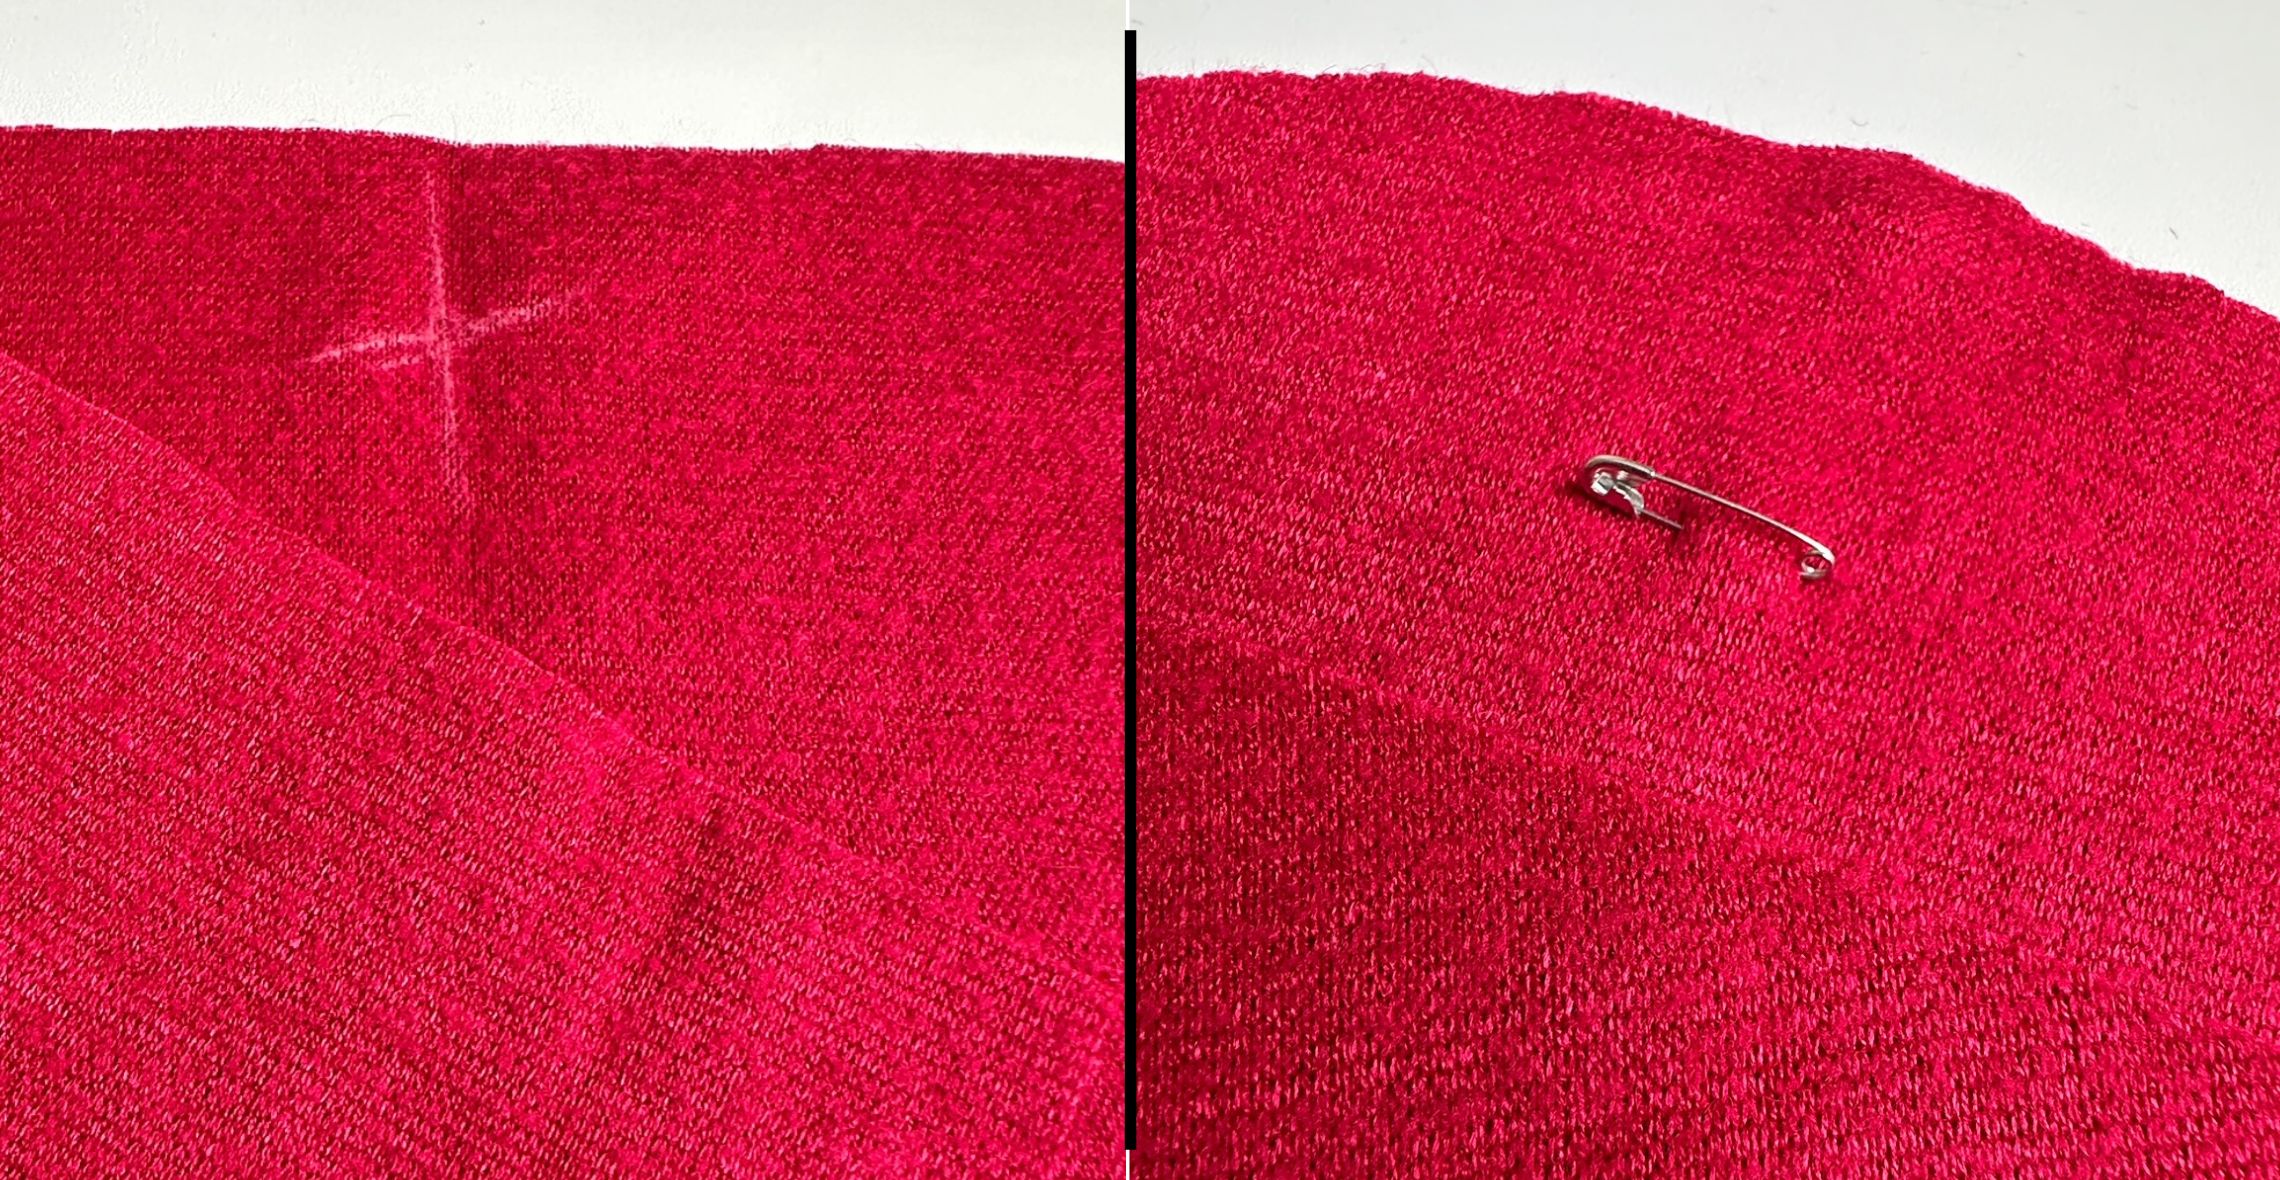
When you do remove the pattern pieces, if your fabric looks very similar on both sides be sure to mark the wrong side before you begin construction. Either make a mark on the wrong side with chalk or use a small safety pin.
Mark the Pocket Placement with a Tailor’s Tack
I find it easiest and most accurate to use a tailor’s tack to mark the placement of the pockets, but you can use another method if you prefer.
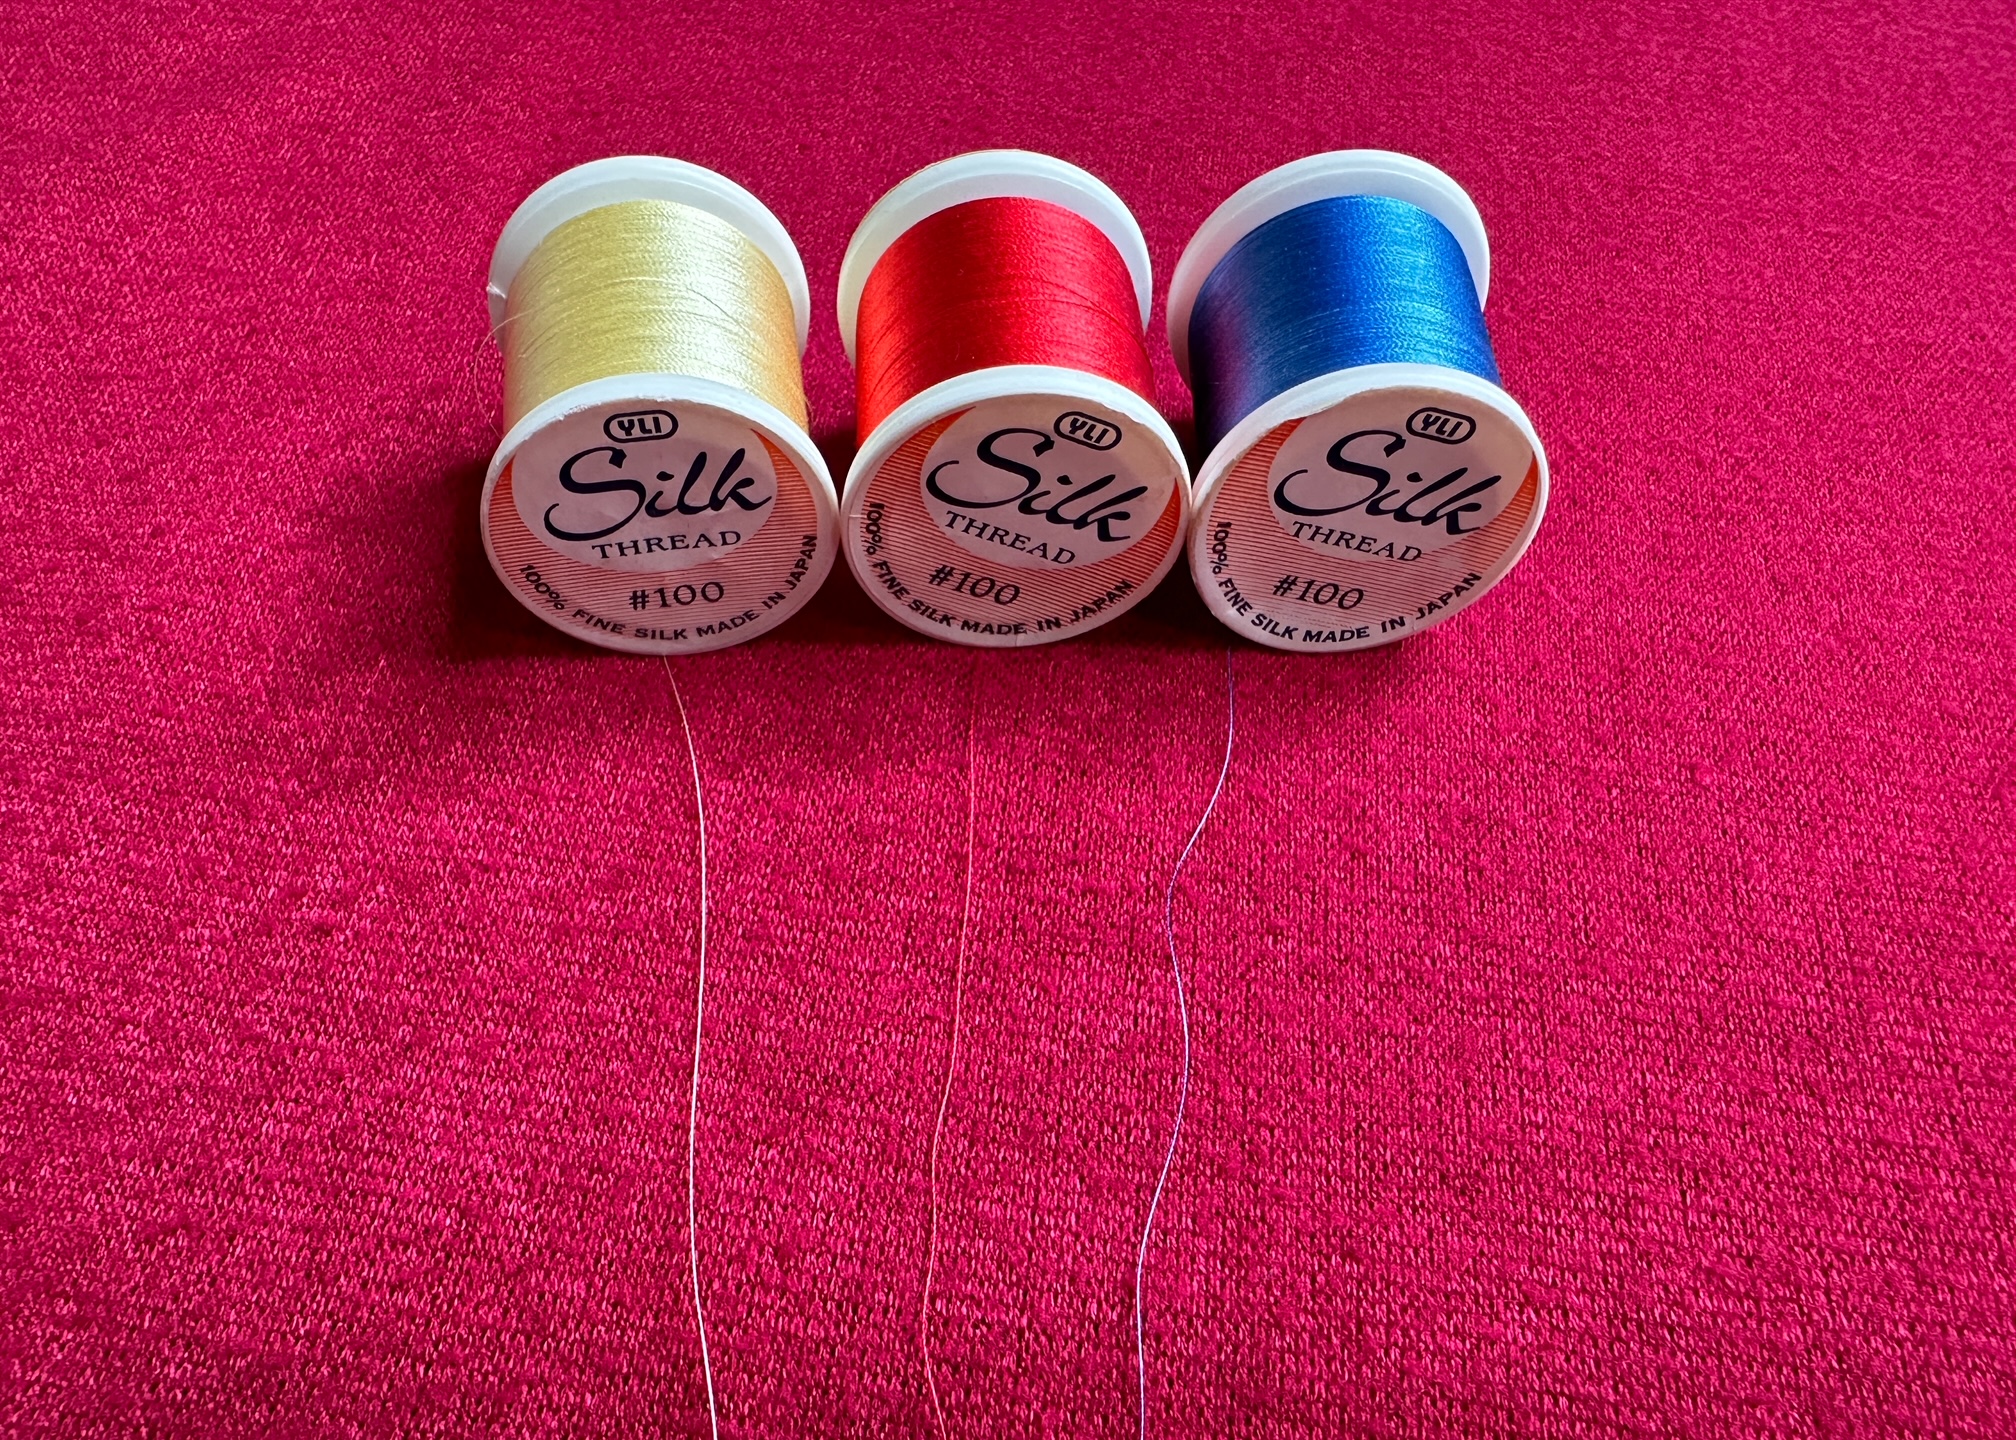
To make a tailor’s tack, thread a hand sewing needle with a double strand of thread in a contrasting color. You want the thread to be seen easily as it will be removed later. Do not knot the end of the thread. I keep silk thread on hand for making tailor’s tacks as it removes easily from the fabric. You can use other thread, including embroidery floss, depending on your fabric and what you have available.
On the front pattern piece, place the needle at the mark for one top edge of the pocket and take a stitch through all layers – the pattern piece and the two pieces of fabric. Be sure to leave a thread tail of at least 1″. Sometimes I leave the thread tails longer and trim when I’m done.
Take another stitch, placing the needle in the same hole as the first stitch going through all layers. As you pull the needle up leave a loose loop, and long thread tails at the other end. Cut and remove the hand sewing needle.
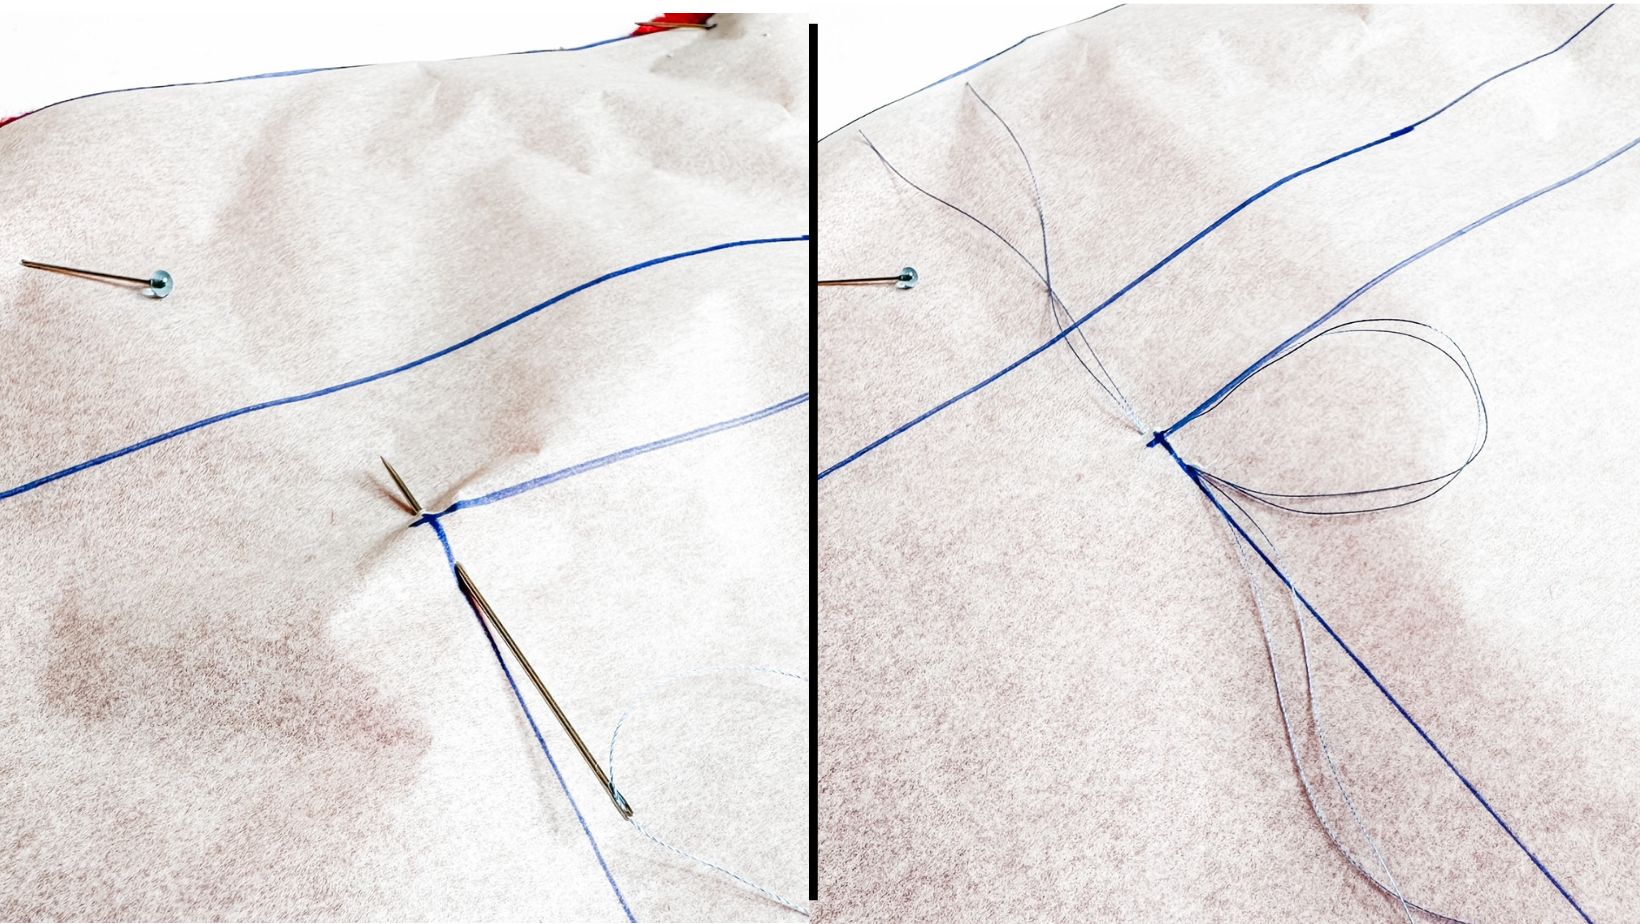
Using small scissors, cut the thread loop in the center. The tailor’s tack now has multiple threads. Continue adding tailor’s tacks to mark the placement of the pocket, adding another on the other top edge, one at the center of each side seam of the pocket, and one at lower edge of the pocket.
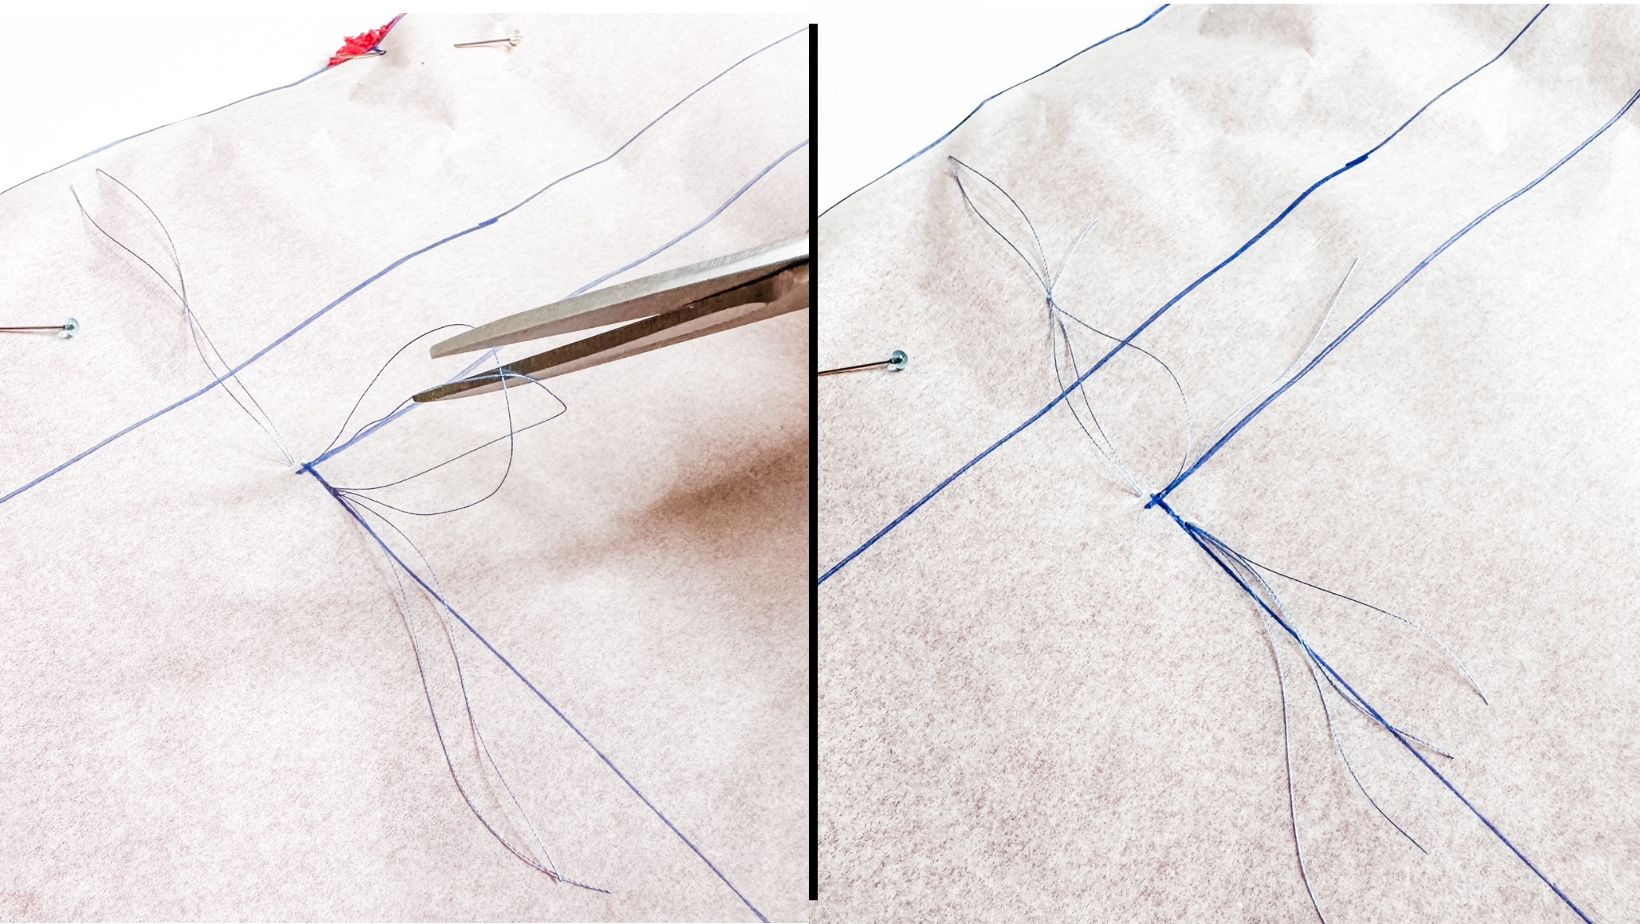
Fold back the pattern piece, removing the thread from the pattern piece but not from the fabric.
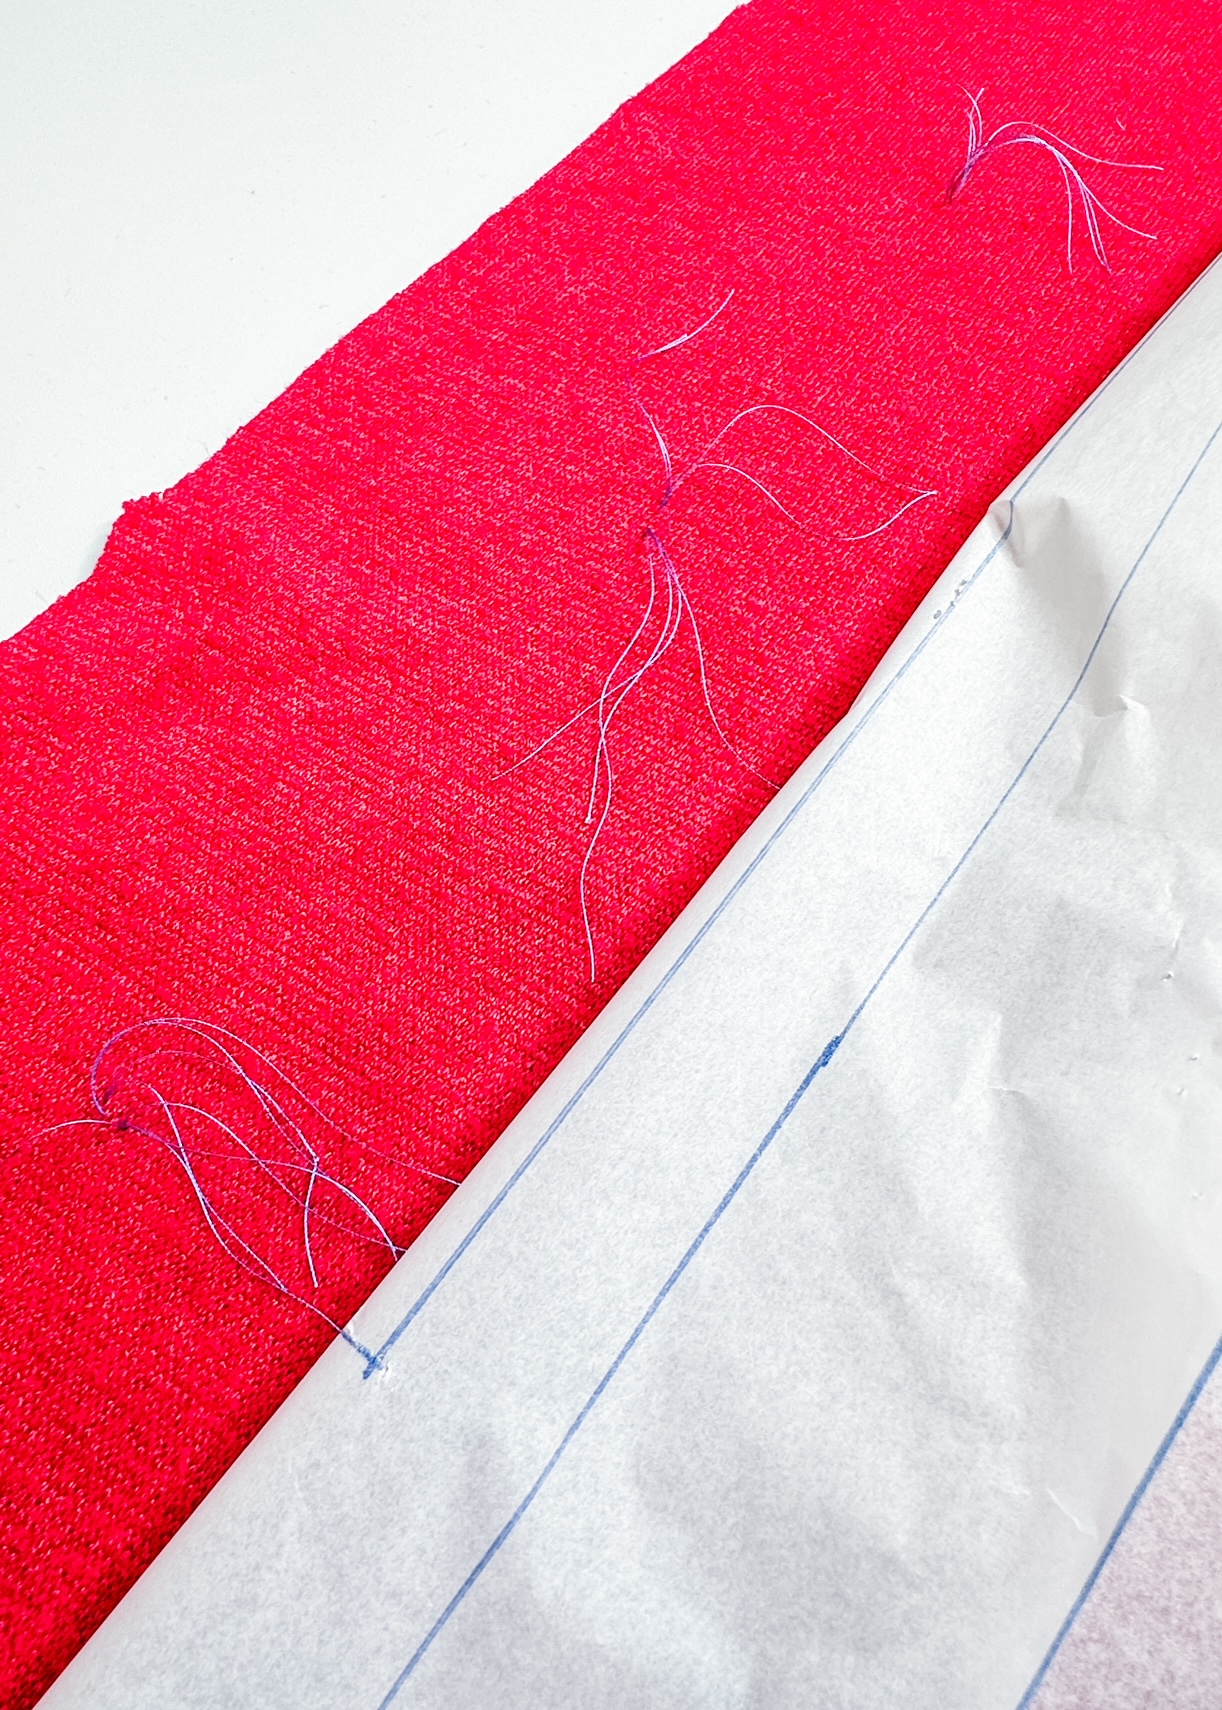
Gently separate the two fabric layers just enough to expose the threads, then snip the threads in the center using a small scissor.
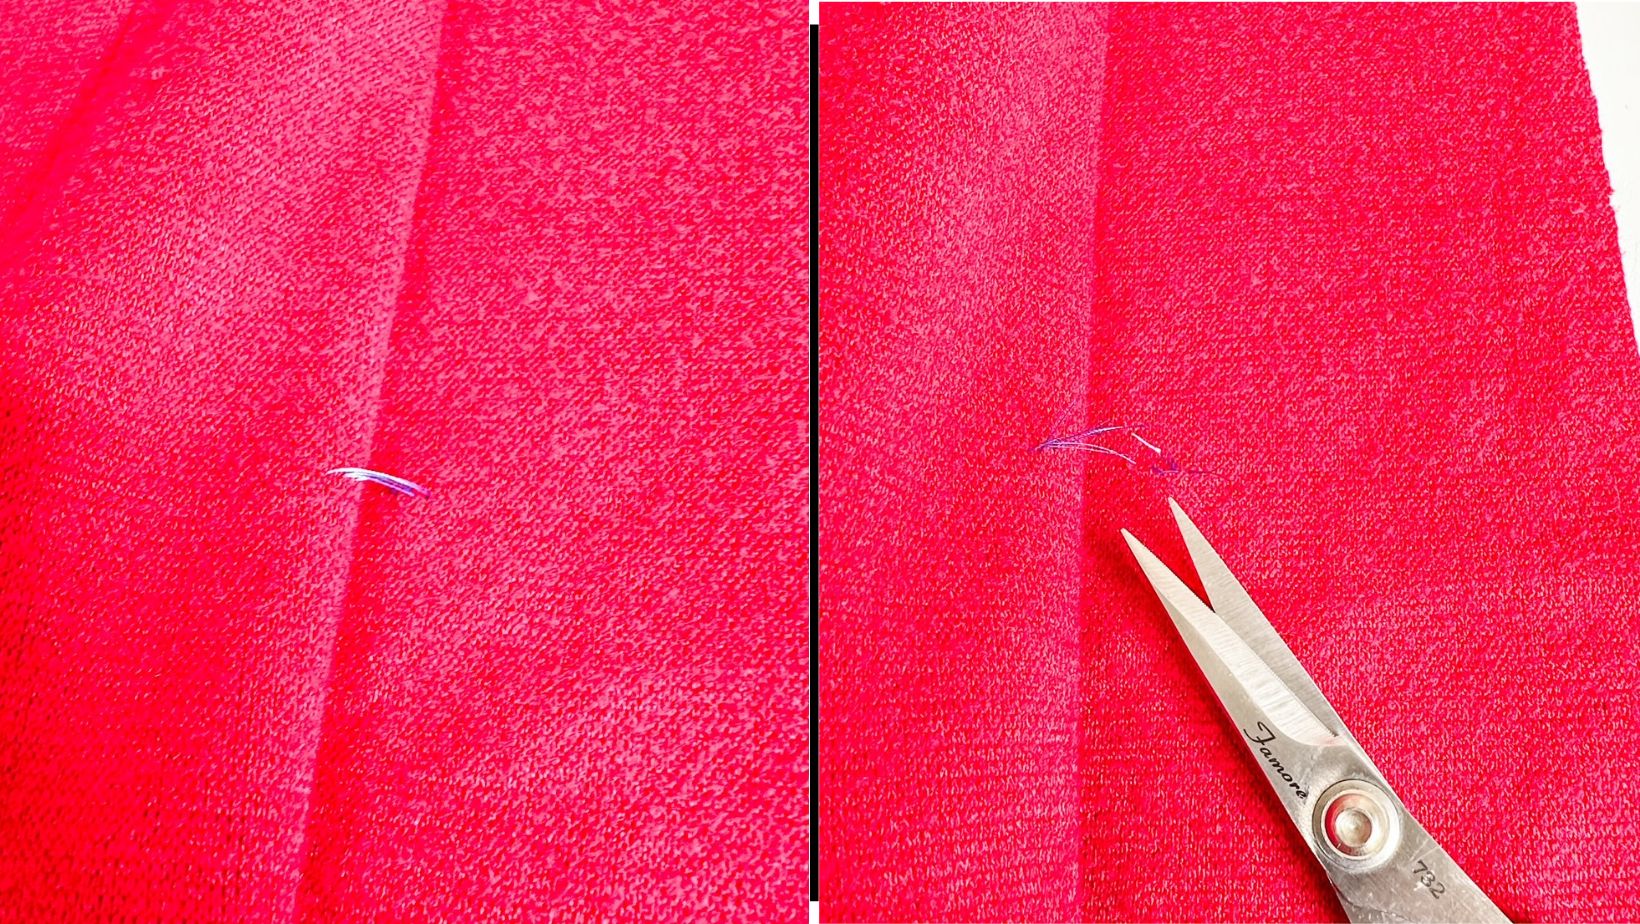
Set the fronts aside as you prepare the pocket.
Prepare and Sew the Pocket
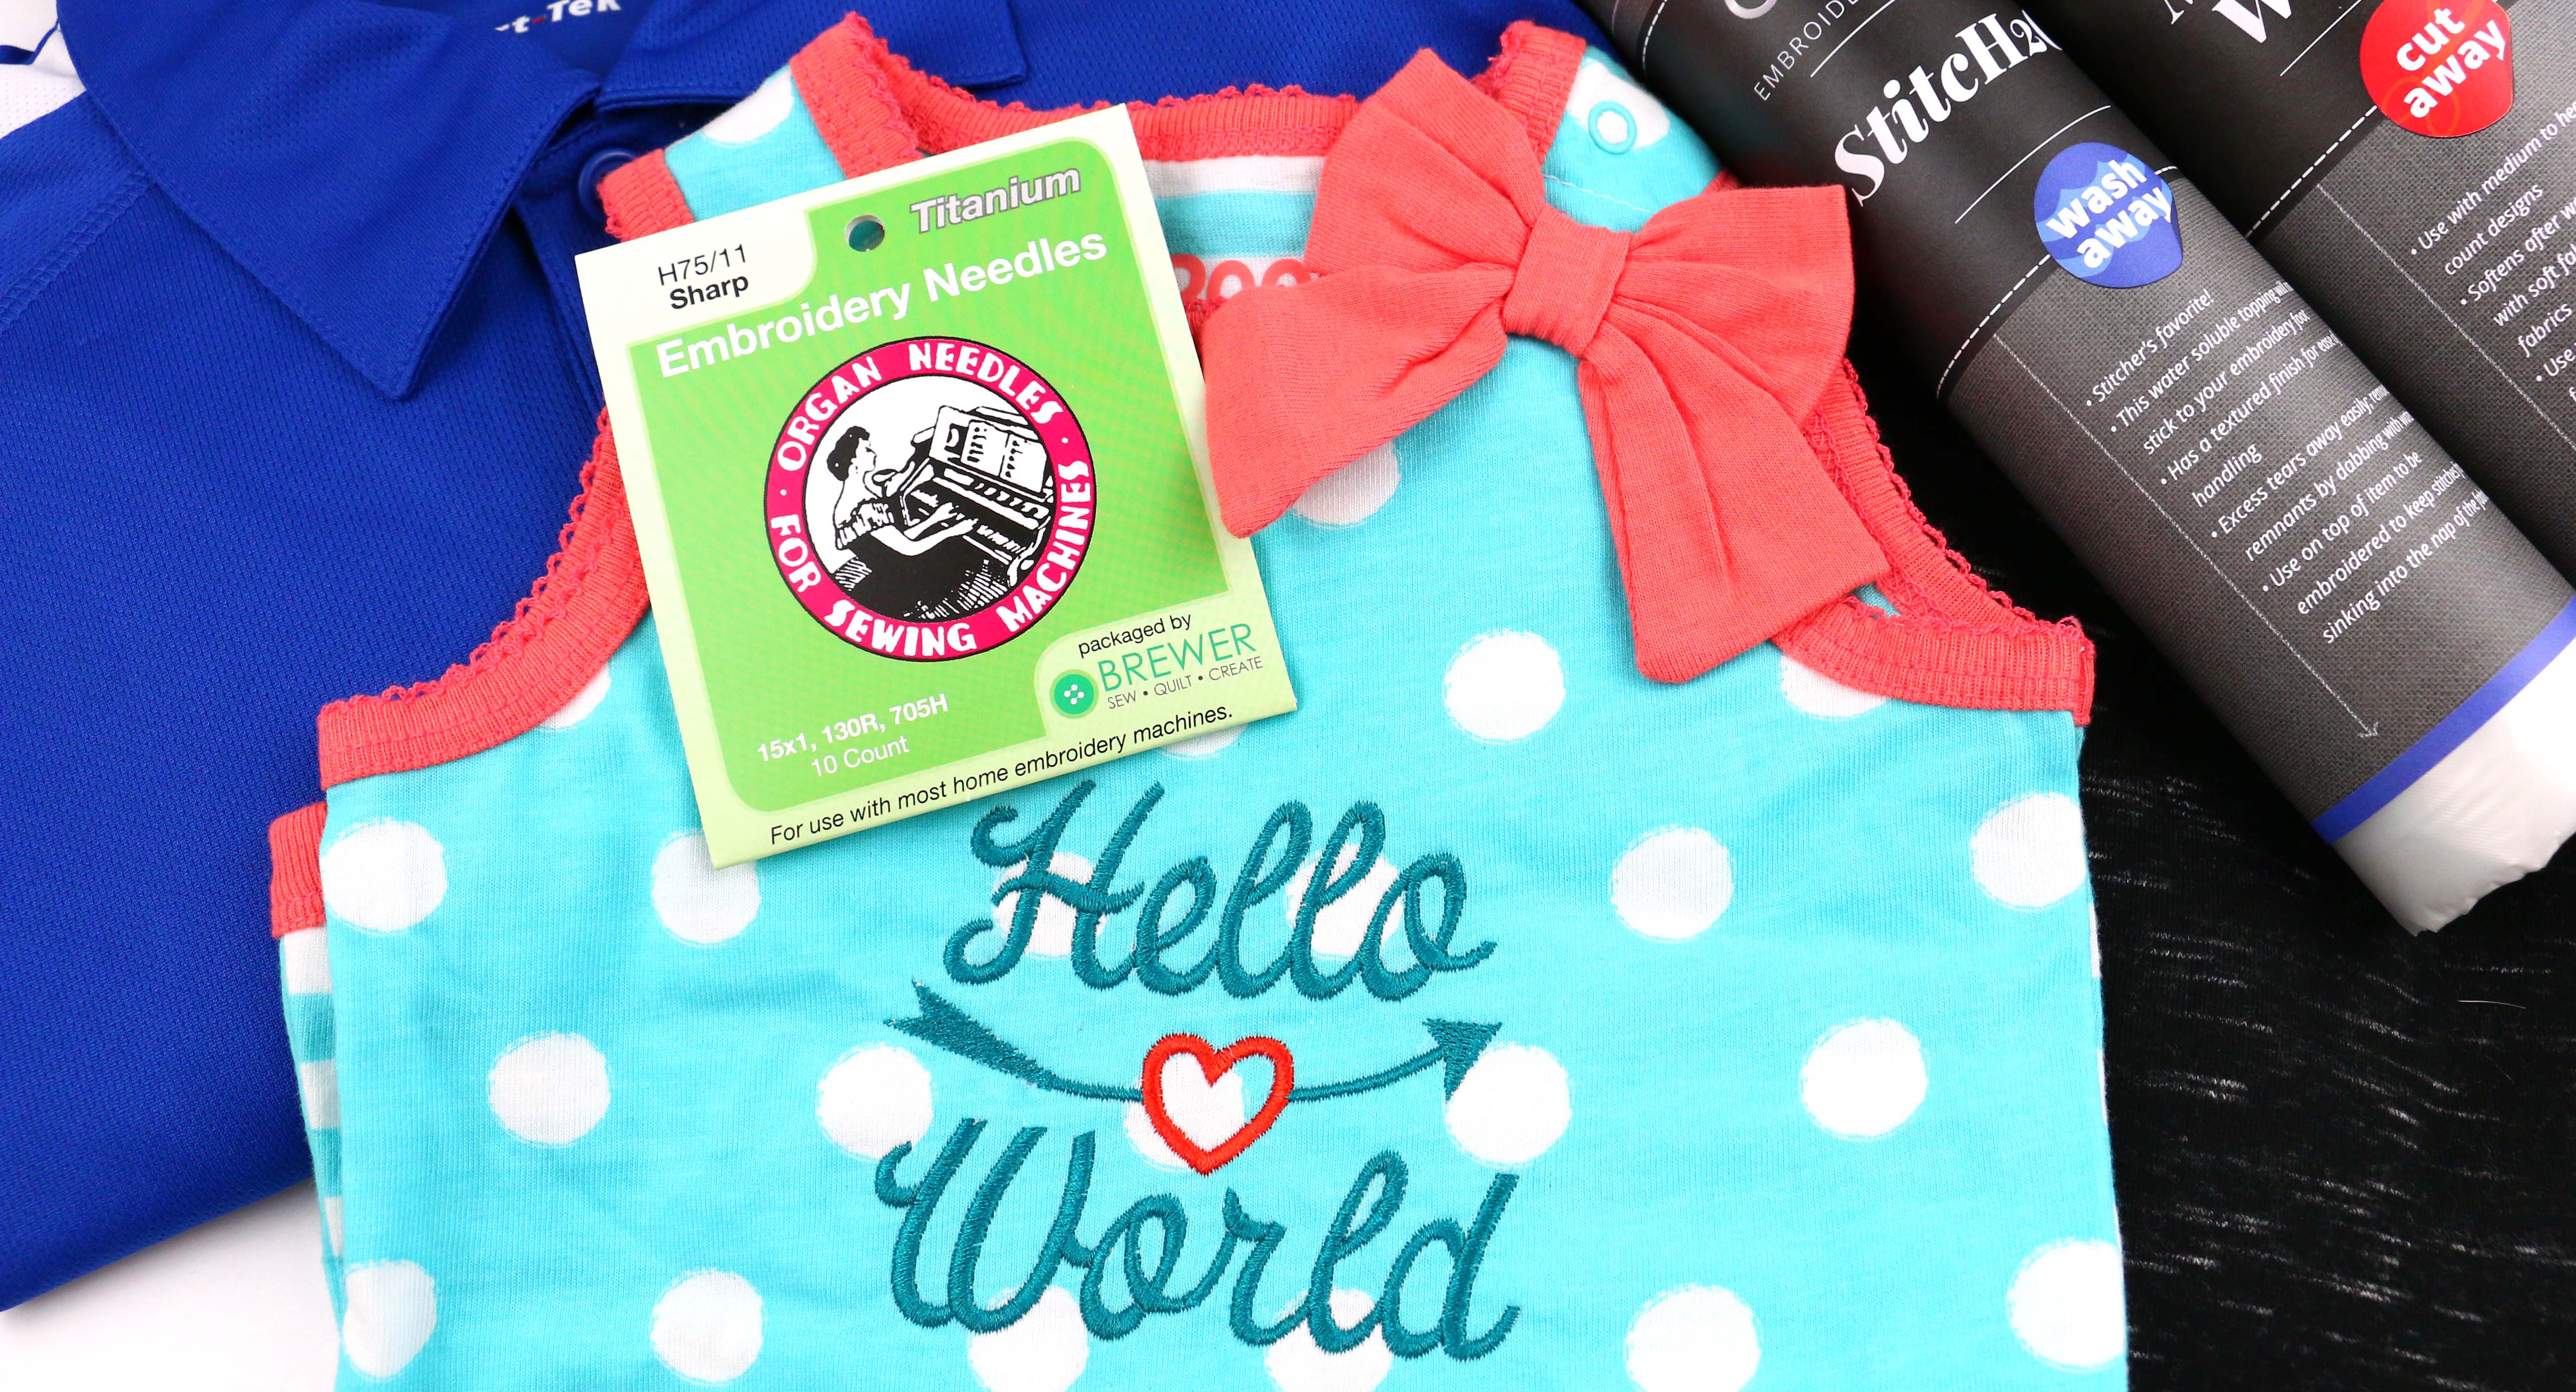
While interfacing is not suggested in the instructions for the pattern, I like to add some to the top of knit patch pockets to provide a little structure. Cut two pieces of lightweight interfacing measuring 1-1/2″ x 8″ each. Following the manufacturer’s instructions, apply to the wrong side of the top of each pocket.
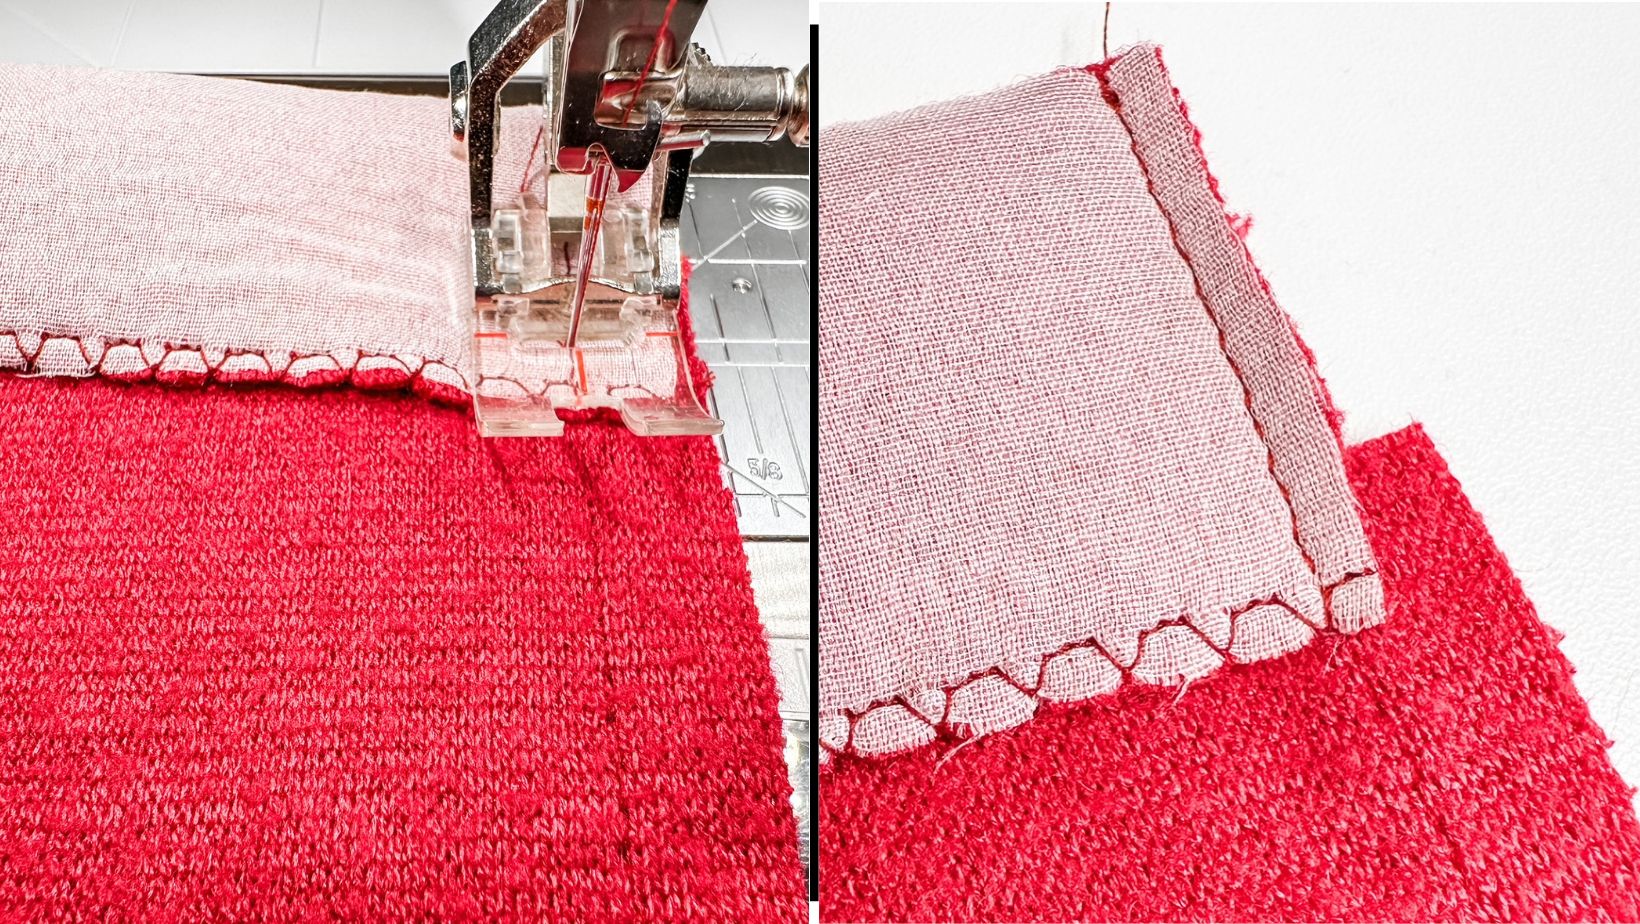
Finish the top edge of each pocket using your preferred method. I used the Overlock Foot #2A and the #3 overlock stitch on my BERNINA 770 QE PLUS.

Fold the top edge of the pocket along the marked fold line right sides facing. Stitch 3/8″ from the edge, backstitching at the start of the seam. Continue stitching 3/8″ along all three edges, backstitching at the end. The stitches will be used as a guide for pressing the pocket edges, and also help keep the knit pocket from stretching out of shape.
Trim the seam allowance at the top edge, leaving about a 1/2″ of the pocket fabric at the full seam allowance as shown.
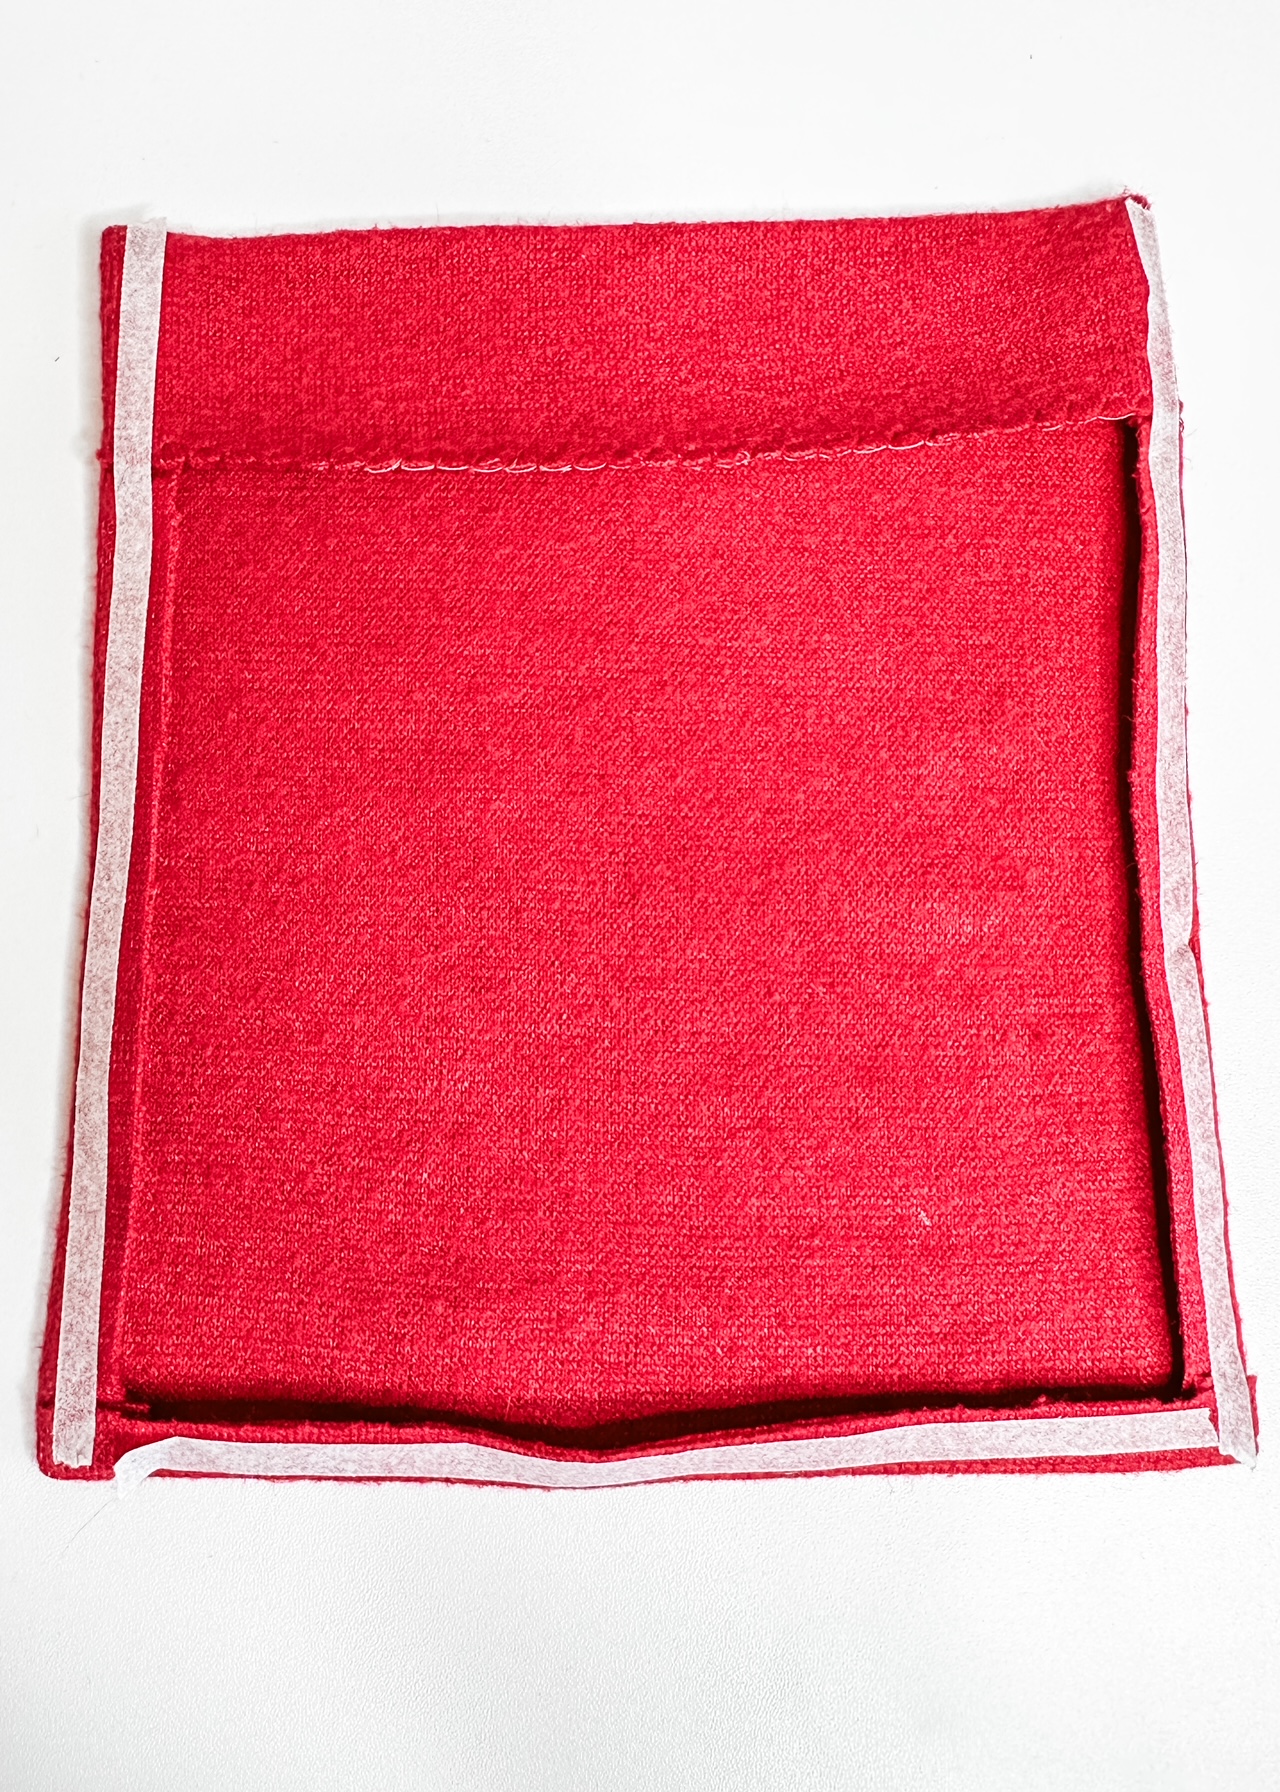
Turn the pocket facing right side out and press lightly. Press all three edges to the wrong side along the seam line.

Apply Steam-A-Seam to the Pocket
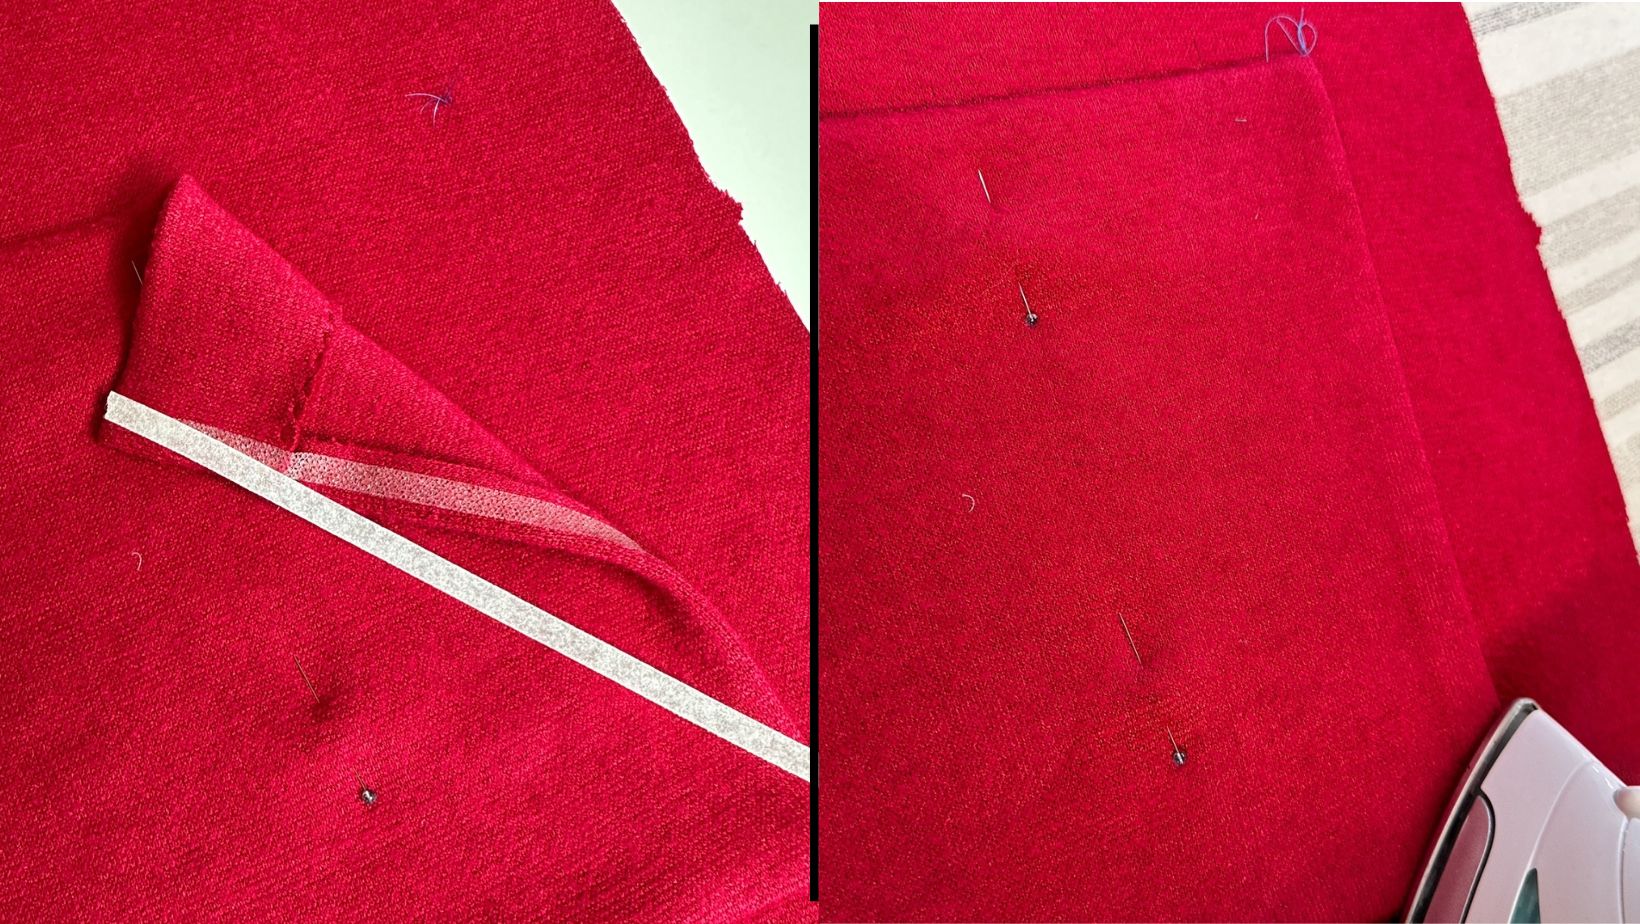
I like to use 1/4″ Lite Steam-A-Seam 2 tape to hold my pockets in place before I stitch them to the garment. If you’re not familiar with that product, it is a double sided fusible web tape that you place between two layers of fabric to fuse them together when pressed. It comes on a roll with one sticky side and the other covered with paper.
With the pocket wrong side up, finger press a strip of Steam-A-Seam along three edges. Do not remove the paper backing yet Lightly press. If you press too long or too hard it will be difficult to remove the paper backing.
Place the wrong side of the pockets on the right side of the cardigan fronts, aligning the top and sides with the tailor’s tacks.
Remove the paper backing from the fusible web tape, finger press the pocket to the cardigan front, then lightly iron to fuse the two together. A couple of pins in the center of the pocket will help ensure the pockets do not shift while you’re fusing them to the cardigan front.
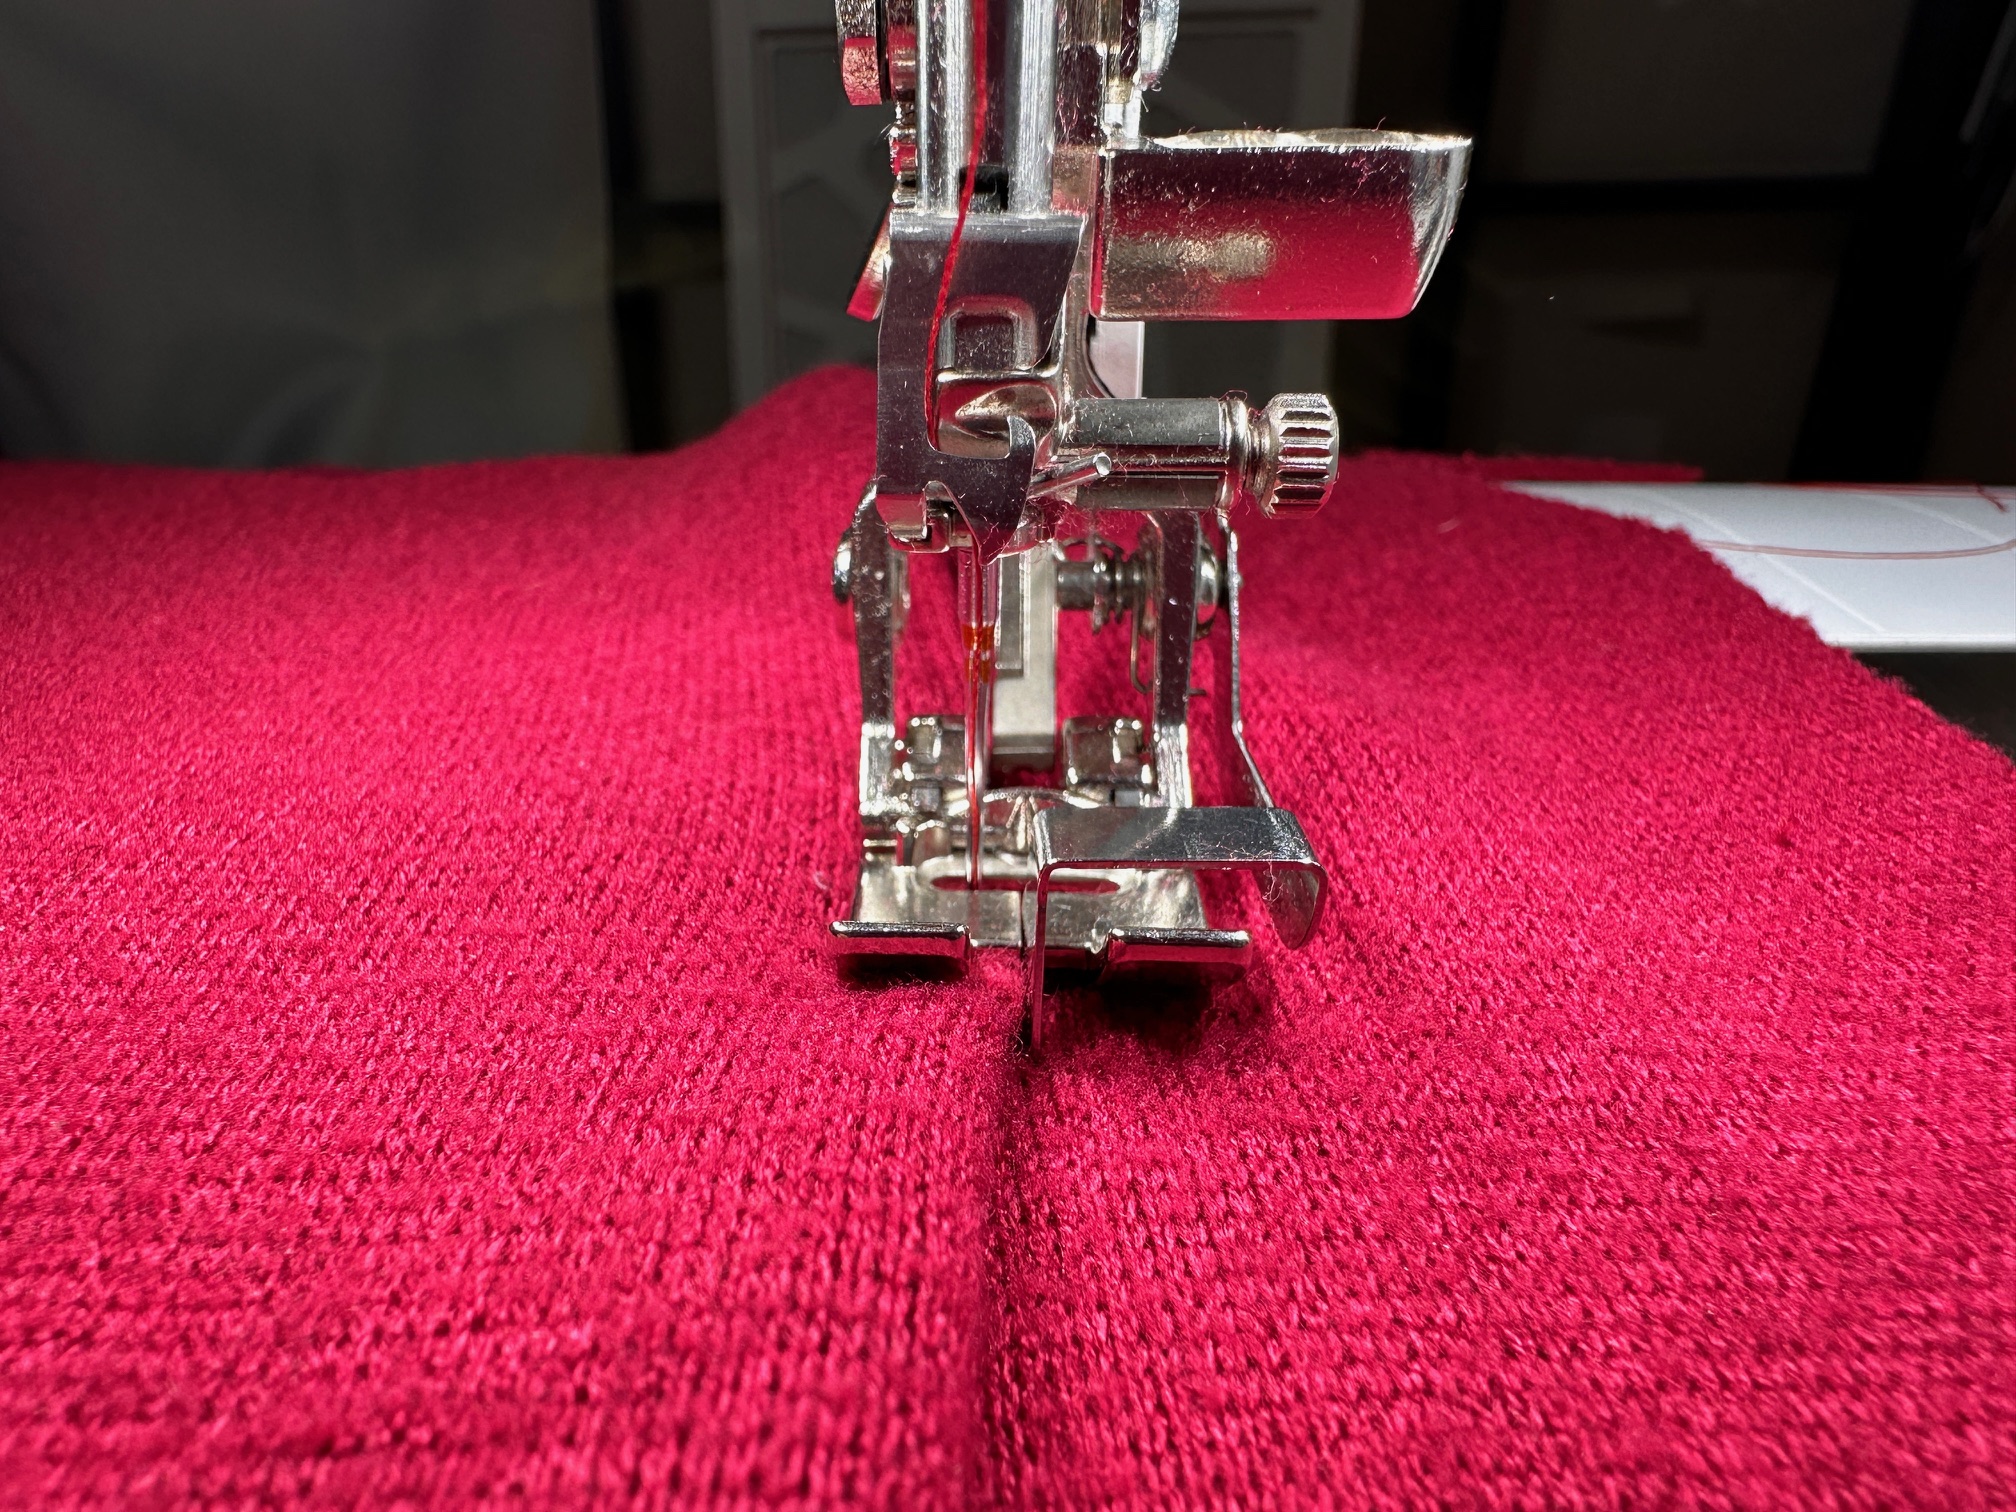
Attach the EdgeStitch Foot #10D to stitch the pockets to the cardigan. Align the guide against the left edge of the pocket, set the needle position to -5, and stitch around all three pocket edges. Be sure to back stitch at the start and end of the stitching.
Mark and Sew Shoulder Darts on the Como Knit Cardi
Mark the shoulder darts using a removable marking tool. Chalk from a Chakoner was my preferred method, but tailor’s tacks would also work well.
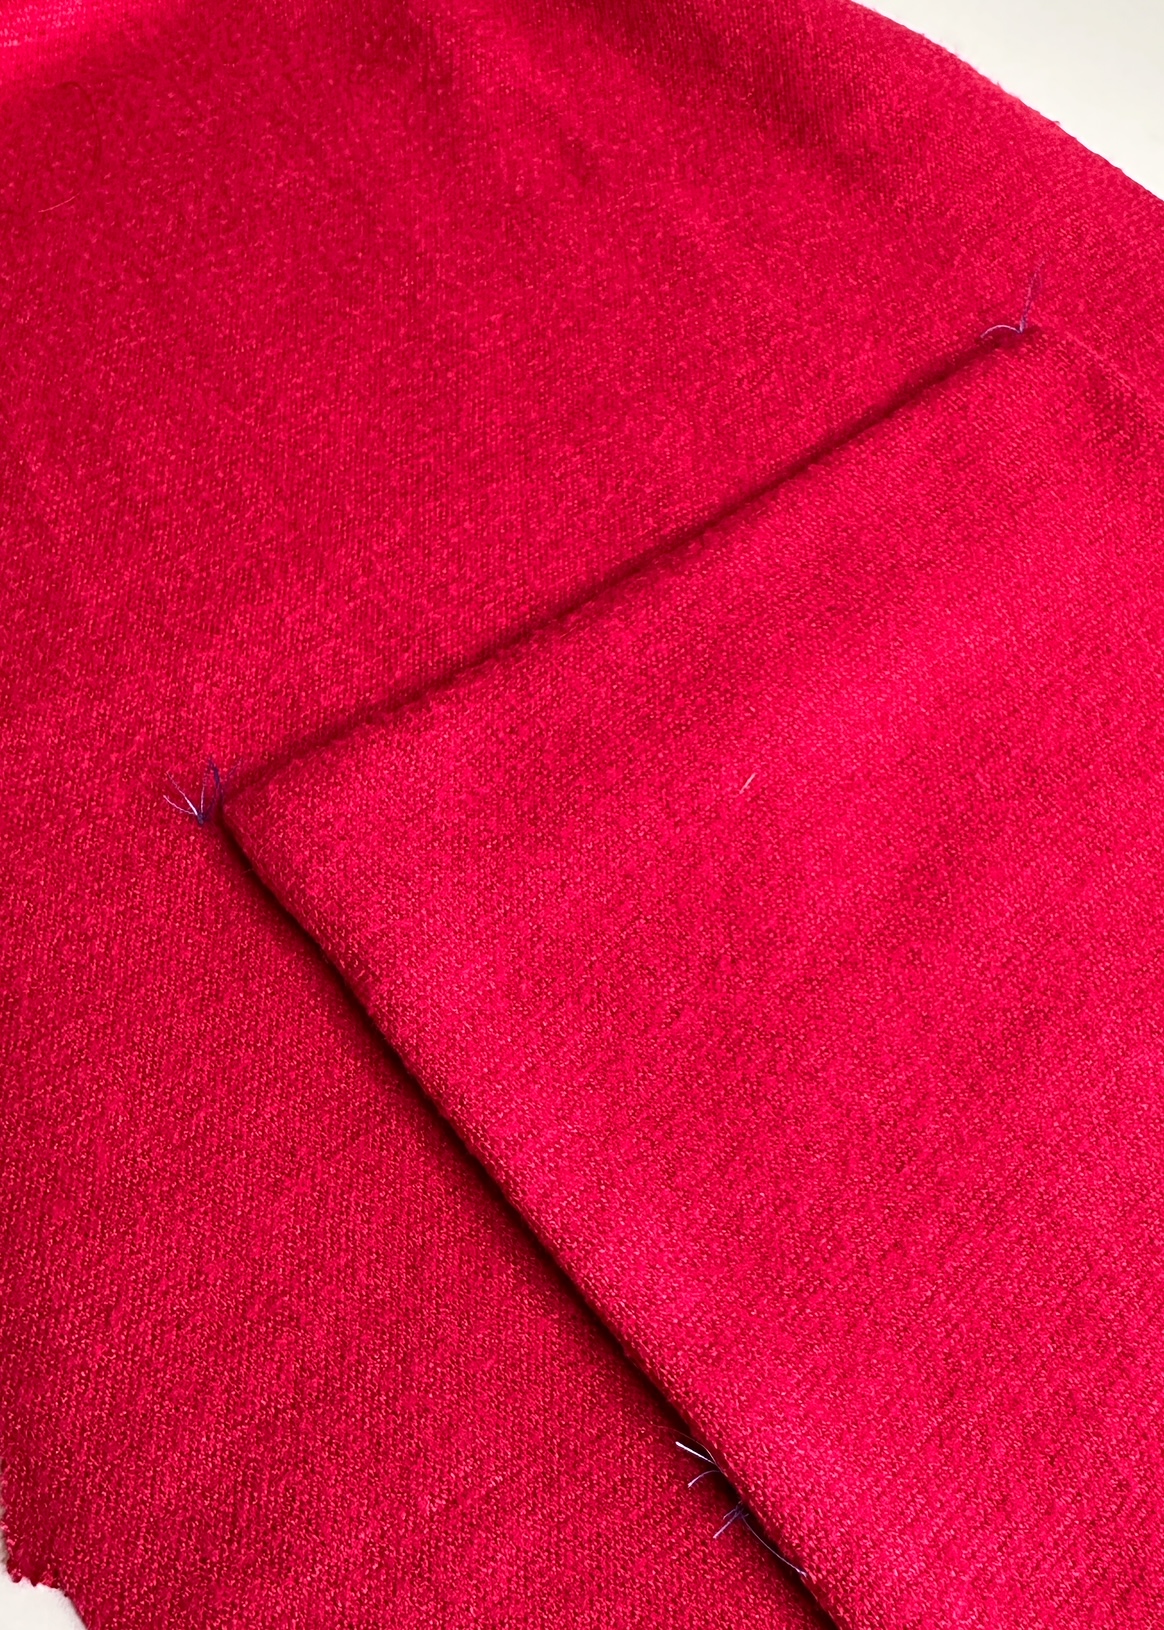
To sew the darts, fold the fabric with right sides together matching the marked lines and pin.

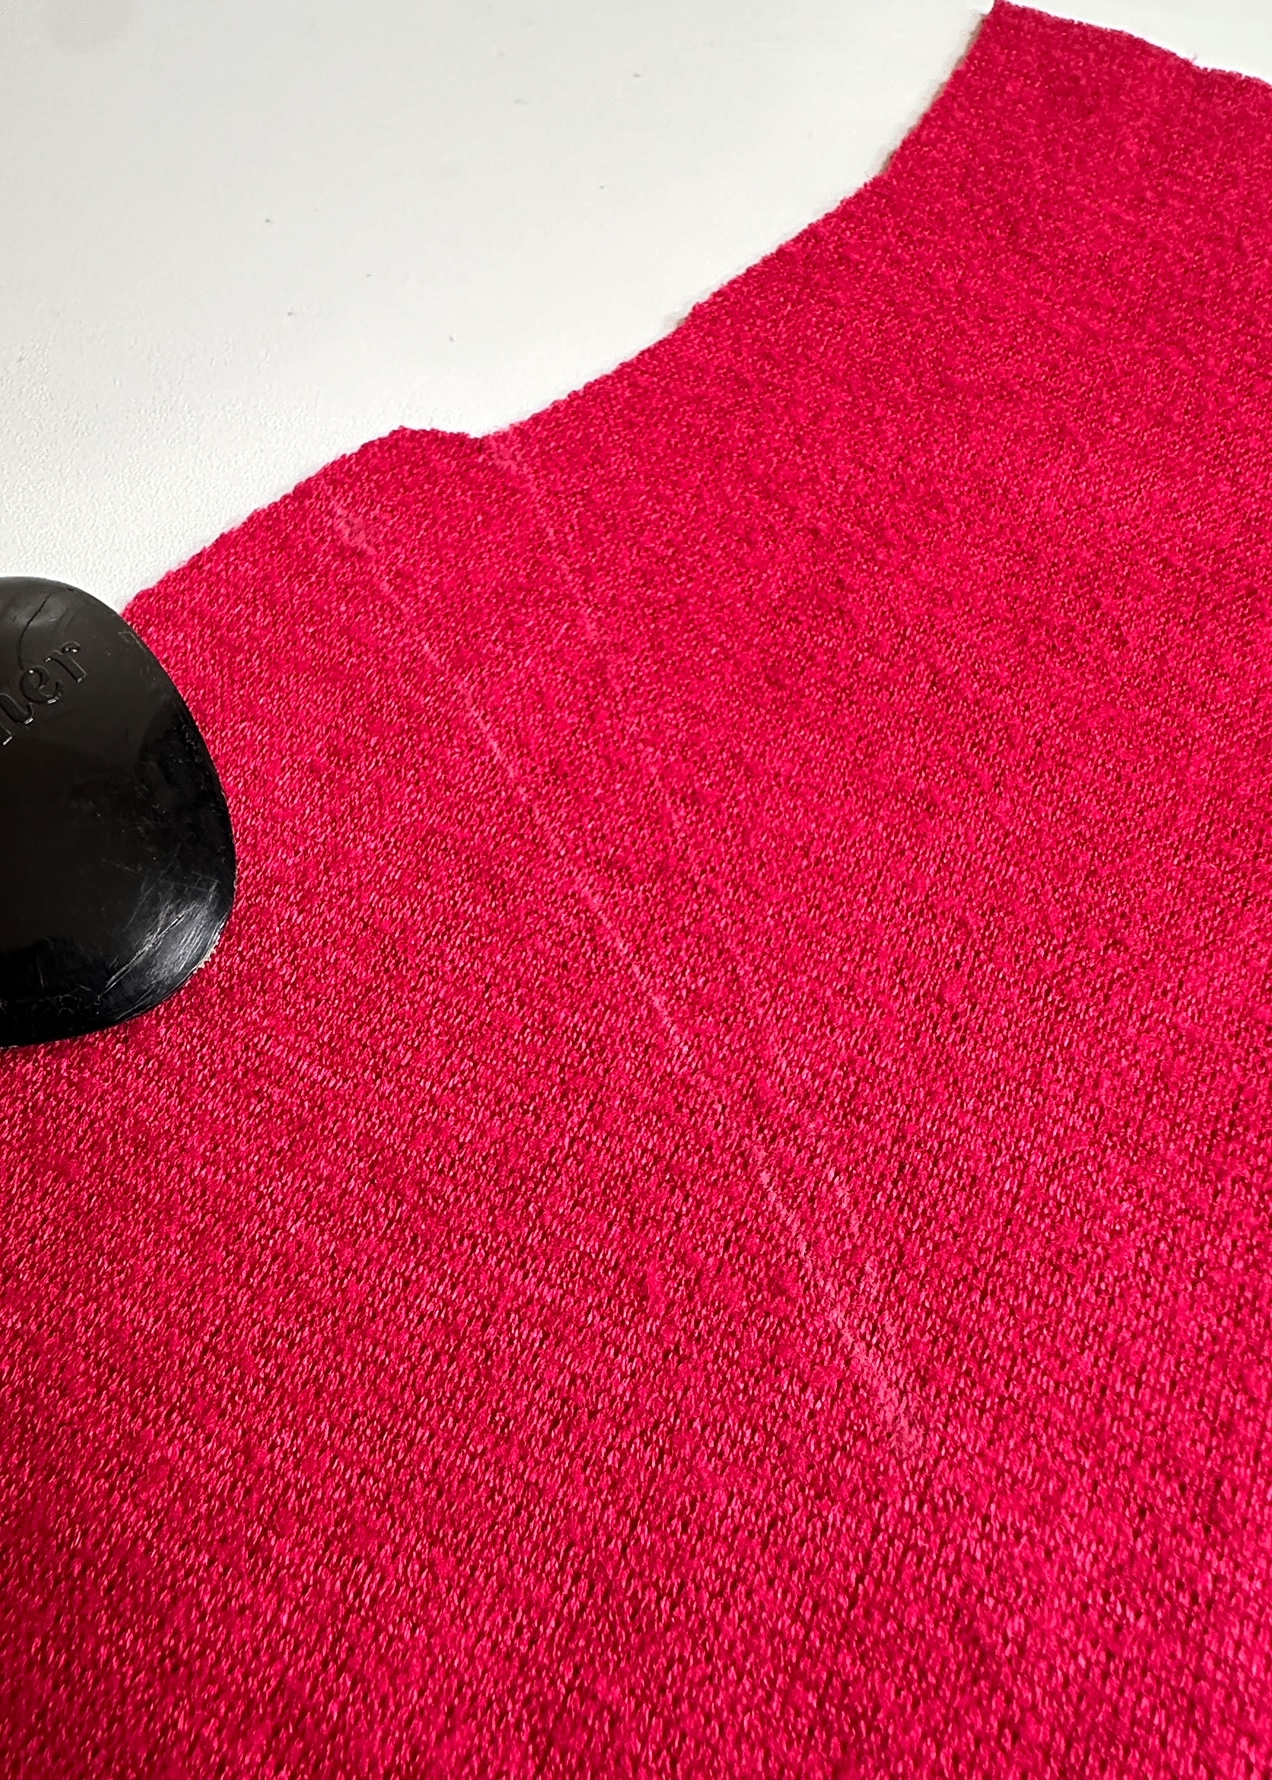
Start stitching at the edge of the fabric (remember to backstitch) following the marked line. Continue stitching to the very end of the dart and stitch off of the fabric. Do not backstitch at the end of the dart as that can cause the dart to pucker at the tip. Instead, when you remove the fabric from the sewing machine keep long threads and tie a knot. Trim the threads close to the knot.
Press the shoulder dart towards to back. The back is identified by the two notches.
Sew the Back Yoke of the Como Knit Cardi
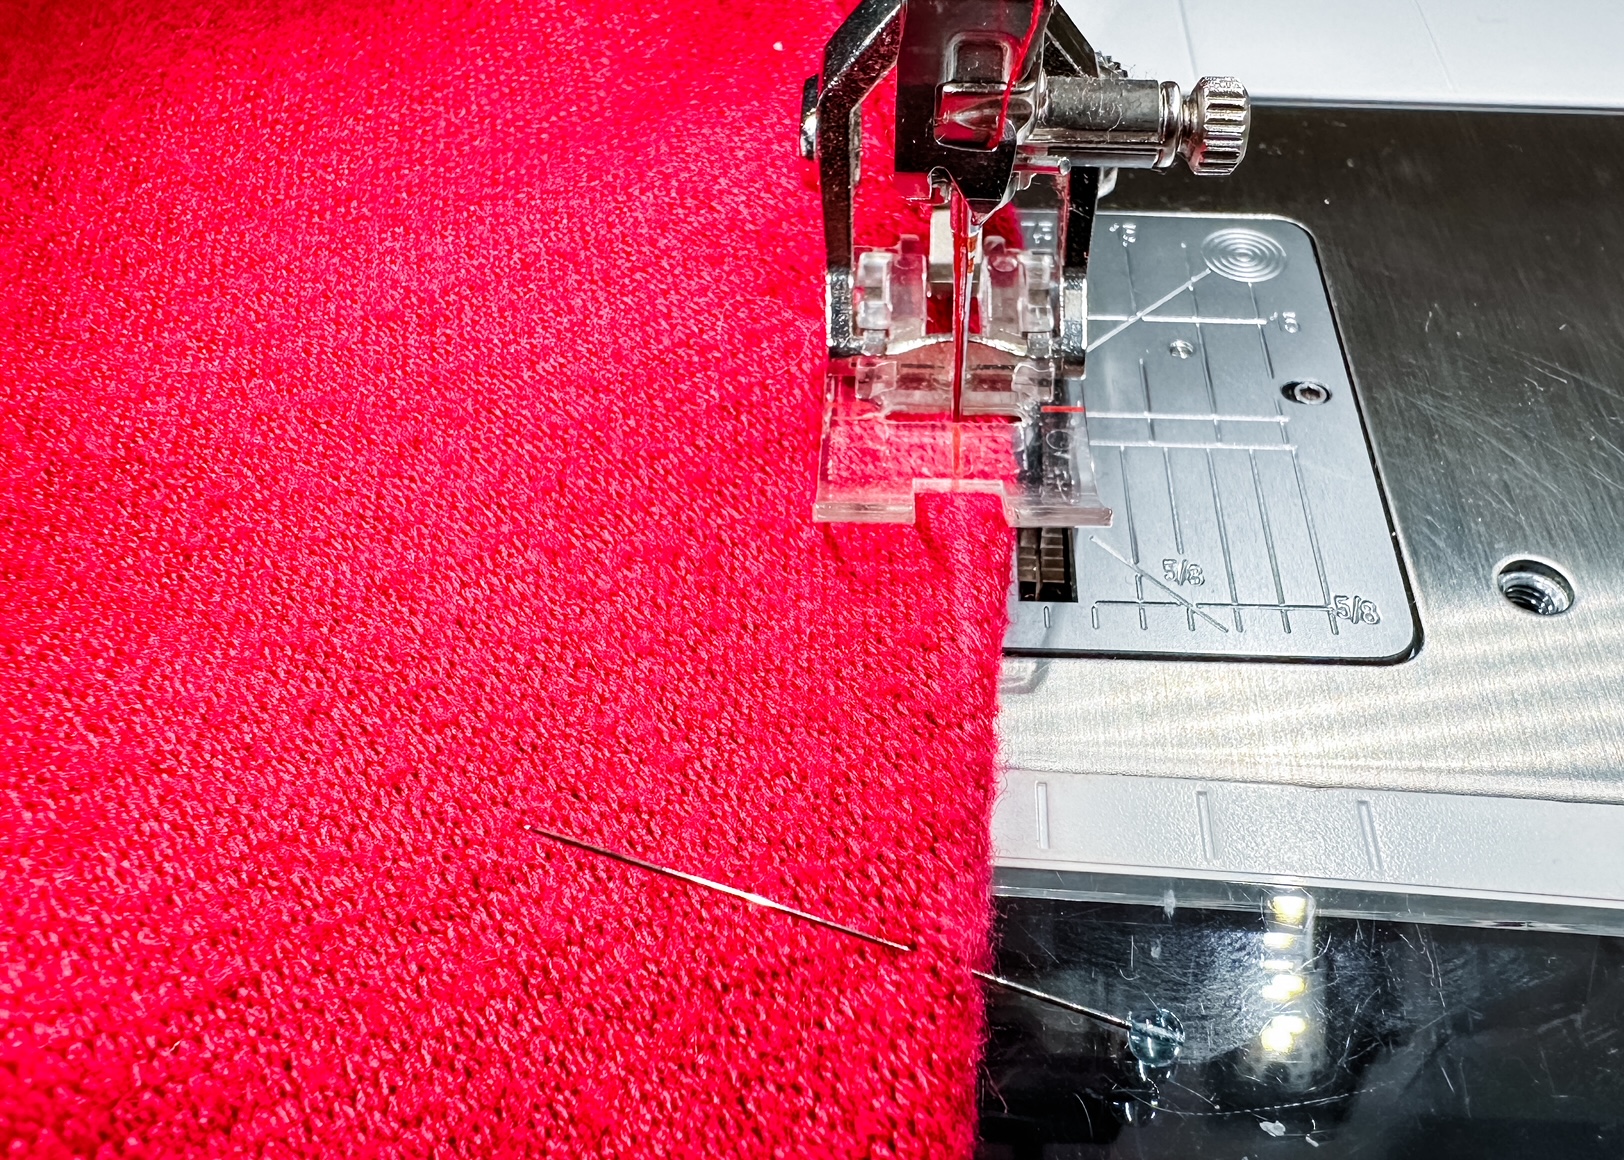
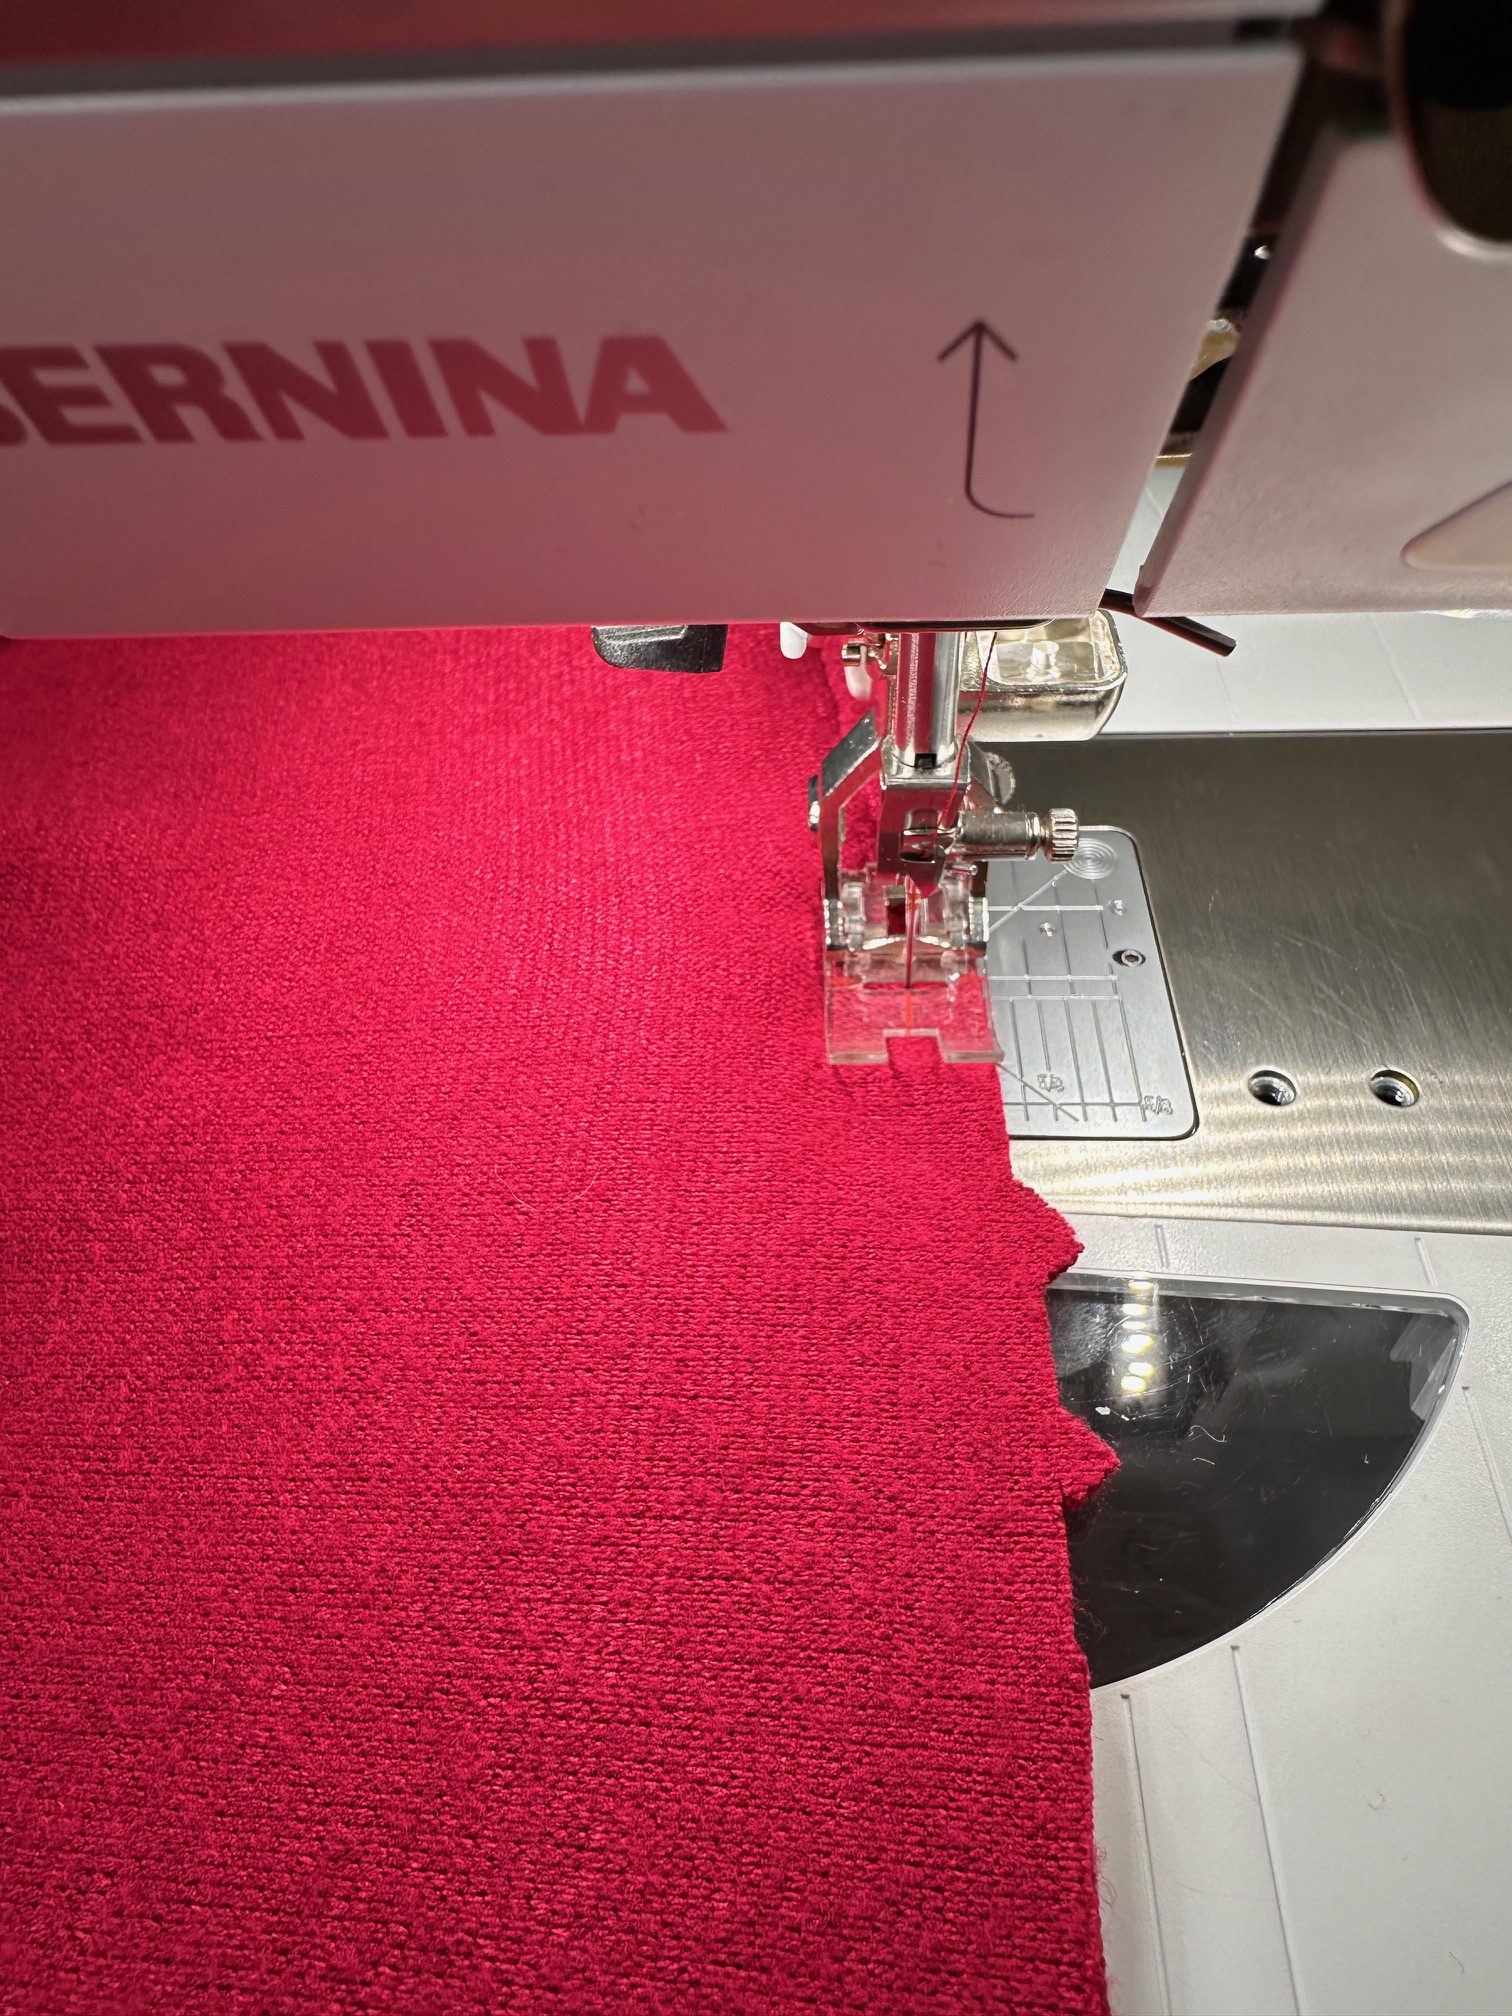
The front piece of this cardigan includes the back yoke. With right sides together, match the notches on the back yoke and pin. Stitch using a 3/8″ seam allowance. Finish the seam as desired and press to seam to the left.
Sew the Back to the Back Yoke of the Como Knit Cardi
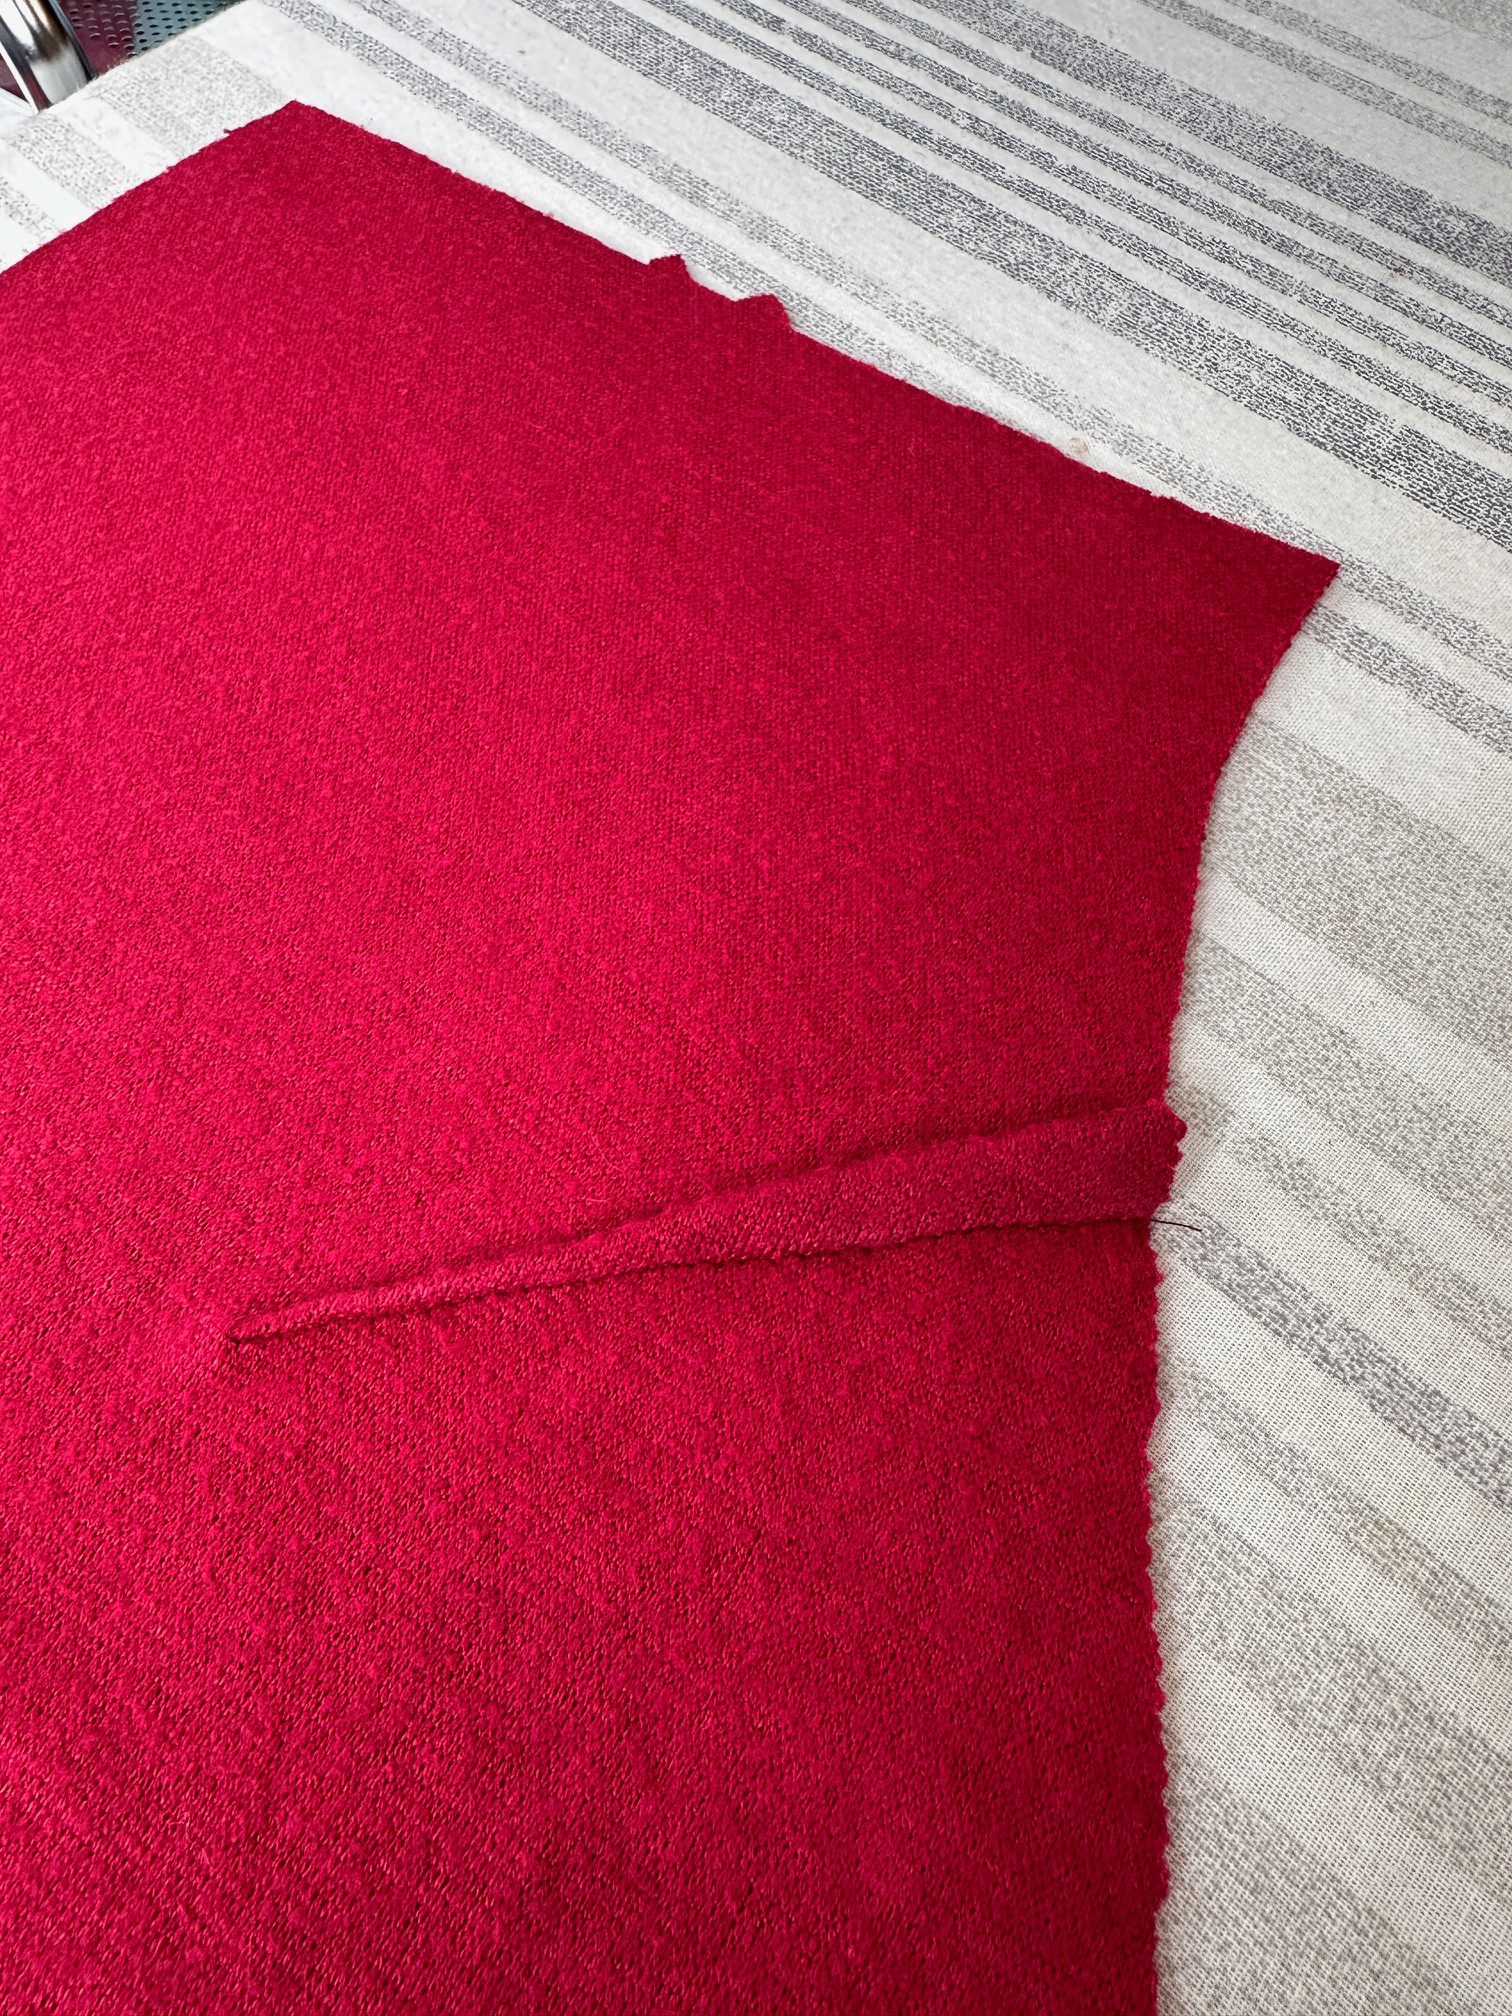
With right sides facing, pin the cardigan back piece to the back yoke matching the pattern markings B to B and C to C.

Stitch using a 3/8″ seam allowance. Finish seam as desired and press down toward the back of the cardigan.
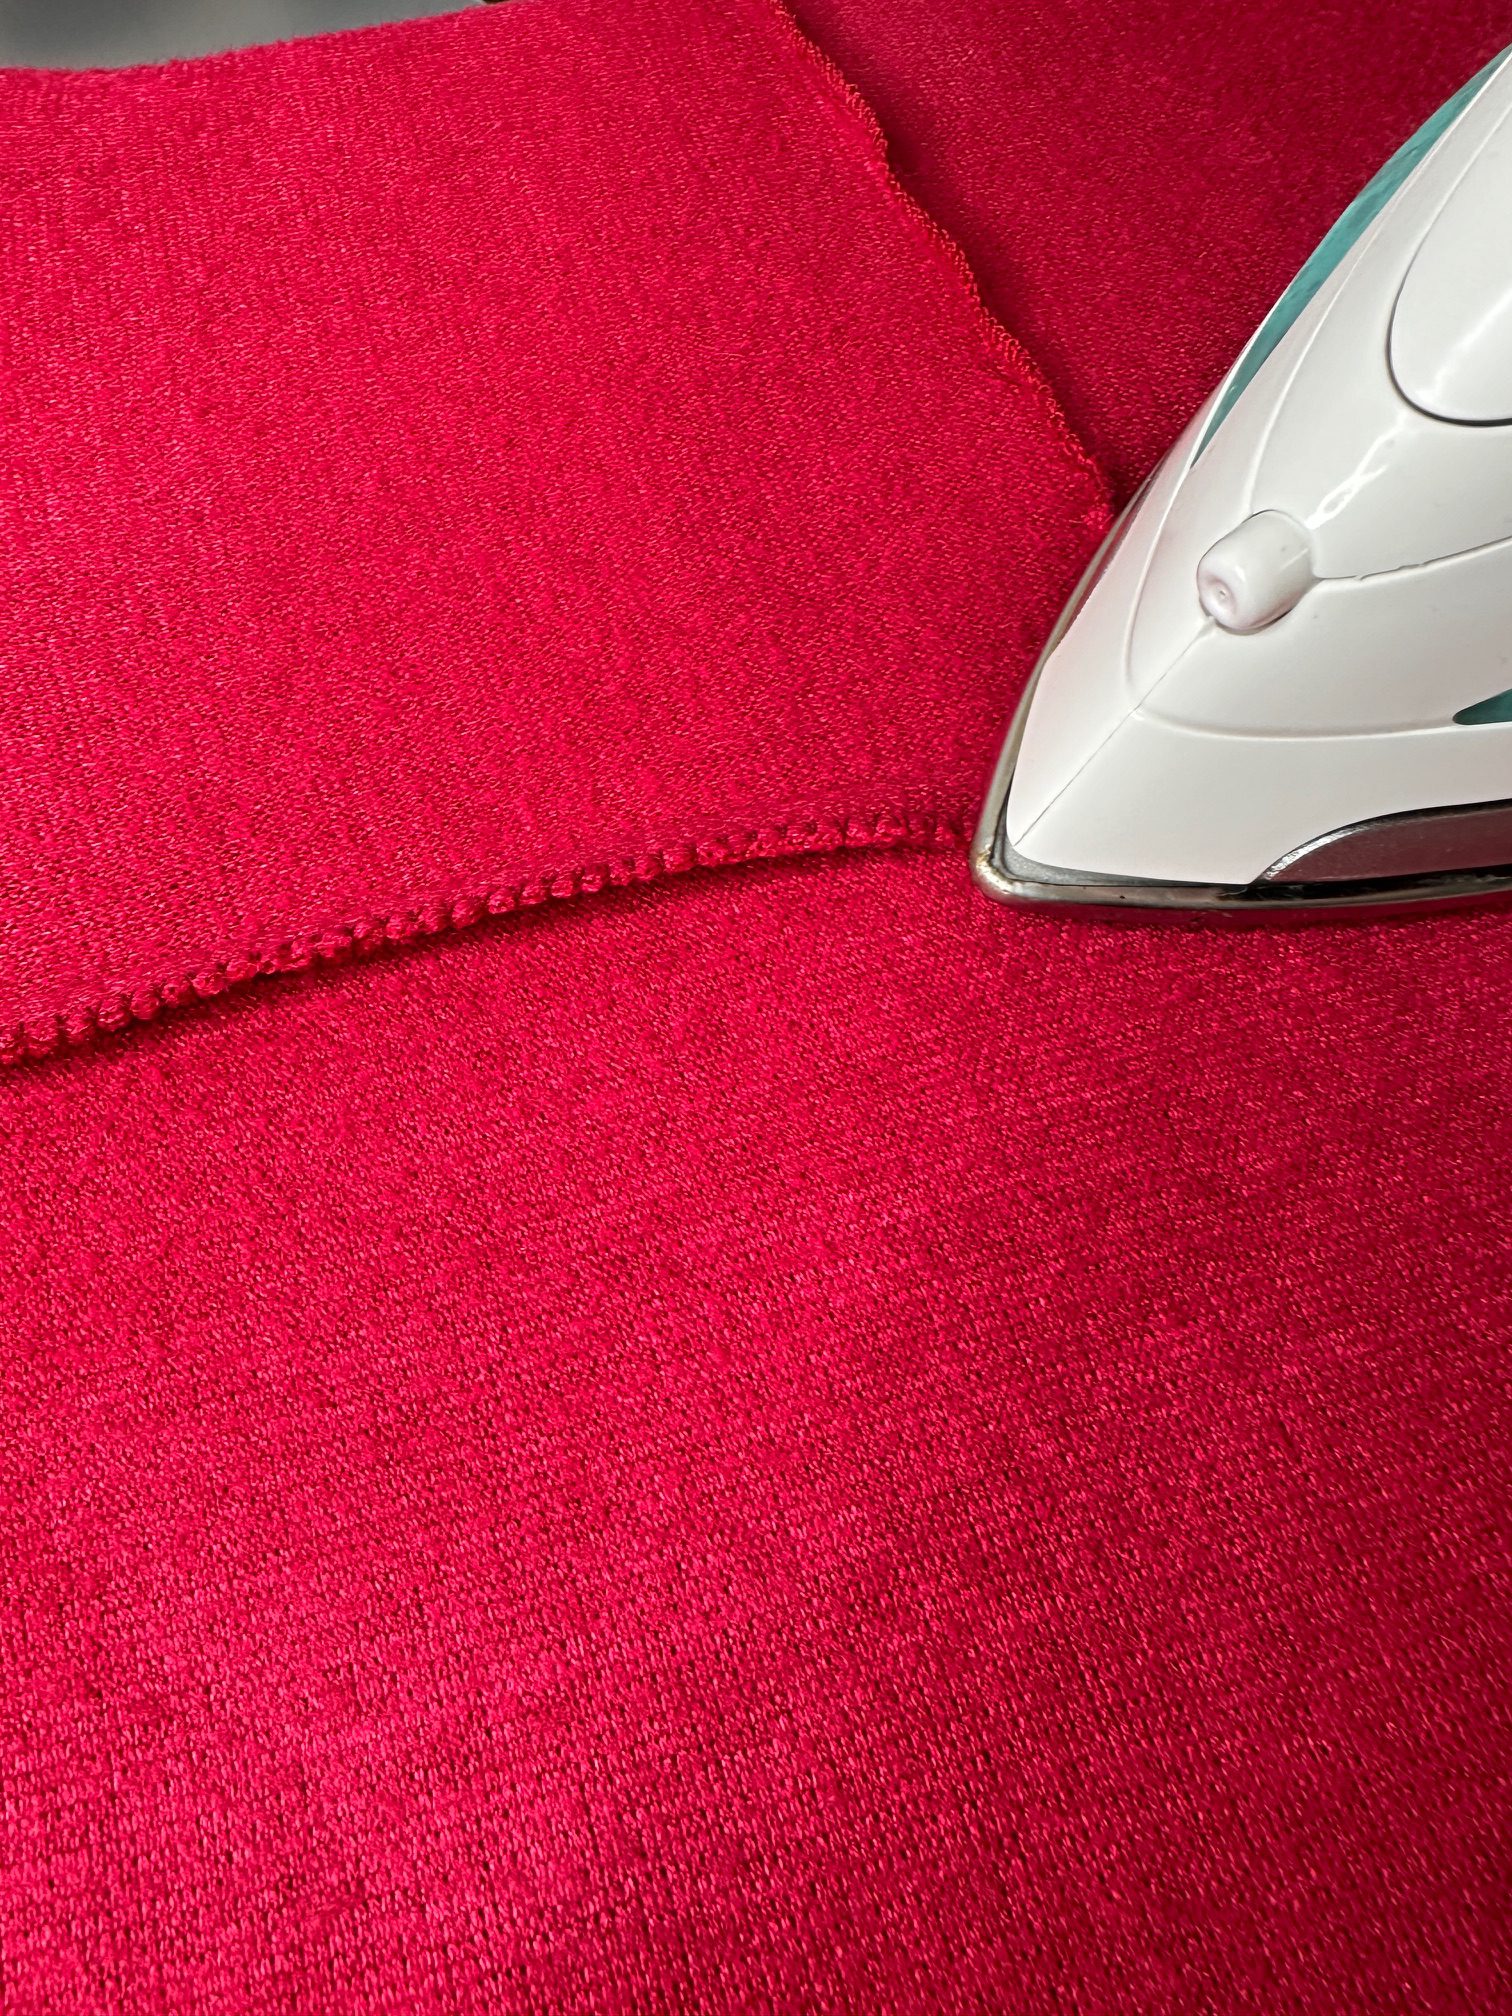
That’s all for this post! In Part three, we’ll finish sewing the Como Knit Cardi by adding the front and neck band and stitching the hems.
If you have questions, please feel free to post them in the comments.