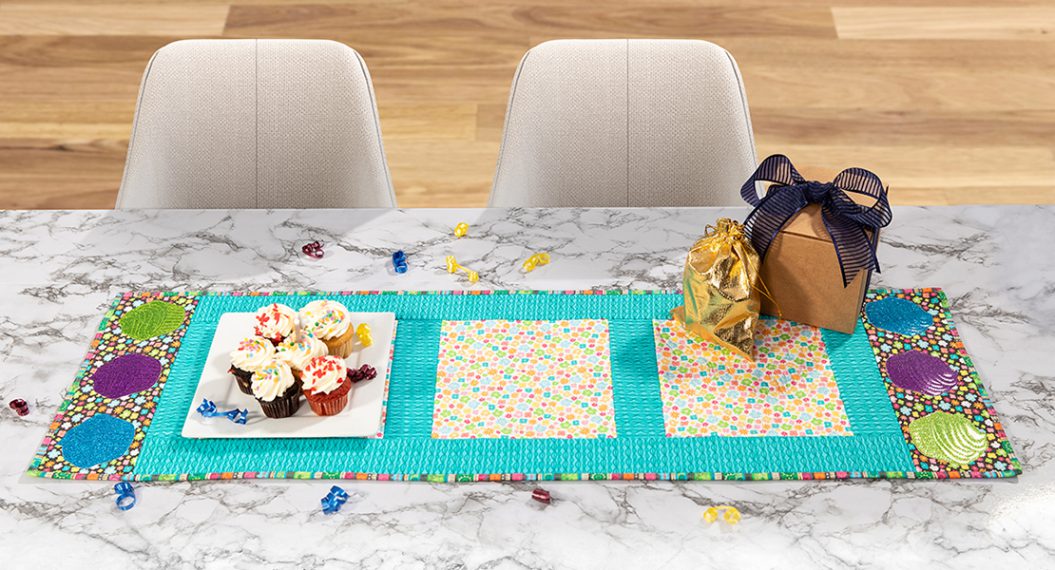
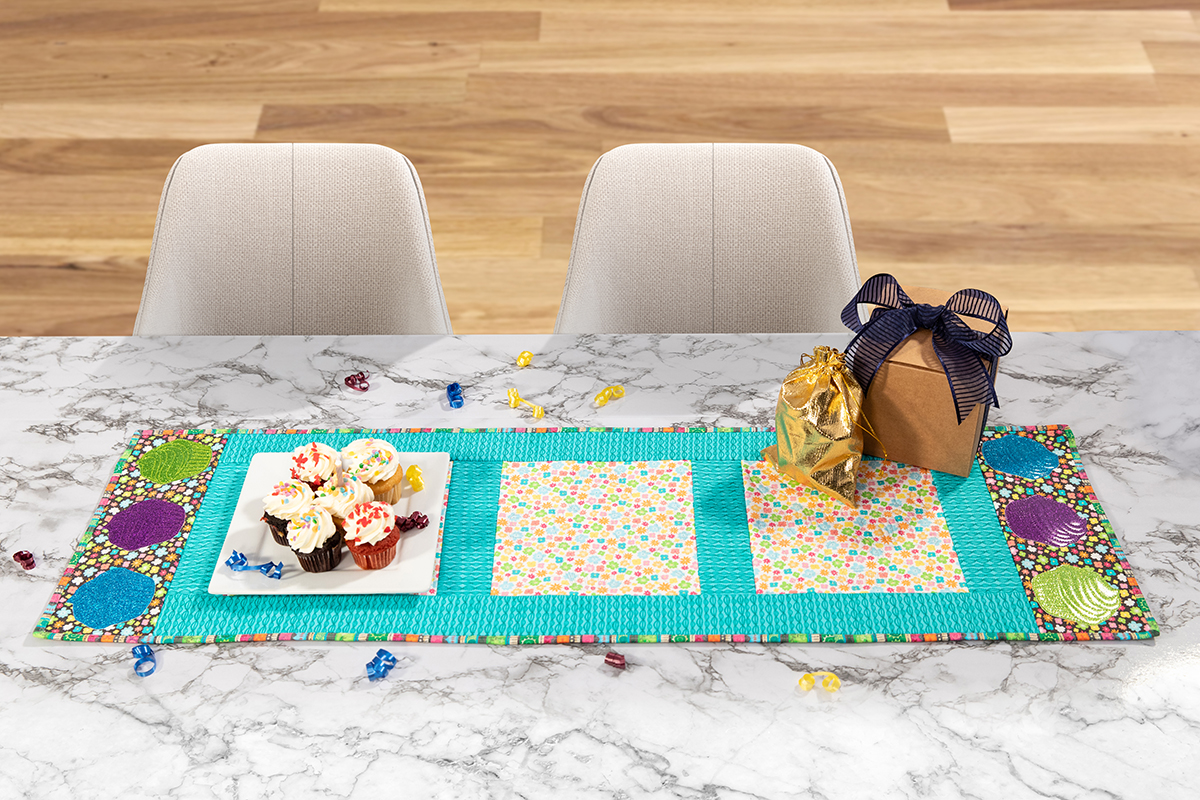
Cupcake Birthday Runner, Part Two
Last time, we worked through the steps to assemble a cupcake birthday table runner using the serger and a quilt-as-you-go technique. Click HERE for the supply list and first set of instructions. In this post, I’m going to show you how easy it is to quilt in the hoop! For extra pizzazz, we are going to do some appliqué at the same time! Finally, we will add the binding using the overlocker.
Steps to Quilting the Squares
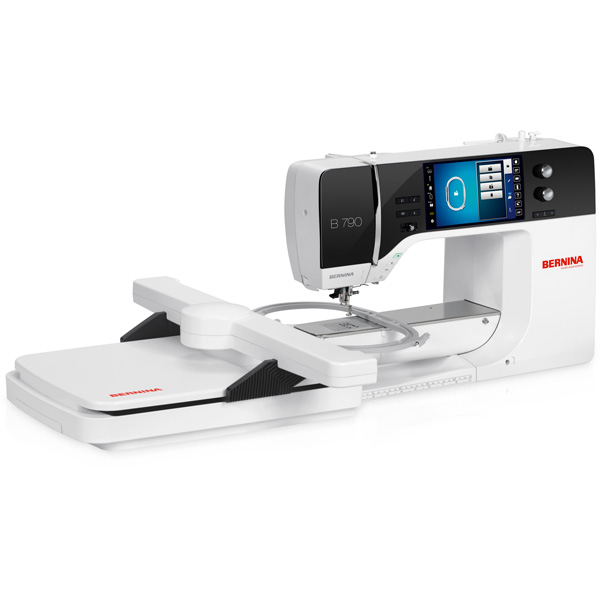
I am quilting in the hoop using the BERNINA 790 PRO.
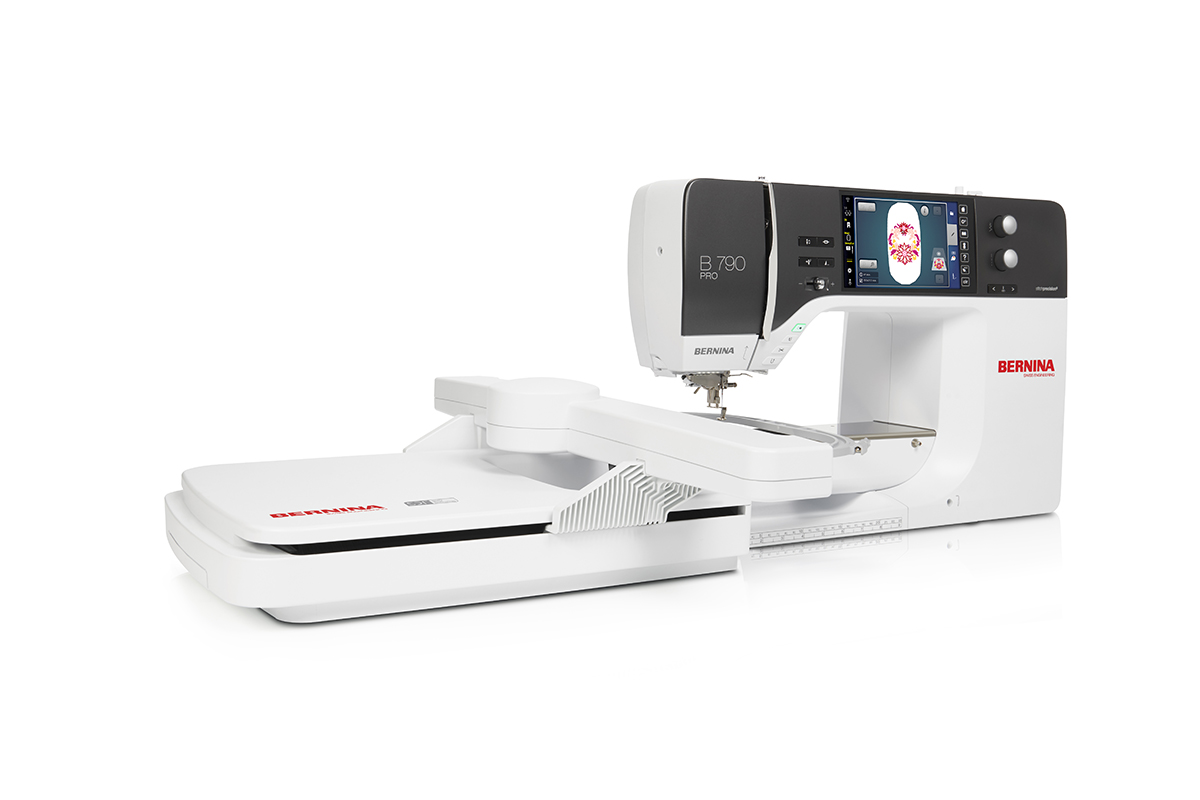
The BERNINA Pinpoint Laser and 4-Point Placement with Morphing makes it so easy to accurately place my quilting design.
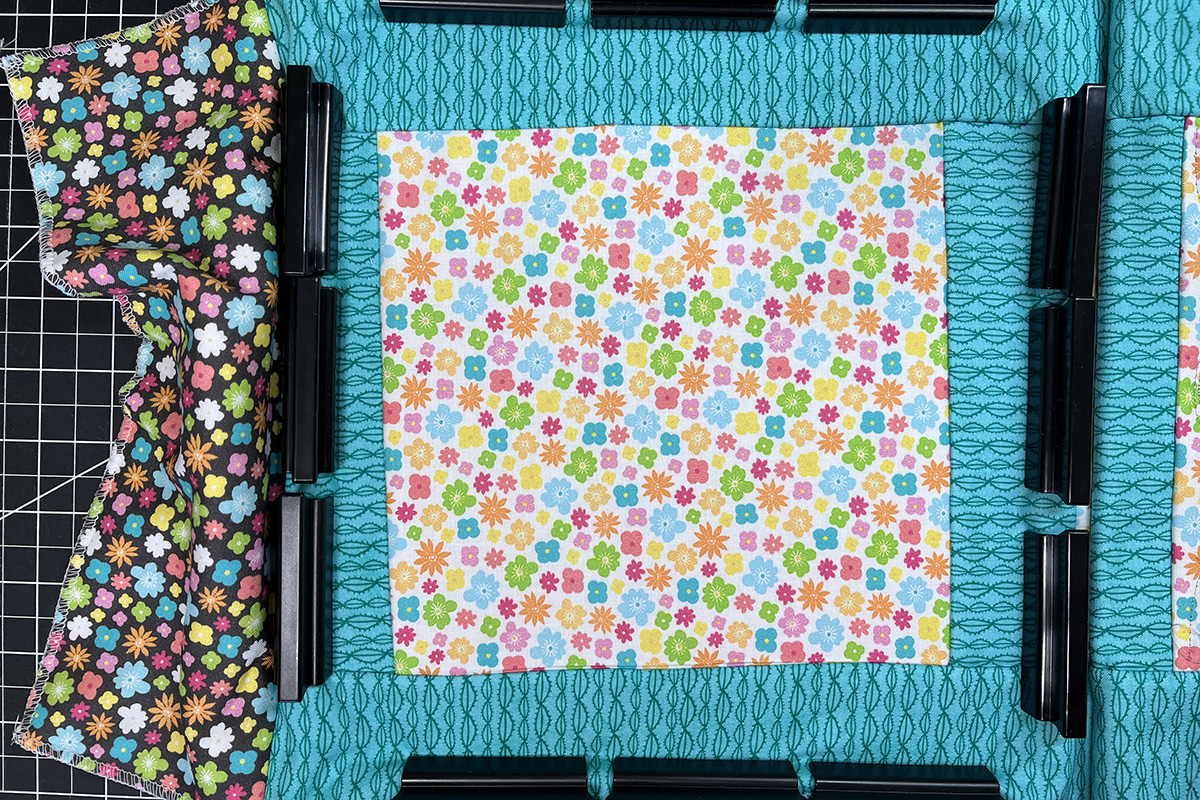
I am using the Medium Clamp Embroidery Hoop for quilting the three squares in the runner.
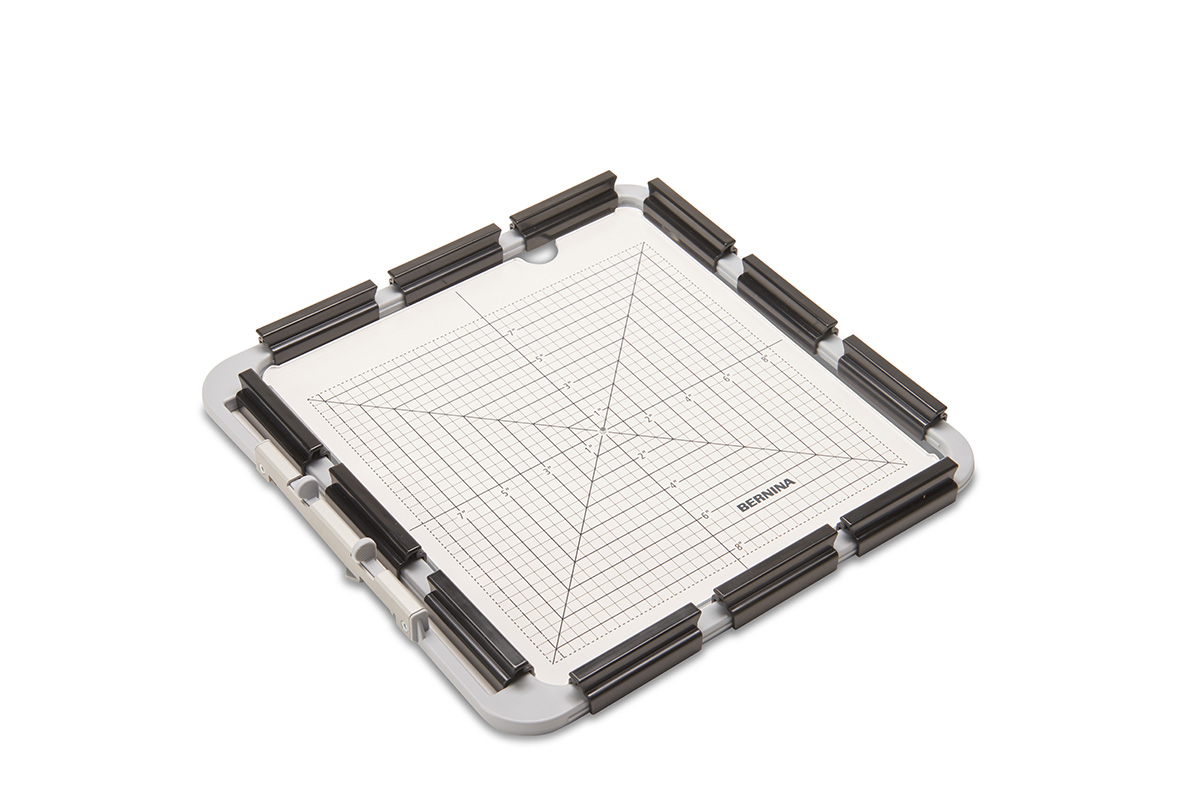
The square shape is perfect for quilting my blocks. Click HERE for a video tutorial on how to use the hoop.
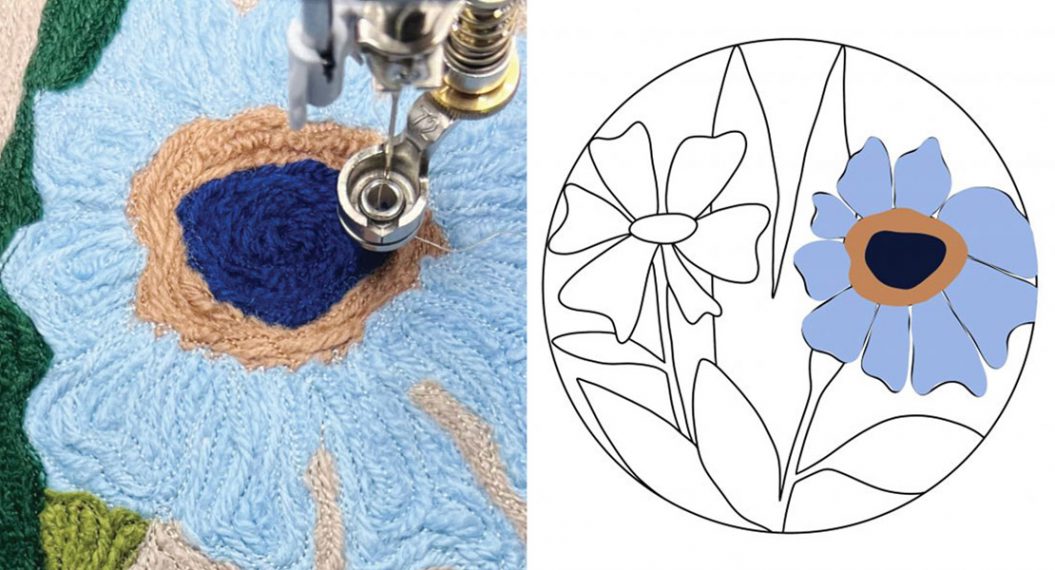
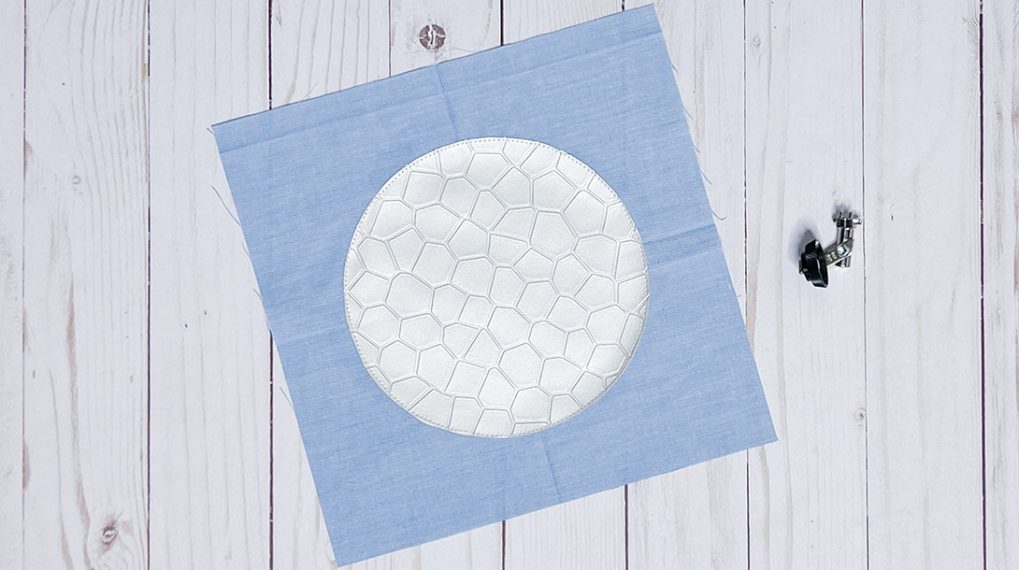
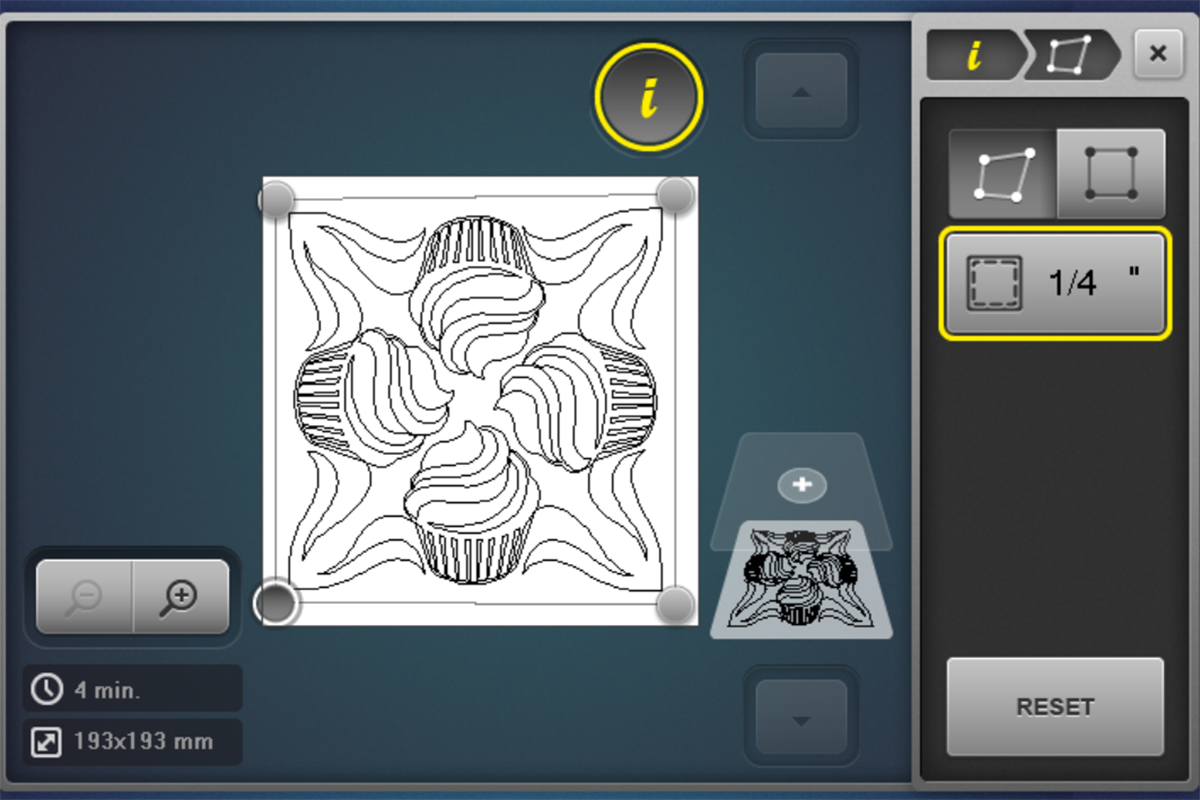
In the 8″ squares, I am using the Cupcakes Block design from Amanda Murphy’s collection, Cupcakes Quilting, by OESD. My machine can read .bqm design files, which are the same designs read by the BERNINA Q-matic Longarm Quilting Automation System. Unlike .exp embroidery design file types, there are no limitations in sizing when I am setting up my design. I can also modify the stitches per inch. There is the chance that my squares aren’t perfectly square, but because I can morph the design to fit, who’s going to know?
Step 1
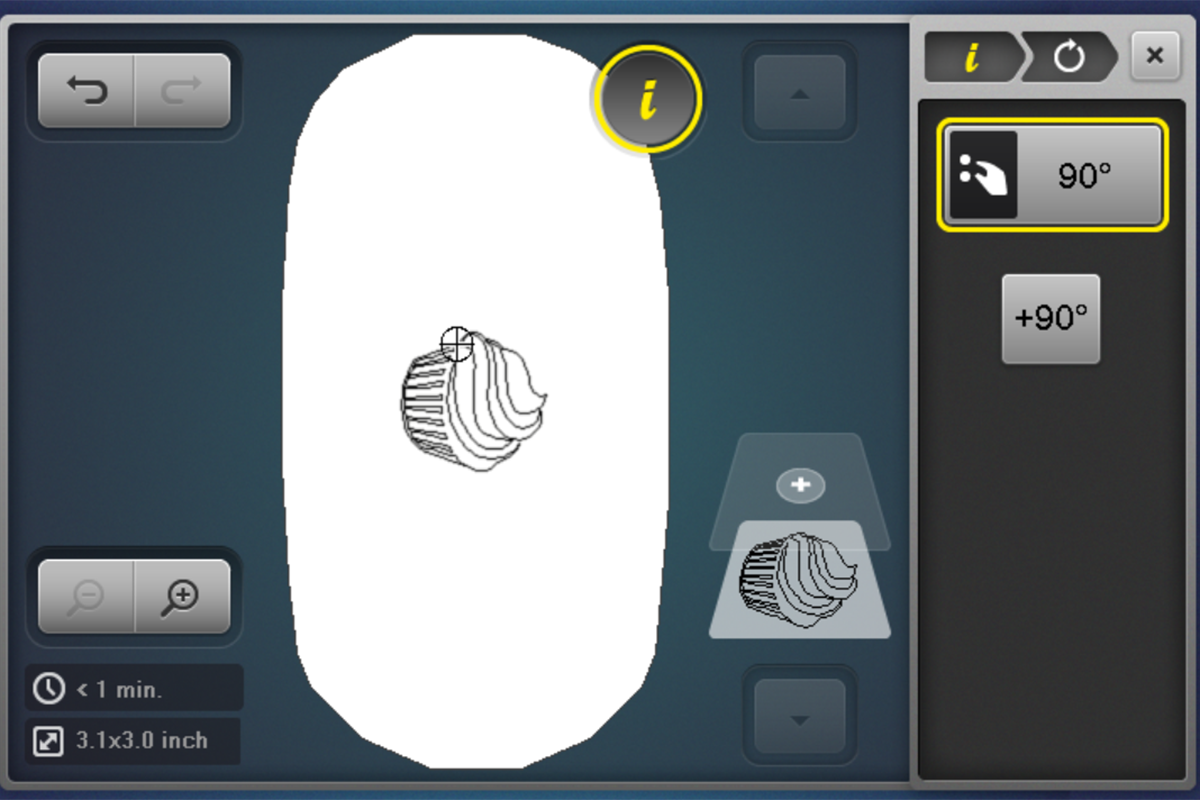
When you first open the design in the machine, it is going to be too large for the hoop.

Using the Multi-function Knobs, resize proportionally so that it fits inside the hoop. We will perfect the size later. Your numbers may differ from mine.

Step 2
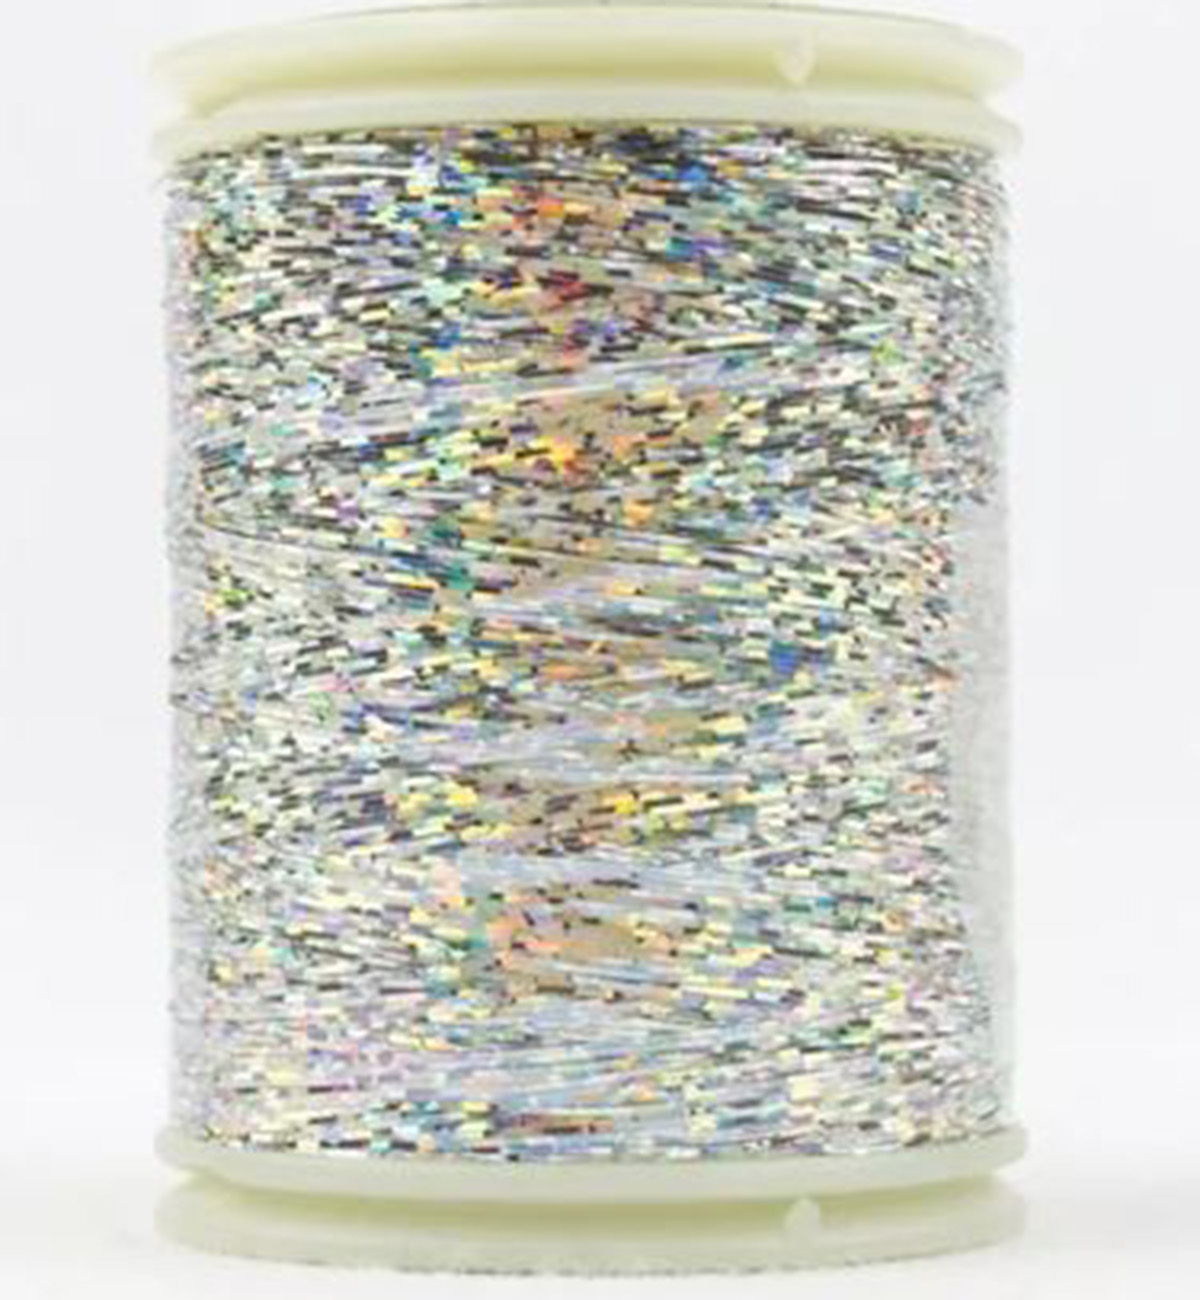
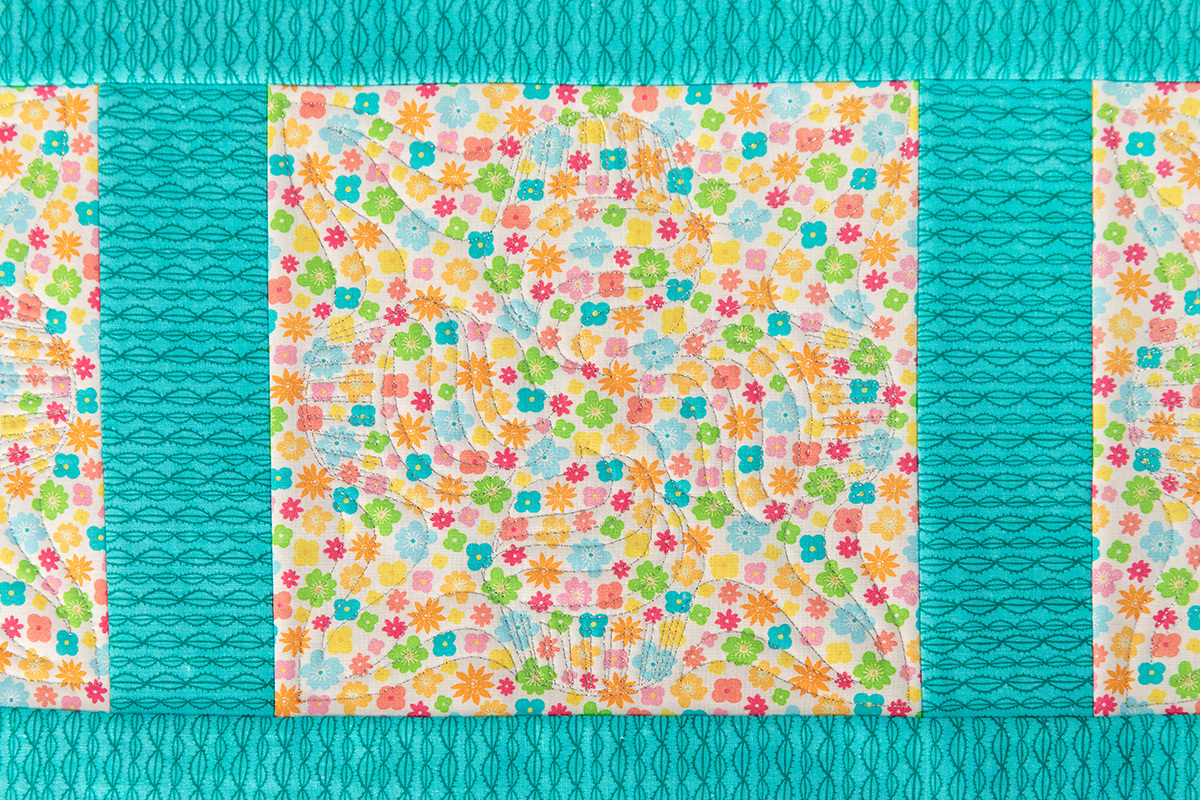
I’m using silver Hologram thread by Wonderfil in the needle for a little extra sparkle in my quilting. For successful results, use a 90/14 topstitch needle, place the thread on a vertical spool pin, and slow the machine speed down by half.
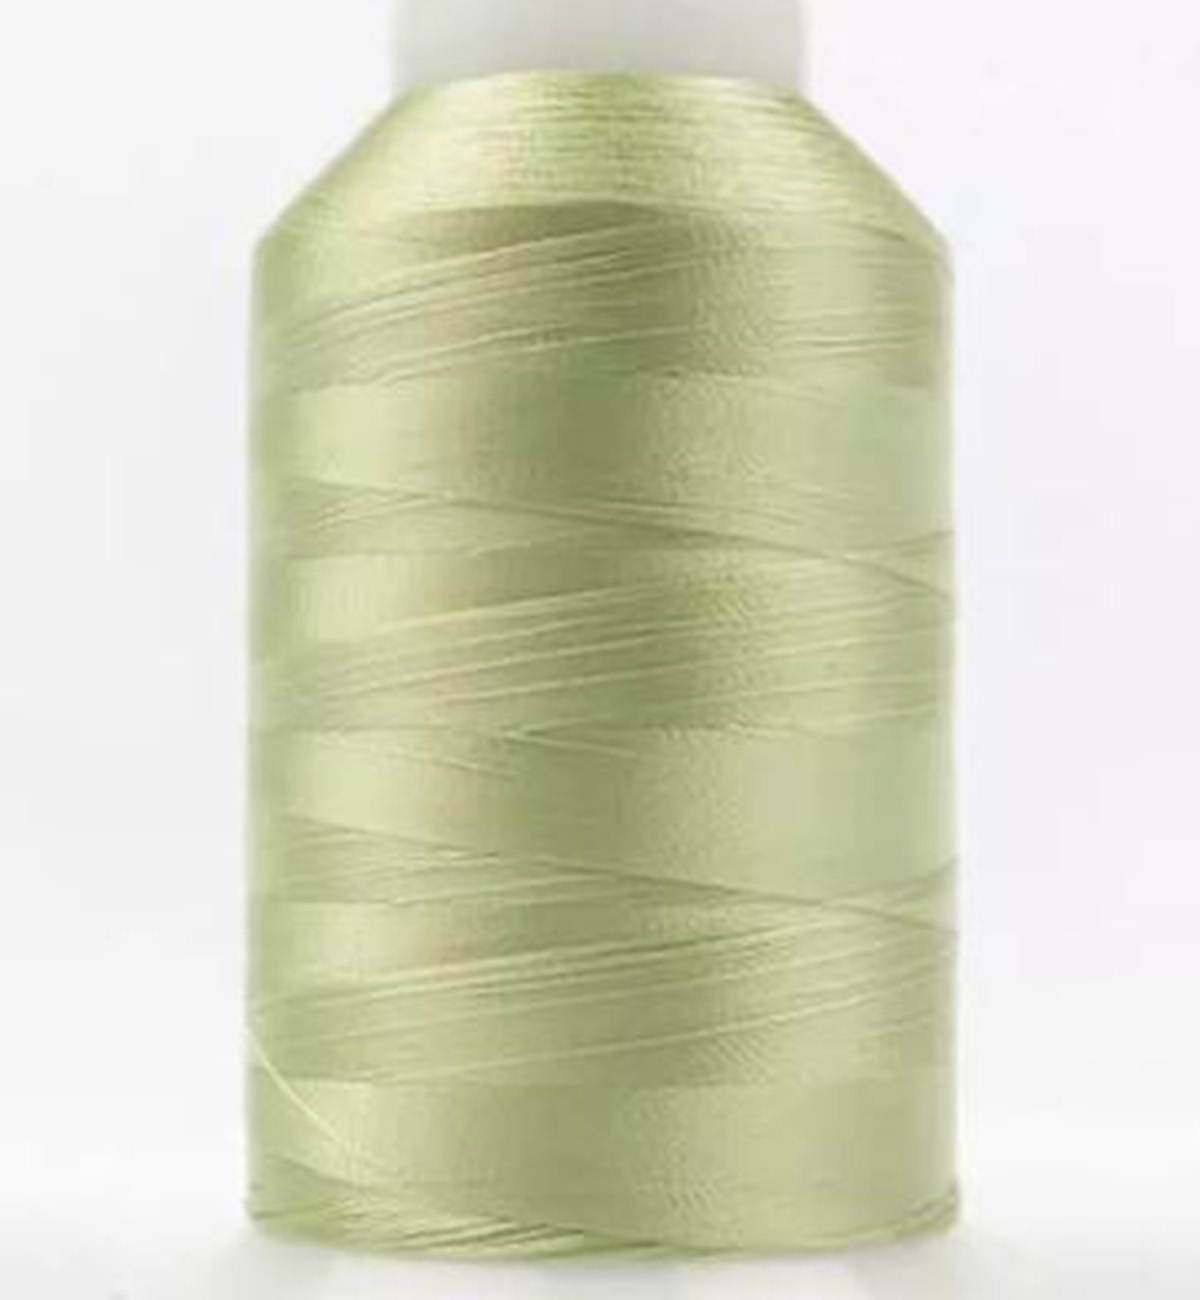
In the bobbin, I am using DecoBob by Wonderfil. This is a fine, yet strong thread that is recommended to use with Hologram thread in embroidery.
Step 3
Hoop the first square. Don’t stress if it isn’t perfectly square in the hoop … we have embroidery placement tools for that!
Step 4
Attach the hoop to the machine. Using 4-point Placement, set the design. I added a 1/4″ boundary around my design because I didn’t want it to stitch into the seams. This is so easy on the BERNINA 790 PRO!
Step 5
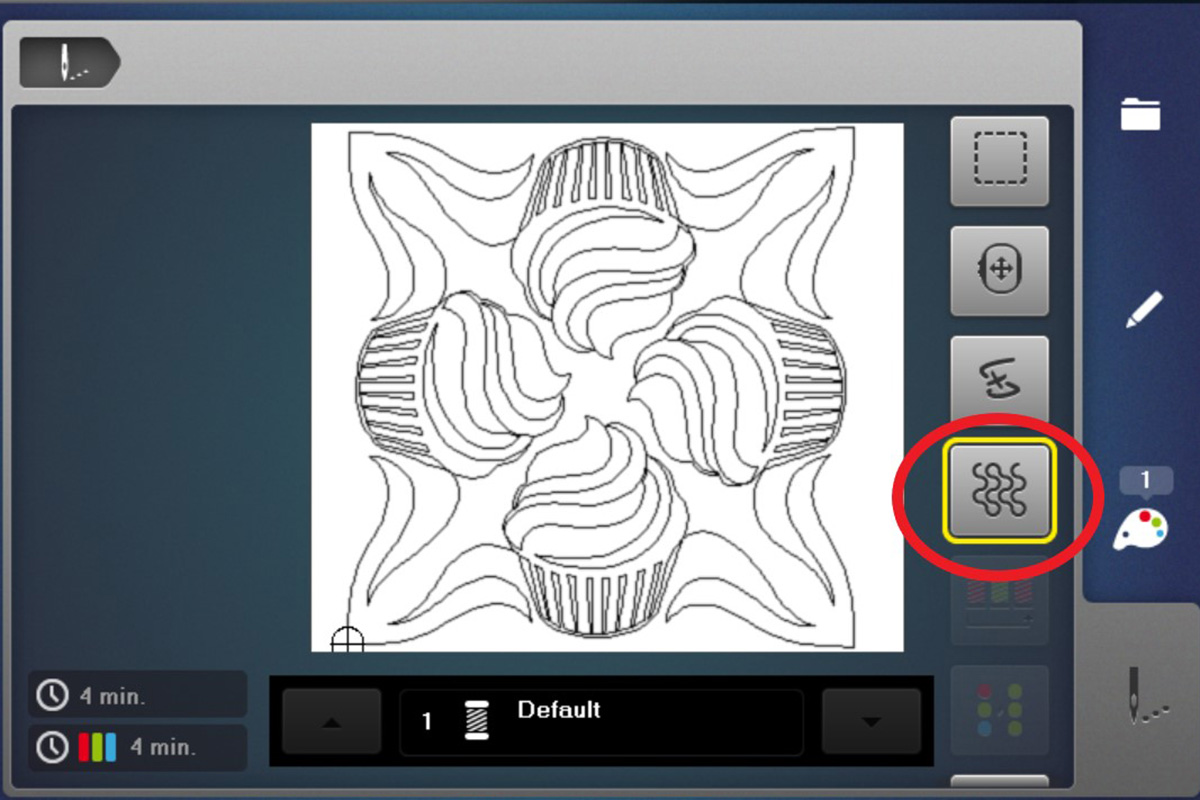
Another great feature of the B 790 PRO is the Quilt Settings icon. When you select this on the Embroidery Screen, the machine will activate quilting-related settings. These include turning off thread cutting, deactivating Thread Away mode, and changing the Securing function to an invisible secure. You don’t have to remember to do all of that yourself!
Bring up the bobbin thread and stitch the design. At the end, cut the thread with snips and bury with a hand needle. What a beautiful design! Repeat in the remaining two squares.
Step 6
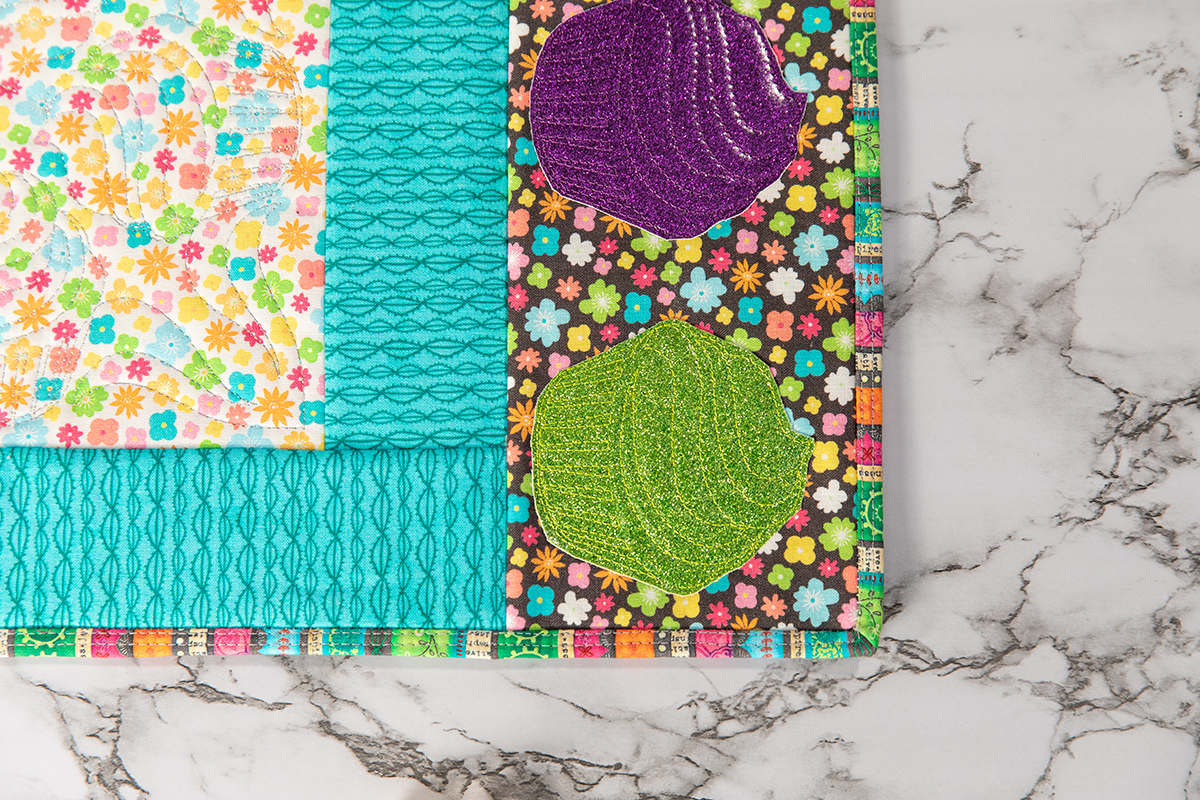
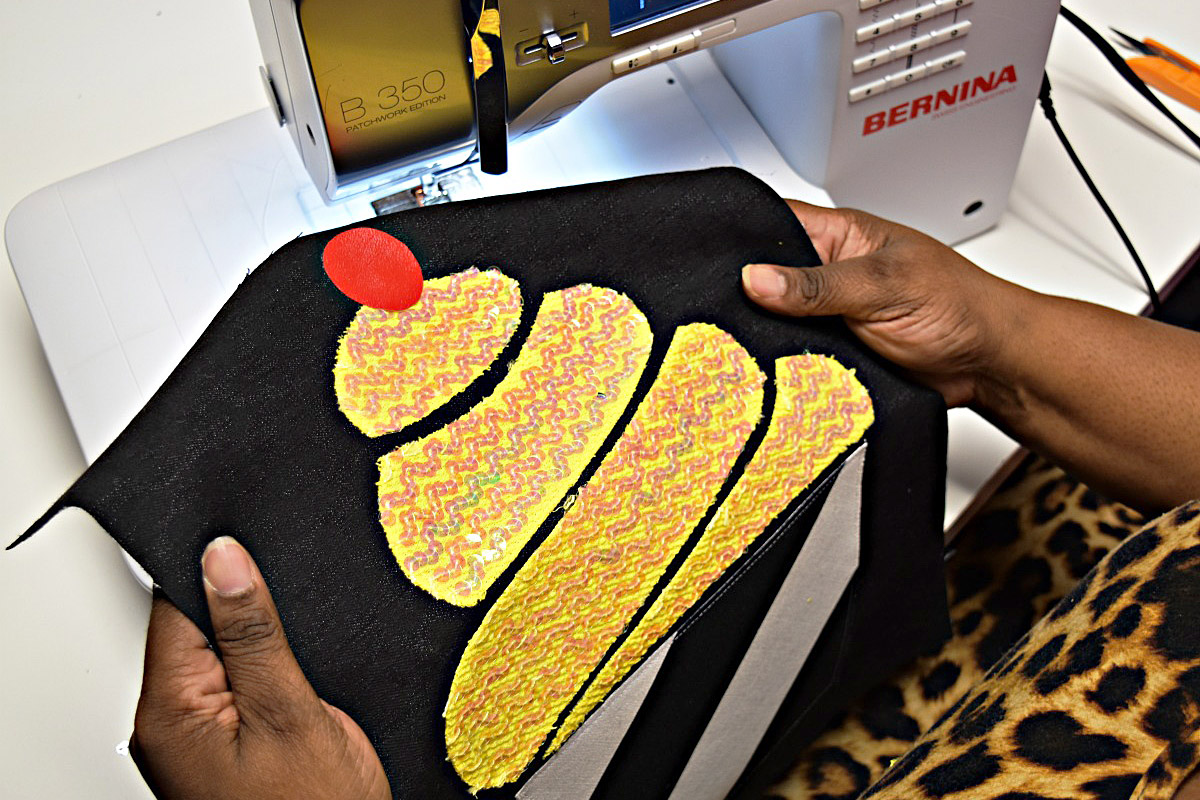
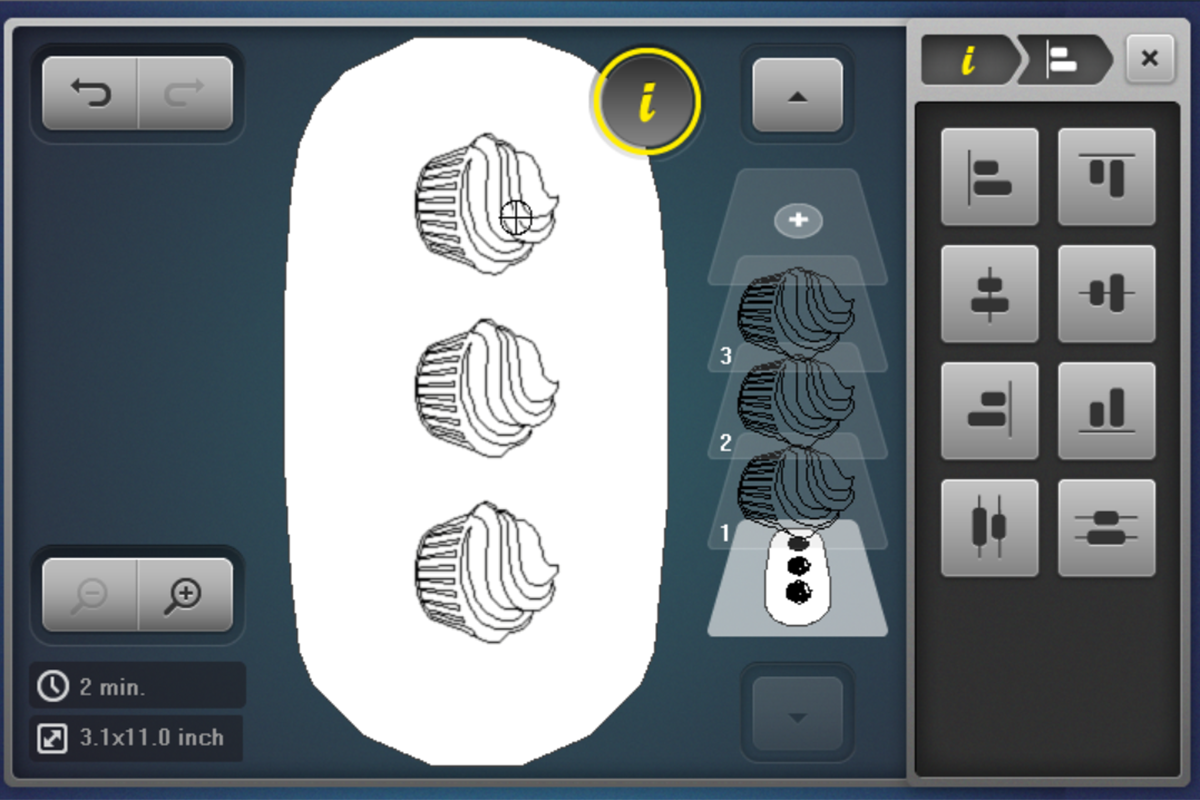
Three cupcake motif designs will be stitched and appliqued on the rectangles at each end of the runner. Select the Maxi Embroidery Hoop so that you can align the designs and avoid catching vinyl in the hoop. Open and resize the single motif so that it is about three inches tall. Rotate so the bottom of the cupcake is on the left.
Duplicate so you have three cupcakes. Use the Align Embroidery Design icon and center the cupcakes and equally space them so that the entire design is 11″ tall. Save to the machine. Being able to align and space designs right at the machine is another great feature of the B 790 PRO!
Step 7
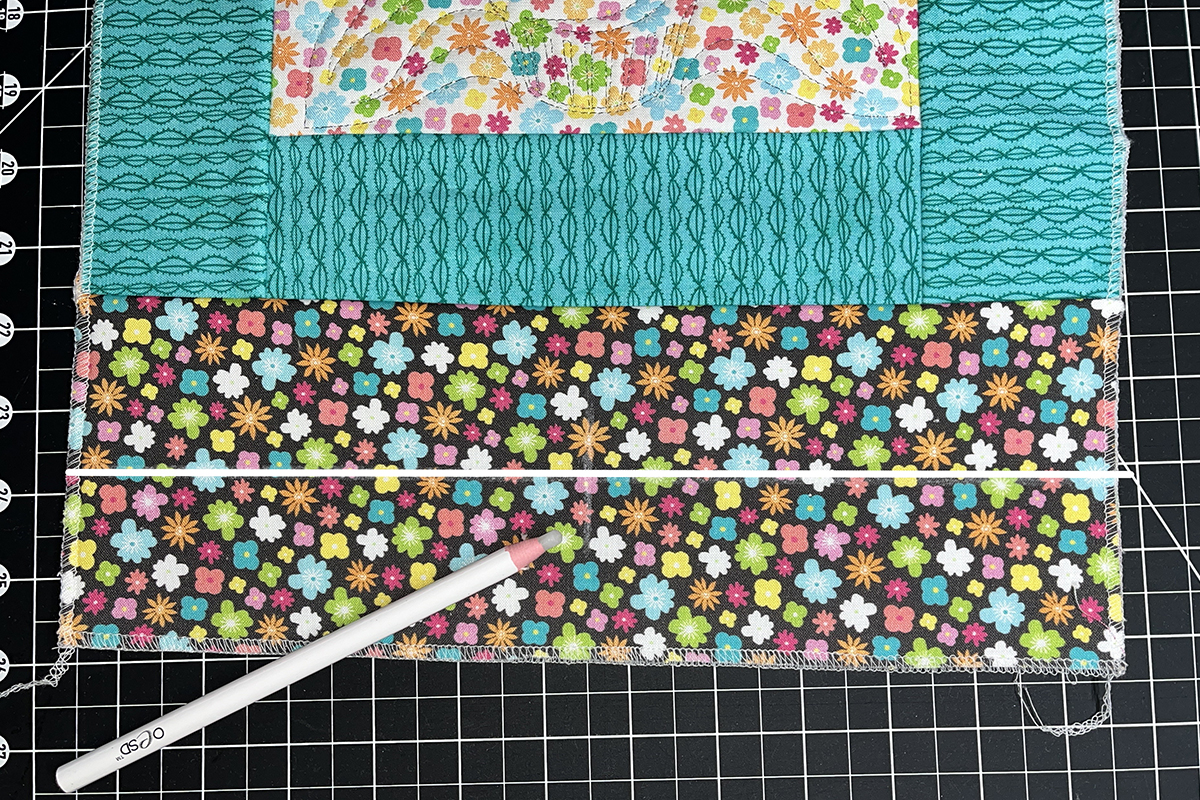
Mark the center lines on the end rectangles. Taking into account the binding, make the long mark 2″ in from the outside edge.
Step 8
As you can see, the runner is significantly smaller than my hoop.

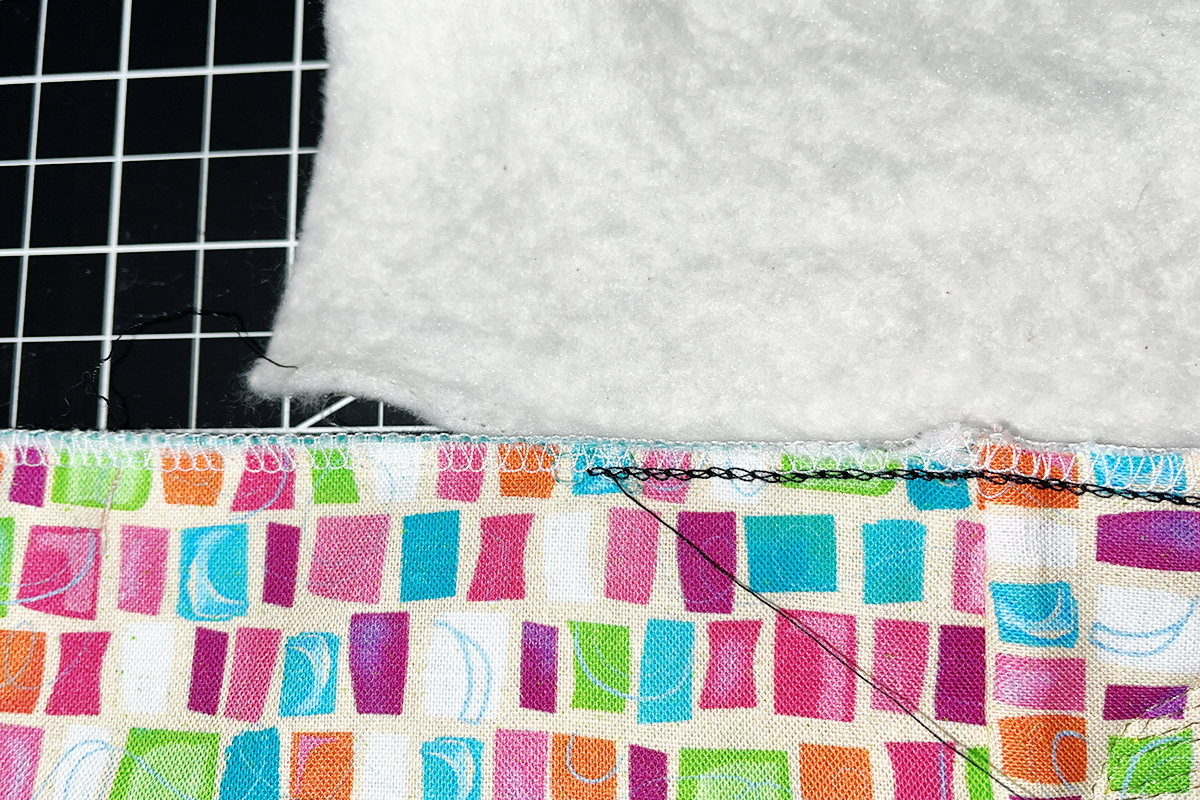
We aren’t using stabilizer, so we will need to add some fabric to the edges so we can hoop. I’m going to use some batting scraps so that the thickness in the hoop all around is similar. How are we going to do this? Hurray for the overlocker! I used a chainstitch on the BERNINA L 890 Combo machine to attach the batting scraps. When the embroidery is complete, I will be able to remove the chainstitch easily.
Step 9
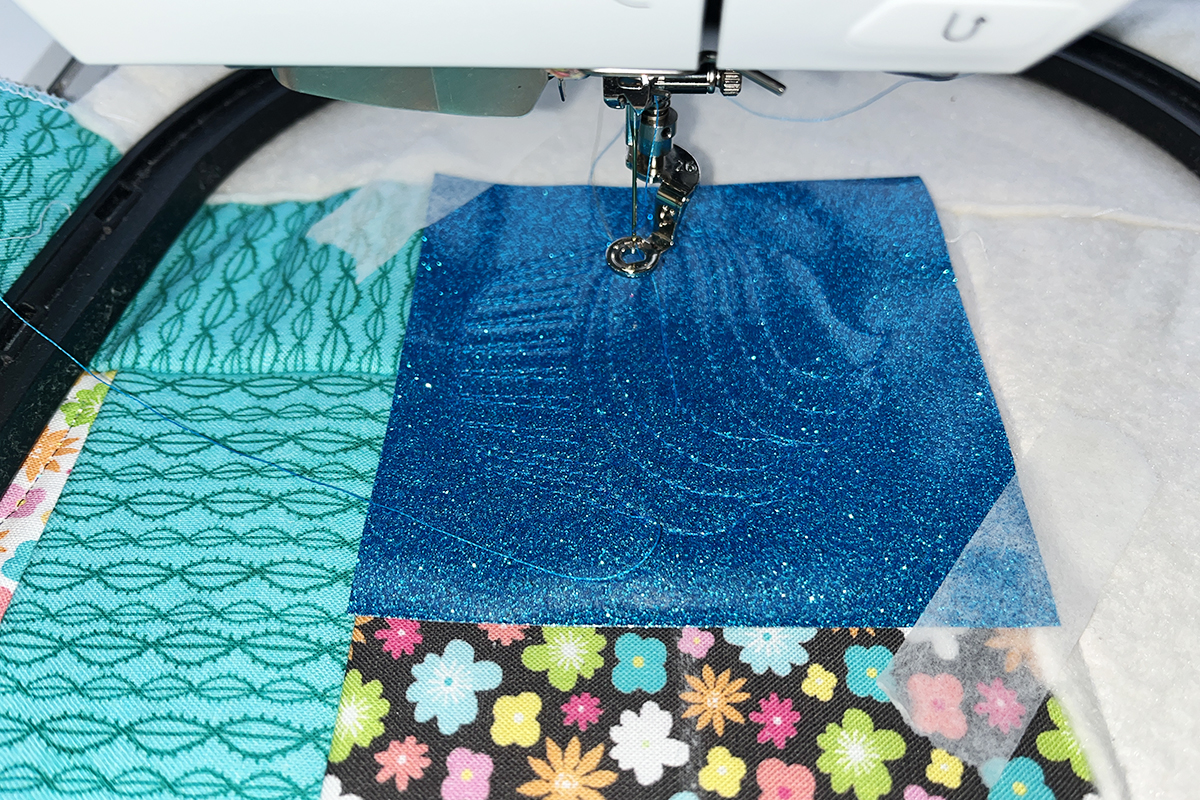
After centering the design using the Pinpoint Laser, I can see where the first cupcake is going to stitch. Place the first square of vinyl where the first cupcake will go. Use tape to hold in place. Change to an 80/12 embroidery needle and thread with Isacord to match the vinyl. Bring up the bobbin thread and stitch the first cupcake.
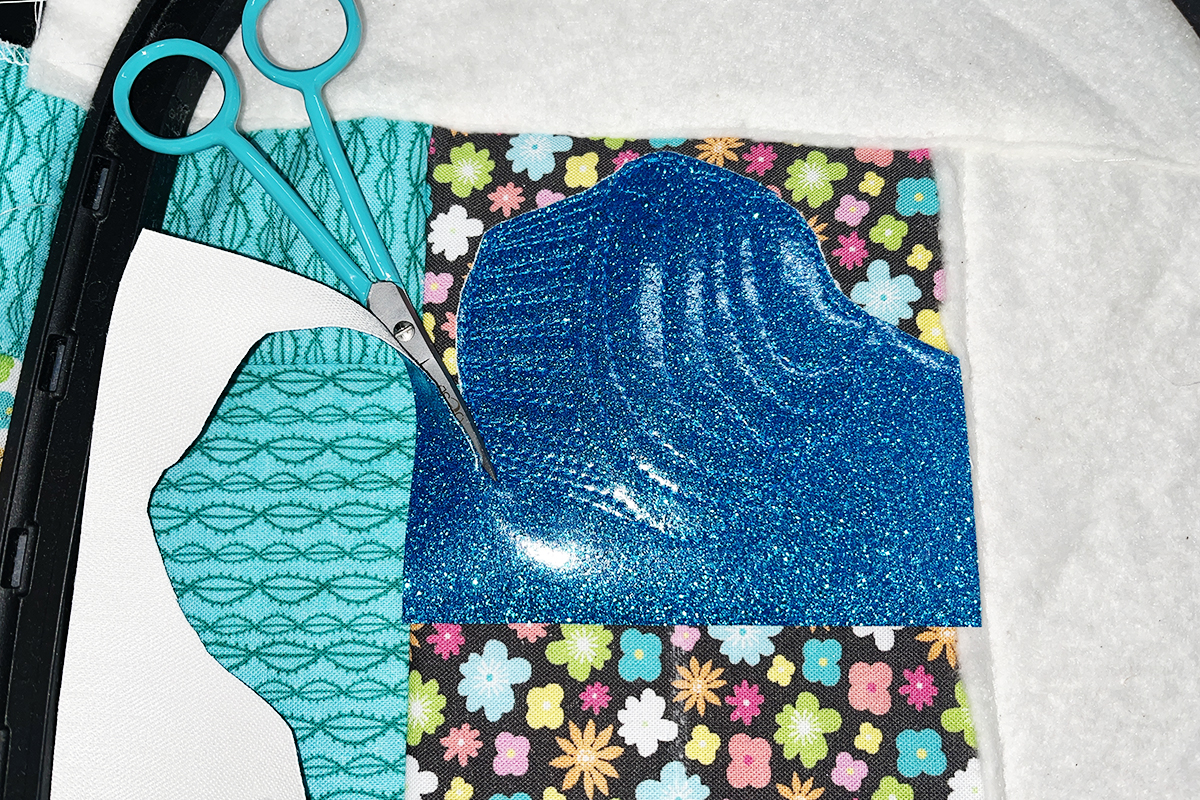
Trim close to the outer stitching line.
Add the remaining two cupcakes. Remove the batting and reattach on the other end of the runner. The easiest way to do this is to separate the needle and chain threads at the END of the seam. Then pull on the chain thread and it will come away easily … just like on a pet food bag!
Quilt and appliqué three cupcakes on the other end of the runner.

Step 10
It’s up to you whether you want to add quilting to the sashing and borders. This is a good place to practice free-motion quilting with the BERNINA Stitch Regulator or some ruler work. I chose not to add more quilting. (However, I might change my mind later!)
Step 11
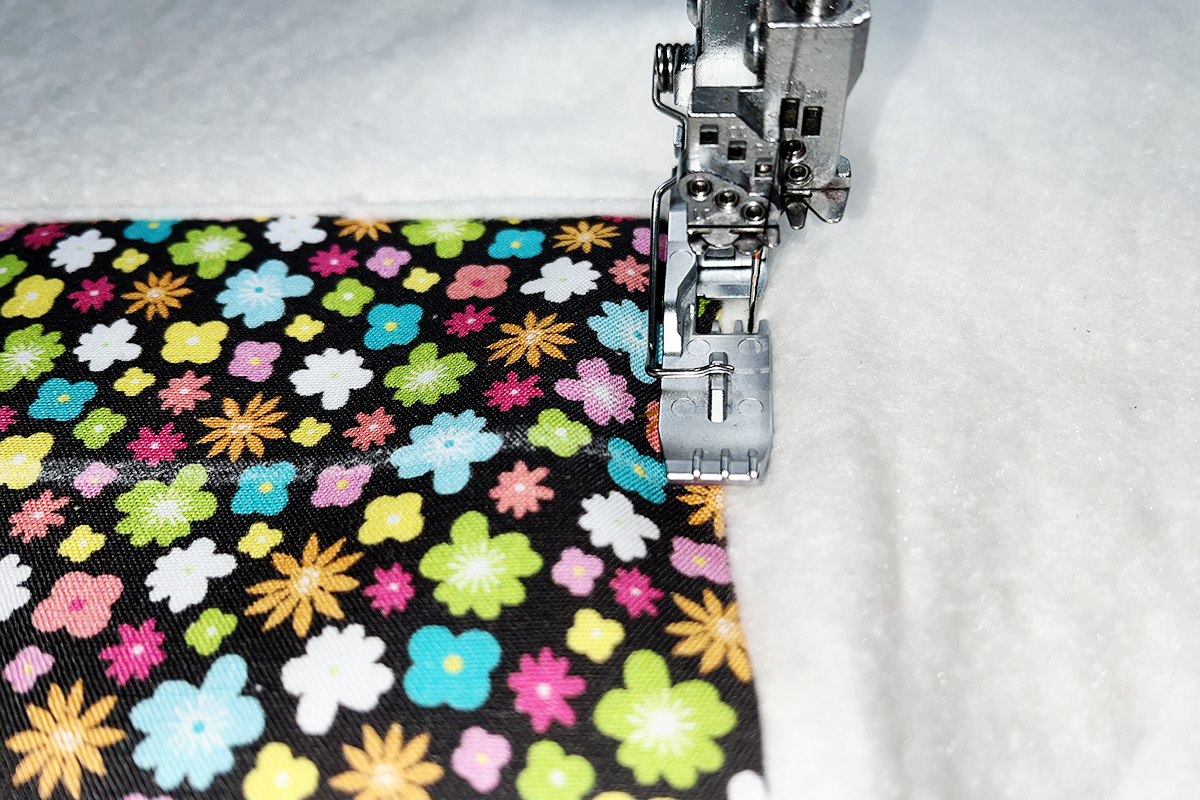
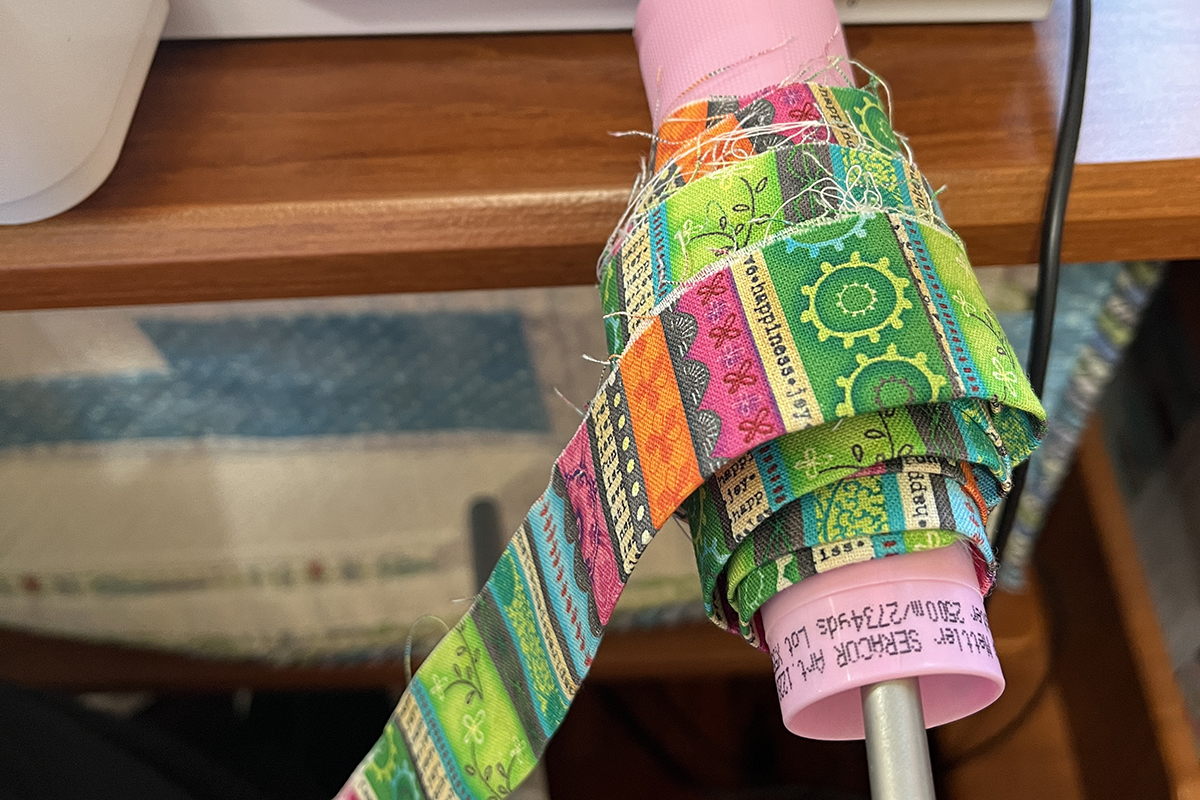
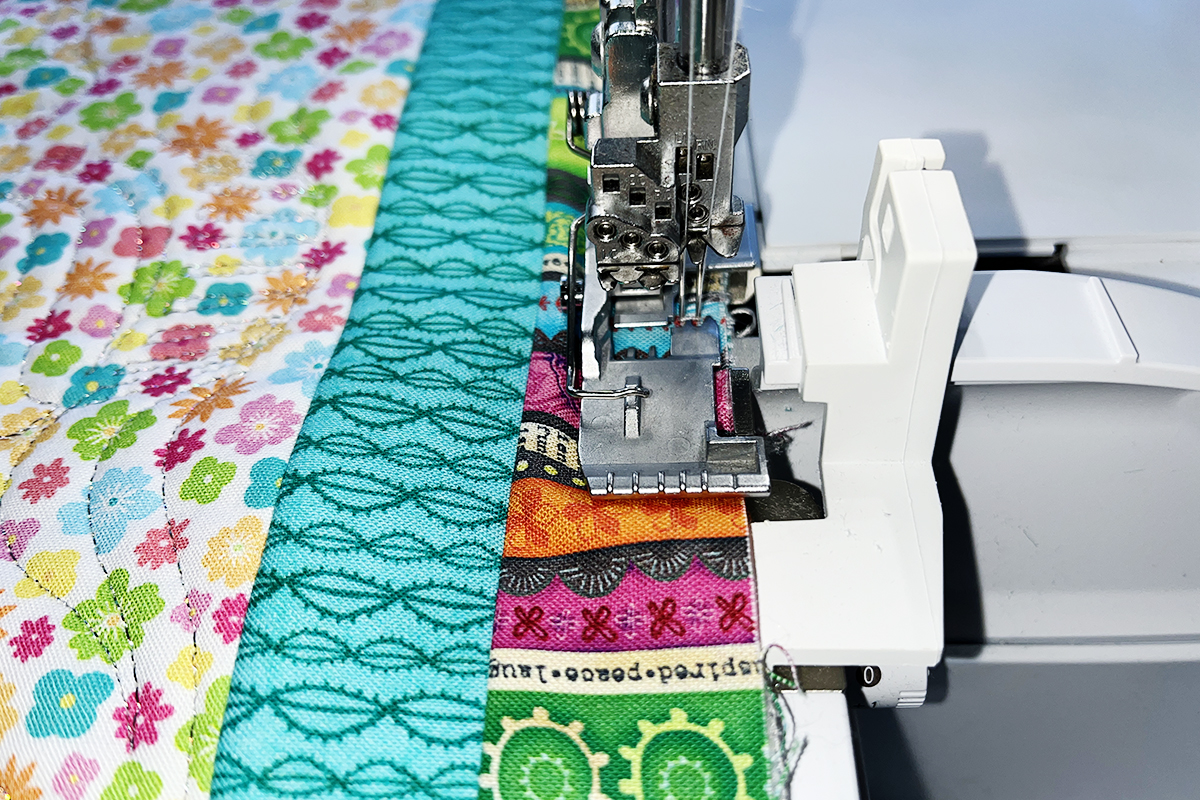
Now it’s time to add the binding. Set up your overlocker for a 4-thread Overlock Stitch and thread the lower looper with fusible thread. I placed my spool of binding on my Free Hand System Lever. This kept everything tidy as I sewed.
Stitch the binding to the right side of the runner.
When done, press the binding to the back and fuse in place. It’s like magic!
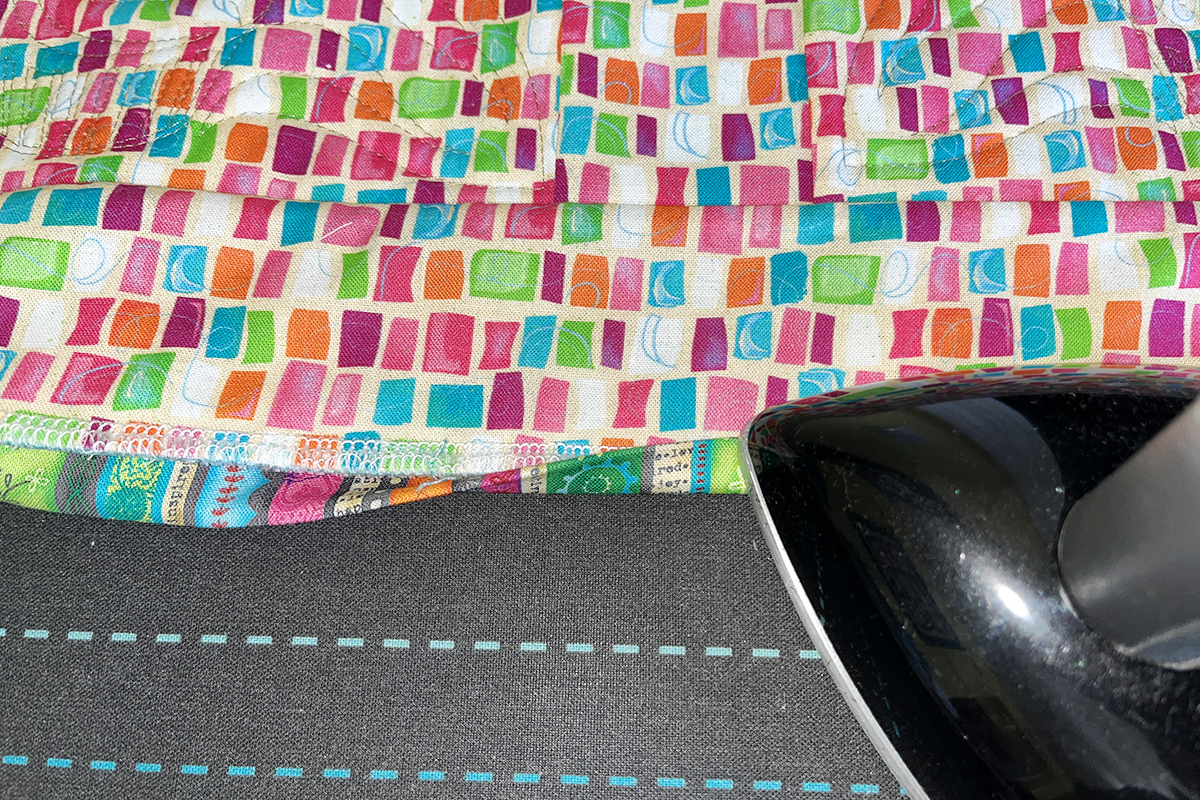
If your runner is going to be washed, you may want to make sure the binding is extra secure. Use a 3-thread narrow coverstitch with some fun decorative thread in the chain looper and topstitch the binding down using the Coverstitch Compensating Foot #C12. The floating toes on the foot keep it level on the binding and runner.

Your Cupcake Table Runner is complete! I hope you enjoyed stitching it together. Even if today is not your birthday, I think you deserve a cupcake!
Happy creating!