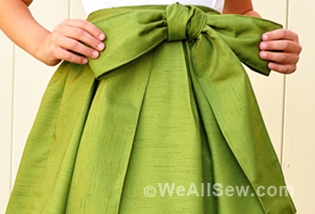
Transform a Tablecloth into a Circle Skirt
Hi everyone! I’m Zeta of @zetamakesthings, and I’ve recently discovered the joys of turning old tablecloths into pretty new clothes, so here’s how I made a tablecloth into this skirt!
For those of you who prefer watching video tutorials, I made a video of me making a different skirt using the same method available on the bernette Instagram page here.
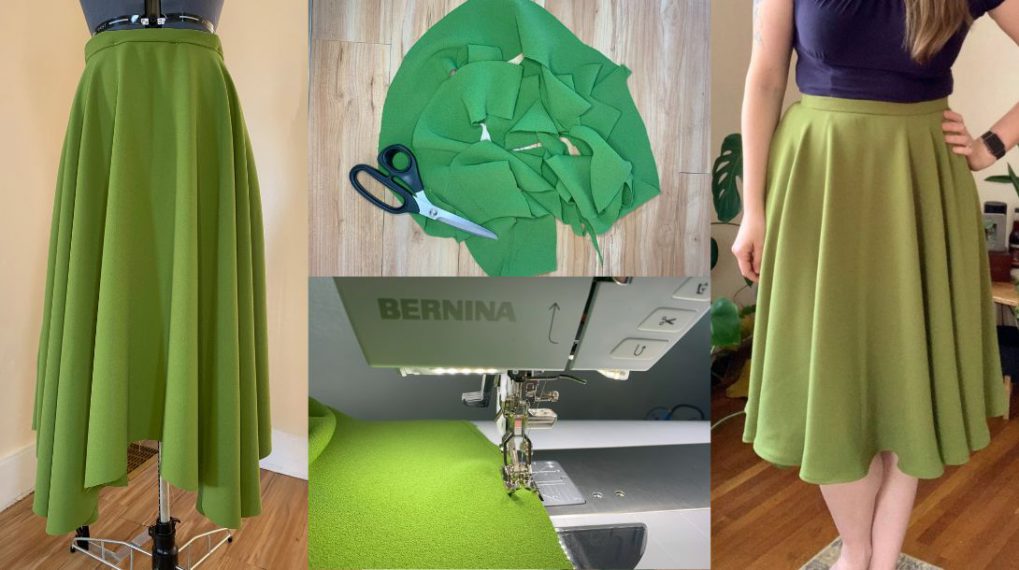
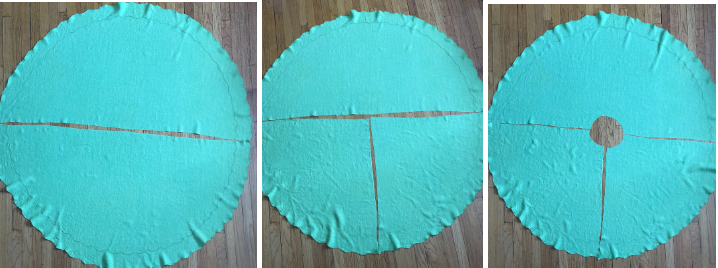
I’m starting off by laying the tablecloth out flat on my floor. (It appears to be wildly different shades of green depending on the lighting in the photo for some reason, but it was initially a white tablecloth that I dyed green. Next, I’m folding it in half twice to find the exact midpoint.
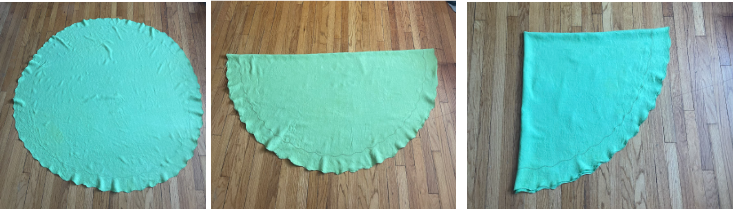
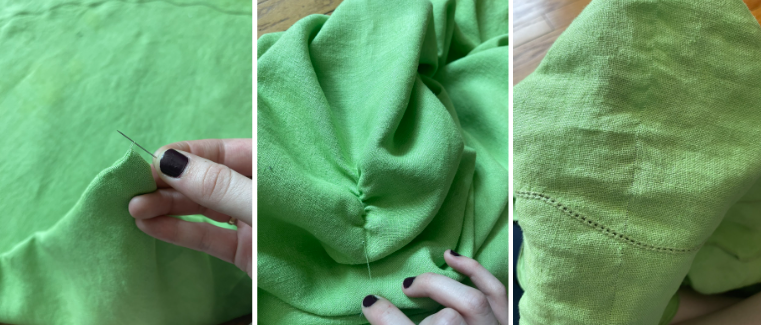
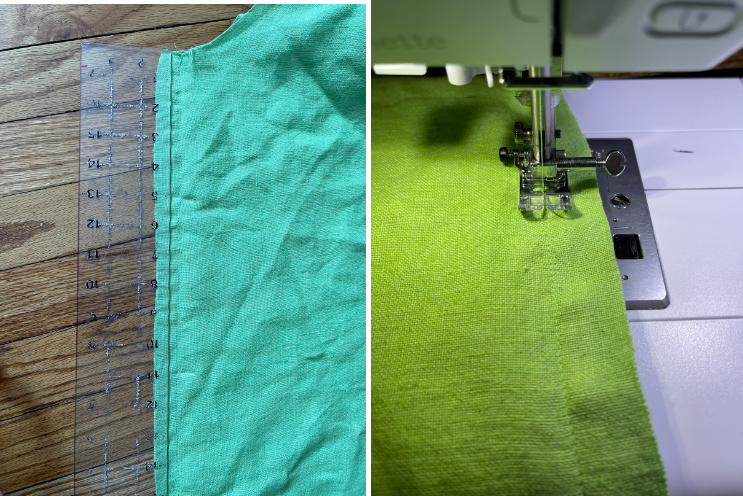
Because my tablecloth is linen and thus particularly prone to refusing to stay on grain, I’m using this midpoint to draw out a singular thread in the weave of the fabric to show what line I should cut along to cut my fabric in half.
This step I’m then repeating with one of my panels to get a centre back seam, and cutting out a bit of fabric from the middle for where my waist will go. Cut much less fabric than you think you’ll need here, as you can always cut more away if it ends up being too small.
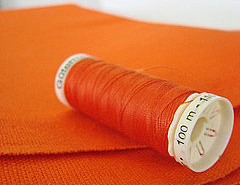
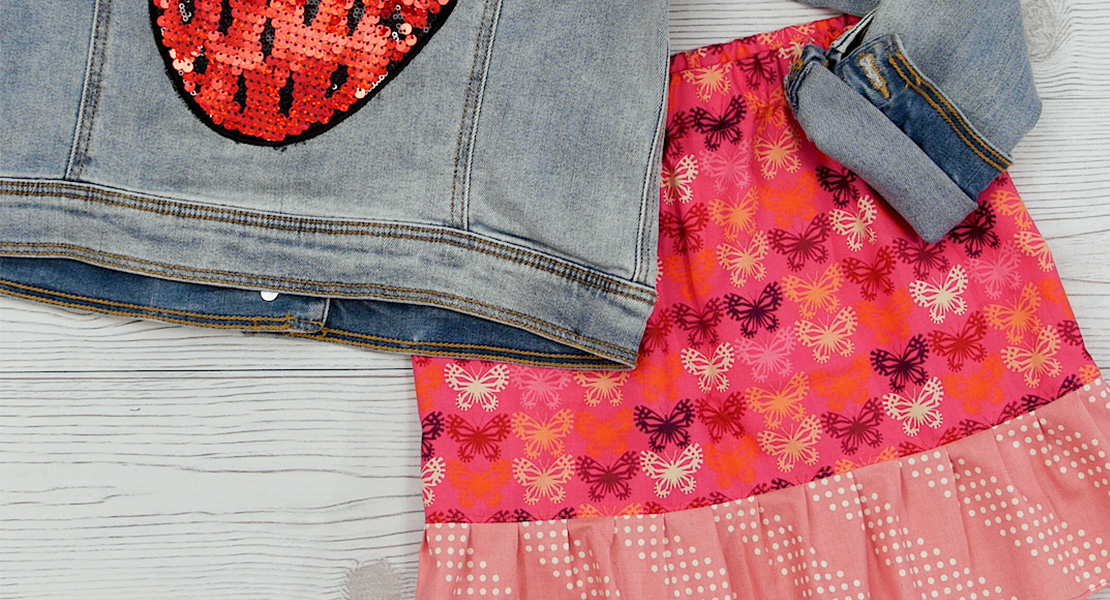
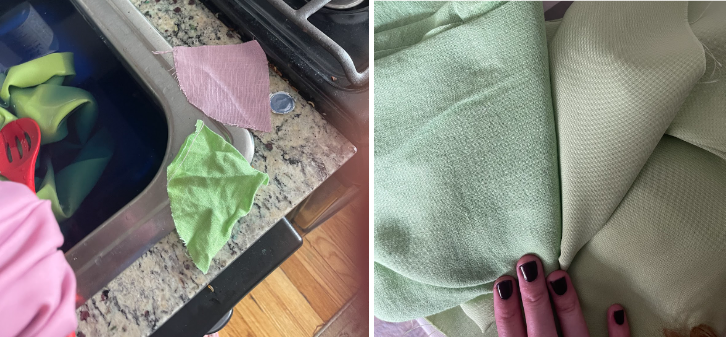
Next, I went to the fabric store to look for some fabric that was a close enough shade to my fabric. I’m making another pink skirt at the same time as this one, and both needed to be just a little more blue, hence why that’s in frame in the first photo. I’m not sure my waistband fabric really took the dye at all since it was polyester, but it was a close enough shade to my skirt that I was happy with it.
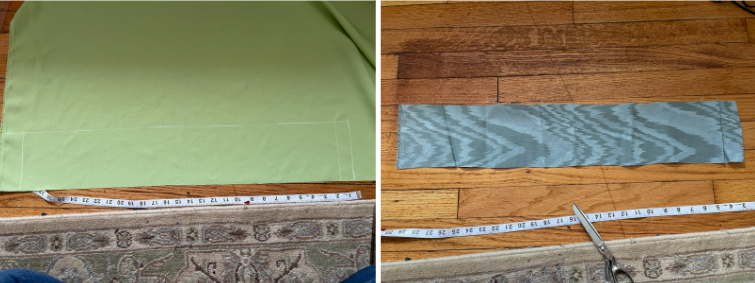
For my waistband, I’m measuring out a strip of fabric the length of my waist, plus seam allowance and a little extra for where the closures will overlap. This piece is also twice the width I want my waistband to be, plus an inch for seam allowance. Then, to give my waistband some structure, I’m cutting a strip of this other very stiff fabric I found in my fabric bin. You can use interfacing, old stale elastic, really whatever your heart desires to give the waistband a little more structure.
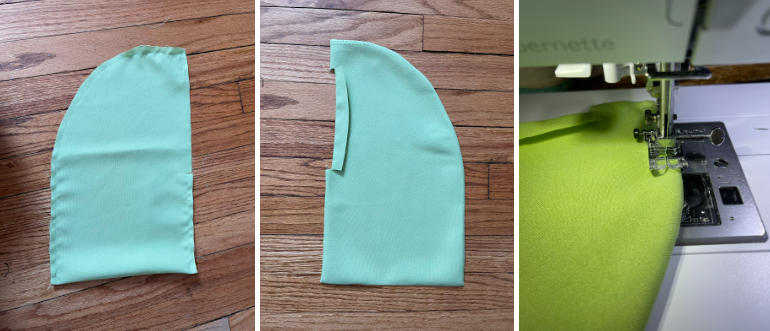
Onto pockets, I’m taking the leftover fabric I used from my waistband and folding it up so there are 4 layers of it. Then I’m drawing a line to mark the width I want my pocket to be, and another two marks along the side. One two inches down from the top, another 8 inches. I’m cutting a half inch long notch along those marks, as that’ll be where my pocket opening is. Then I’m rounding off the top and cutting it all out.

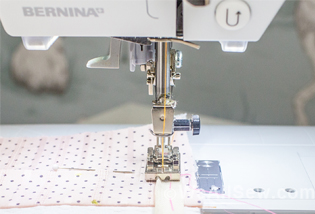
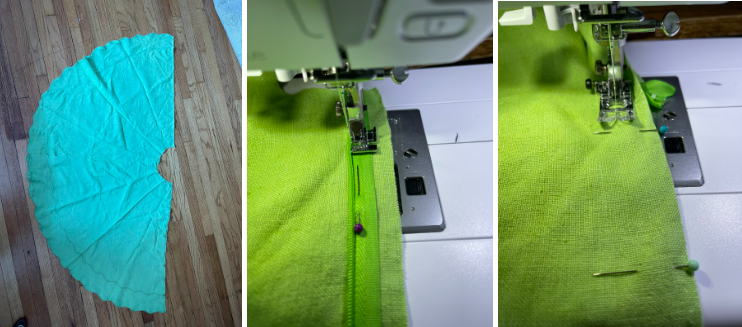
Now to get to stitching. First comes stitching up those side seams. Then double-check to make sure your waist measurement is fitting well before stitching the zipper into the centre back and closing the rest of that seam.
Jumping back to pockets, I’m marking the side seam 5 inches down from the waist, and 6 inches down from that. Then I’m backstitching those two points to stabilize them before pressing the seam open and seam ripping out the thread between those two marks.
When it comes to making the actual pockets themselves, I’m doing these via french seam. Essentially I’m sewing around the edge of the pocket, clipping away and excess seam allowance, turning it inside out, pressing it, and then sewing around the edge again to encase any raw edges.
Then I’m adding some twill tape to the top of the pocket. This will get stitched into the waistband later and is there to make it so the weight of anything placed in the pocket hangs from the waistband rather than pulling on the side seam and causing that to warp out of shape.
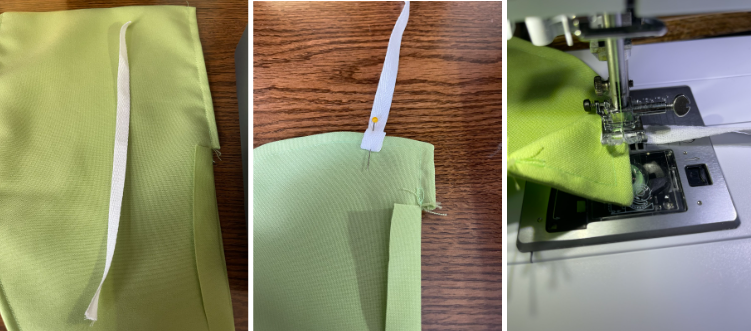
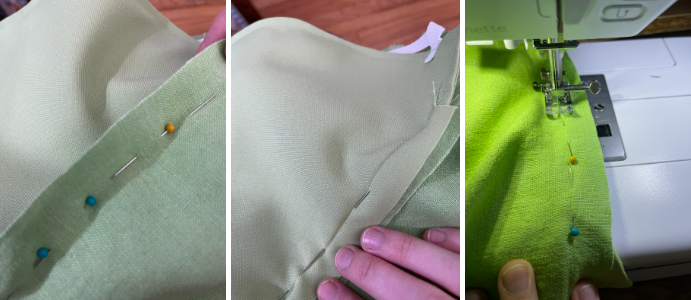
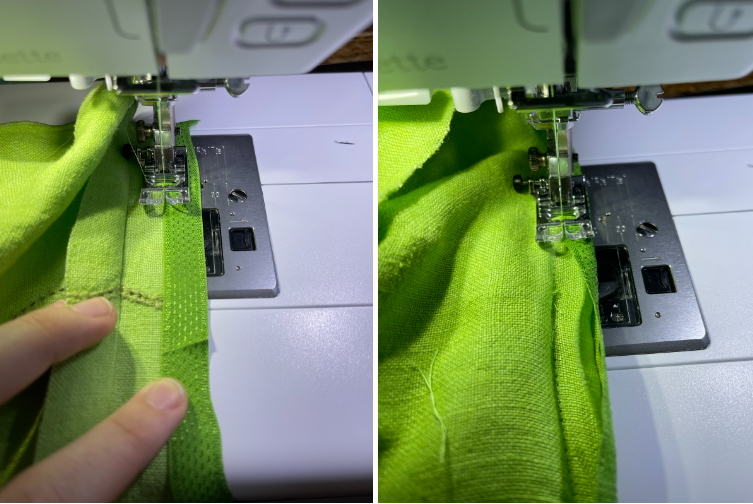
Now to stitch the pocket into place. I’ve always found it was easier to stitch the pocket down with the skirt side facing up, that way you can make sure you’re continuing along the exact line marked by the crease created by pressing the seam open earlier.
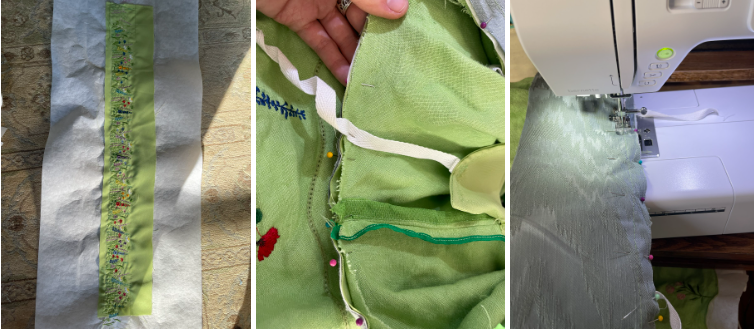
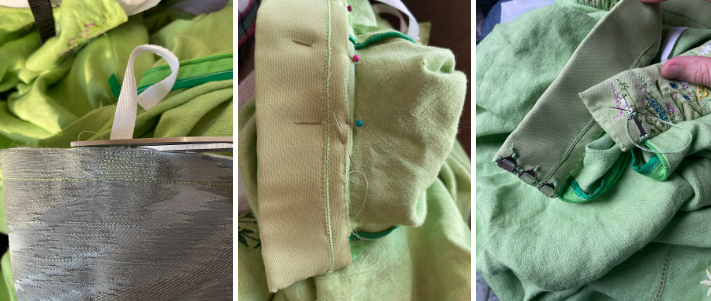
To finish all my seams, I’m just taking some hem tape I found in my fabric bin that happened to be the perfect colour, and using that to bind all my raw edges.
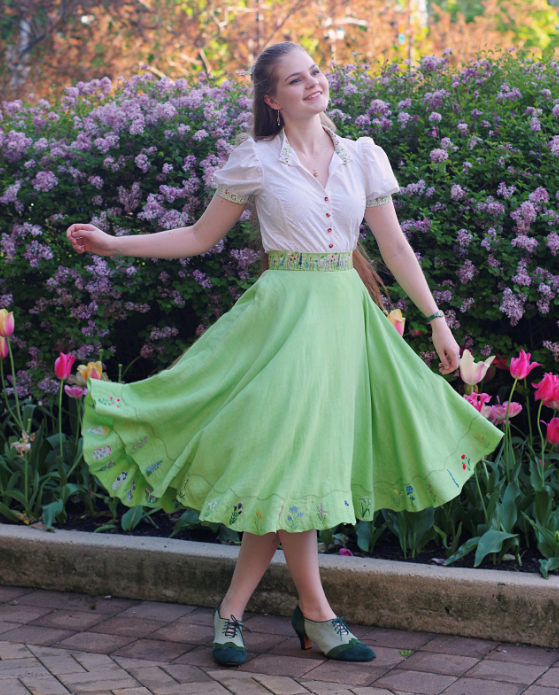
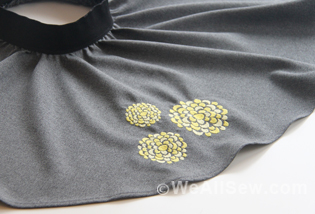
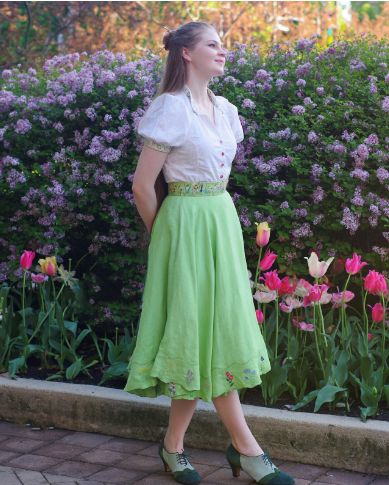
Now for the waistband. I decided the skirt was going to be a little plain if it was just green, so I added flowers to the waistband and hem. If you’d like more information on that exact process, I made another video about it here, but that extra step is definitely not necessary. After trimming away the embroidery backing, I’m stitching the waistband into place, making sure to catch the interfacing and those little bits of twill tape that attach to the top of the pocket.
After trimming away the excess twill tape, I’m stitching the waistband down by hand to the other side. (When cutting my waistband I did not initially account for how wide the embroidery actually ended up being, so there’s a little seam there where I had to piece more waistband together.) Finally, some hooks and bars are added to the back for a closure.
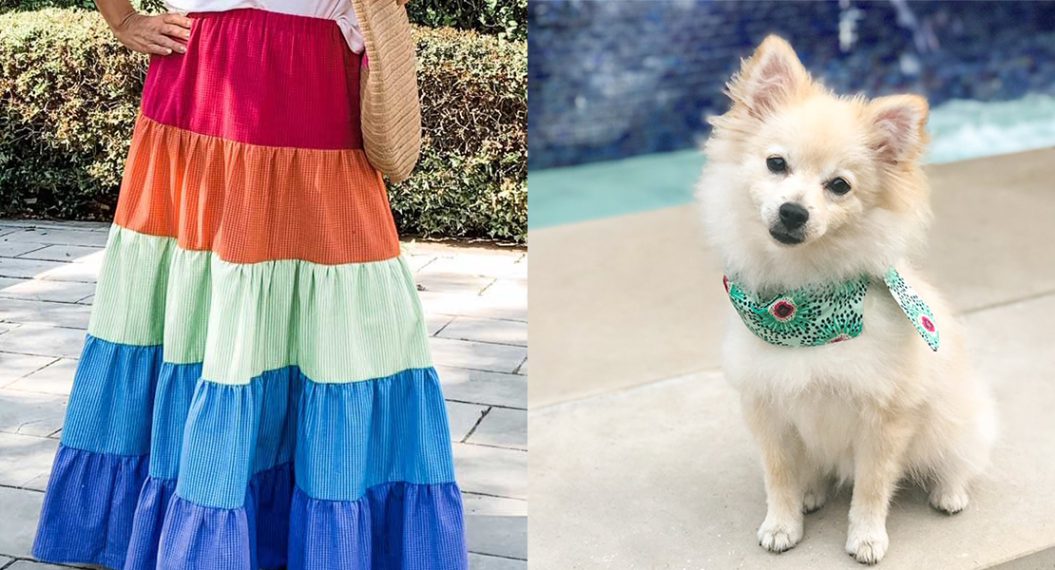
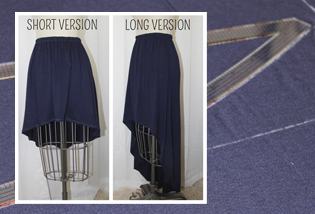
Here’s the final skirt!