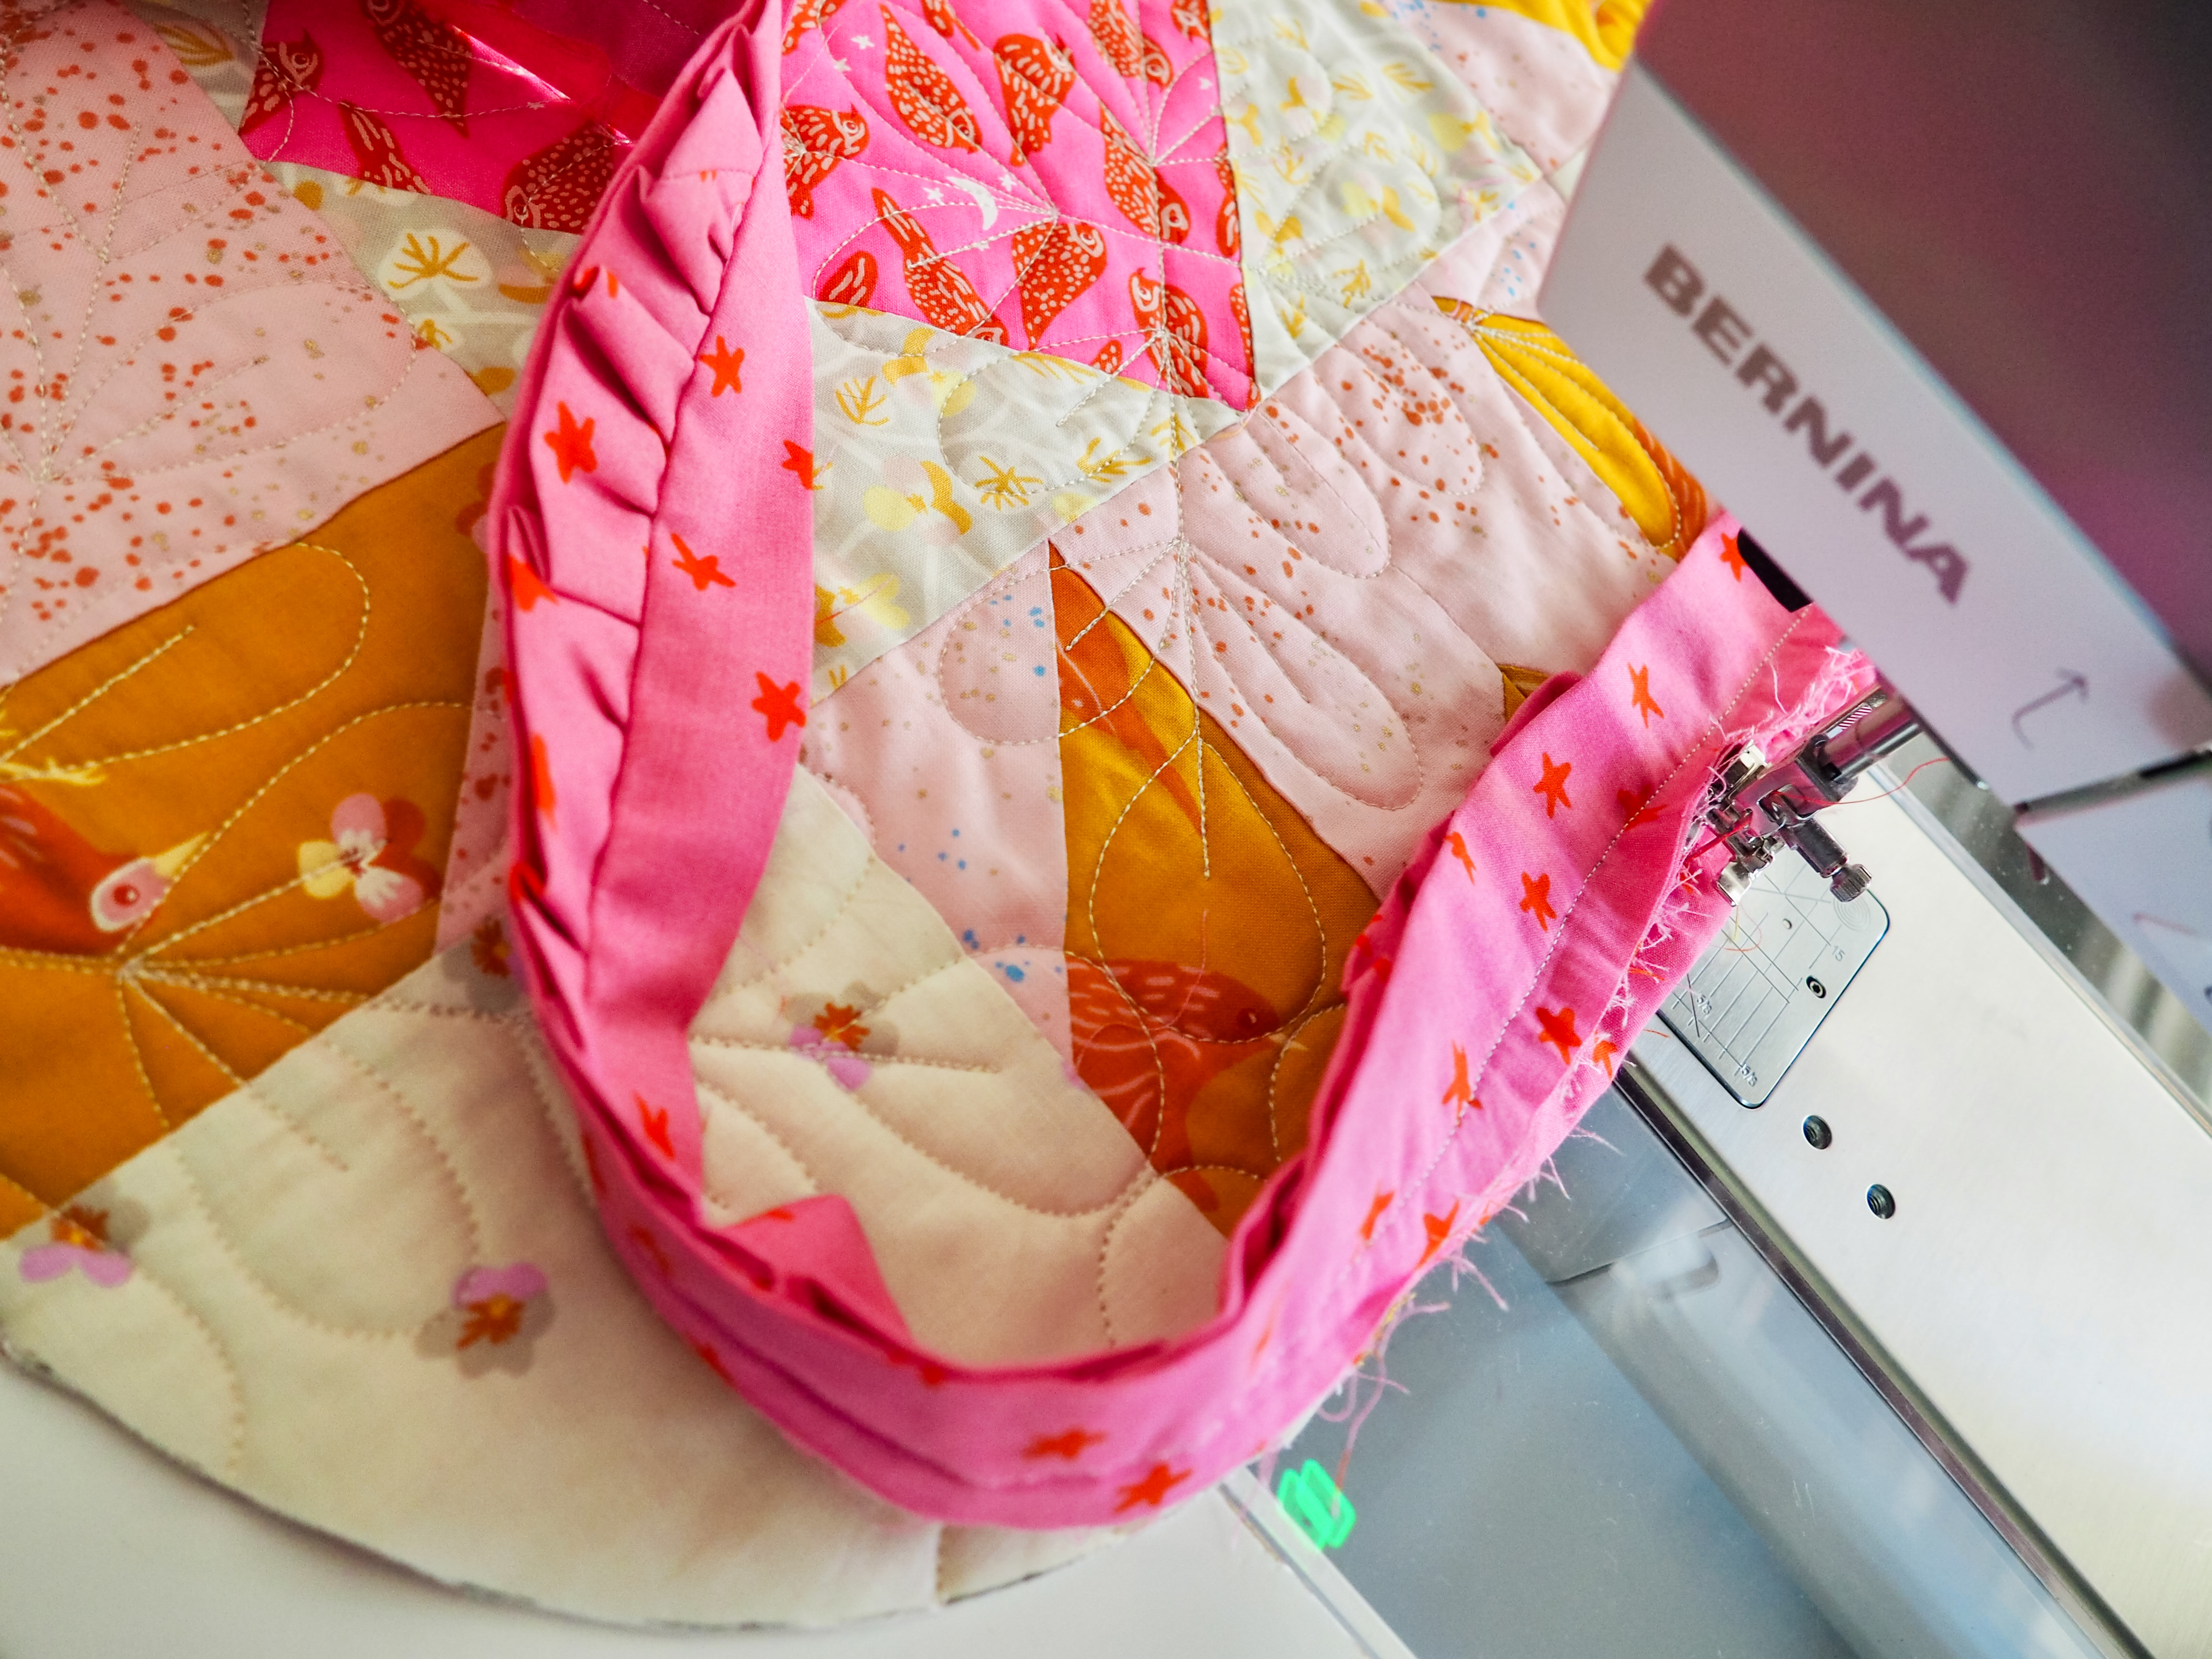
Ruffle Quilt Binding: A Fun, Flouncy, & Fabulous Finish
Hiya, Candice from A+CO here! Picture this… you just finished a quilt top, got it back from the longarmer, and now it’s time to bind it. You just can’t picture the perfect binding so the quilt goes into your pile (you know the one… where unfinished quilts go to die). Every time you walk past the quilt you think “Gee, I really need to figure out the perfect way to finish it, if only there was something new and exciting I could do”.
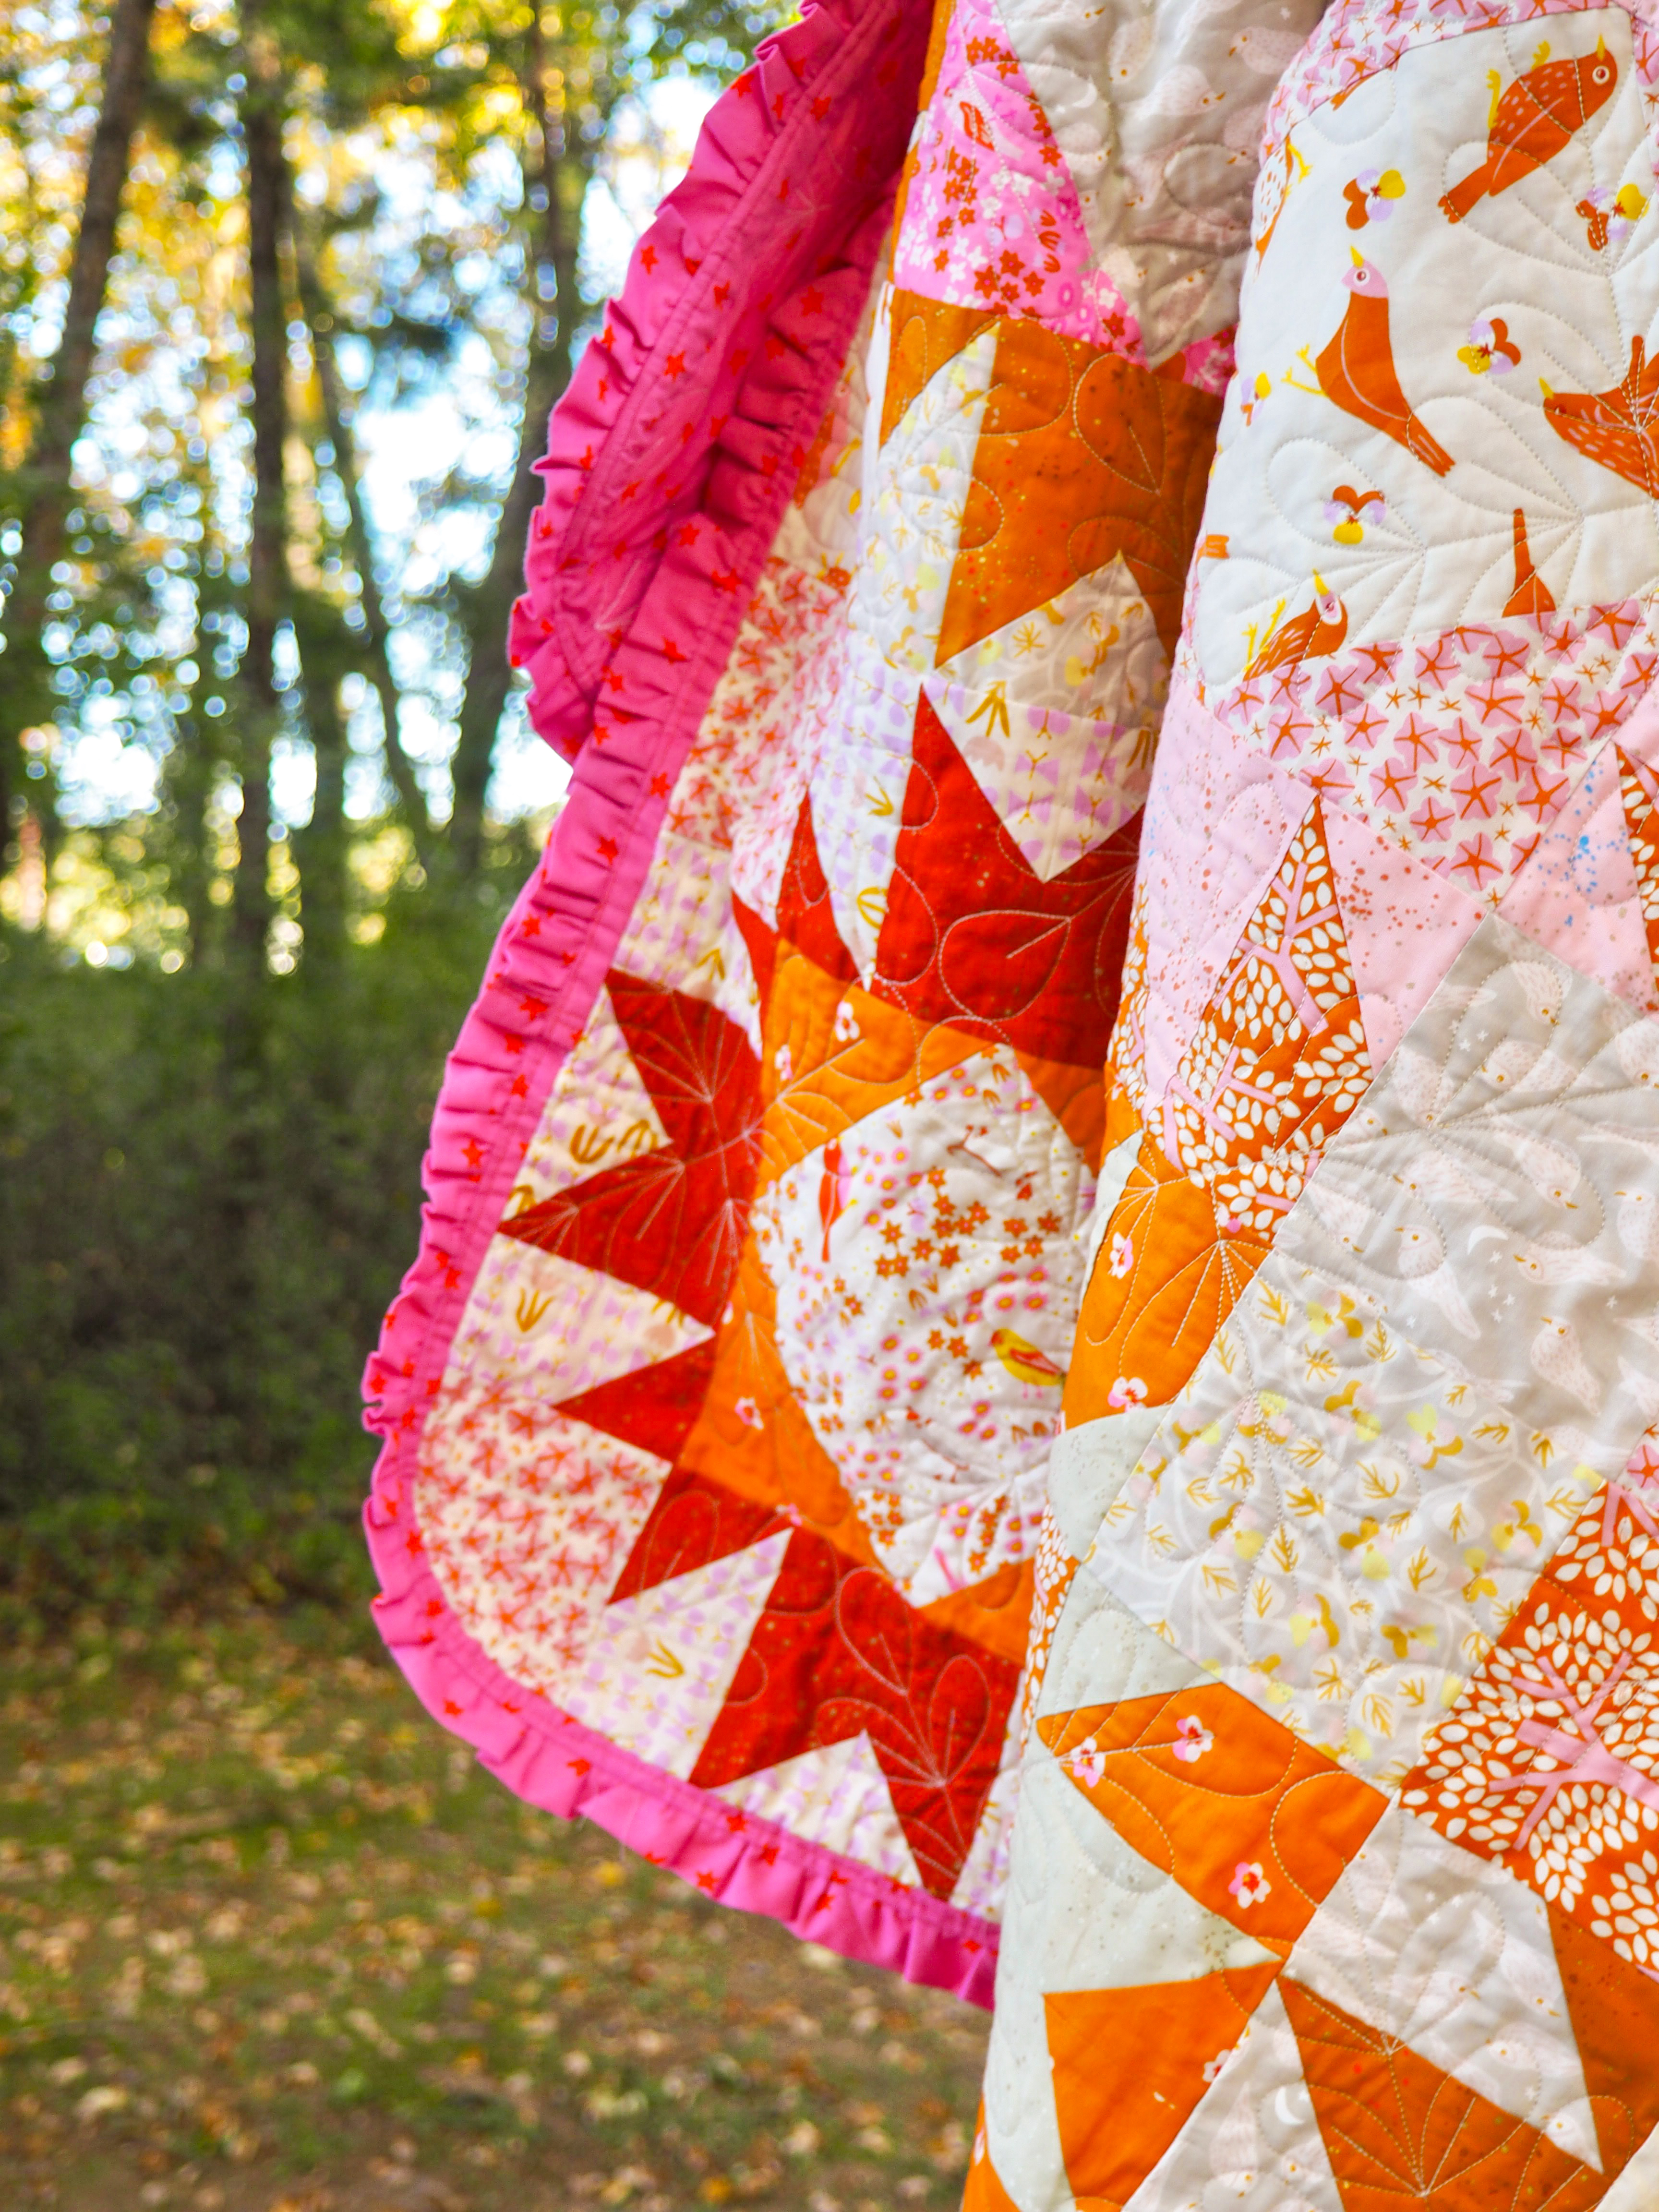
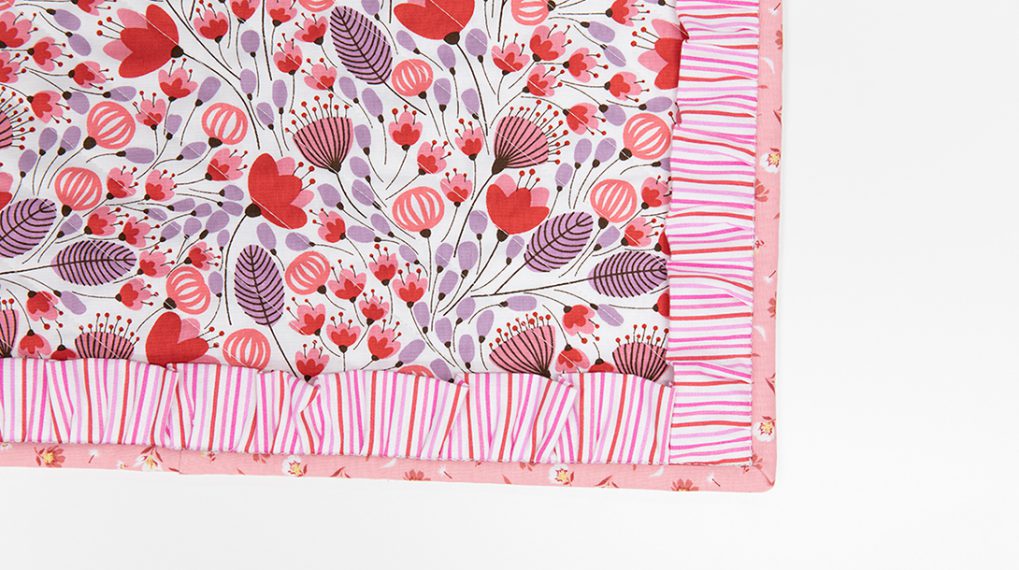
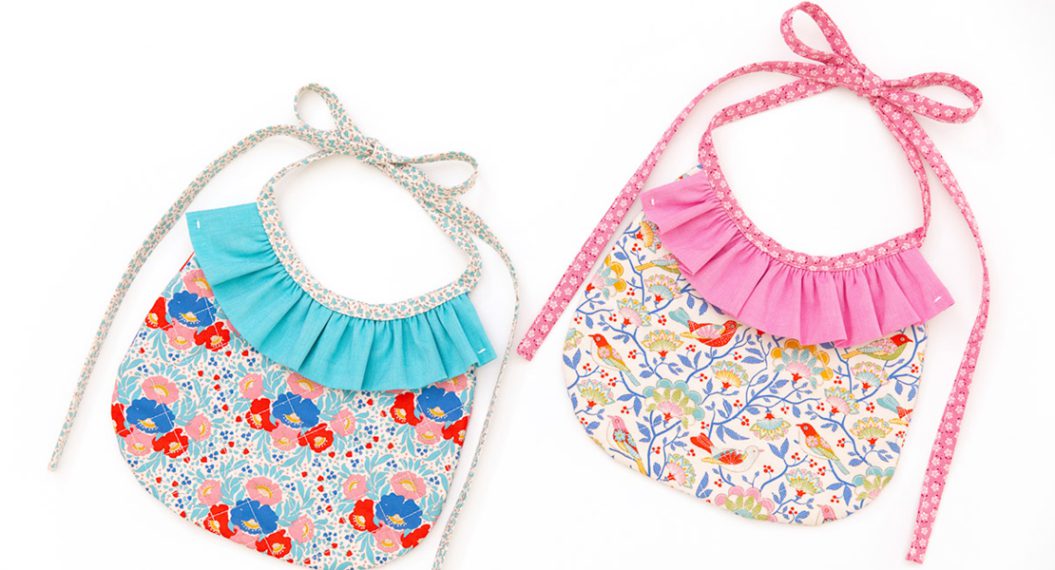
Let me introduce you to your new favorite thing: ruffle binding. Take that binding and add some pizzazz by making it frilly and flouncy. Ruffle binding is a fabulous way to finish off any quilt, including that one you banished to the pile.
I’m going to walk you through how I made and attached ruffle binding and I know that once you do it once, you’ll be hooked. Just imagine all of the things you can add ruffles to.
Materials to Make Ruffle Binding
A note on fabric requirements: While we can estimate the amount of fabric needed to make the binding, the gathering foot is not exact. The ruffles will vary in density which changes the resulting length of the fabric. I recommend to overestimate what you need, and then maybe add a little more. It is better to have some extra at the end than come up short as you are attaching to your quilt.
- BERNINA 735
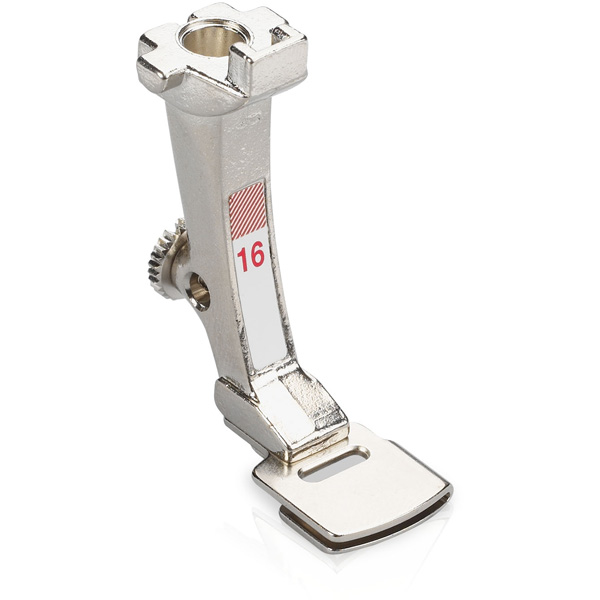
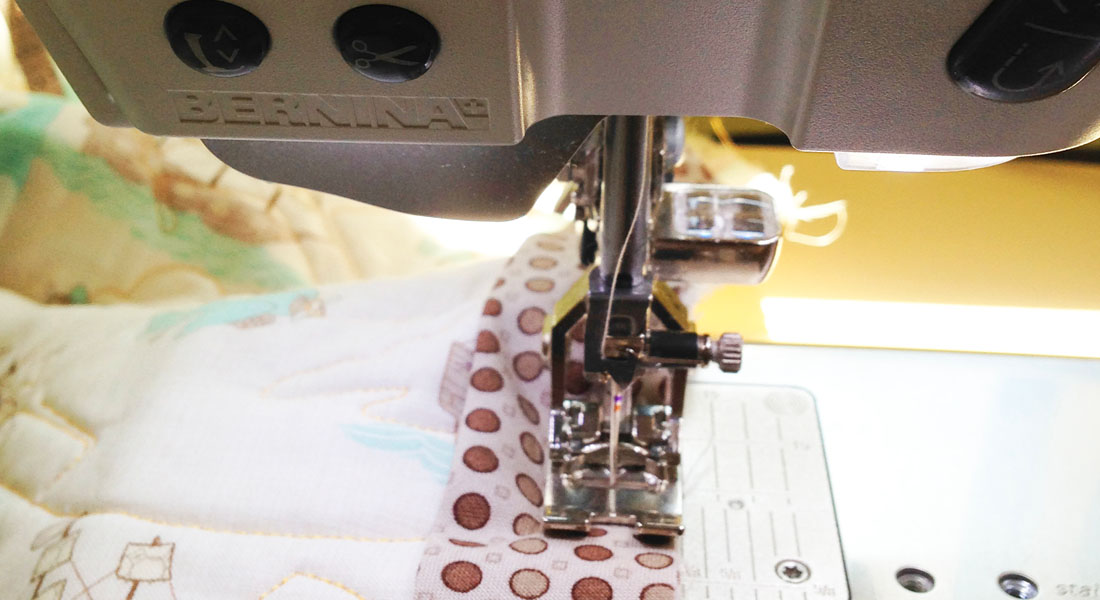
- Gathering Foot #16
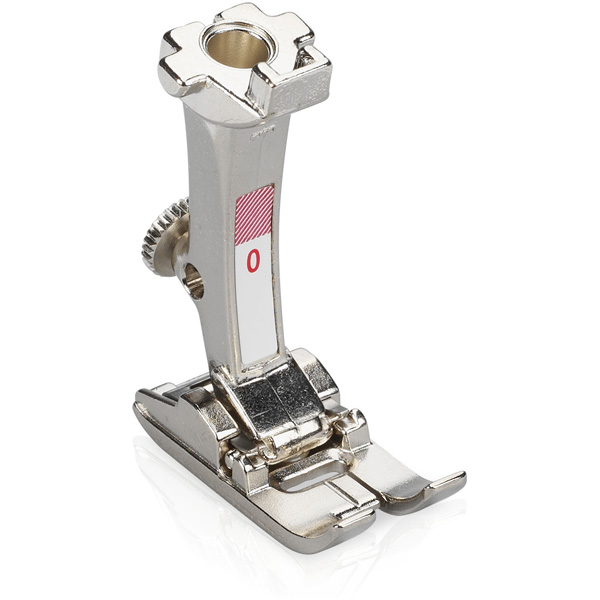
- Zig Zag Foot #0
- 50wt thread for the top and bobbin
- Iron and ironing mat or board
- Sewing notions (rotary cutter, ruler, pins/clips, etc.)
Instructions to Make Ruffle Binding
Create Test Ruffles
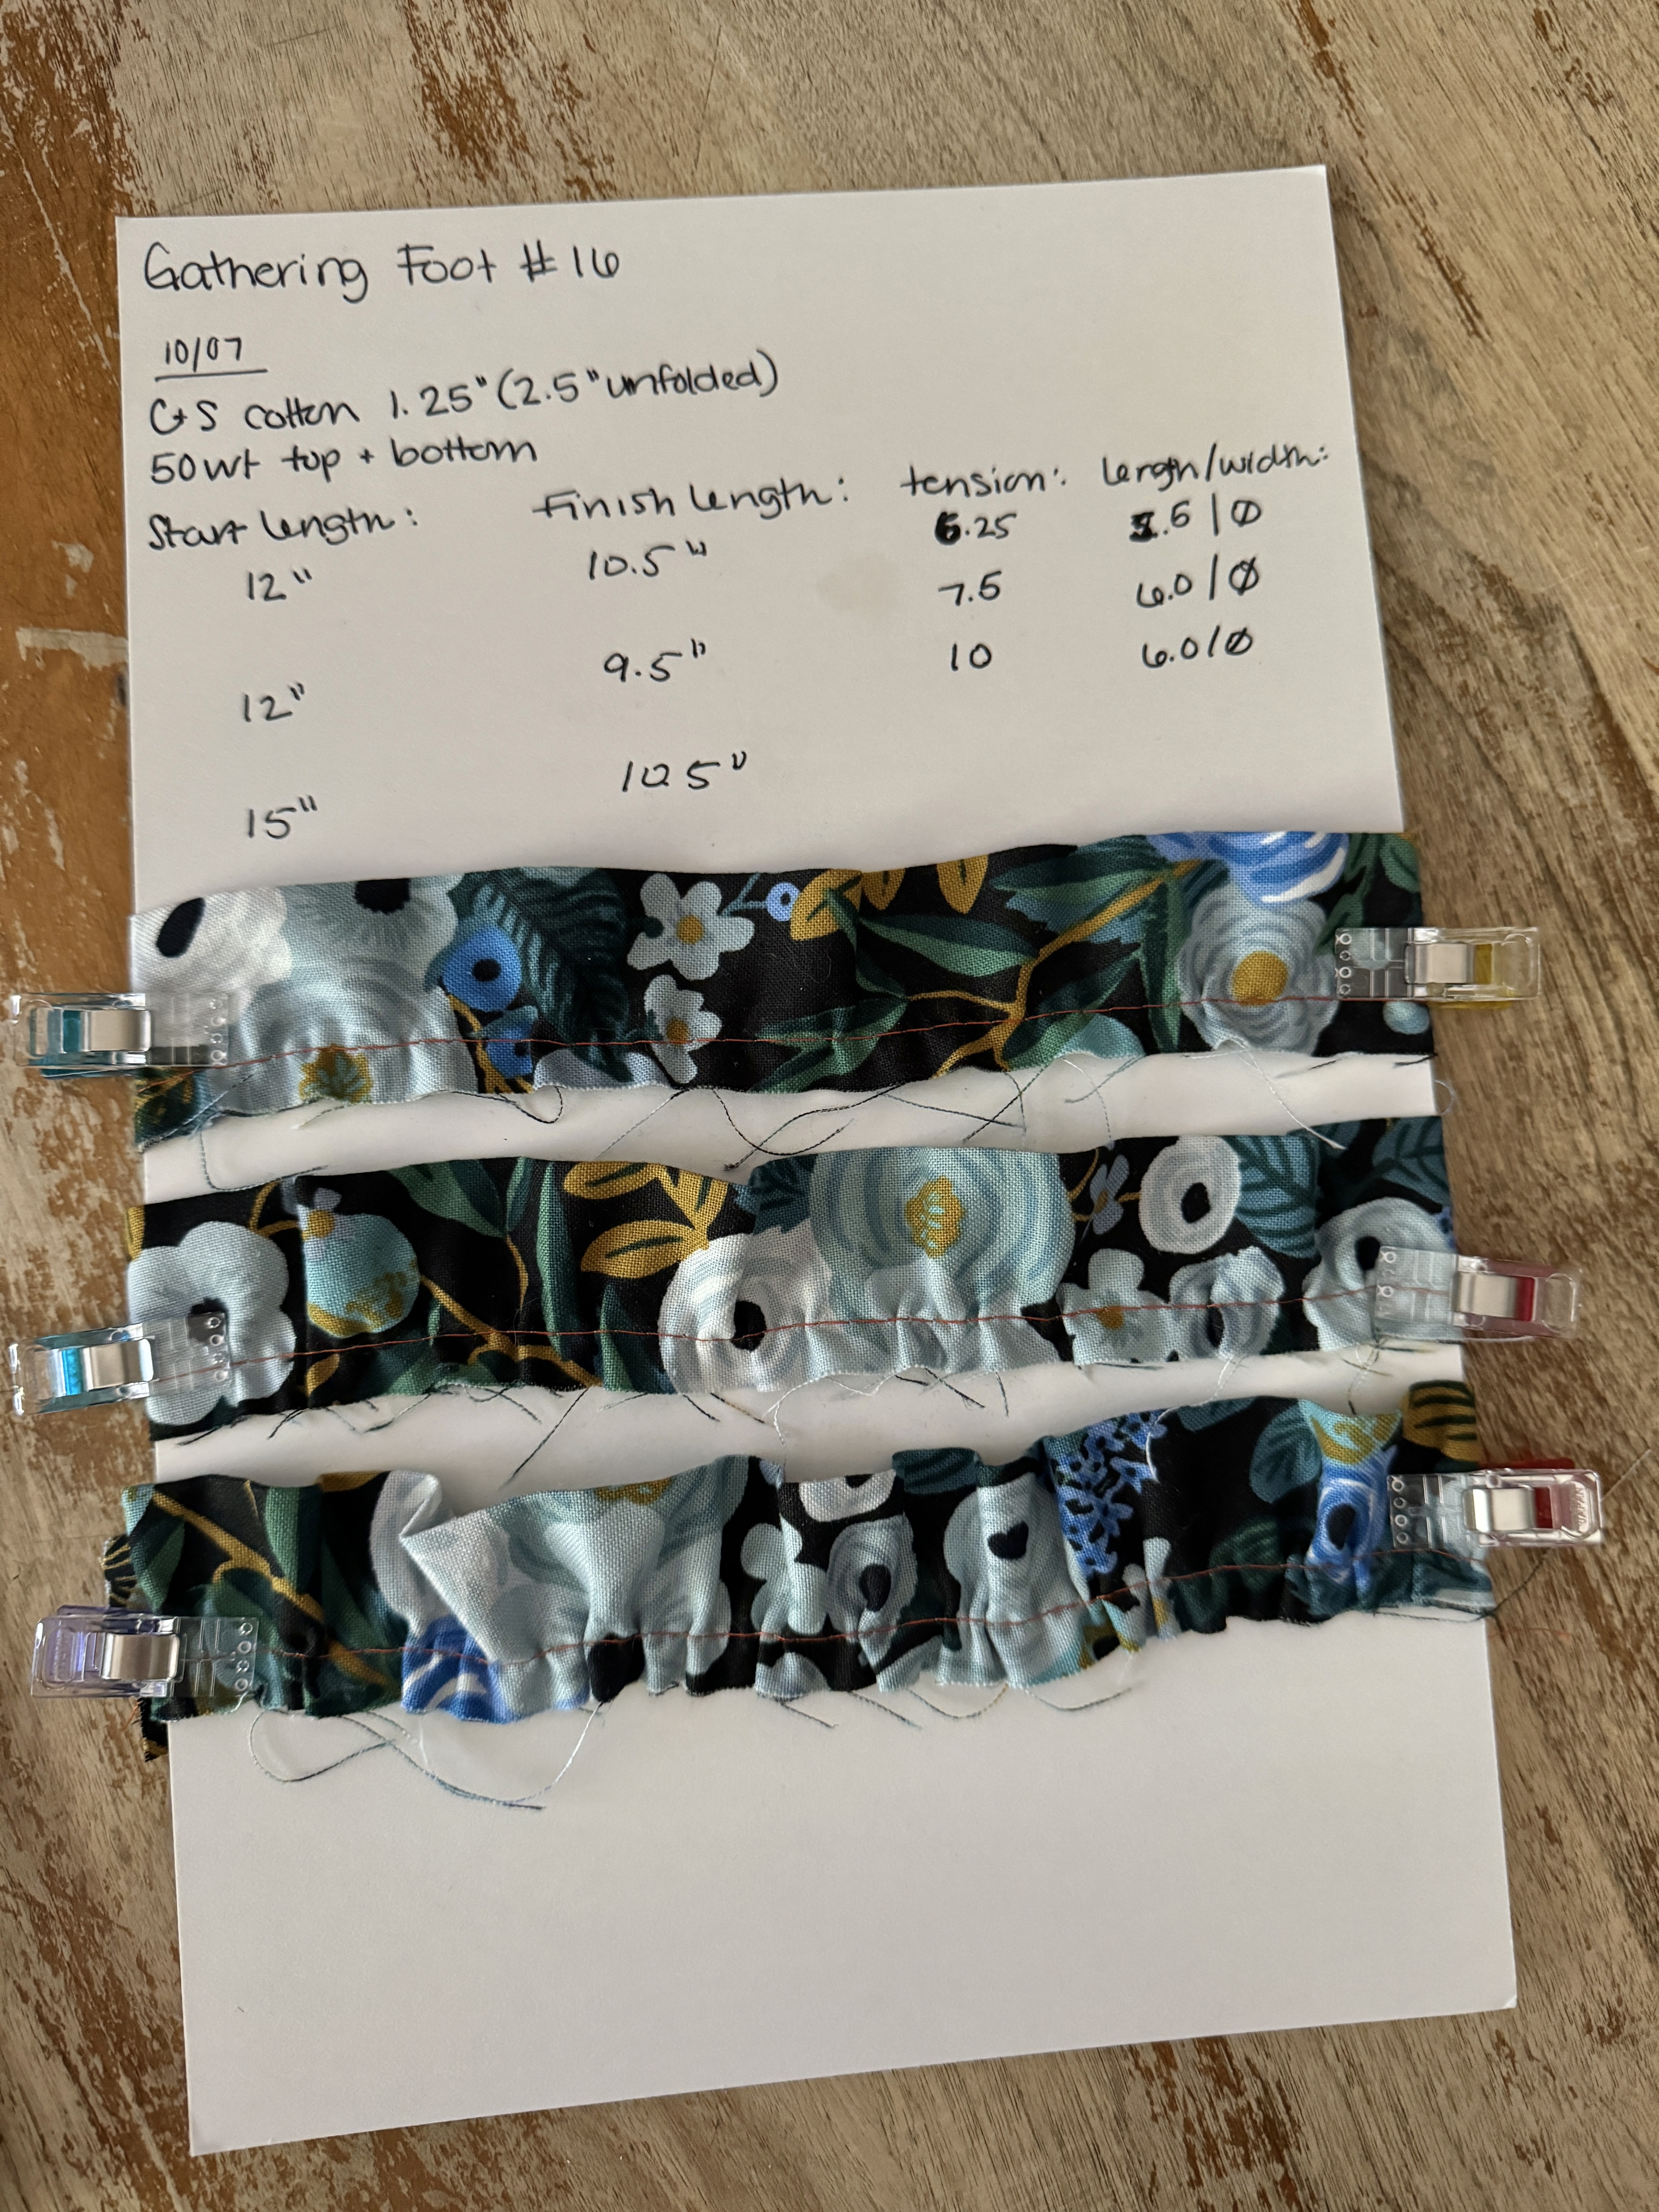
Unless you are experienced with your #16 foot (and maybe even if you are), I strongly recommend making test ruffles. This step will allow you to play with the tension and stitch length to see and feel the ruffle density, serve as a warm up for all of the ruffling to come, and most importantly, will allow you to better estimate the length you need.
To create the test ruffles:
- From your binding fabric (or a similar scrap fabric), cut a 2.5″x Width of Fabric (WOF) strip.
- Fold the strip in half lengthwise, wrong sides together. The long raw edges should be matched up/
- Sub-cut at least (3) 12″ pieces.
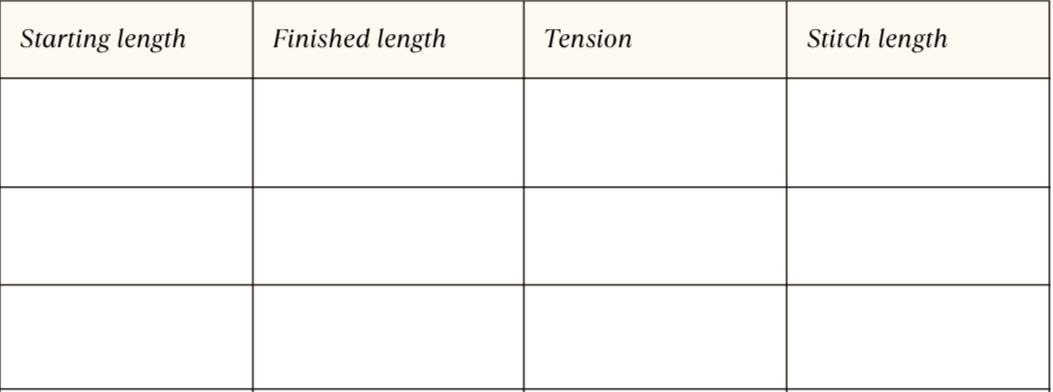
- On a piece of paper, create a table with four columns across, and as many rows as you have test strips. Label as below:
- Label your test strips to align with each of the rows on your paper
- Attach your #16 foot and adjust your stitch length to 6mm and your tension to 7.5. Note these in your table for strip 1
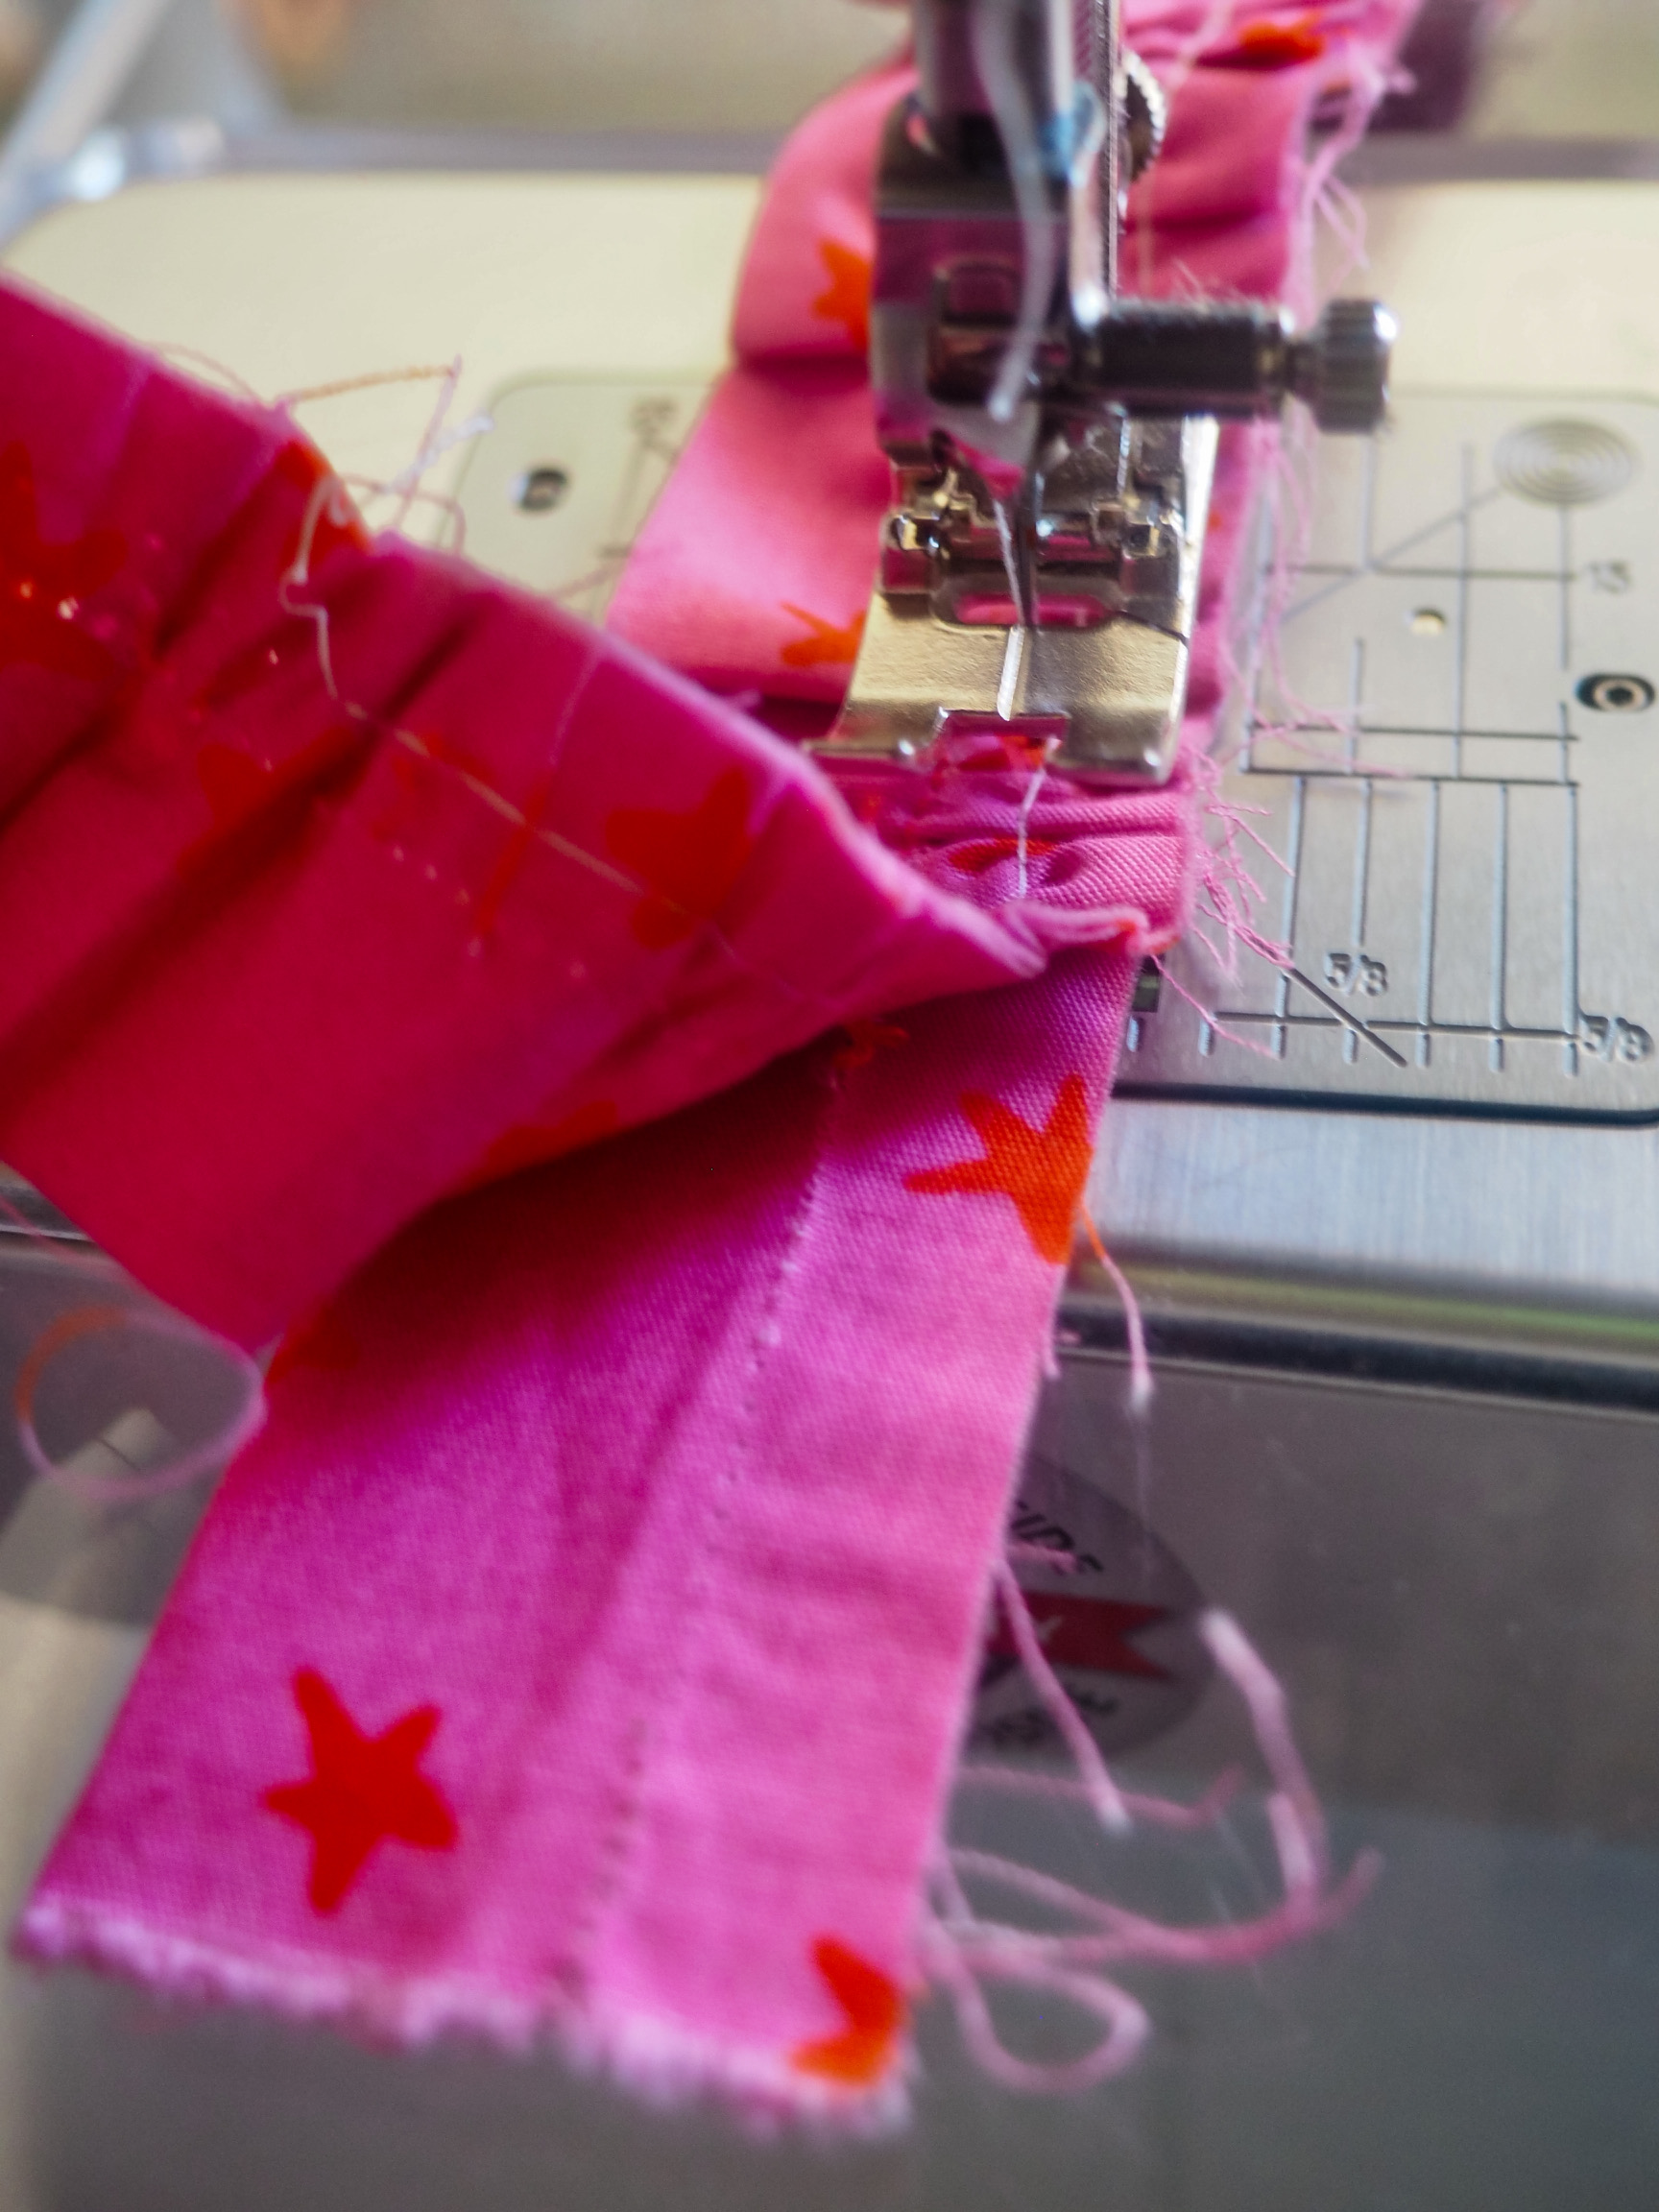
- Place your first test strip under the foot, aligning the raw edges of the strip with the right edge of the foot. Sew slowly
- As you sew, the fabric will naturally pull back to create the ruffle. I found it helpful to gently hold the fabric coming out the back of the machine. The more tension that you put on that fabric, the less ruffle there will be.
- Once you’ve sewn the length of the strip, cut the thread and remove the strip
- Measure the length of the strip by aligning the cinched raw edge on your ruler. It will naturally want to curl into itself, be gentle to not undo the ruffles but ensure that the seam is straight as you measure. Note the finished length on your table
- Repeat as needed, adjusting the stitch length and tension to determine the best settings for the ruffle density you prefer. Be sure to note the settings and finish length for each strip to refer back to. Shortening the stitch length and lowering the tension will result in less full ruffles. Lengthening the stitch length and raising the tension will create more full ruffles
Once you find a ruffle that you love, you’ll need to determine how much shrinkage you had and apply that to the full length needed. For this tutorial, we will use my 64″ x 64″ quilt as an example. You’ll need to adjust the measurements for your project using the same method. It’s also worth noting that I over estimated the lengths generously to avoid coming up short. To determine your length:
- For your desired ruffle, look at your notes to find the starting length and the finish length. This will vary for each of us, the numbers here are an example:
- Subtract the finished length (10.5) from the starting length (15). The result is 4.5
- Divide the result (4.5) by the starting length (15), which equals .3
- Multiply by 100, which equals 30%. You’ll need 30% more length than standard for your ruffle piece. Note: I rounded up to 50% to allow for variances in the ruffle density. I absolutely recommend rounding up
- My 64″ x 64″ quilt has a perimeter of 256″. Multiply the perimeter (256) by 50% (.5), which results in 384″
Knowing that I’d need about 400″, I again added more length. I cut my strips from scraps from my backing fabric that were about 75″ long. I used 8 strips, for a total of 600″. This allowed for some length lost when I joined the strips.
Cut and Prepare the Strips
We will be preparing three individual binding strip sets:
- The ruffle set
- Two (2) flat sets
- For the ruffle set: cut enough 2.5″ x WOF strips to total your ruffle length calculated above.
- Join the strips into one long strip by placing one strip face up, and a second face down at a 90-degree angle
- Sew diagonally, trim the excess, and press open
- For the first of the two flat sets: cut enough 2.5″ x WOF strips for standard binding for your quilt. My quilt has a perimeter of 256″ so I cut 300″ for each of the flat sets.
- Join the strips into one long strip by placing one strip face up, and a second face down at a 90-degree angle
- Sew diagonally, trim the excess, and press open
- Repeat for the second flat set
- You should now have three sets of 2.5″ binding strips (1 for the ruffles, 2 for the flat sets).
- For each of the sets, fold the binding in half along the long edge, wrong sides together. The long raw edges should be aligned. Press
Create the Ruffles
Using the settings from your test strip, prepare your ruffle set. You should have one very long pile of ruffles at the end.
Construct the Binding
- Attach your favorite basic sewing foot (such as #0 Zig Zag foot) and adjust your stitch length to 1.75-2mm
- Place one flat set down with the raw edges to the right. Position the ruffle set on top of the flat set, aligning the raw edges. Pin if desired
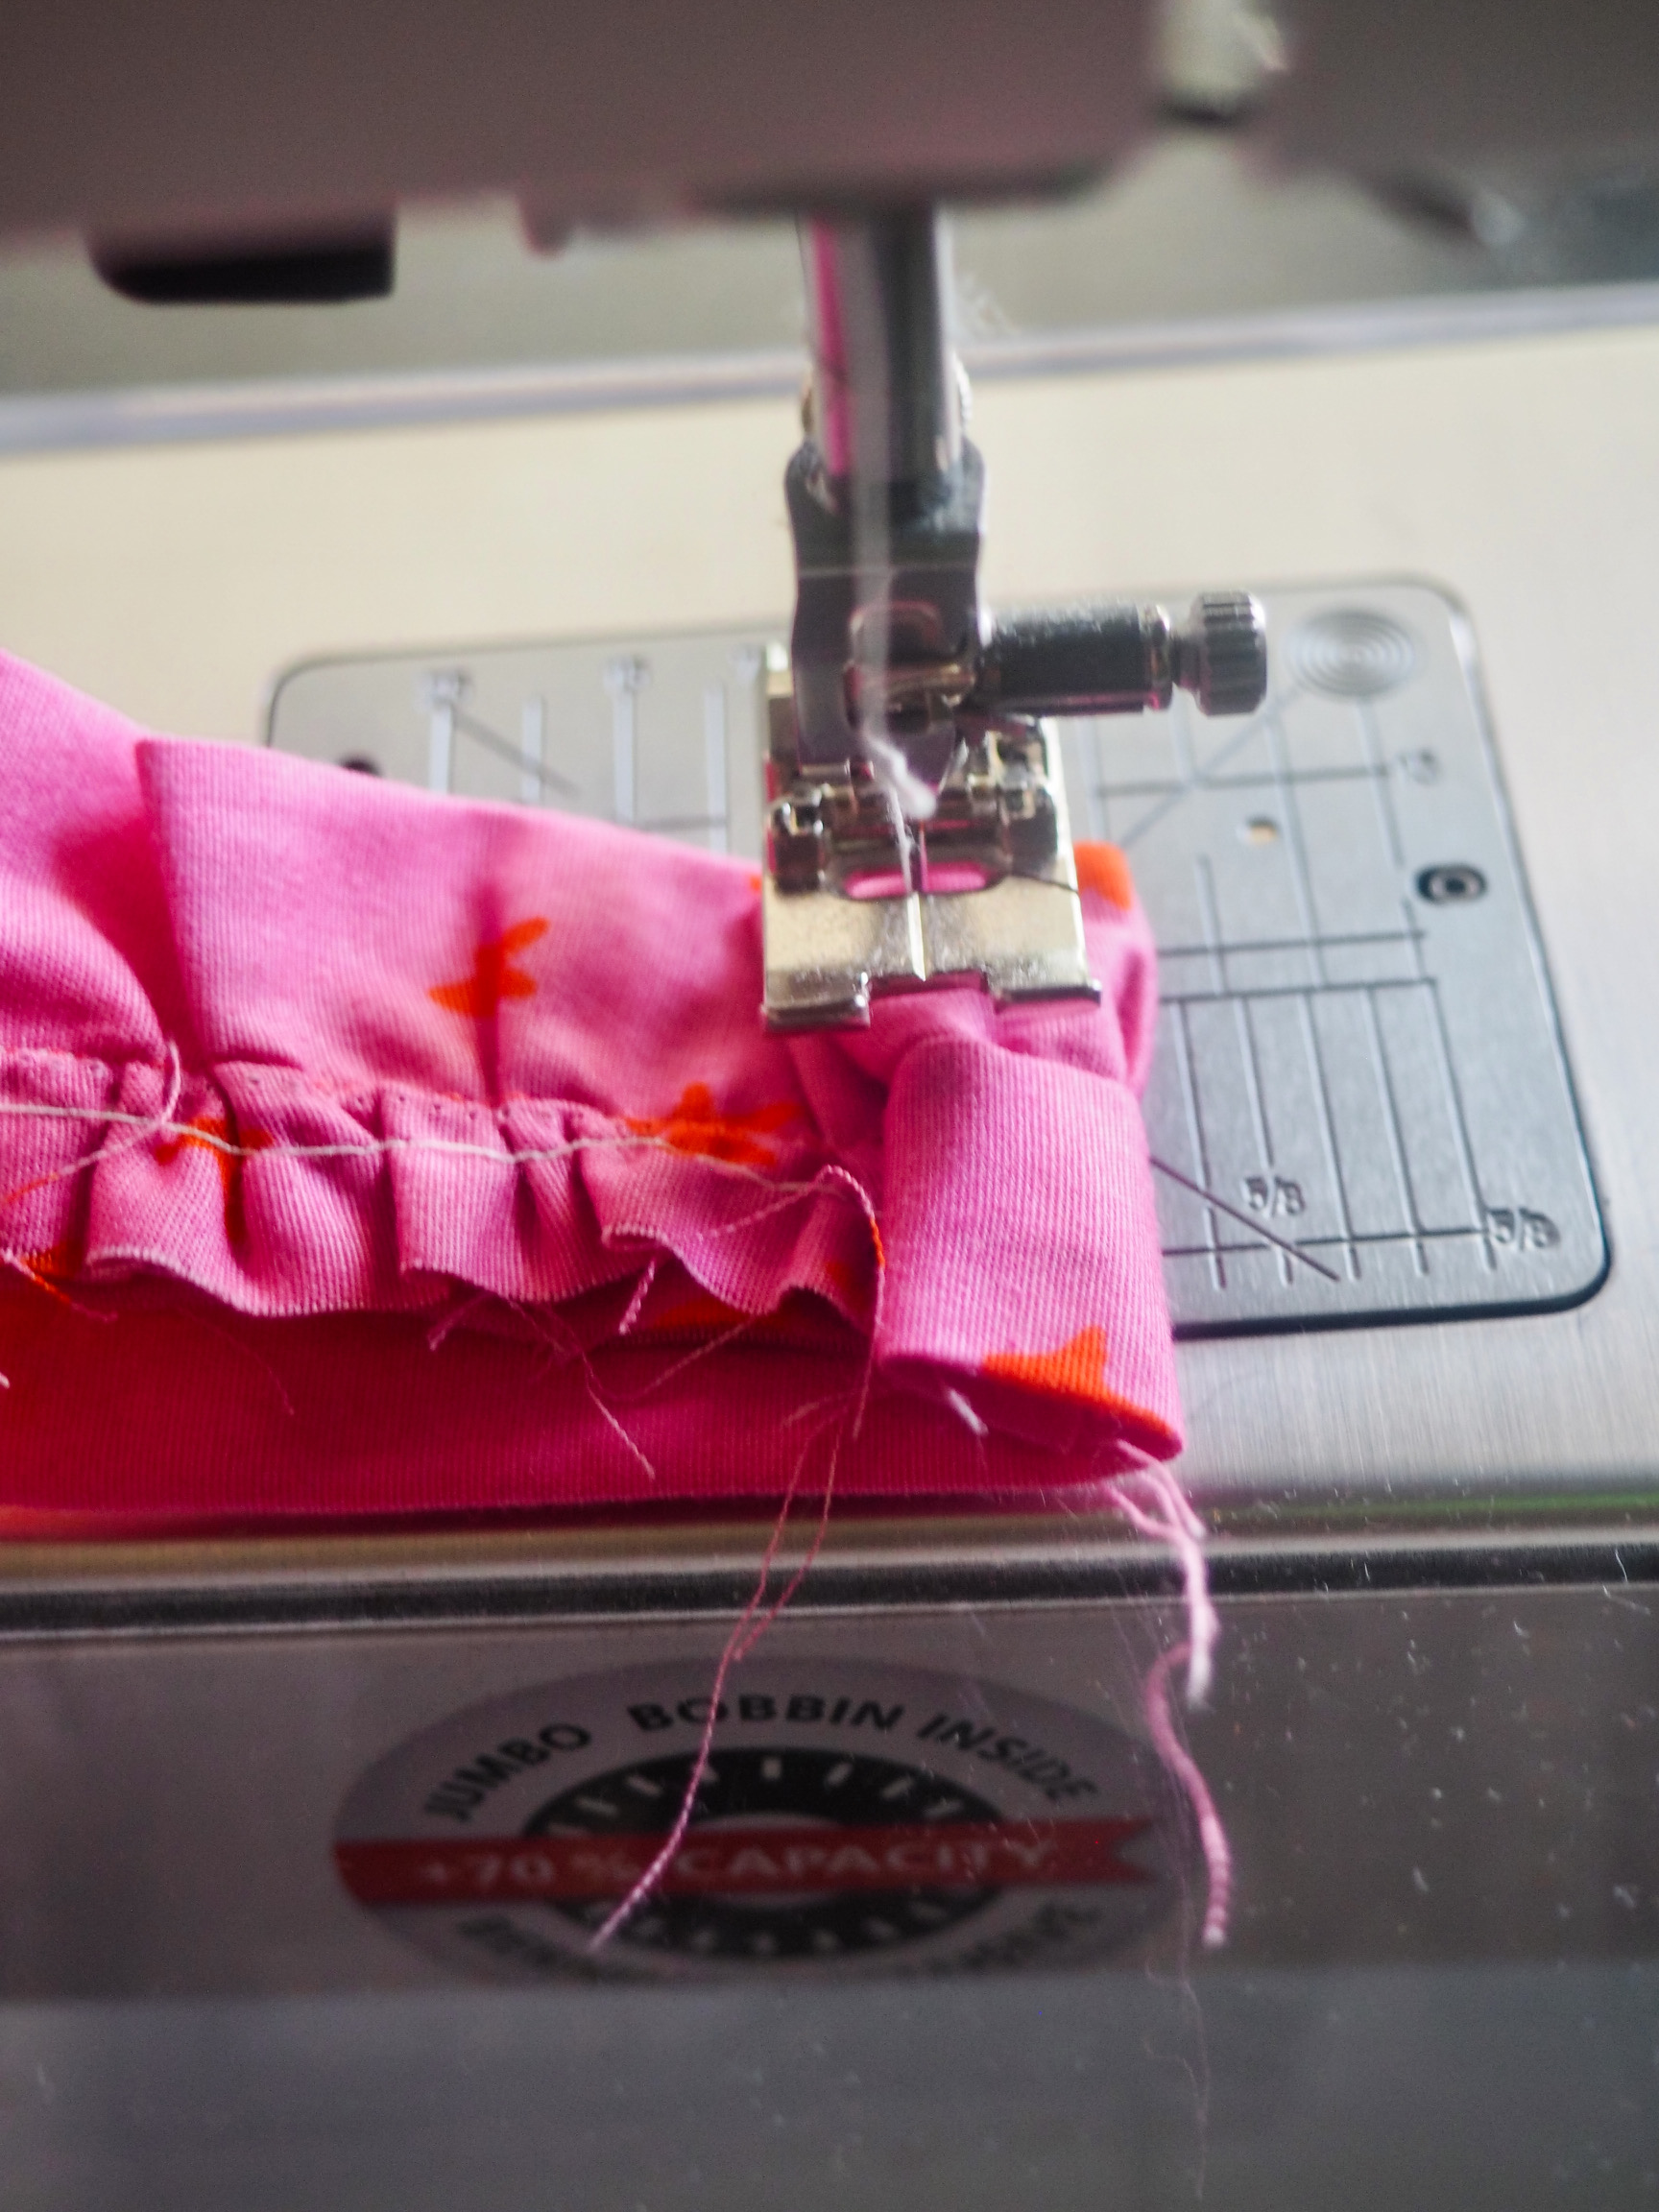
- With the two sets aligned, raw edges to the right, carefully sew along the long edge, just to the left of the binding seam. Ensure that the binding seam is included in the seam allowance to keep it hidden in the finished product. Note: Using an old postcard or piece of card stock to smoosh down the ruffles as they run under the foot helped tremendously
- Once the first flat set is complete, attach the second flat set to the other side of the ruffles using the same process
- Place the remaining flat set down, raw edges to the right
- Position the ruffle/flat set on top, with the ruffles sandwiched between the two flat sets and all of the raw edges aligned to the right
- Sew just to the left of (or right on top of) the seam used to attach the first flat set
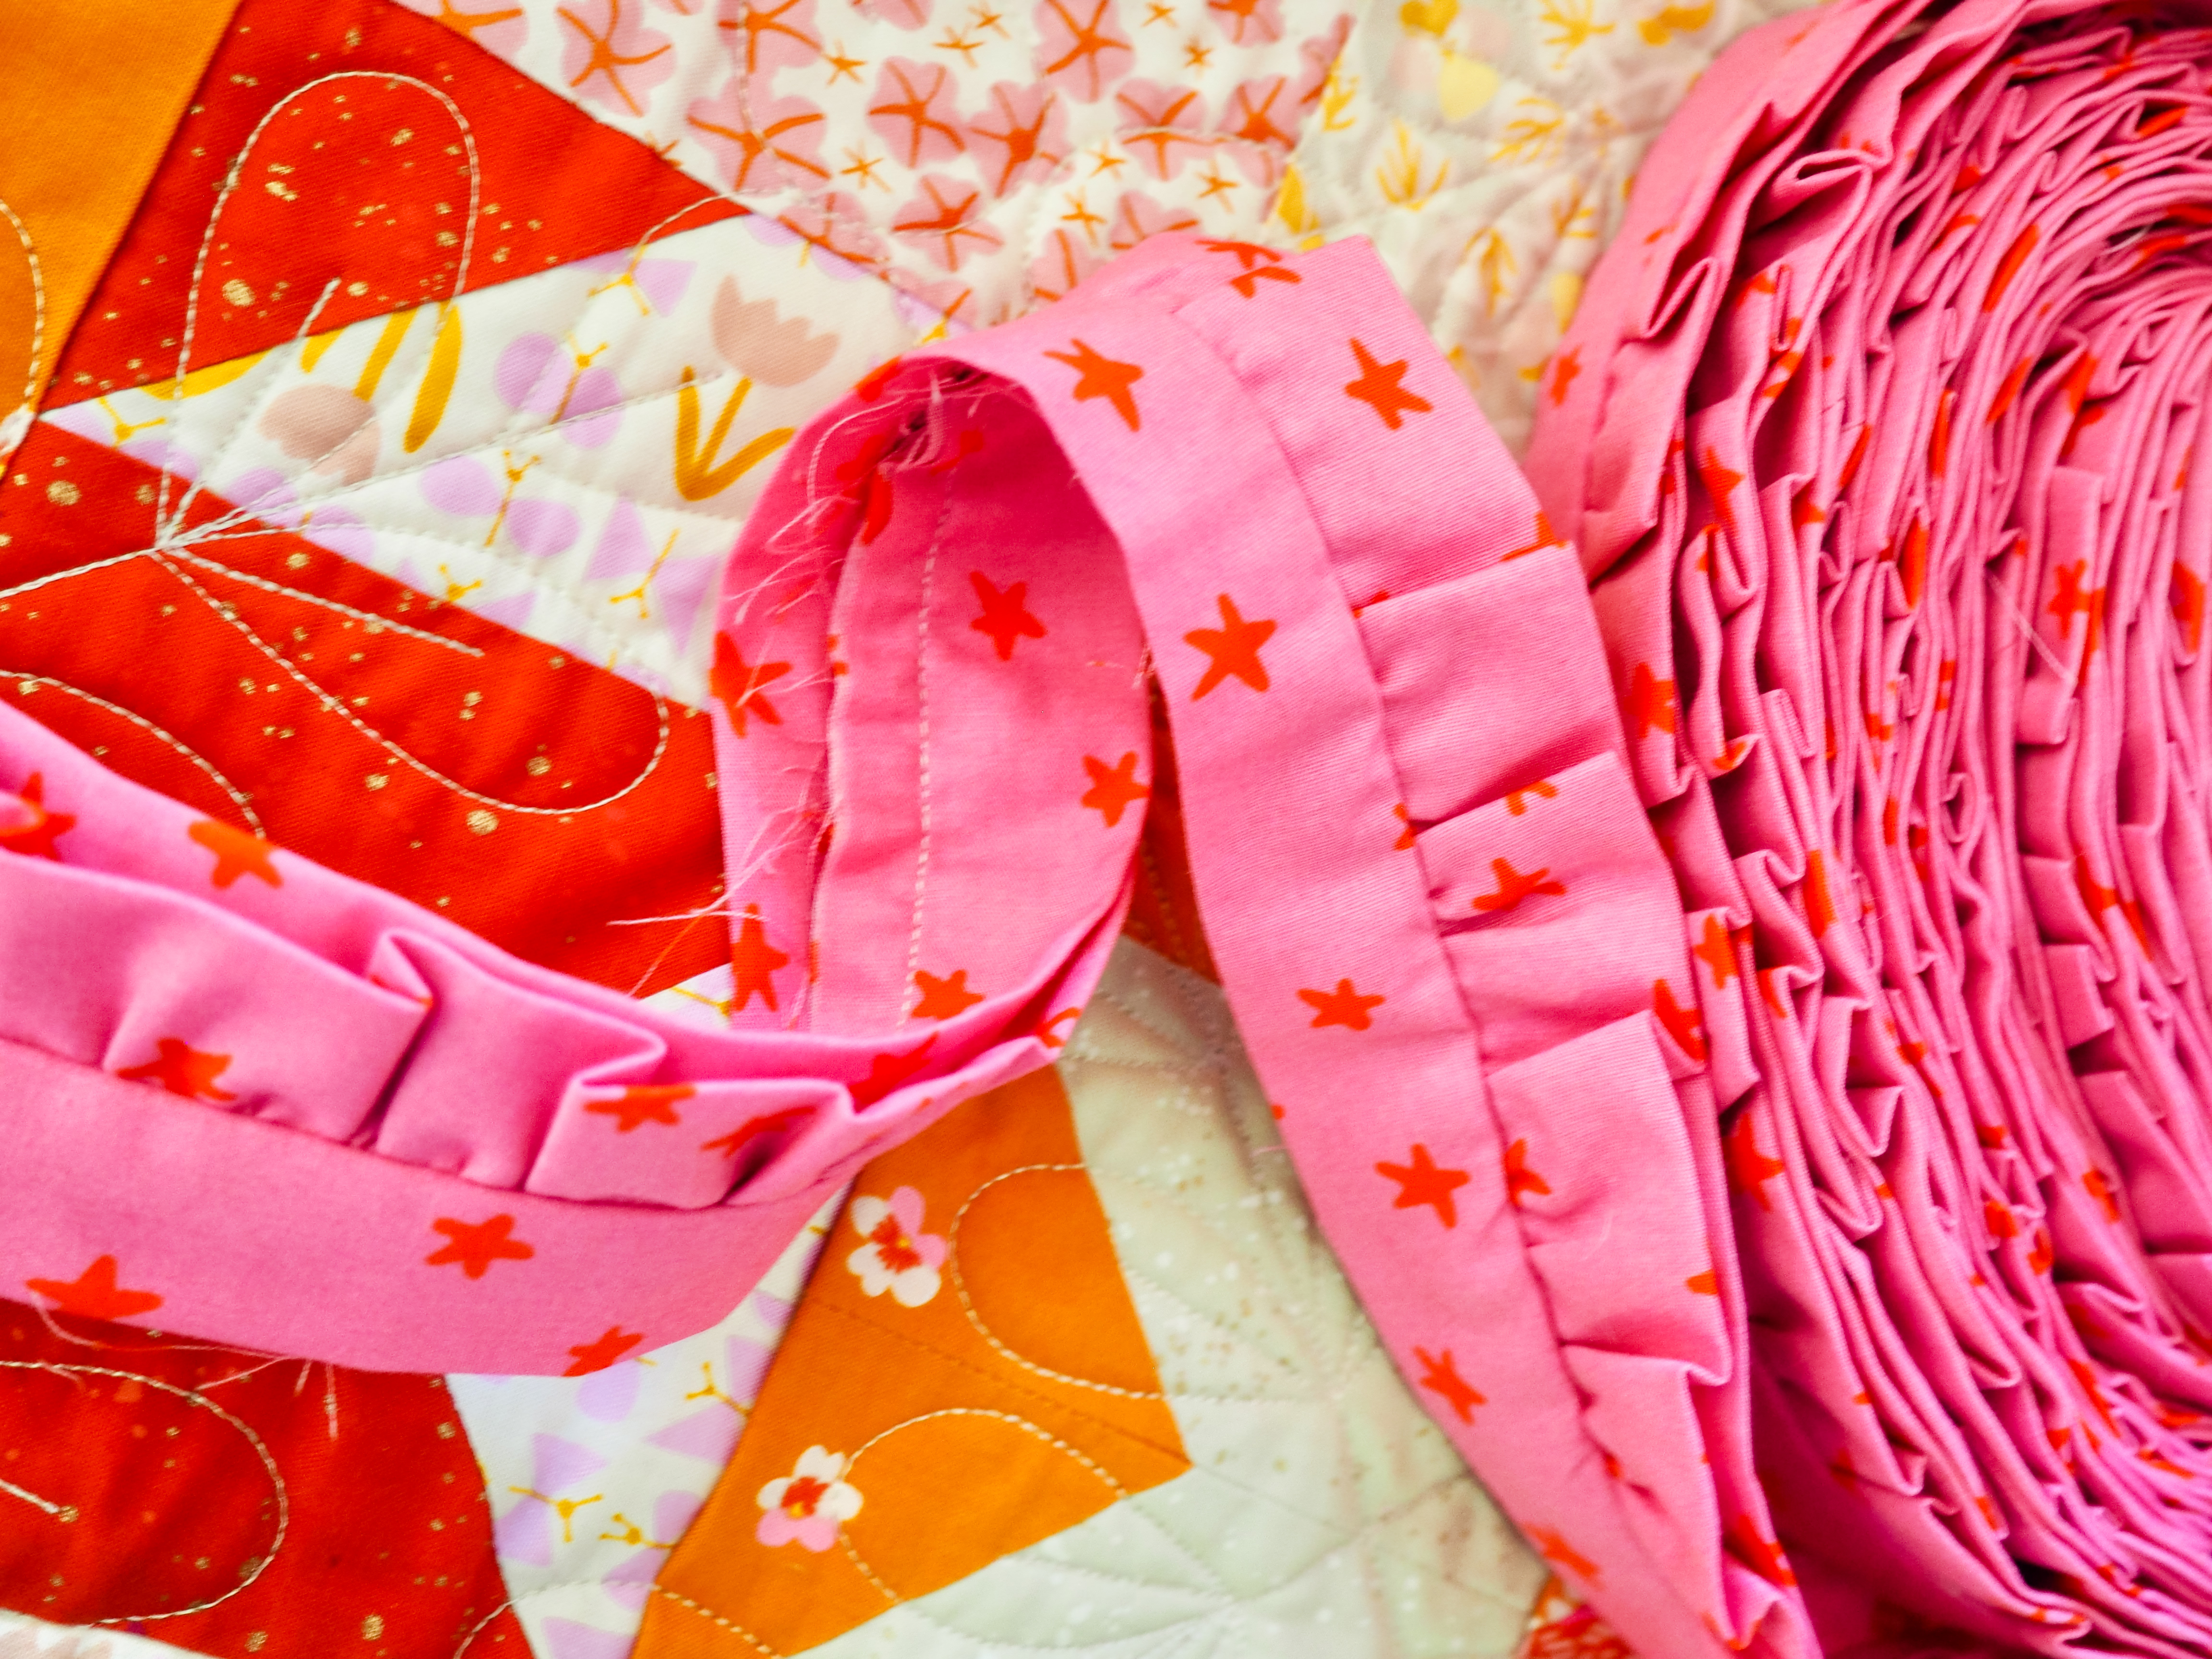
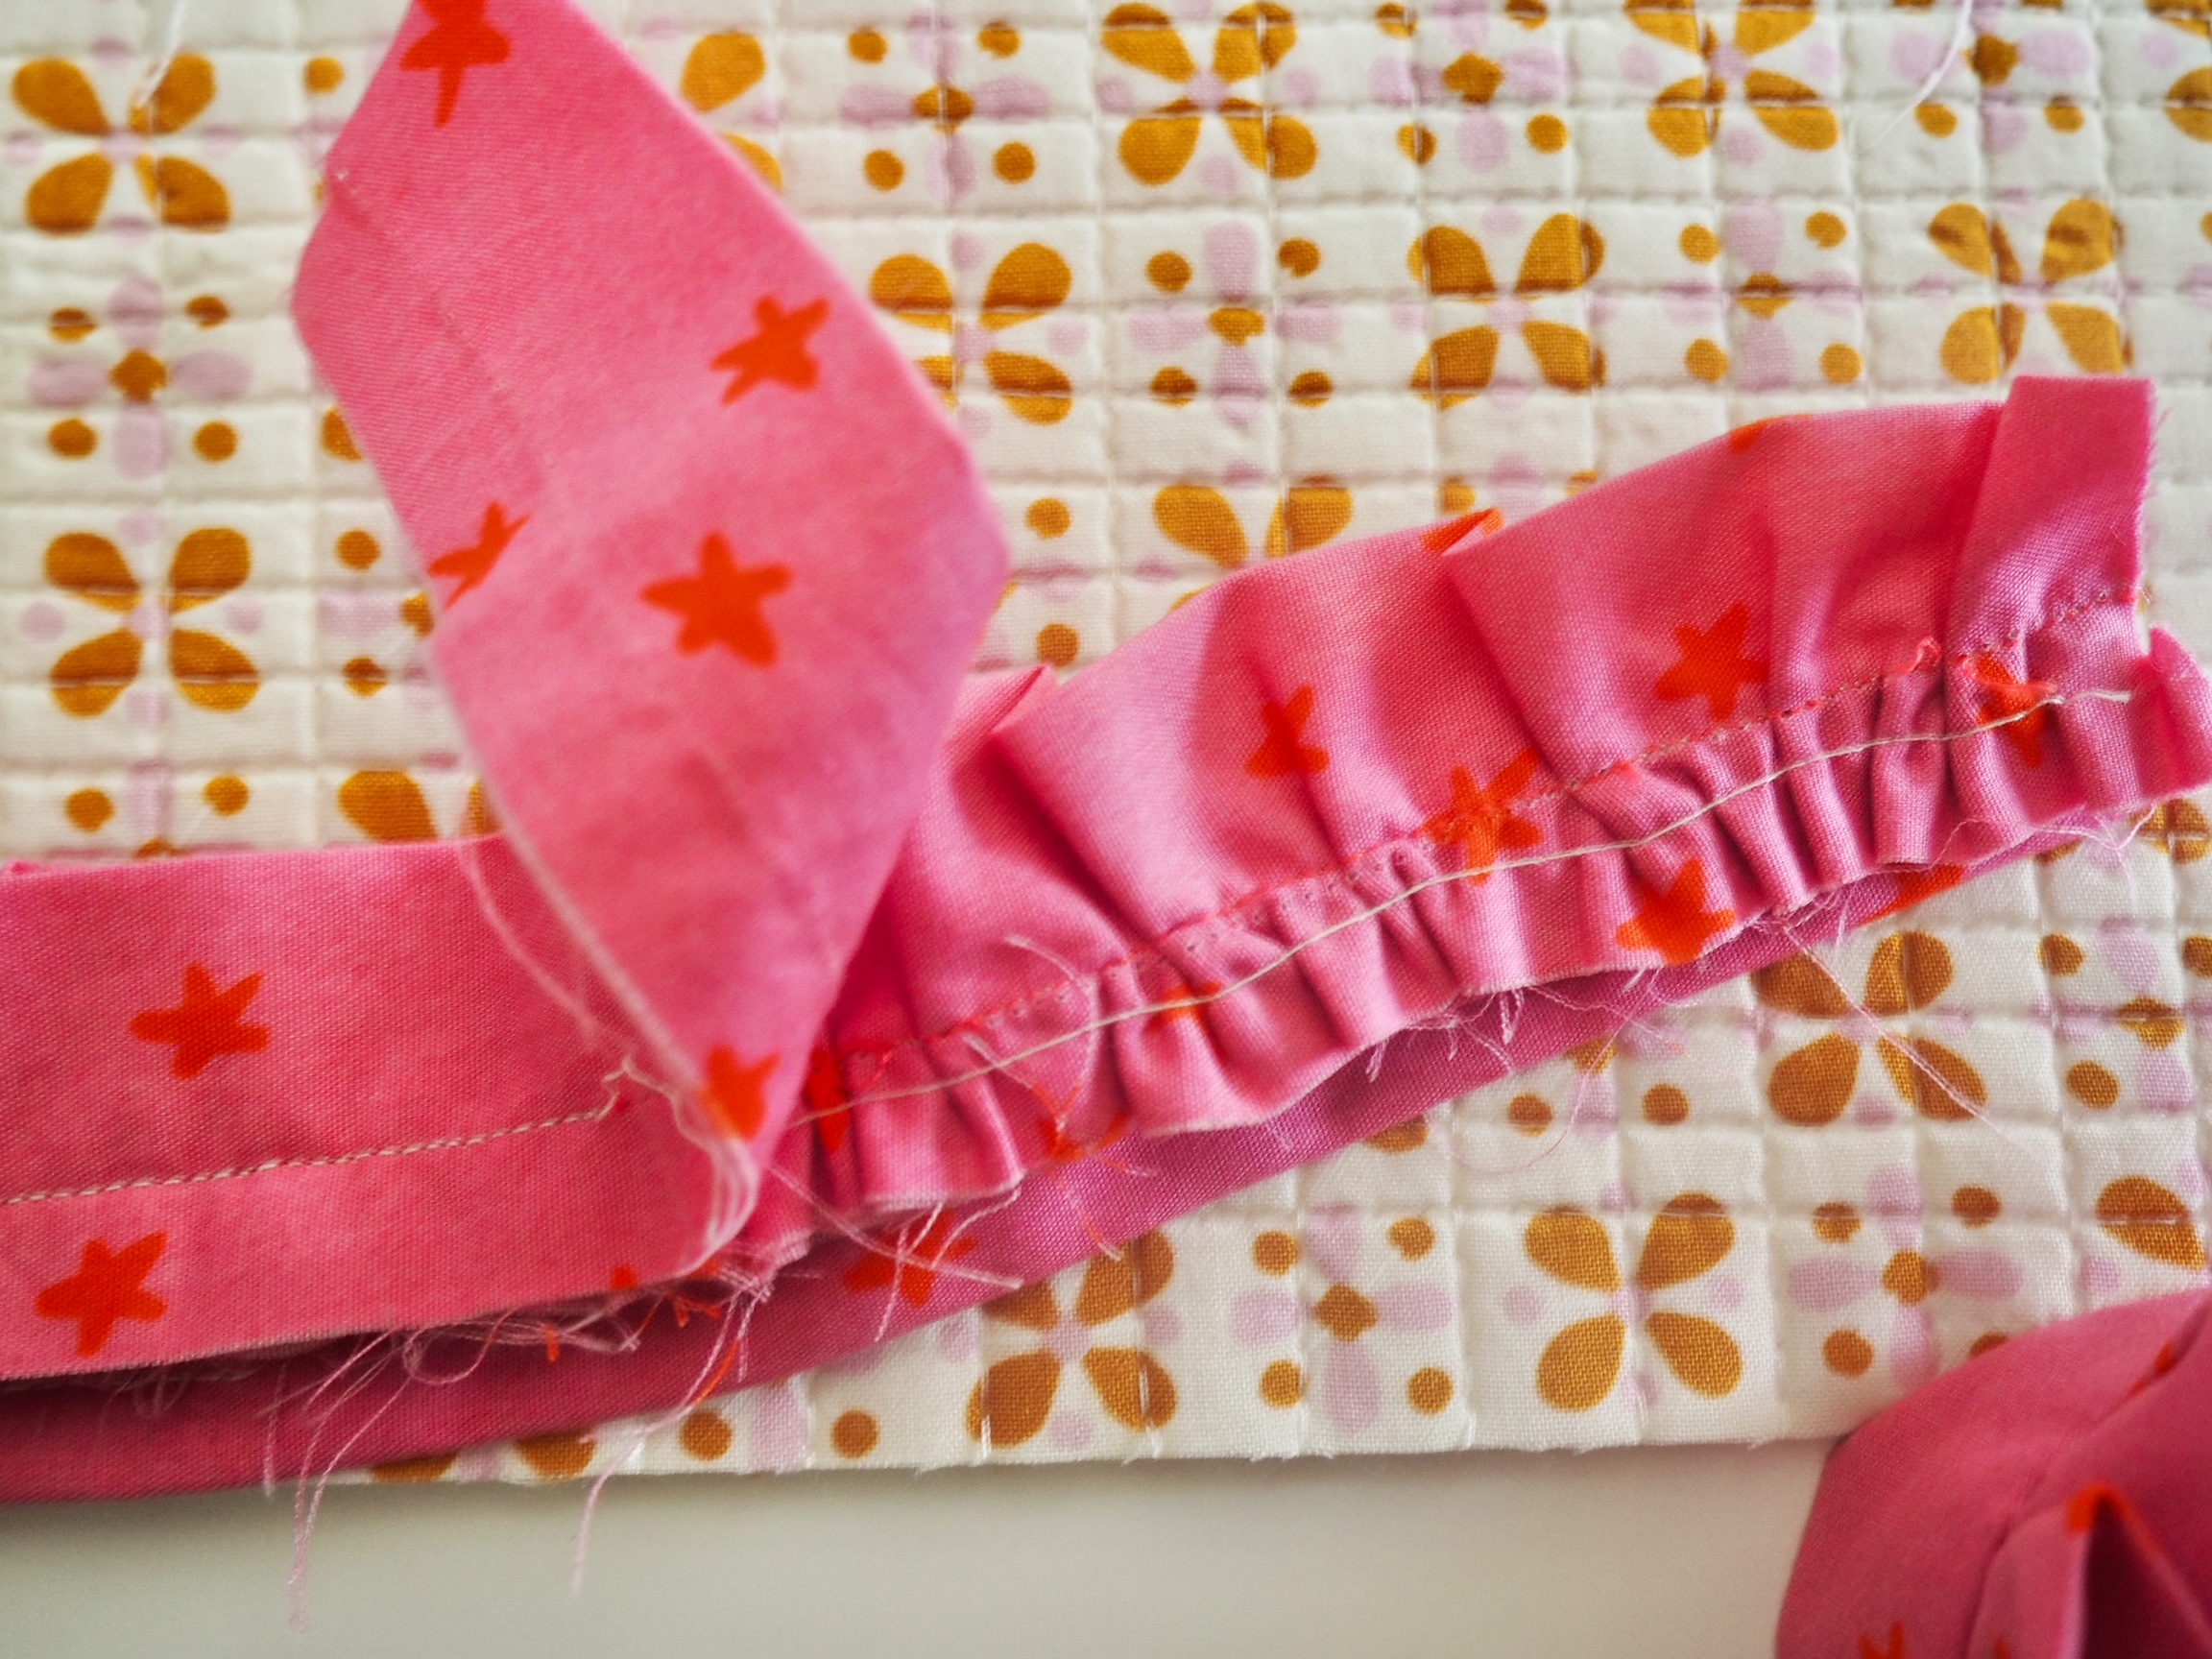
You should now have one full binding set that consists of the two flat pieces on the outside with the ruffles in the middle. Trim any excess ruffles.
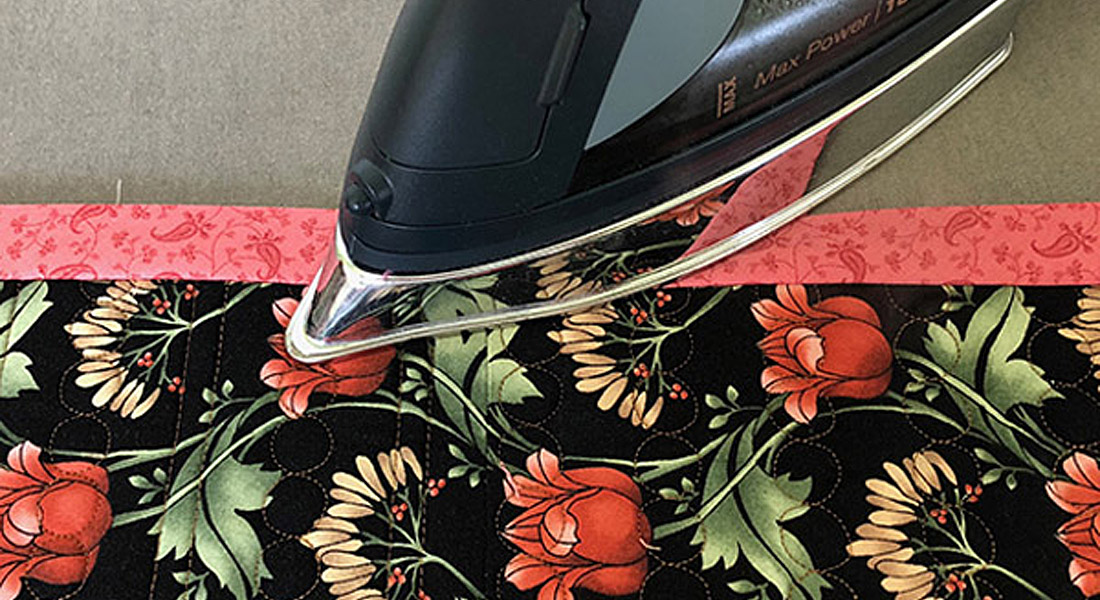
Lay the binding in front of you horizontally, with the raw edges closest to you. Fold down the top flat set to expose the ruffles, which are resting on the second flat set. Press the top flat set down, along the full length of the binding.
Attach the Binding
Attaching the ruffle binding is very similar to attaching standard fold-over binding. We will sew to one side (I started on the front), and then fold the binding over to the other side and attach. To manage the ends, we will leave a generous starting and finishing tail and then overlap them. There will be a bit of deconstruction but stick with me, I promise it’ll work out. I also rounded the corners of the quilt to avoid having to miter the corners, I highly recommend this.
For our binding, we have a right side (with ruffles) and a wrong side (where the raw seams are). Since both long edges of the binding are finished, it does not matter which side you align to the quilt.
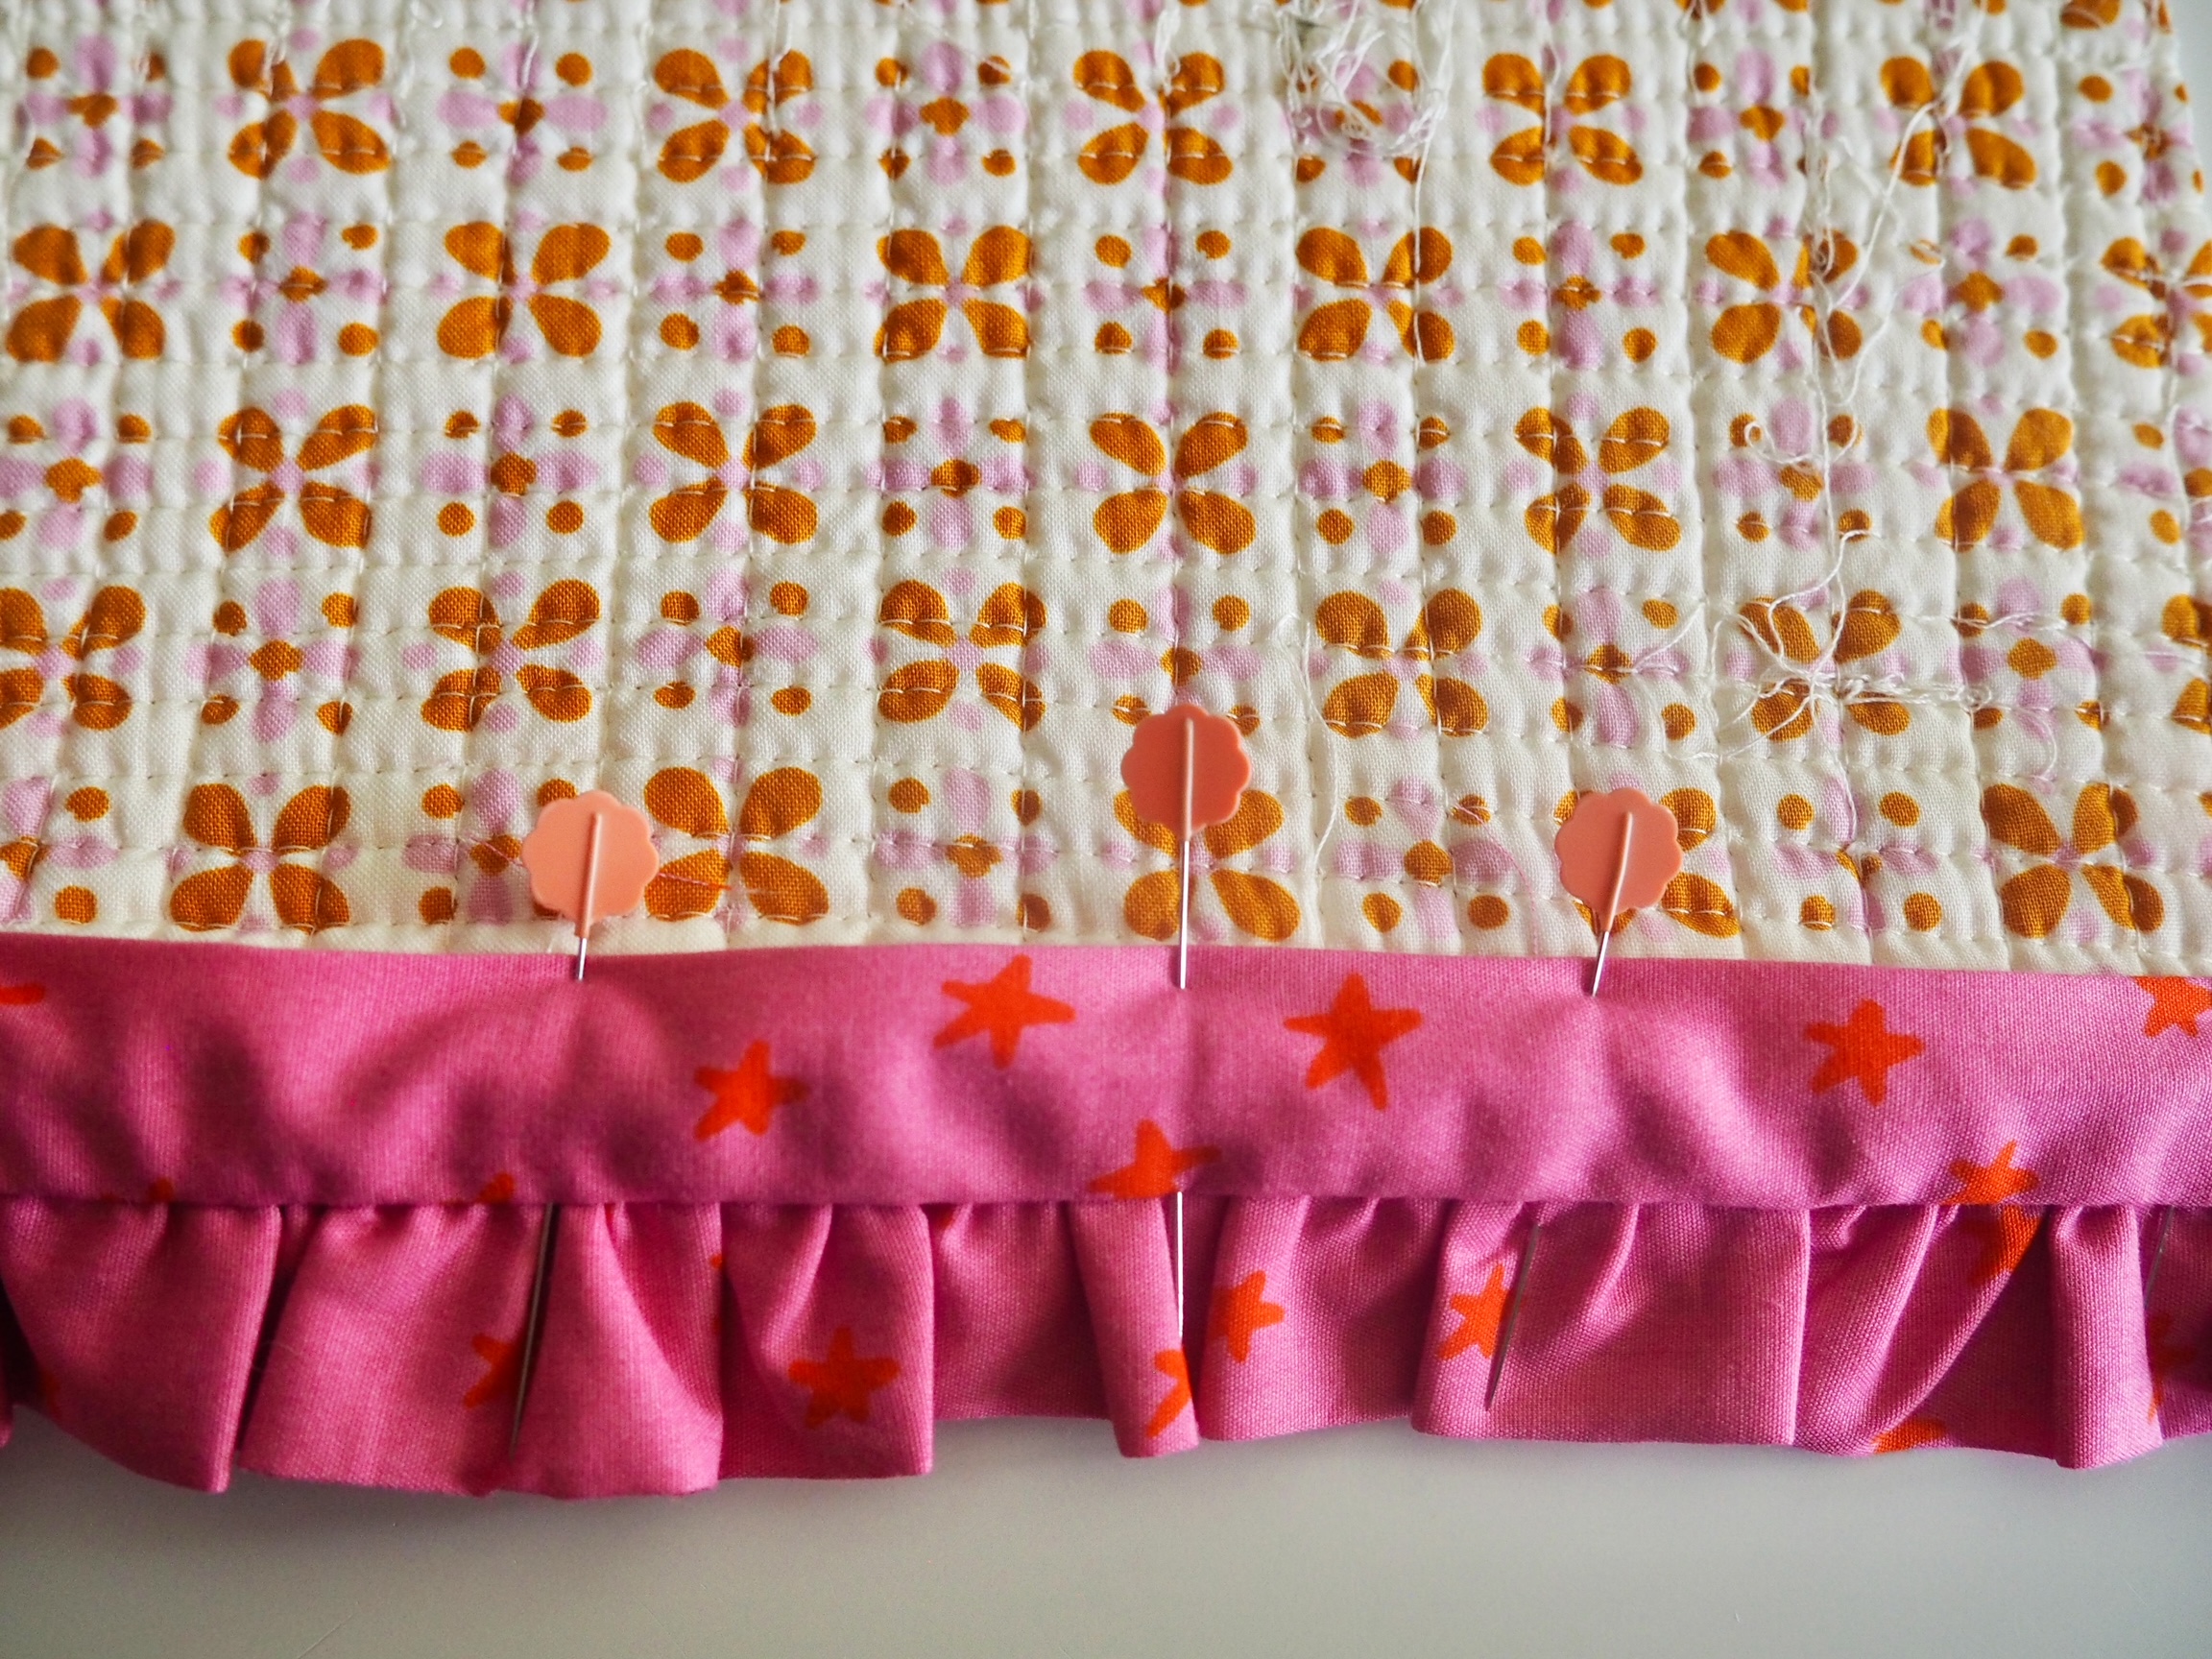
- Start in the middle of one of the quilt sides. Place the quilt face up, with the raw edge to the right. Position your binding on the quilt with the wrong side up (ruffles should be face down) and the long edge aligned to the raw edge of the quilt. Leave at least 8″ of a tail before starting to sew
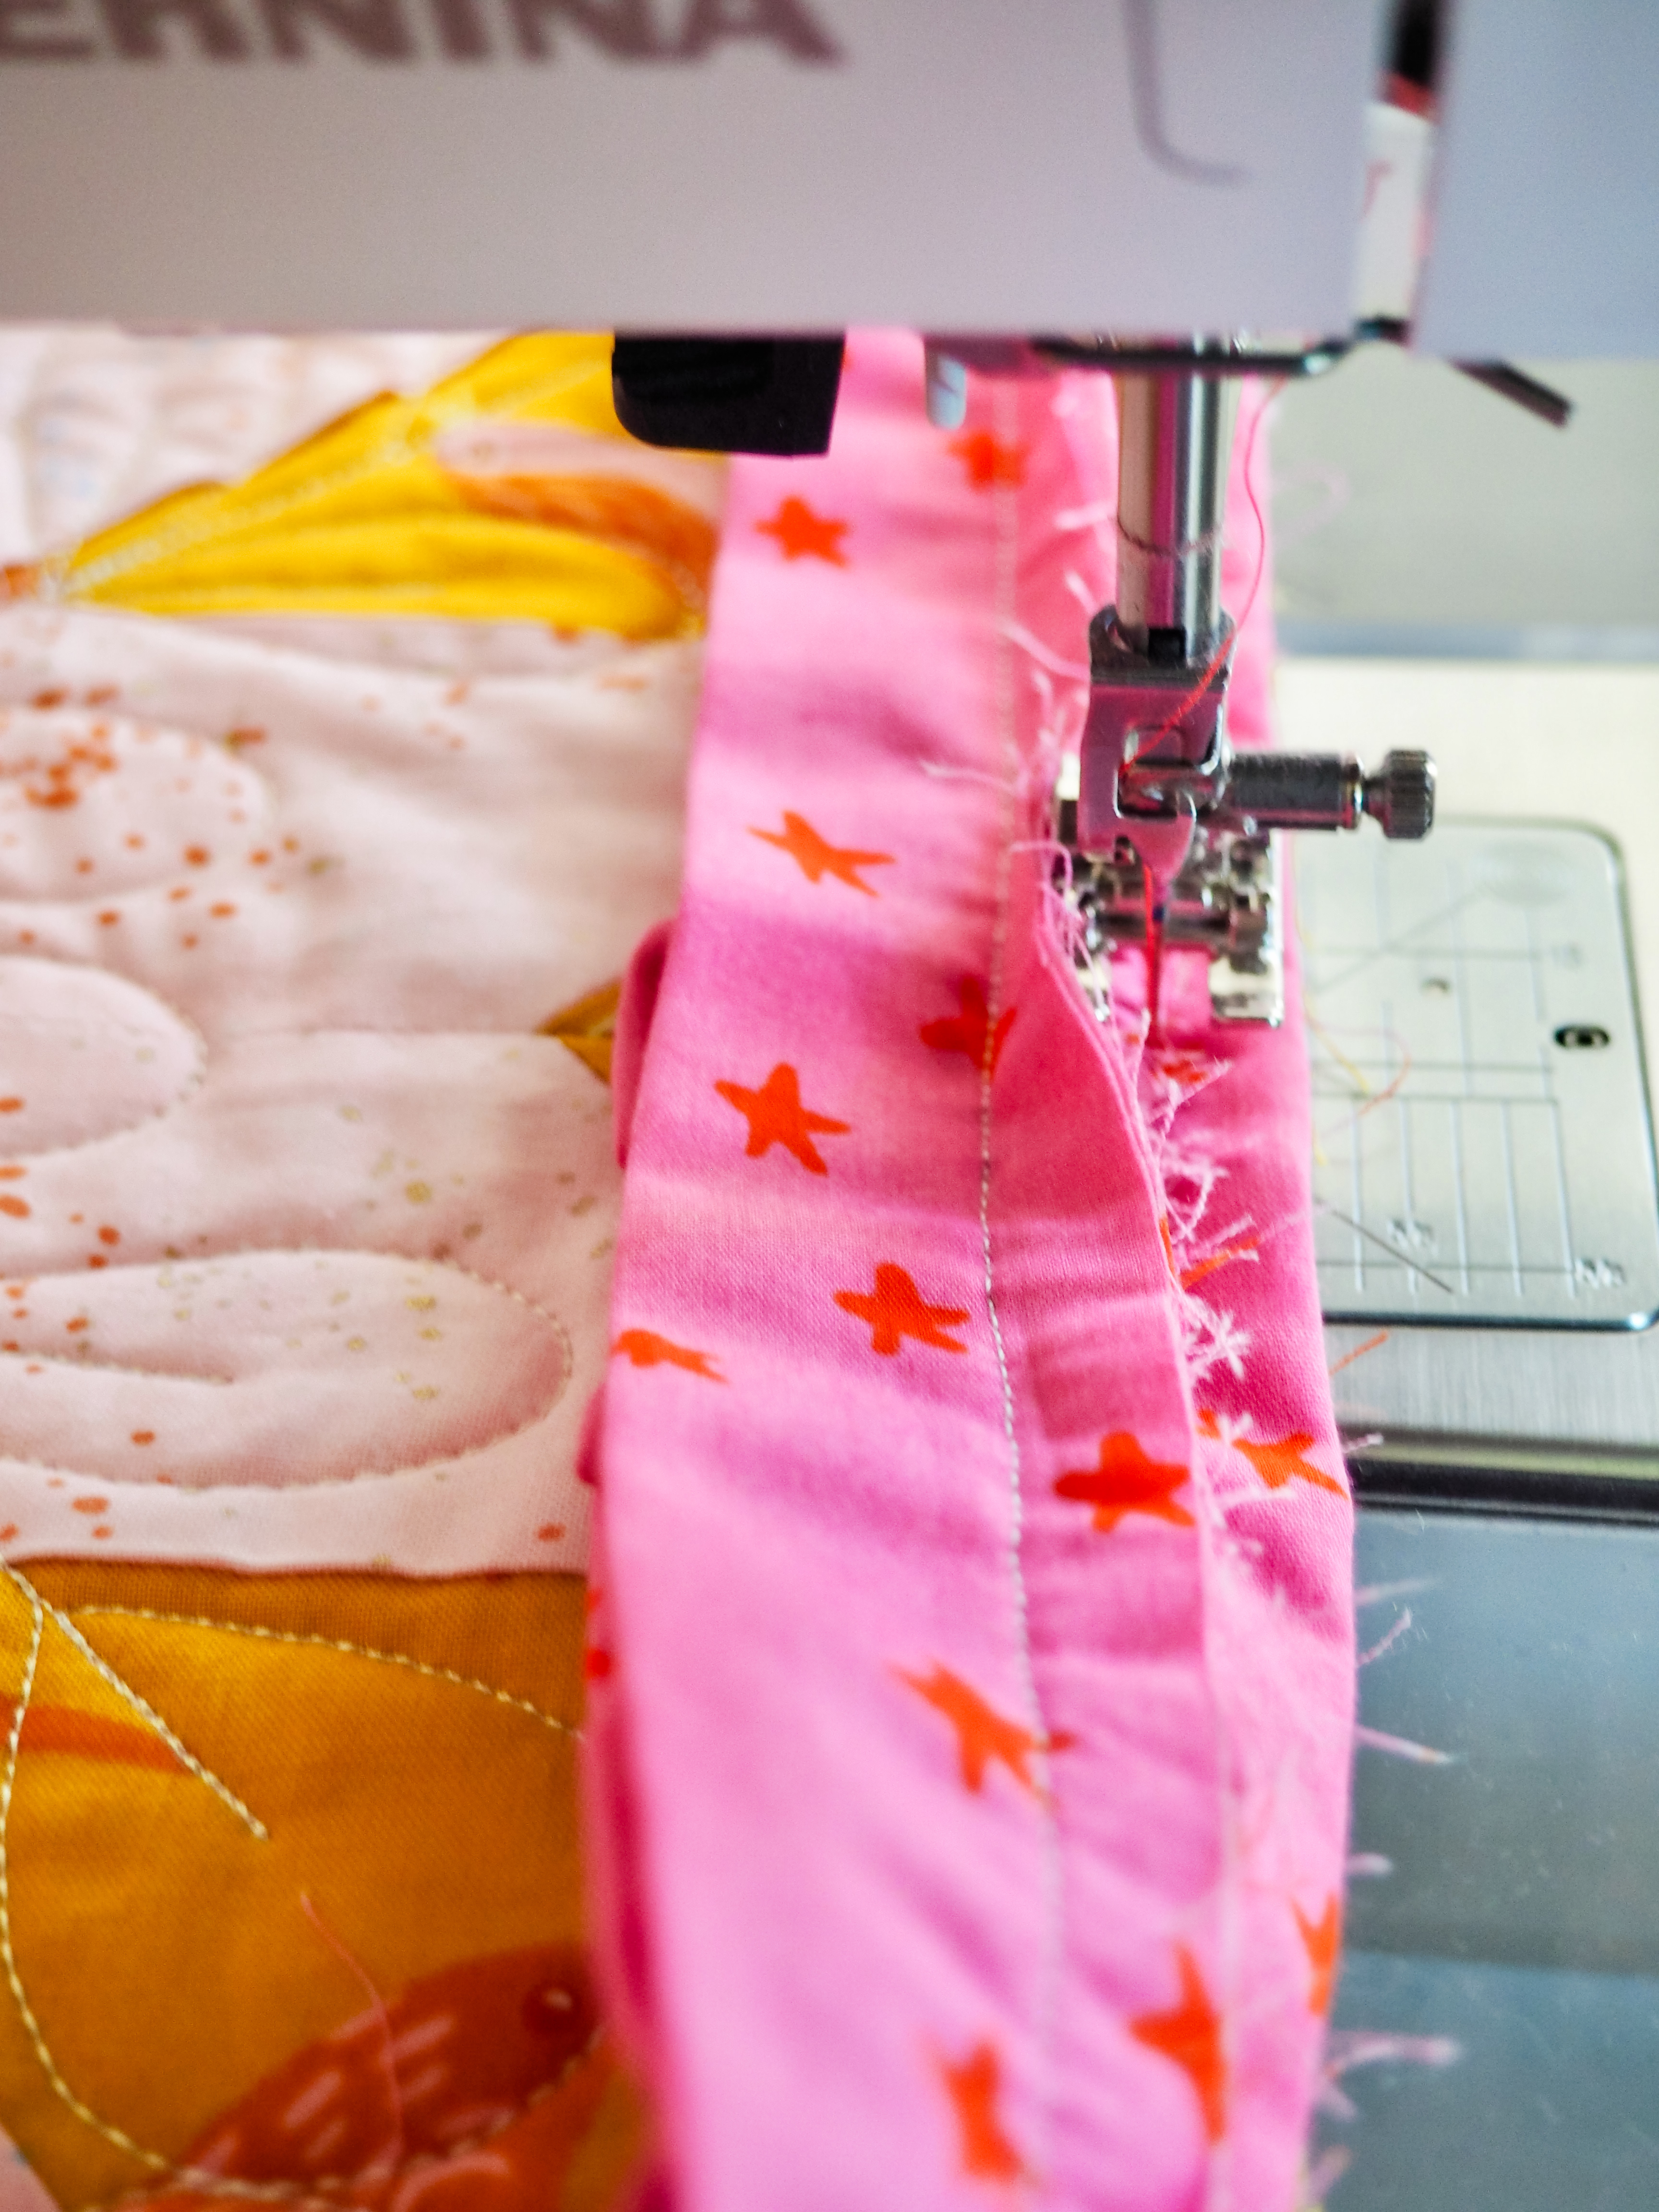
- Using a straight stitch and backstitching at the start, sew the binding along the perimeter of the quilt with 1/2″ seam allowance, stopping 12″ from the start of your seam. Backstitch to secure your end seam.
- Layer the end tail of your binding over the beginning tail so there is at least 6″ of overlap. Cut the excess binding away
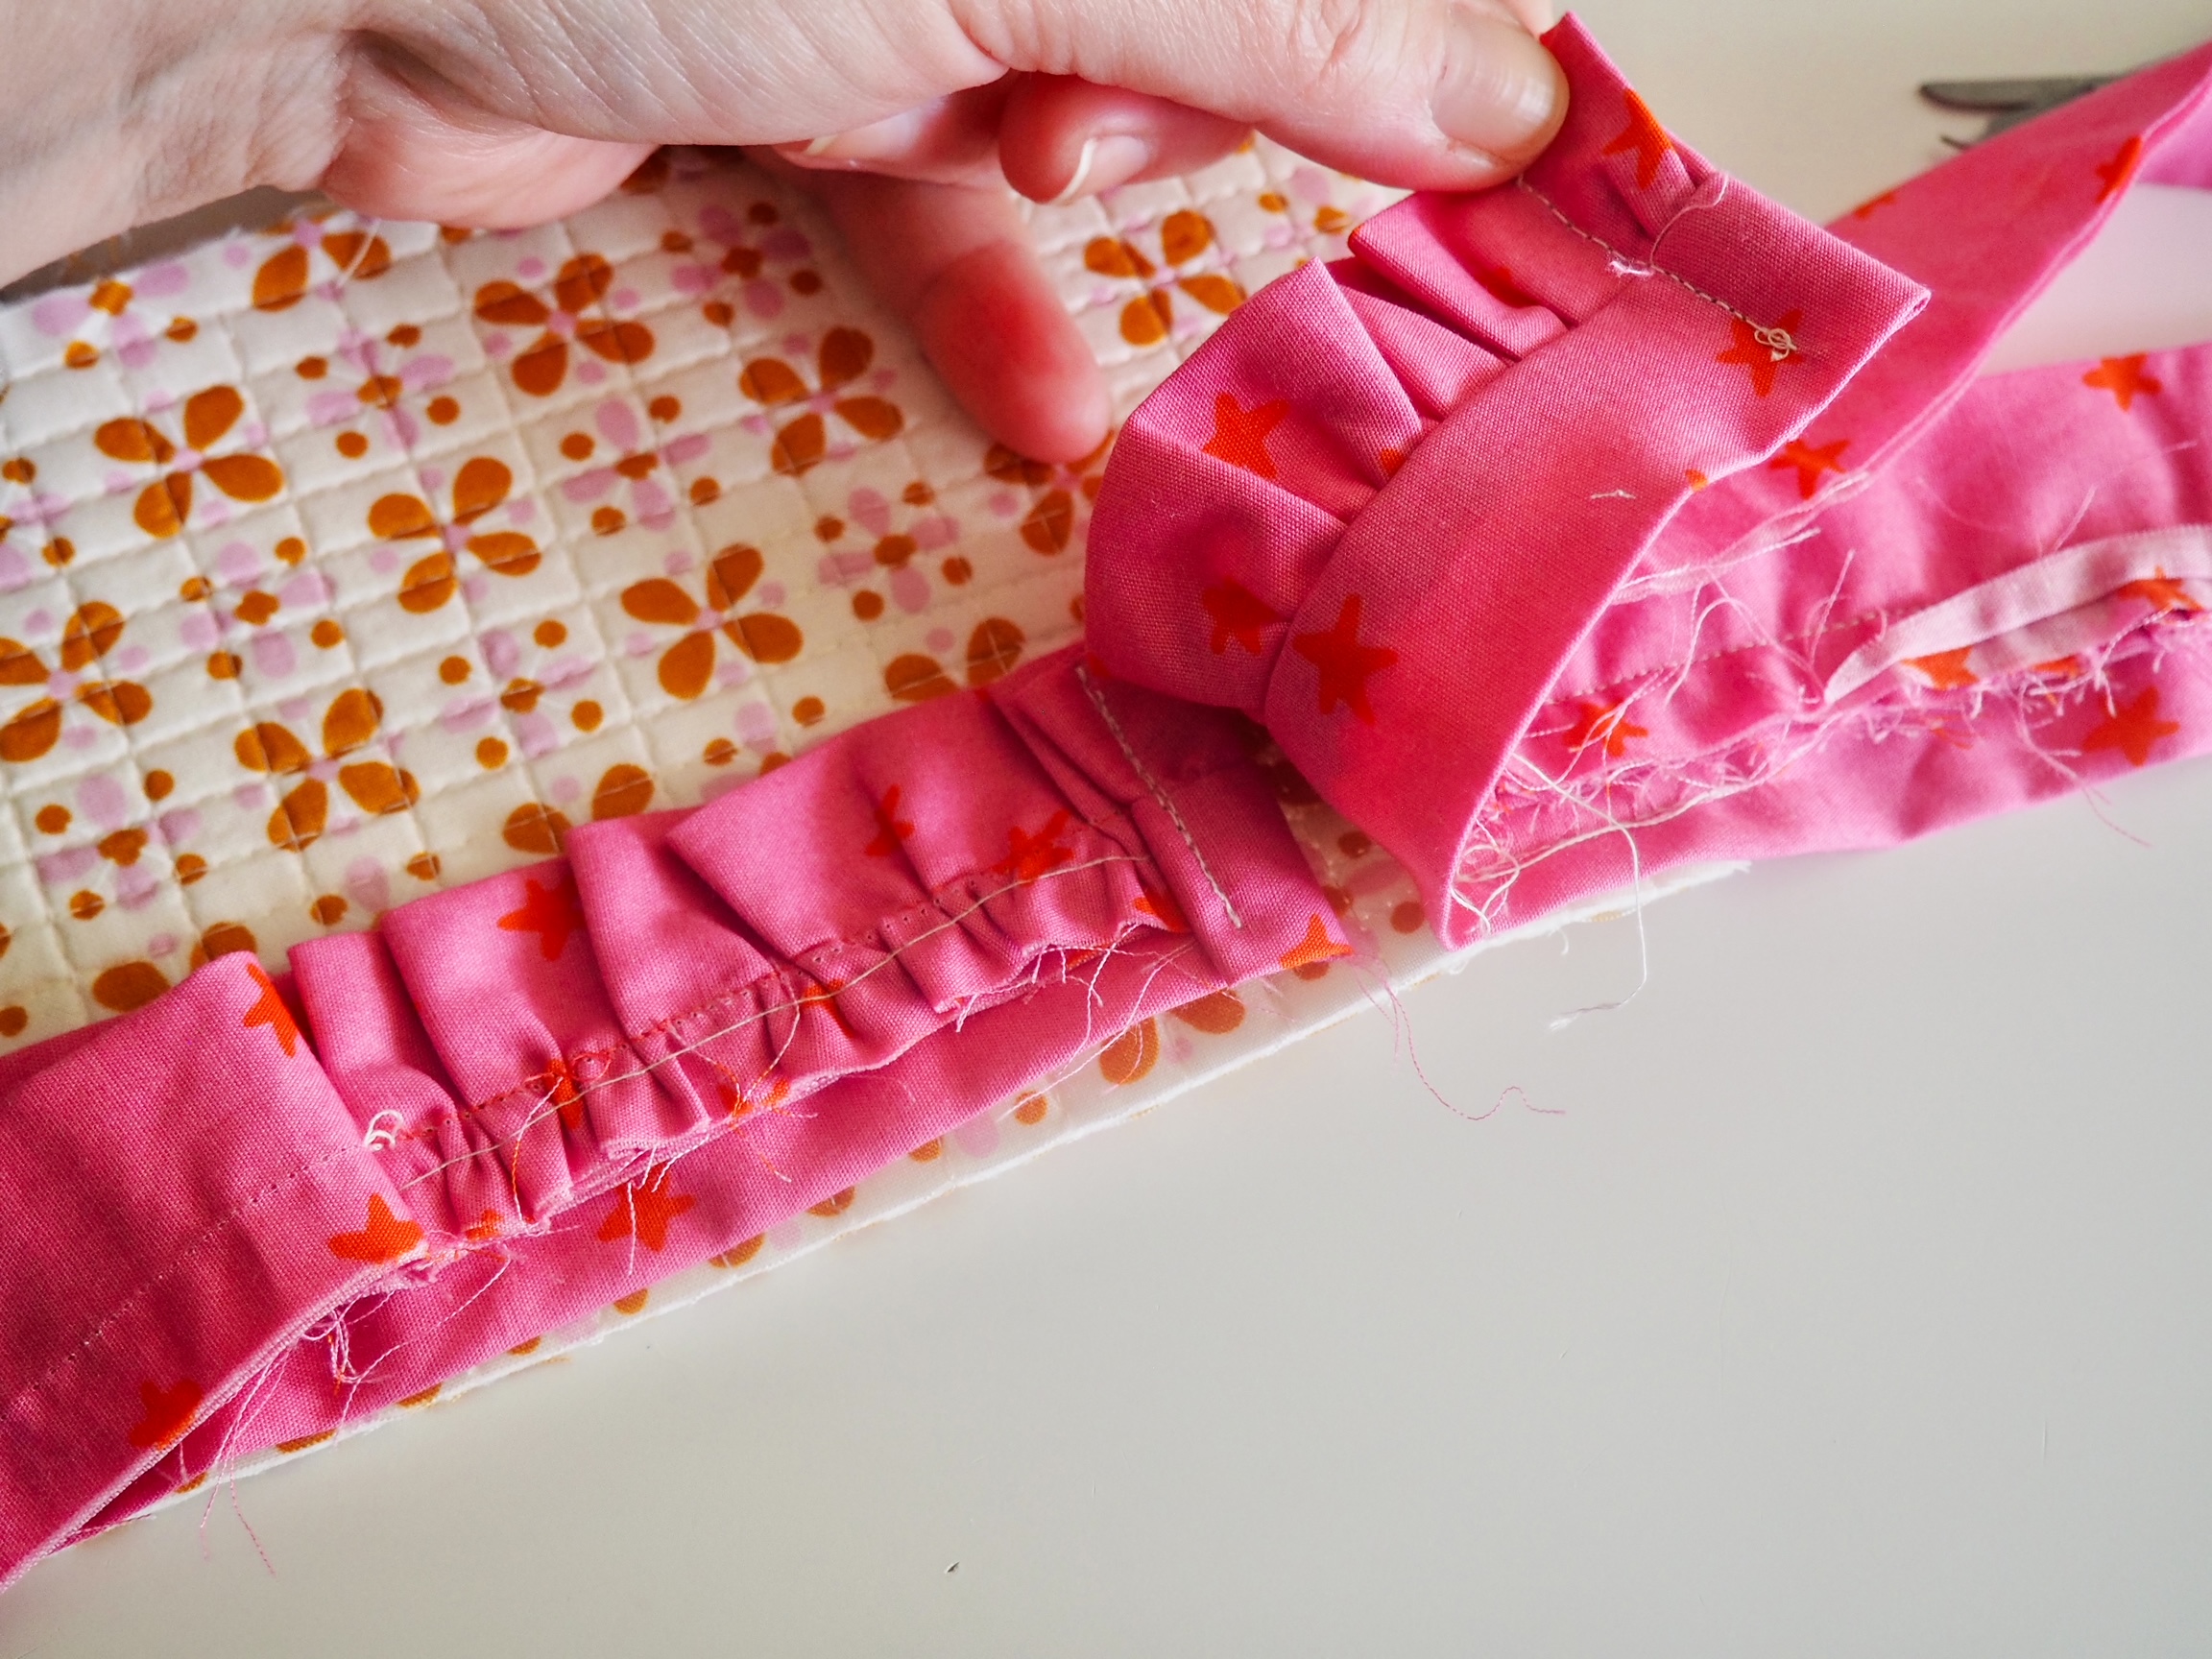
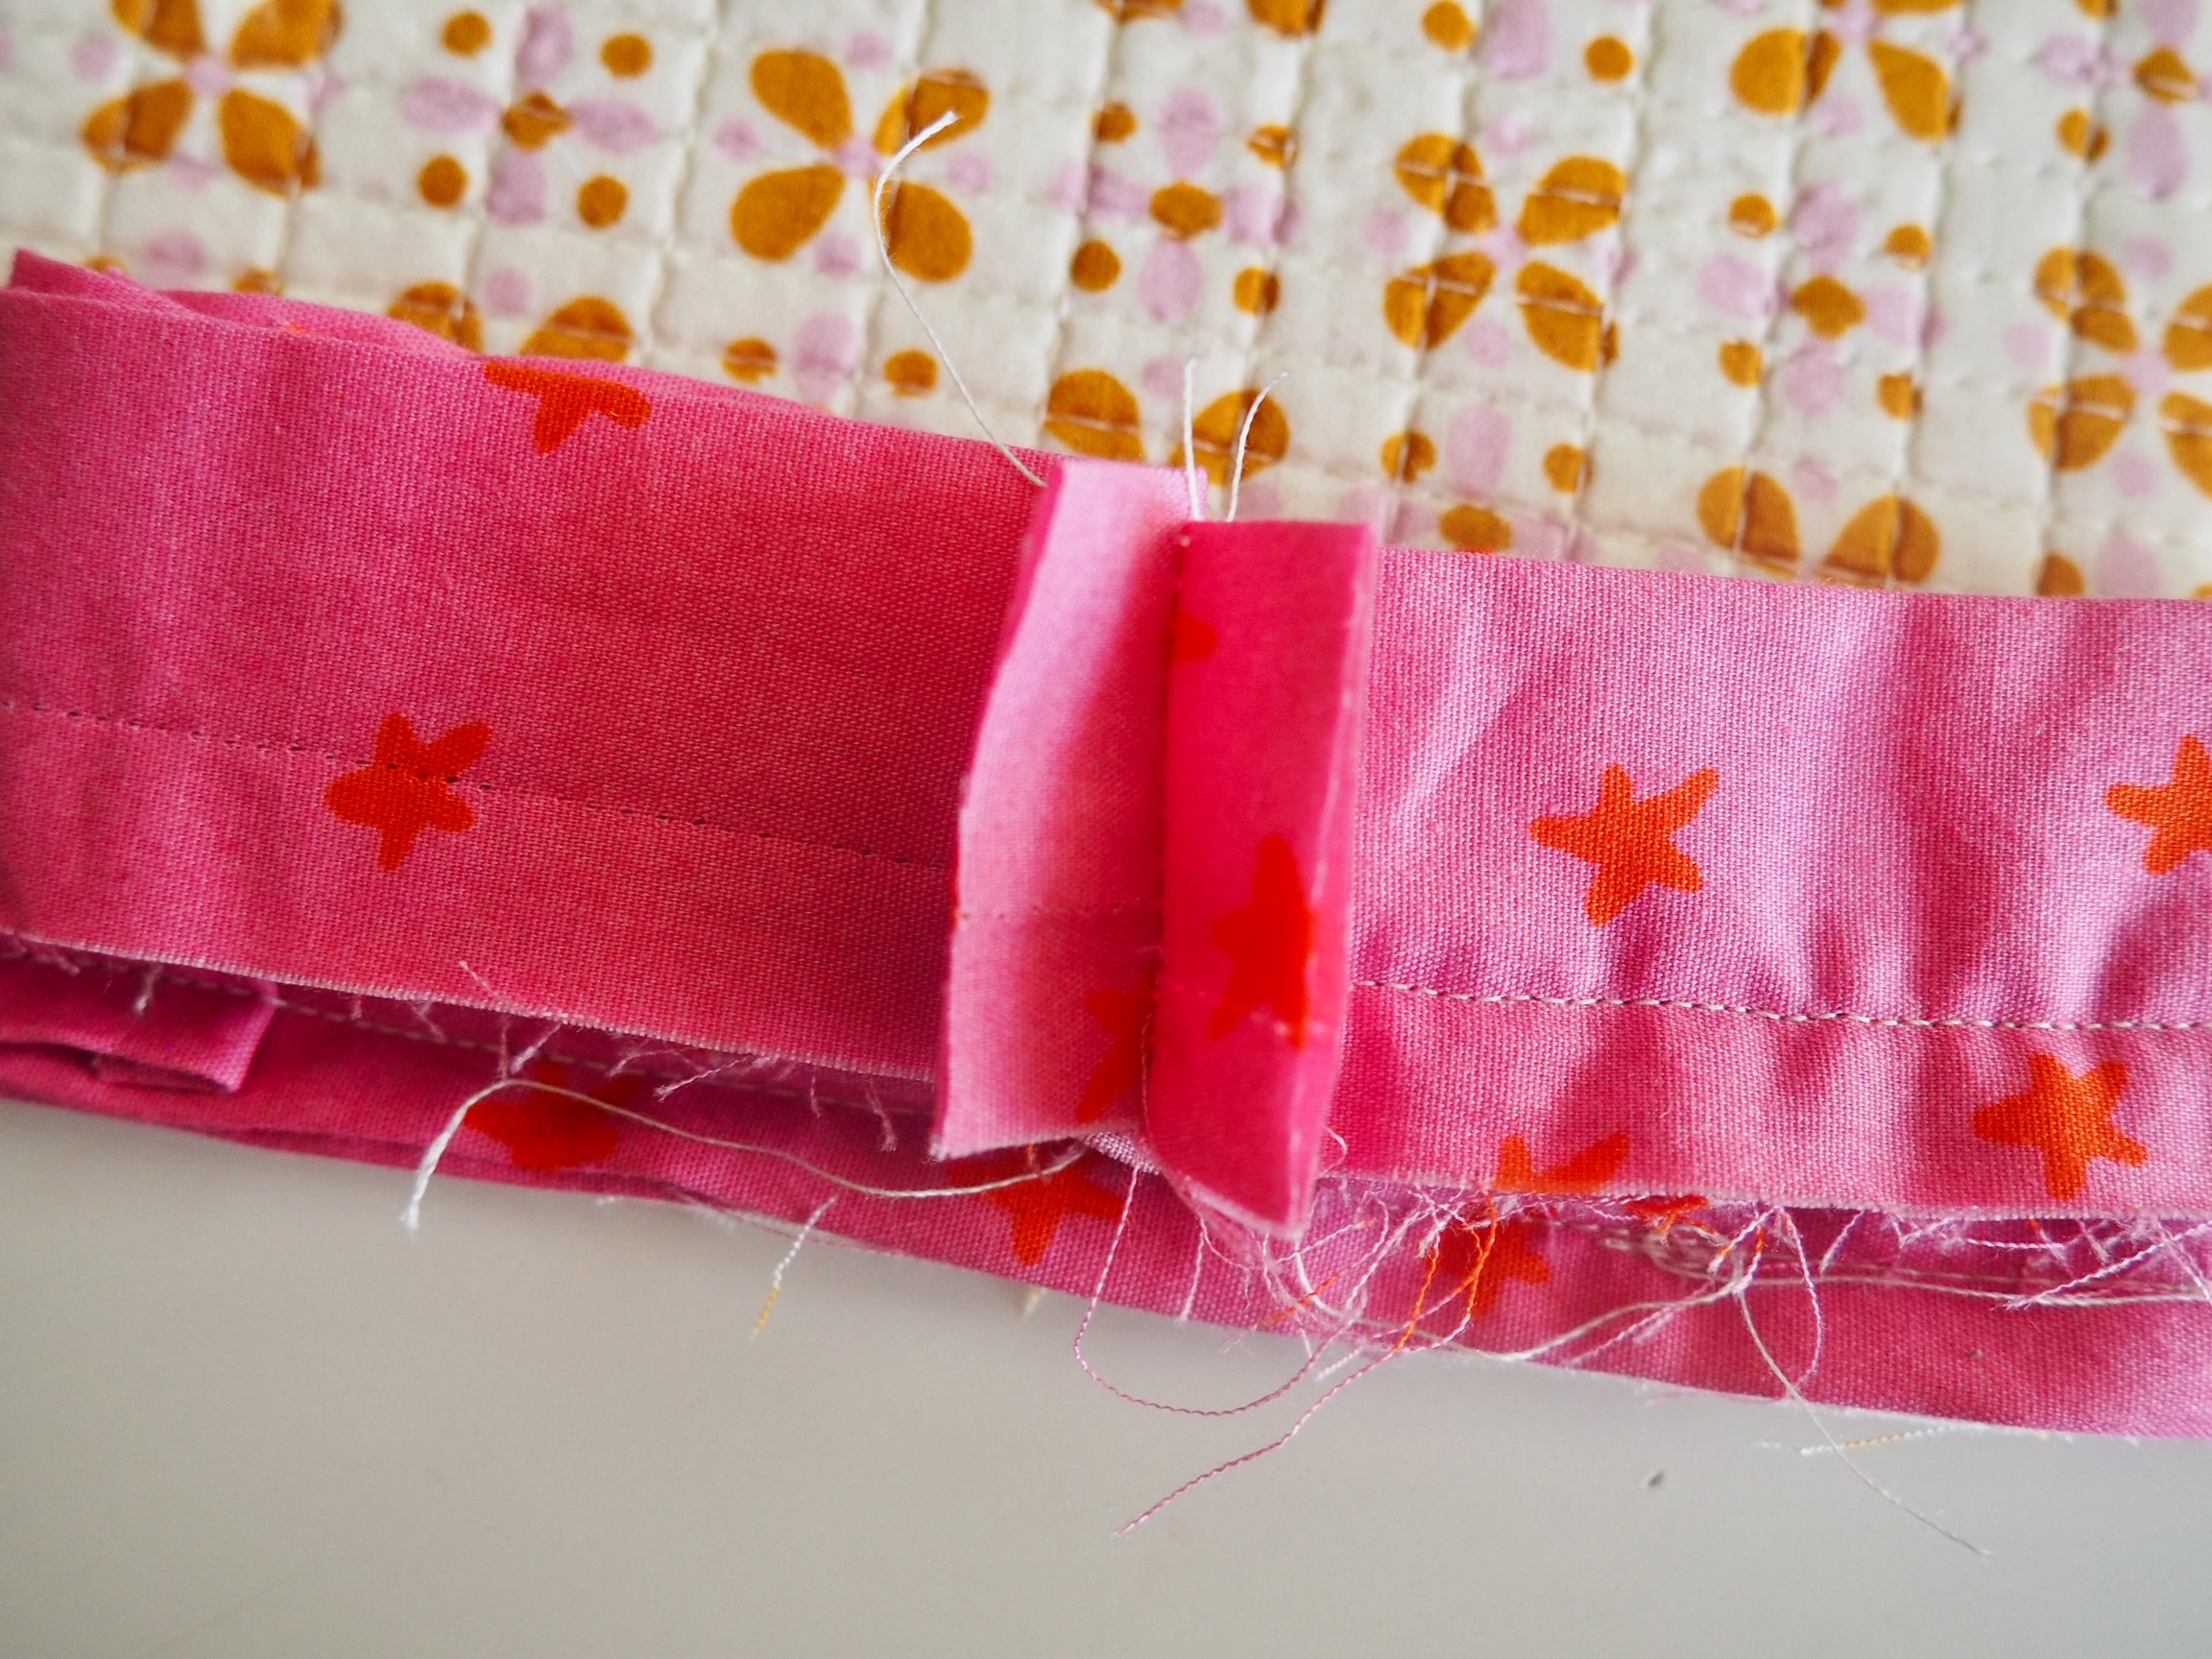
- Starting with one tail that is wrong side up, carefully seam rip the seam that attaches the top flat piece to the ruffles. Detach 6″ of the top flat piece, ensuring you do not go past the parts that are already attached to the quilt
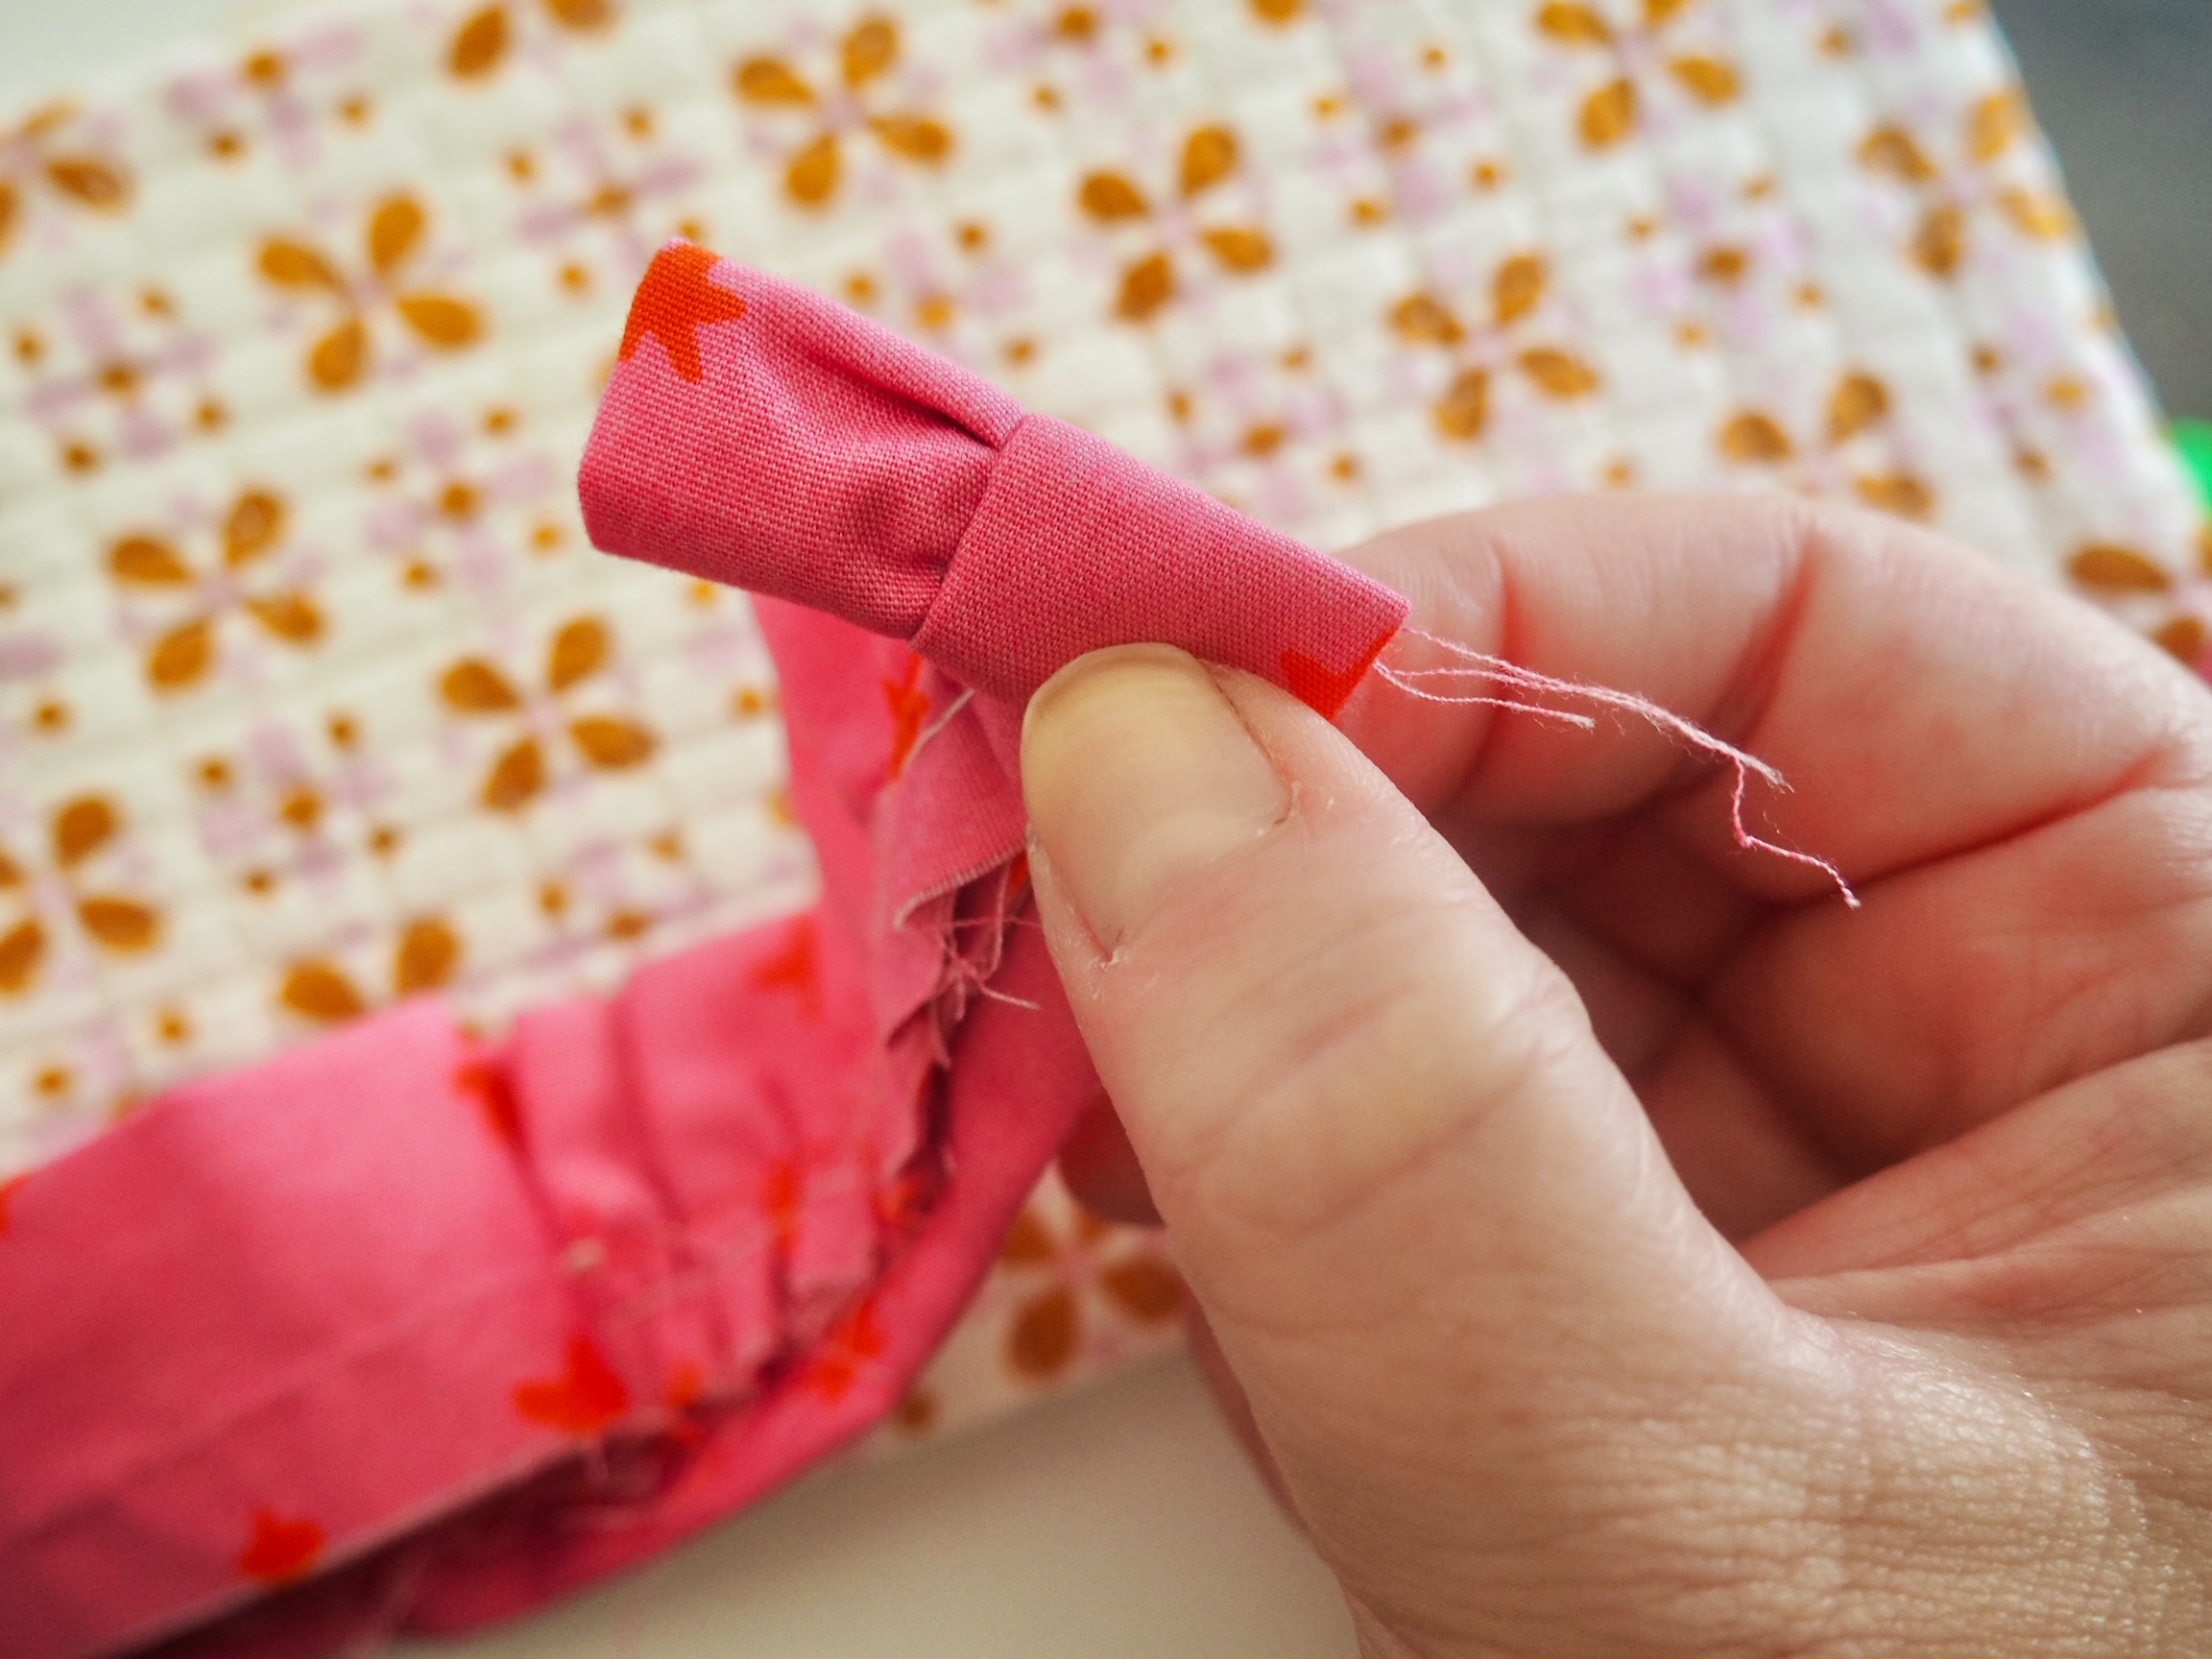
- Lay the detached portion of the flat piece up and out of the way. On the ruffle part, fold the raw short edge in about 1/2″, then fold again to encase the short raw edge. Top stitch along the short edge to secure
- Repeat steps 4-5 for the second tail
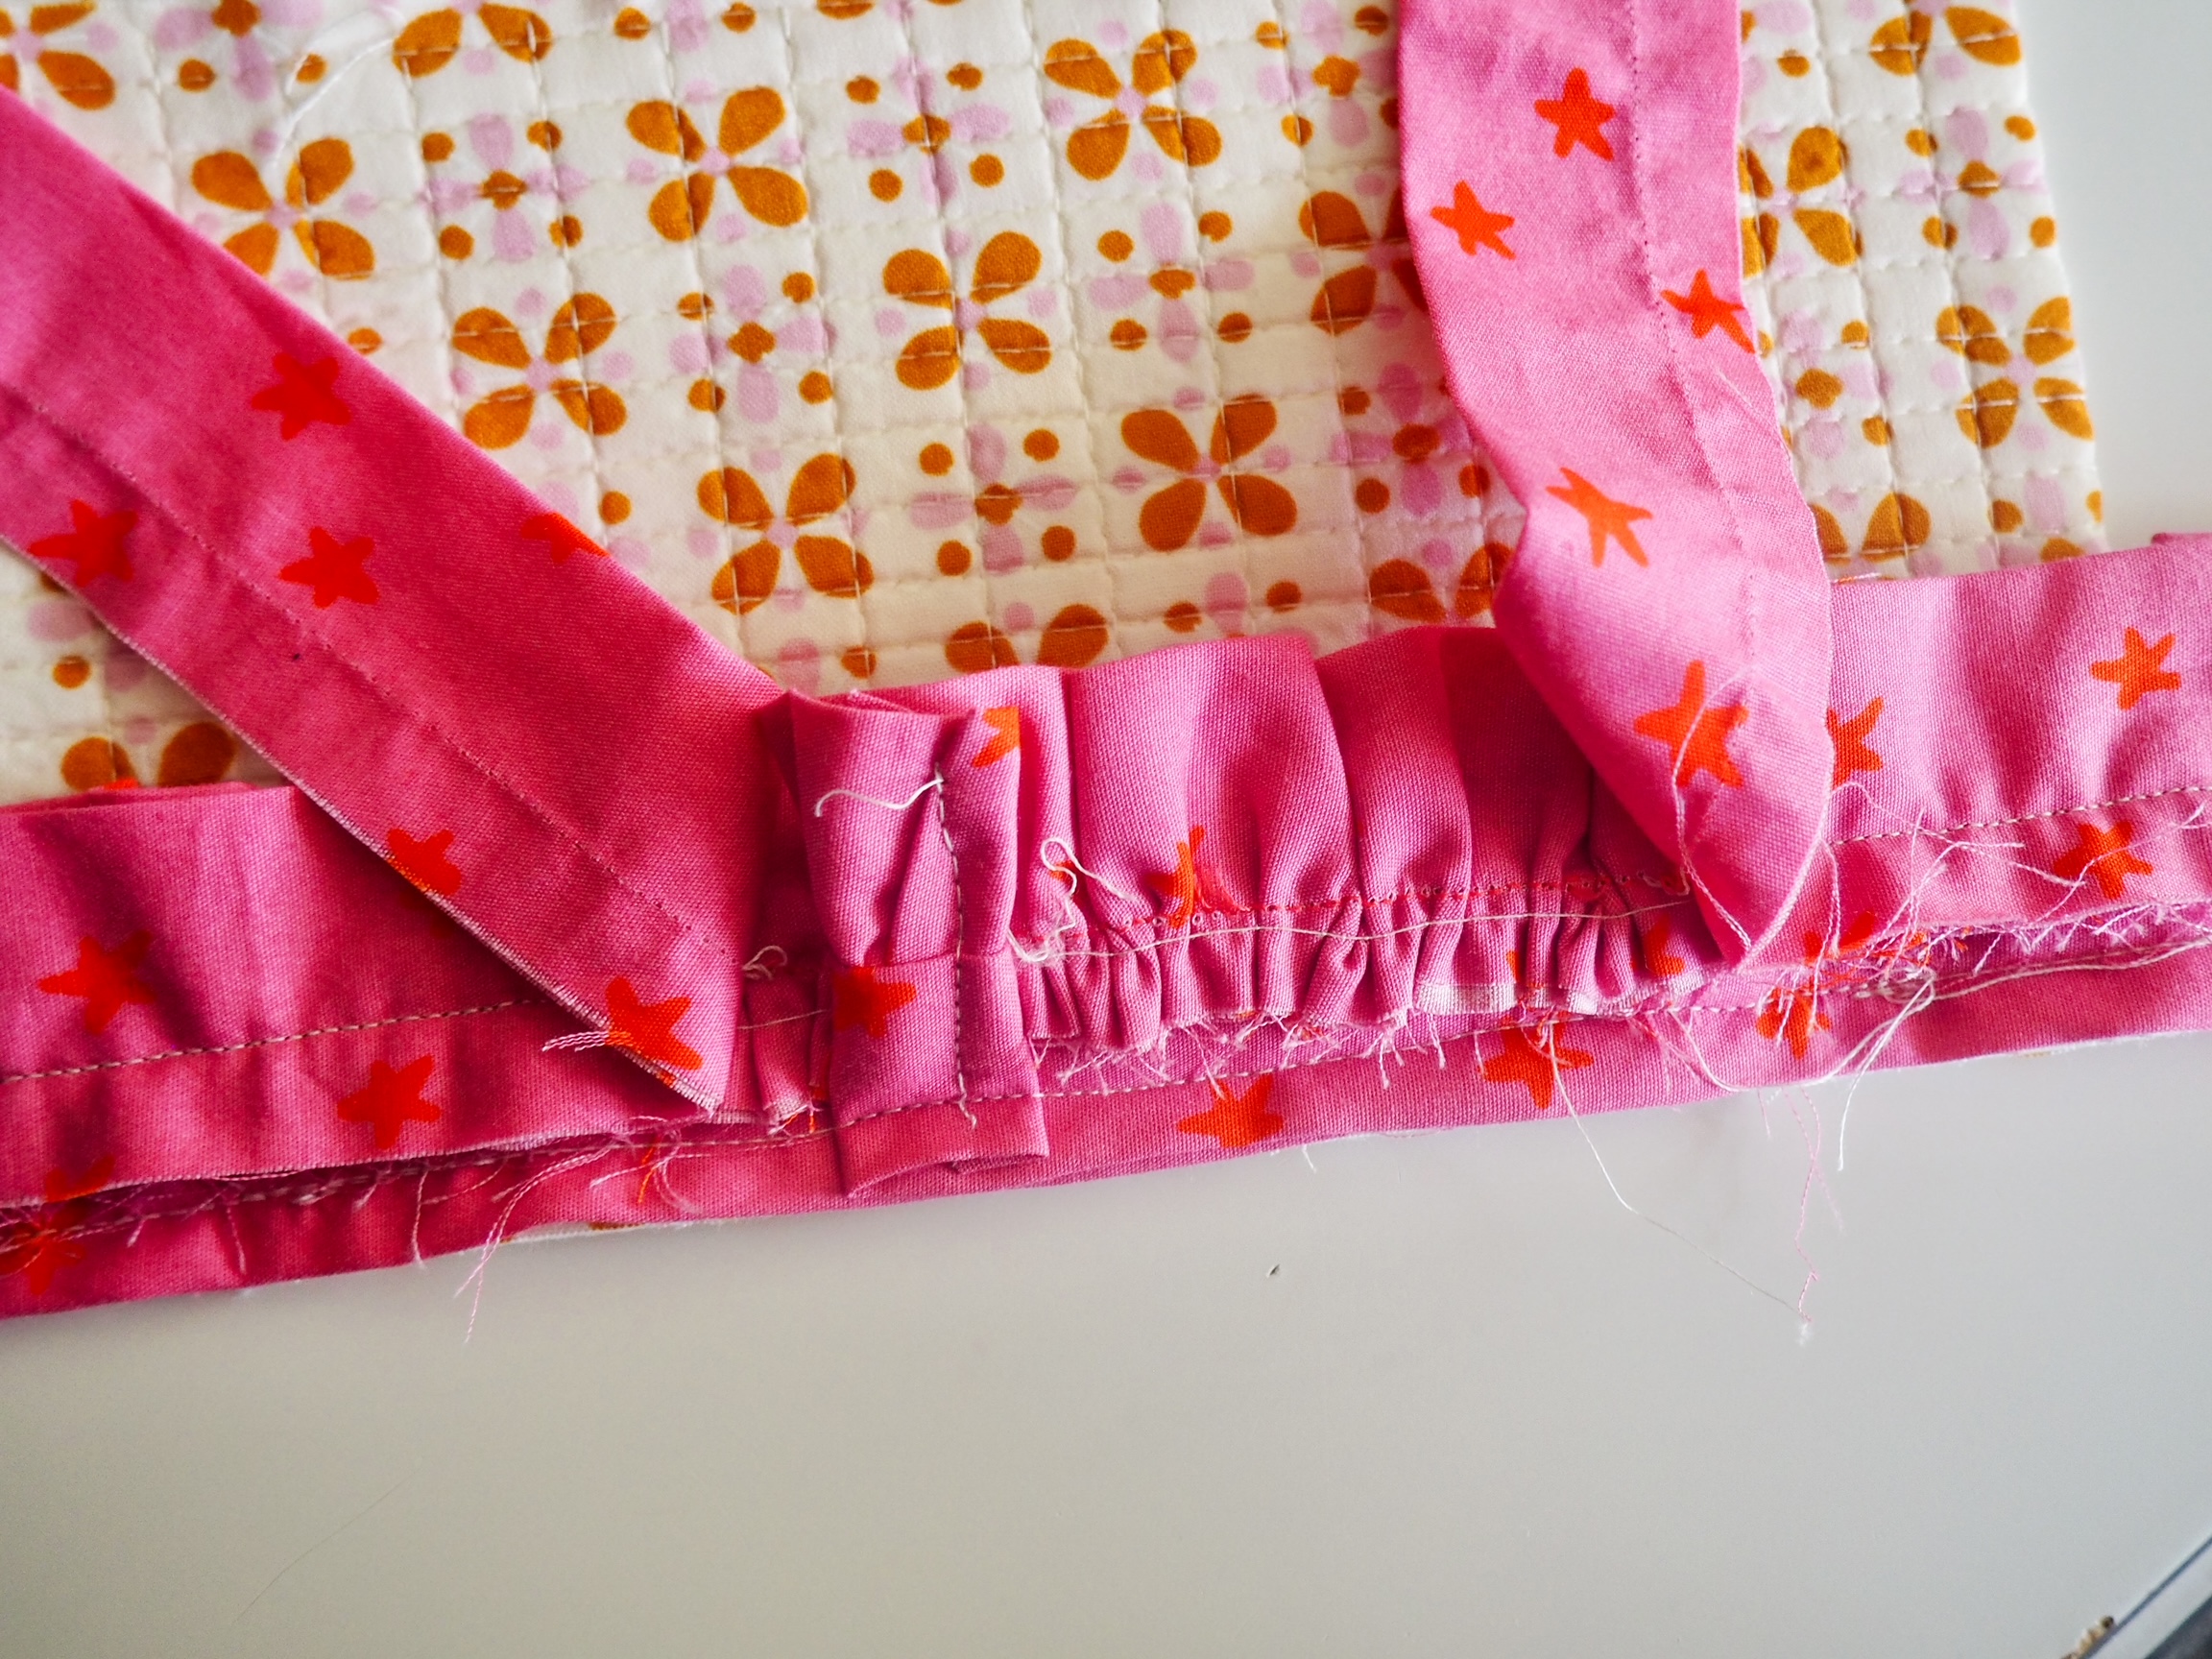
- Position the two ruffle tails with the raw edges aligned to the raw edges of the quilt, overlapping each other. The detached flat pieces should be out of the way. Sew the ruffle tails to the quilt with 1/2″ seam
- Bring the two detached flat pieces together and pin where they meet snuggly against the quilt. Sew along the short length, trim the excess, and press the seam open
At this point your quilt and binding should lay flat with no excess. The top flat piece is going to be unattached from the ruffles, you could run your finger under it. We are going to flip the binding to the backside and top stitch all the way around, which will secure that open part.
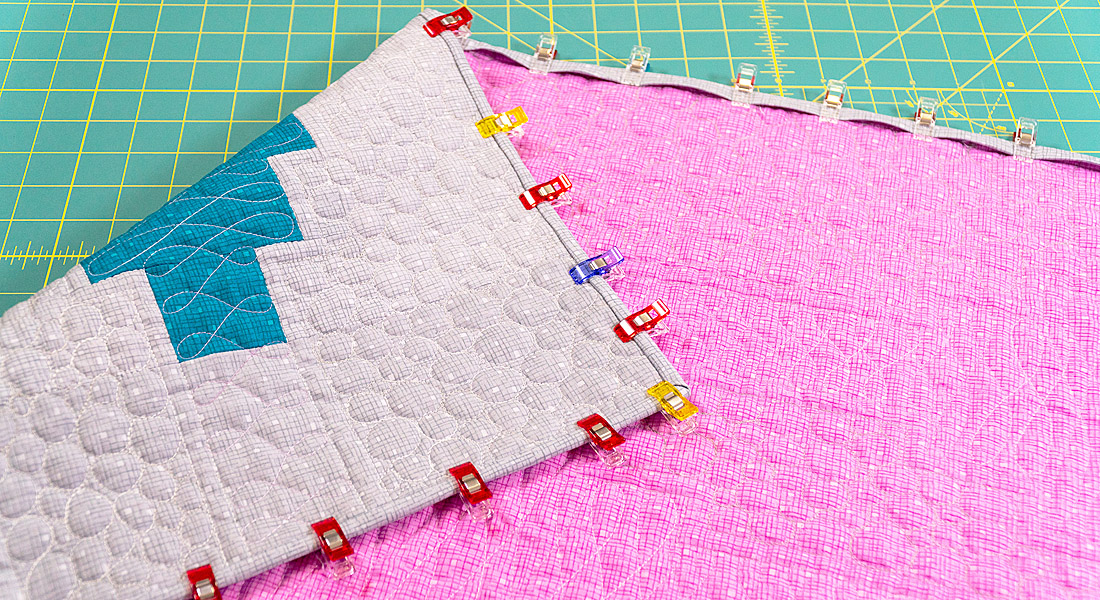
- Starting where the ruffles overlap, fold the binding along the length to the right, and around the raw edge of the quilt to the backside. You can press this down along the perimeter of the quilt if desired
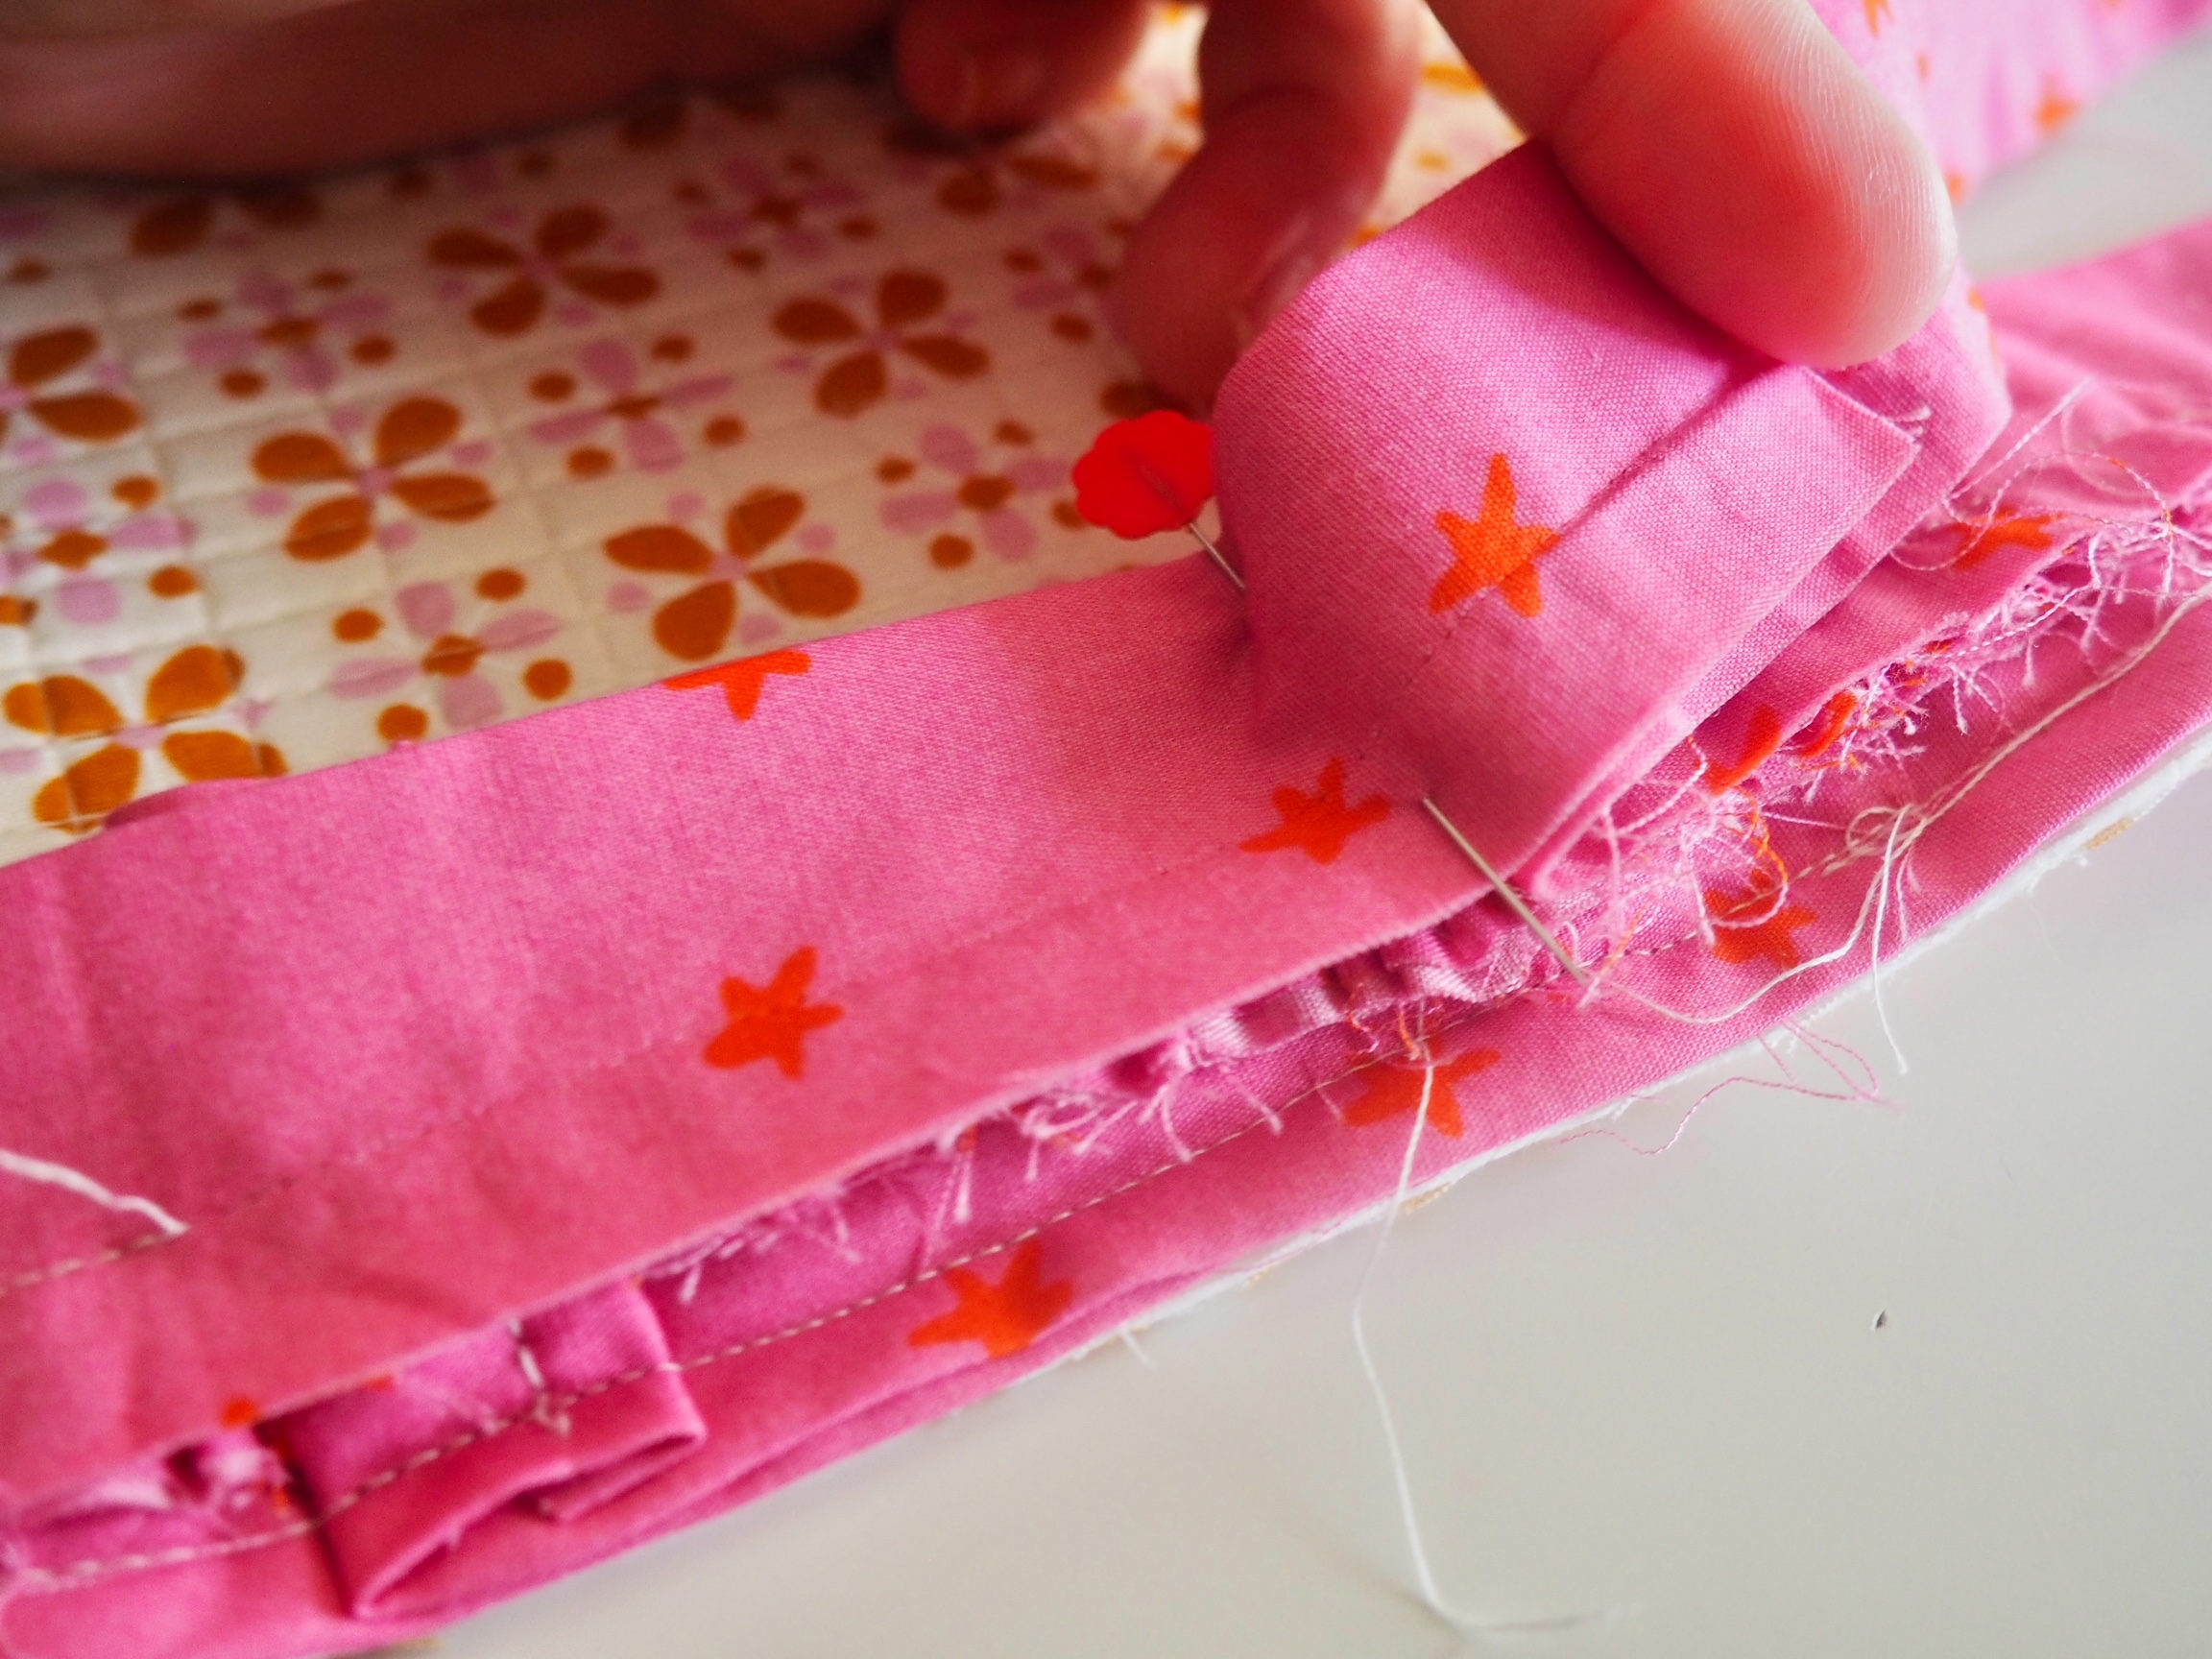
- Where the unstitched part of the binding is, fold the raw edge of the flat strip so that it is sandwiched between the flat part and the ruffles. Press and pin to secure in place
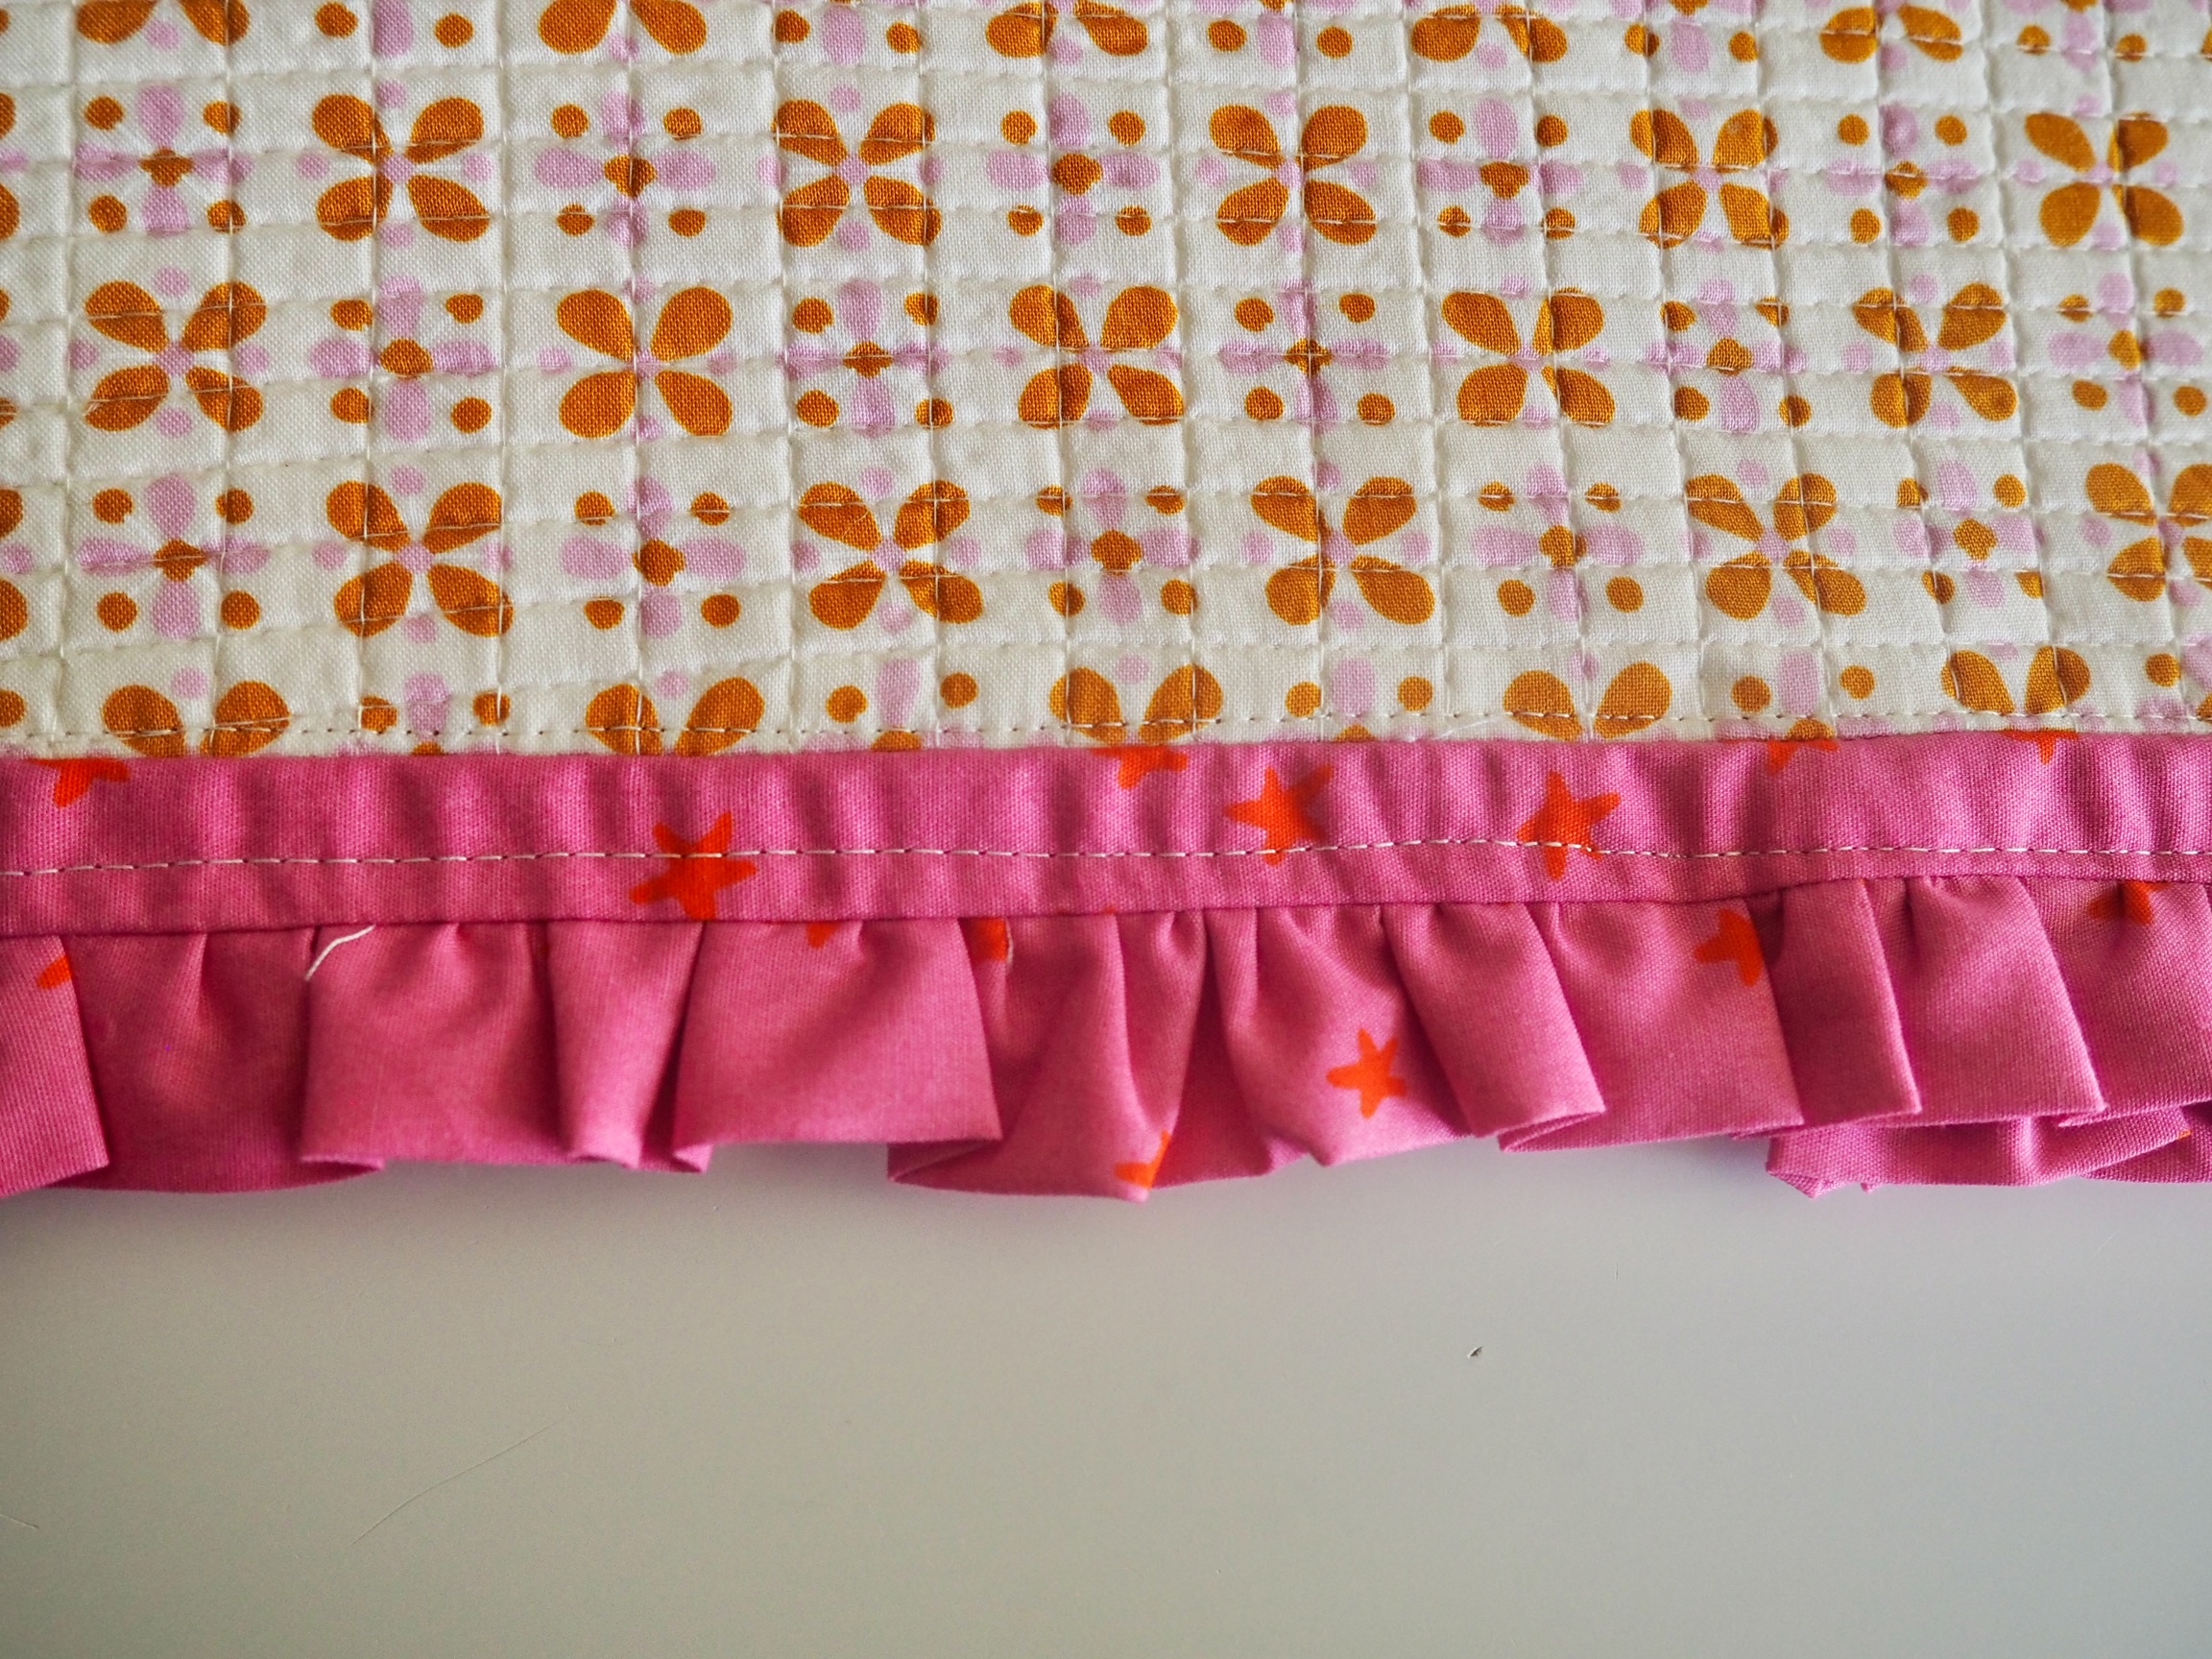
- Top stitch around the perimeter of the binding, 1/4″ from the fold where the ruffles meet the flat binding, backstitching at the beginning and end to secure
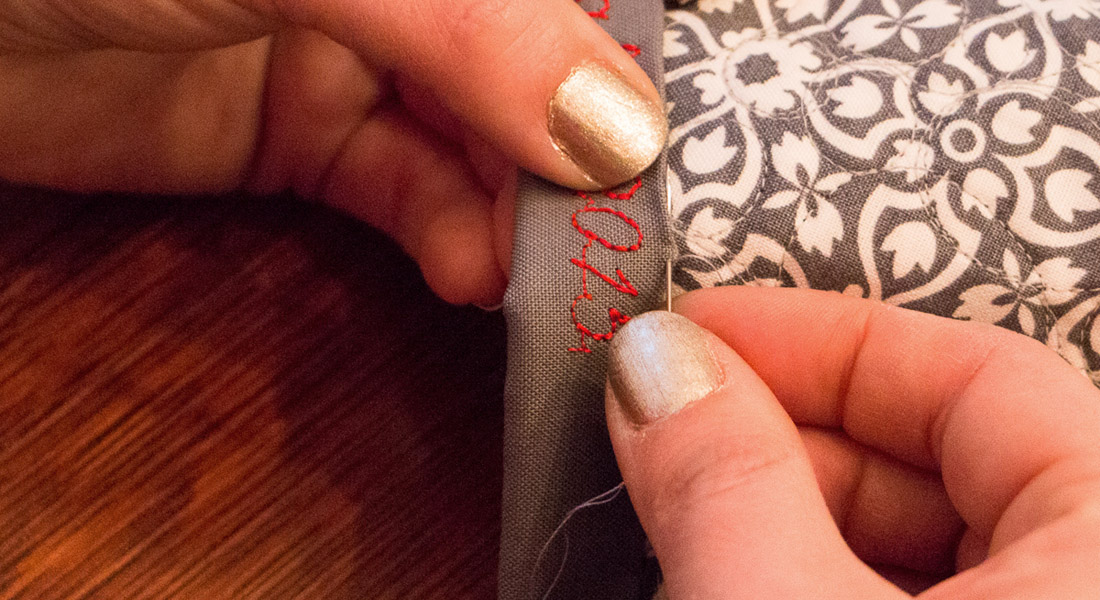
- On the backside of the quilt, hand sew the edge of the binding down to secure
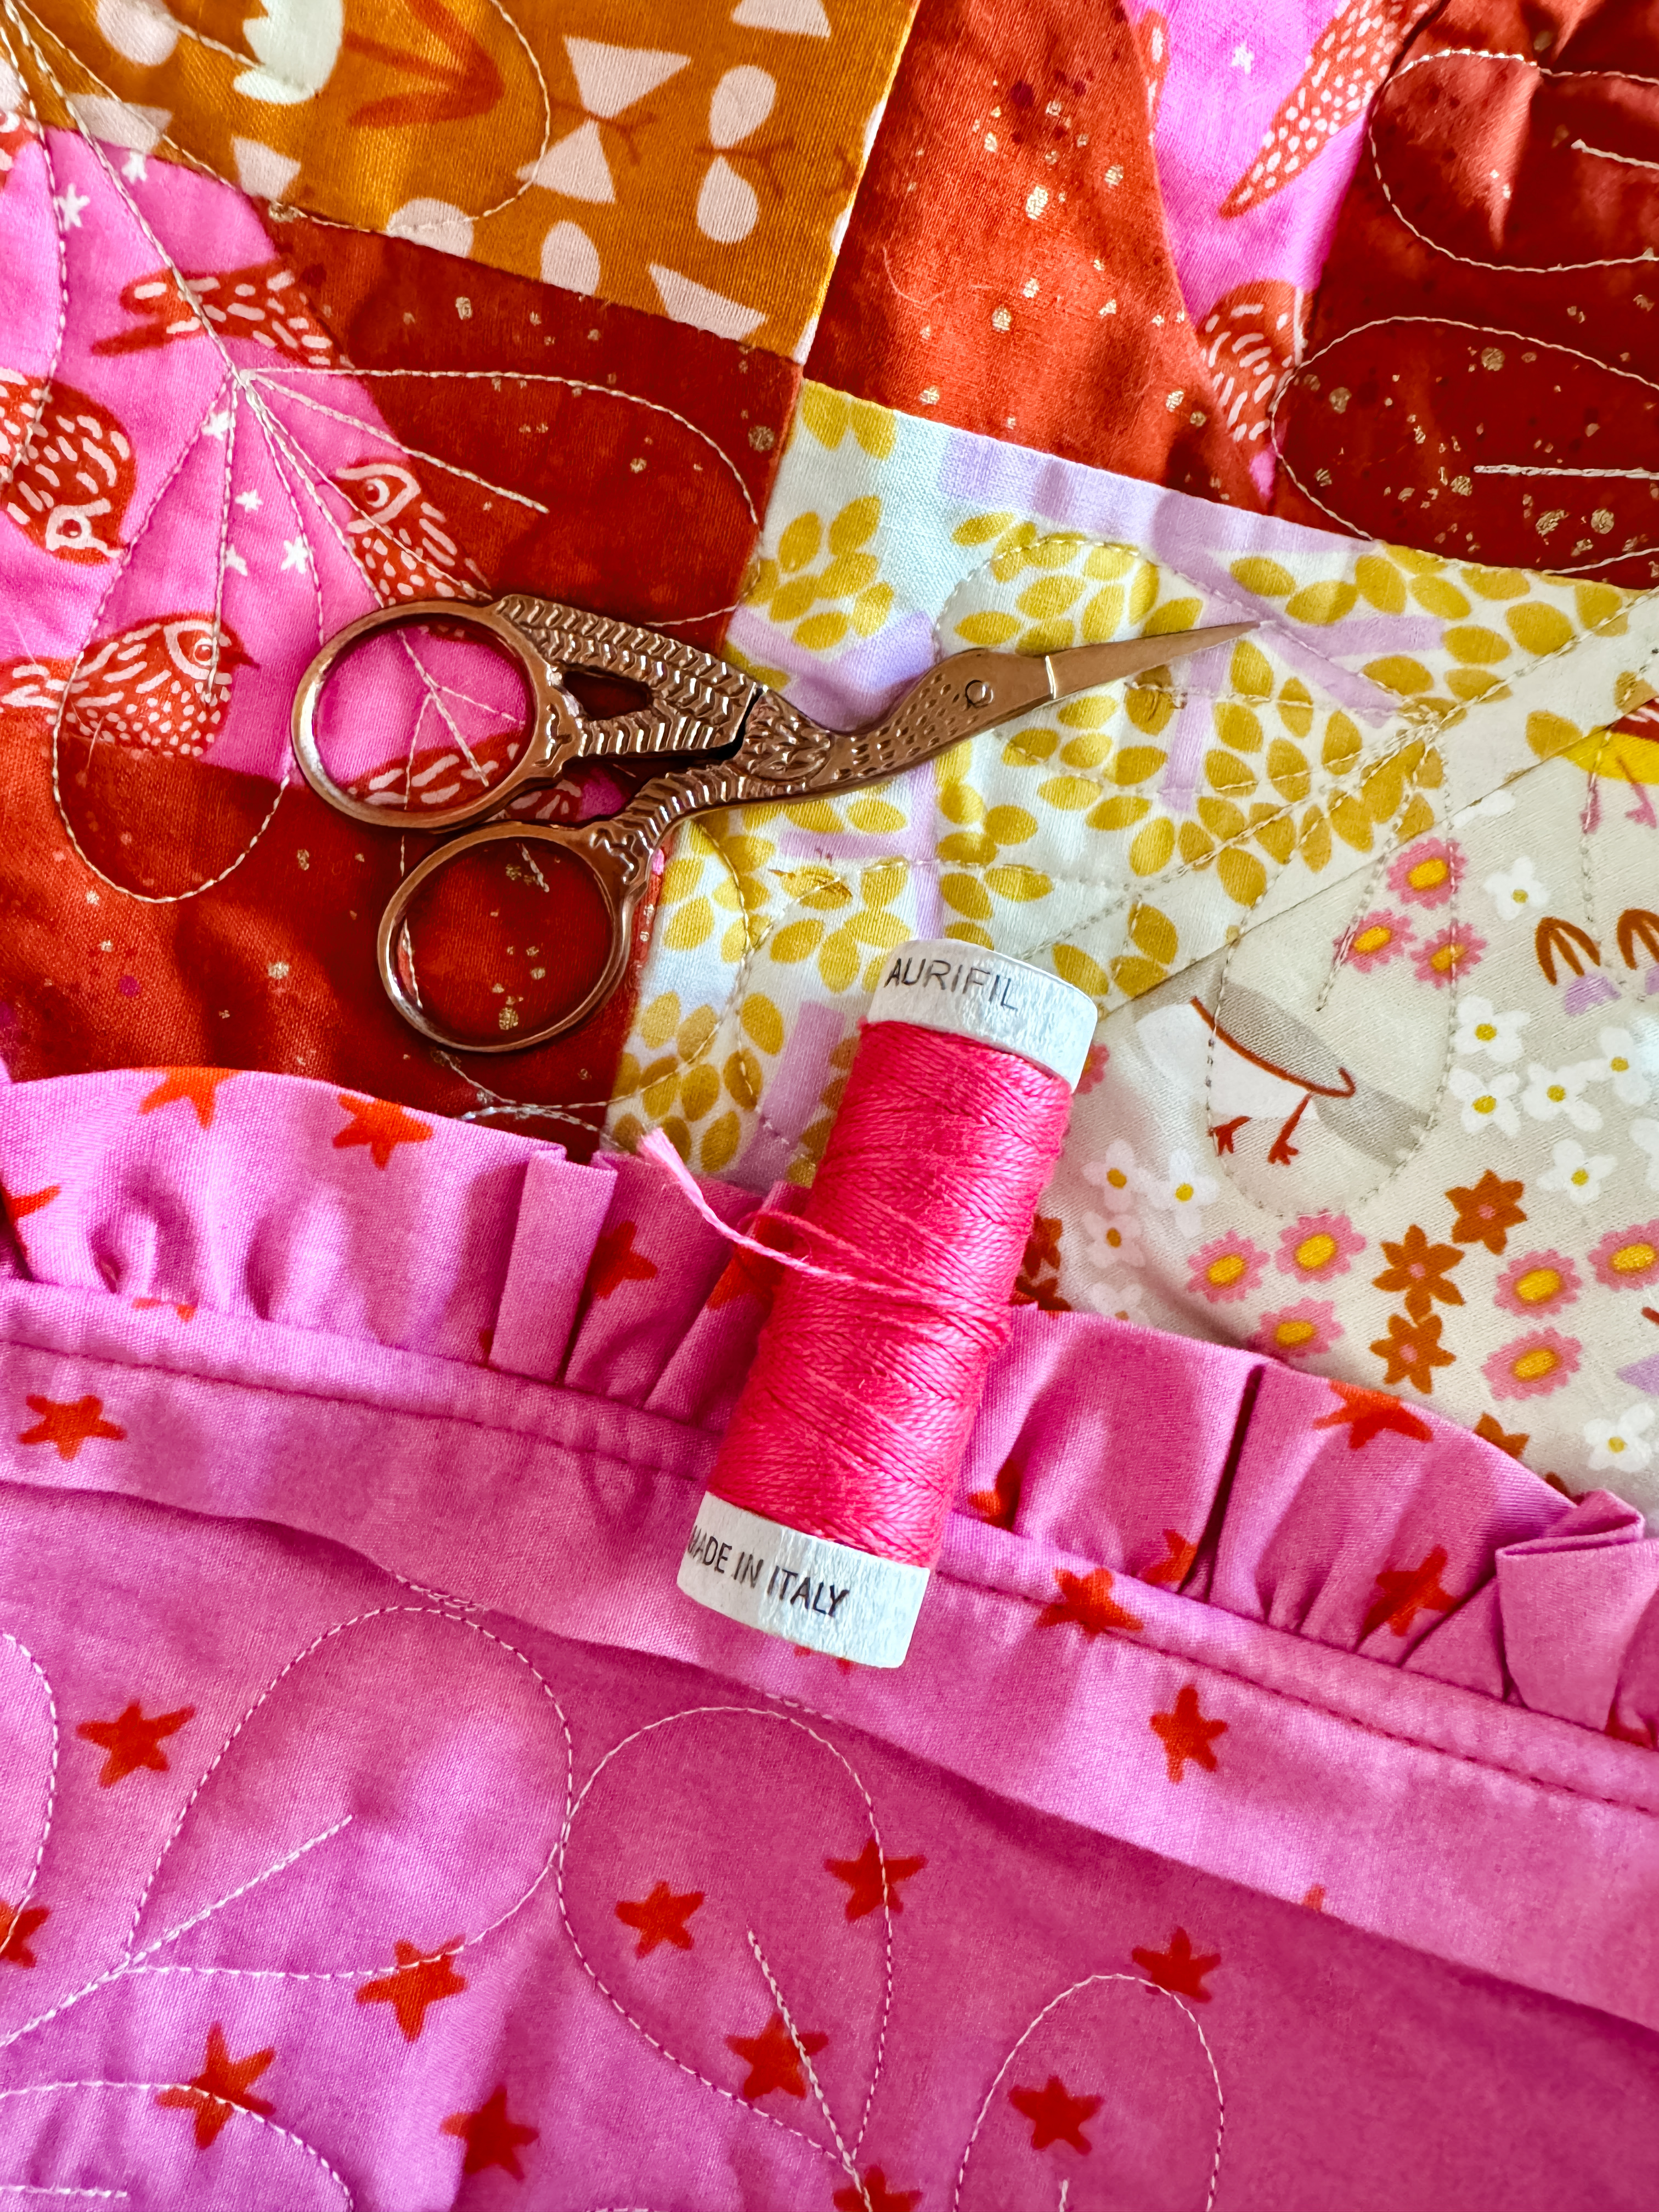
Congratulations! You just added ruffle binding and I’m betting your project is adorable! As always, I’d love to see what you make so please tag me on socials @aandcowi. Happy sewing!
