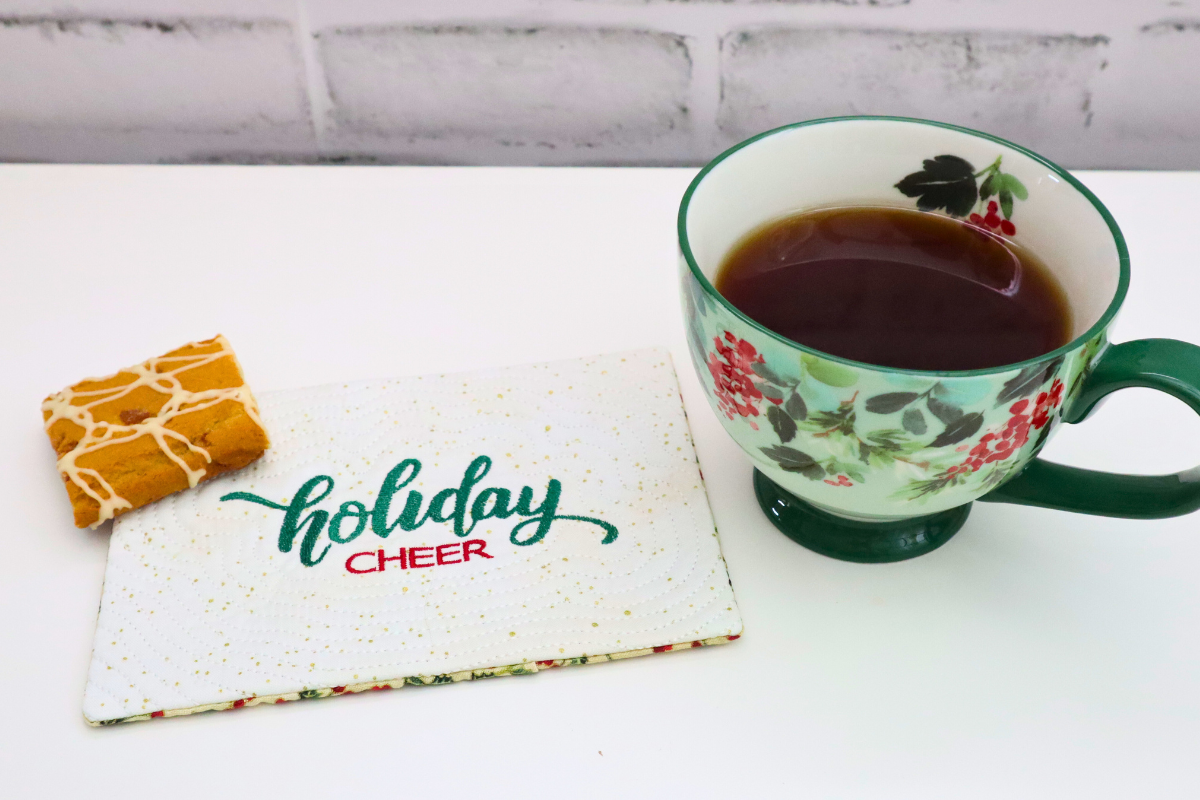
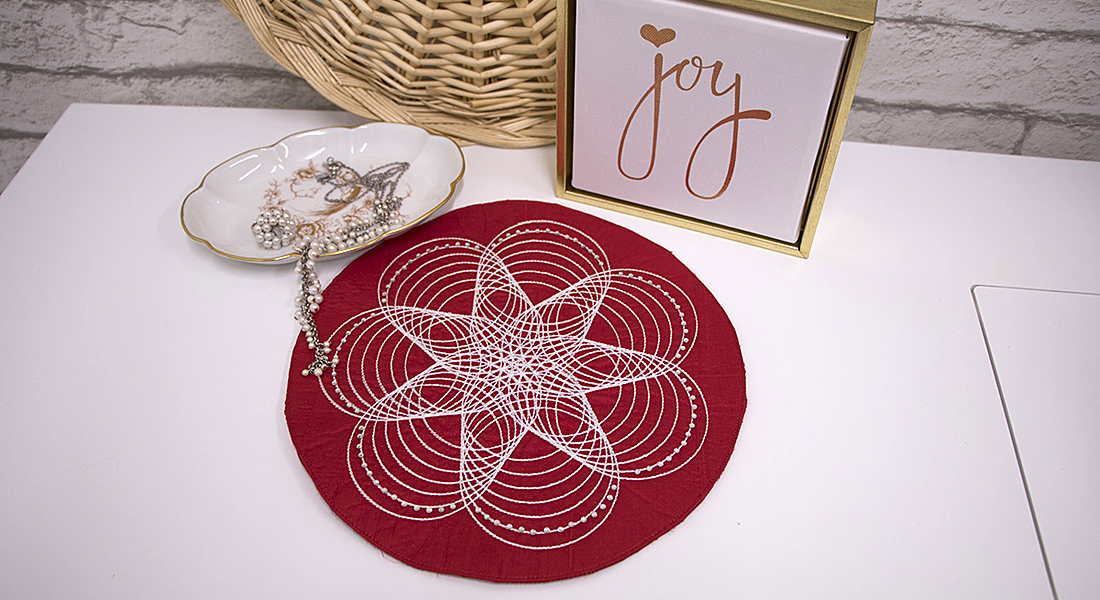
In-the-Hoop Holiday Cheer Mug Rug
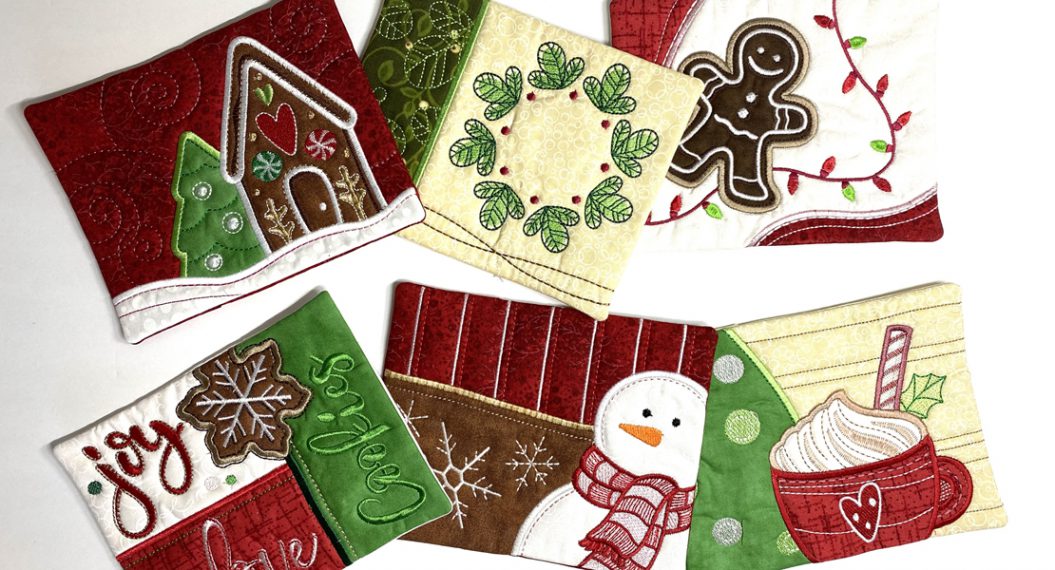
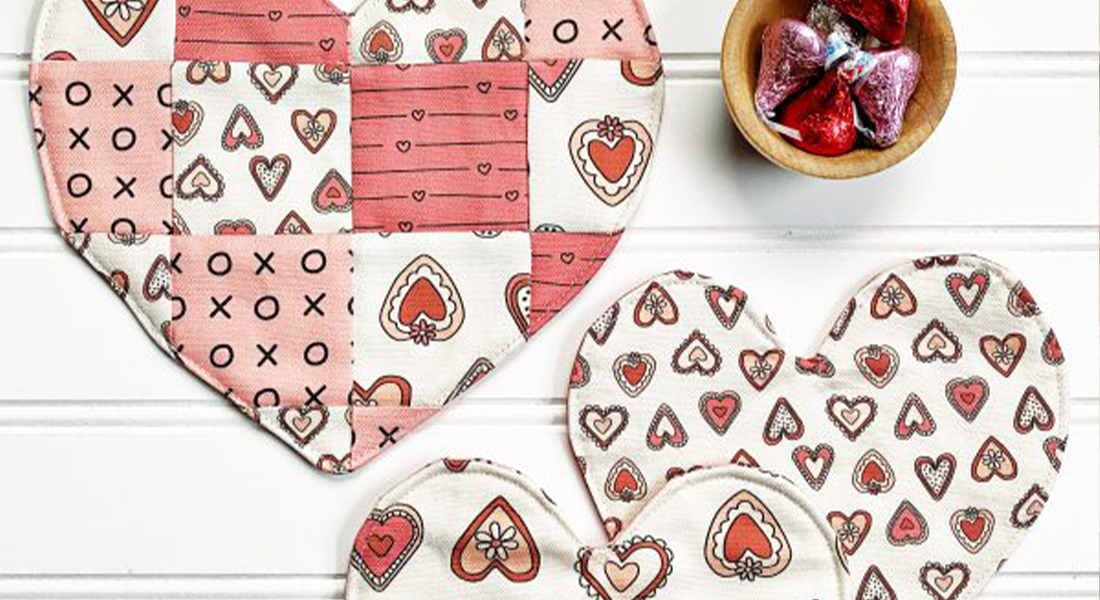
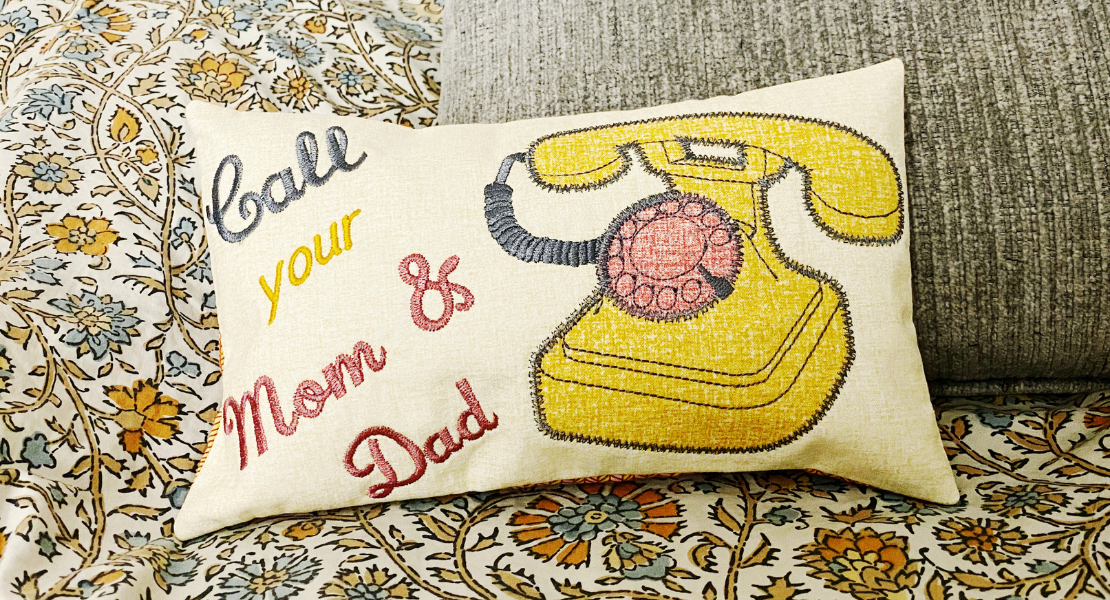
Looking for a quick and fun project to add some holiday spirit to your home? An In-the-Hoop Holiday Cheer Mug Rug is the perfect way to add a festive touch to your coffee table while showing off your embroidery skills. This project is beginner-friendly, and the best part is it’s all done right In-the-Hoop—no extra sewing required! I’ll walk you through the steps to create a cute and functional holiday mug rug that makes a great gift or decoration for your own space.
Hi, I’m Sue O’Very, known in the sewing world as Sookie Sews. I’m a pattern designer specializing in serger and machine embroidery projects, a YouTuber, and a three-time published author. I’m also proud to be a BERNINA and bernette Expert. You can find me everywhere online @SookieSews. Today, I’m going to show you how easy an In-the-Hoop Mug Rug is to make with the BERNINA 790 PRO, so, grab your machine and let’s get stitching!
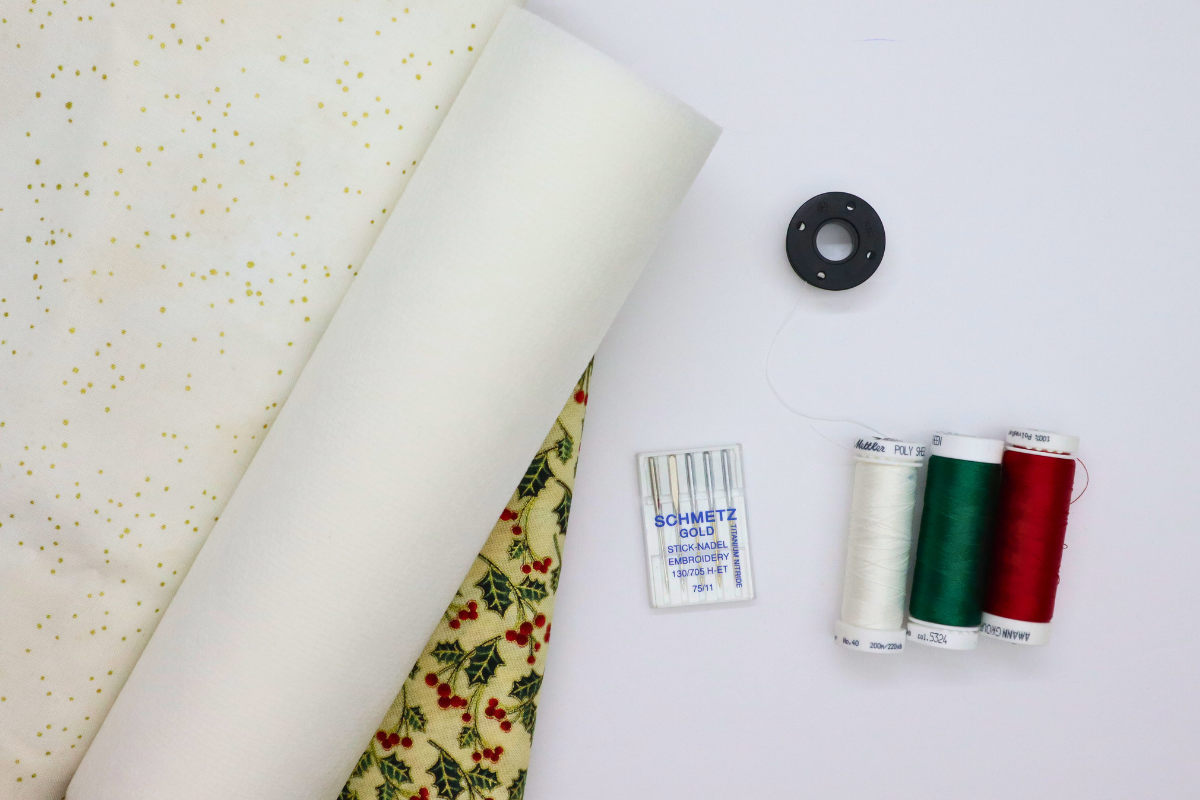
Materials (width by height)
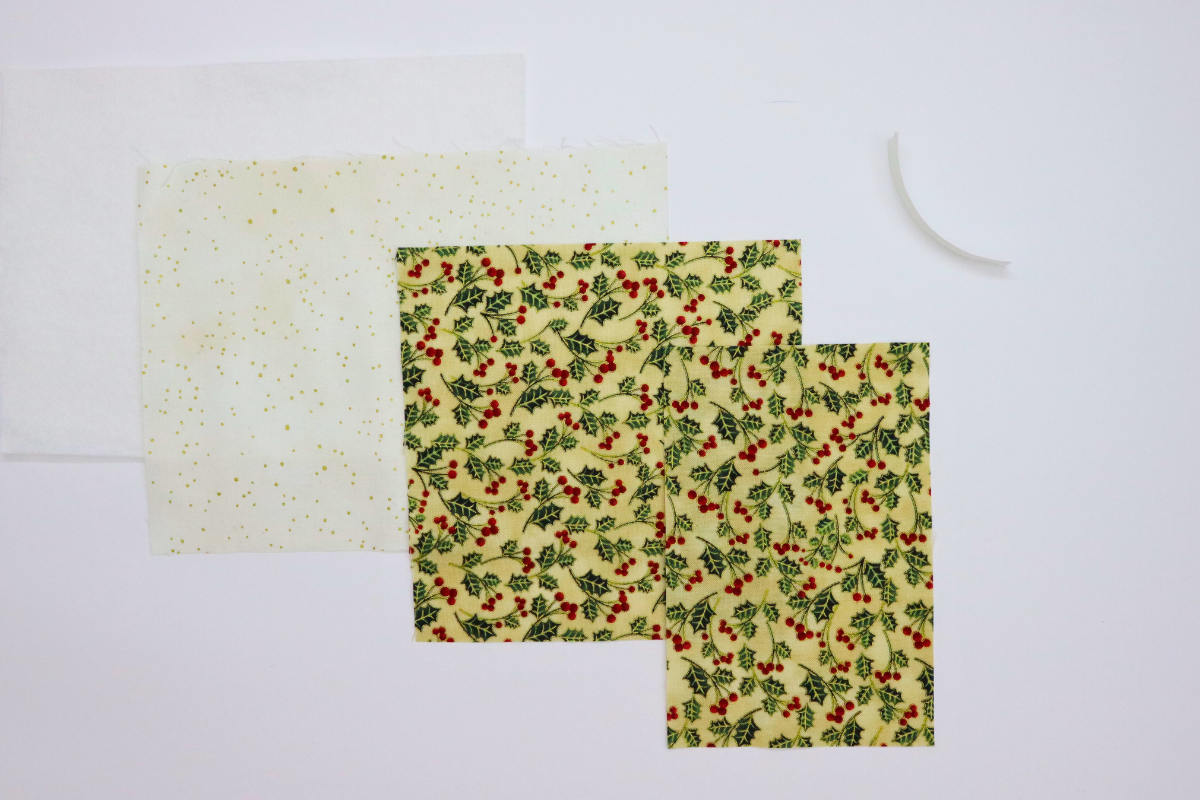
- Sheer Cut-Away Stabilizer to fit hoop i.e. OESD Polymesh
- Front 8” x 6”
- Back Top 6” x 6”
- Back Bottom 4” x 6”
- Front Fusible Batting 8” x 6” i.e. OESD Fuse and Fleece
- ½” wide x 4” Paper Back Fusible Web Tape i.e. Steam-A-Seam
- Iron/Pressing surface
- Embroidery needles 75/11
- Fabric shears
- Thread snips
- Embroidery thread and 60 weight bobbin
- EZ Point & Turner
- Wood point turner
Steps
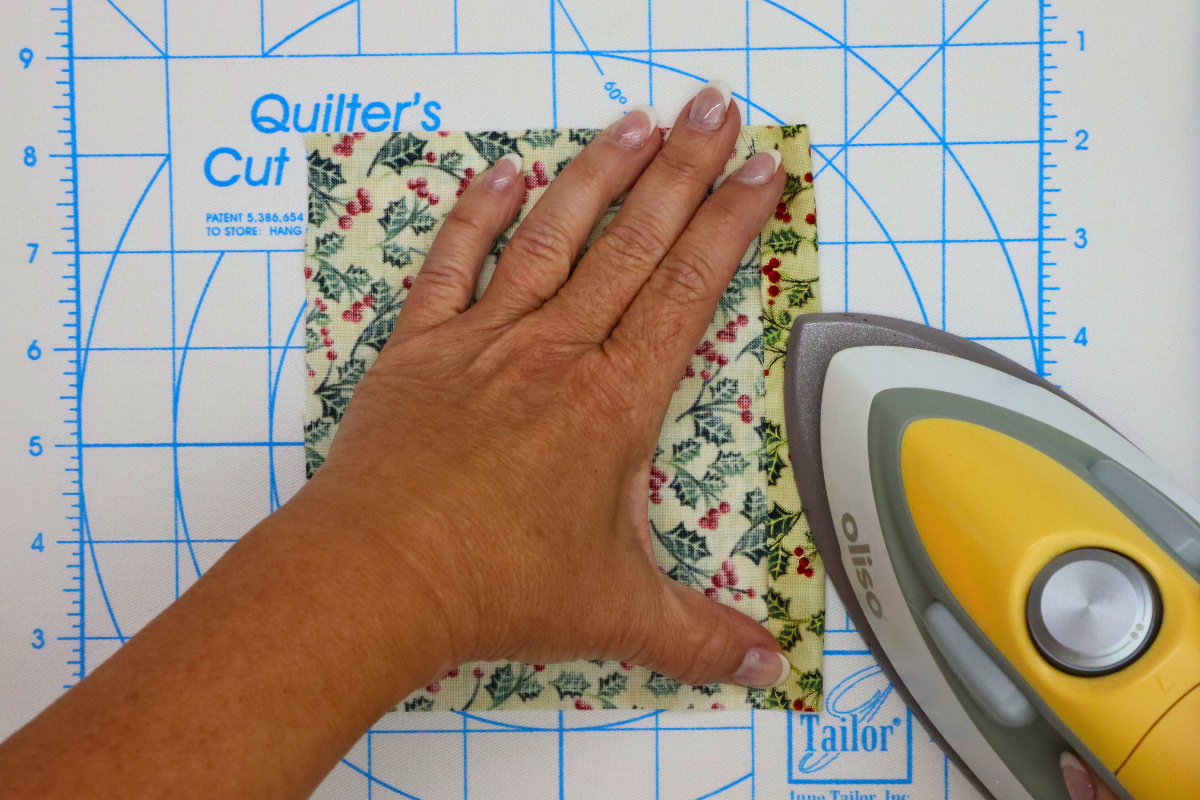
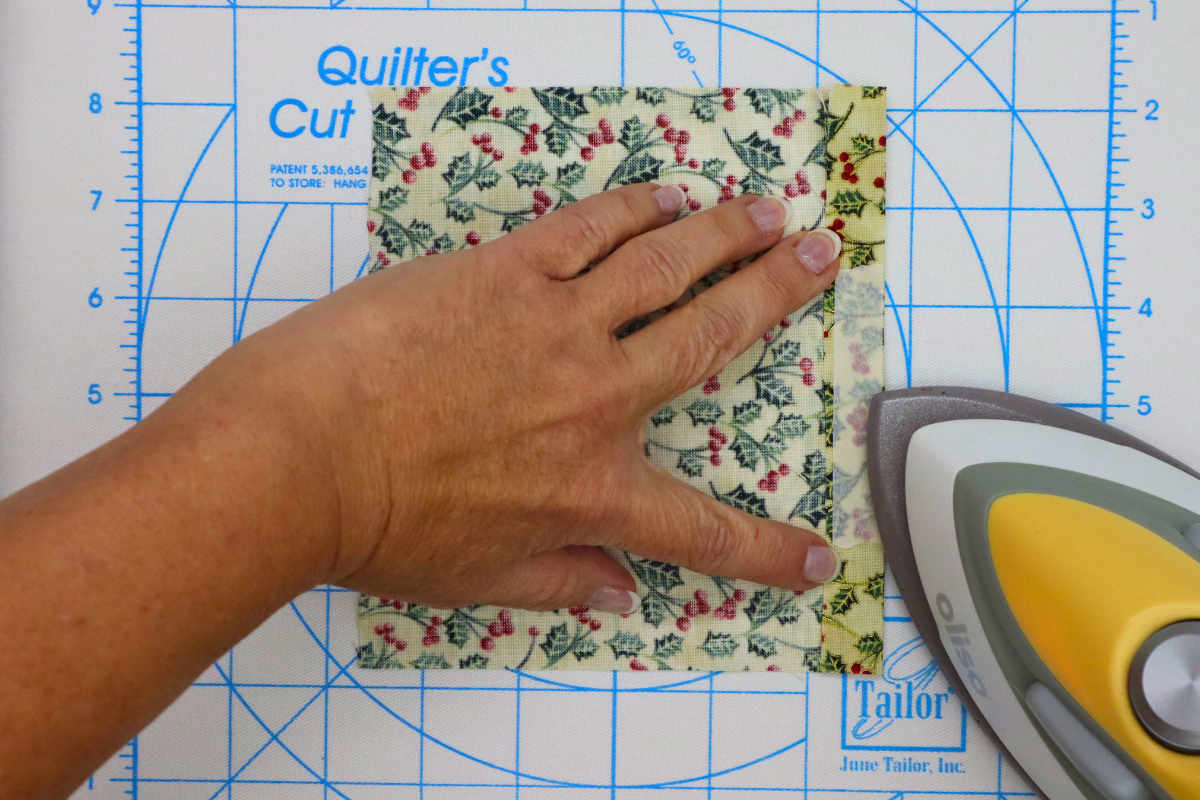
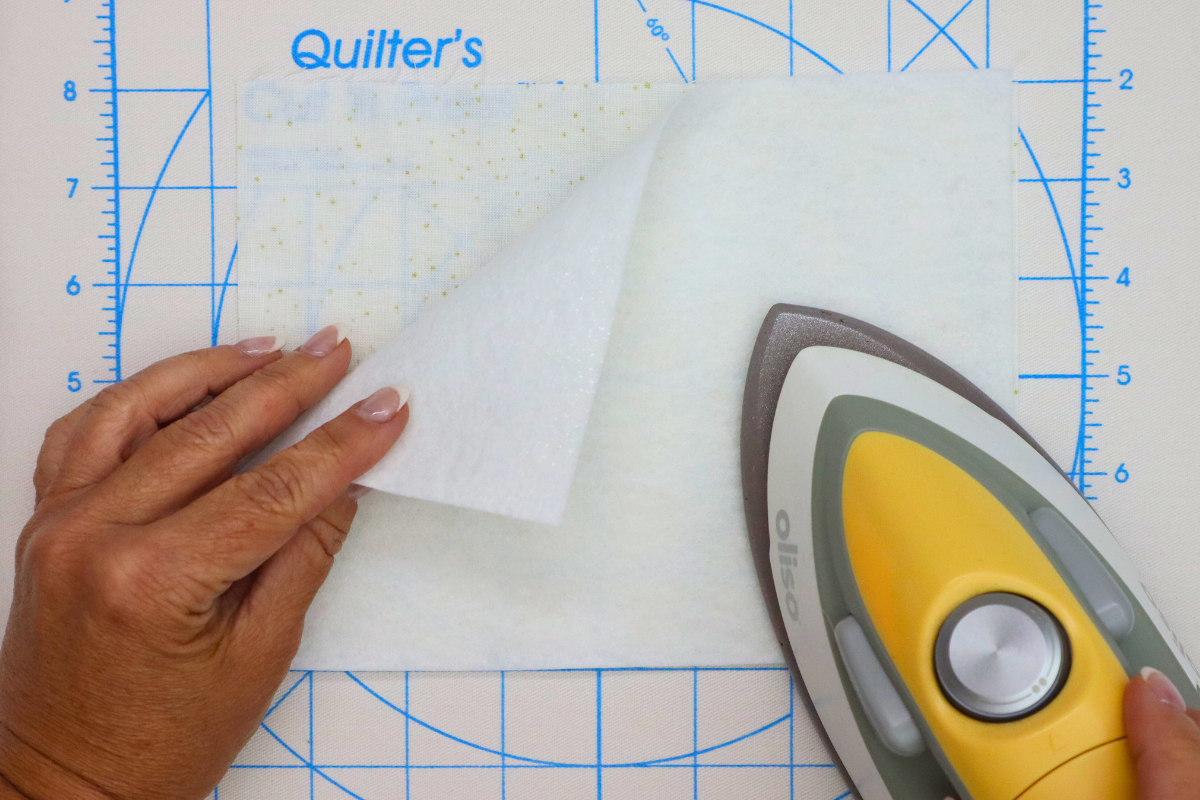
1. Set up the embroidery machine with new needle, 60 weight bobbin, and embroidery thread on top. Hem one edge of the Back Top ½” towards the wrong side. Fuse the ½” Paper Back Fusible Web Tape to the wrong side centered within the height. Set aside for now. Press the scratchy side of the Front Fusible Batting to the wrong side of the Front.
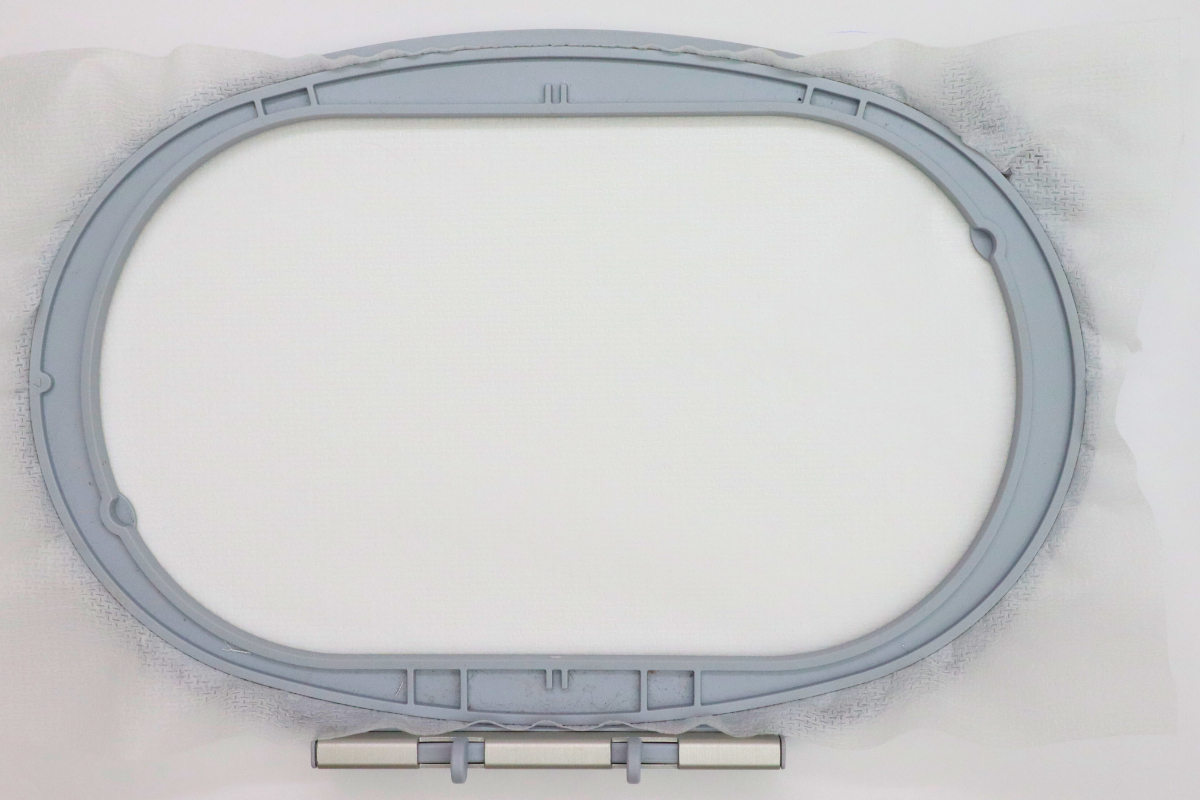
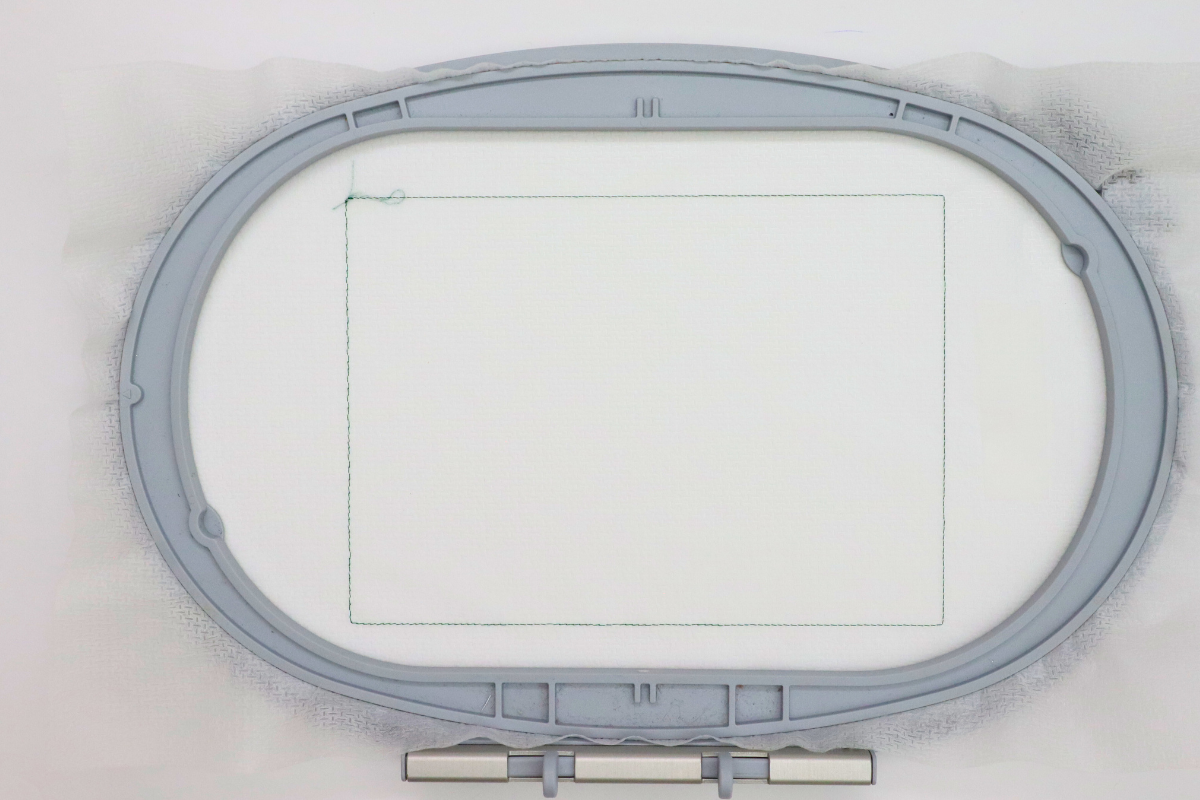
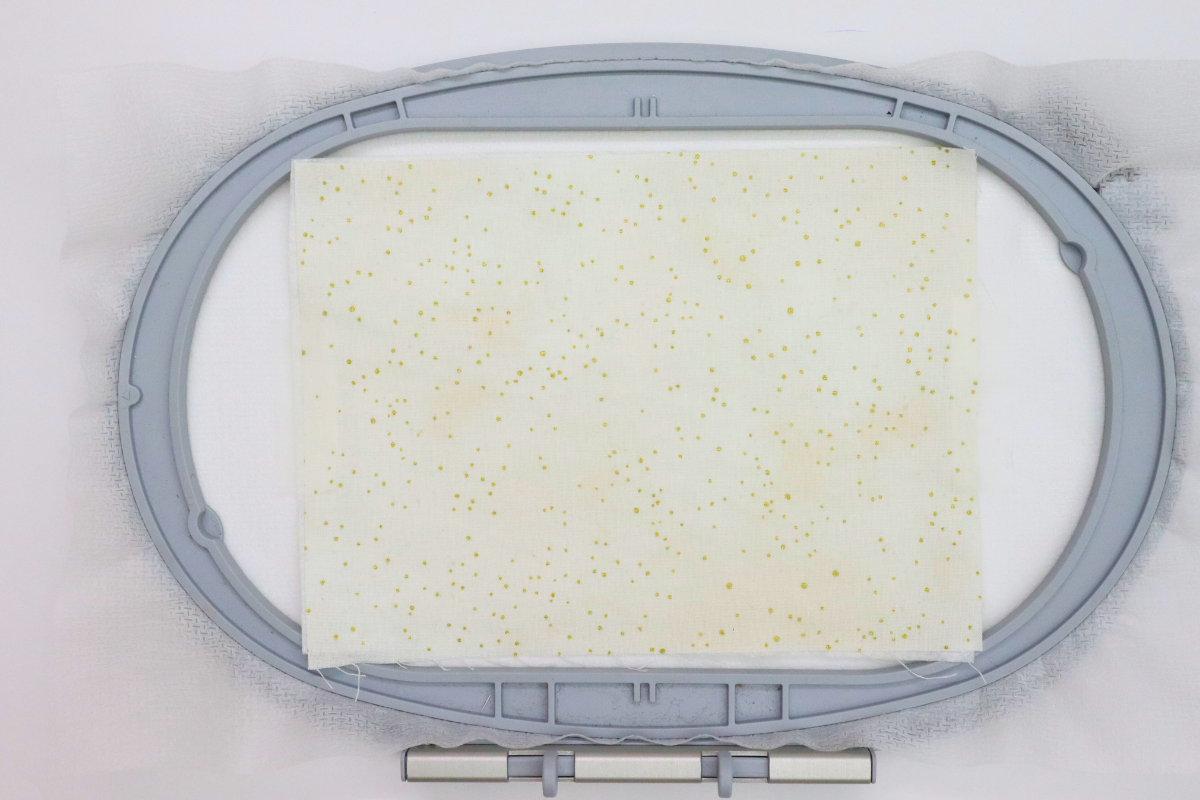
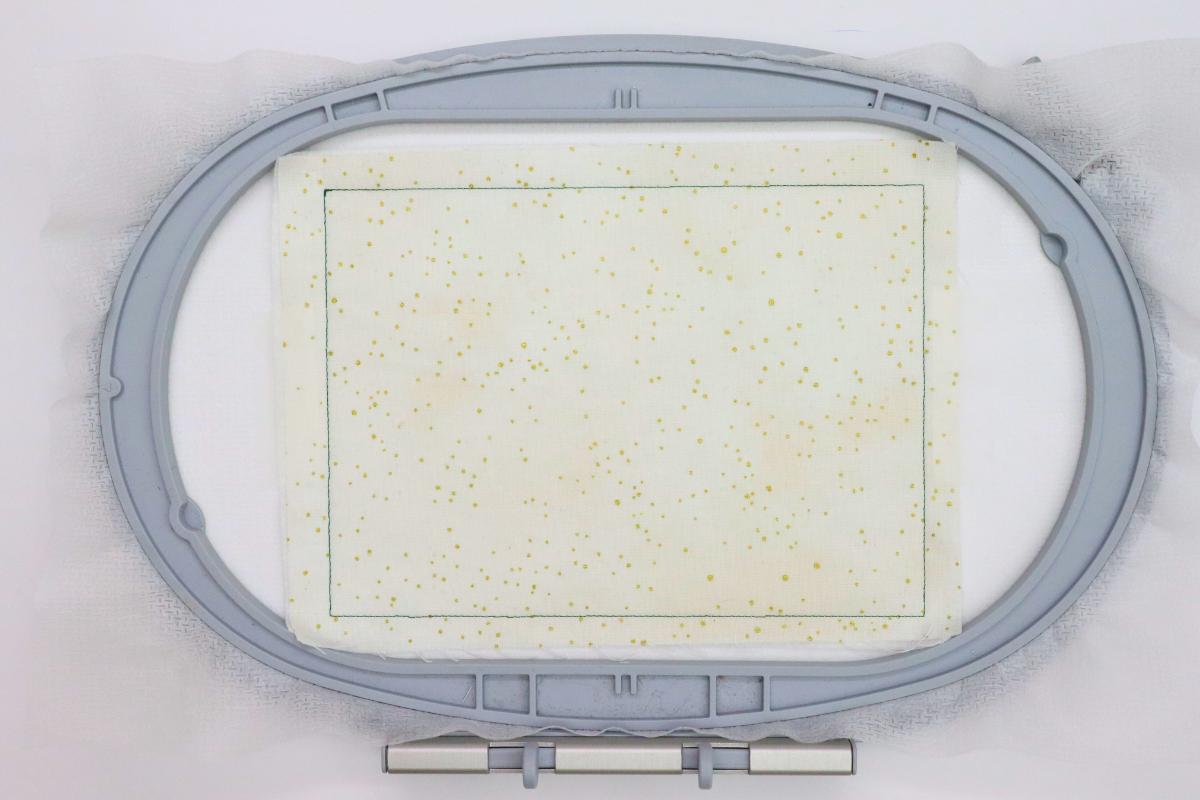
2. Hoop the Sheer Cut-Away stabilizer and insert the hoop into the machine. Sew stitch #1, the outside placement stitch. Remove the hoop from the machine, do not disturb the materials and place on a flat surface right side up. Place the Front right side up over the placement stitch, make sure material covers over the stitching, and secure with tape. Insert hoop into machine and sew stitch #2, the Front secure stitch.
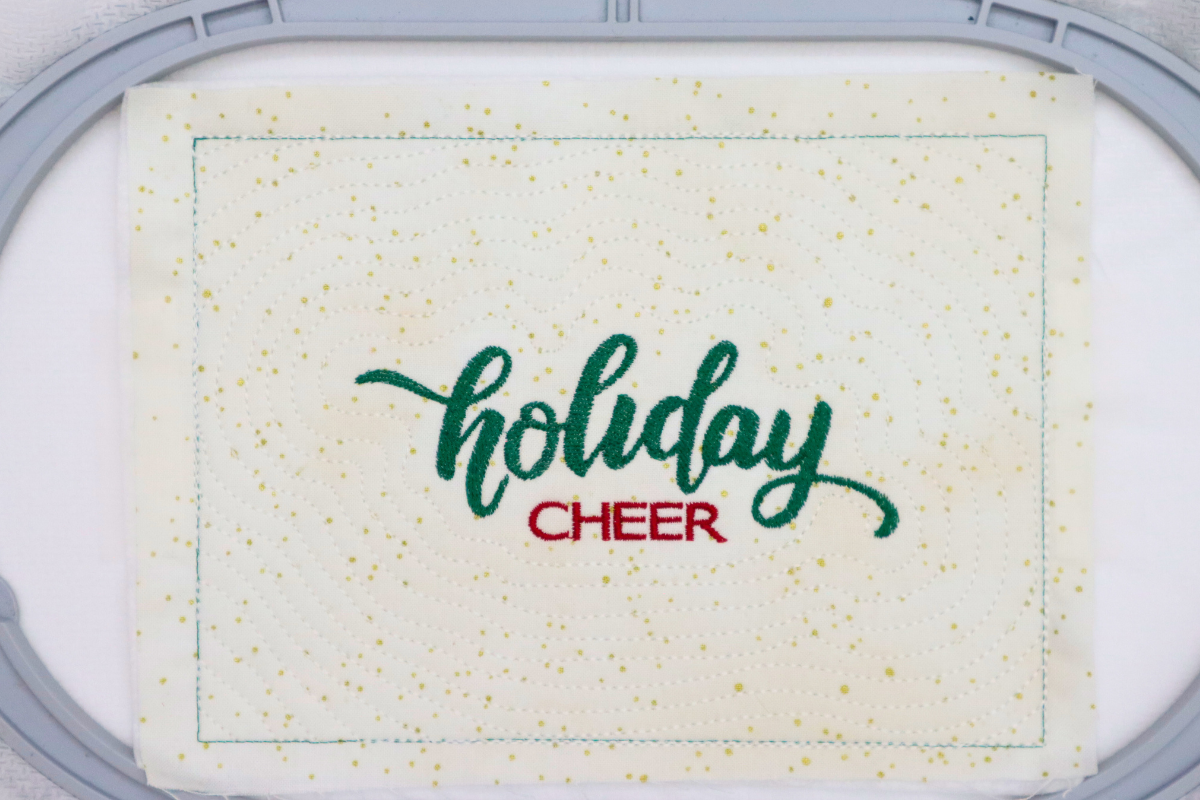
3. While hoop is in machine, sew stitch #3, 4, and 5 the text and echo quilting stitching.
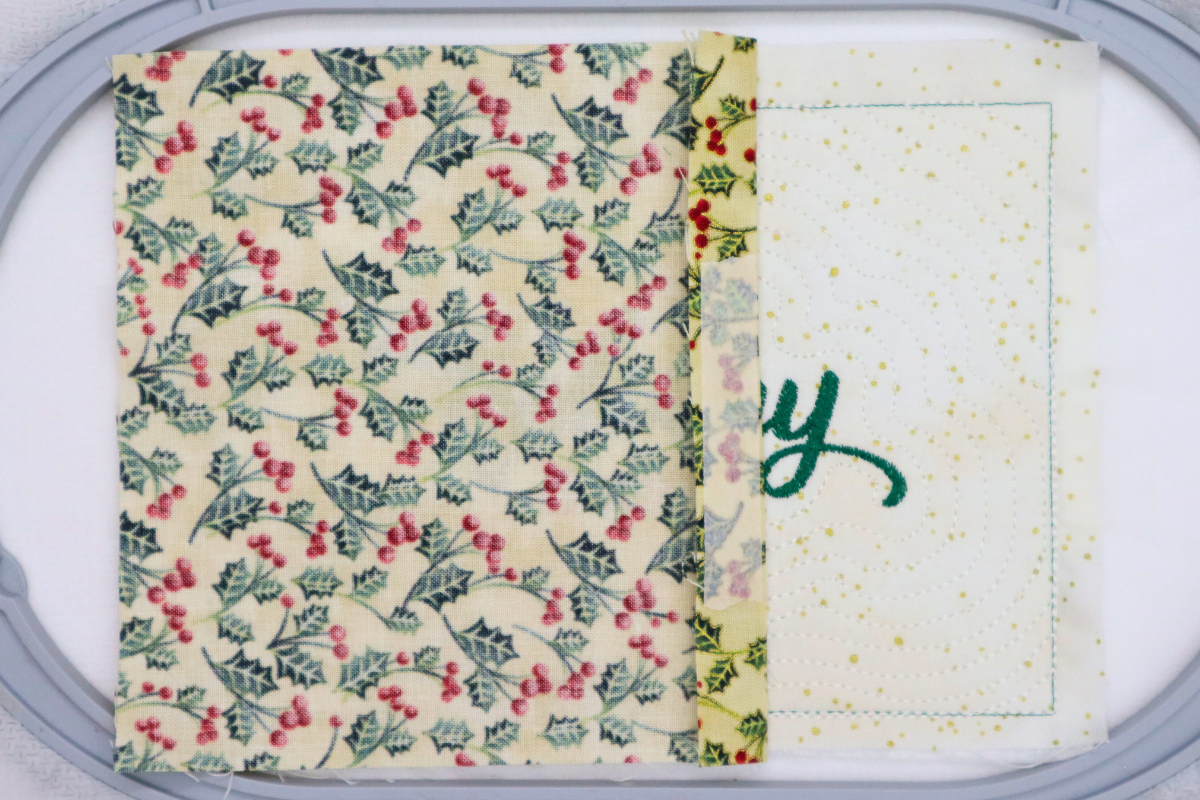
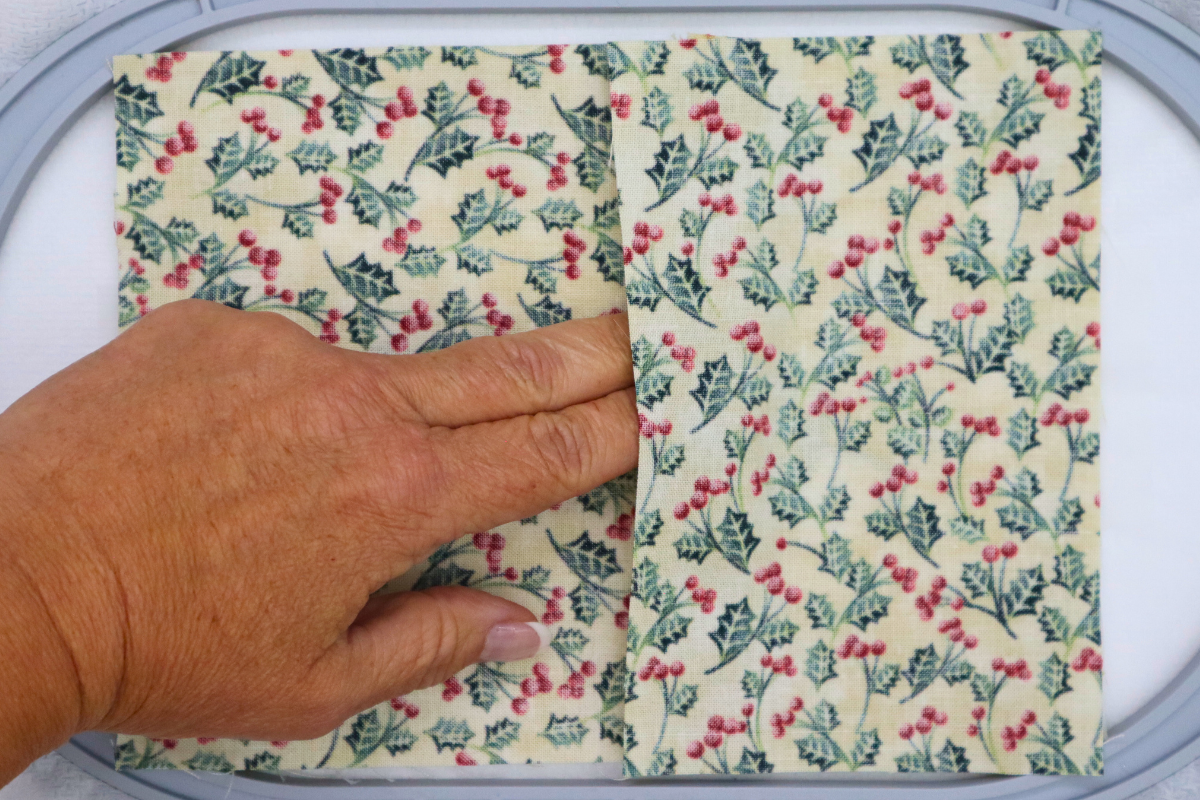
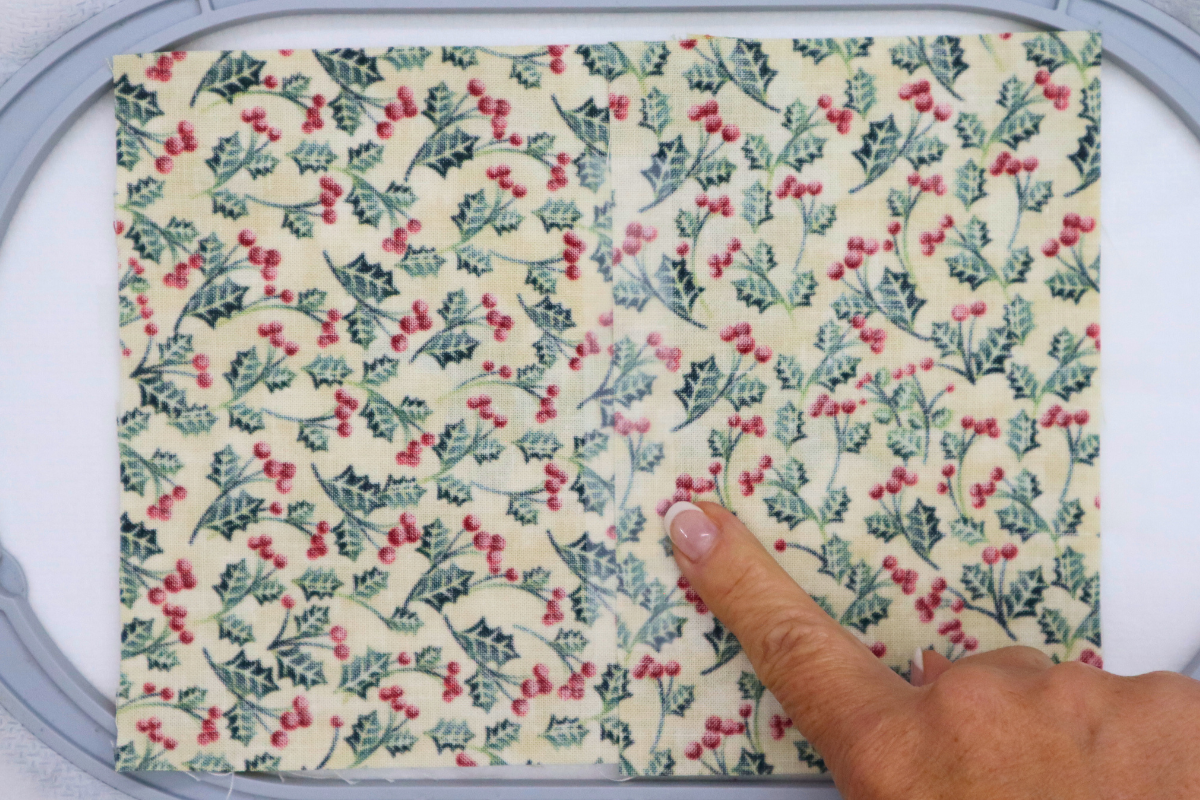
4. When finished stitching, remove hoop from machine and place right side up on a flat surface. Place the Back Top wrong side up over the Front, aligning the raw edges with the left side of the Front. Place the Back Bottom over the Back Top/Front, aligning the raw edges with the right side of the Front. Secure with tape over the raw edges of the Back Bottom and on each side.
5. Insert hoop into machine and sew Stitch #14, the final outside construction stitch. When finished stitching, remove hoop from machine, remove tape from materials, remove materials from hoop. Cut around the outside of the stitching about ¼”. To help reduce the bulk in the corners, miter each. Be careful not to clip the stitching.
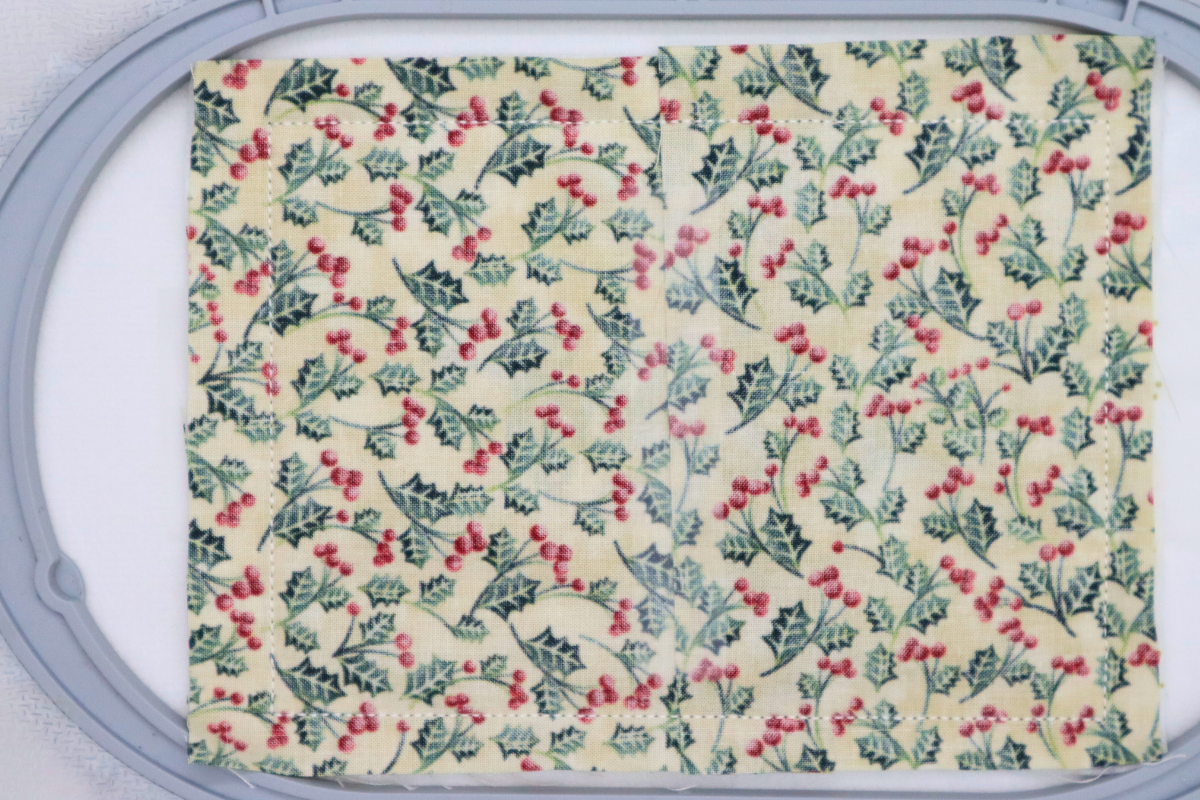
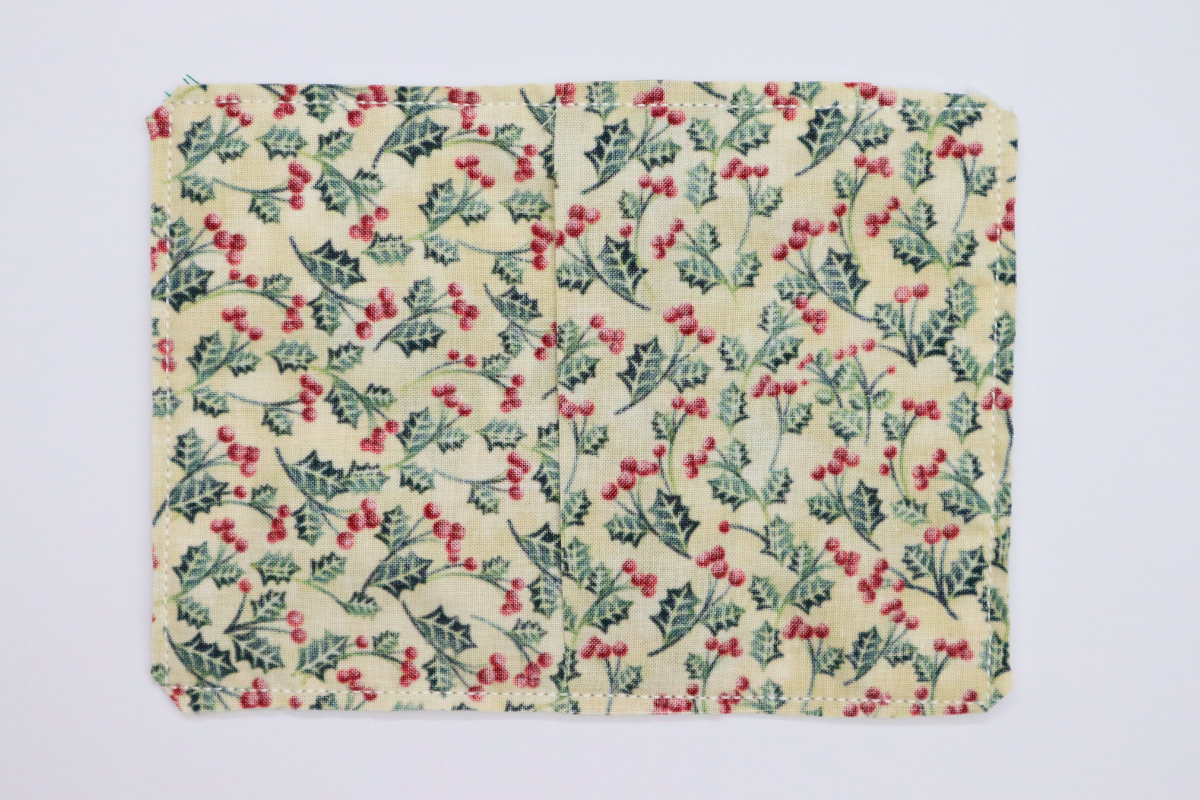
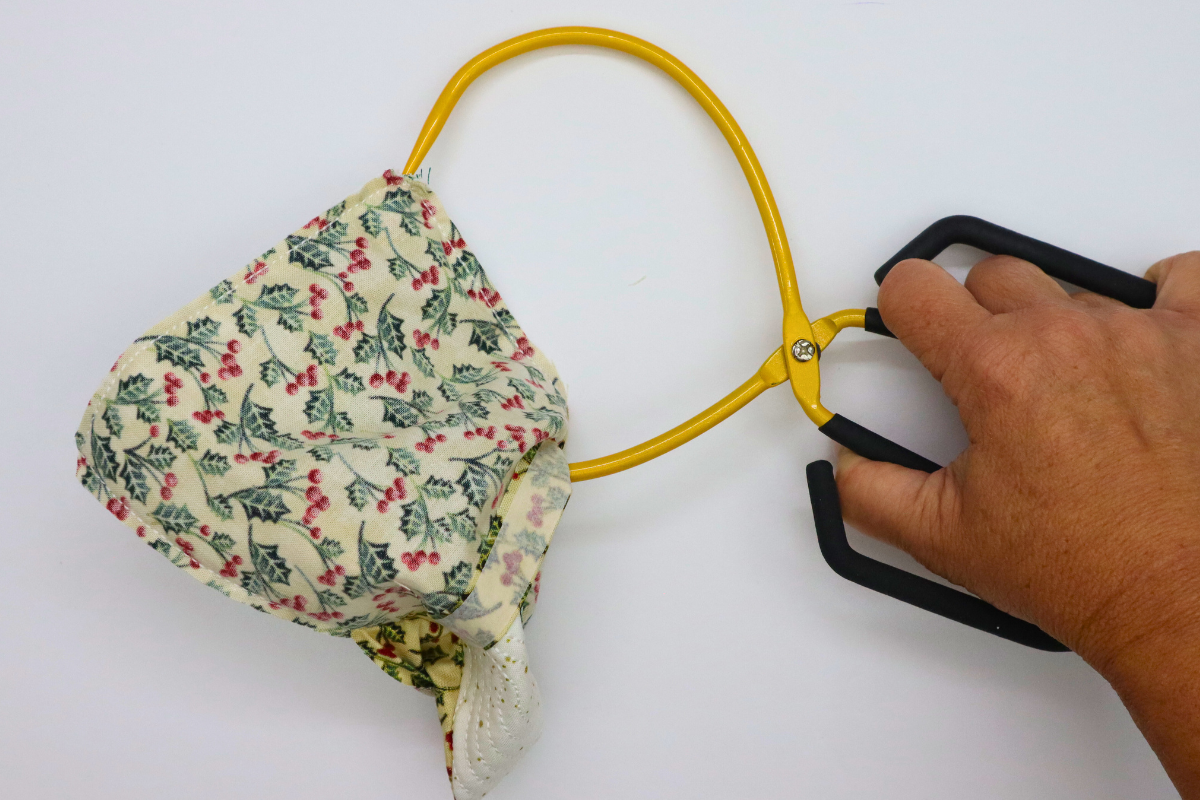
6. Use the EZ Point & Turner to turn the project right sides out.
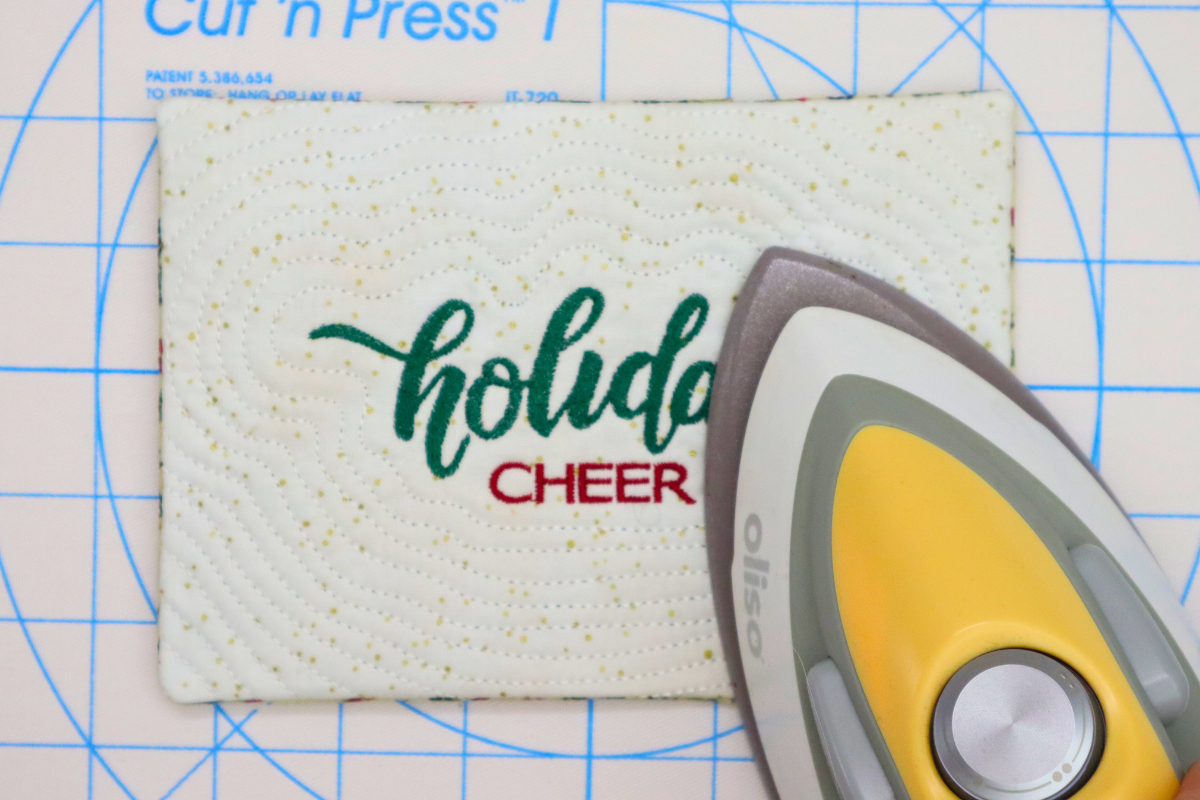
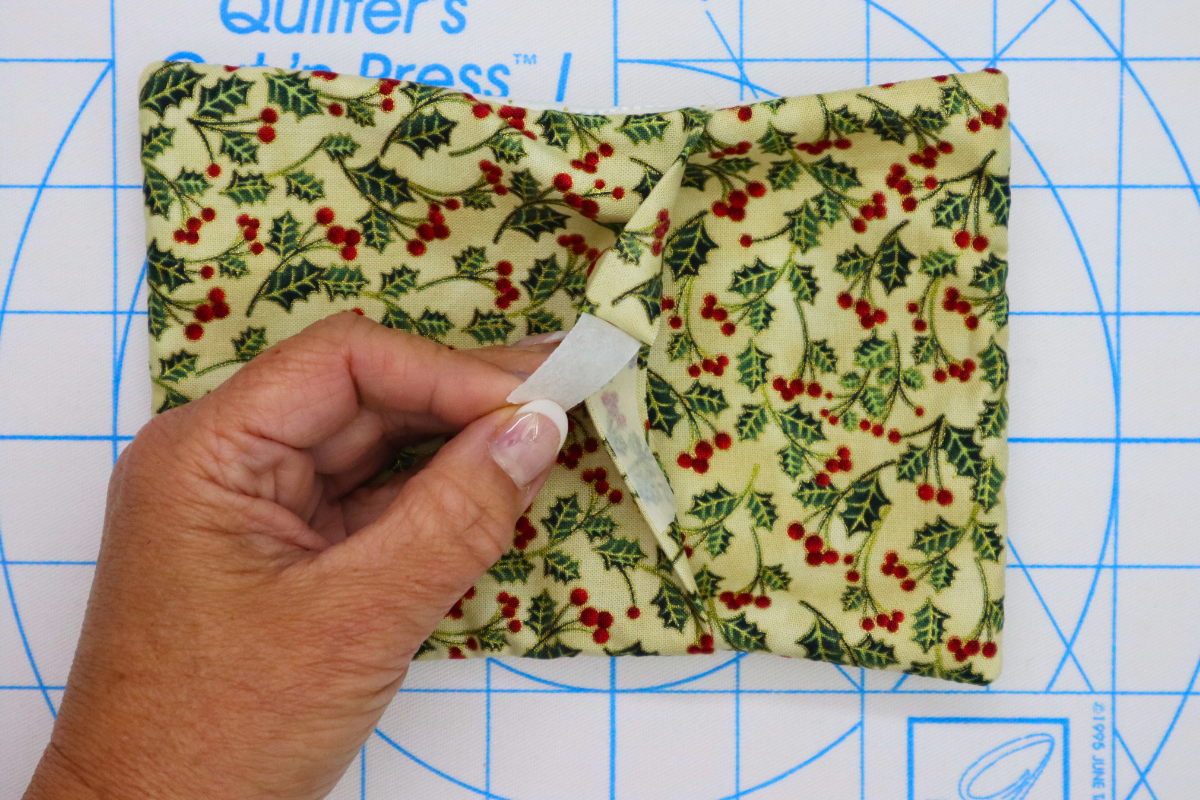
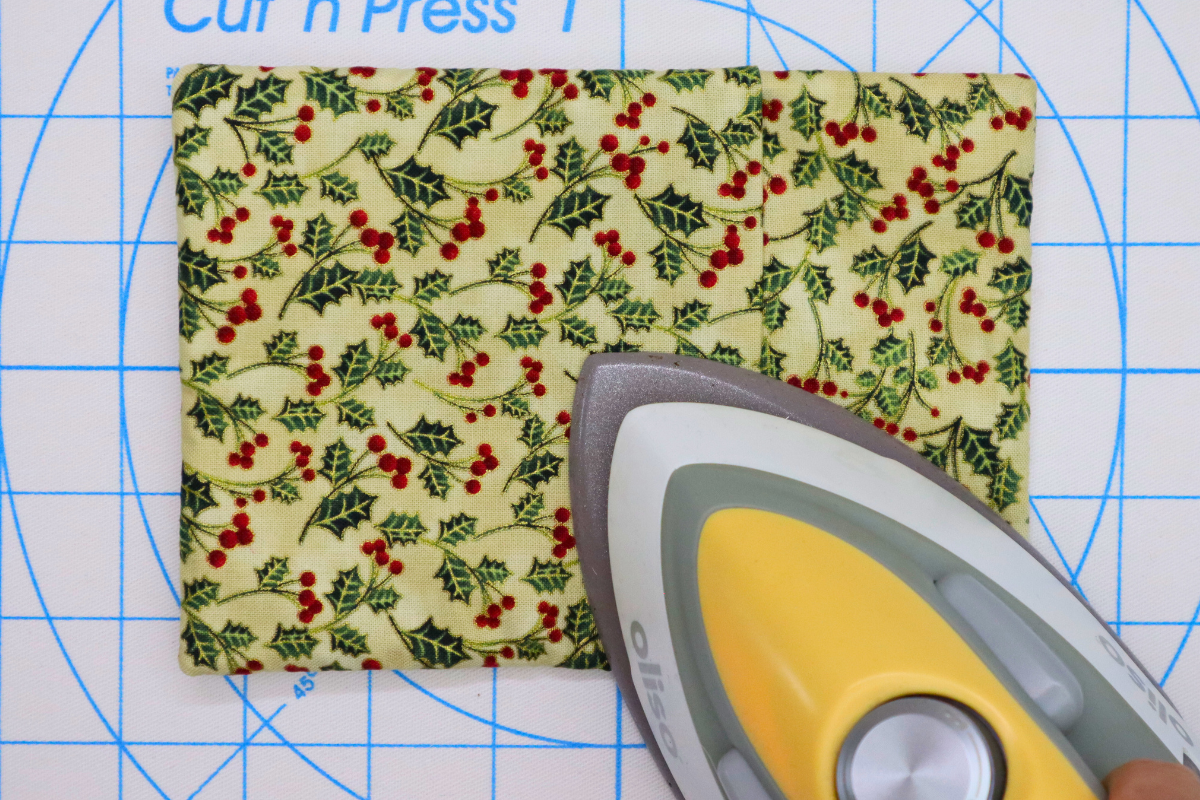
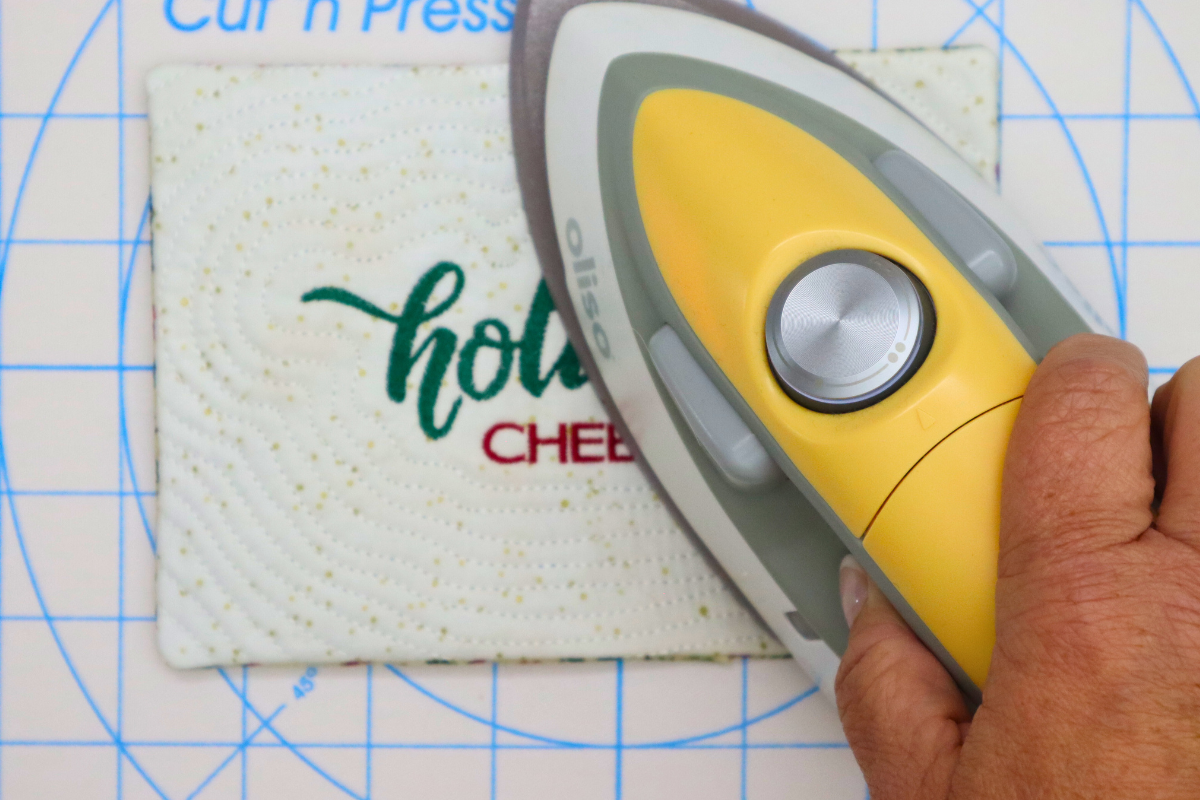
7. Use the pointed end of the EZ Point & Turner to get nice crisp corners or use a Bamboo Point Turner. Remove the paper from the Back Top piece and give the corners and center back a press securing the project fused shut.
I hope you enjoyed this easy In-the-Hoop project and check out all of my embroidery projects here on WeAllSew! When you make yours, please snap a photo and tag me @SookieSews and @berninausa!!
