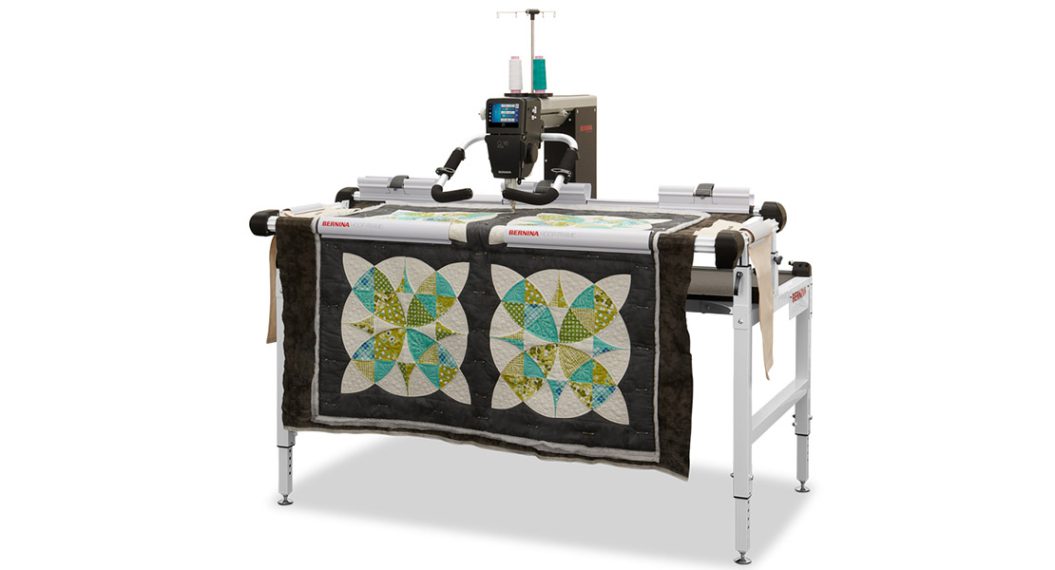
Quilting on the BERNINA Hoop Frame
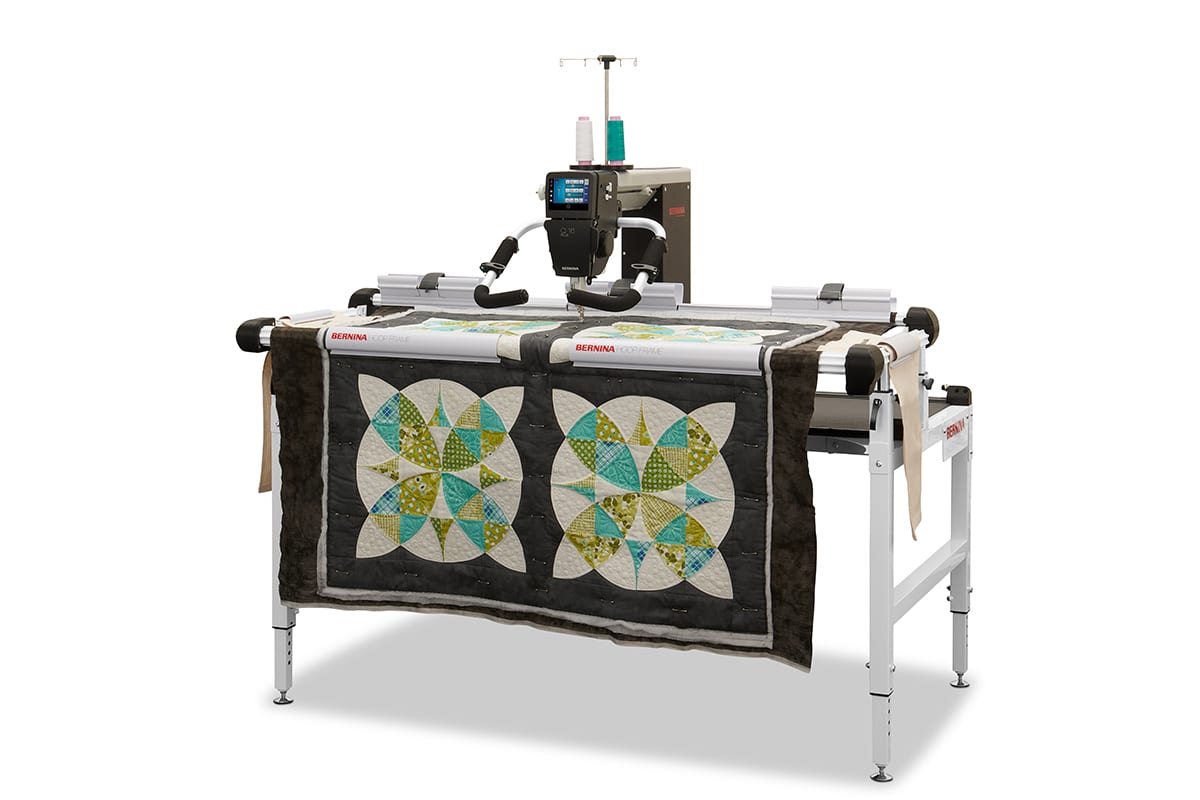
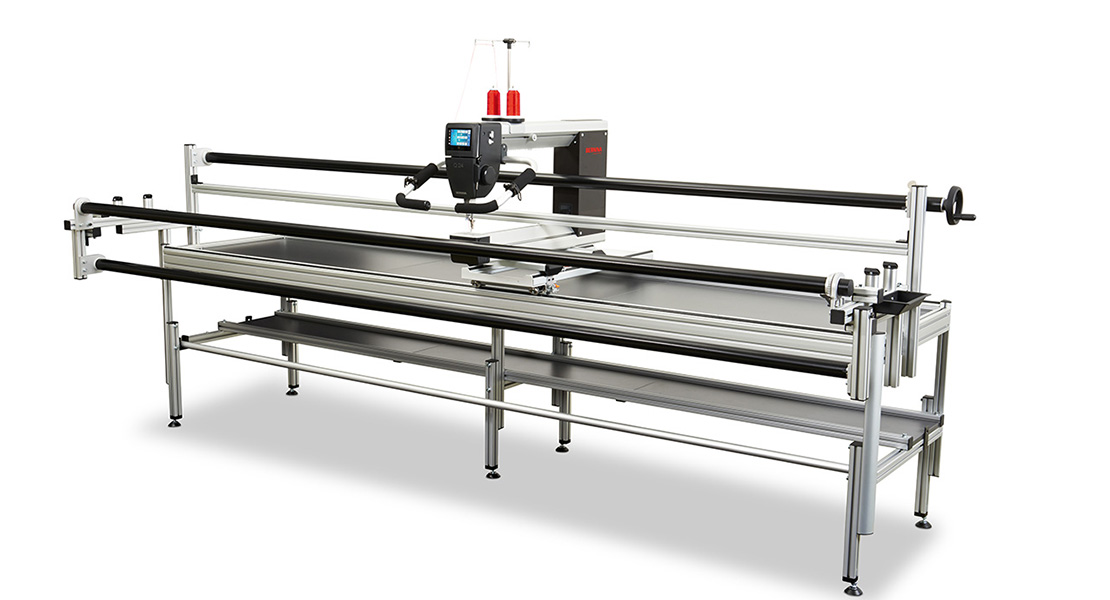
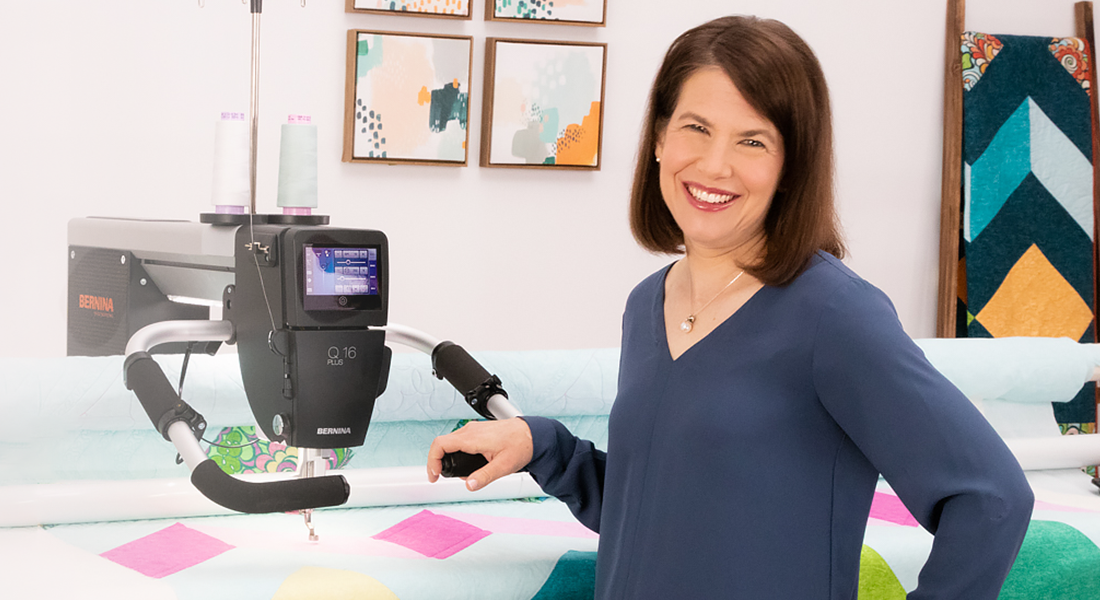
BERNINA’s new 5-foot Hoop Frame is gathering all the attention, and rightly so! It enables you to craft quilts of varying sizes effortlessly. Its compact design, spanning five feet in width, easily fits in your workspace, while the hooping system allows even a large quilt to be quilted in sections. Compatible with the BERNINA Q 20, Q 16 and Q 16 PLUS, this frame can also be used with any brand of domestic sewing machine. For an overview of the Hoop Frame, this blog post shares many of its features, and this video gives you a great introduction to quilting on it.
Let’s explore the fun quilting options you can create on the Hoop Frame. Everything is fair game: free-motion quilting, rulerwork, pantograph quilting, and even specialty techniques like twin needle and couching.
Materials for Quilting on a Hoop Frame
- BERNINA Hoop Frame
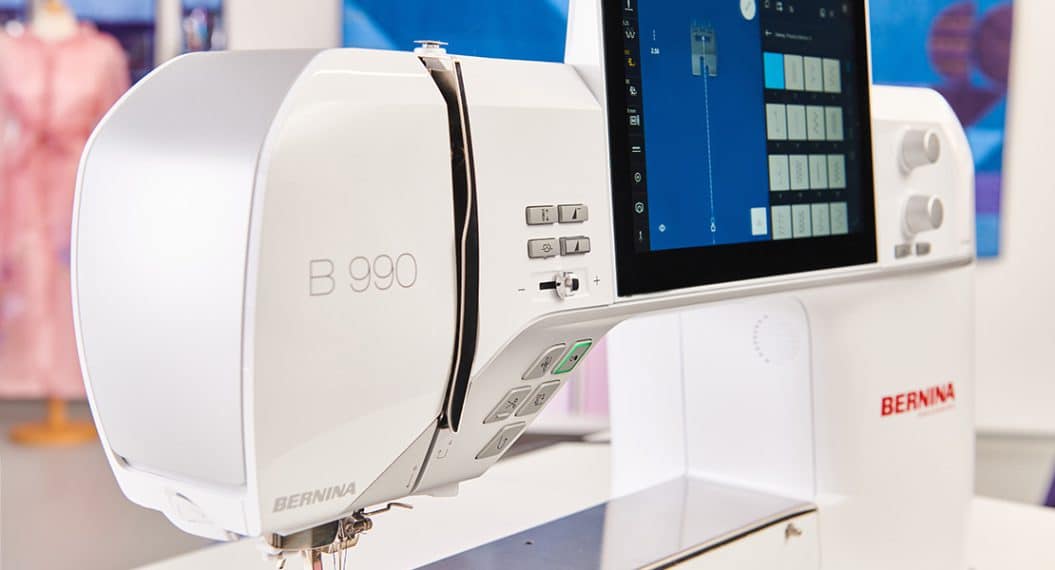
- Q 20, Q 16 or Q 16 PLUS Sewhead (if you are planning to add a Pantograph Kit, you will need a Q 20 or Q 16 PLUS) OR any brand domestic sewing machine with a throat depth of 10 inches or greater, such as a BERNINA 7, 8, or 9 Series machine
- Basted quilt sandwich
- Quilting thread, such as OESD’s Perfect Quilting Thread
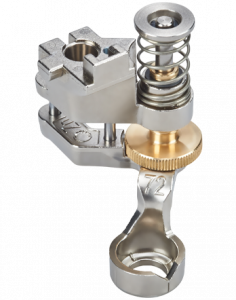
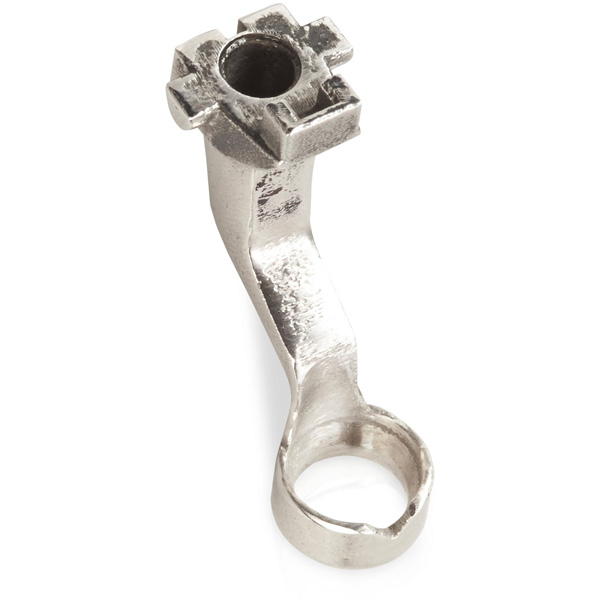
- Ruler Foot: Adjustable Ruler Foot #72, Adjustable Ruler Foot with Slit #72S, or Ruler Foot #96
- Ruler Base
- Rulers, such as the Essential Ruler Kit
- Pantograph Kit
- Twin Needle and Twin Needle Stitch Plate
- Free-motion Couching Foot #43 and yarn for couching
Prepare and Hoop the Quilt Sandwich
Regardless of whether you are quilting with a Q Series Sewhead or a domestic sewing machine, any quilt large enough to require re-hooping will need to have the backing, batting, and quilt top basted together prior to hooping. Very small projects that fit within the quiltable area can be basted on the Hoop Frame.
When cutting the backing, allow an extra 10″ at both the top and bottom and 6″ on each side to accommodate laying the fabric over the rails and clamping. Center the batting and the quilt top on the backing as shown.

There are several basting methods, including pin basting with safety pins, spray basting with a temporary adhesive, and thread basting with a longarm. Select the one that works best for you and the size of quilt you are making. One segment in the video referenced above shows how pool noodles help manage the fabric while basting.
The hooping process is an inexact science. I have learned to embrace the imperfectly perfect process. The end goal is all that matters: the area of the quilt that you want to stitch is evenly spread and tensioned in the frame.
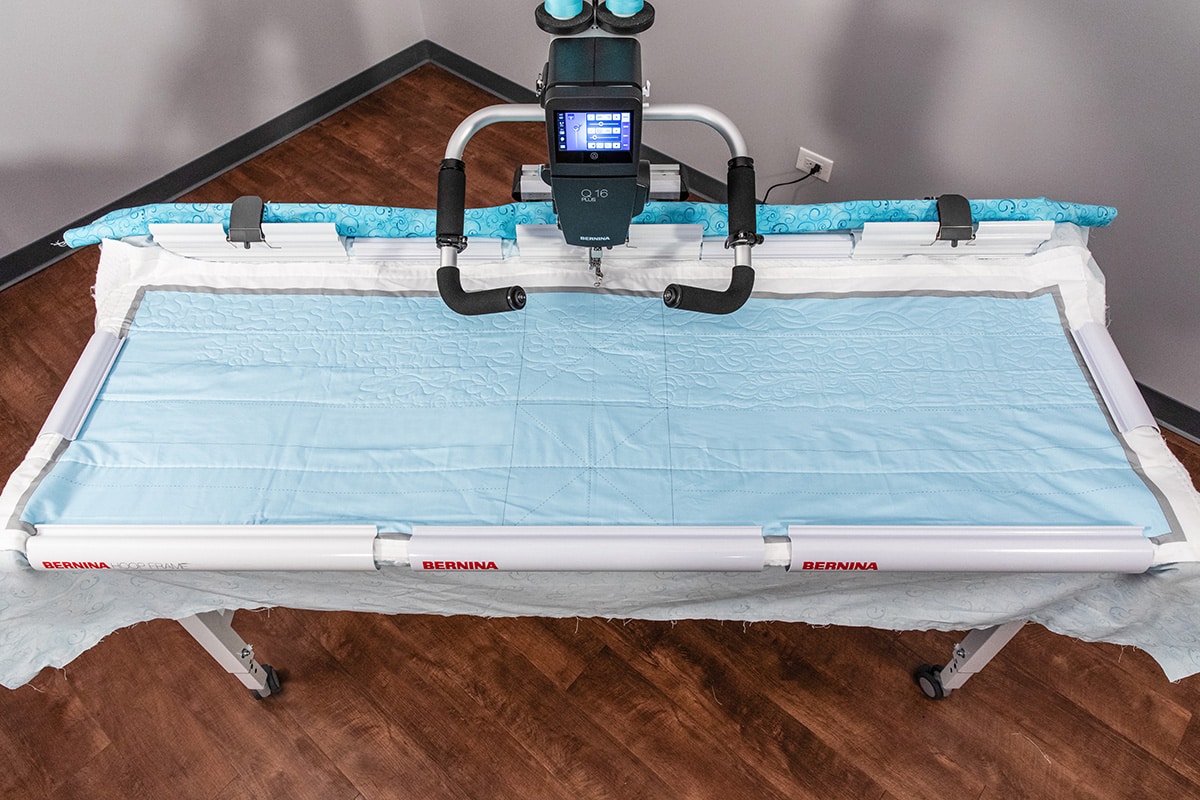
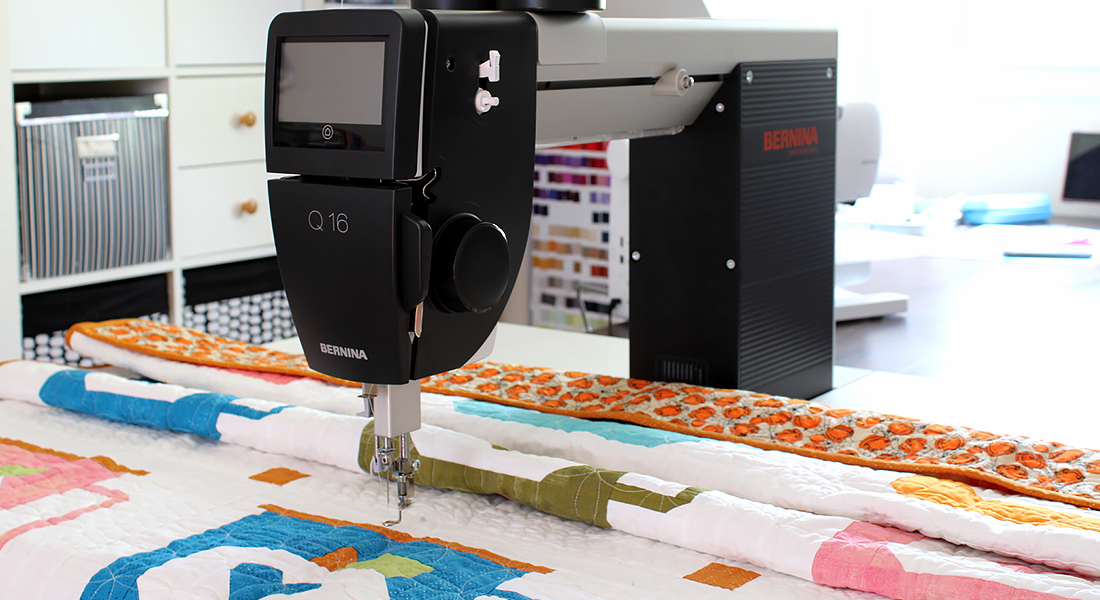
Specially designed clamps hold the quilt on the front and take-up rails, as well as on the side rails. The Q Series uses trough clamps, while the domestic version employs a low-profile clamp with bungee straps to secure the already quilted sections.
Begin the hooping process by positioning the Sewhead in one corner. Block its movement with the included lever locks and use the Needle Down feature to help hold the quilt sandwich in place while securing the clamps on the Take-up Rail. Next, smooth the quilt sandwich forward and secure with the front clamps. Finally, adjust the sides and clamp in place. If the sides of the quilt don’t extend to the side rails, the side leaders can be attached. Finally, tension the quilt by adjusting the front rail. The tension release is conveniently located under the right front corner.
Free-motion Quilting
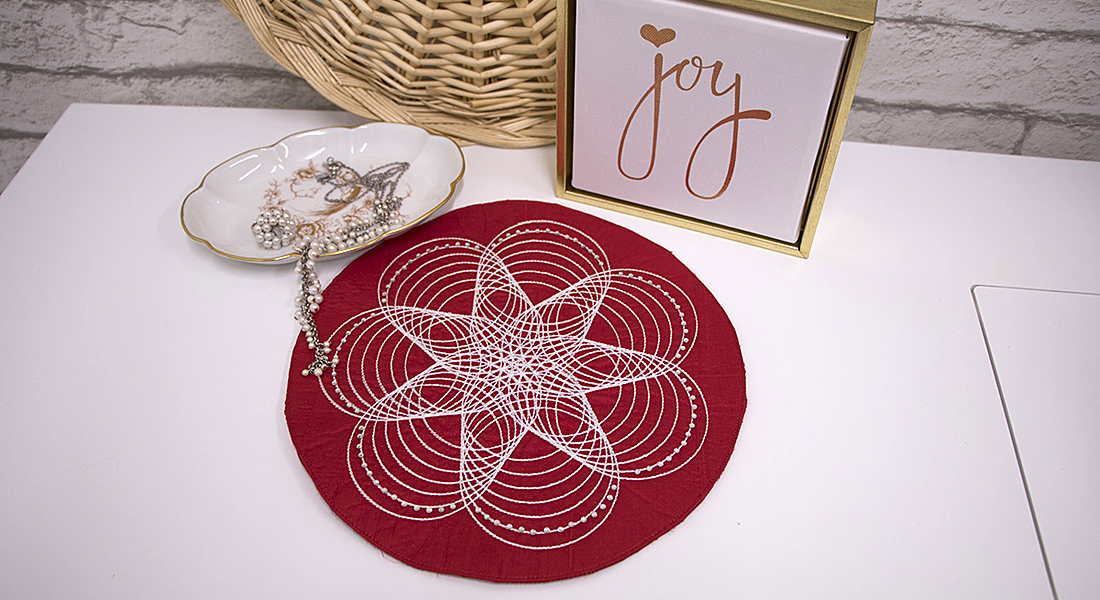
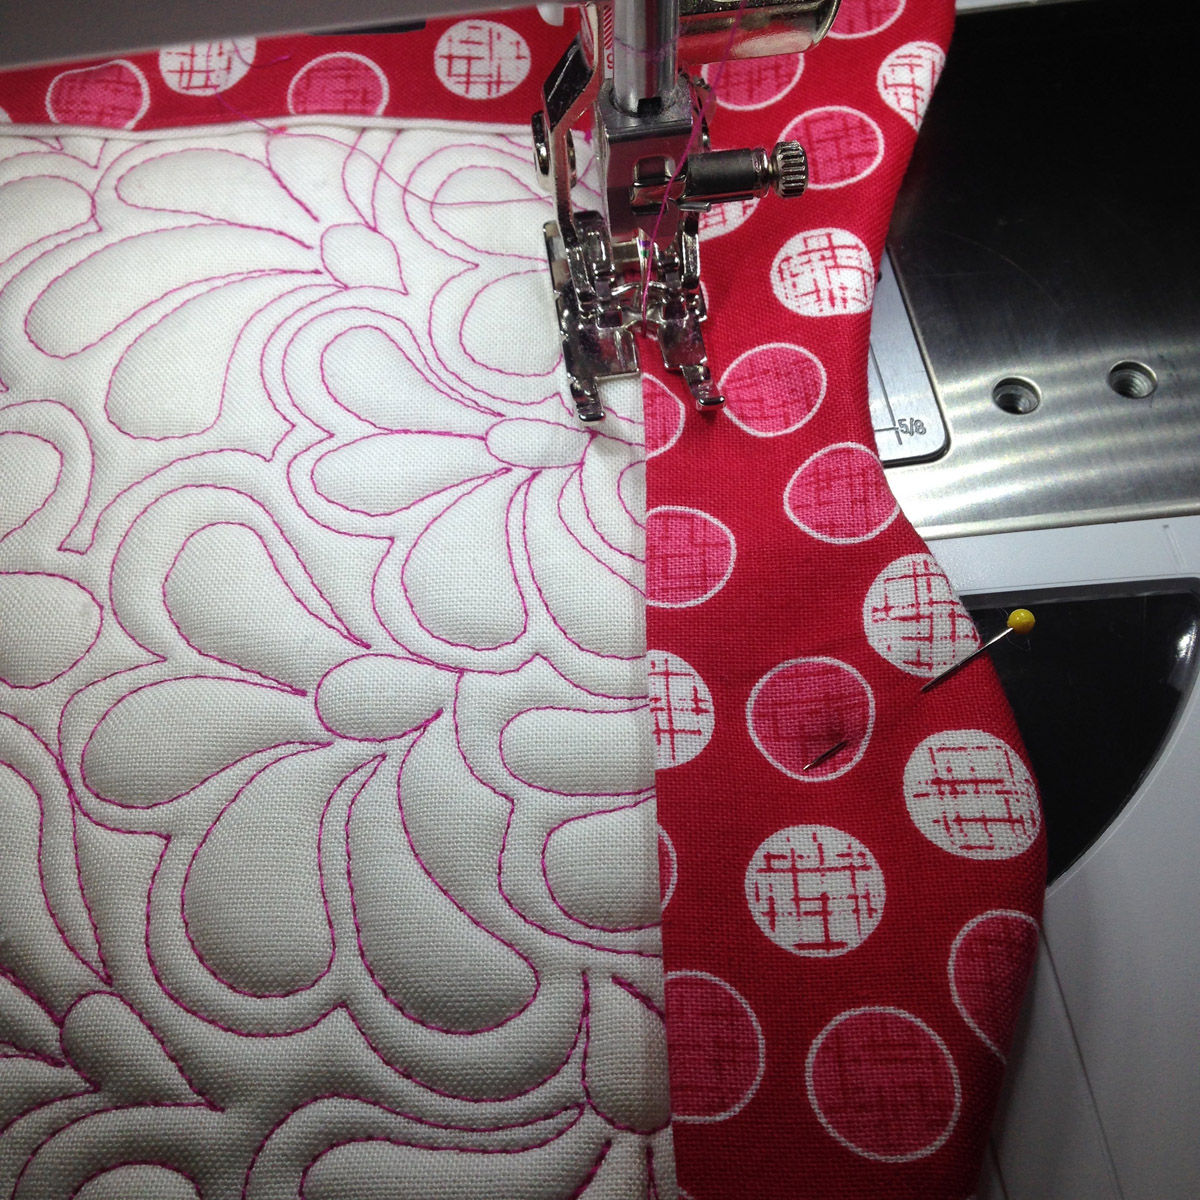
Free-motion quilting is a popular technique, and the process is the same for the Q Series longarm and a domestic sewing machine. Once the quilt is hooped and the boundary strip in place, select a start point, preferably in a seam where the knot can be hidden or off the edge of the quilt top. Bring the bobbin thread to the top, secure, and begin stitching your desired design. The throat depth of the machine determines how large a design can be stitched. When completed, stop at an inconspicuous place in the quilt, bring the bobbin to the top and tie off. The possibilities are endless for free-motion quilting with a simple loopy meander, elaborate feathers, or background fills.

Depending on the size of the quilt, the stop point may be used as the start point after re-hooping to have a continuous quilting path. This blog post leads you through a series of basic free-motion designs that you can easily quilt with the Hoop Frame.
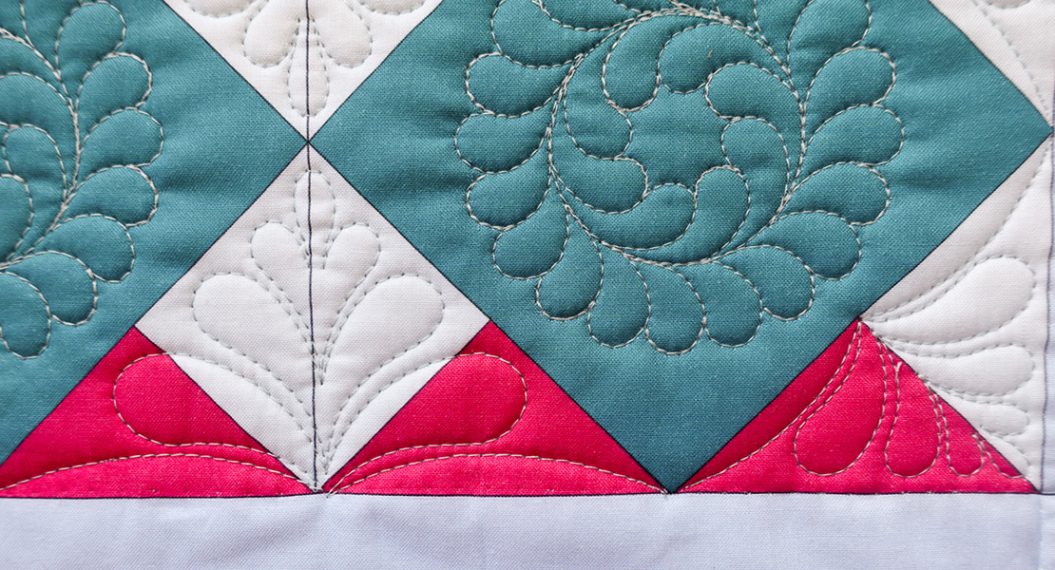
Rulerwork Quilting
Rulerwork is another option on the Hoop Frame, and the machine setup is simple. For the Q Series Sewhead, attach the Ruler Base and install either the Adjustable Ruler Foot #72, Adjustable Ruler Foot with Slit #72S, or Ruler Foot #96.
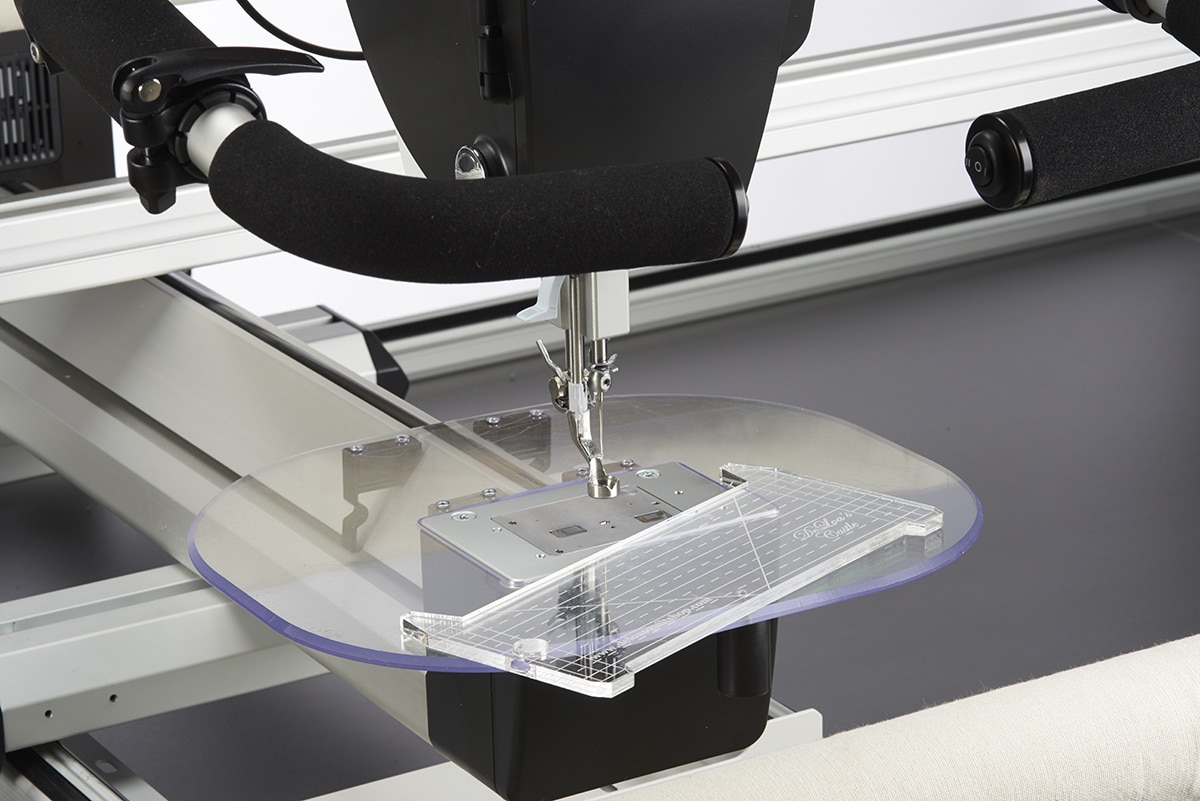
When using a domestic sewing machine, the stitch plate simply isn’t large enough to safely support the ruler, so a Slide-on Table will need to be installed along with either the Adjustable Ruler Foot #72 or Adjustable Ruler Foot with Slit #72S.
For either system, a ¼” thick acrylic ruler is needed, which rests against the presser foot while quilting. BERNINA has three ruler kits available, including the Essential Ruler Kit, Cables and Curves Ruler Kit, and Border Ruler Kit. For those just starting their rulerwork journey, I suggest the Essential Ruler Kit for mastering straight lines and soft curves first.
A couple of machine settings are essential for successful rulerwork. For Q Series Sewheads, select BSR 2, and on non-stitch regulated domestic machines, lower the feed dogs. For either system, set the Needle Stop to the Down position and always lower the presser foot before approaching it with a ruler.
Similar to free-motion quilting, bring your bobbin thread to the top to hide it in a seam line, tie it on, and begin quilting with your ruler of choice. When completed, tie off, bringing the bobbin thread to the top before trimming the tails.
Pantograph Quilting
Pantograph quilting is limited to the Q Series and requires the installation of a Pantograph Kit. The Pantograph Kit includes rear handles, a second user interface screen, a bracket with a laser light and stylus, as well as a paper pattern and plastic covering that is placed on the tabletop.
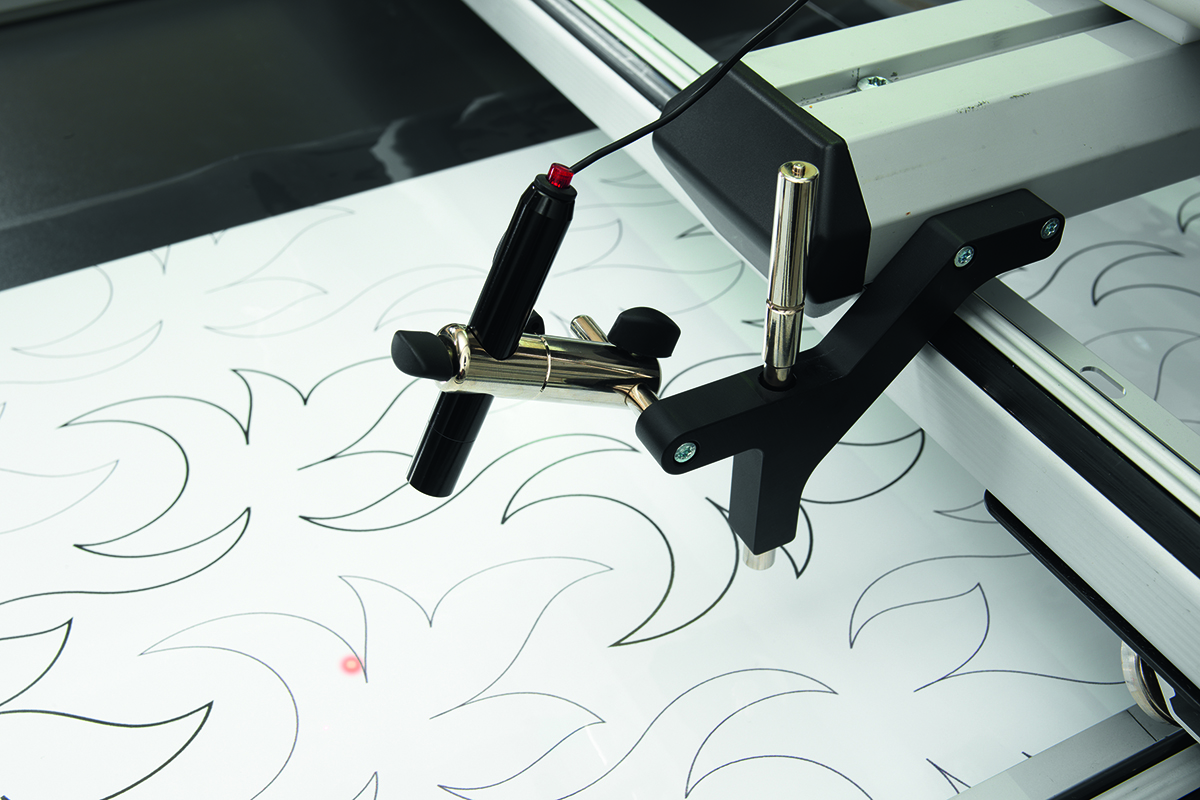
Unlike free-motion and rulerwork, where the Sewhead is guided from the front, pantograph quilting involves controlling the Sewhead from the back, using laser light to follow a quilting design printed on a paper pattern. This is a simple and effective method for quilting an edge-to-edge or all-over design on a quilt.
Since the quilting area on the Hoop Frame is smaller than that of the PRO or Studio frames, ensure the pantograph design fits within the quiltable area before starting.
Twin Needle Quilting
For a fun look, a twin needle paired with the twin needle stitch plate can be installed in either the Q Series Sewhead or a domestic machine for twin needle quilting.

This decorative touch can easily elevate your quilting from simple to sophisticated. Here’s a great resource that offers tips on twin needle quilting, along with examples of stitches.
Couching
Couching is another fun decorative quilting option for both the Q Series Sewhead and sewing machine. Attach the Free-motion Couching Foot #43 and select a yarn that flows easily through the foot.

The yarn is stitched directly onto the quilt top as part of the quilting process. This provides not only visual interest but also a fun texture to the quilt. Couching can be done in combination with free-motion, rulerwork, and pantograph quilting (check out this blog post for details on how to create the stunning throw pictured using a panel).
In summary, BERNINA’s Hoop Frame offers a wide range of quilting options for those using either a Q Series Sewhead or a domestic sewing machine. While it is smaller than BERNINA’s PRO or Studio frames, it offers quilters flexibility in both quilting style and quilt size.