A Me-Made Sassy Sweatsuit: The Sweatshirt
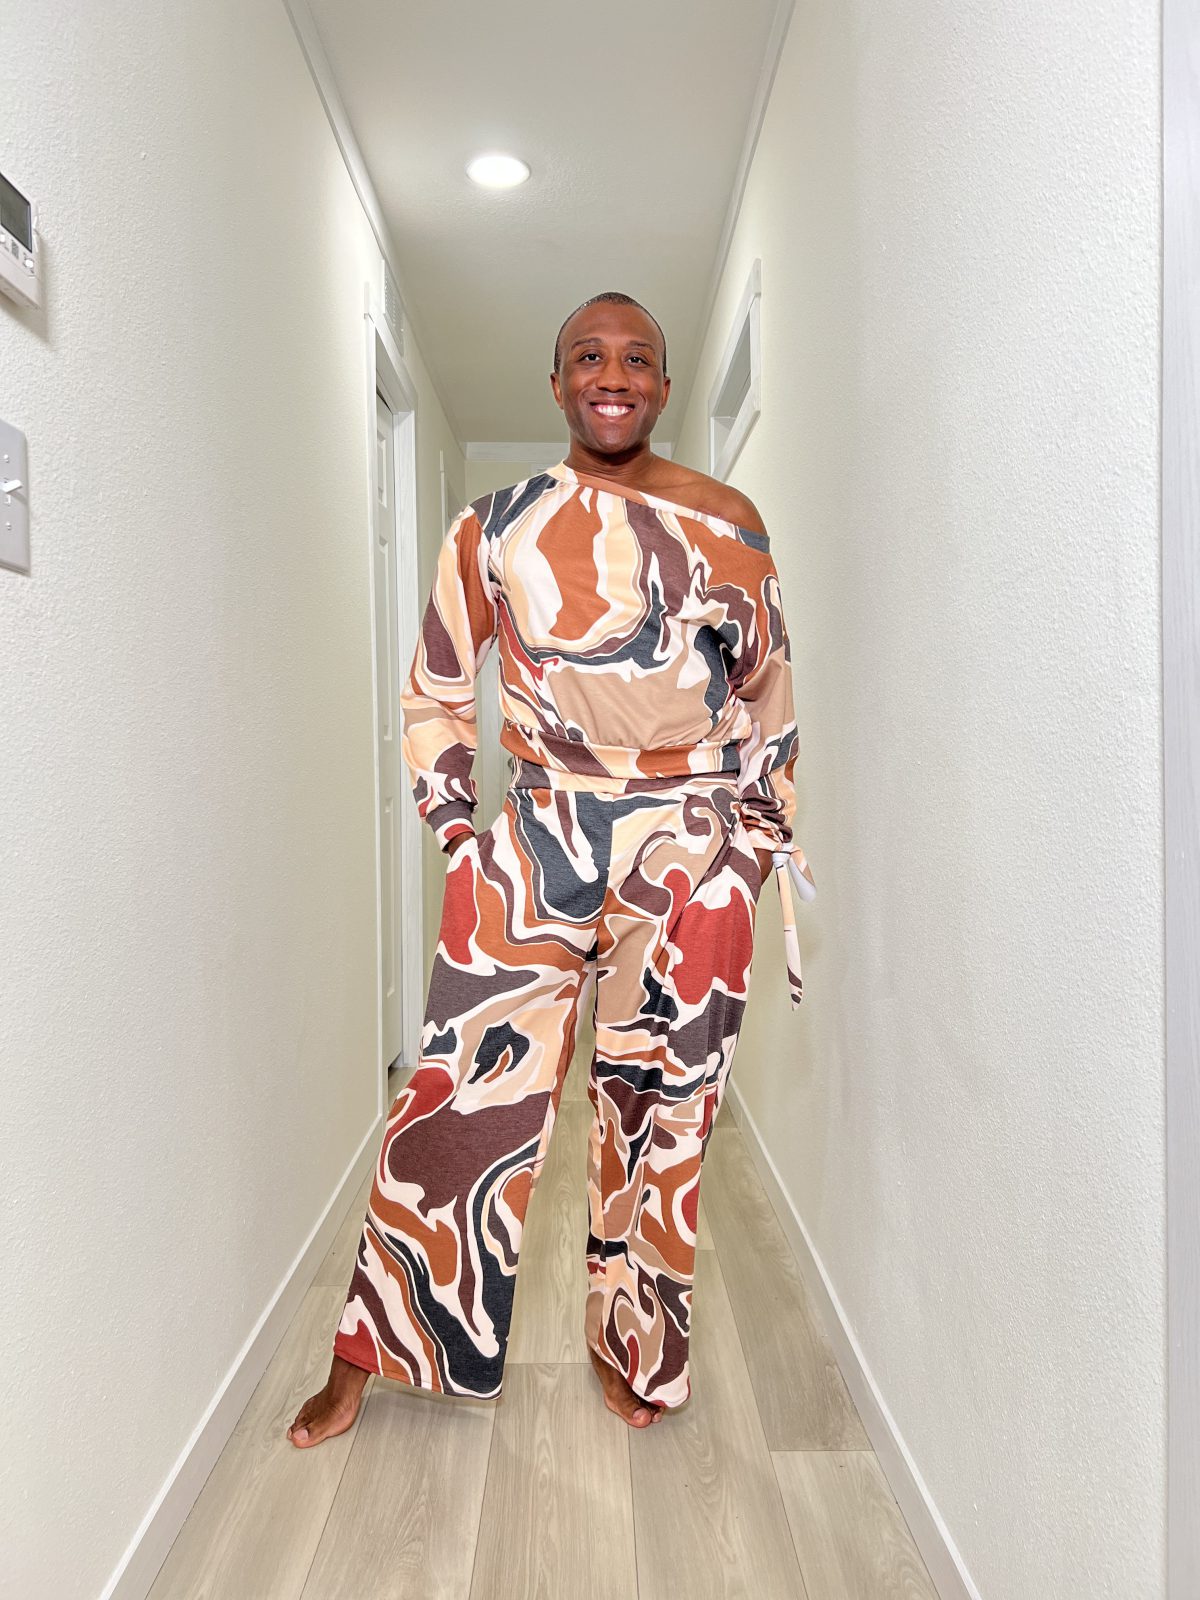
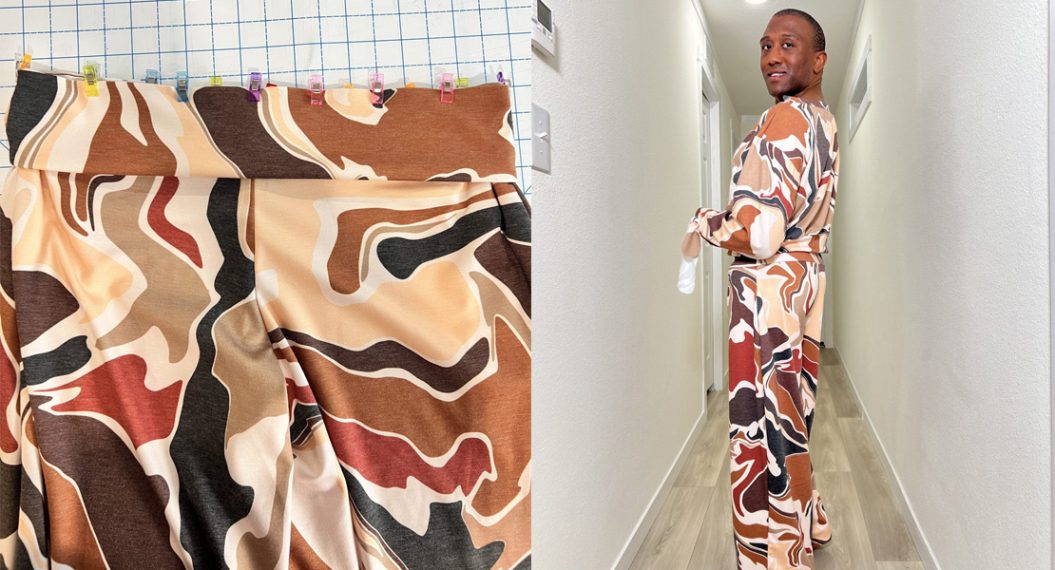
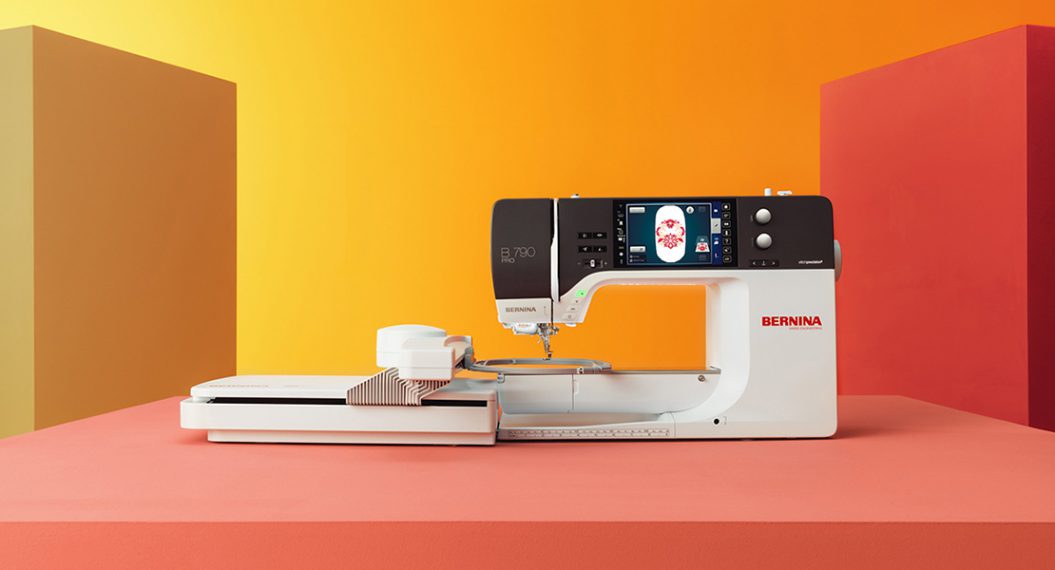
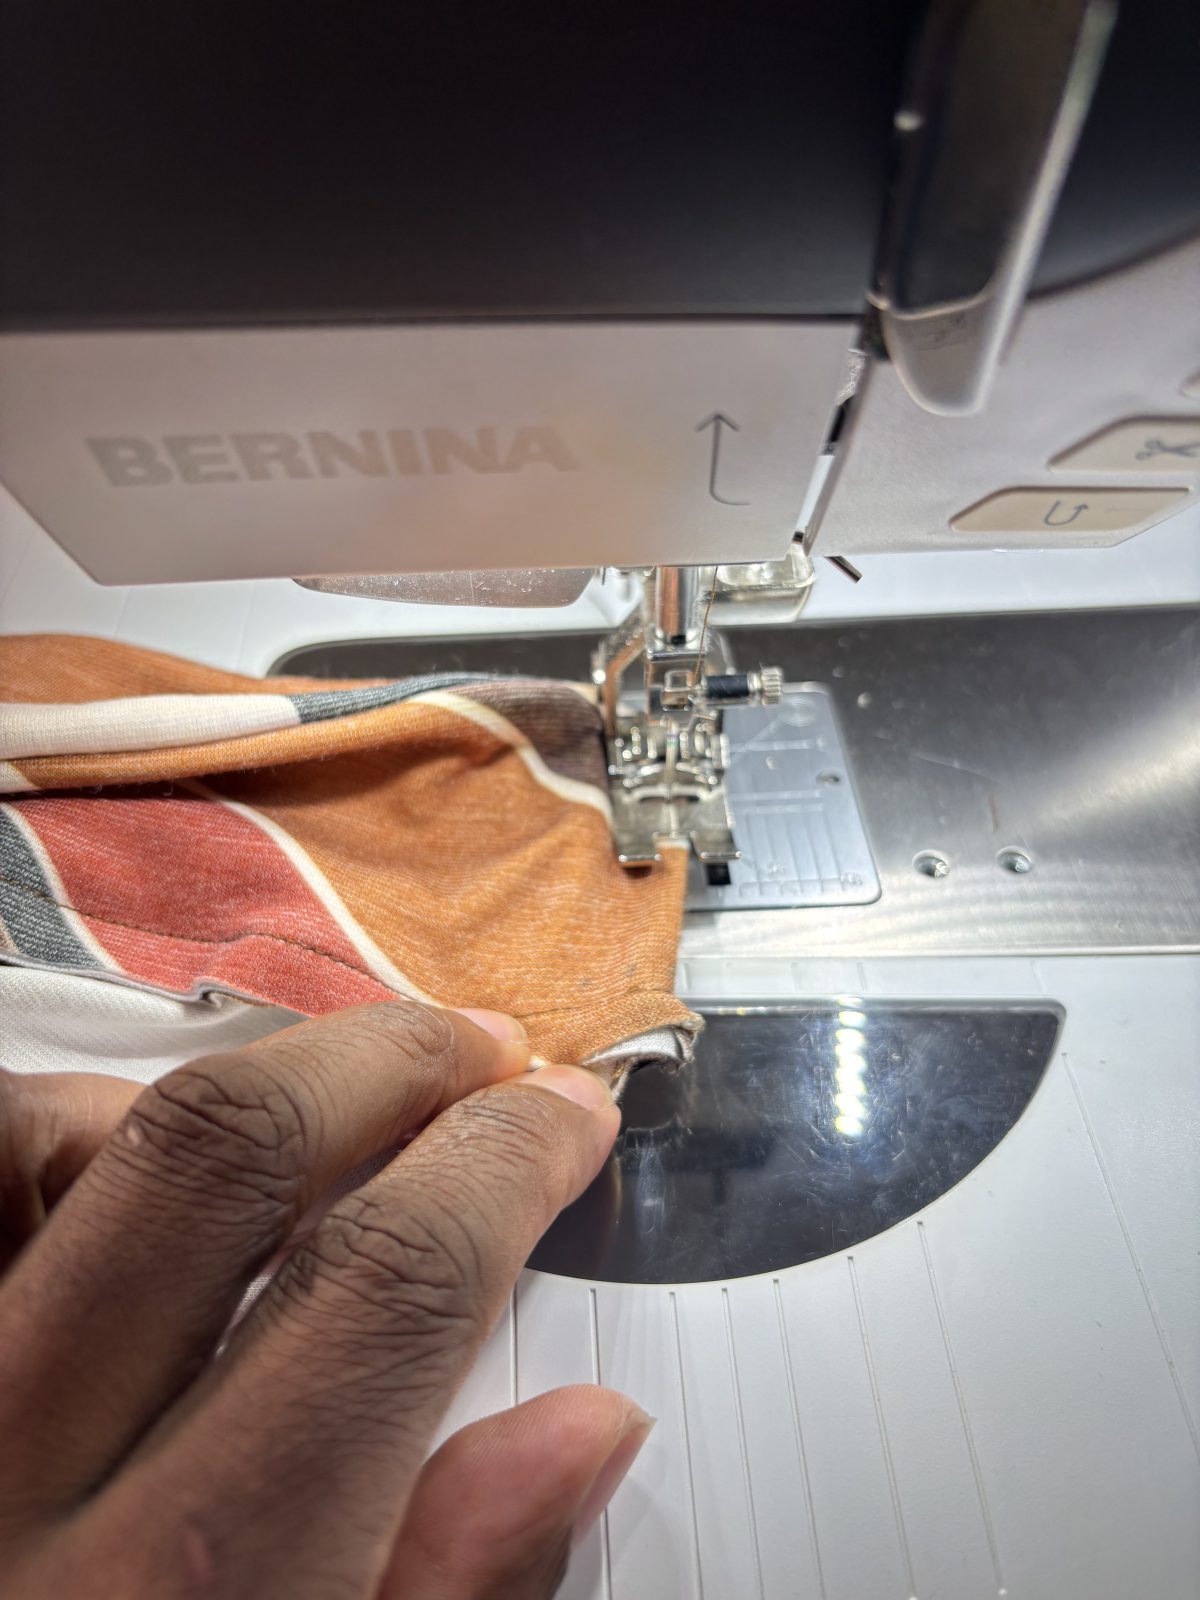
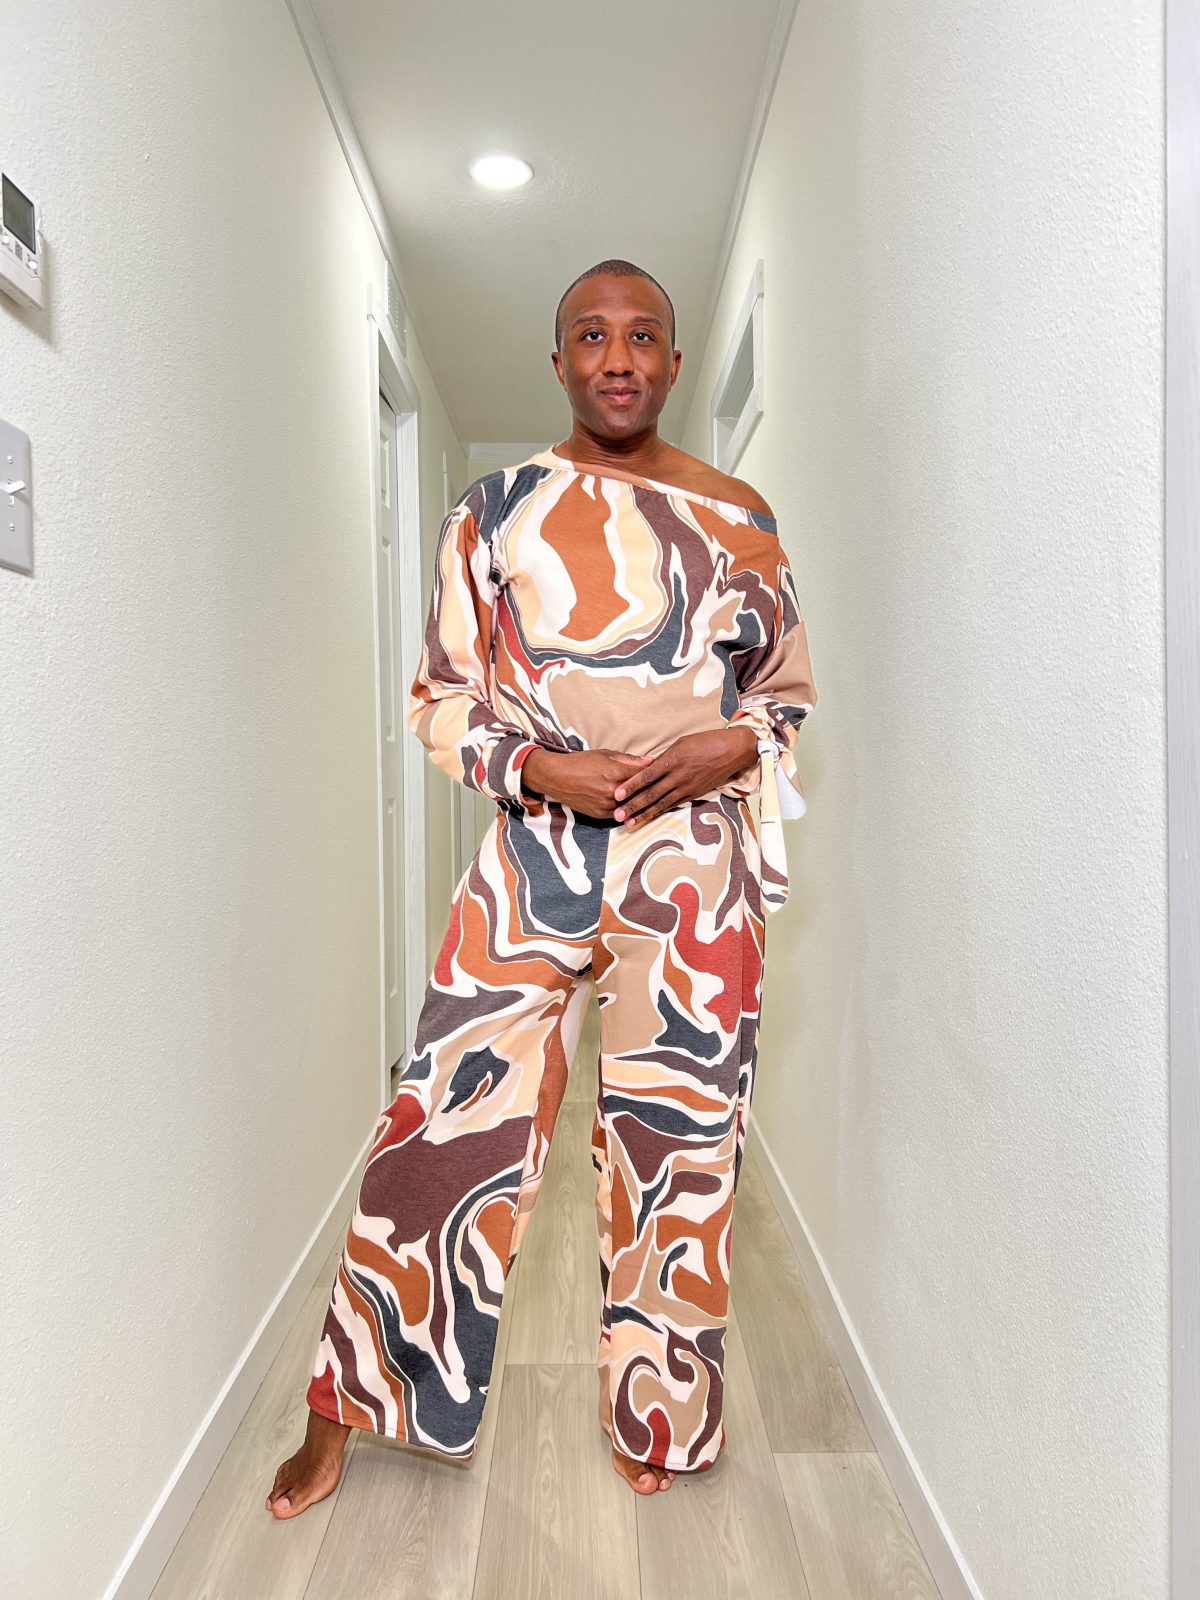
The Sassy Sweatsuit by Patterns By Dee reminded me why I fell in love with sewing in the first place! This cozy, stylish set came together quickly, was genuinely fun to sew, and is one of those patterns that made me immediately start planning my next version before I even finished hemming. The Sassy Sweatsuit consists of two main pieces: classic sweatpants and a chic off-the-shoulder sweater. Today, I’ll be using my BERNINA 790 PRO to sew the sweater. It is relaxed and cropped, making it the perfect balance between comfort and style. The off-the-shoulder neckline adds a little drama and elevates this from basic loungewear to something you can confidently wear out and about.
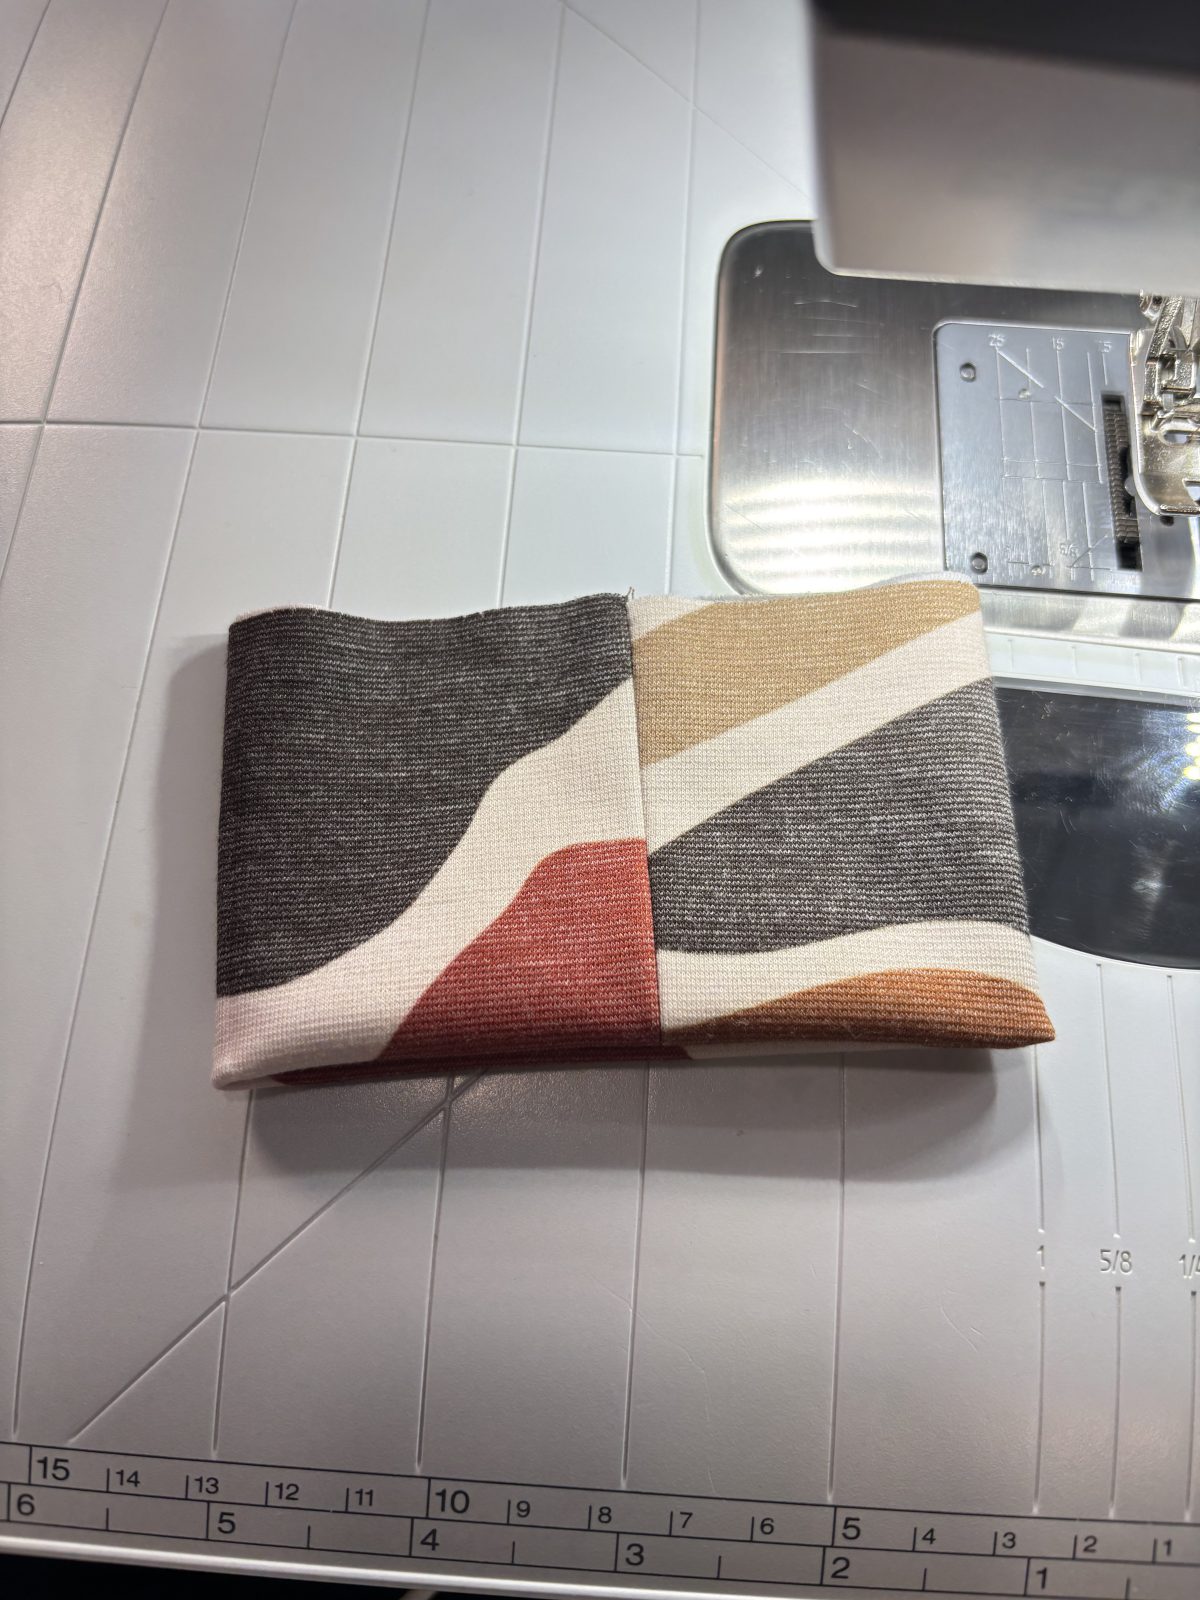
For this version, I used the Minerva Fabrics Ponte Roma Double Stretch Knit in the print Melanated Marbling, a design that I personally drew for my Minerva fabric collaboration. Seeing my own artwork transformed into a finished garment is always special, and this fabric truly did the design justice.
Materials to Sew the Sweater
- Suggested Fabrics: Sweatshirt Fleece, jersey knit, cotton velour, fleece, Rib knit, french terry, stretch velvet.
- 1.5” inch wide elastic for bodice
- 3” inch wide elastic for pants waist band
- 2”x 2” inch wide fusible interfacing
- 1.5 yd Length Drawstring
- Optional: (2) 1/4”in (0.635cm) Eyelet Grommets
How to Sew the Top
1. Pin front and back bodices with right sides together matching notches at the shoulder seams. Stitch across 1/2”in.(1.27cm).


Sewing the Sleeves
2. When attaching pattern piece right sleeve and left sleeve, use the flat method when laying the front and back bodice and sleeve right sides together. Pin in place top of sleeve at shoulder seam and match notches. Stitch across from dot to dot 1/2”in. (1.27cm) seam allowance.
3. Stitch right sleeve with right sides together from side seam to wrist edge.
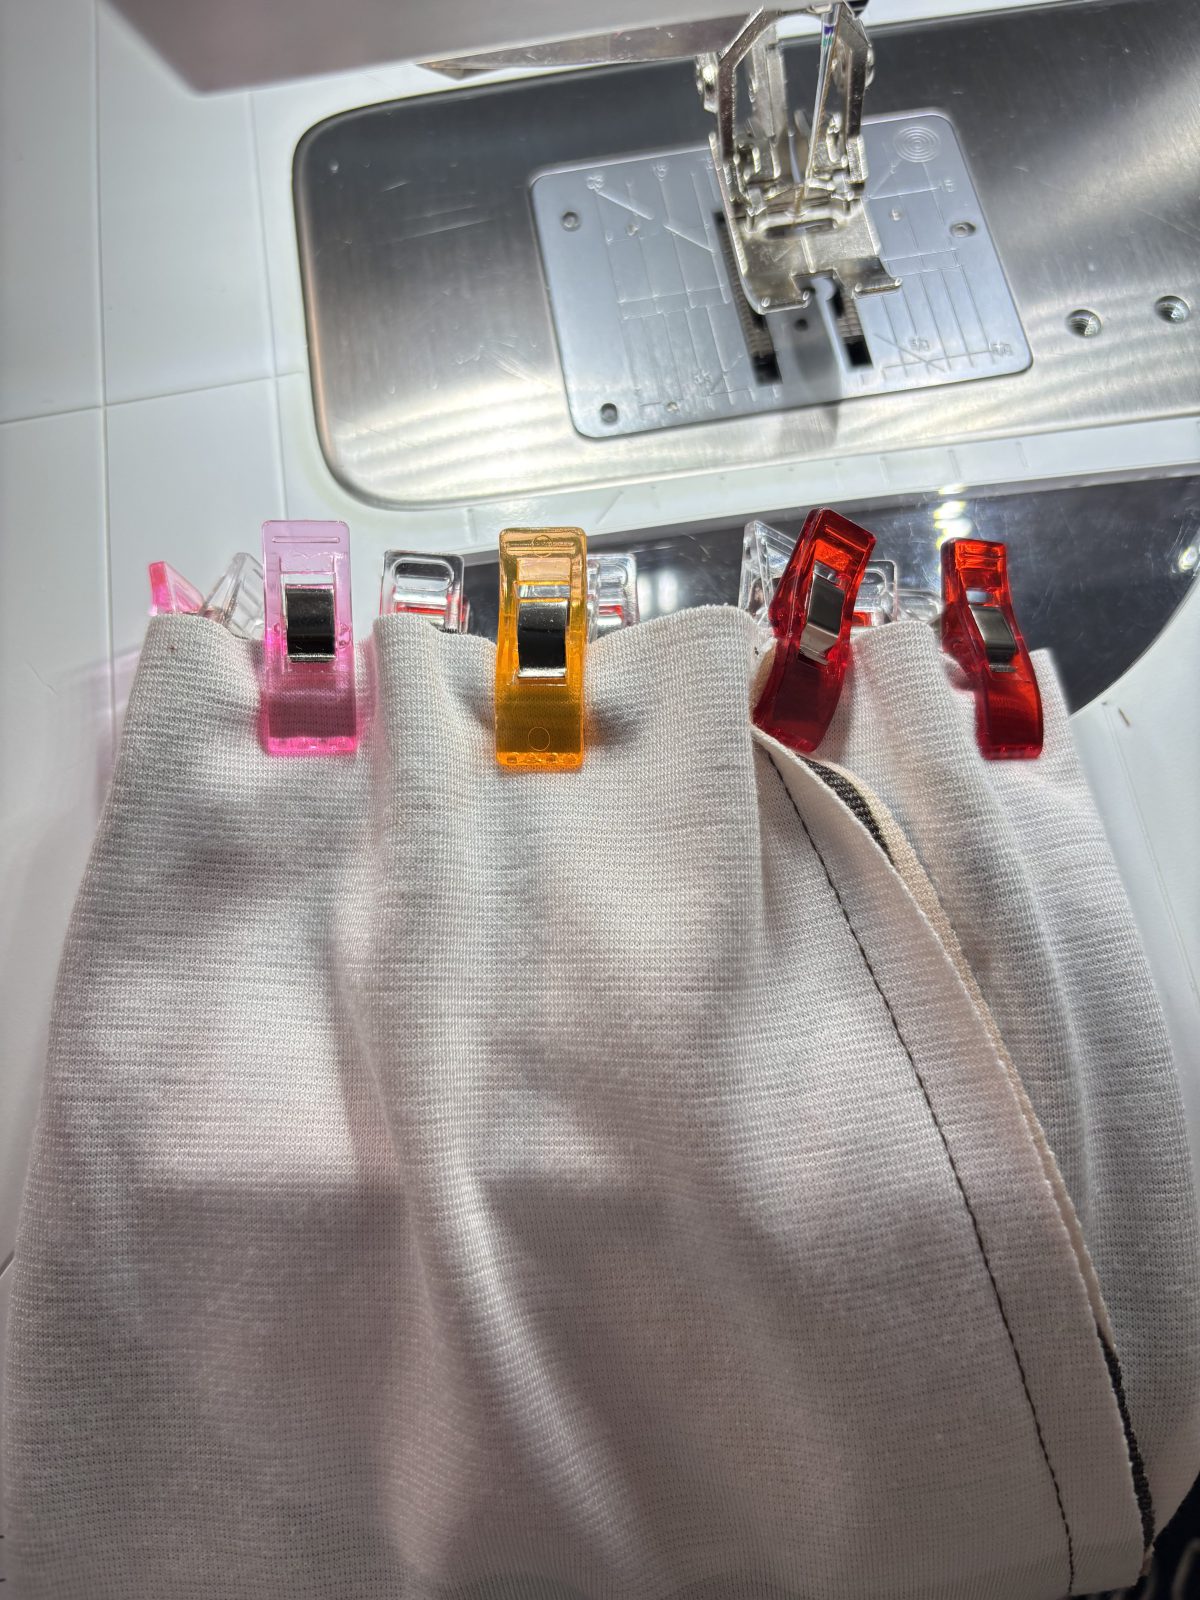
Sewing the Sleeve Cuff
4. Fold sleeve cuff in half, right sides facing. Stitch on notch side 1/2”in. (1.27cm) seam allowance.
5. Fold sleeve cuff in half at seam with wrong sides together. Stitch 3/8”in. (0.9525cm) at edge of cuff.
6. With right sides together, fit to stretch cuff inside sleeve with seams matching. Pin. Stitch.
7. Attach piece left sleeve the same way you attached the right sleeve at sleeve cap. Serge around the ties of left sleeve from notch to notch. With right sides together, stitch side seam of bodice to dot at wrist on sleeve.
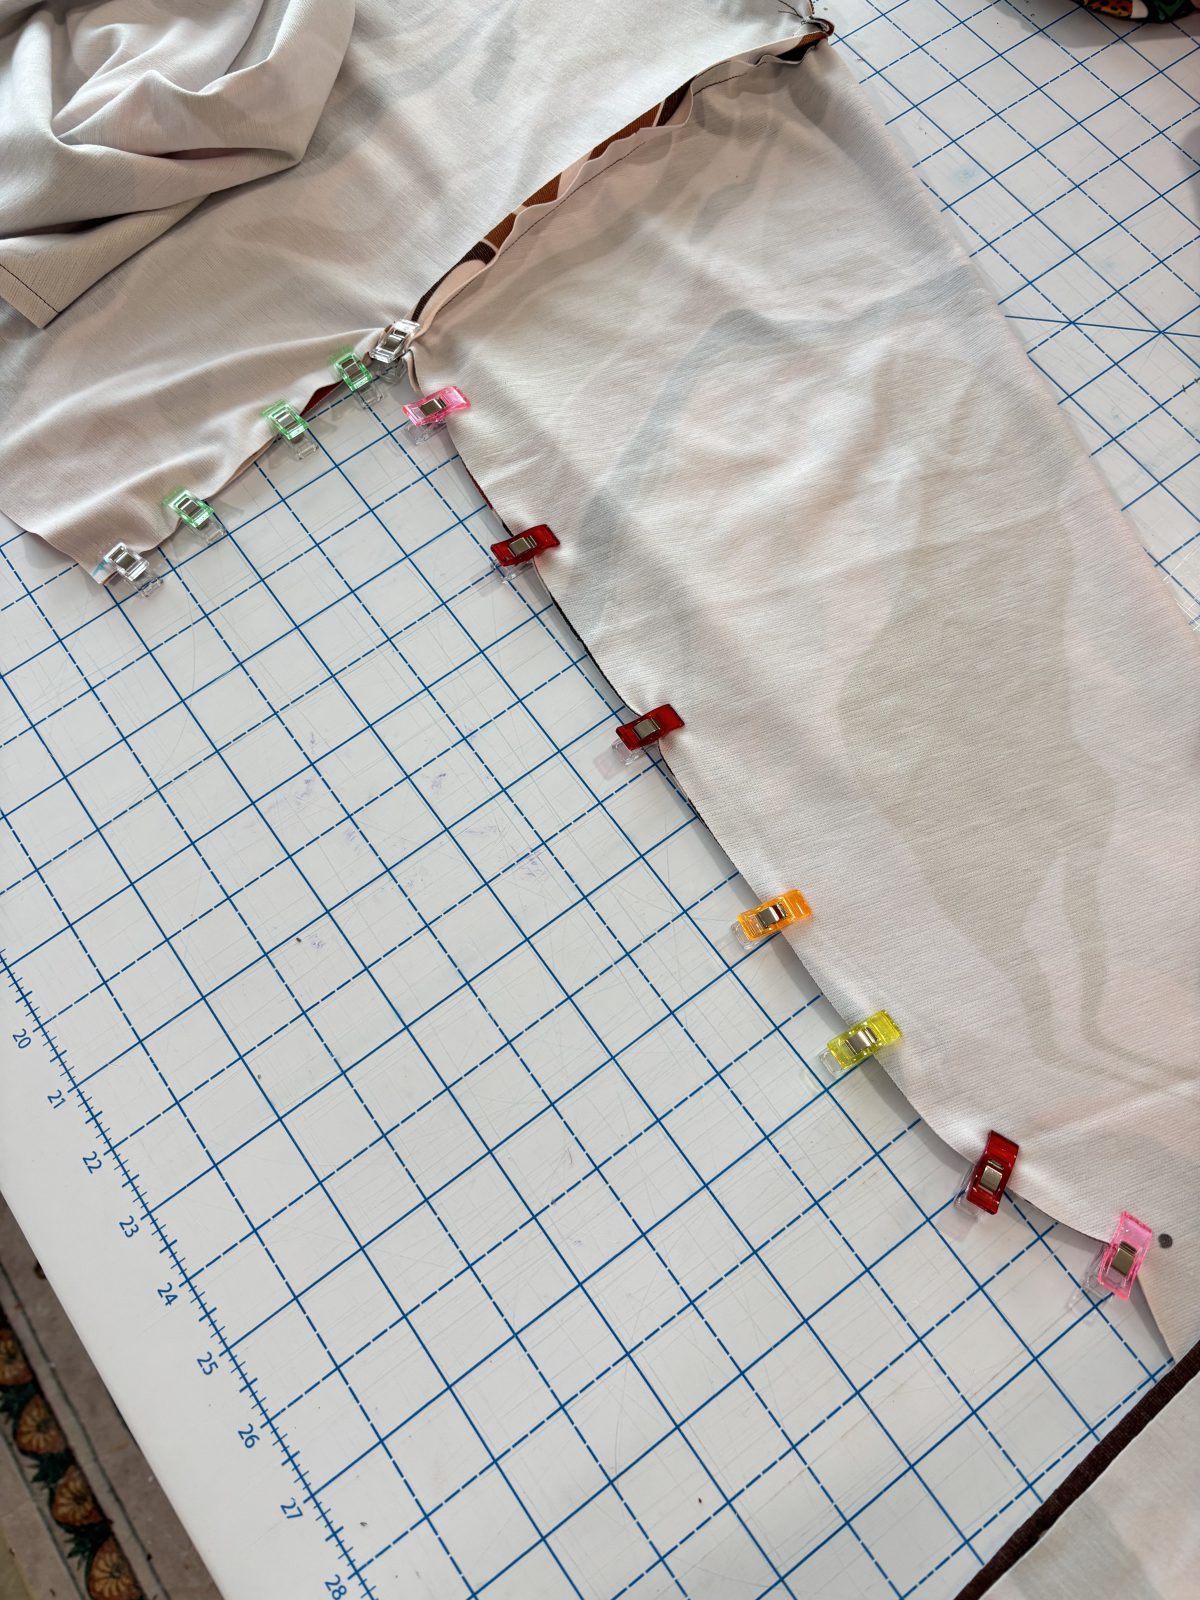
Front & Back Bodice Waistbands
8. Place both front bodice waistband pieces together with right sides facing and stitch 1/2”in. (1.27cm) across the long edge seam allowance. Repeat for the back bodice waistband. Mark (F) for Front & (B) for Back if you get confused.

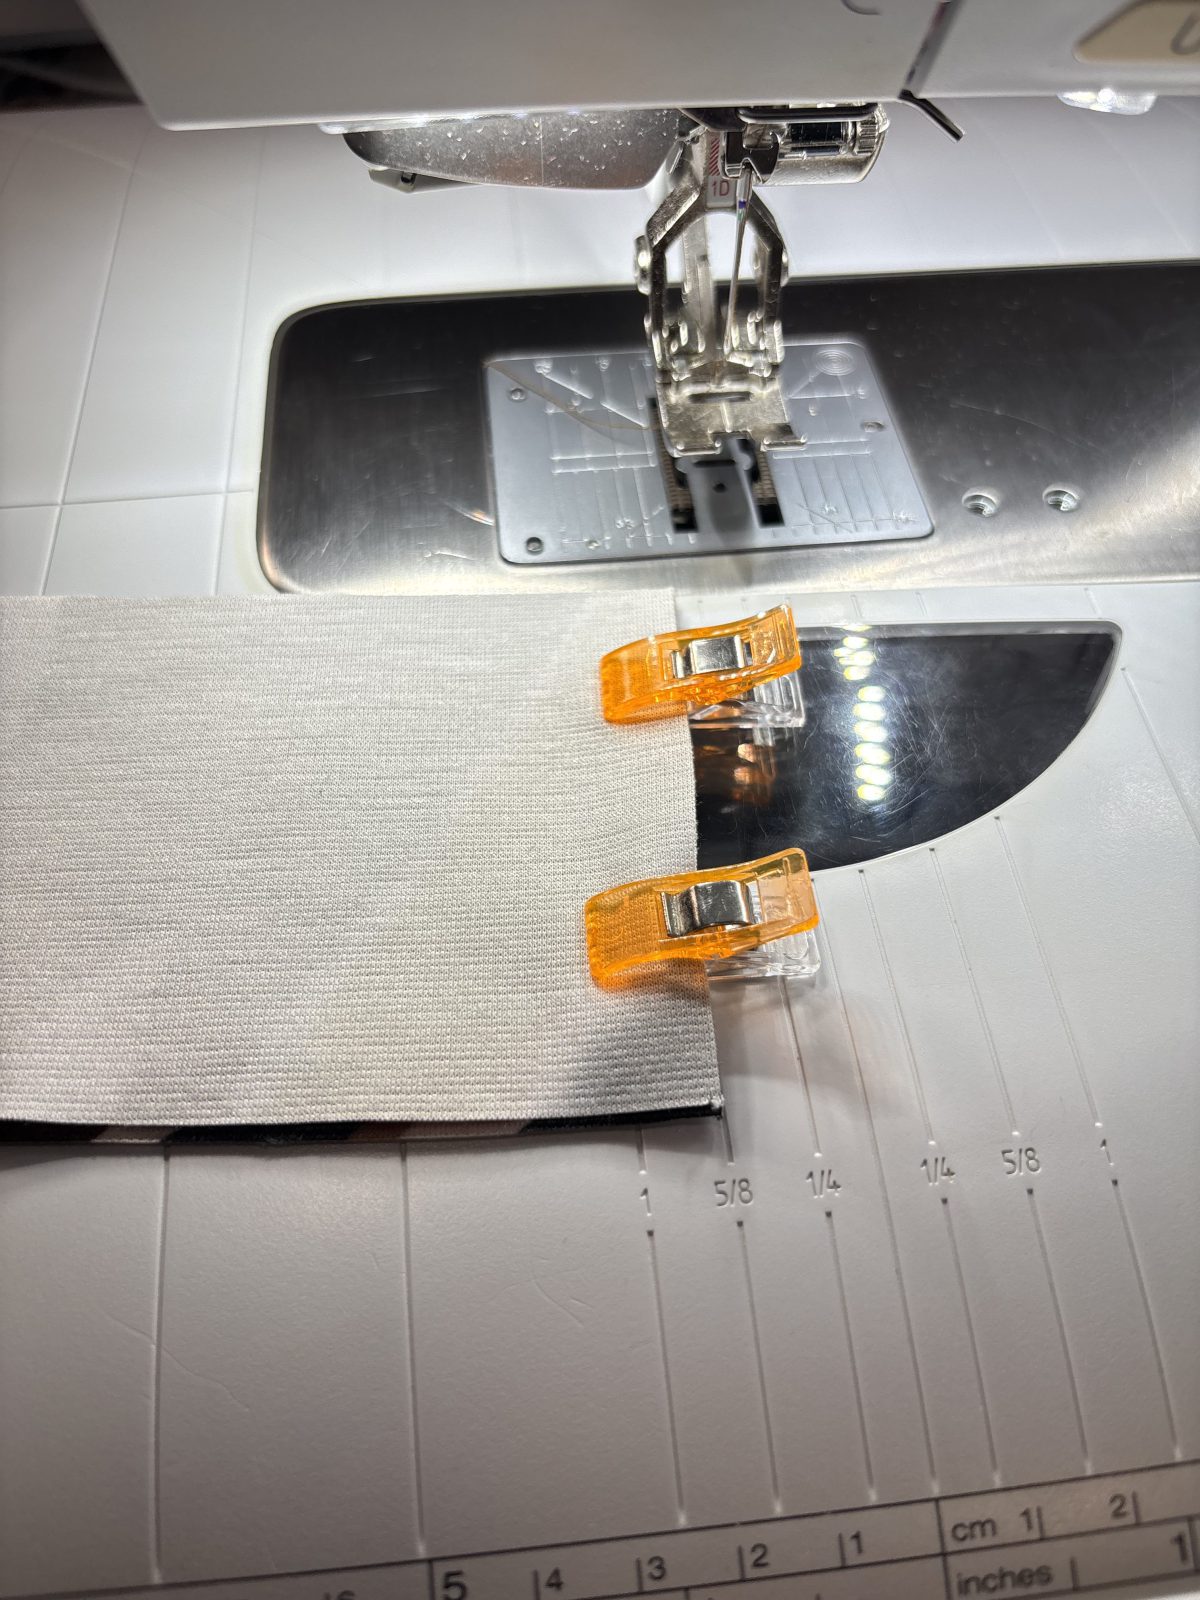
9. Pin. Stitch front and back bodice waistband together at the side seam. At one end of the side seams, leave an opening for the elastic. Make a dot at 1/2”in.(1.27cm) from edge and another dot at seam fold. Stitch from edge to dot. Stitch from dot at fold across other side of fold to close seam.
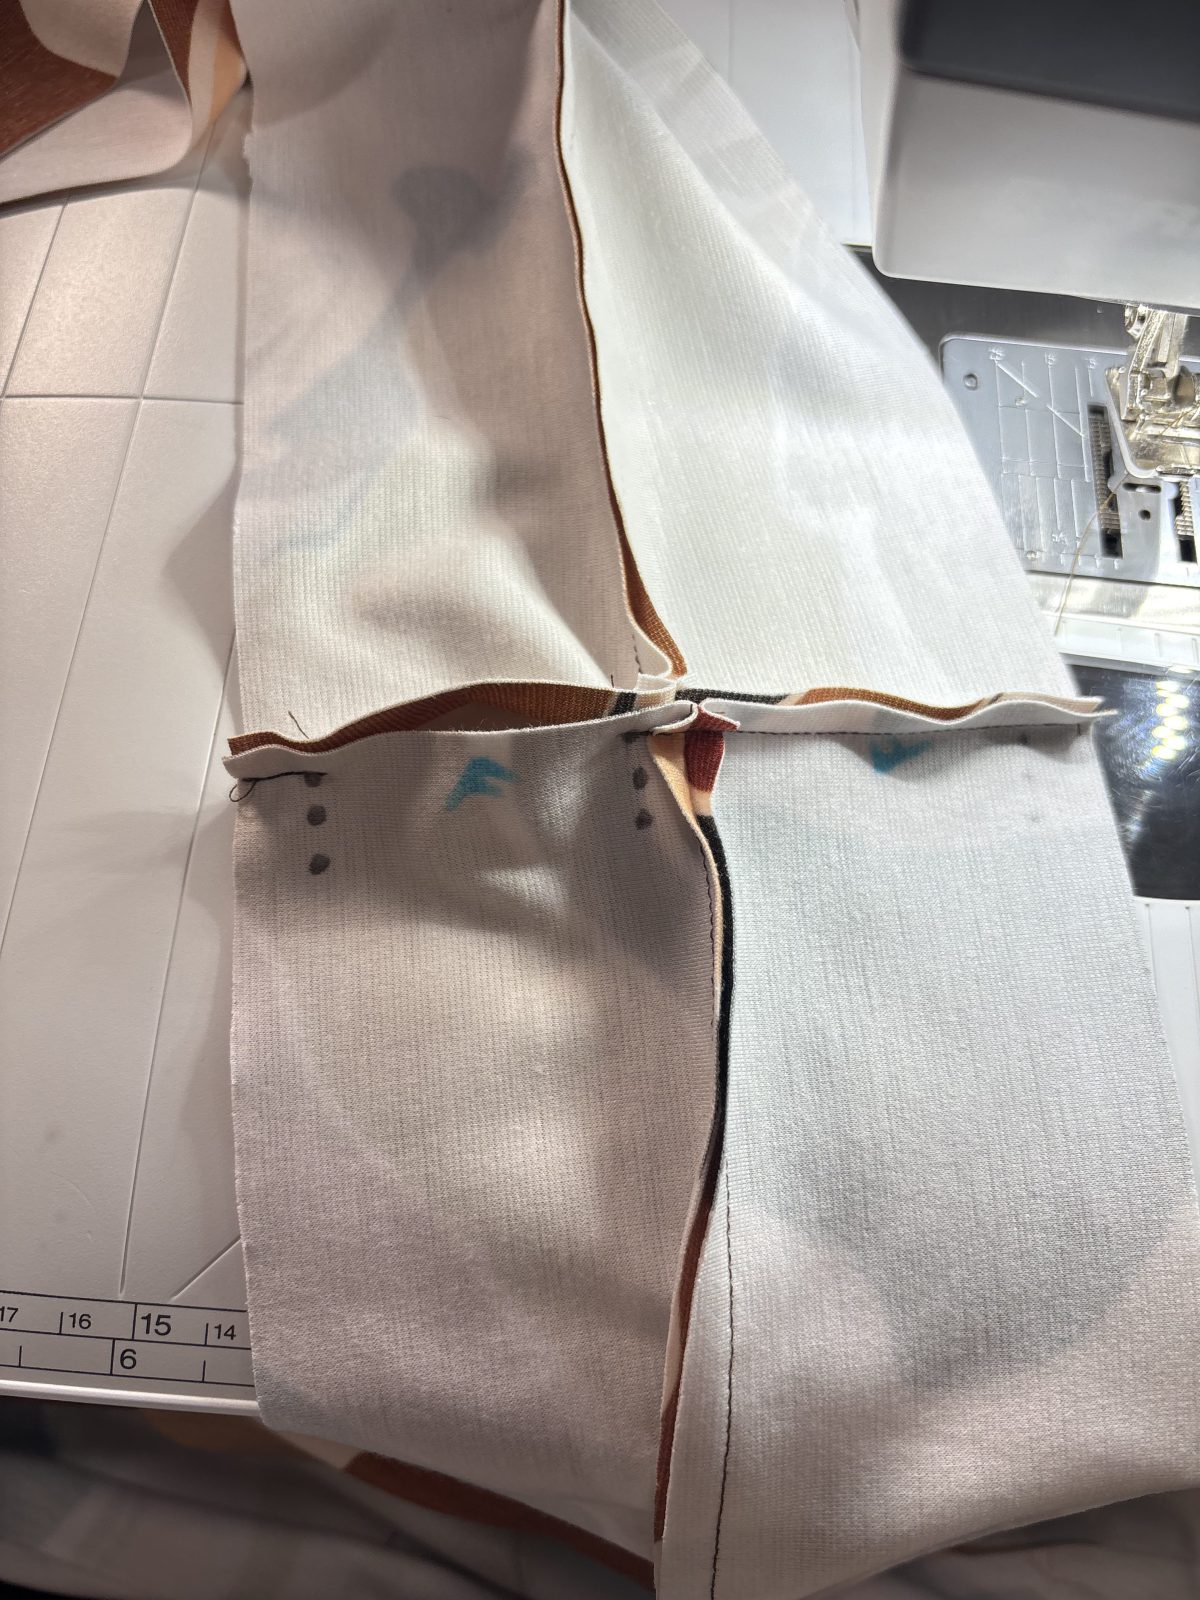
10. With wrong sides facing, fold waist band in half. Stitch 3/8”in. (0.9525cm) across seam edge.
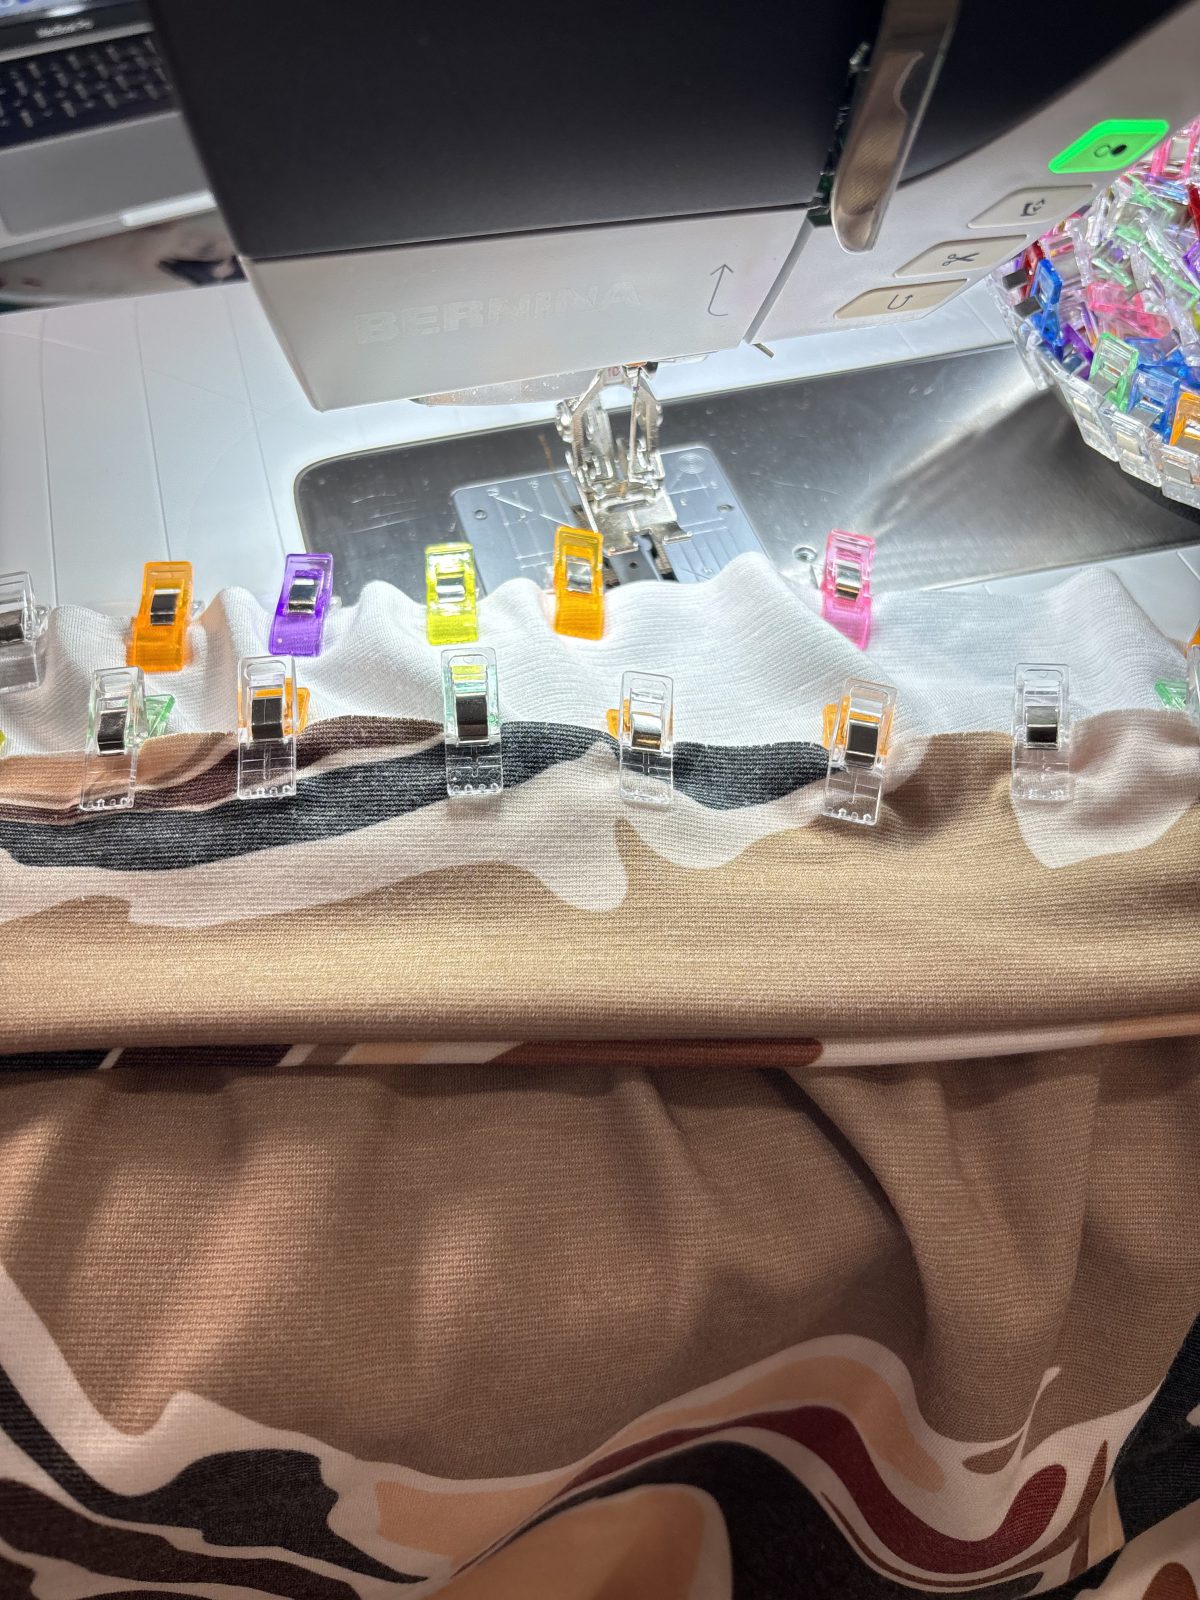
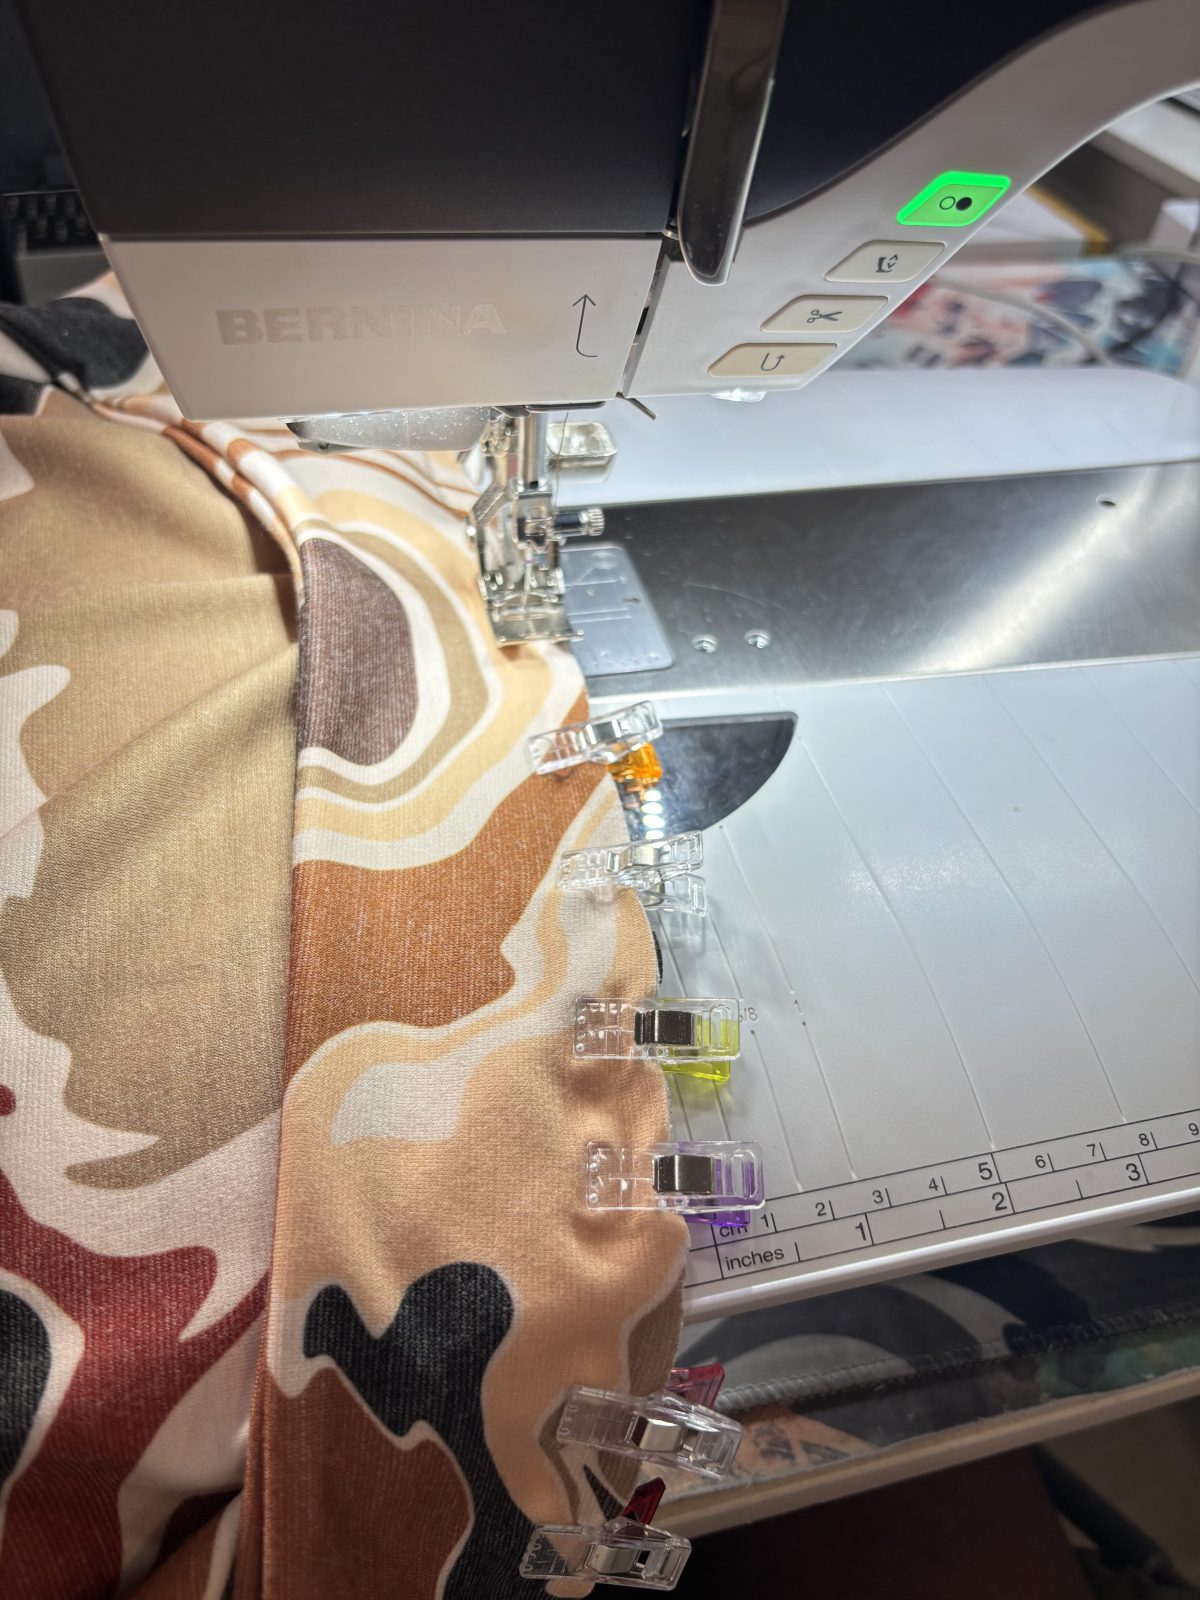
11. With right sides facing, match bodice waist edge with bodice waist band edge. Pin side seams of bodice waist band to side seams of bodice top. Then stretch to fit and pin between side seams. Stitch 1/2”in.(1.27cm).
Sewing the Neckband
12. Pin neck band together with right sides together at center back seams. Stitch.
13. With wrong sides together, fold neck band lengthwise. Stitch 3/8”in.( 0.9525cm) at edge.
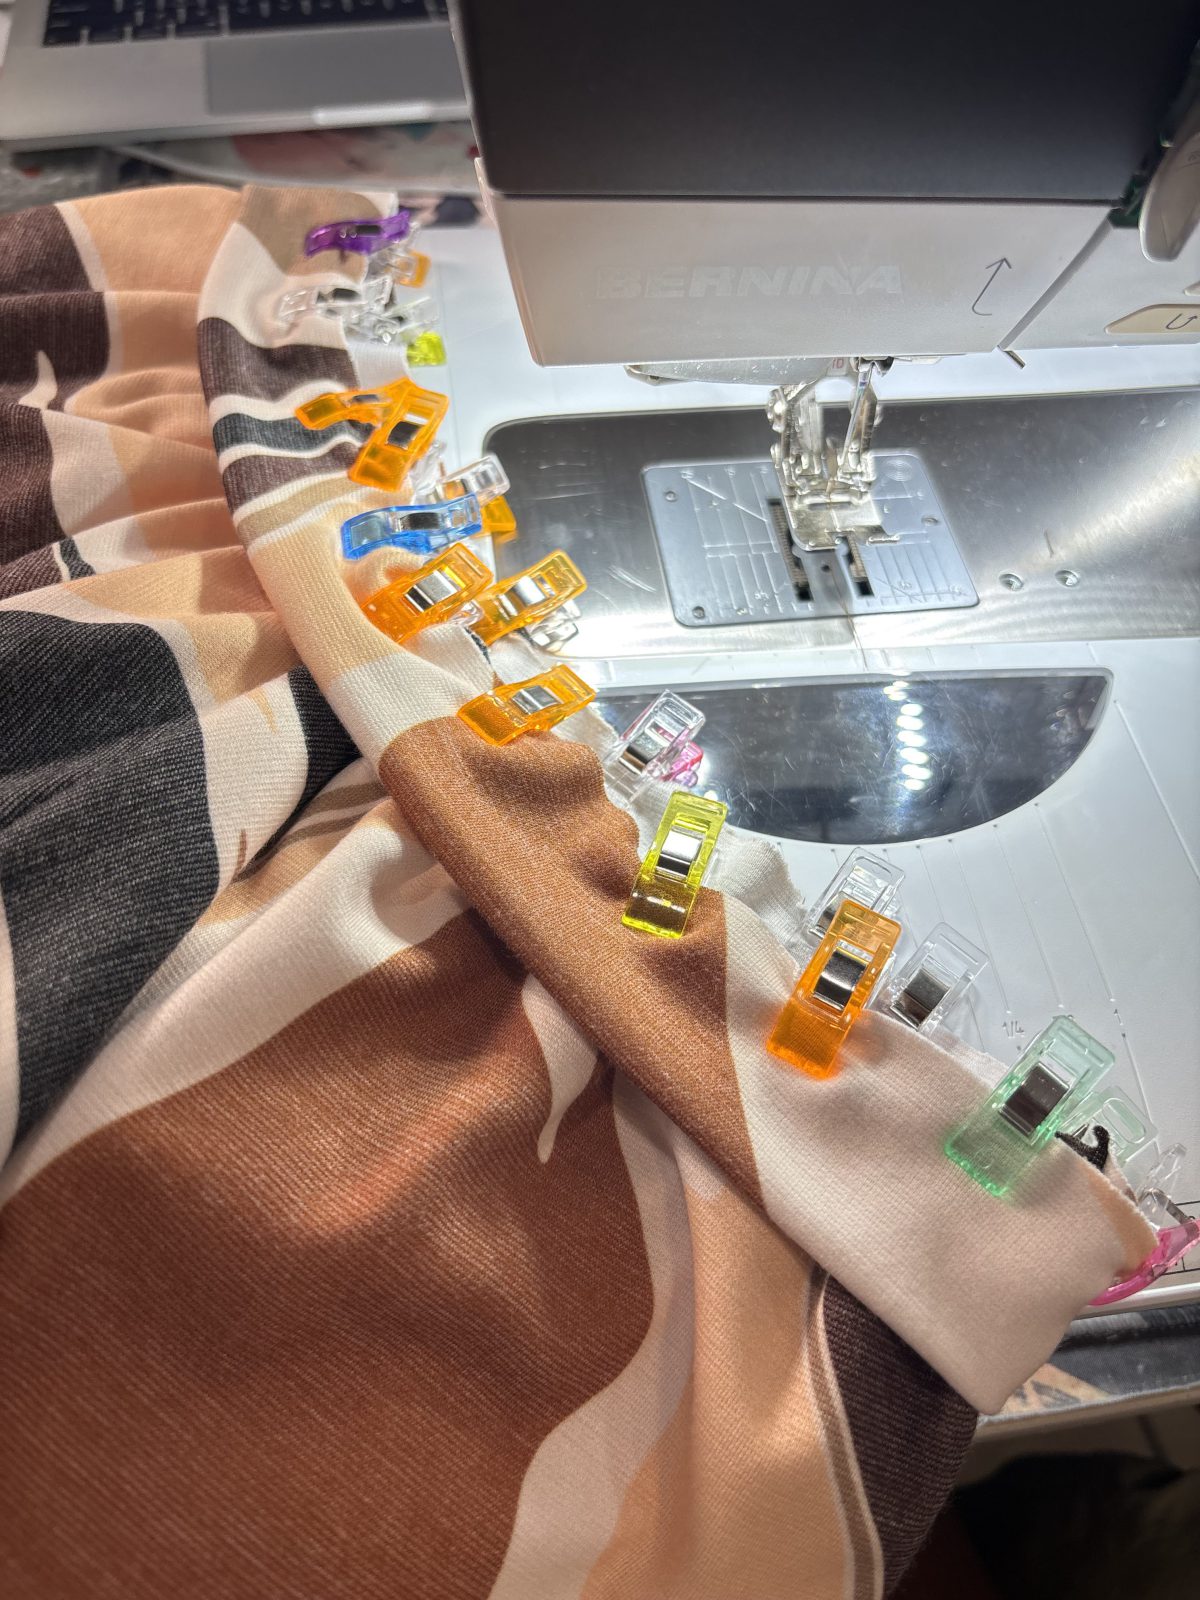
14. Stretch and fit neck band inside neck opening of bodice top with right sides together matching seam with shoulder seam. Pin. Stitch.
15. Insert the elastic at the waistband side seam opening. Push through. Stitch elastic. Slip-Stitch seam closed.
One of my favorite things about this pattern is just how quick and easy it is to sew. This is truly an afternoon project, perfect if you want something satisfying without a huge time commitment. The pattern is very beginner-friendly, with not a lot of pattern pieces, which keeps everything feeling approachable and stress-free. Even if you’re newer to sewing knits or garment construction, this pattern sets you up for success.
Overall, sewing the Sassy Sweatsuit was such a rewarding experience. Between the beginner-friendly pattern and the fast construction time, this pattern is perfect for everyone on every sewing level. If you’re looking for a stylish, comfortable handmade outfit that comes together effortlessly, this pattern and fabric combo is absolutely worth trying.
Stay tuned for part two, where I sew the pants!