Longarm Quilting with Insulated Batting

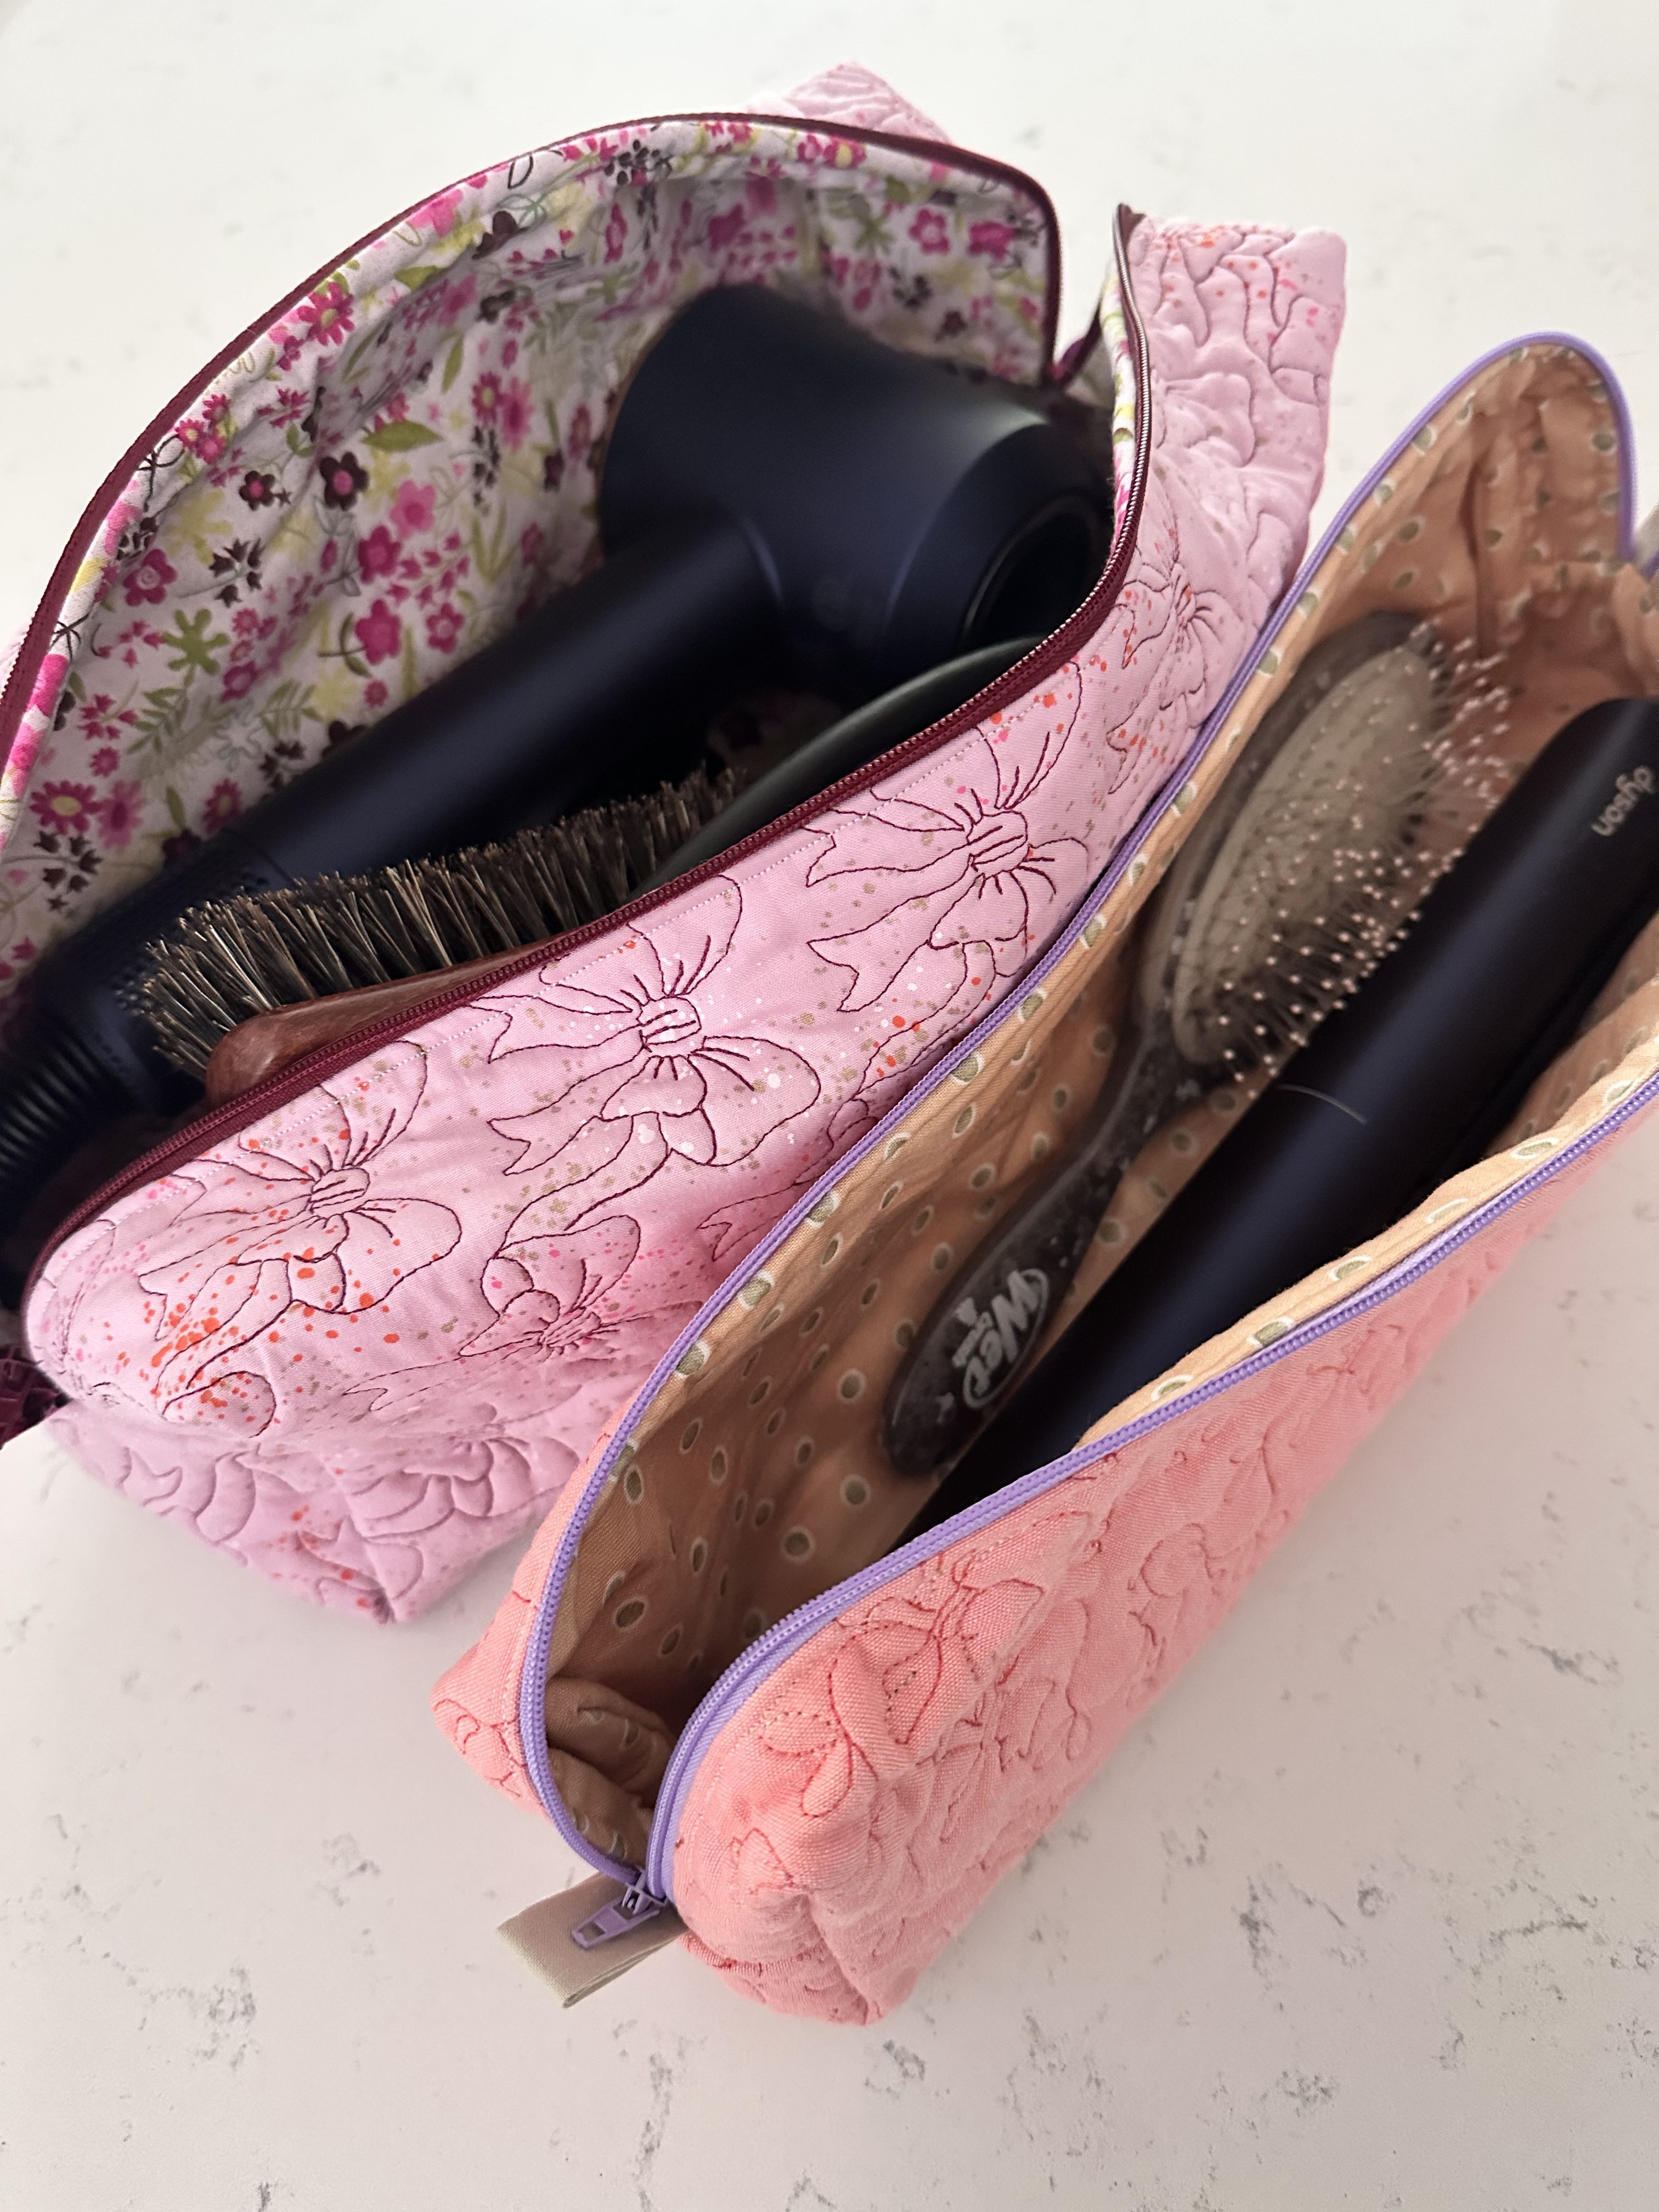
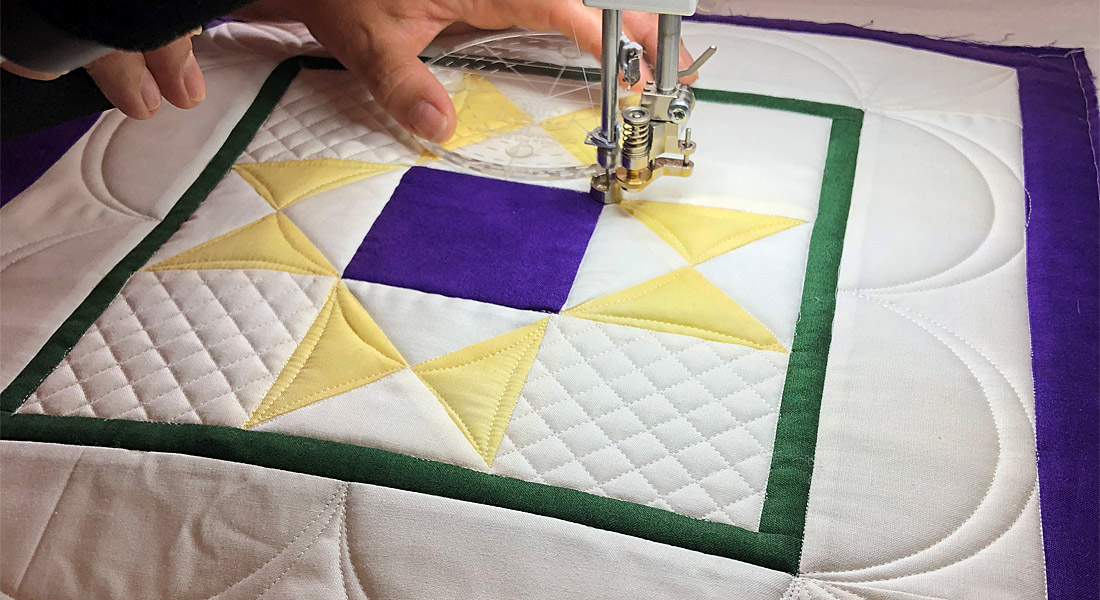
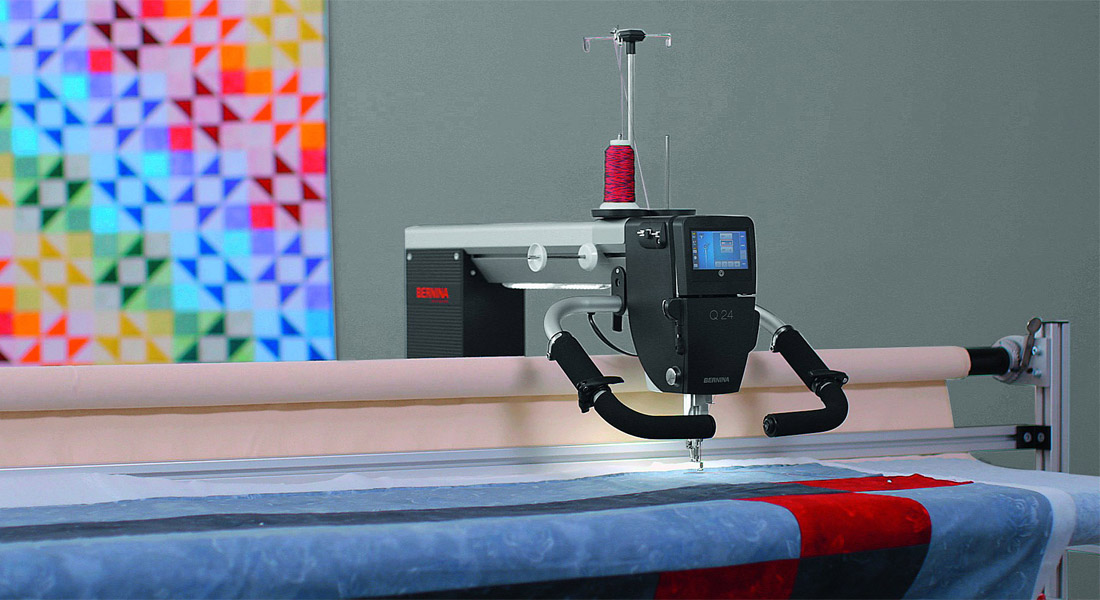
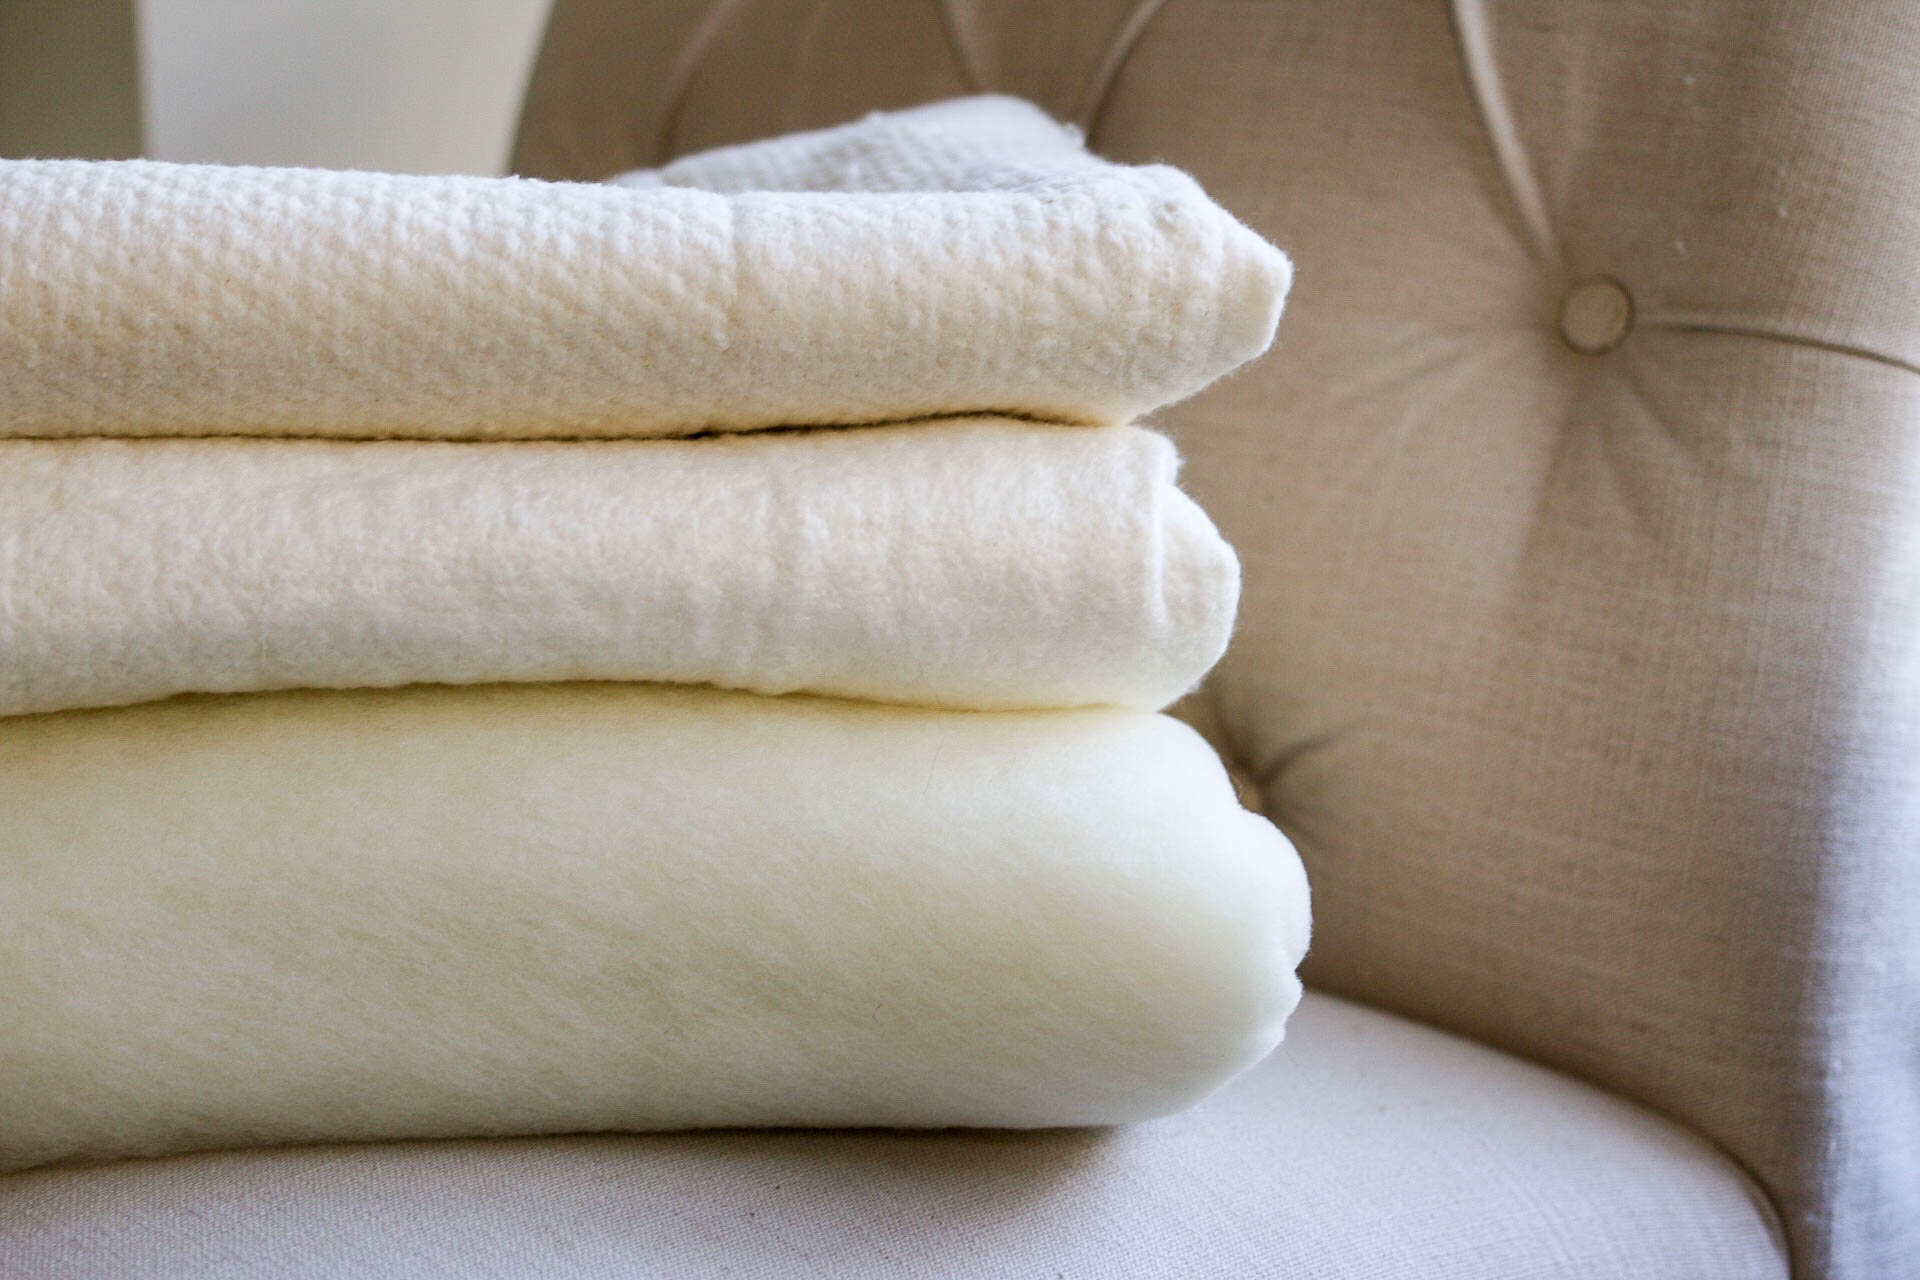
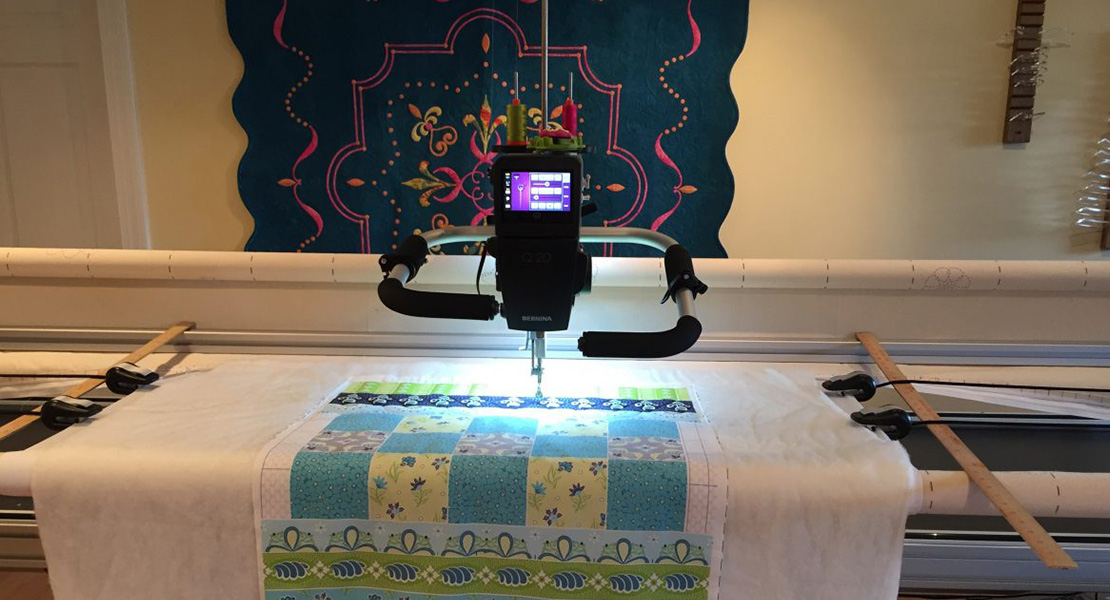
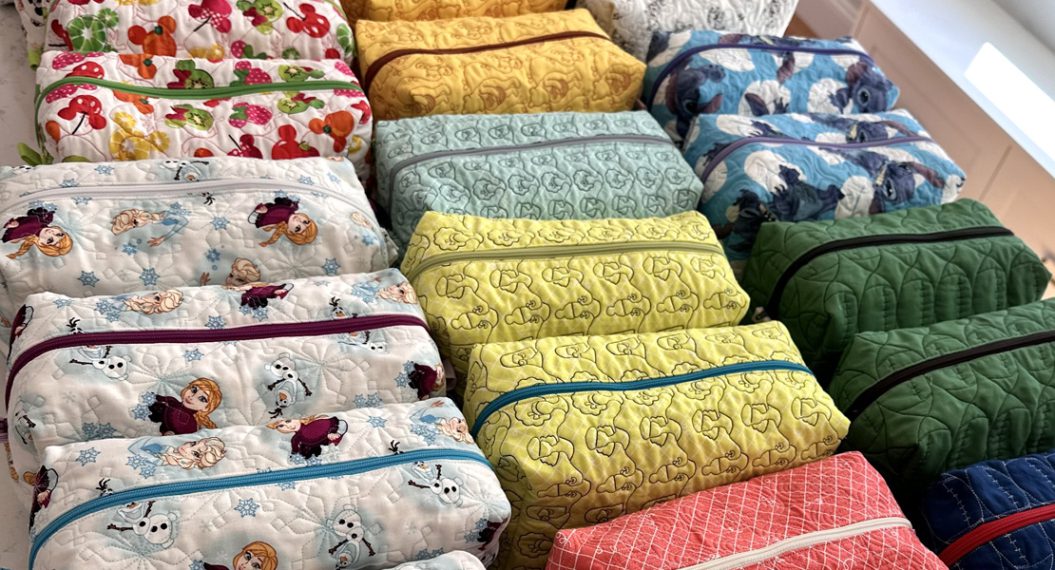
Since acquiring my BERNINA Q 24 with Q-matic, I’ve loved playing around with making fun and different things besides quilts on my longarm using the limitless number of pantographs and quilting designs out there. After making countless bags, art, and other accessories, I wondered how the longarm would handle quilting insulated batting to continue to make some fun and useful items.
Materials to Longarm Quilt with Insulated Batting
- Insulated Batting
- Backing and Top to quilt
- Ballpoint needle
- Polyester Quilting Thread
- Optional: Additional cotton batting
The Longarm Set Up
Needles
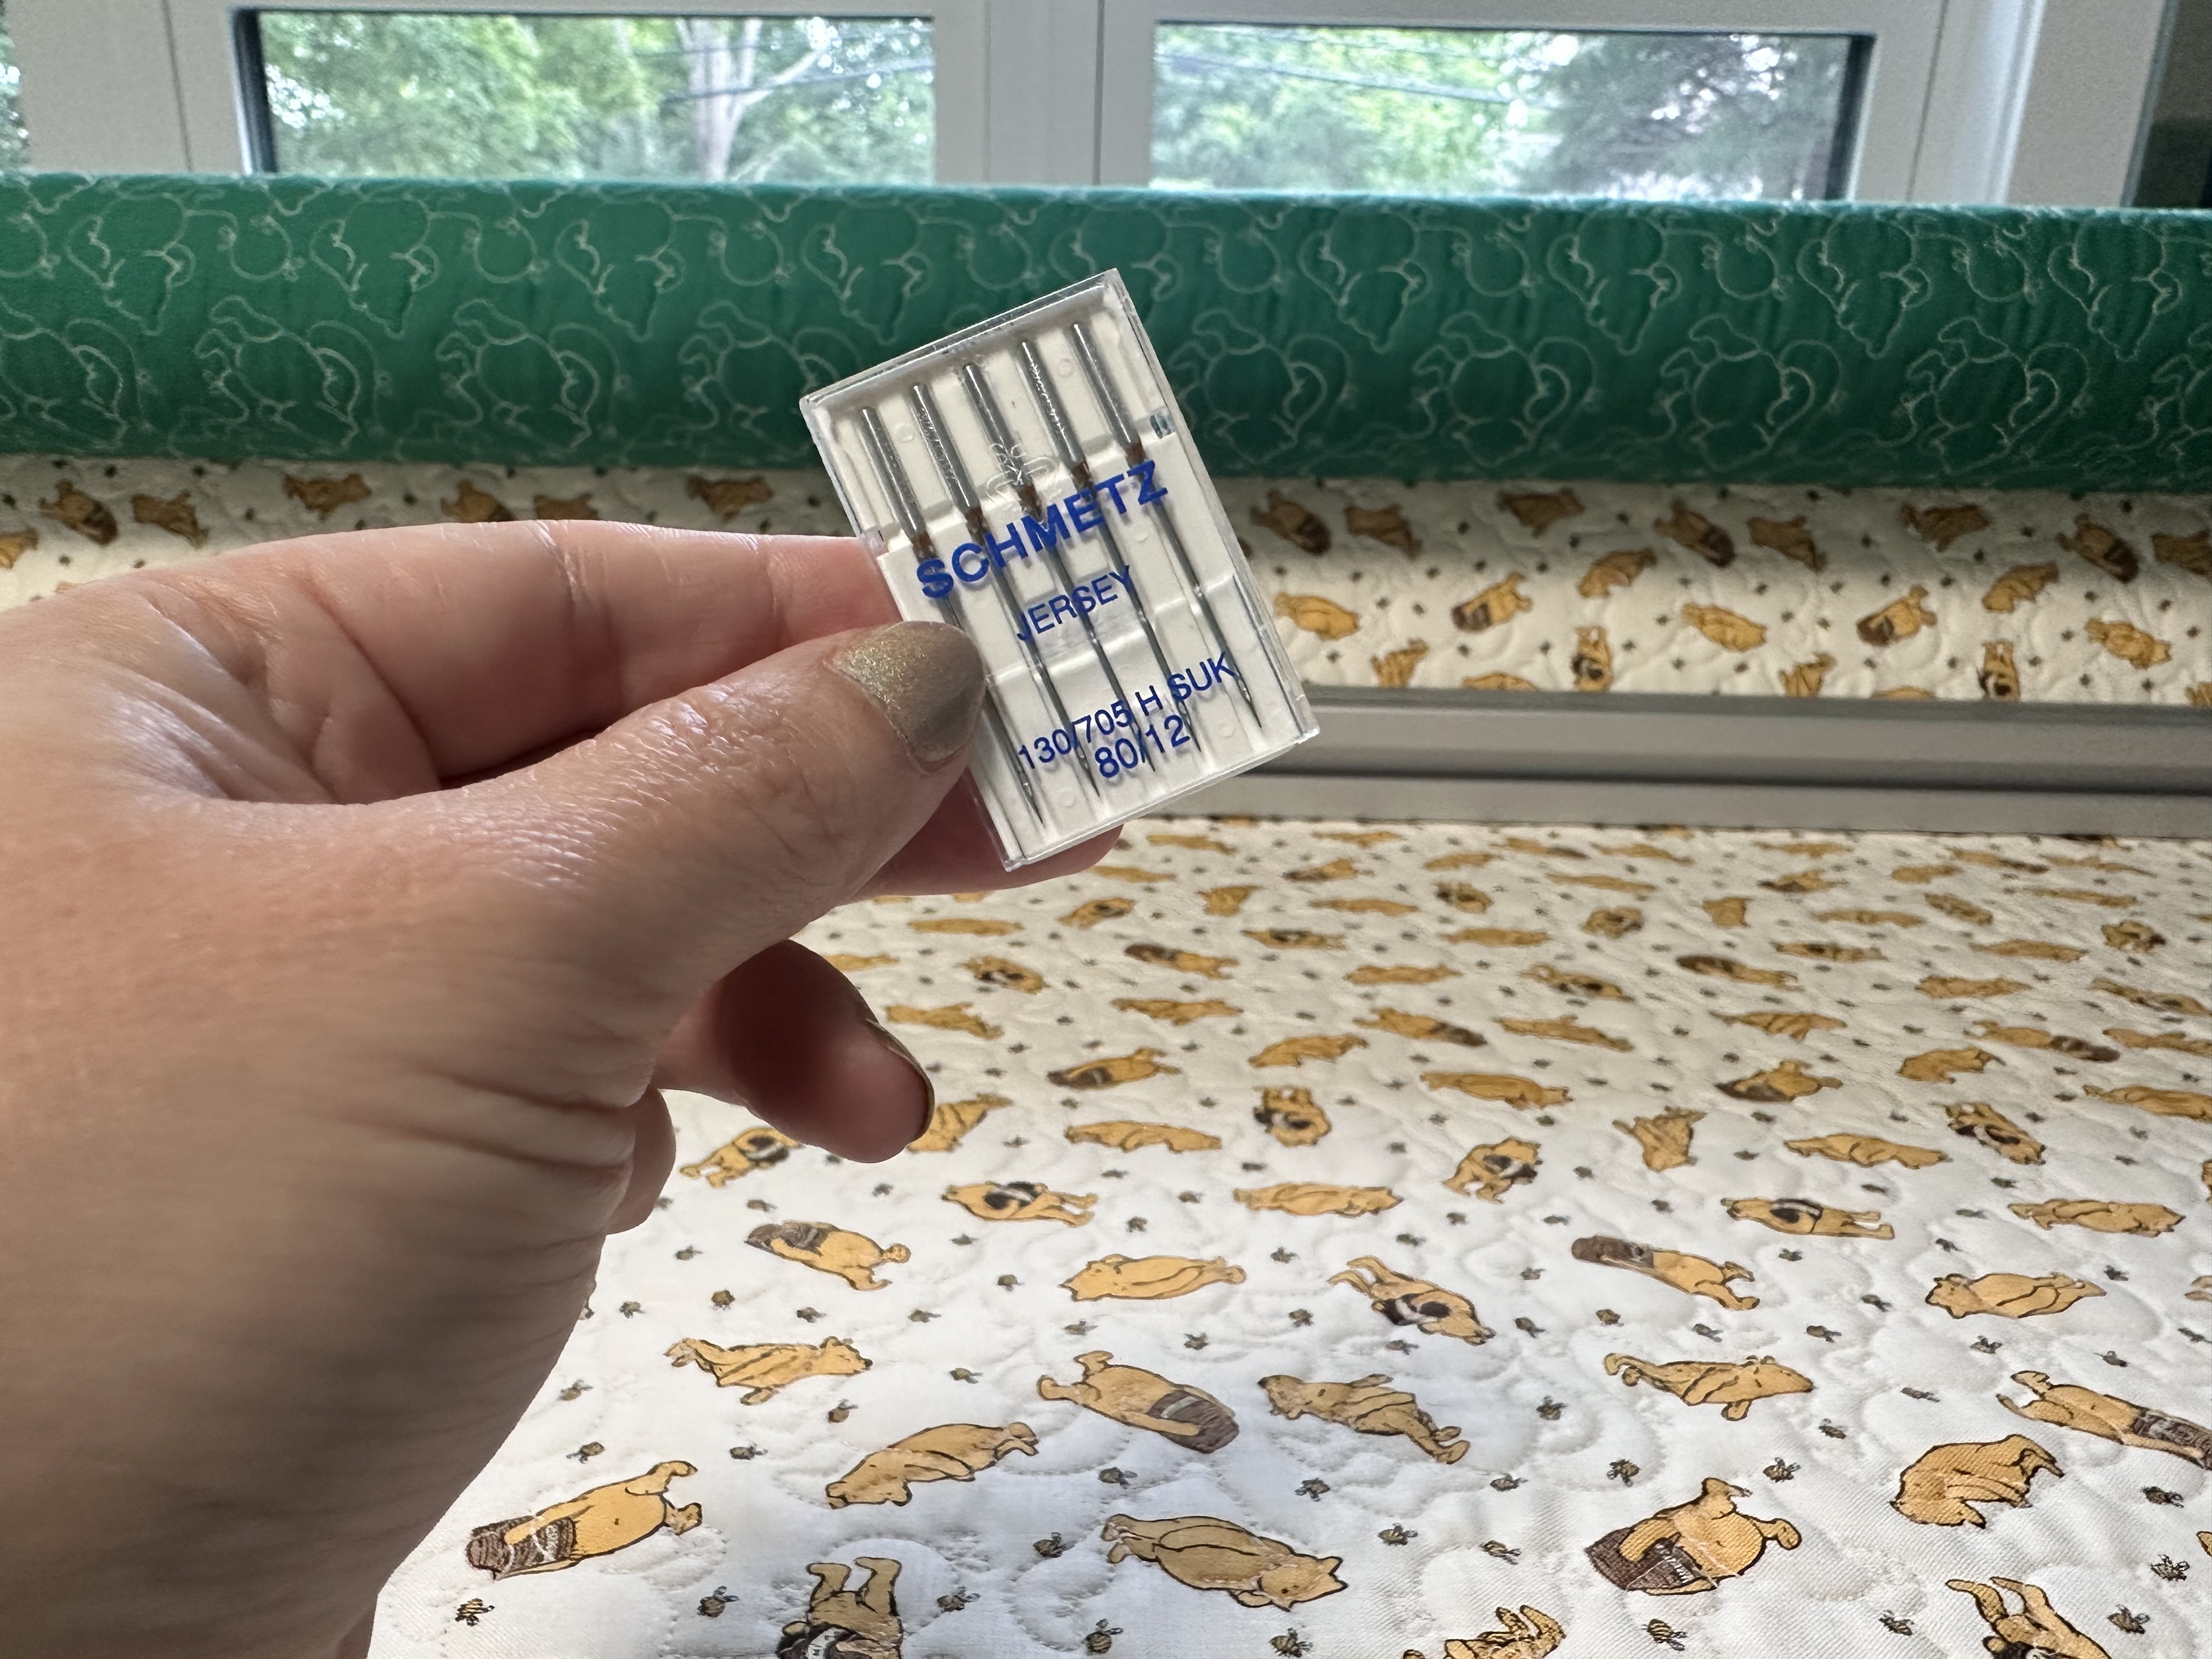
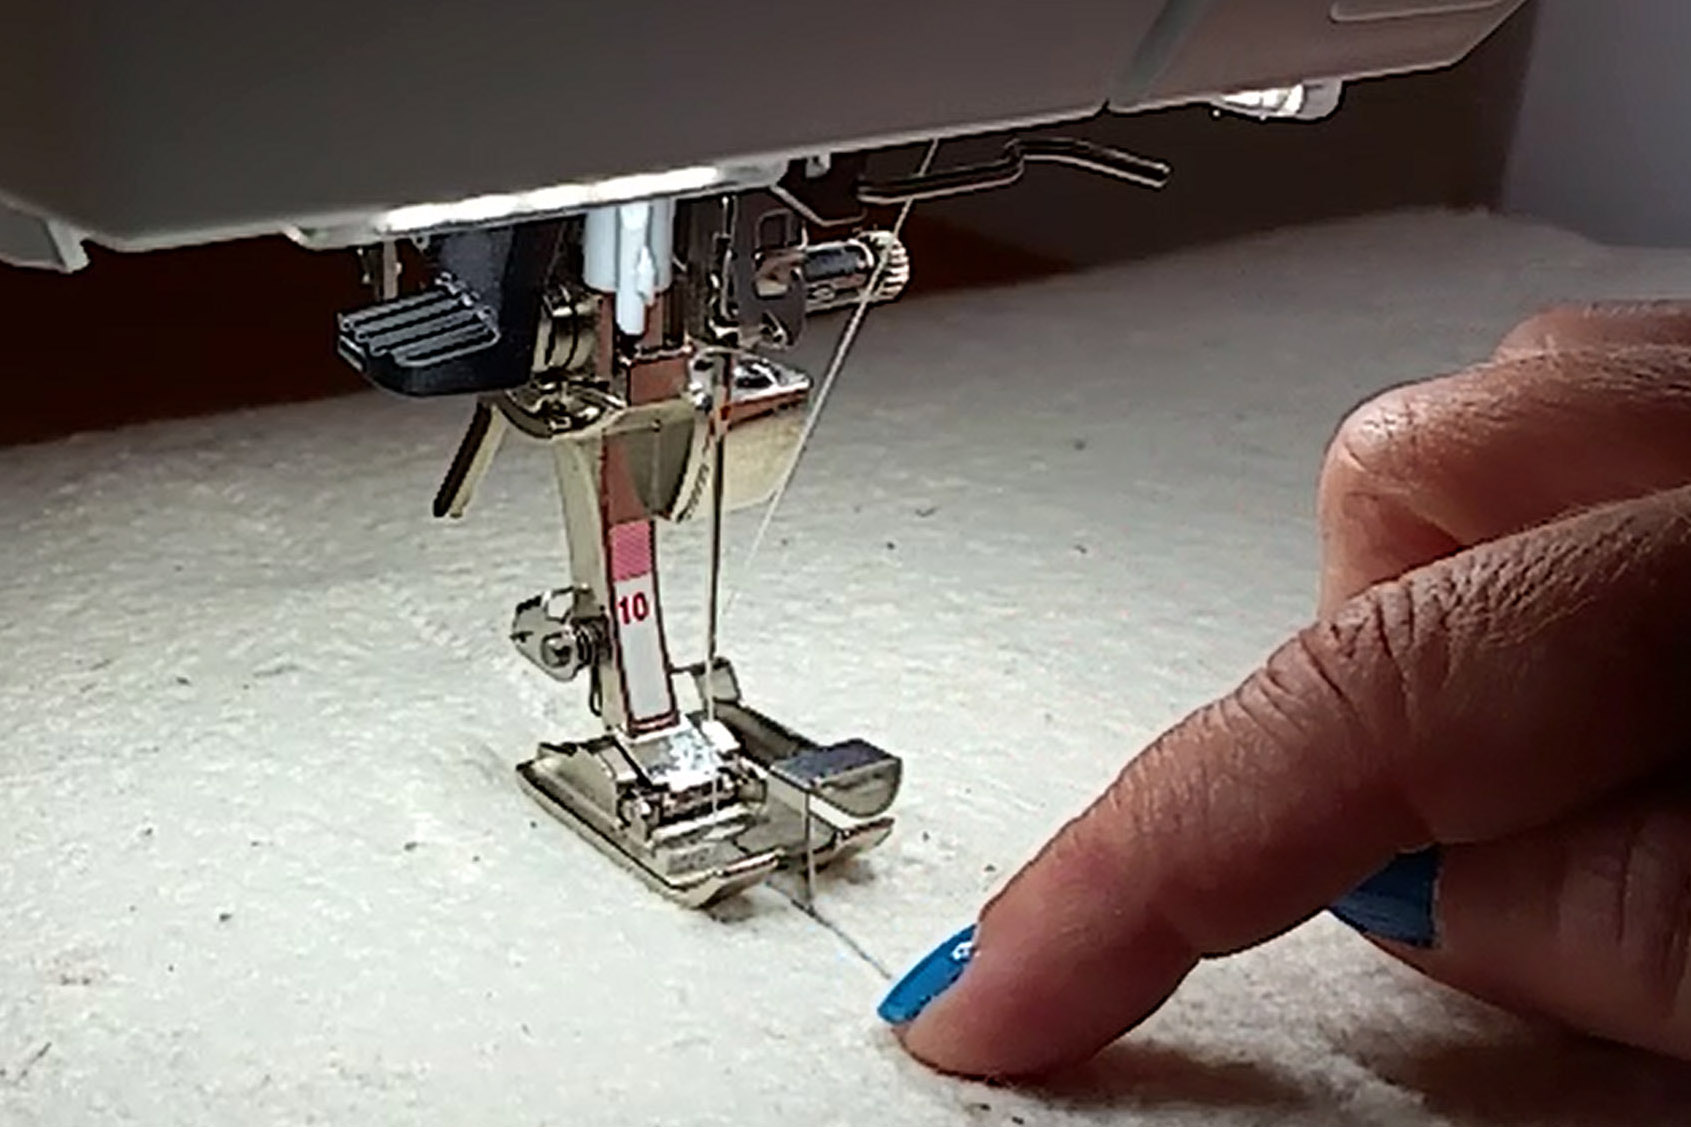
The first time I practiced longarm quilting insulated batting I tried using a brand new embroidery needle. As a big fan of embroidery needles given their long and sharp tip, I assumed that this kind of needle would be ideal for piercing through the insulated batting. Later, I read the packaging and saw that it recommended a ballpoint or jersey needle, which I also happened to have on hand for sewing jersey knits and decided to test that out as well. What do you know, the packaging definitely knew what it was talking about (maybe some day I’ll learn to read directions/packaging first… but probably not). Quilting through insulated batting has a very distinct sound, and anyone that’s longarm quilted long enough knows that you can instantly tell if something is off just by sound. And I can tell you the sound of the machine stitching was much more musical with the ballpoint needle. I also found the stitch quality to look much better this way. Did the embroidery needle work? Yes, but not quite as well. I will stick to ballpoint or jersey needles when quilting insulated batting from now on.
Quilting Speed
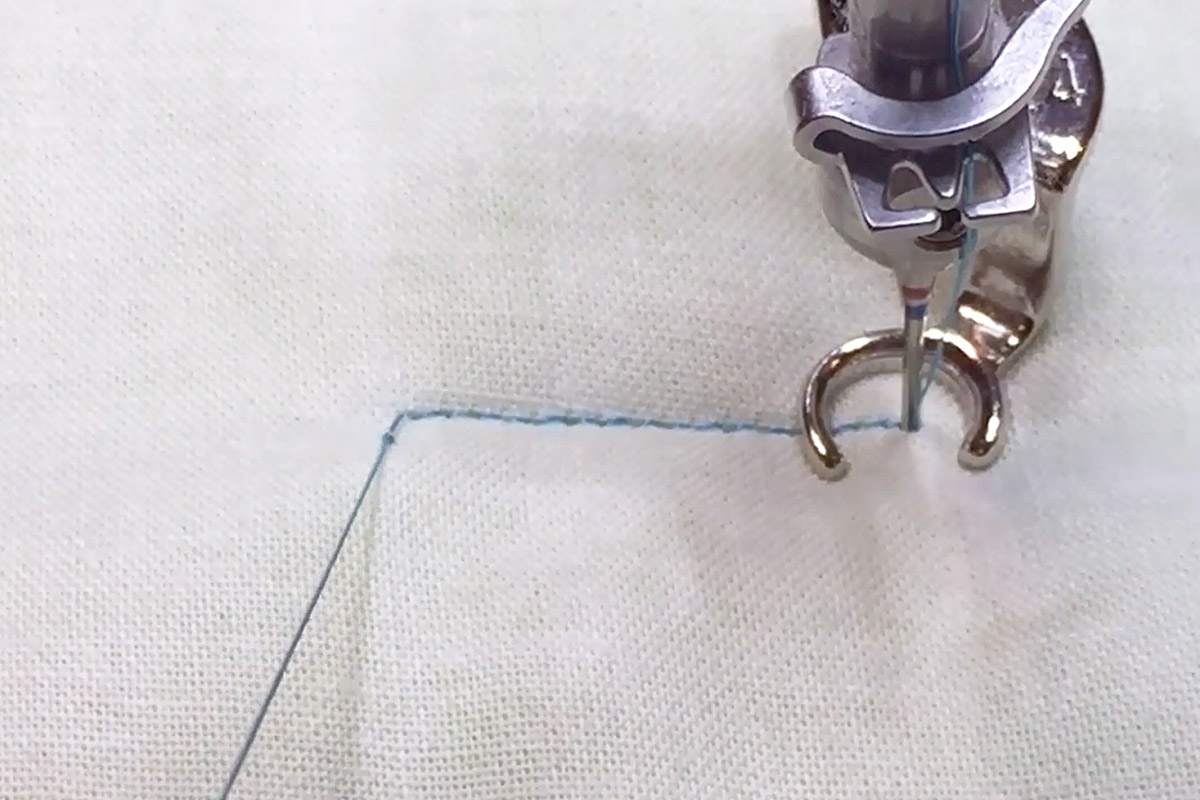
When quilting something that is going to have a lot more friction, such as insulated batting, I like to keep the speed of my Q-matic to 50% or less. The machine is going to need to do a little more work when quilting through the insulated batting and the extra time it takes to slow down and quilt at a slightly slower speed will create better results. Sometimes we’re so quick to try to finish projects that we forget to slow down and focus on quality. I found that when I went faster with insulated batting, at speeds I would normally quilt with, the stitches sometimes struggled around tight turns and corners.
To Use Polyester Thread or Not?
The big question I had before I got going was if I should stick to cotton thread or if I could use polyester or blended thread for items I was making with insulated batting. After doing some research I learned that polyester thread doesn’t start to melt until around 480°F and 500°F (248°C – 260°C). And because I was using cotton fabric, I decided that I would be fine using polyester thread for quilted items. If, for some incredible reason, you do think your items will reach over those temperatures, you might want to opt for 100% cotton thread. 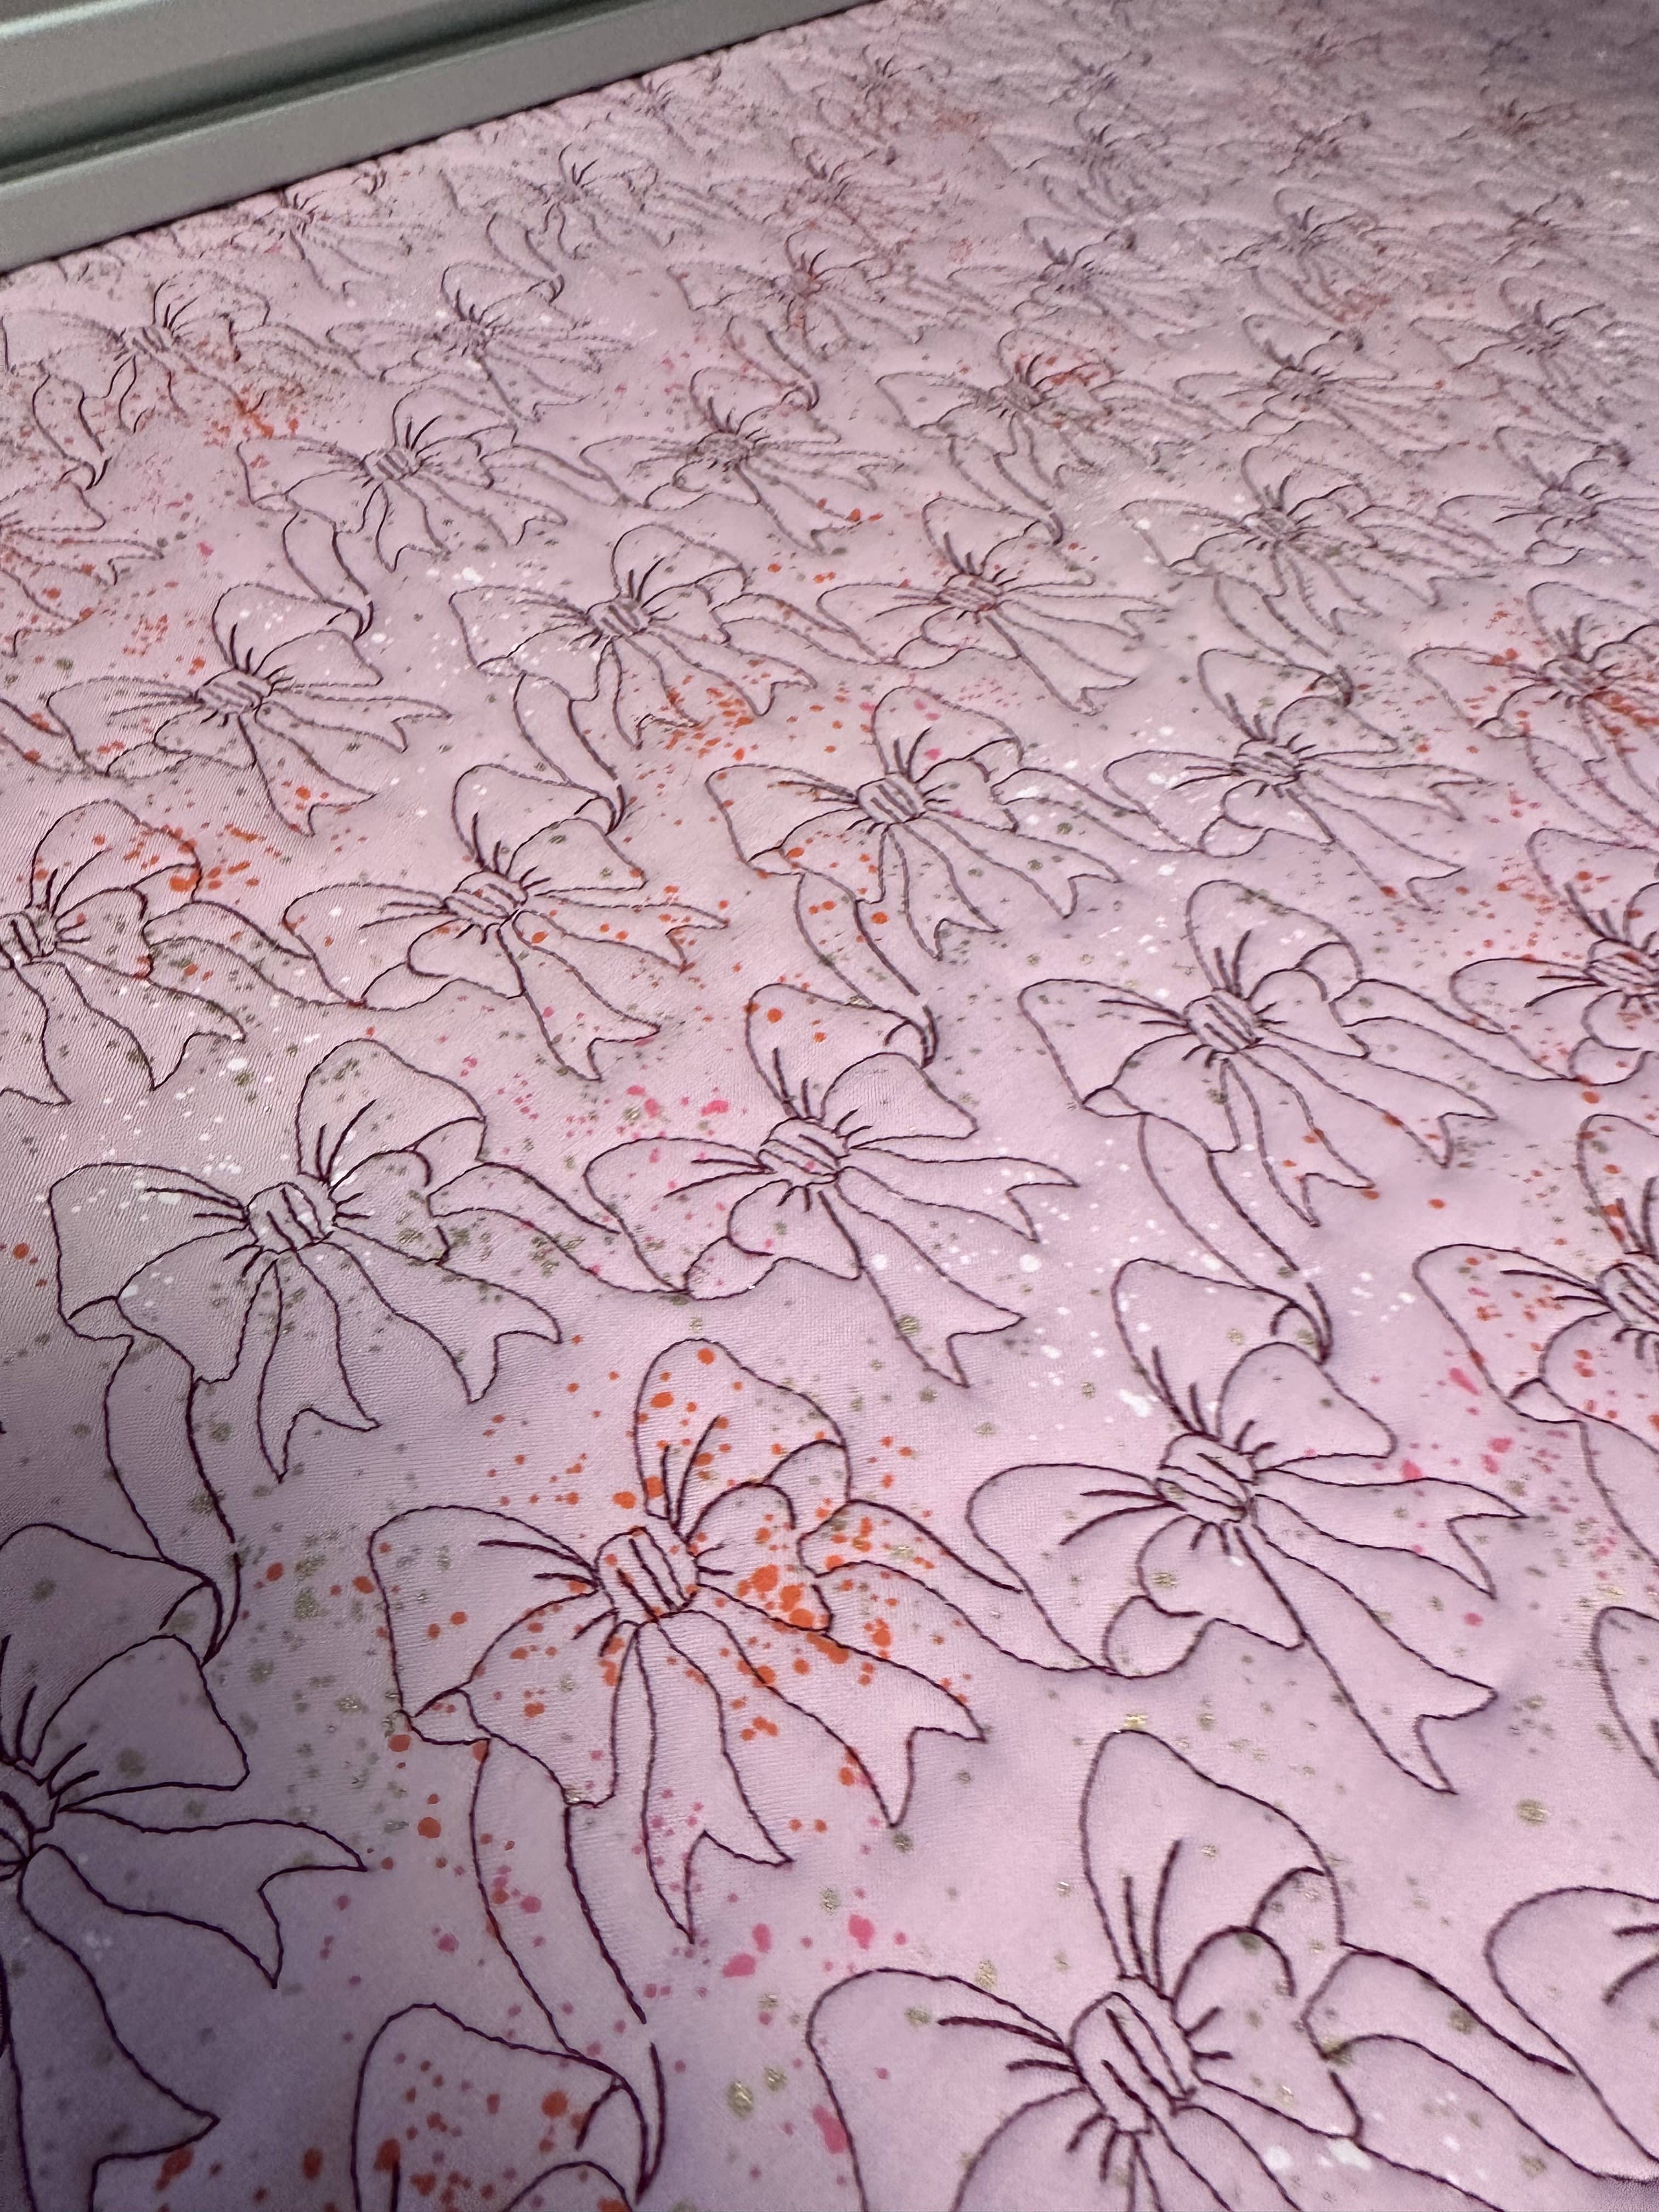
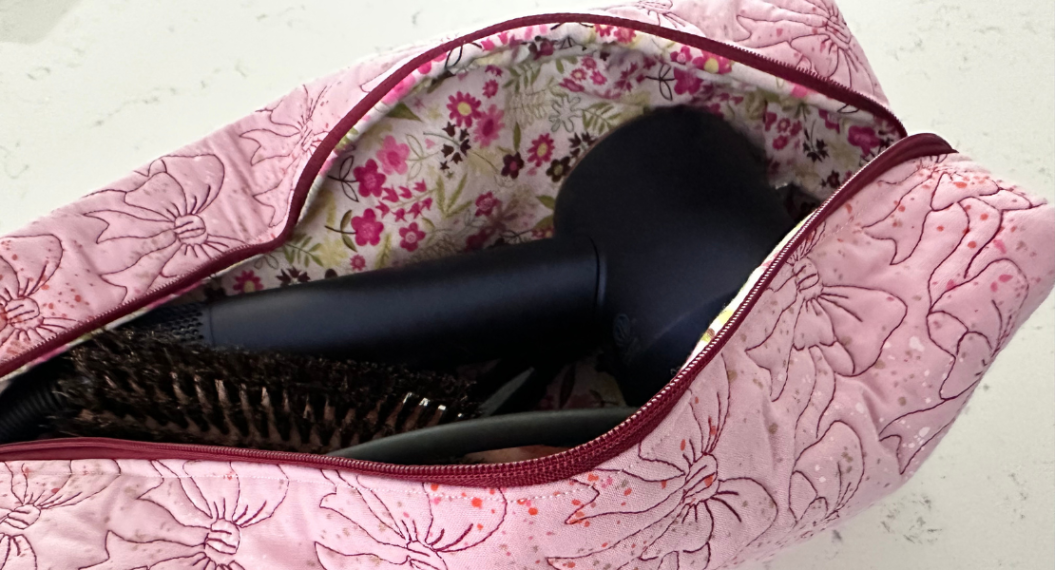
I also really like a nice 40wt, contrasting thread that pops when making items that are meant to focus on the quilting. This bow pattern that I turned into some zippered pouches is quilted with a contrasting 40wt polyester thread and it really pops.
To Use Extra Batting or Not?
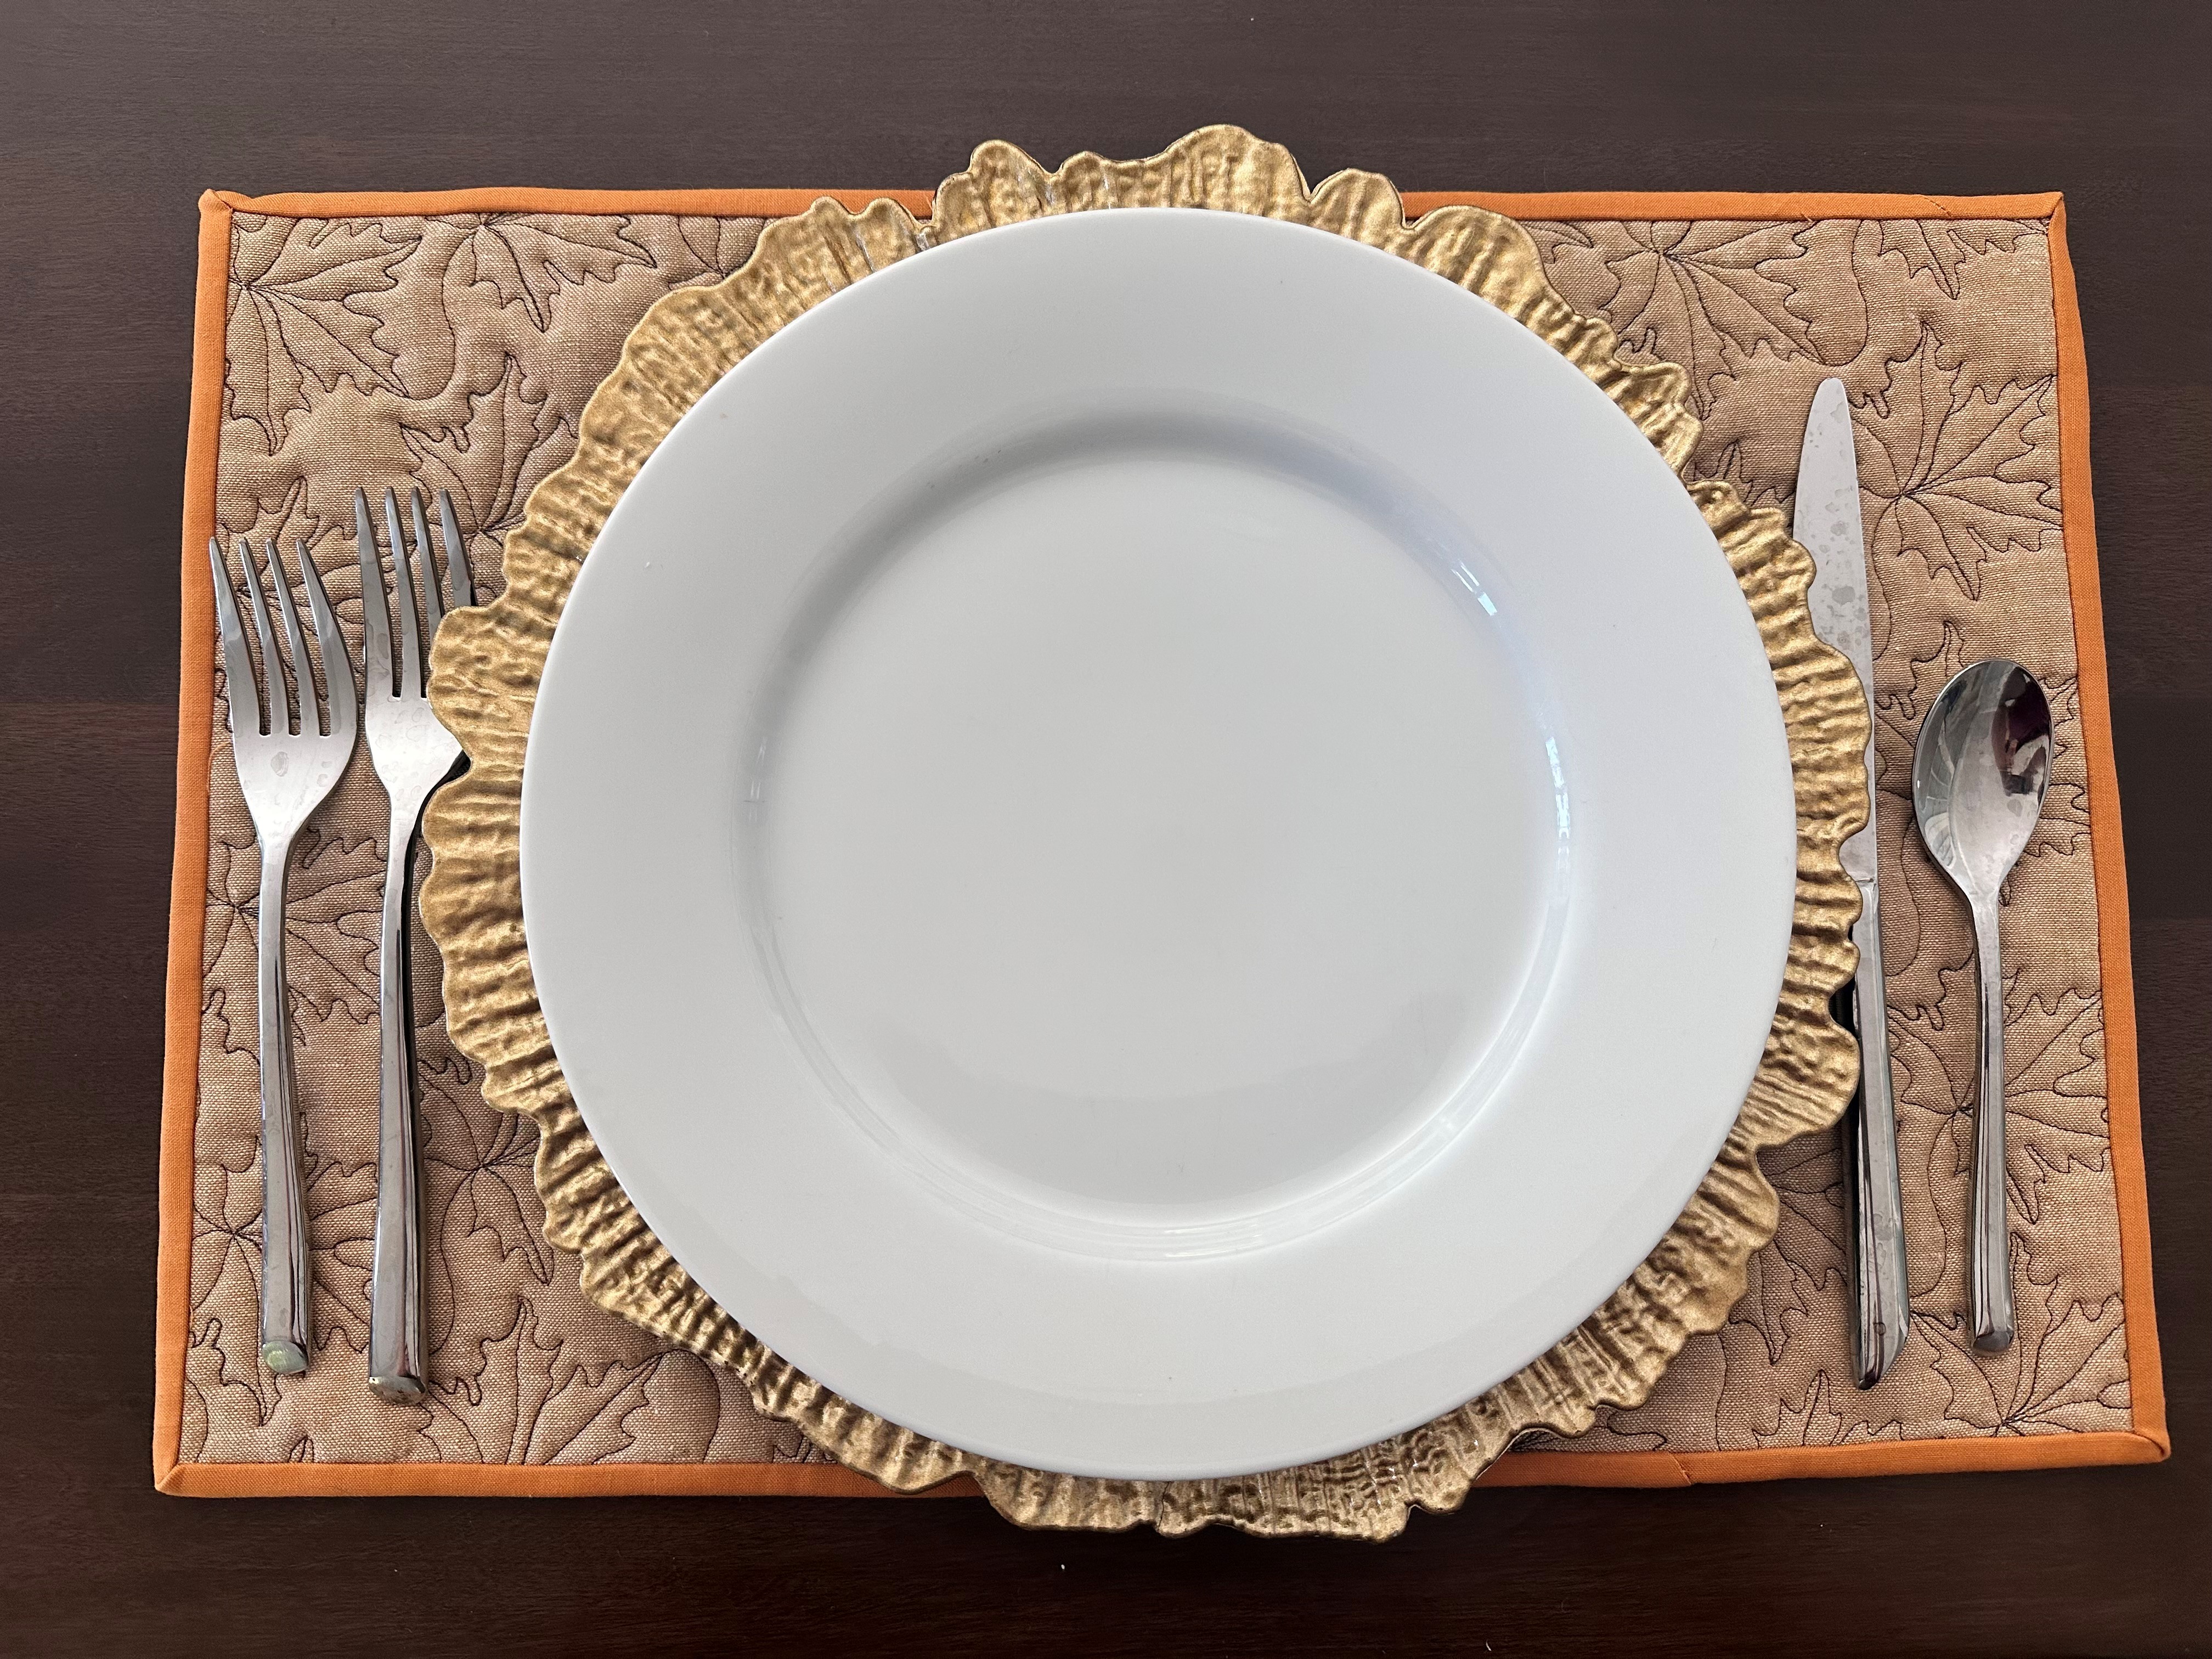
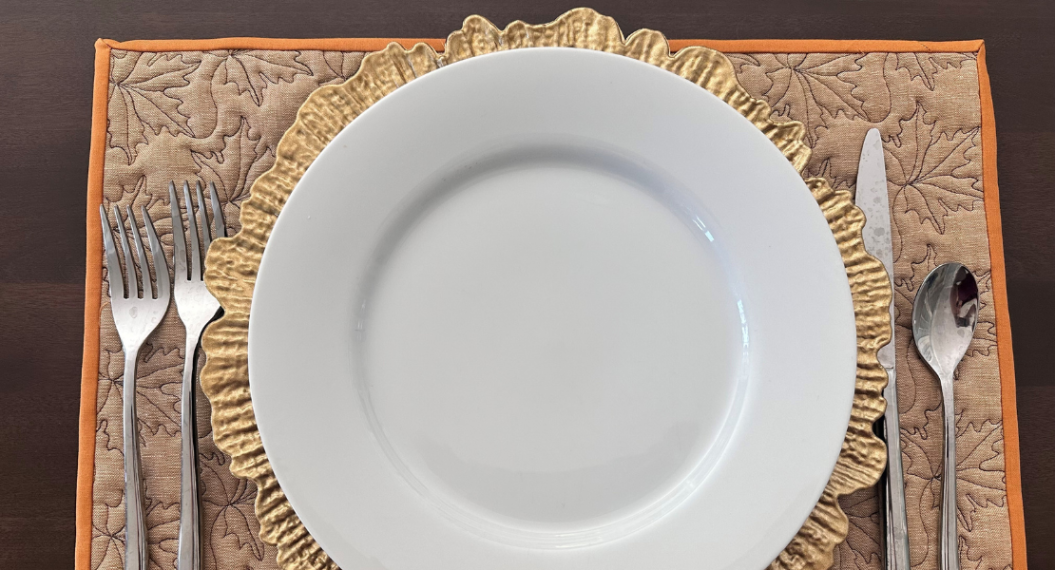
I made several samples with just the insulated batting and several with insulated batting and cotton batting added as well. I found the pieces made with just the insulated batting were perfect for a hot hair tools bag while the ones with an extra layer of cotton batting felt better for a quilted placemat or something that would have hot items right out of the oven placed on top.
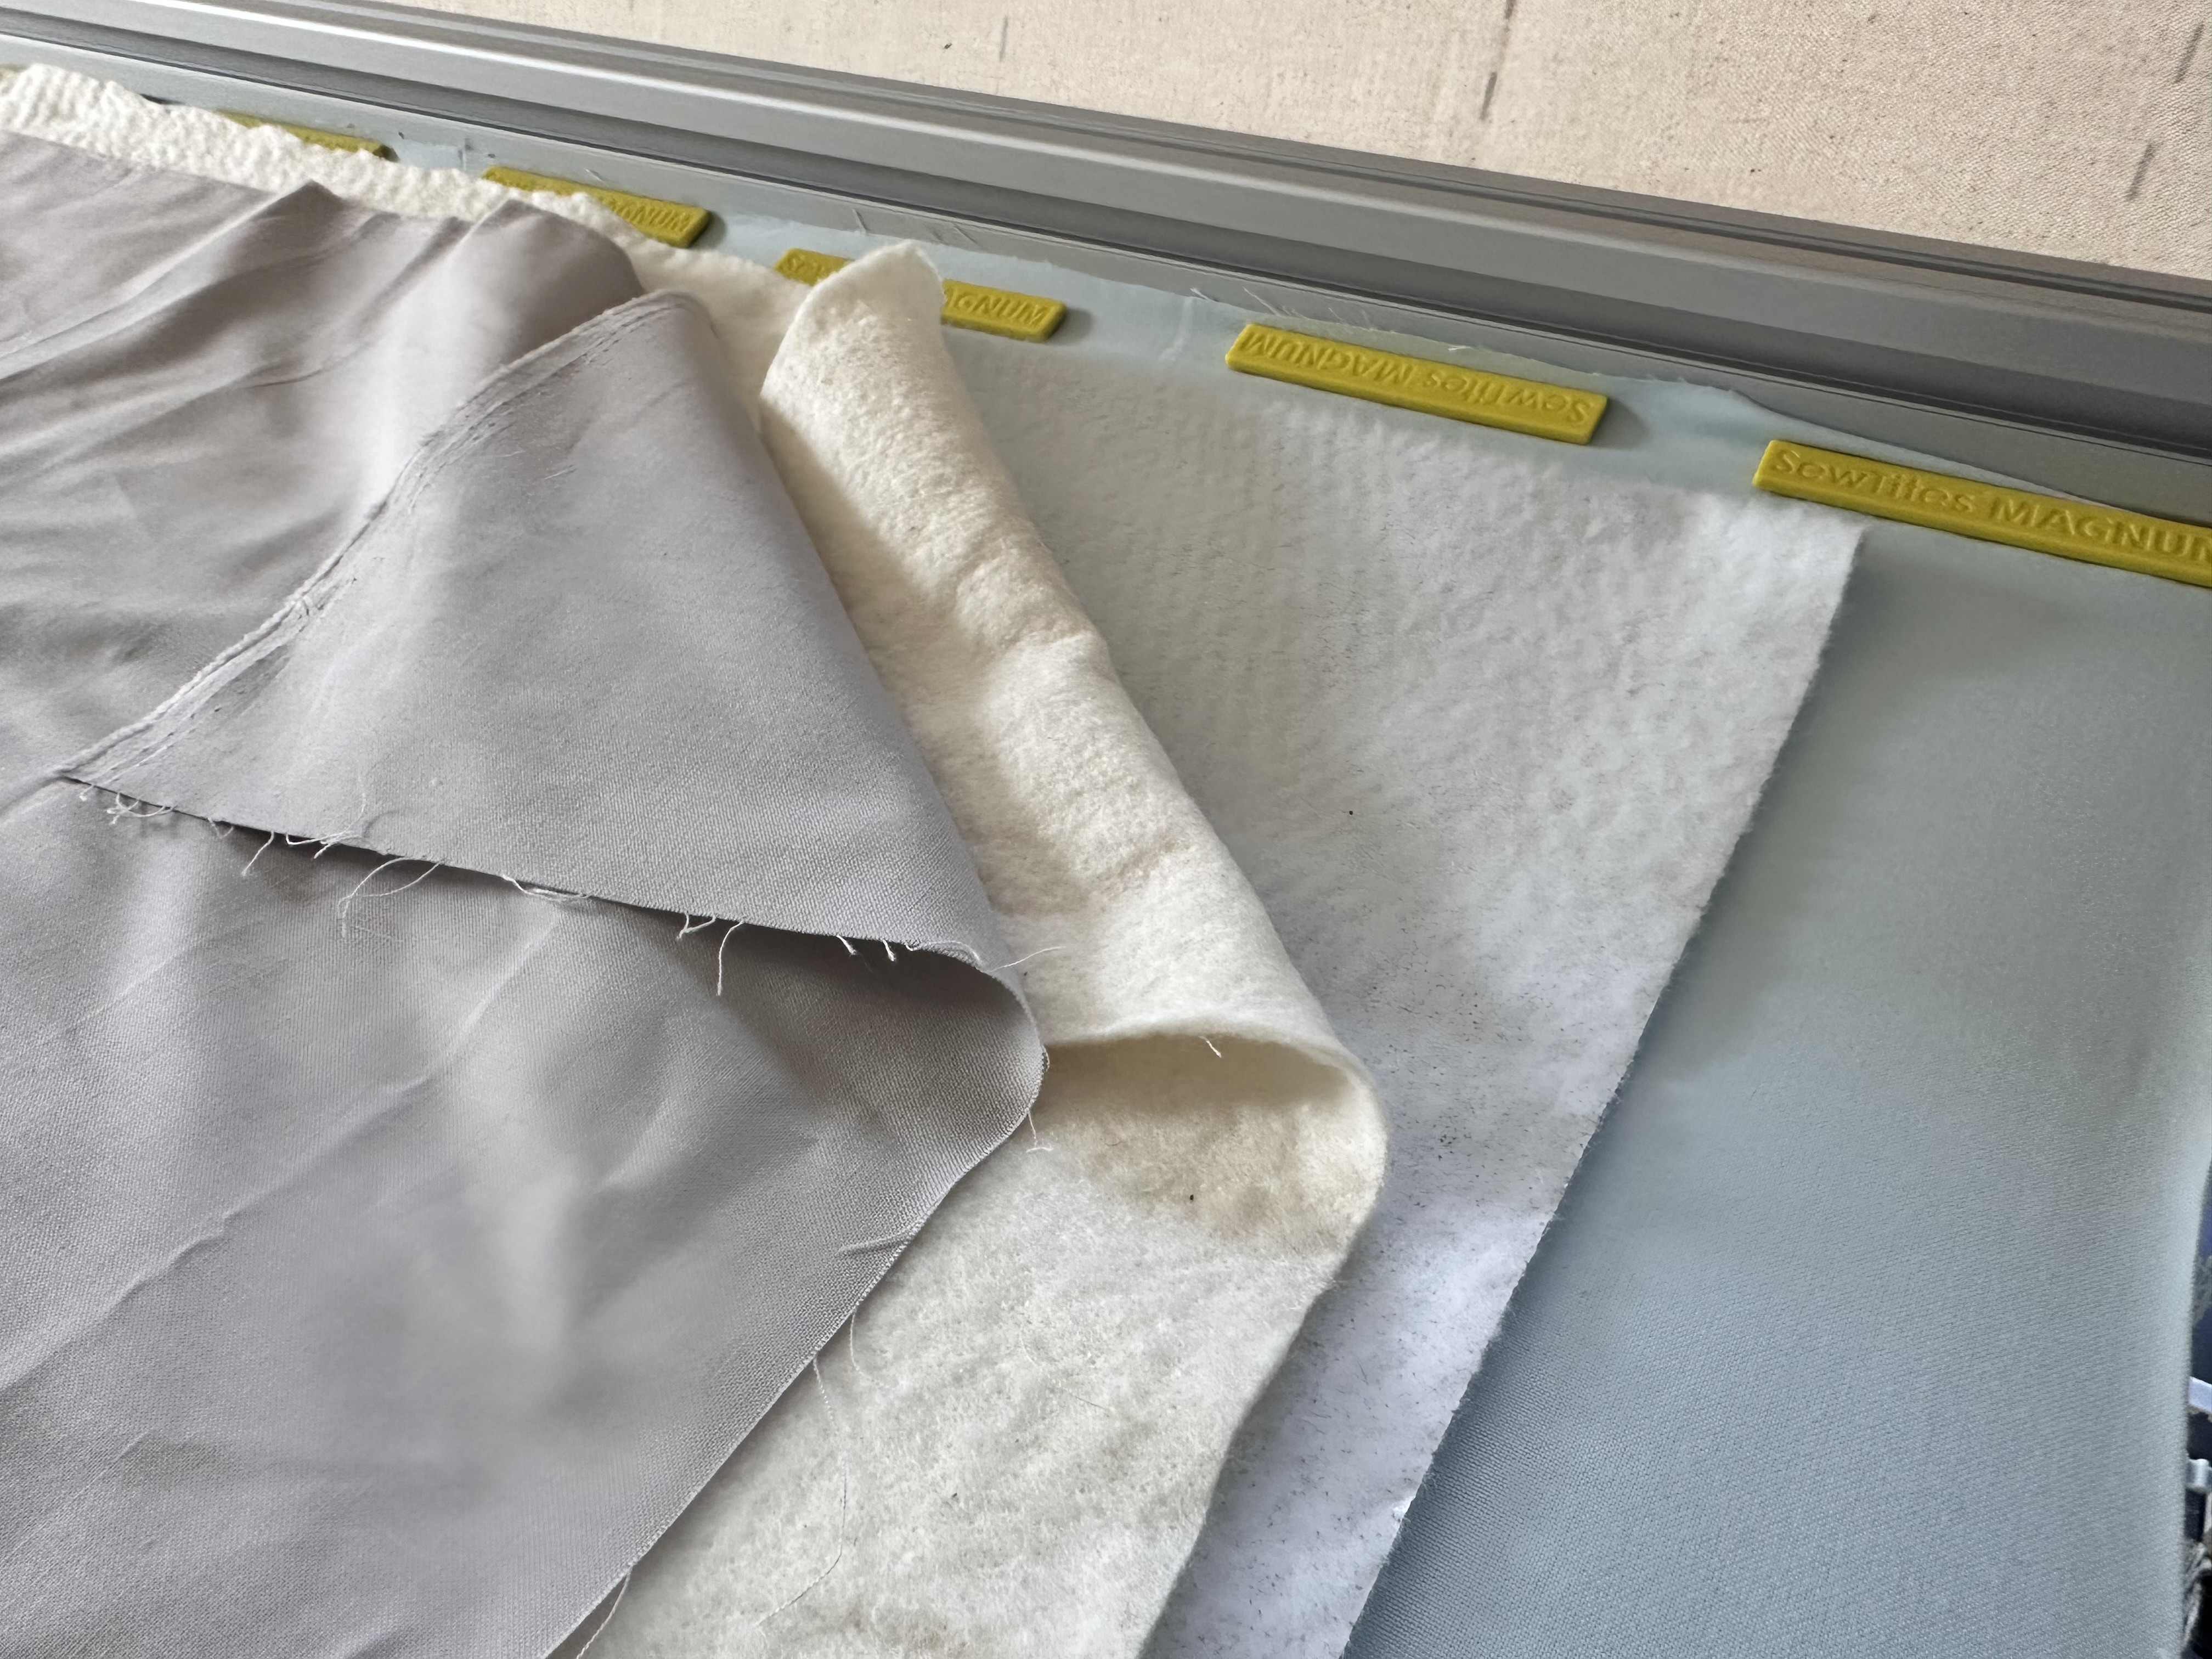
What products would I recommend using extra batting and not just a layer of insulated batting? Well, things that you might want a little more insulation or protection – think of a placemat, a lunch bag, or an oven mitt. I didn’t use extra batting and just used the insulated batting when making my hot hair tools bag though and I probably wouldn’t for something small like a drink koozie.
Quilting Density and Patterns
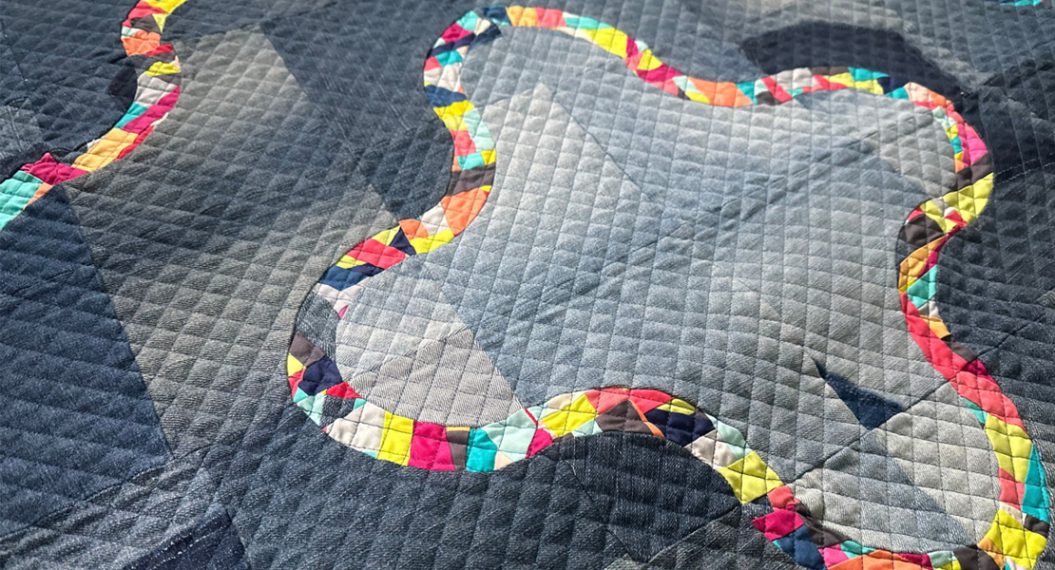
There’s no minimum quilting spacing guidelines for insulated batting, but in general I would quilt your piece around 1.5” to 2” minimum. I tend to quilt a lot of my pieces much denser/closer together to add style and texture to my quilted pieces. I recommend a more dense quilting pattern, whether it be straight lines or a more complex design, as I noticed the insulated batting had the potential to shred if you pulled on it slightly more aggressively. So securing it with a decent amount of quilting can’t hurt.
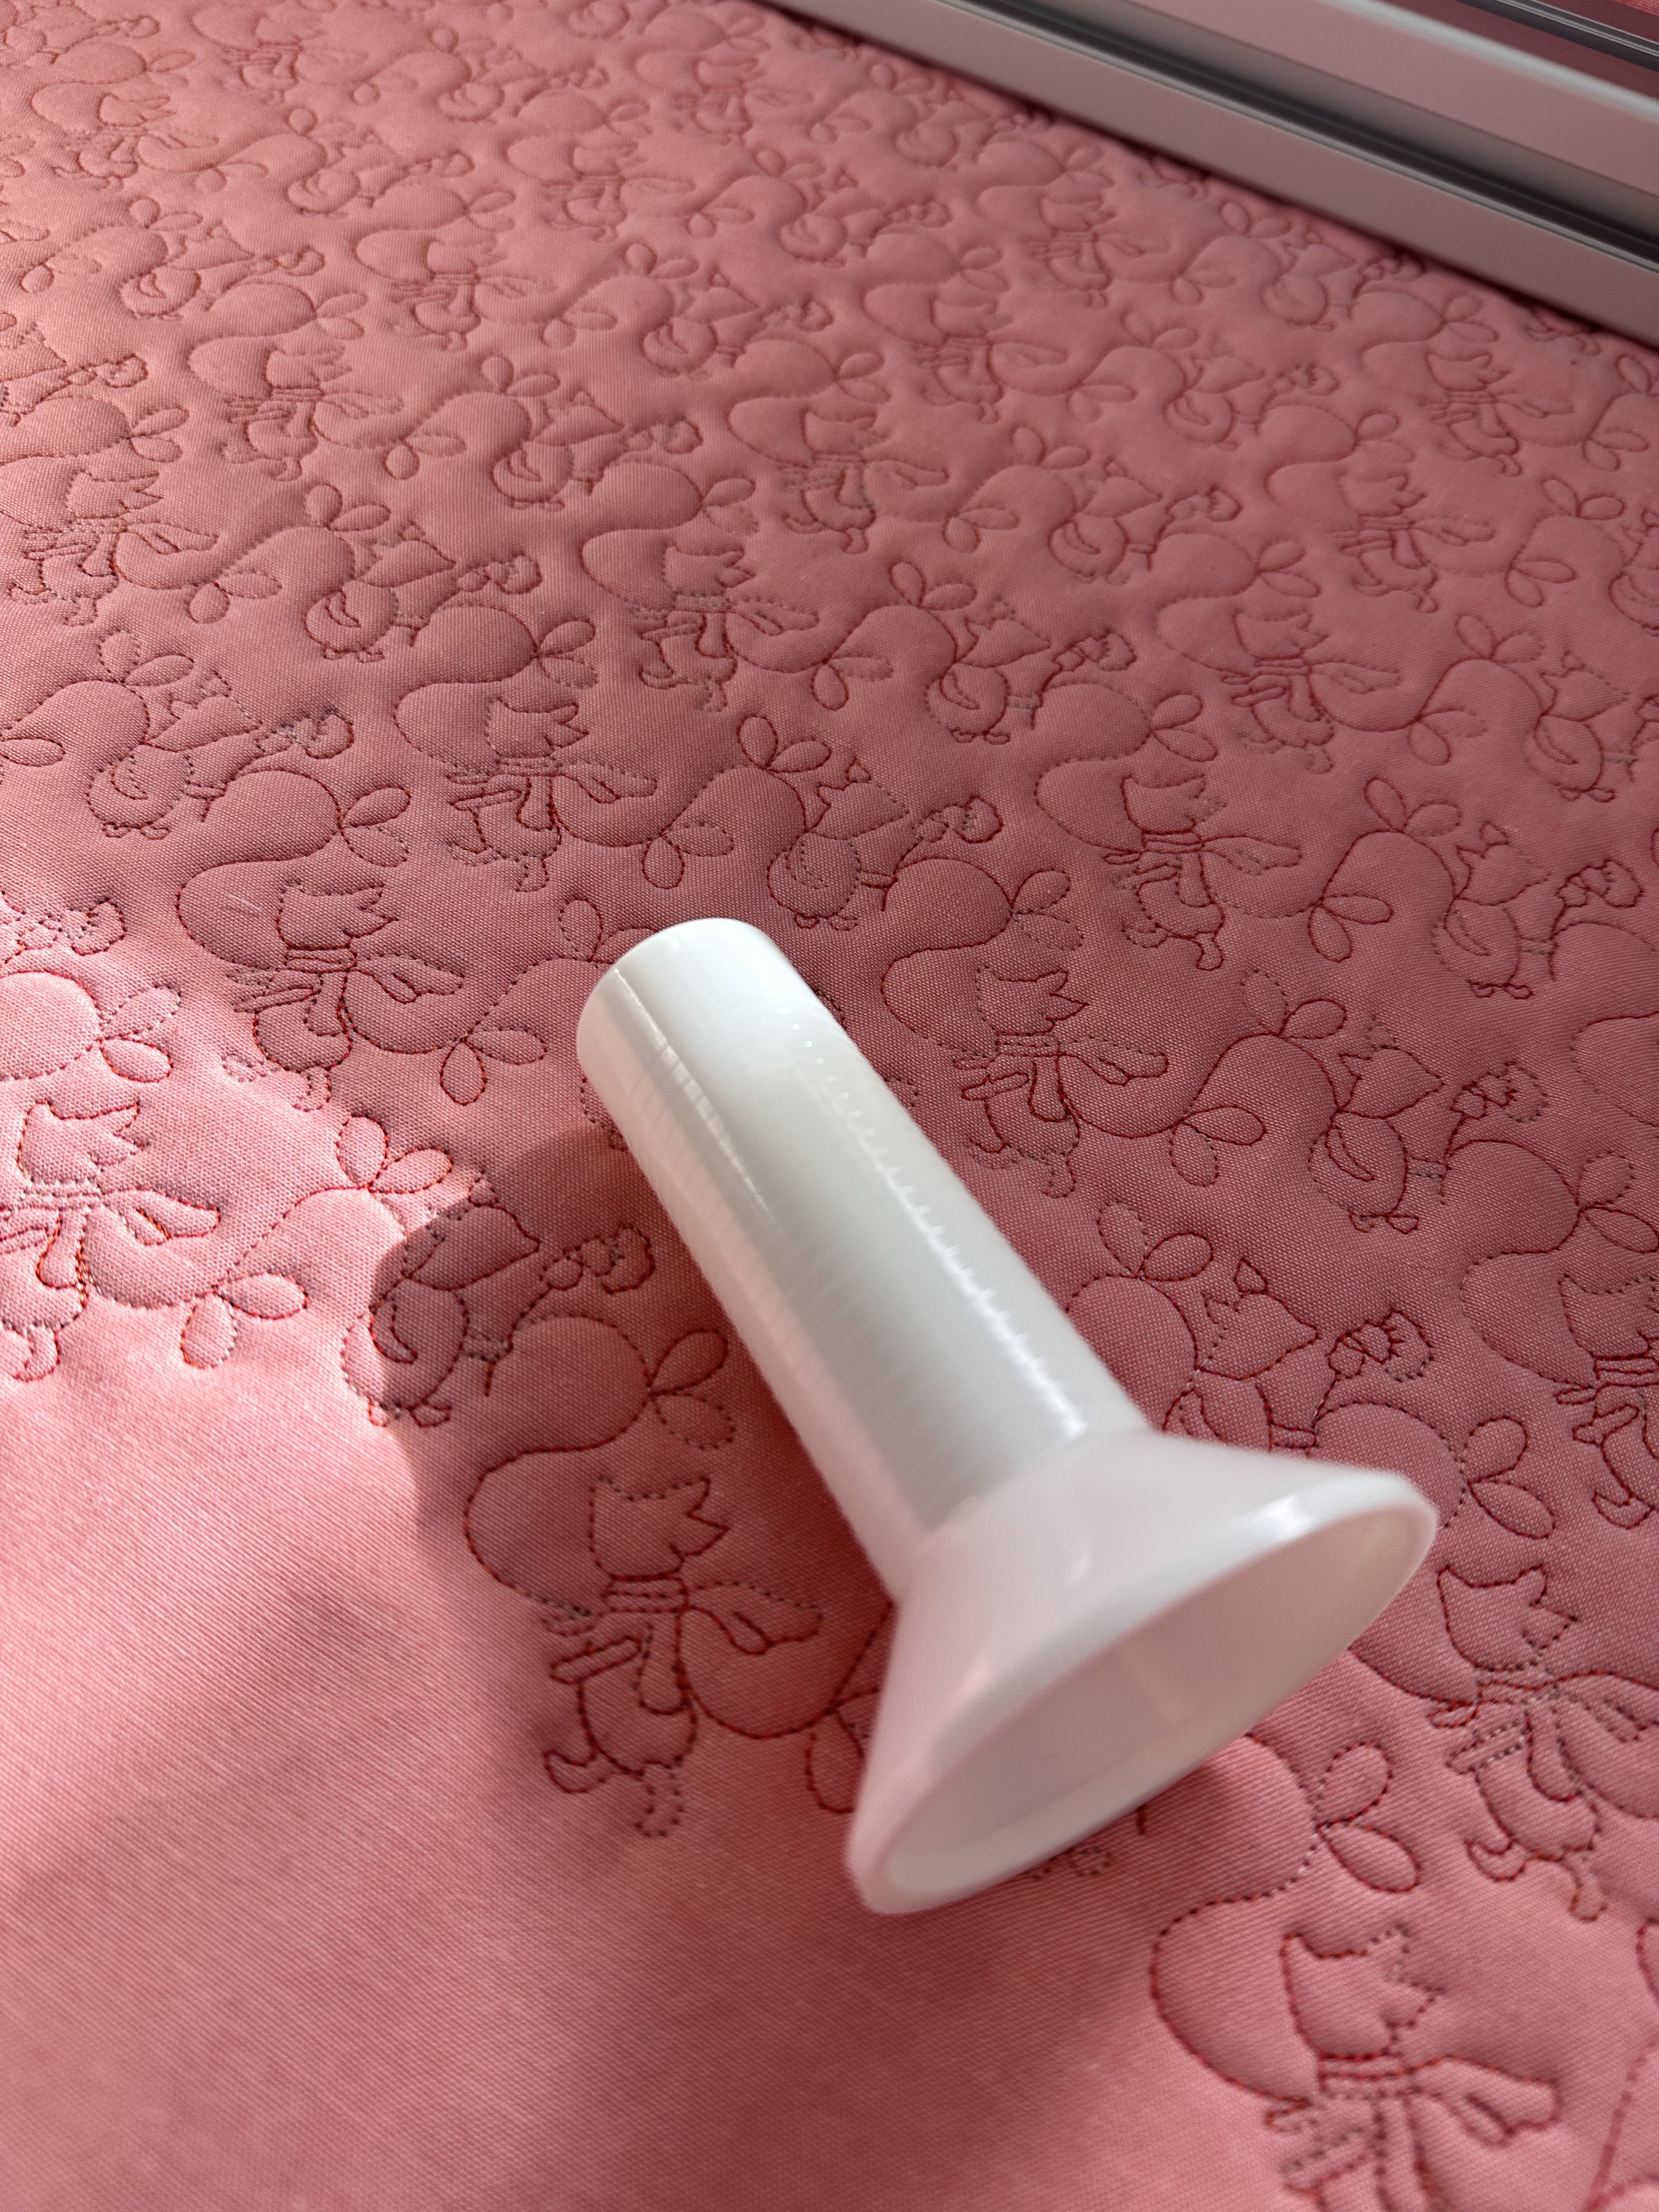
The photo above shows the scale of my quilting for a zippered pouch compared to a cone of thread.
Additional Tips
It might seem obvious, but I’ll state it anyway: don’t use insulated batting for anything that might go in the microwave. If your insulated batting has an exposed side (metallic side), definitely don’t directly iron that side, and in general, if ironing anything with insulated batting I would recommend using a pressing sheet to protect your iron and the item (but read the instructions on your particular batting).
Have you quilted with insulated batting and do you have any tips and tricks to share with your fellow sewists? Share them in the comments below.
Projects to Come!
- Hot Hair Tools Bag
- Quilted, Insulated Placemats
Used Products
What you might also like


3 comments on “Longarm Quilting with Insulated Batting”
-
-
Found the designs!!!
-
What are the designs used for the allover bow quilting?
-
Leave a Reply
You must be logged in to post a comment.

Wow! Love the quilting designs, too. Are the designs available to us, too? Thank you.