Style Your Sun Hat with BERNINA


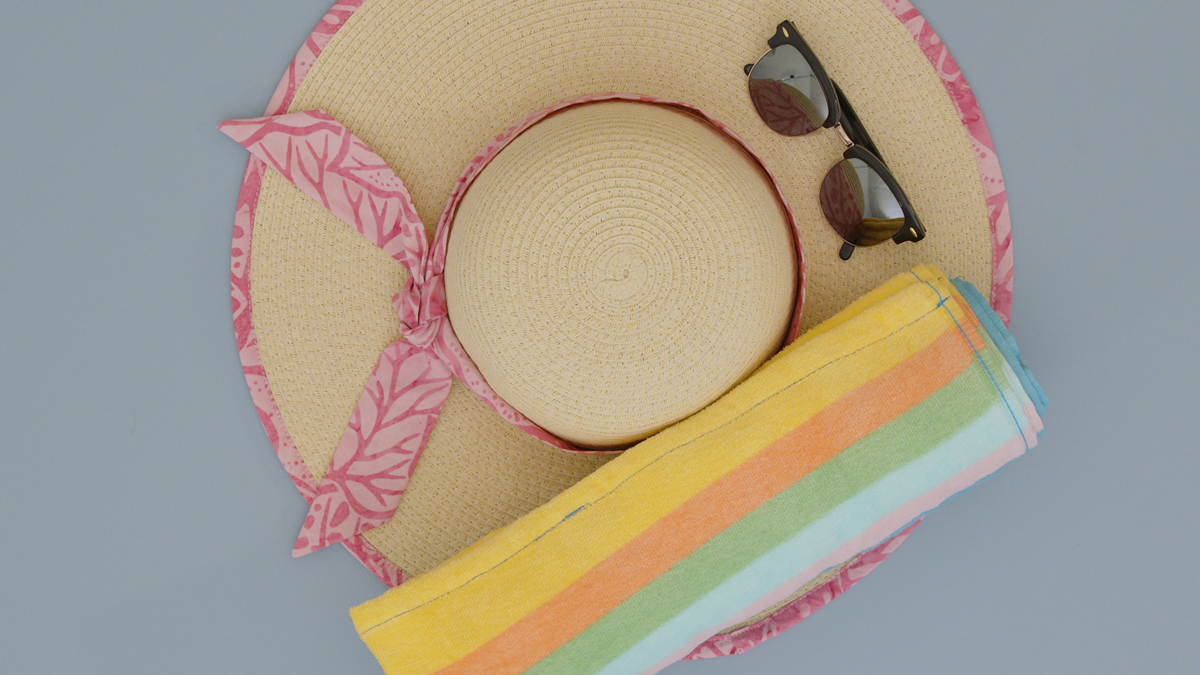
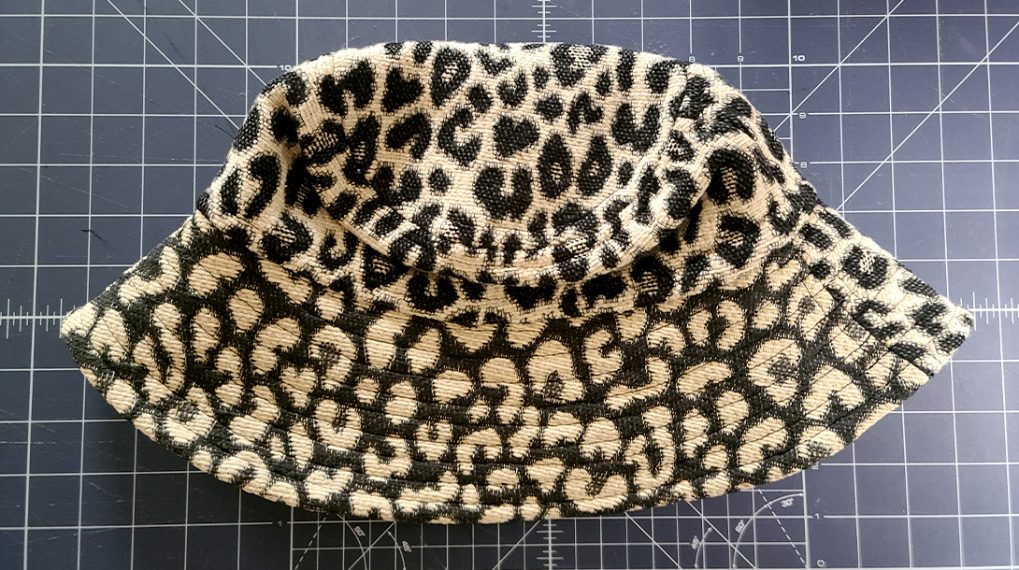
There’s a simple way to embellish an ordinary sun hat that coordinates with your summer dresses and swimsuits. With BERNINA Attachment #87, you can easily add binding to the brim. And it’s so fun! Top it off with a matching hatband, and you’re ready for the sun. From florals to batiks to solids, you’ll want to make custom sun hats in every color!
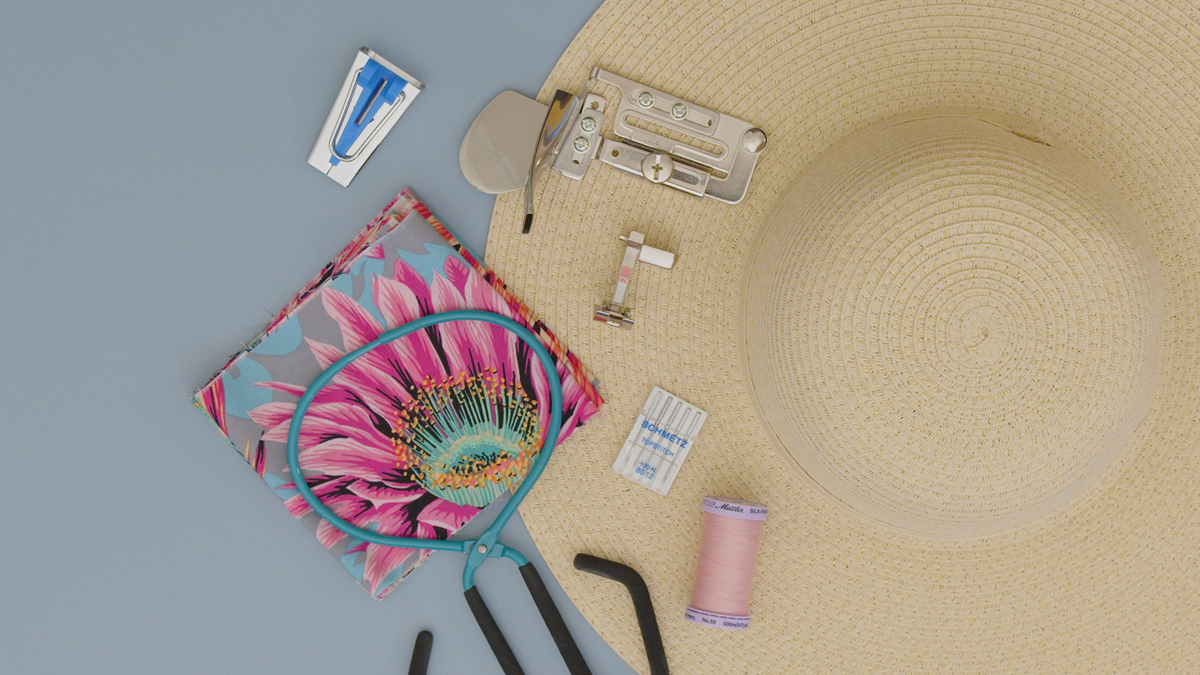
Materials for Styling Your Sun Hat
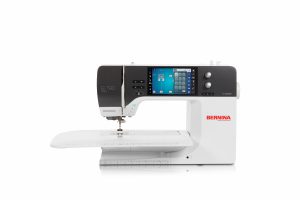
- BERNINA 790 PRO
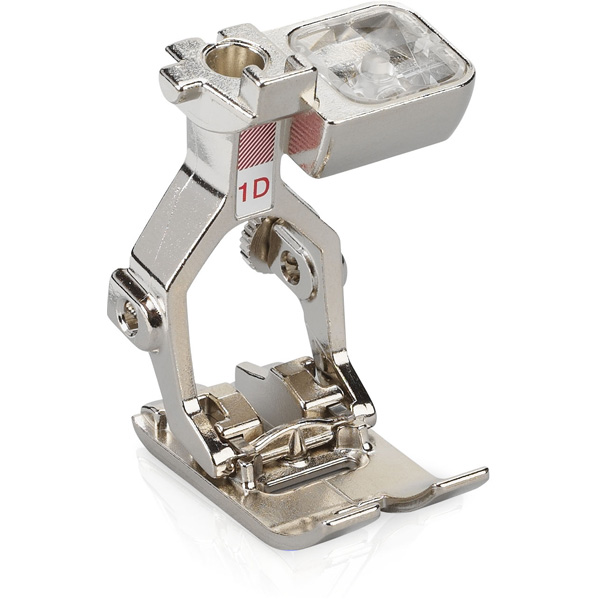
- Reverse Pattern Foot #1D
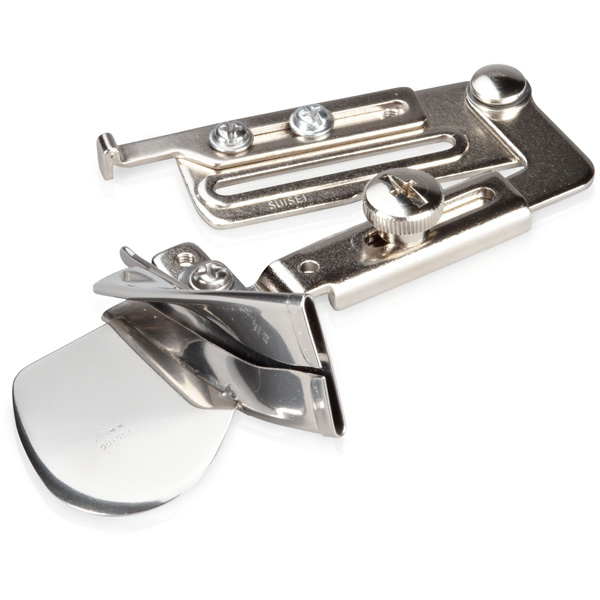
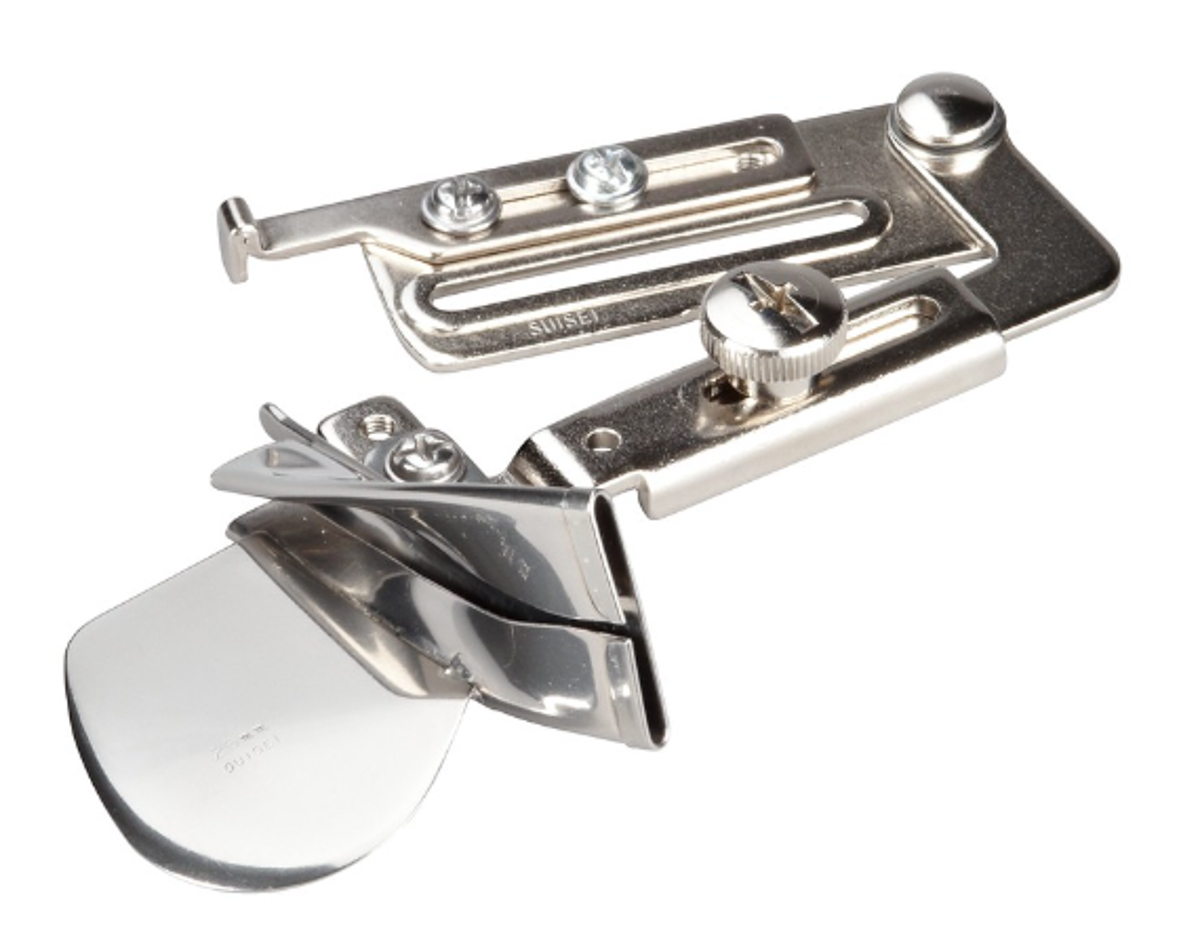
- Binder Attachment #87, size 25
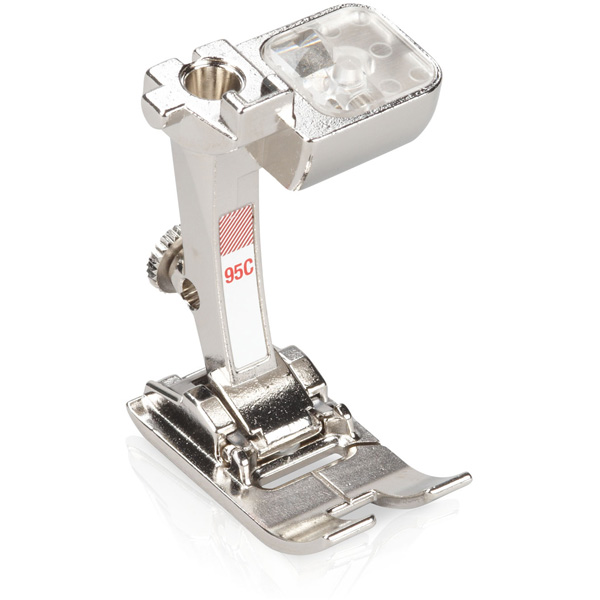
- Binder Foot #95C
- Fabric:
- (2) 2” x WOF binding fabric
- (1) 5” x WOF hatband fabric
- Mettler Silk-Finish Cotton Thread, 50
- Clover 1” Bias Tape Maker
- Sookie Sews EZ Point and Turner
- Stiletto
Step 1: Create Binding Strip
Sew the binding fabric together to create one long strip. It’s best to sew it at an angle when using the Binder Attachment. Cut one short end at an angle. Using the Clover 1” Tape Maker, guide the angled end into the wider part of the tape maker. Use a stiletto or pin to help pull the fabric through to the other side.
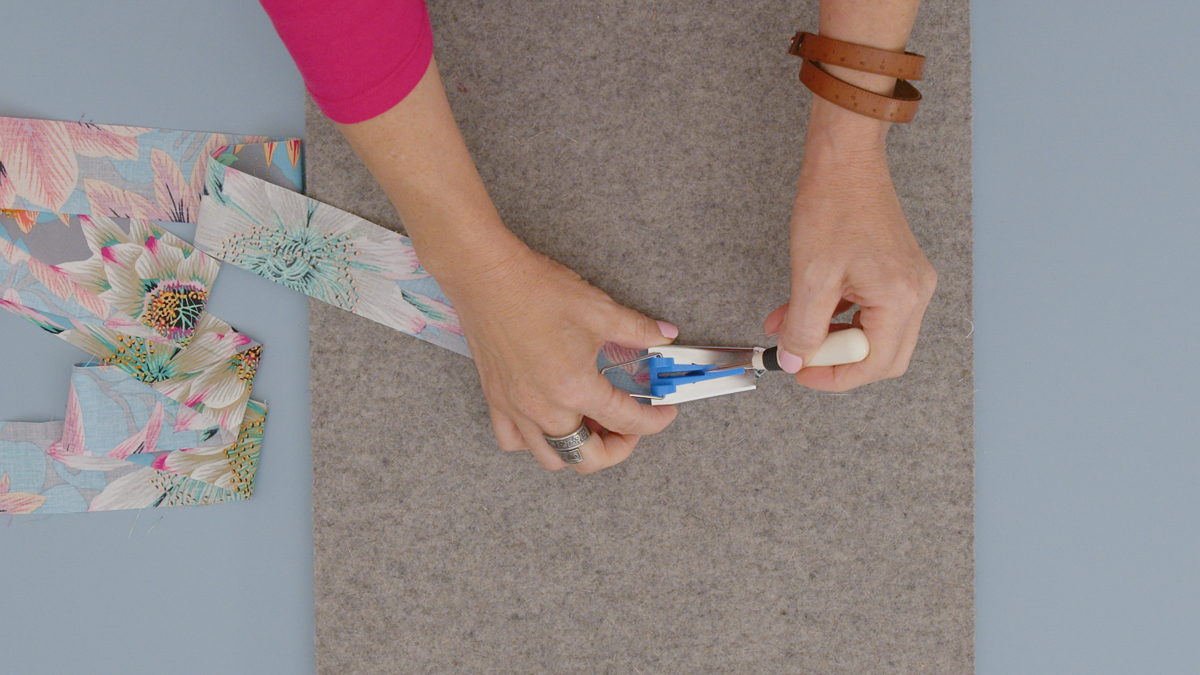
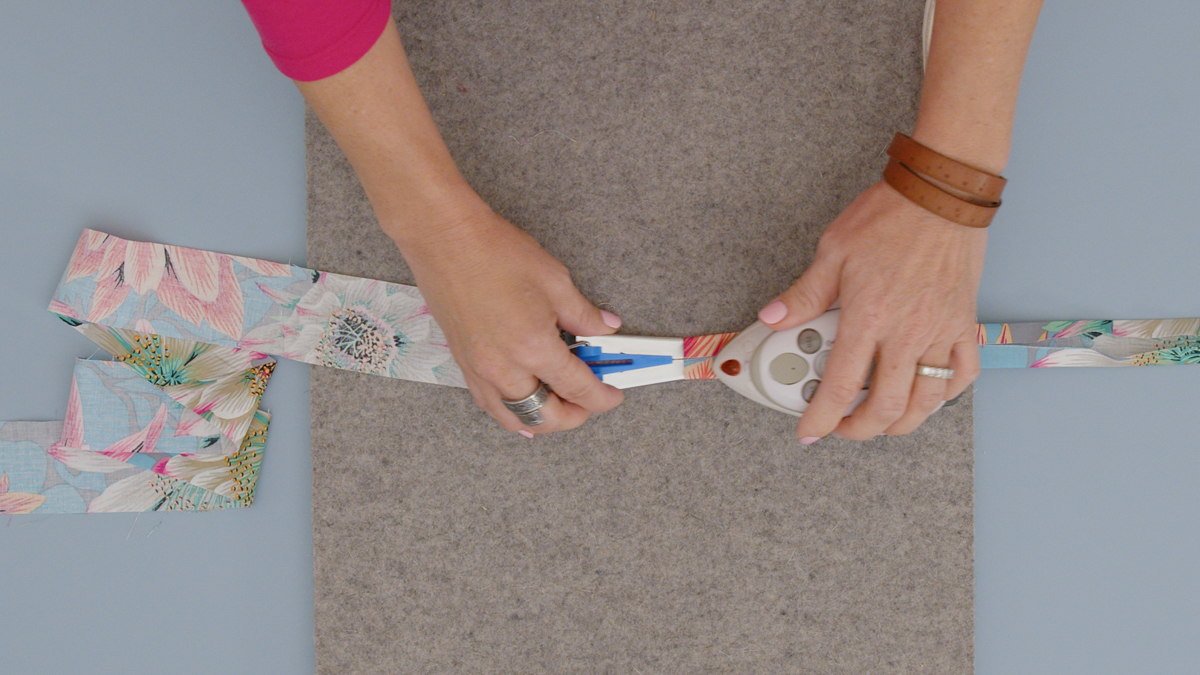
Press folds as you slide tape maker away from the iron until you reach the end of the fabric strip. Now, fold the tape in half lengthwise and press.
Step 2: Sew on Binding Strip
Attach Binder Foot #95C to your machine. This foot works with Binder Attachments #87 and #88.
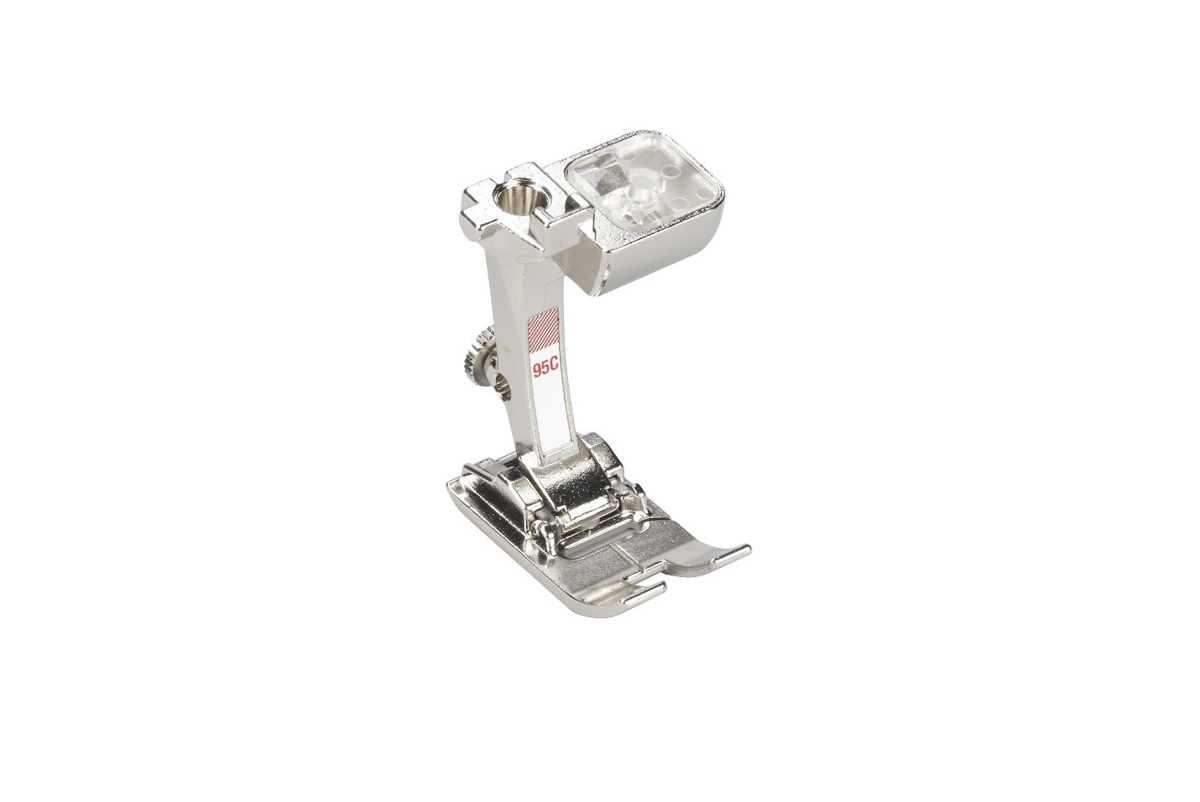
Binder Attachment #87 comes in 3 sizes. We are using the largest size, 25 mm.
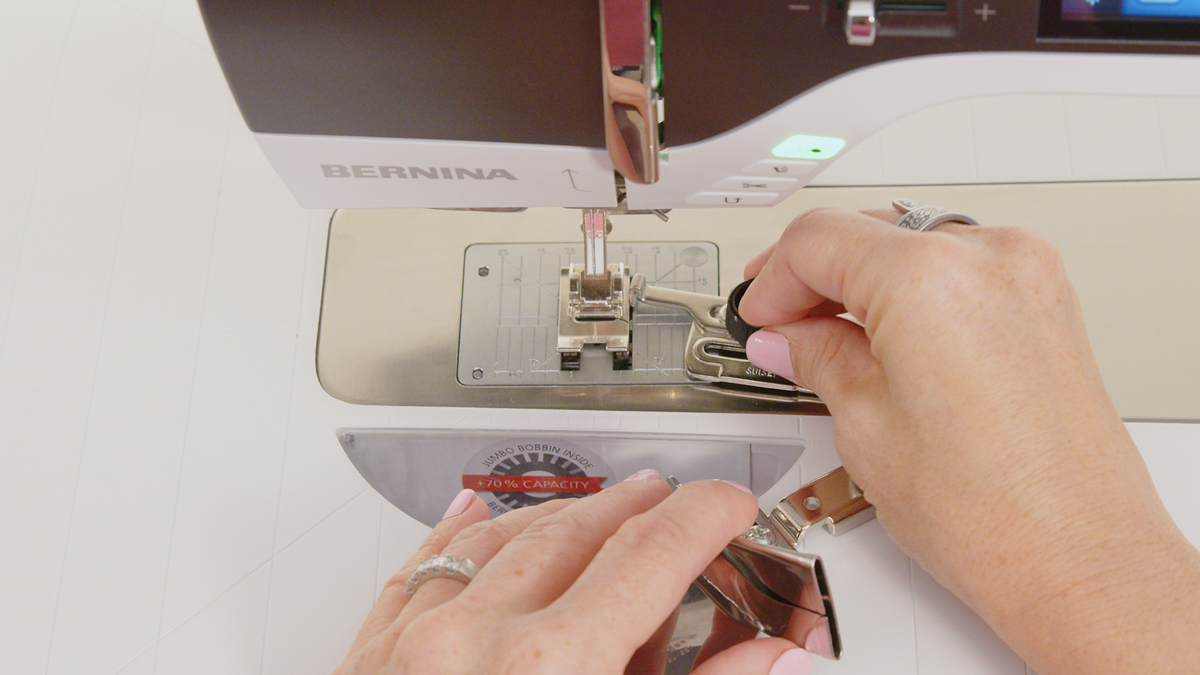
Secure the attachment to the freearm with the black screw. It helps to swing the pivot arm out of the way. Before tightening the screw, lower Binder Foot #95C and check the side guide — does it rest nicely against the foot?
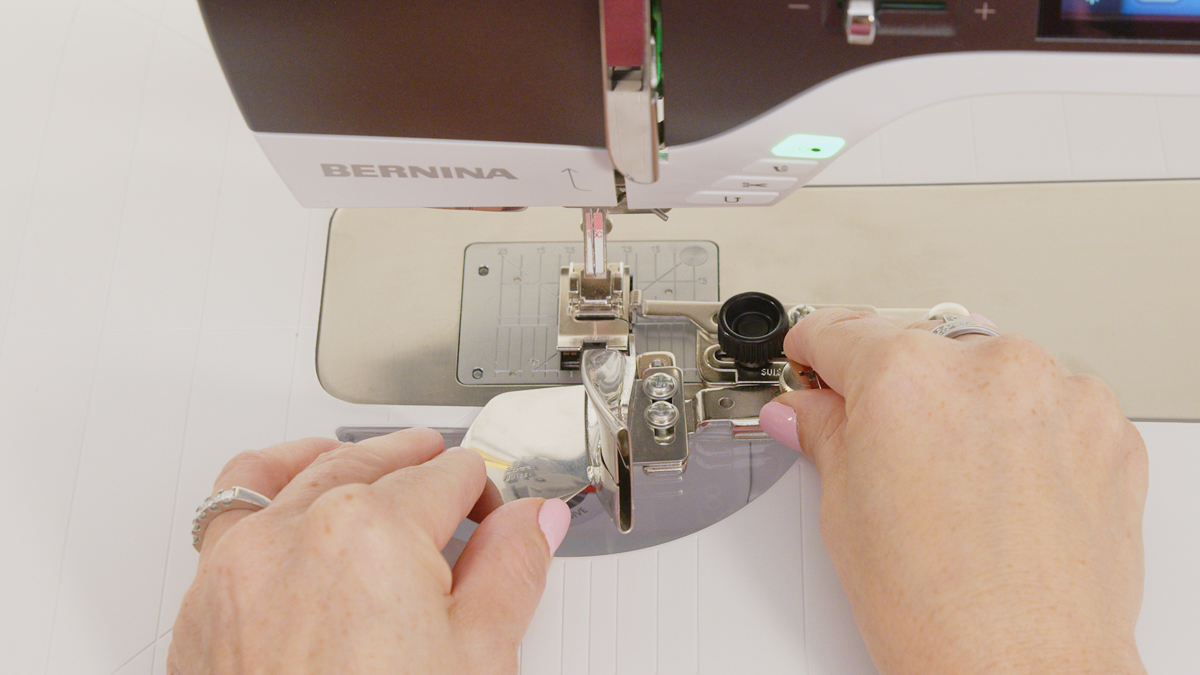
Now, swing the pivot arm back in place so the end of the fabric channel is up against the right toe. If you need to reposition the channel, loosen the large silver screw and adjust.
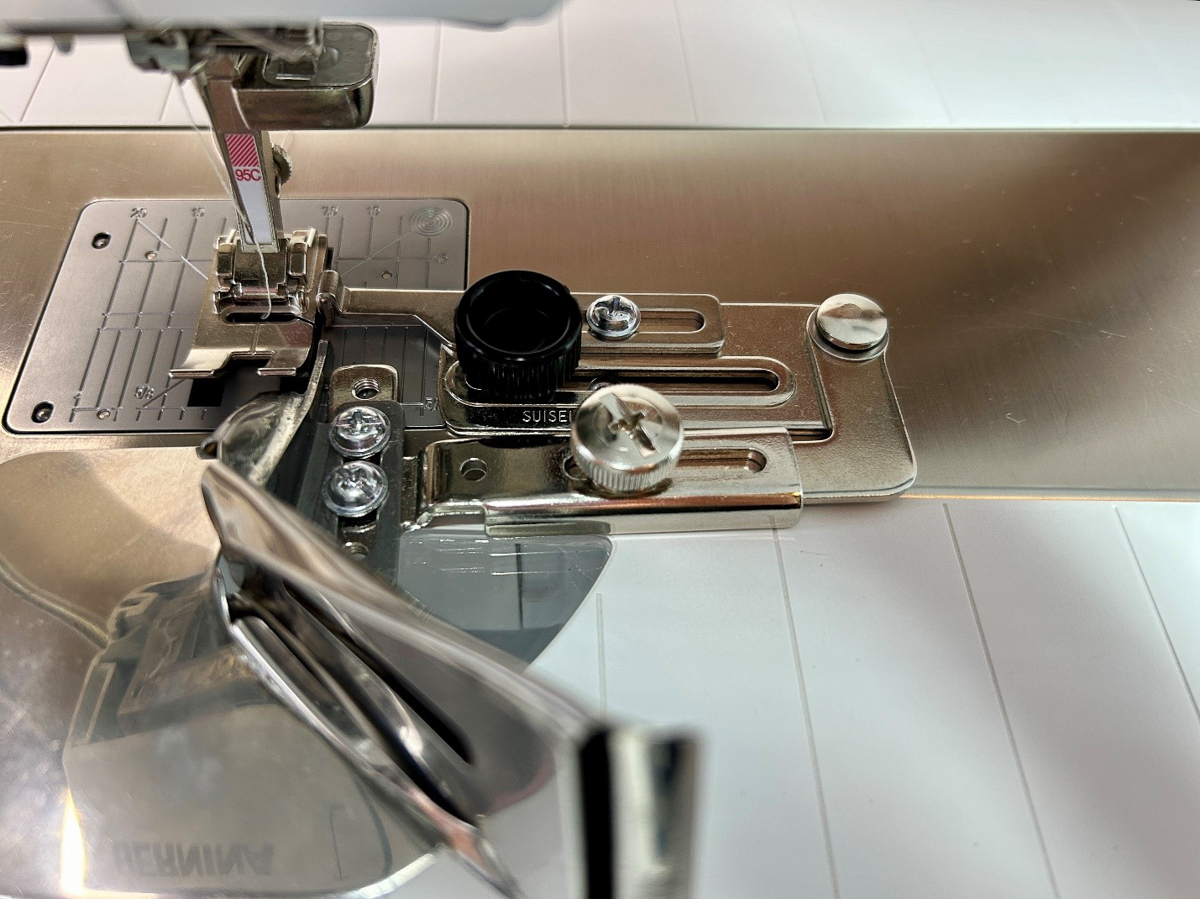
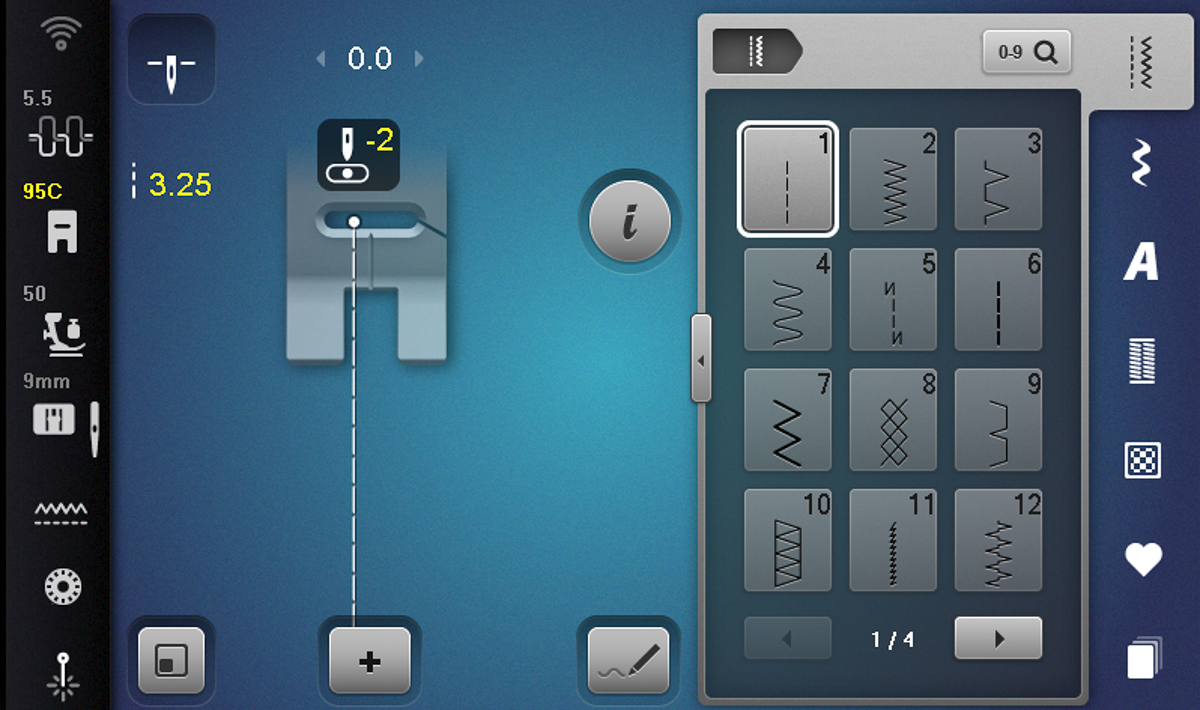
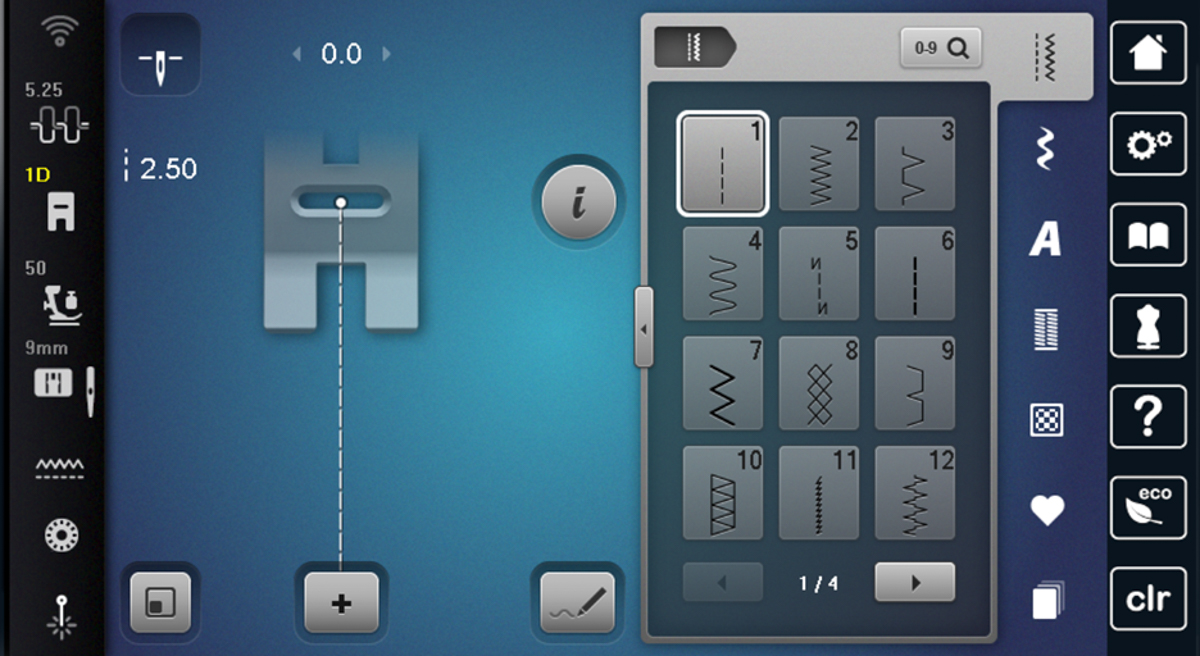
At the machine screen, select Foot #95C and Straight Stitch #1. Increase Stitch Length to 3.25 mm and move Needle Position to -2. Tap the Needle Stop Up/Down icon so it’s in the down position. Now, when you stop sewing, the needle will stop in the fabric. This prevents the fabric from shifting under the needle.
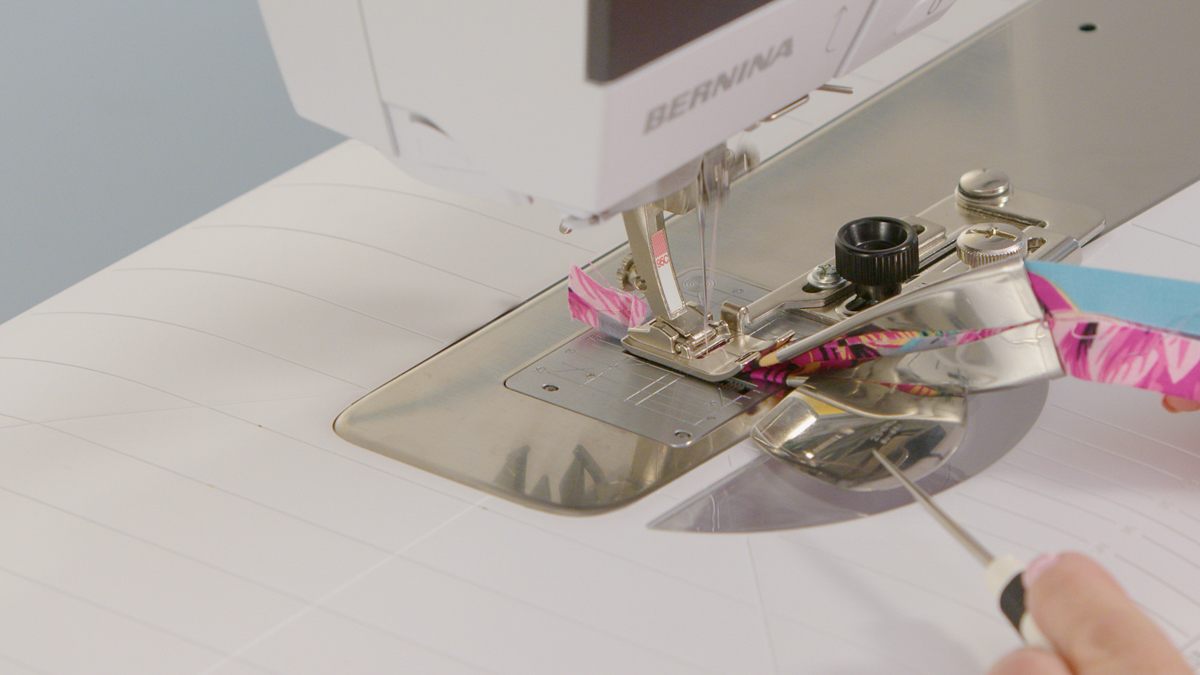
Insert the angled end of the fabric strip into the Binder Attachment. Use a stiletto to guide it through the attachment. Place the fabric under the foot and sew about 4”. Check the needle placement and adjust if needed. Activate the laser to help with placement.
Place the hat brim against the Binder Attachment and slowly start sewing. Keep the brim tight against the attachment and continue to sew on the binding. You will have excess binding at the starting point that we will trim later.
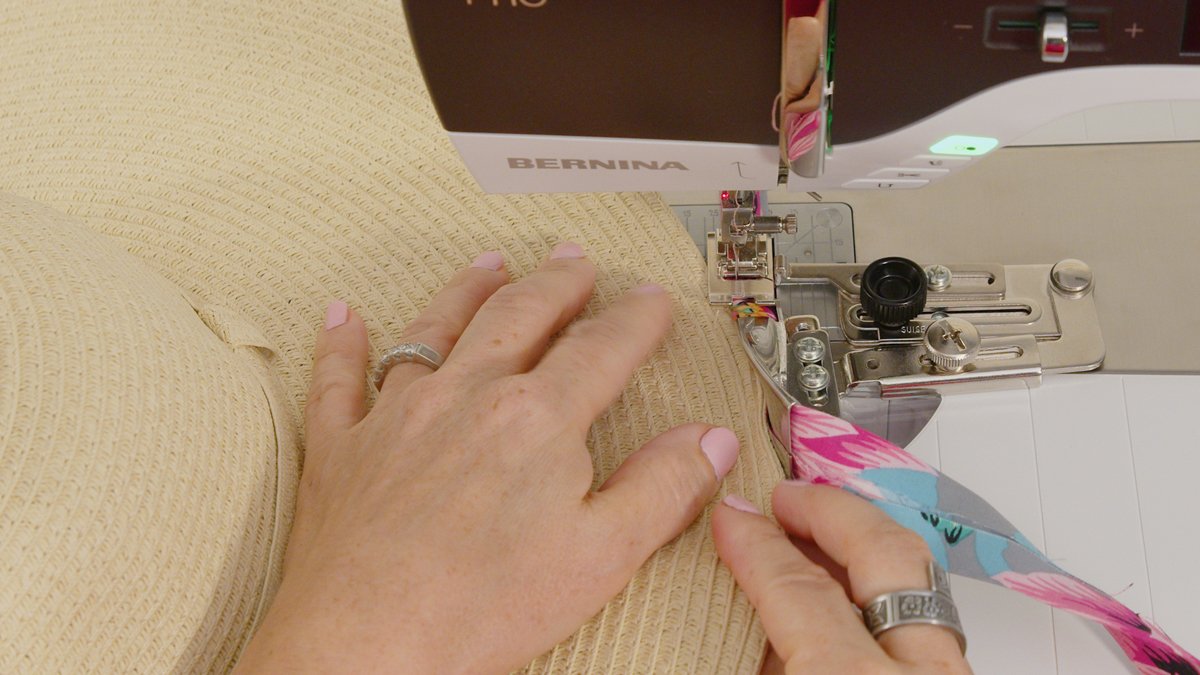
Usually, I recommend using a stiletto with the attachment. But the hat is stiff, so holding it firmly against the attachment is enough. Make sure you don’t move the attachment while sewing.
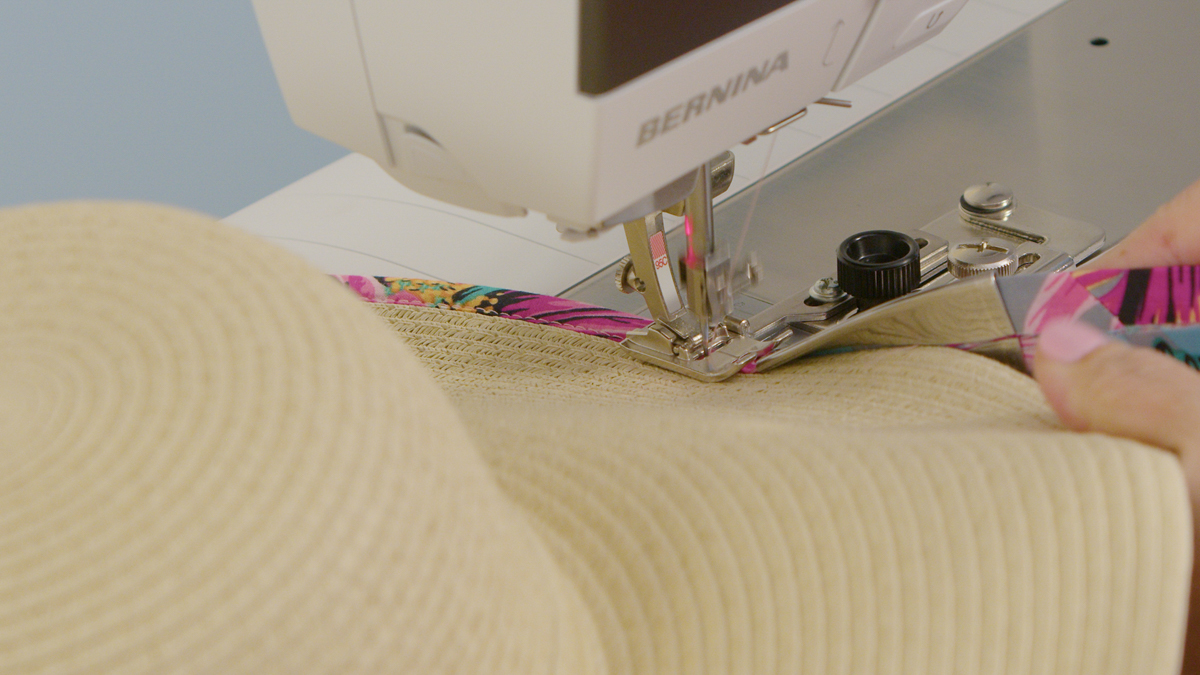
Stop when the attachment opening is about level with where you started sewing. Trim the binding going into the attachment, leaving 1” excess from the opening. Then, trim off the excess binding at your starting point.
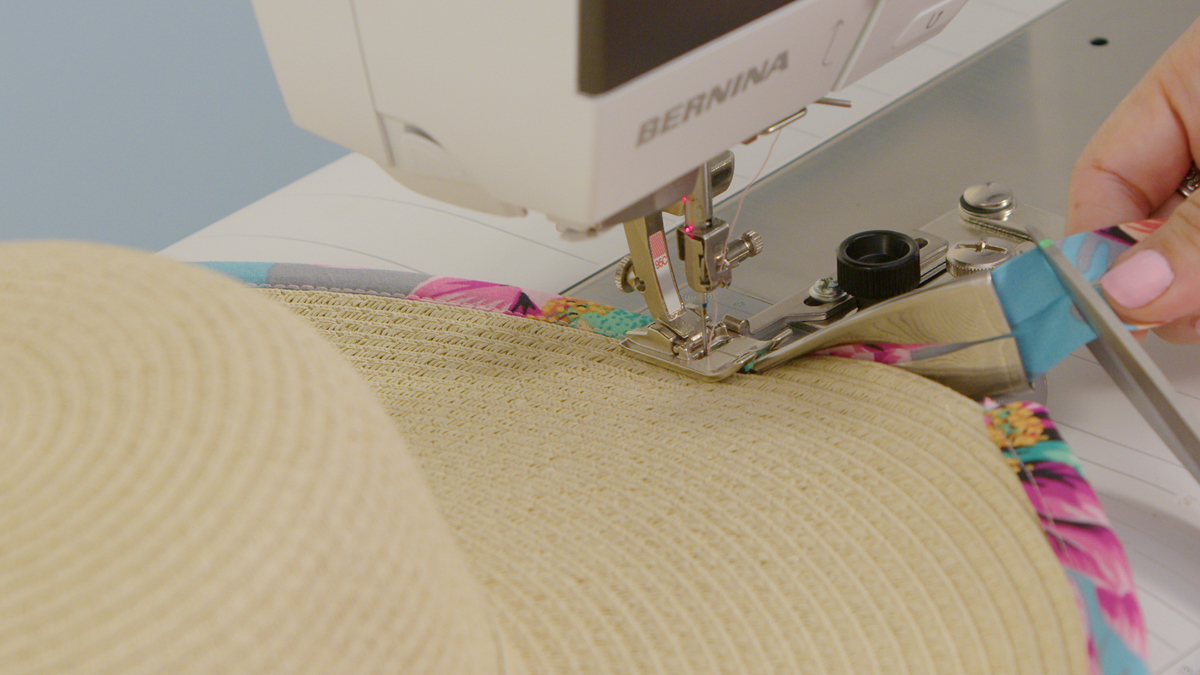
Finger-press the end in half. Use a stiletto to tuck the raw edges into the attachment. Sew the remaining binding onto the hat.
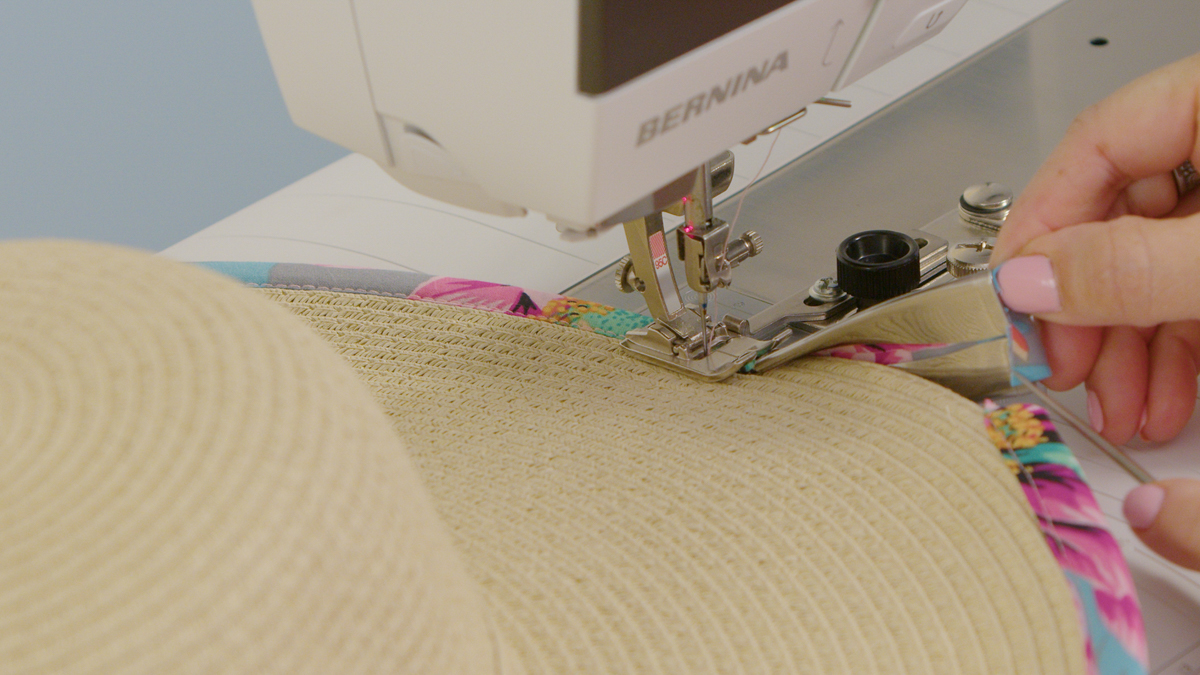
Step 3: Sew Fabric Band
Attach Foot #1D. Tap the Clear icon to return to default settings. Make sure the Needle Stop Up/Down icon is still in the down position. This is a key feature when turning corners.
Fold the 5” fabric strip in half lengthwise, wrong sides out. Press. Cut both short ends at a 45° angle. Sew with a 1/2” seam allowance, leaving a 6” opening.
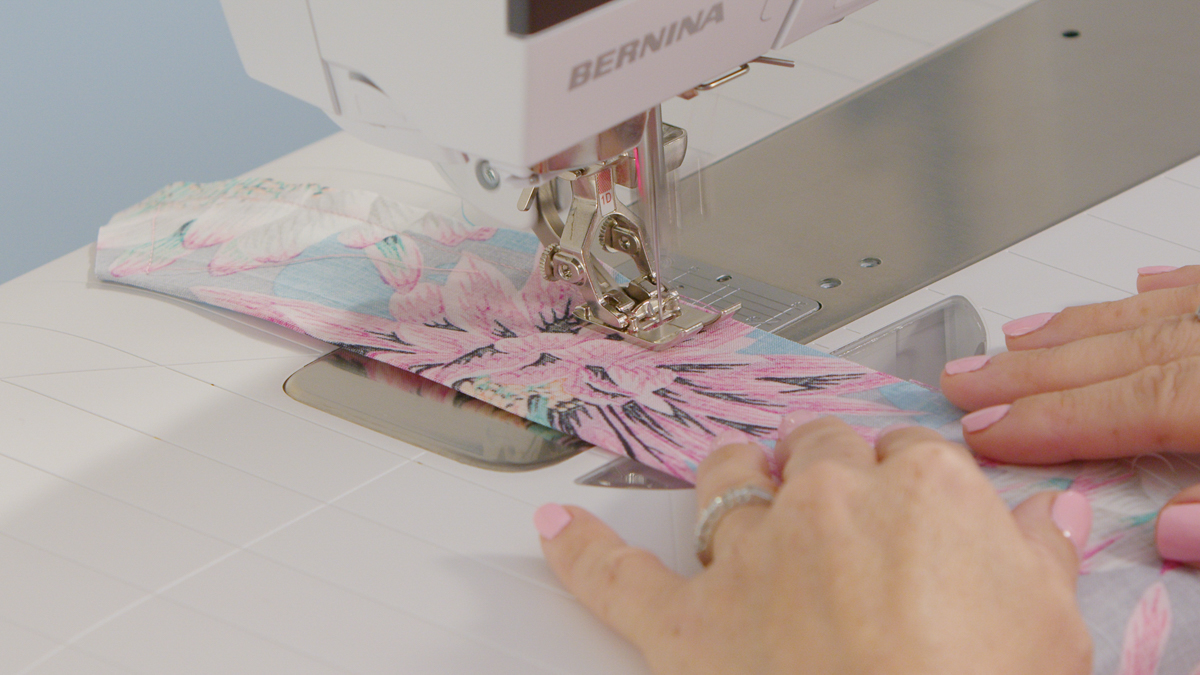
Pivot at the corners using the BERNINA Free Hand System.
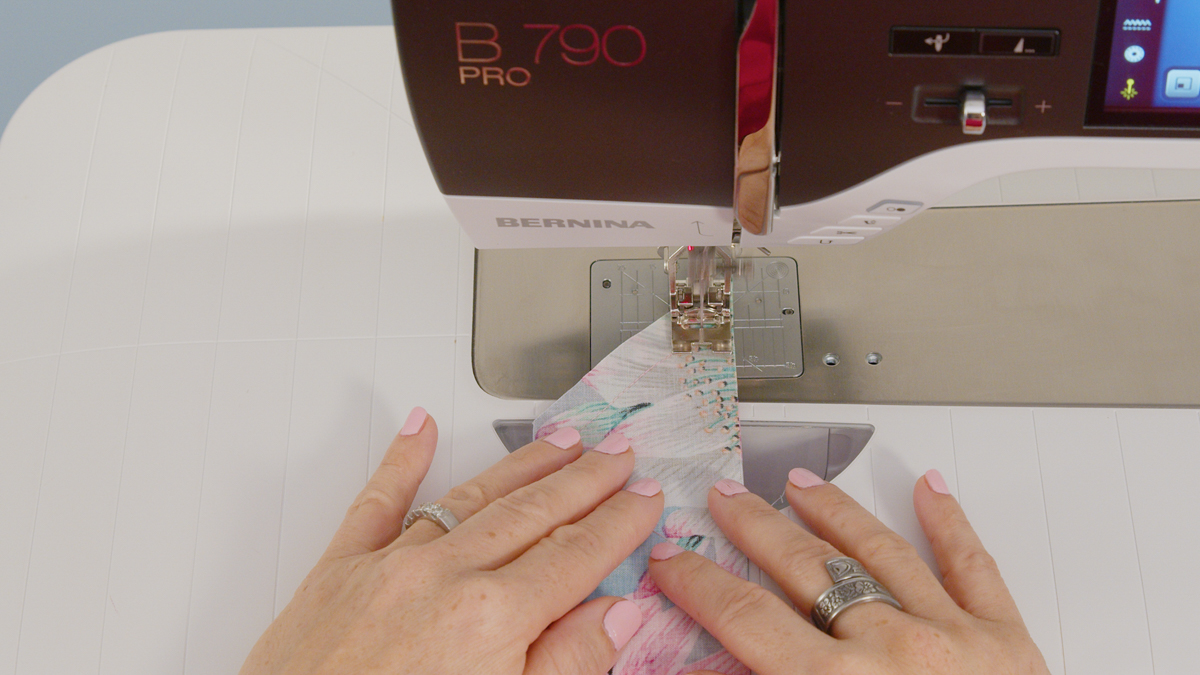
Turn the band right-side out using the Easy Point and Turner.
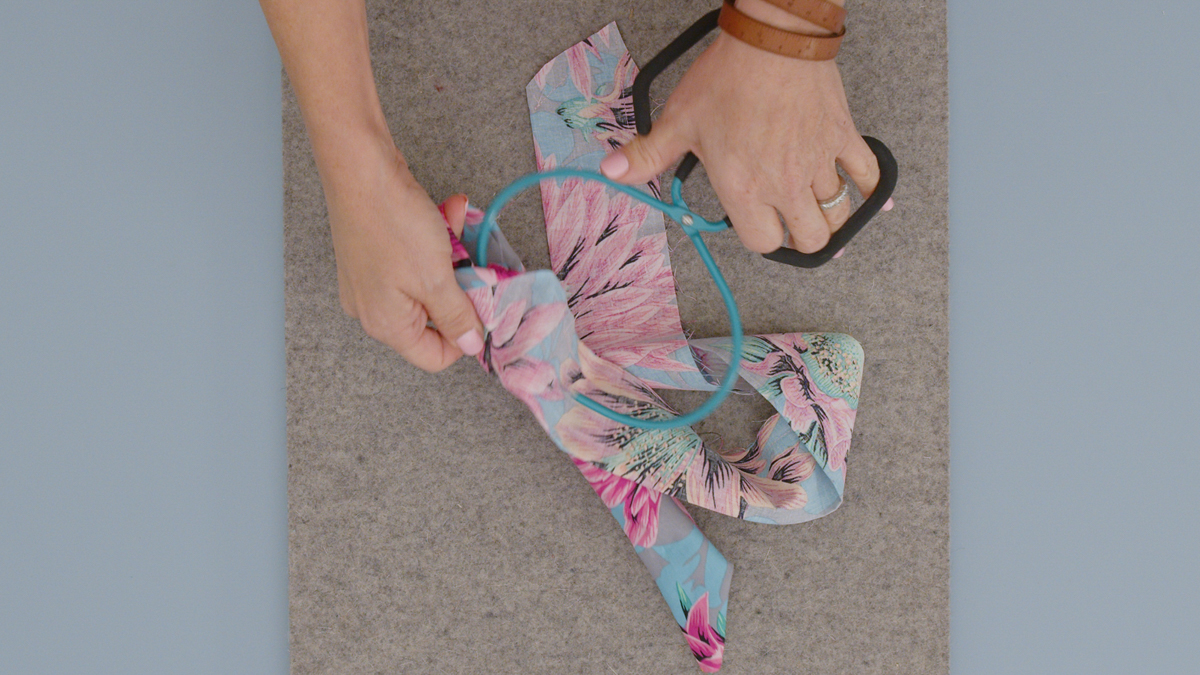
Push out the corners. Press and sew the opening closed.
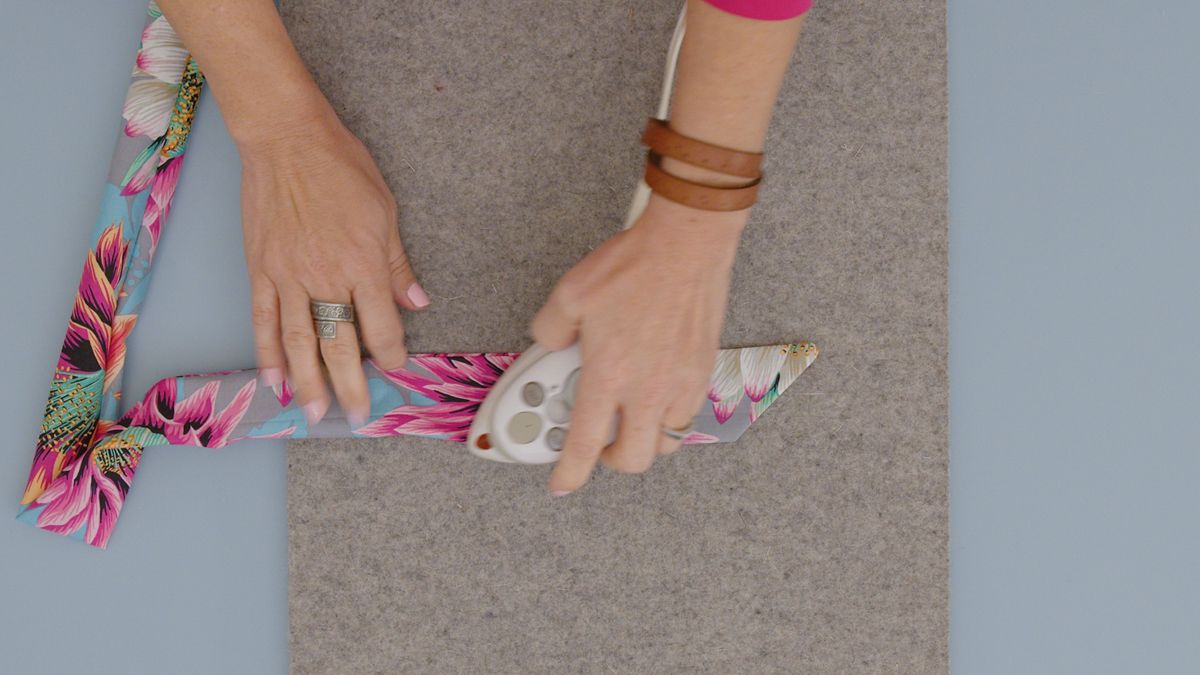
Lastly, wrap the band around your hat and secure with a knot or bow. Now that you’ve made a basic hatband, think of all the ways you can get creative with the next hat. Think pintucks, couching, and decorative stitches!
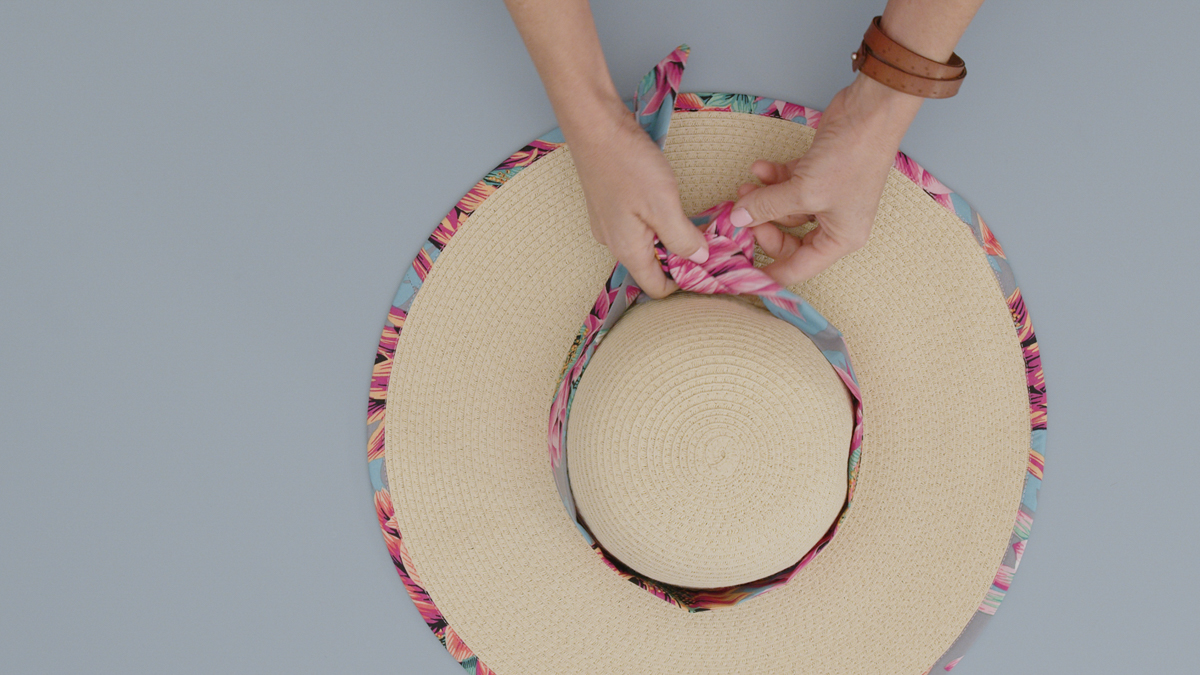
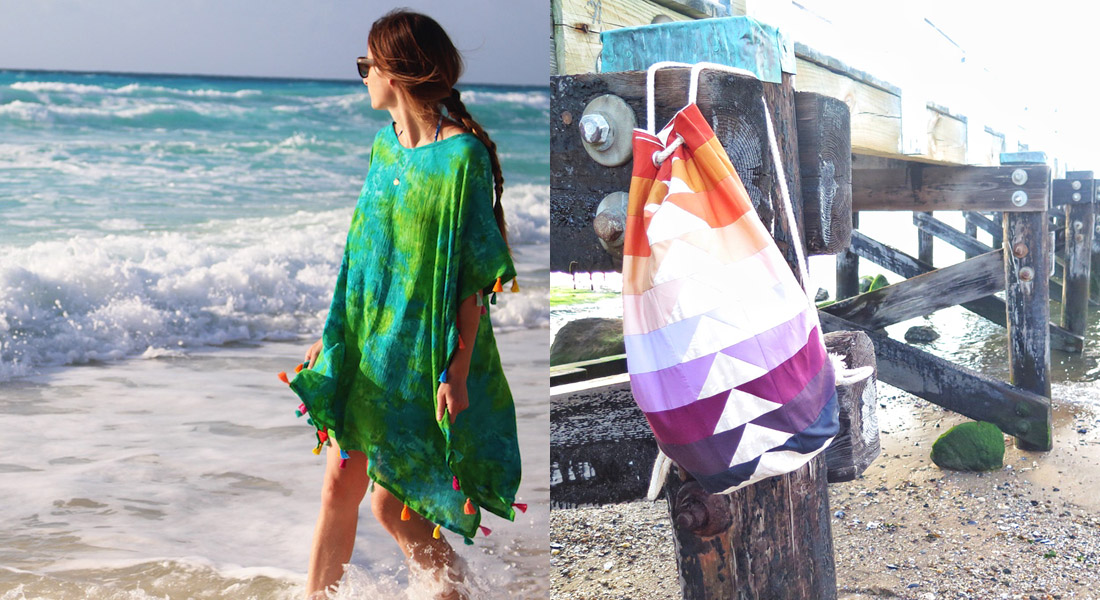
Now you’re ready to enjoy some sunshine in style! Color-coordinate all your sundresses and swimsuits — it’s that easy!