Serger Sunbonnet
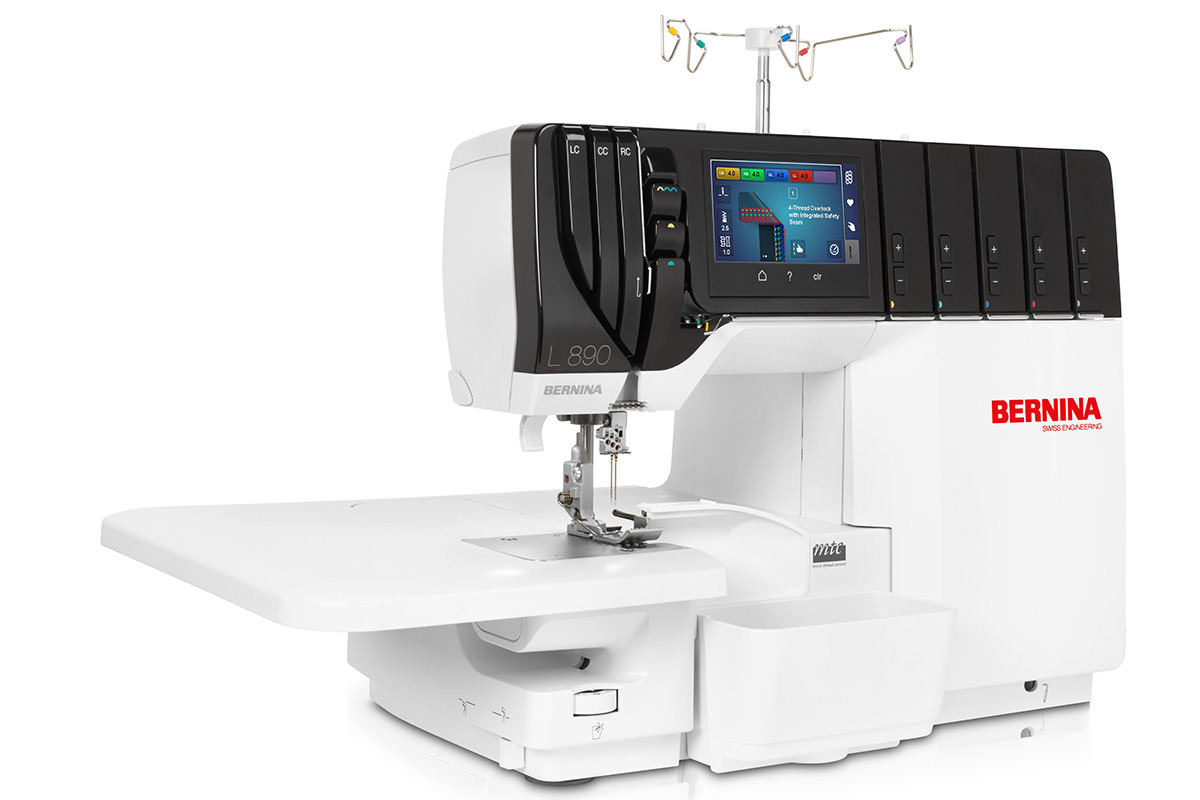
Sunbonnets and little girls are simply sweet. You might remember the Daisy’s Sun Bonnet post on WeAllSew from several years ago and it is just adorable. I decided to step it up using my BERNINA L 890 Overlocker.
Refer to the original post, Daisy’s Sun Bonnet, for supplies, pattern, directions and photos. The focus today is on how I used my overlocker to add a fun detail and to speed the construction.
Note: Be sure to read all the way through this article and Daisy’s Sun Bonnet article before cutting out your fabrics.
Materials and Supplies
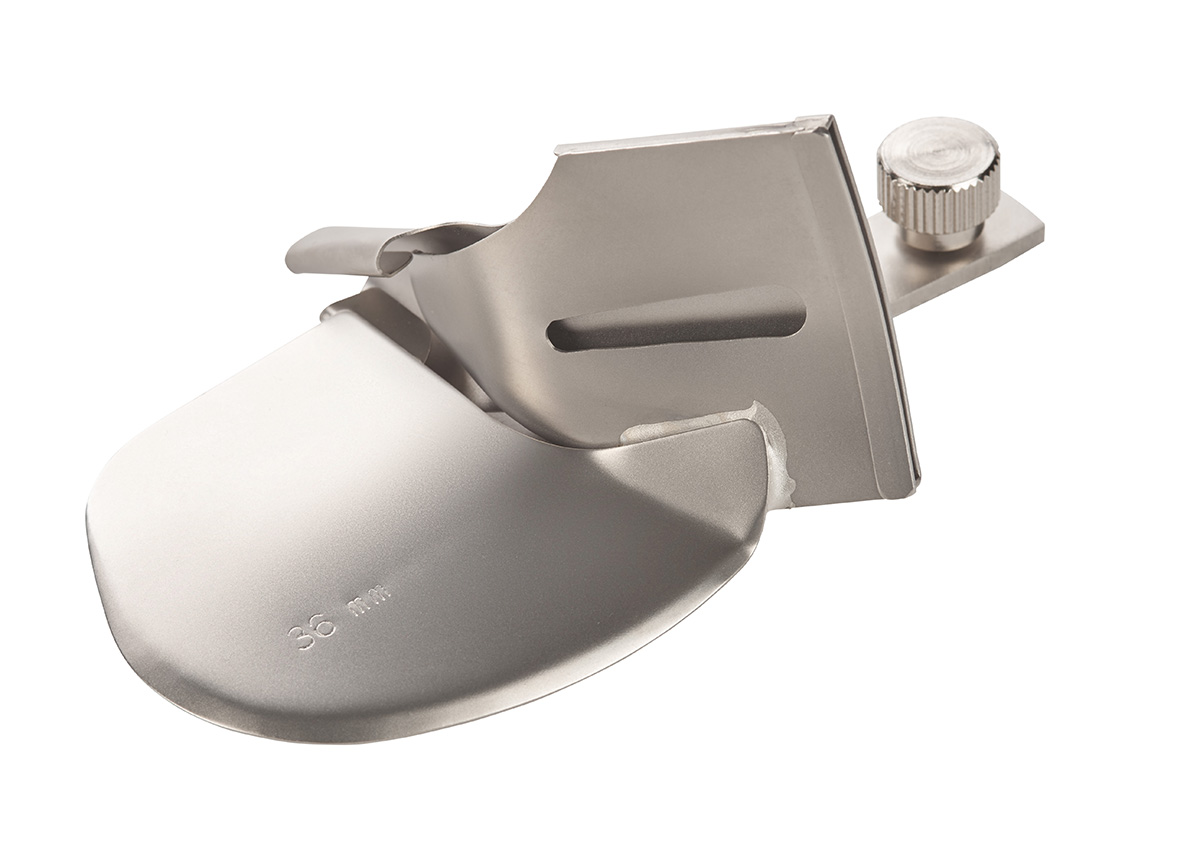
Double Fold Binder Attachment #C21
Accessories Holder
Supplies, Pattern and Directions for Daisy’s Sun Bonnet
Tip: Choose a lining fabric that is the same color as the chiffon as the wrong side of the lining will show a little through the sheer fabric.
- 1/8 yard chiffon in color to coordinate with main fabric of bonnet for the shirred center
- Basic serger and sewing supplies
Seam allowances are 3/8″ unless otherwise noted.
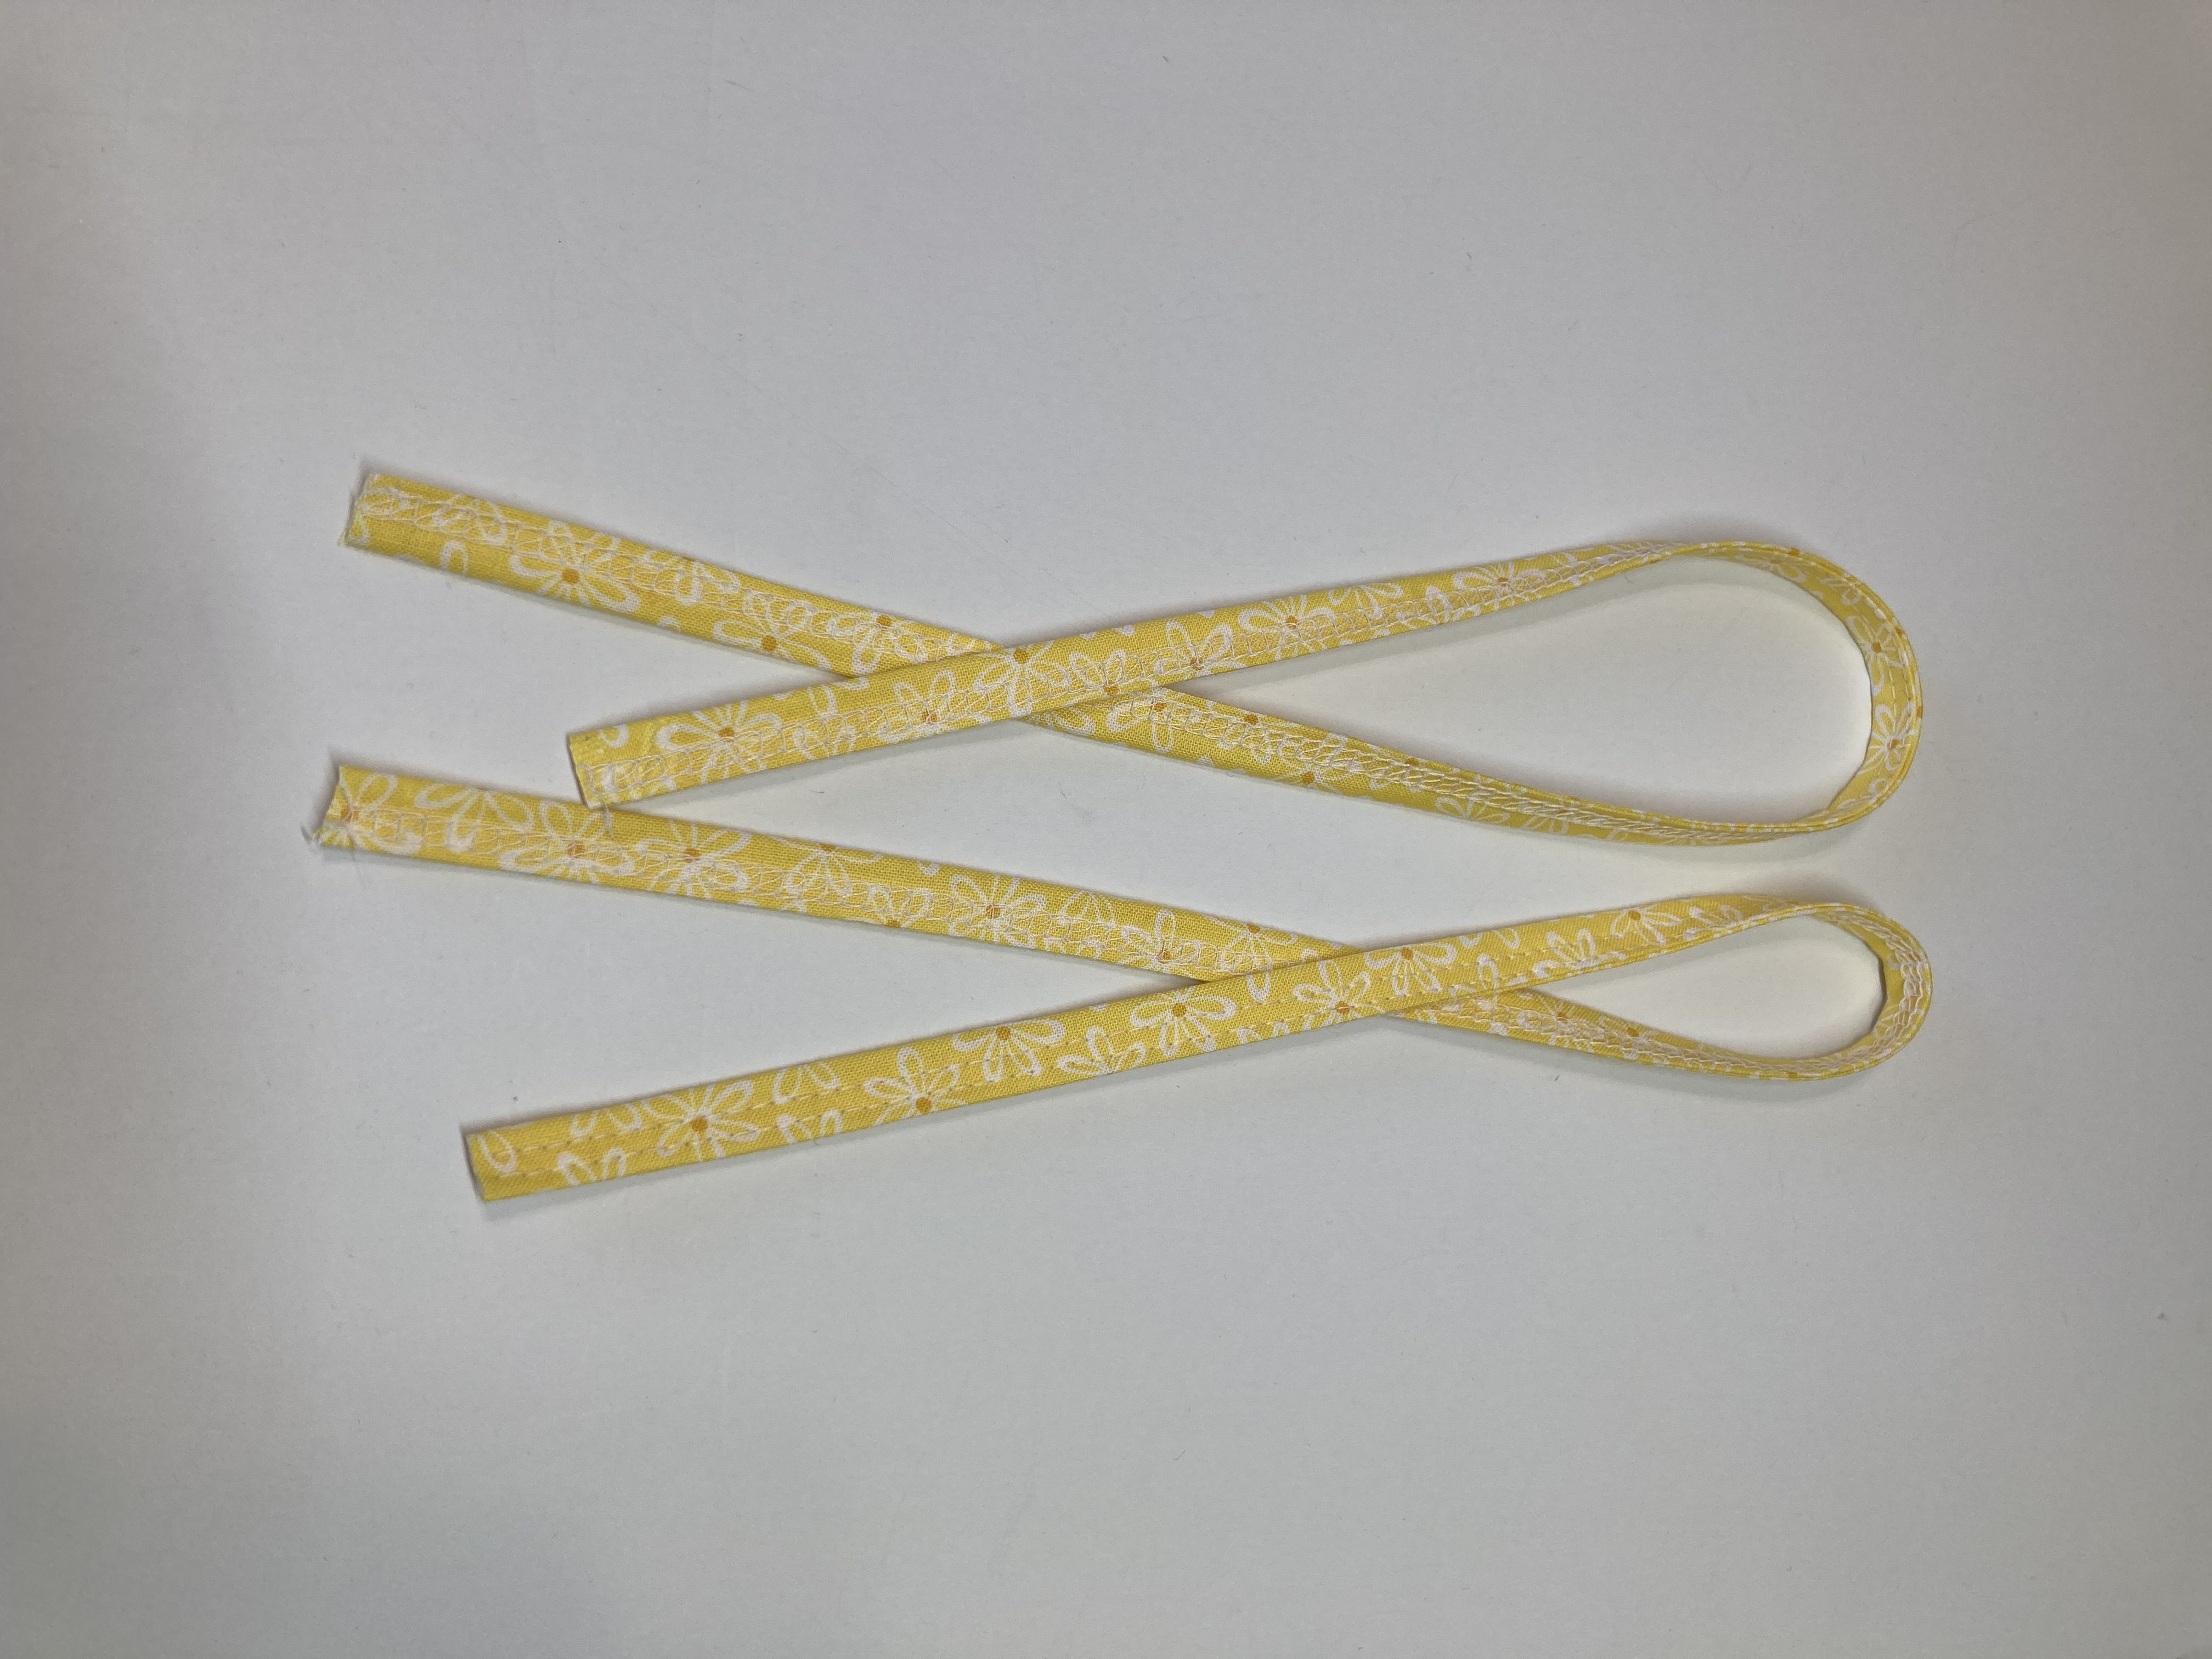
Making the Ties
The Double Fold Binder Attachment #C21 is going to help you make the ties in a jiffy.
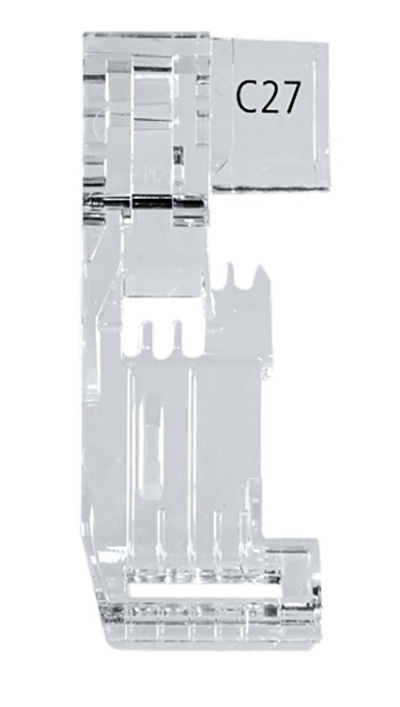
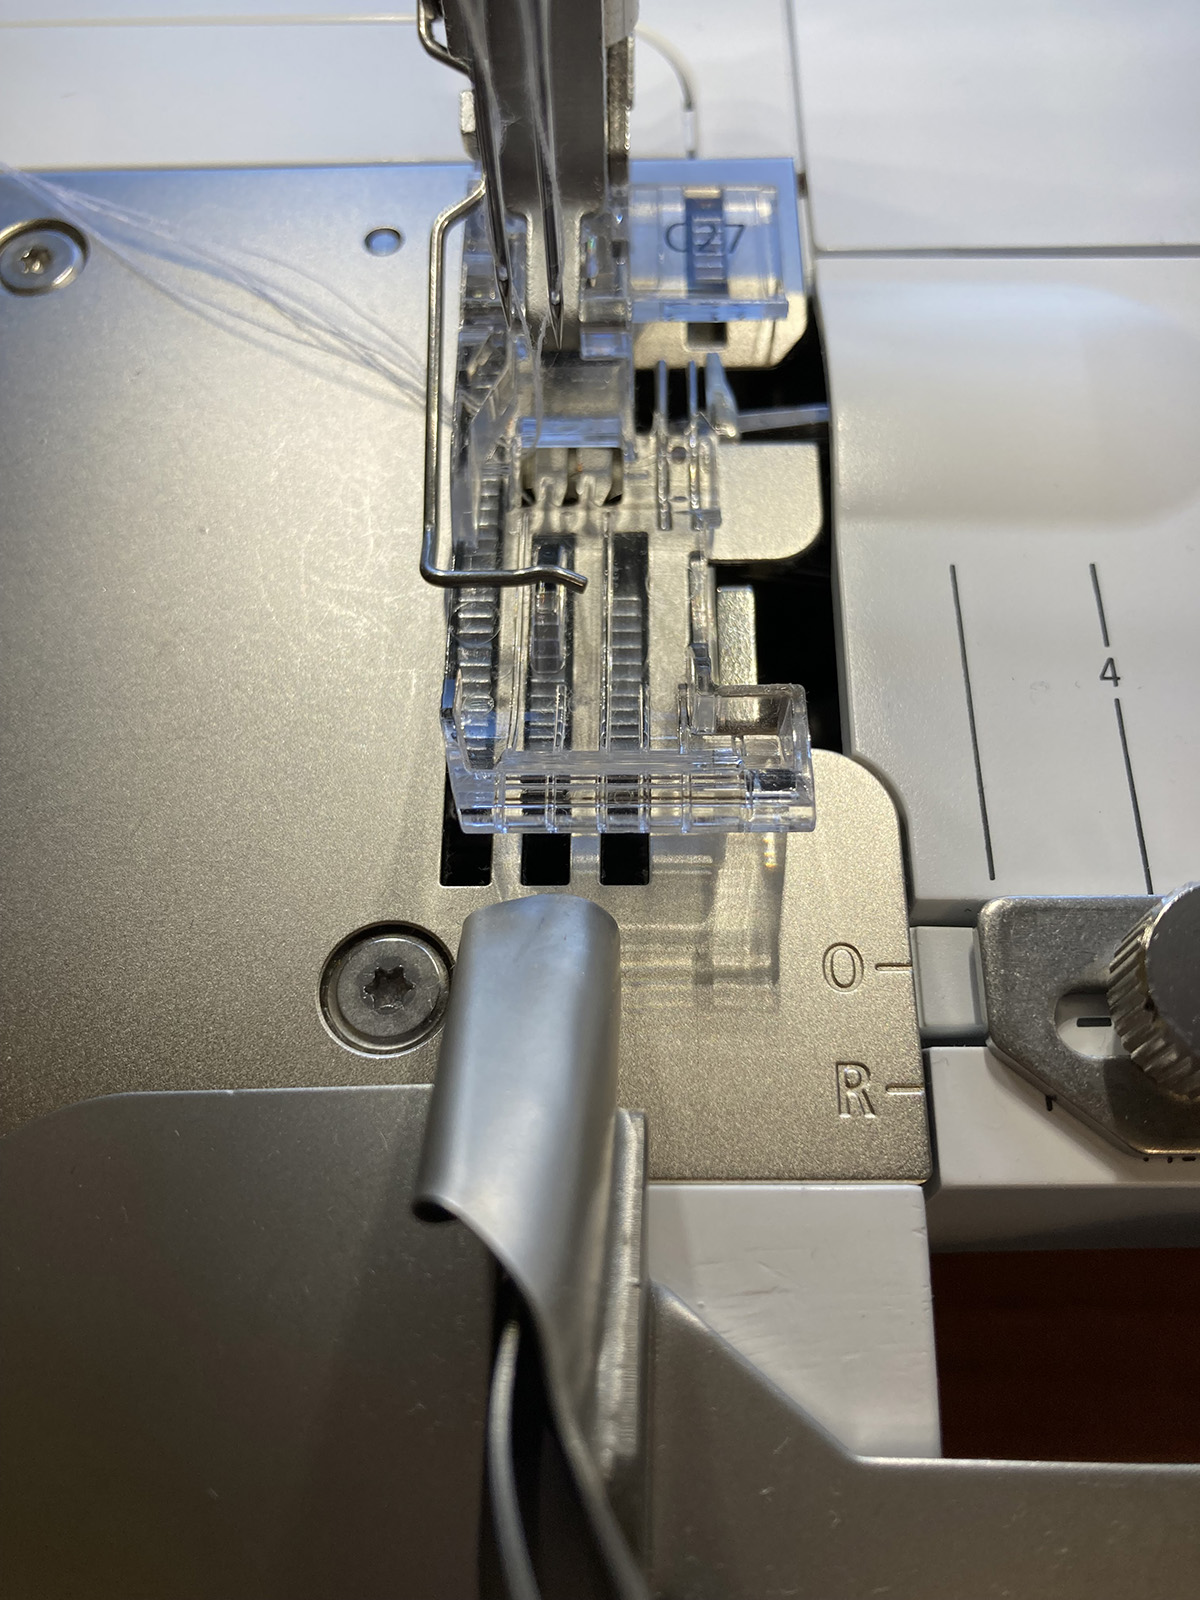
The Clear Foot #C27 lets you see the tie as it feeds under the foot.
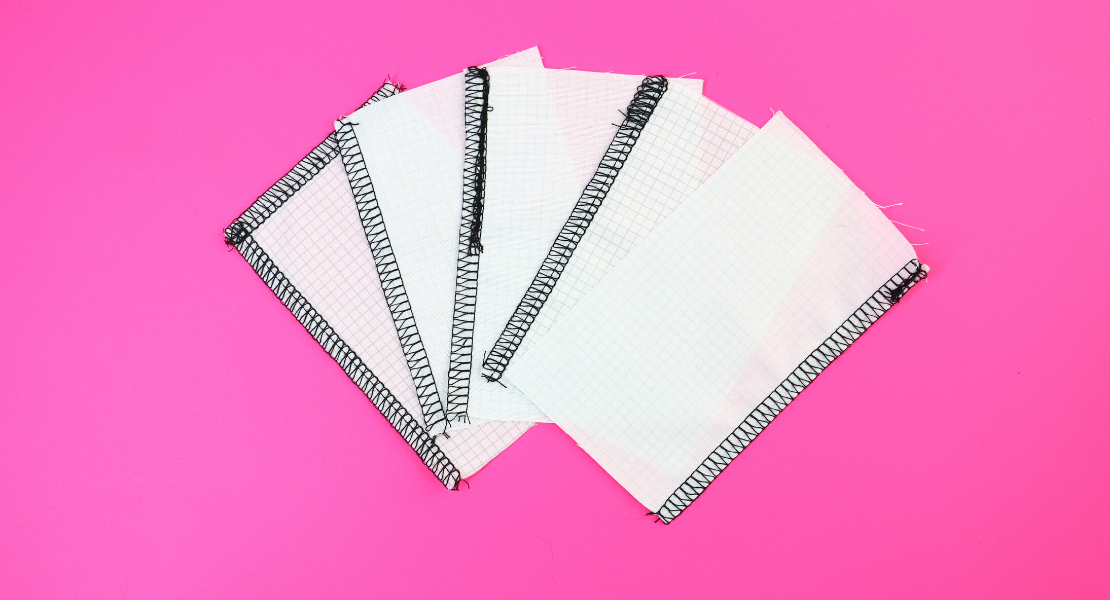
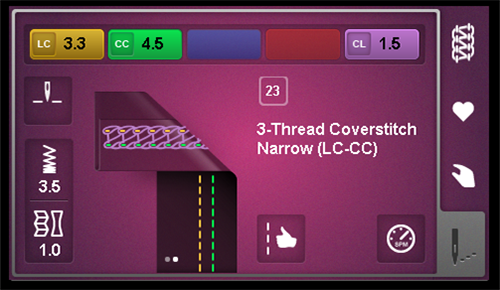
Cut a 1 3/8″ x width of fabric strip (I used a yellow print). Set up your overlocker for a 3-thread Coverstitch 3mm LC-CC #23.
Attach the binder attachment so that it is aligned with the needles.
Cut a point on the strip and insert it into the binder attachment with the wrong side of the fabric facing you. I love how the attachment swings out to make this step so much easier!
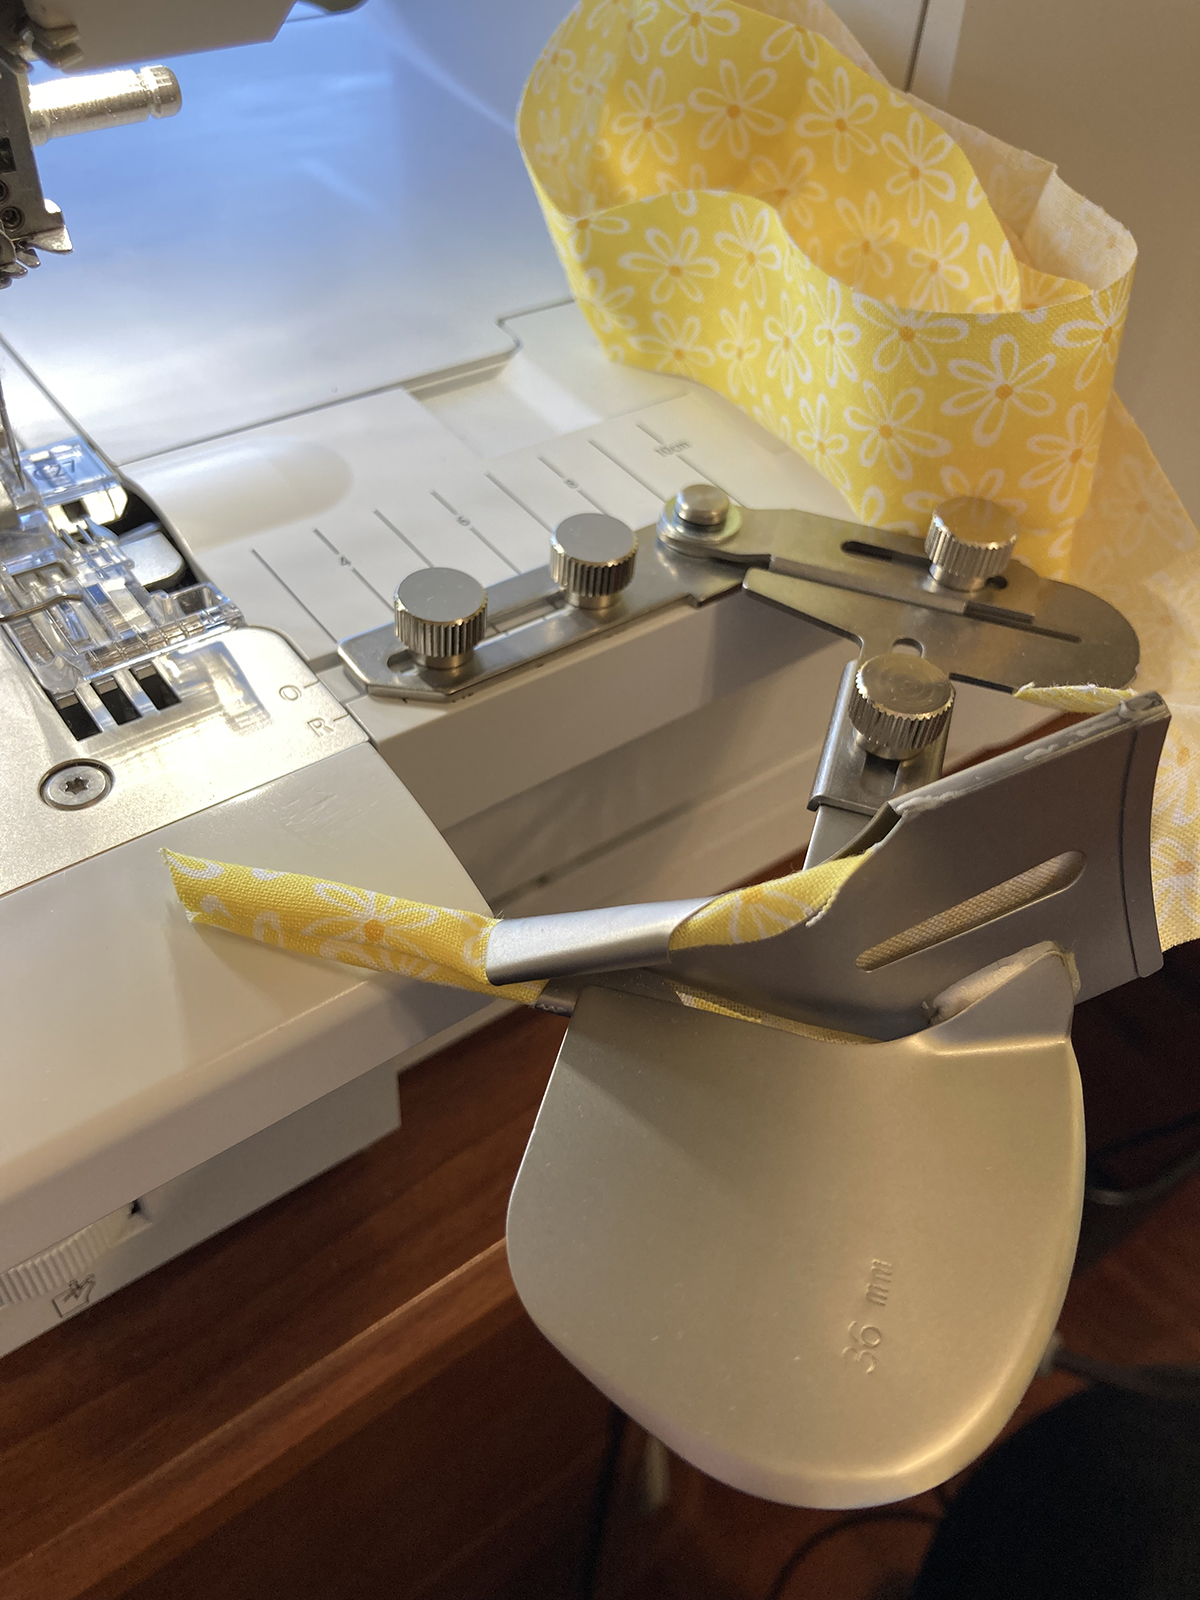
Pull the strip through the binder attachment so that it extends behind the foot a little bit. Make sure that both the top and bottom parts are folding in.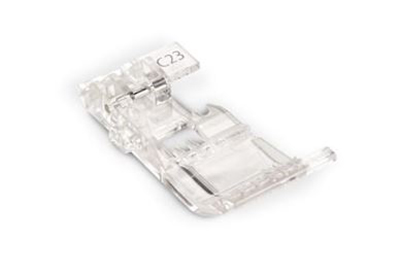
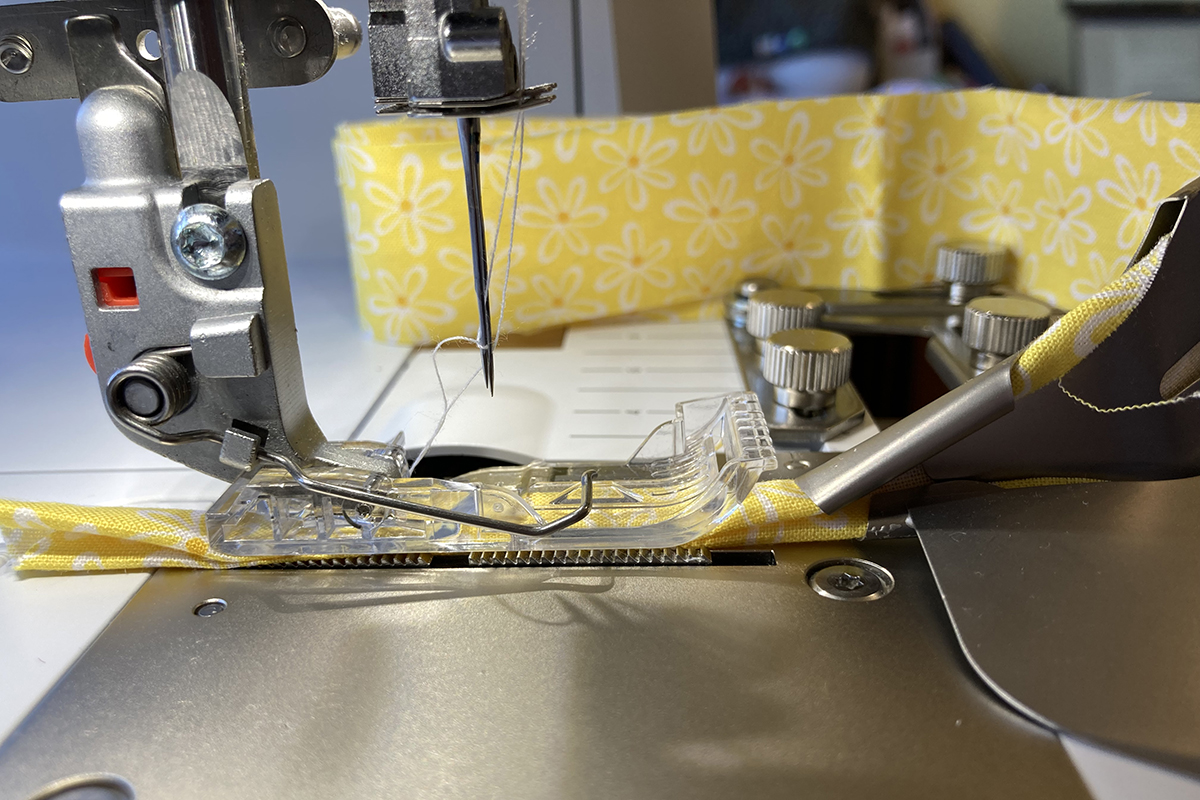
Stitch the tie. That was so quick to sew! Cut in half and set aside.
Center Shirred Strip
The center strip on the outside of the bonnet is going to be shirred. I’m using a chiffon fabric for a soft, gathered look. Cut the chiffon according to size width-wise and make the length the entire width of fabric. For example, I’m making the 6-9 month sunbonnet size, so my strip is 3 3/4″ wide and 58″ long, the width of my fabric. I will trim to size once it is gathered.
The Shirring Foot #C24 will be used for gathering the chiffon. This foot is designed for shirring/gathering light to medium weight, single layer fabrics. When fabrics are very light and slippery (and a single layer) there will be a smoother, more balanced fabric feed.
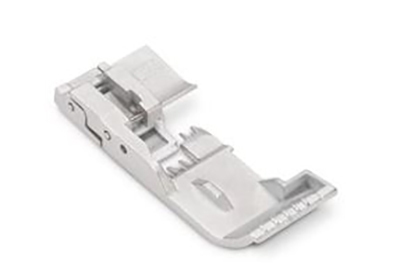
At first glance, you might think it is the same foot as the Standard Overlock/Combo Foot #C11. Take a closer look!
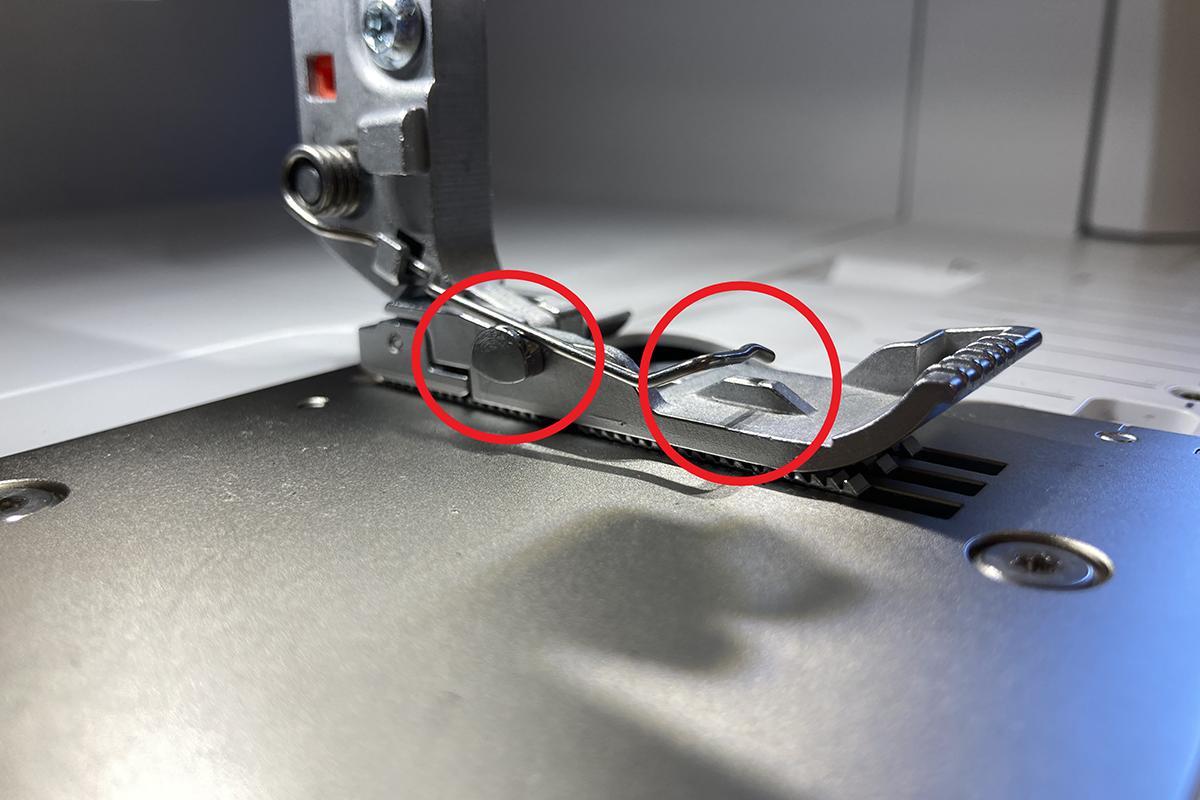
Here is foot #C11 on my machine. Do you notice that little knob on the left side of the foot? The leg spring is resting on it and sits slightly above the raised notch at the front of the foot. This allows the foot to stitch over seams more easily.
Here is foot #C24 on my machine. Notice that there is not a knob on the left side of the foot and the leg spring is now resting on the raised notch at the front of the foot. 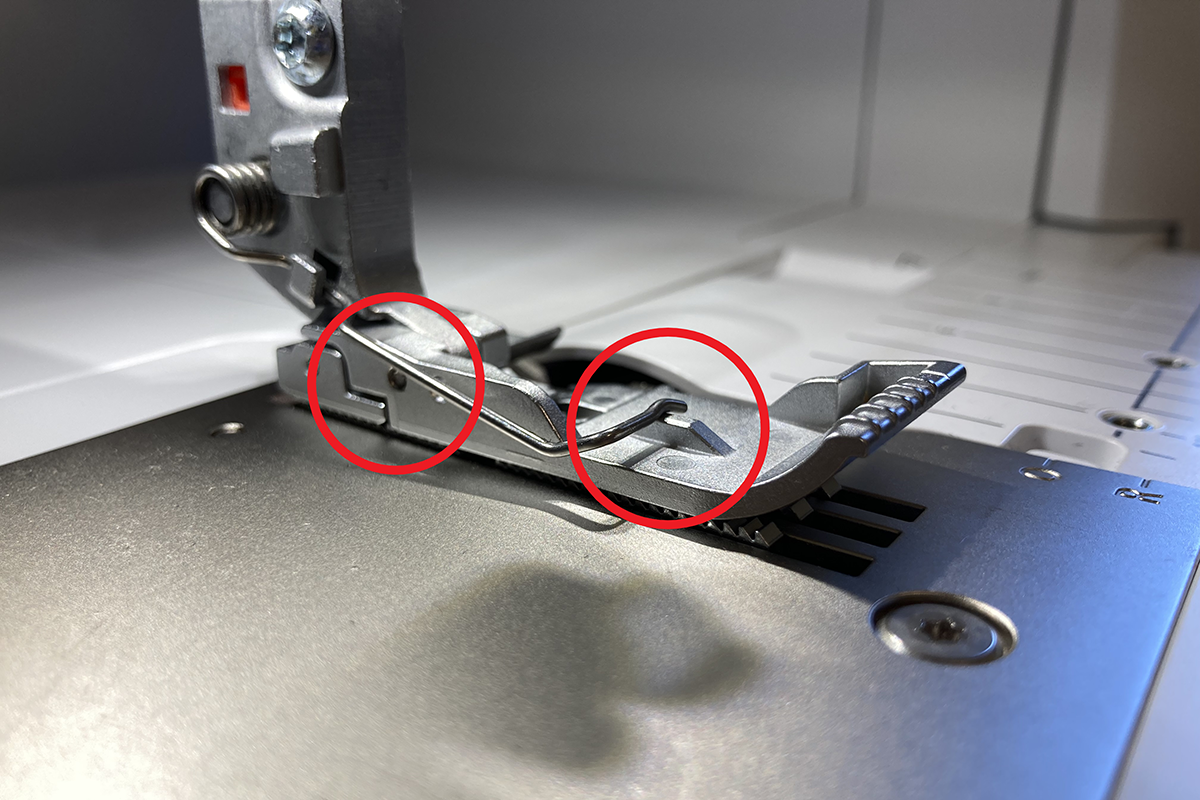
As a result, there is just a little more pressure on the front of the foot. This will help prevent lightweight fabrics from shifting and moving to the left when they are stitched. It will also produce more evenly spaced gathers on the chiffon. The gathers will be smaller and less tuck-like. This would be a great foot to use when stitching a rolled hem on a silk scarf, too!
You can use this foot for all overlock stitches, as well as cover-, chain- and combo stitches on the L 890. For the L 850 and L 860, use Shirring Foot #L24.
Use Creative Consultant and select lightweight woven fabric and the gathering technique (H). After some testing, I increased both of the needle tensions to 6.5. 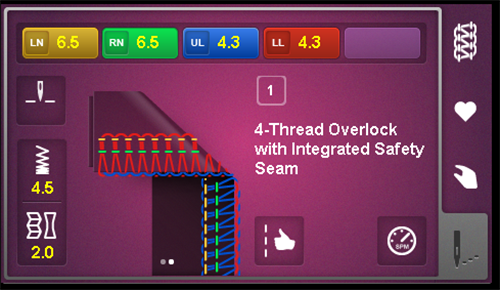
Attach the seam guide so that it is even with the knife on the machine. There is a notch on the foot to help with placement. 
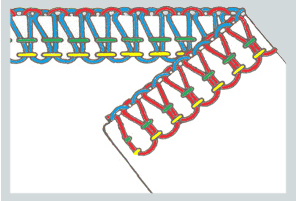
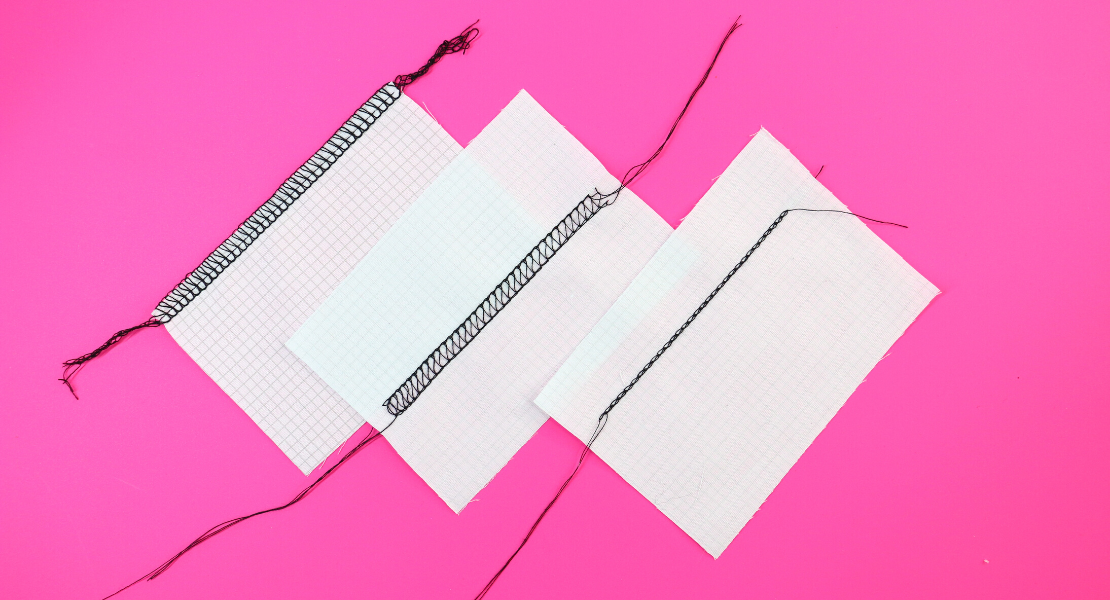
Now stitch both long sides of the chiffon strip. Go at a moderate pace and allow the fabric to move freely. There should be minimal trimming. The gathers are even and tight…just the look I wanted!

And here is what your strip will look like when done. I think it’s a pretty detail! Now trim it to the length of your pattern piece. Mine finished at just the right size! 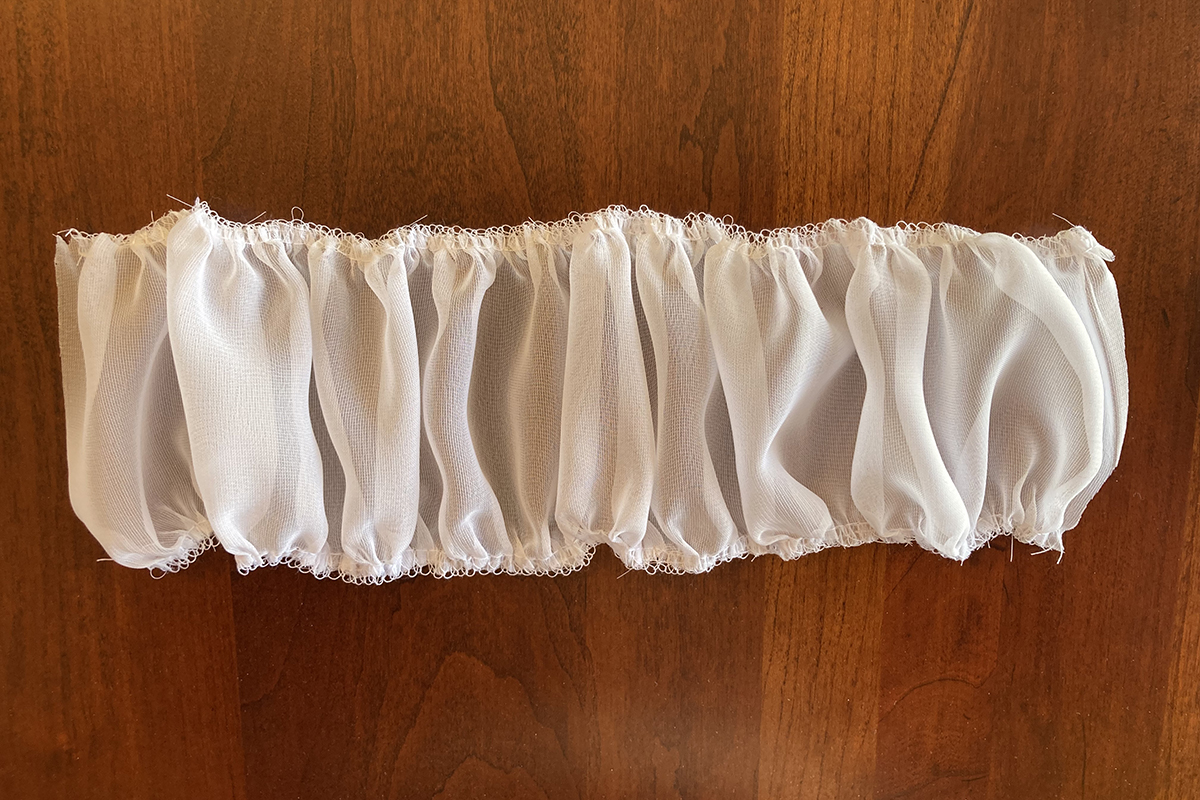
Make the Bonnet
Continue following the directions from the original post to make the sunbonnet. I used the 3-thread Overlock Narrow (RN) #4 to make the outer bonnet and the lining. I placed the seam guide so that it was 3/8″ away from the needle. I also used the Curve Foot #C23. It has a shorter toe in the front, which makes it easier to maneuver around the curve of the bonnet. 
Take your time as you sew in the shirred piece. It stitched to the curved edges of the outside of the bonnet rather easily. However, when I stitched the lining pieces together, I found it helpful to hand sew a long running stitch on the curved edge first to help ease it on to the flat center lining strip. 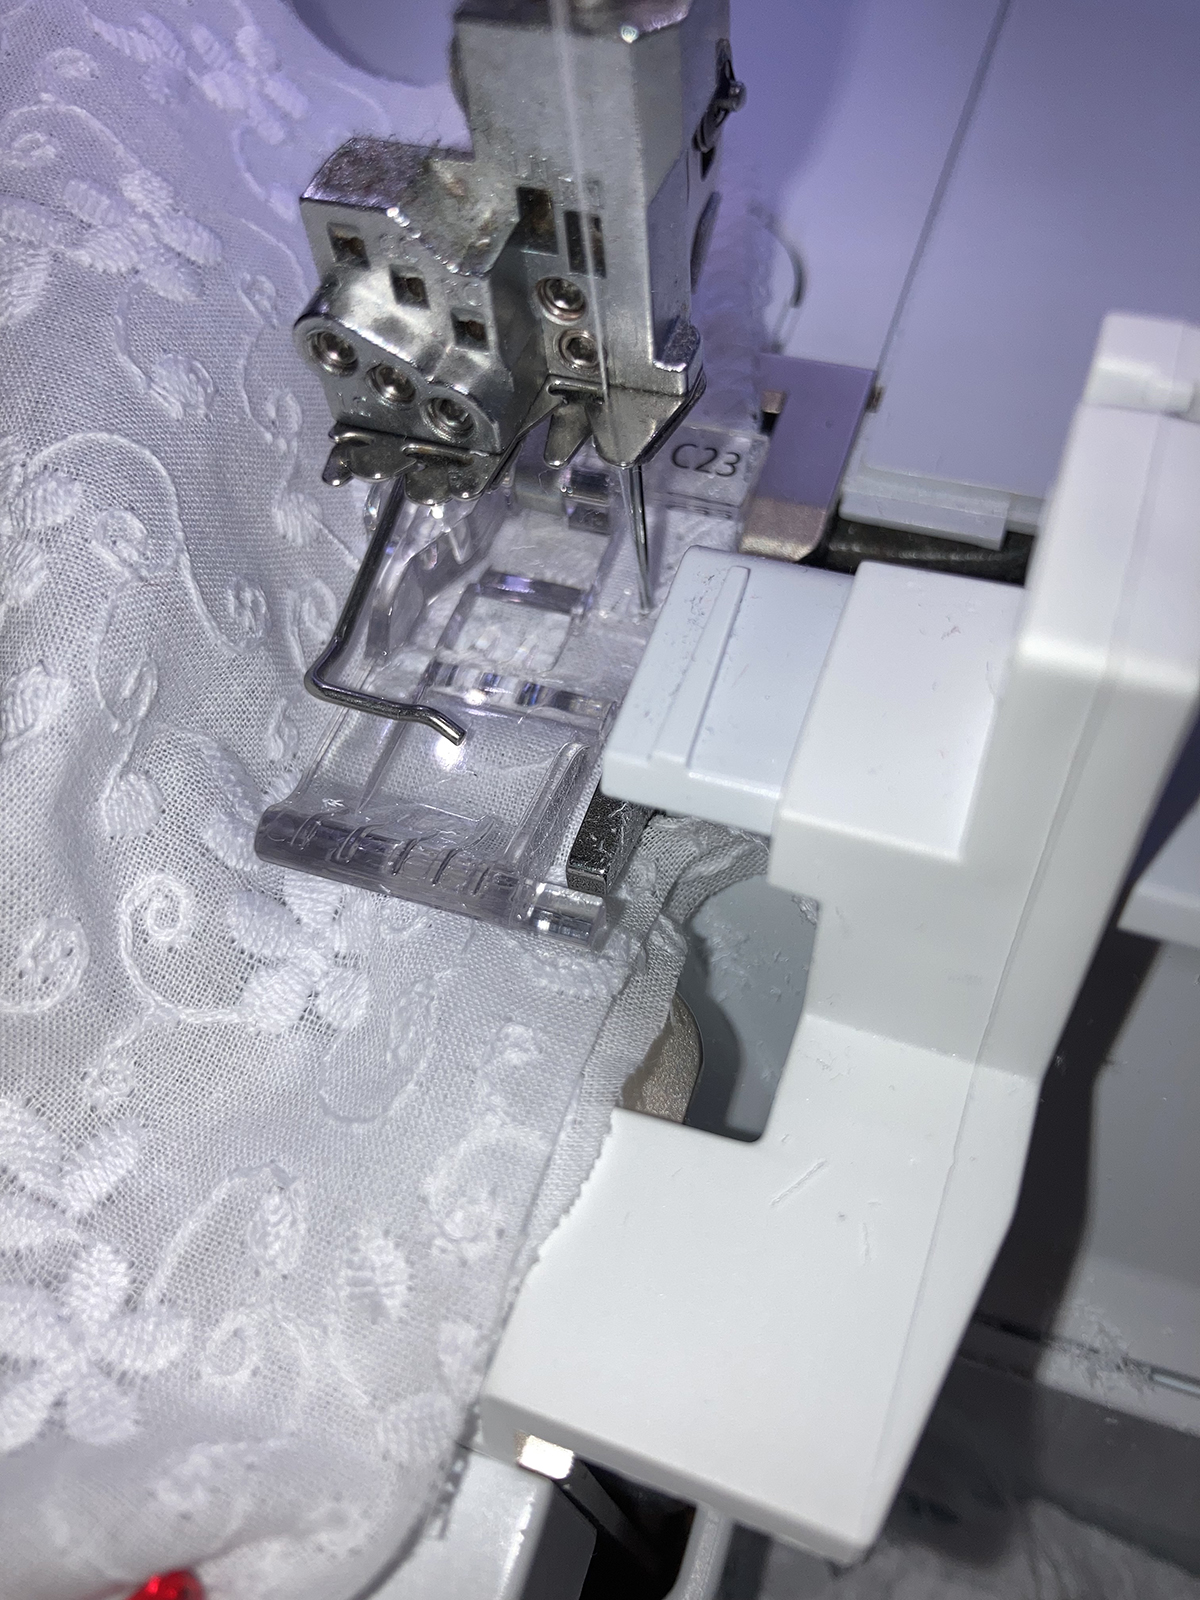
I used the Curve Foot #C23 and the 2-thread Chainstitch CC #16 to sew the lining and the outer bonnet together. I guided along the foot as shown for a 3/8″ seam allowance. 
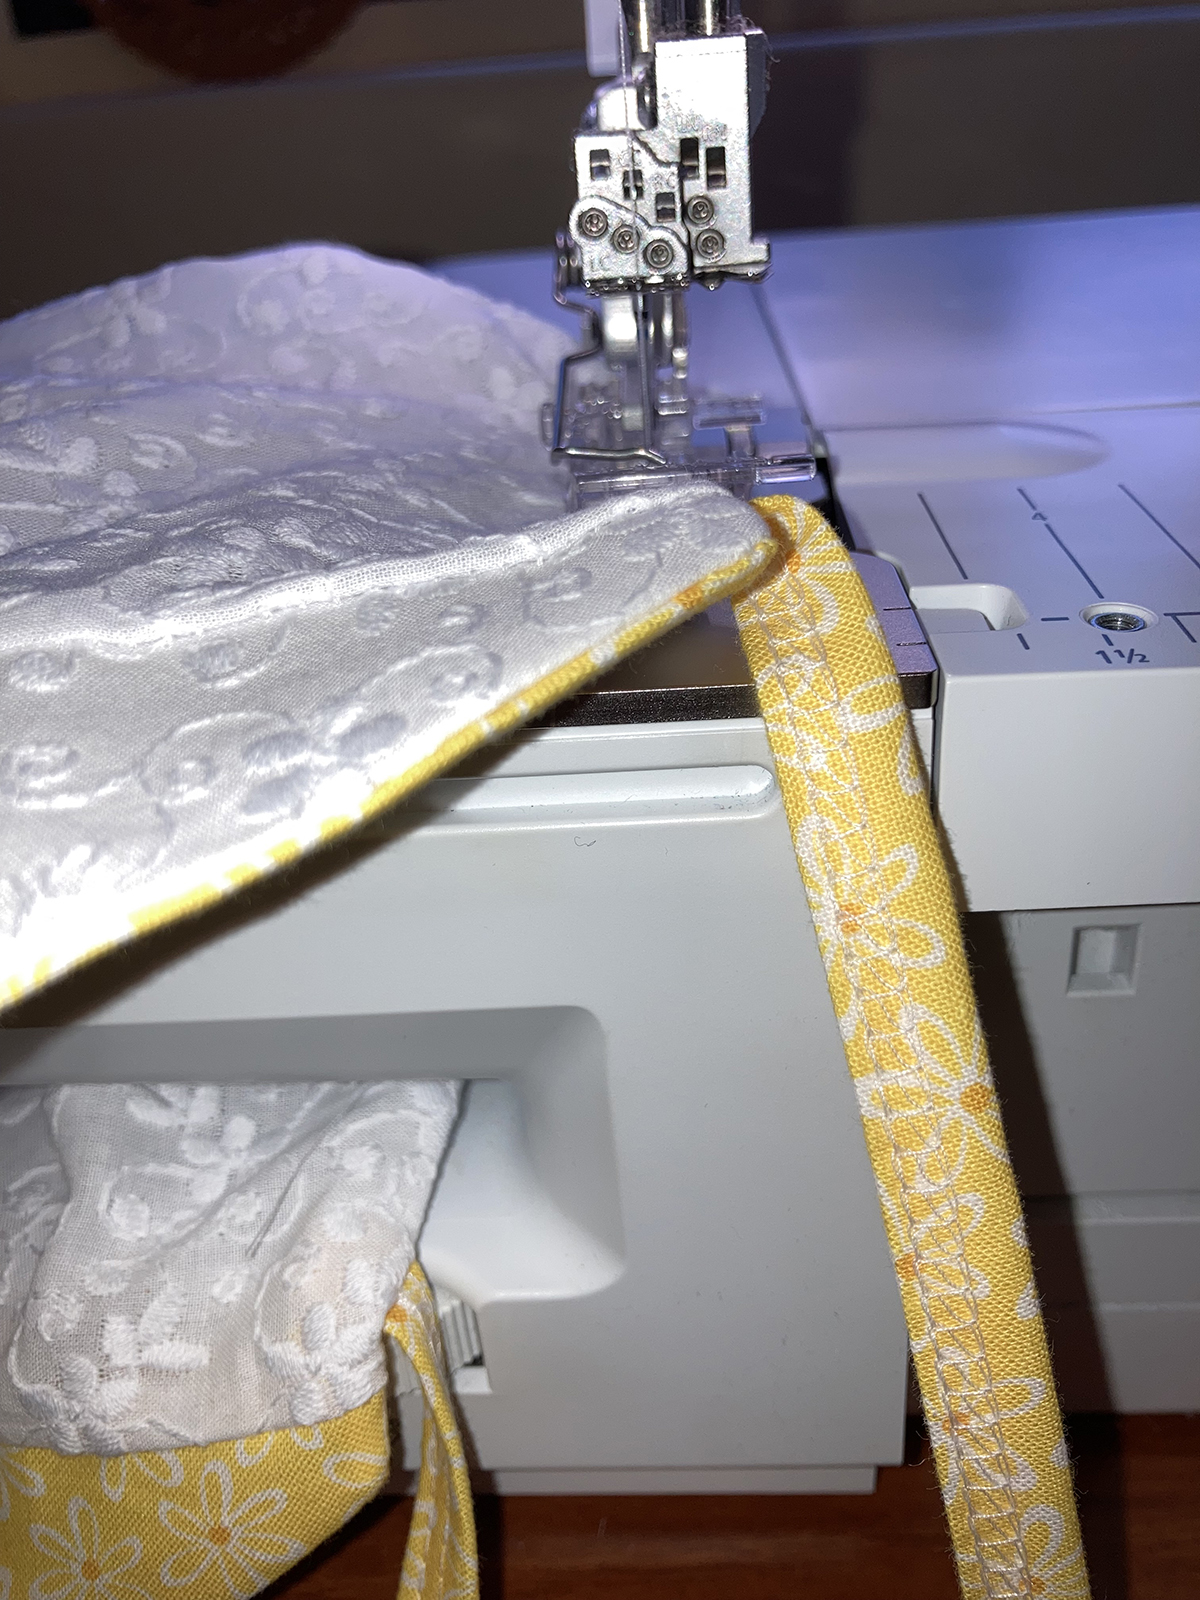
I used the chainstitch for the topstitching, elastic casing and bow construction. The free arm came in very handy, as you can see. Keep an eye on the straps so that they aren’t caught in your stitching.
Then I did a little hand sewing to attach the bows.
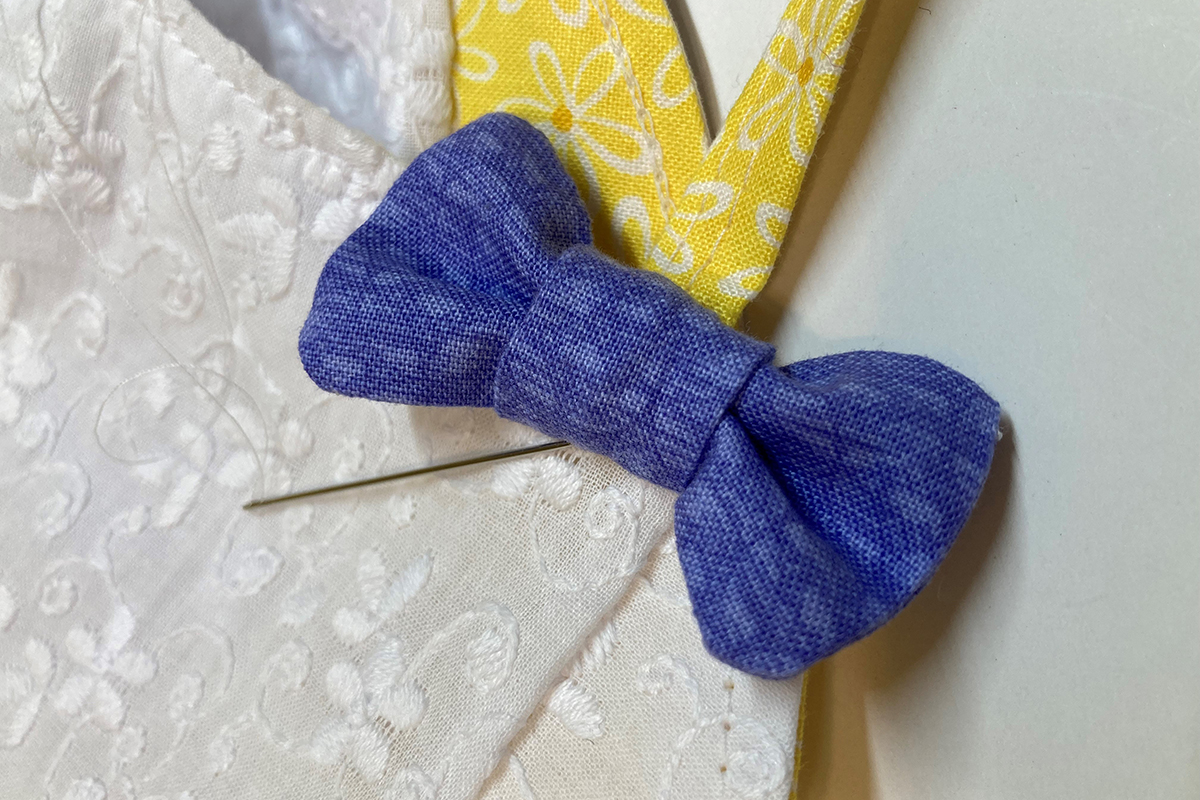
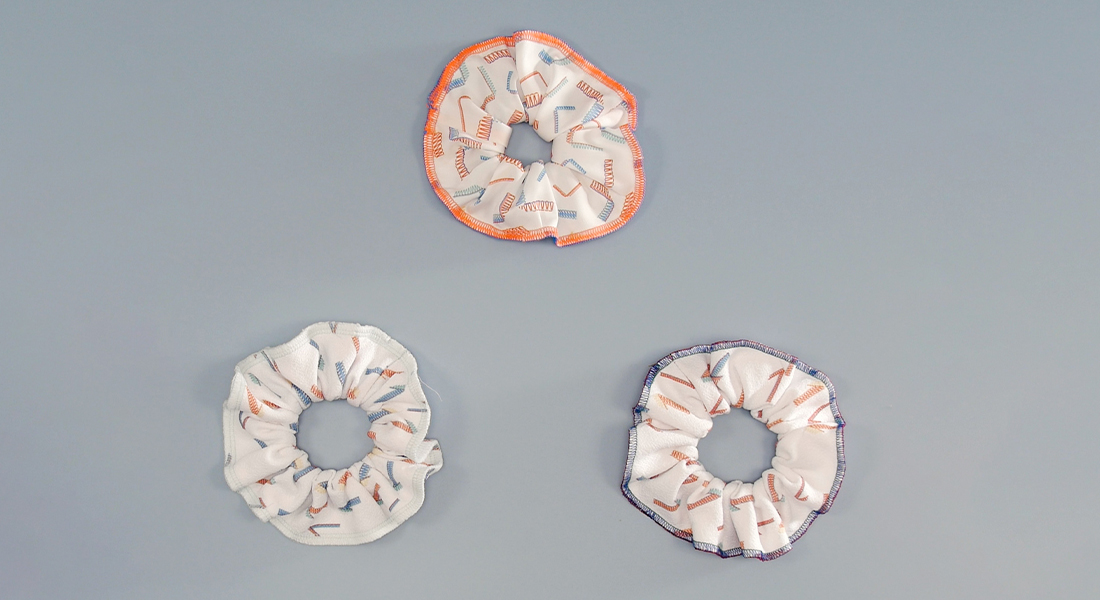
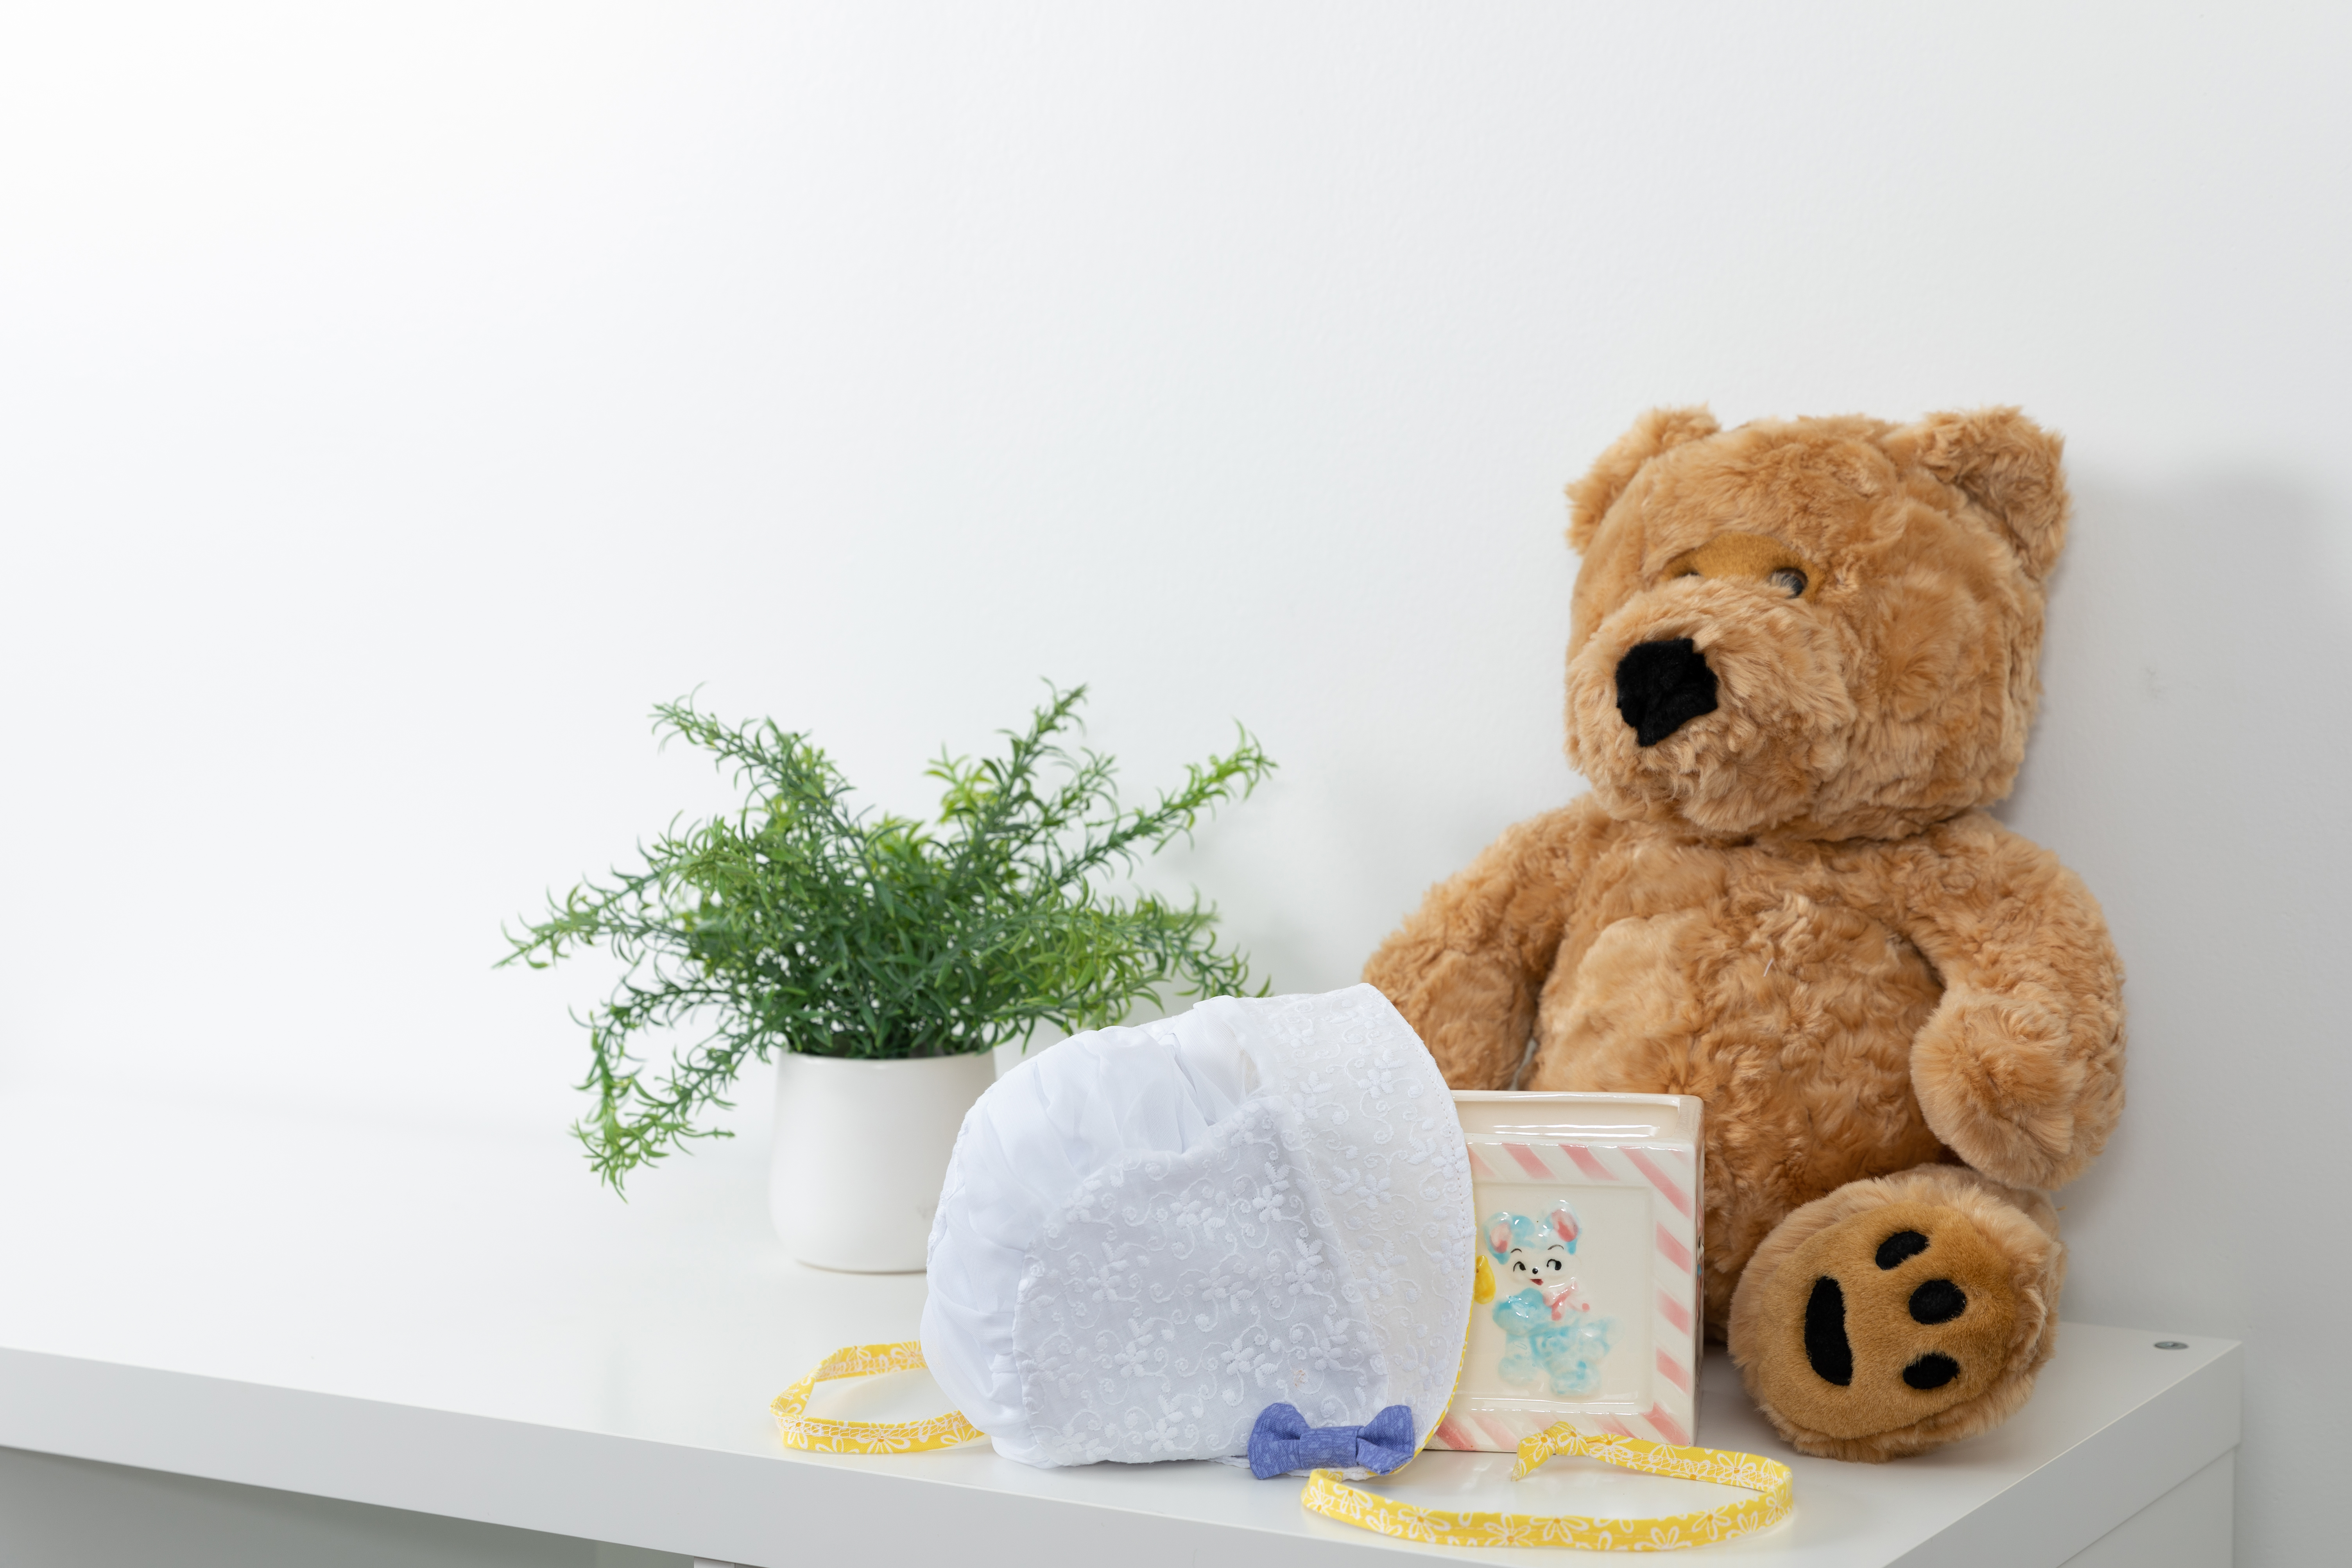
And here is the finished bonnet! So sweet!

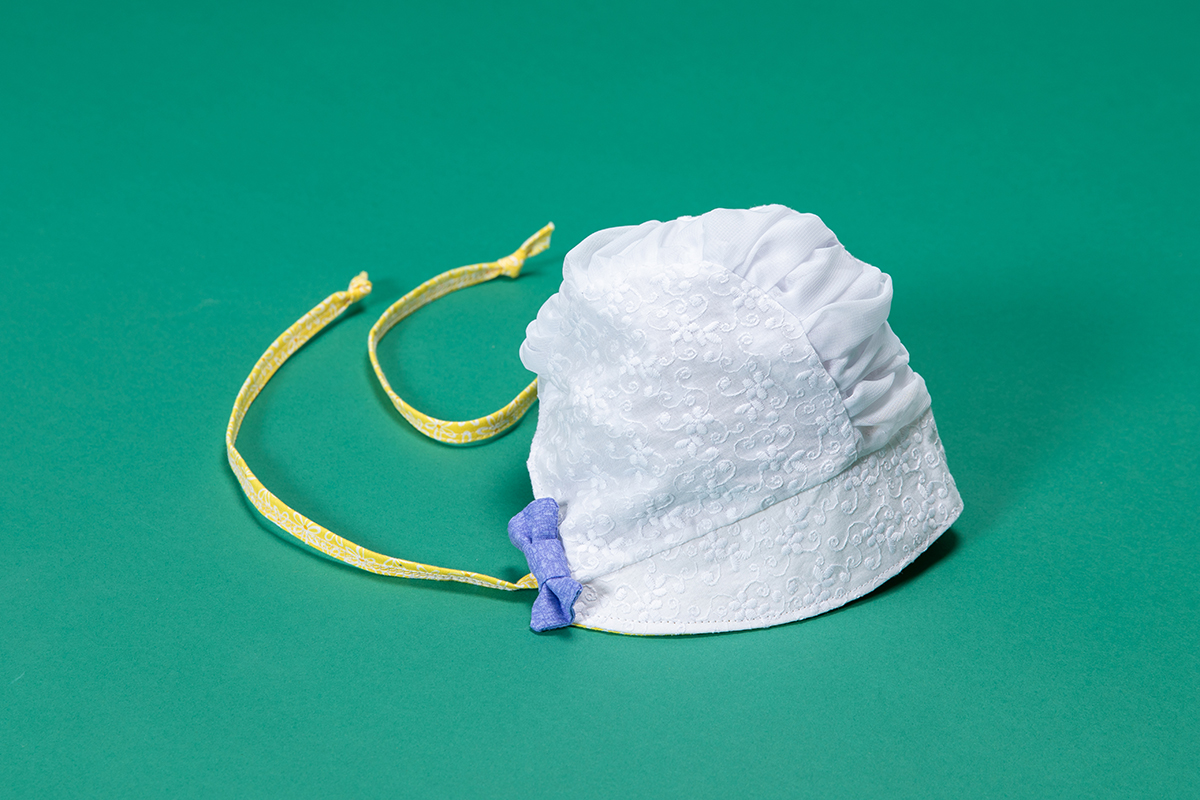
What will you create with your overlocker?
Until next time, happy serging!