Paper Piecing Tips: Helpful Hints
Hello! I’m Penny Layman, and I’d like to share a few tips and hints about paper piecing. My favorite quilting technique is paper piecing and I’ve been designing paper piecing patterns for several years now. It seems that more and more people have gotten comfortable with paper piecing in the last few years and I’m super excited about that! This will be a three part series giving you ideas and info for your paper piecing process. I’ll be pulling out all the stops and letting you in on my best tips that help to keep me sane while I paper piece. I hope they do the same for you!
Now that I’ve been paper piecing and designing patterns for a few years, I can say that paper piecing is fun for me. For the first few years though, all I could confess was that it was satisfying. Here are a few tips that I hope will help you along your process to get from the satisfying part to the fun part!
Fabric Seam Roller
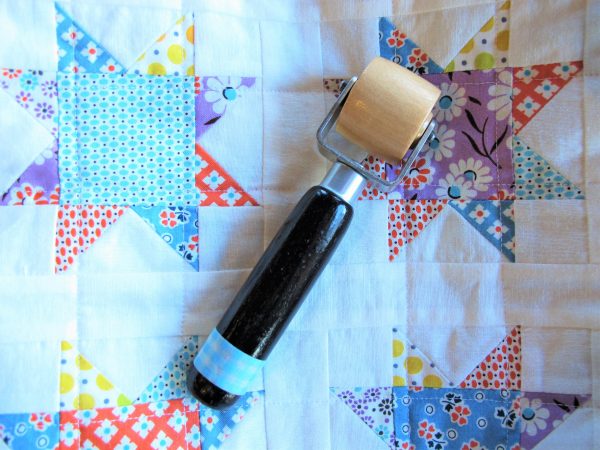
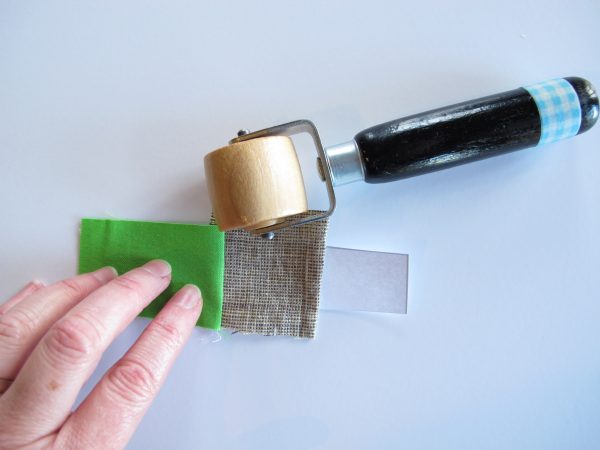
A seam roller is definitely in my top 3 tools I couldn’t live without as I paper piece. As I sew a section of a pattern, I use the seam roller to open seams up and only until the entire section is pieced do I get up to press the section with an iron and starch. It saves time and I feel more in control of making sure I get the seams opened up completely as I work. To use the seam roller, sew your seam, finger press the seam open then use the roller to set the seam crease.
The fabric seam roller is different from a wallpaper seam roller in that the edges are beveled, keeping the fabric from getting caught and marred by the sharp edges of a wallpaper seam roller. Also, the fabric seam roller is only about an inch wide compared to the wider wall paper seam rollers. I found my fabric seam roller here.
Stitch length
Usually when sewing, I use a stitch length of 2-2.5mm. However, when paper piecing, I change my stitch length to around 1.7mm so it is a bit shorter.
The reason I do this is twofold. First, it helps in removal of the paper at the end since the paper will have more perforations in it, allowing the paper to be removed easier. Secondly, a smaller stitch will facilitate to keep the stitches from coming out when you pull the paper off the block.
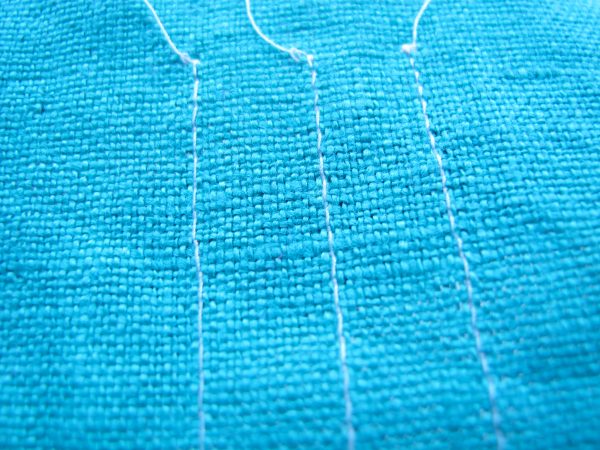
In this photo, the stitch length gets progressively smaller from left to right. The left stitch length is 2.5, the middle is 2.0 and the right one is 1.7.
Fabric size and stacking fabric in order of use
Early on as I was learning to paper piece, I would try to skimp on fabric and use a piece of fabric that was just enough for each area. That led to frustration and having to use my seam ripper way too often! Now, I allow ample extra fabric for each area above and beyond the seam allowance.
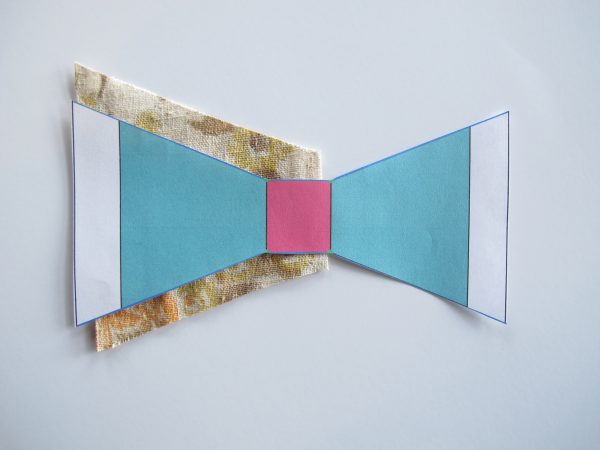
To decide on your fabric size, place the area of your pattern you are filling with fabric with the wrong side of the fabric up, and use your pattern as a guide to make sure you have enough. Then generously cut the fabric out.
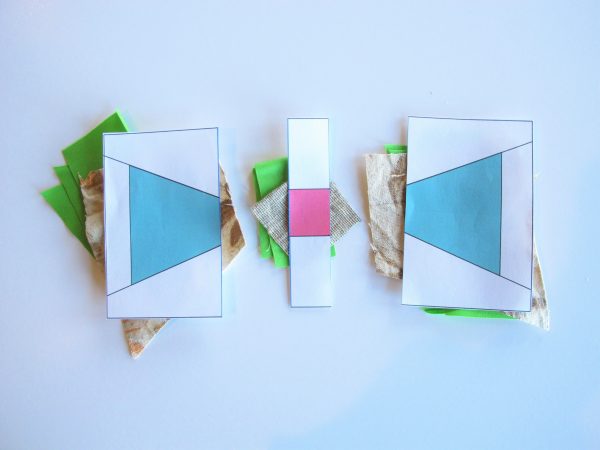
The cut fabric in the photo is for the left blue area of this pattern section.
As you cut your fabric for each area, stack them in order of use to help speed along the process of sewing them together.
Color your pattern
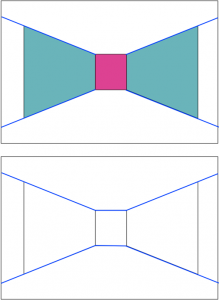
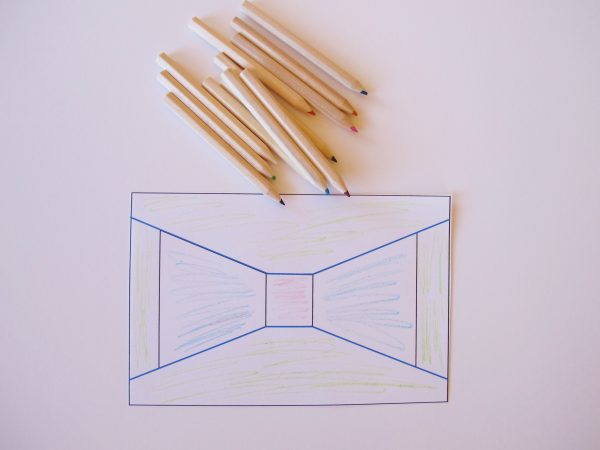
In my experience, most paper piecing patterns will be color coded for you. Color coding your pattern helps to eliminate inadvertently using the wrong fabric to fill an area. However, if your pattern is not pre color coded, use colored pencils to do it yourself to avoid confusion as you sew.
Happy paper piecing!
What you might also like
22 comments on “Paper Piecing Tips: Helpful Hints”
-
-
I’m glad this info was helpful to you!
-
If you can get a copy of Quilters Newsletter Magazine for July/August, 2003, Carol Doak wrote a good article (I have a PDF of it from Carol’s Yahoo group) and it is on how to design your own paper-pieced block.
-
-
I’ve always had trouble understanding how to paper piece but your directions are very easy to follow. Thank you!
-
You’re welcome!
-
-
I love that you are offering us help with paper piecing. I have used the seam ripper way too many times. I noted you saying ” finger press the seam open then use the roller to set the seam crease”. I have never even heard of pressing a seam open unless to stitch sections together. Do you mean each seam is pressed open? Do you have a video showing what you mean? Thanks.
-
When paper piecing a section, all seams are pressed to the side by default. I don’t have a video explaining this process, however I will keep this in mind for a possible video subject!
-
-
I enjoyed this post so much. I am wanting to try paper piecing for my next project. I would love to have one of the fabric seam rollers. I would love to know where I could purchase one, for I have never seen one before now. I think it is so neat and would be very handy to keep beside my sewing machine when I am piecing quilt squares. Thanks for all of the tutorials on this site.
-
Hi Nancy, there is a link for the seam roller in the seam roller section. 😉
-
-
You mention the stitch length but I was wondering what size needle you use?
-
I use a size 80 microtex needle.
-
-
Enjoyed the lesson. Looking forward to rest.
-
I always loved paper piecing…great tips 🙂
-
I am new to paper pricing. You make it sound so easy. I can not wait to try it.
Helen -
Loved the information about the roller. I will have to see about getting one for myself. Thank you for sharing your tips with all of us.
-
Very helpful tips! I’m definitely putting a seam roller on my list of supplies I’ll need to get.
-
I’ve always had trouble with paper piecing but with your tutorial, I’m going to try again. Thank you for making the process understandable.
-
Well, paper piercing is my lovable hobby, but i never went this way. Hats off author. 🙂
-
I am a self taught paper piecing. Just visiting a friend that did great work I got a pattern. now have many. Love my Eagle pattern and my Nativity. Just finishing a quilt. I find that I use it more for wall hangings. Grand kids love there tooth pillows. its great I enjoy.
-
what I would like to do is make my own patterns. I try but just not ready I guess, need help with grapes and wheat stocks. .Have a church picture I would like to do. Ardis Kunze WY
-
I took a course on paper piecing in New Orleans recently and our class of 27 students sewed blocks by paper piecing. At the end of the class the squares were raffled off along with the quilt kit. I’m loving the piecing and think I’m getting the hang of it. My question is, what can I do about blocks that don’t line up when piecing together the whole blocks? One block is about 1/2 inch off at top and bottom. Any help would be appreciated.
Linda W.
Leave a Reply
You must be logged in to post a comment.






I am so excited about your information! I took a paper piecing class a couple of years ago and loved it. I have some quilt instructions for a quilt that I have been wanting to make, but I do not know how to convert it into the paper piecing method. I am looking forward to hopefully finding out how or what I need to do to paper piece with the quilt instructions that I have!