DIY 10-Minute Shoe Bags
My mother has a whole slew of germaphobic-based suggestions including:
- Never touch the comforter in a hotel room (hotels rarely wash them between guests.)
- Wash all clothing twice using the hottest water possible.
- Lysol is the only acceptable cleaning product for surfaces in your house.
- Towels in the bathroom and kitchen are purely decorative and drying your hands should only be done with fresh paper towels.
- Anti-bacterial soap isn’t an option but rather a necessity.
- Couch pillows are not to be used as actual pillows since their sole purpose is tie in the colors from the rest of the room and using them as pillows will mess up their shape.
I could go on for pages. Some of her advice I take to heart and other bits of it seem like irrational mom/germaphobic suggestions that I simply don’t want/don’t have time to add to my daily routine.
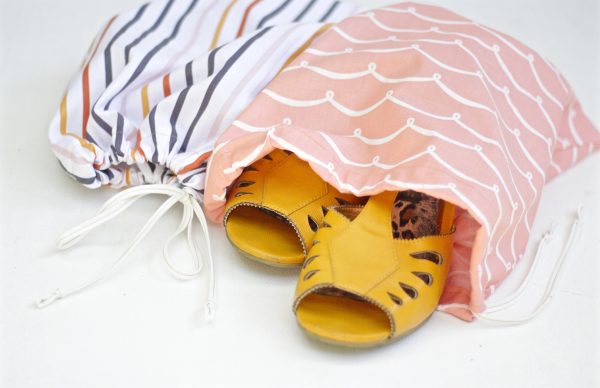
However, when she made a set of shoe bags for traveling for me, I was hooked. I hadn’t given much thought to the fact that I was packing my ‘dirty’ shoes in a suitcase with my clean clothes. I hadn’t really thought about the fact that the soles of my shoes had touched the surface of so many streets. As my mom handed me the shoe bags she’d made for me she asked me, “Would you rub your dress or your underwear for that matter on the asphalt of a parking lot?” OF COURSE I WOULDN’T! And…there began my love for shoe bags.
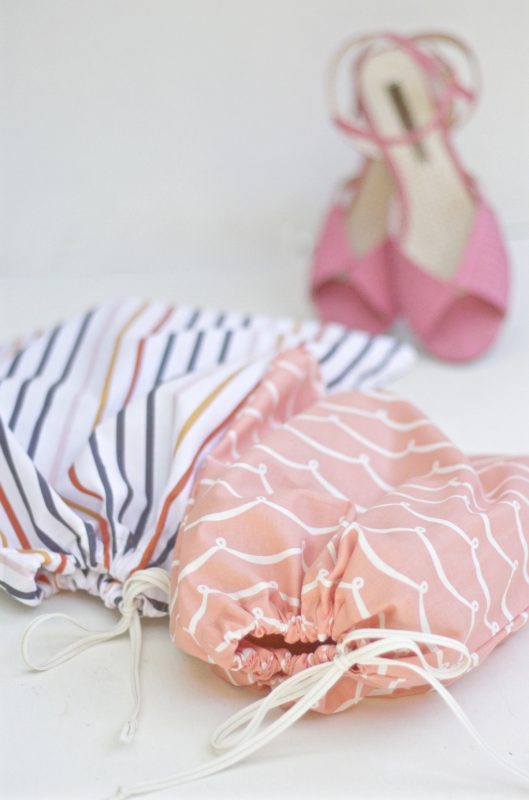
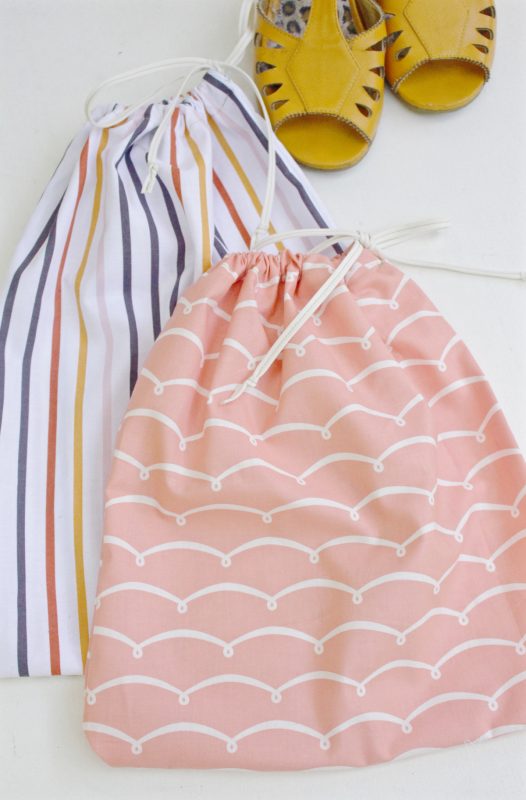
Aside from keeping the items in your suitcase clean and organized, these shoe bags are super simple and quick to sew. Plus they’re a great way to use smaller cuts of fabric sitting around your sewing room. I can’t wait to pack up my shoes in my new shoe bags for our Craftcation: Business + Makers Conference in the spring!
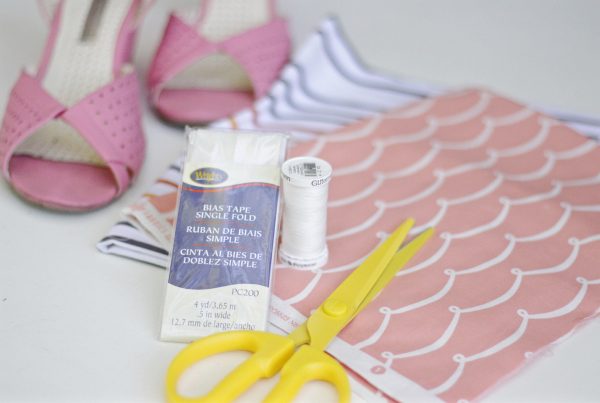
Materials to make 10-minute shoe bags:
- Sewing machine (I used my BERNINA 380)
- Scissors
- Fabric (the size depends on how large you’re making your shoe bags but if you use my measurements you’ll need (per shoe bag): one piece: 18 inches x 14 inches
- 40 inches of double fold wide bias tape, ribbon or other tie
- Thread
- Iron and ironing board
Instructions to make 10-minute shoe bags:
1. Fold your fabric in half with the right/printed sides facing in and measure and cut an 18 inch x 14 inch rectangle.
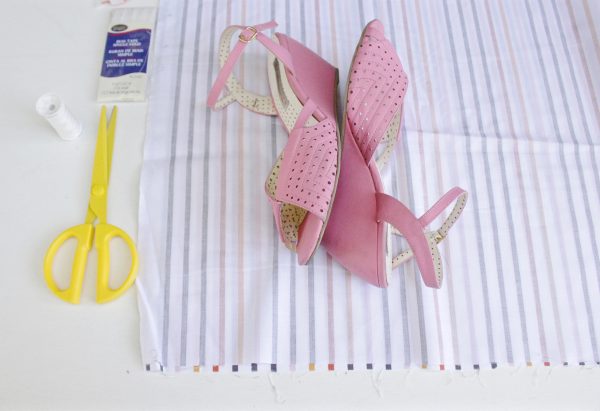
2. On one side measure and mark about 1.5 inches from the top. This will be the opening where your tie comes out.
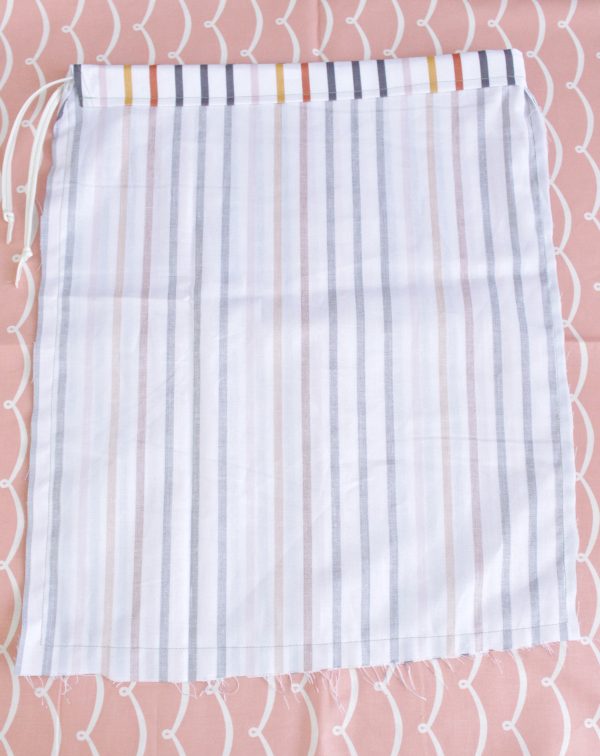
3. Starting at your mark for your tie, sew around the length of the shoe bag leaving the top (one of the shorter sides) open. I used the edge of my presser foot as my seam guide allowance meaning that the edge of my fabric was at the edge of the presser foot.
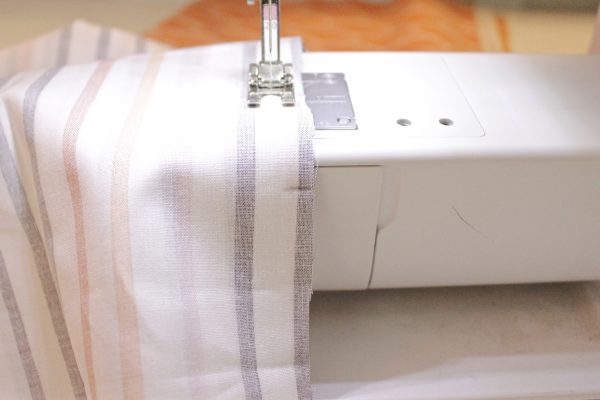
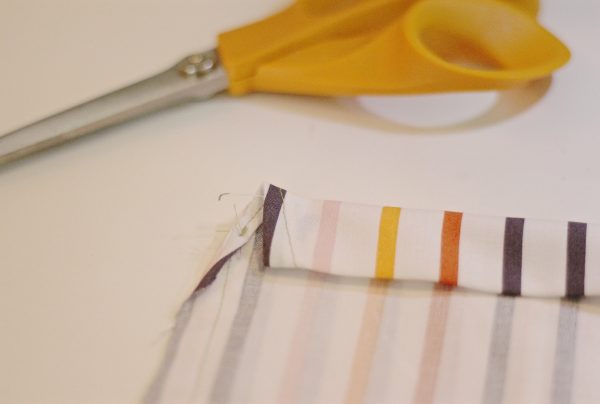
4. At the top where your tie will be fold over the edge of the fabric in a skinny pie shape then fold it again. Sew it down.
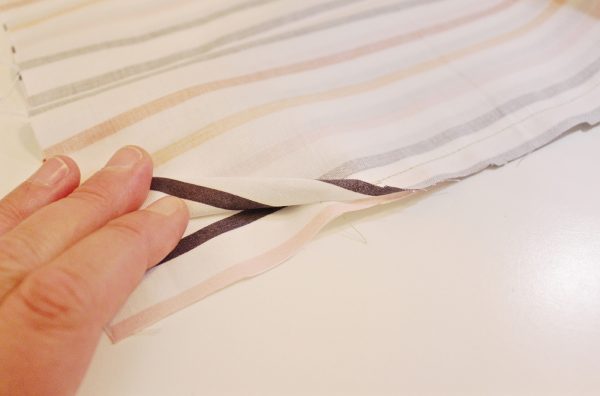
5. Repeat step four for the other side of the tie area.
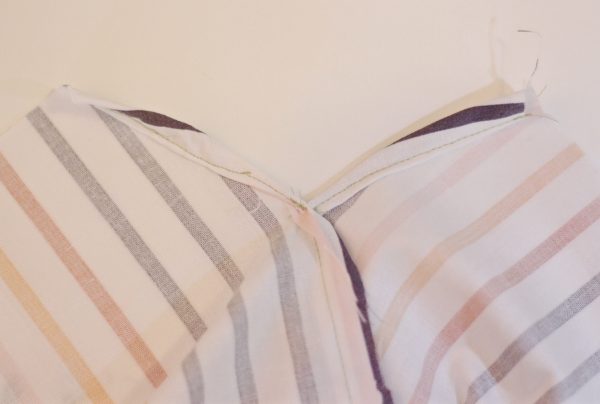
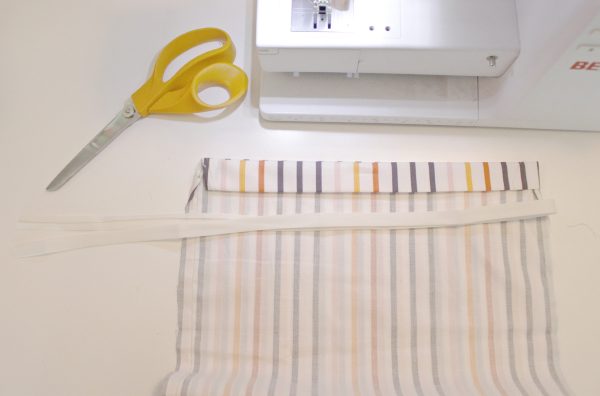
6. Fold over the top of the bag about ¾ of an inch then iron the fold. Repeat this one more time so that you have a nice hem with the raw edge of the fabric folded in and not visible.
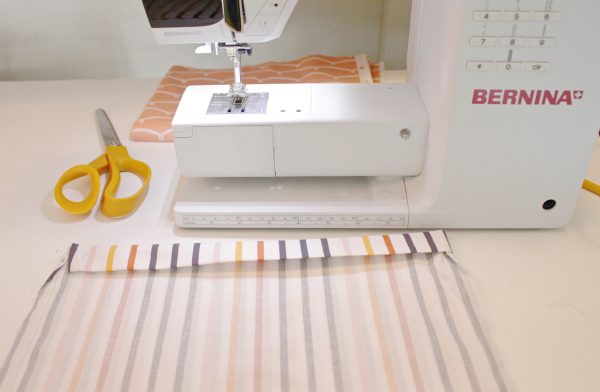
7. If you’re using bias tape: fold it in half and sew down the length of it.
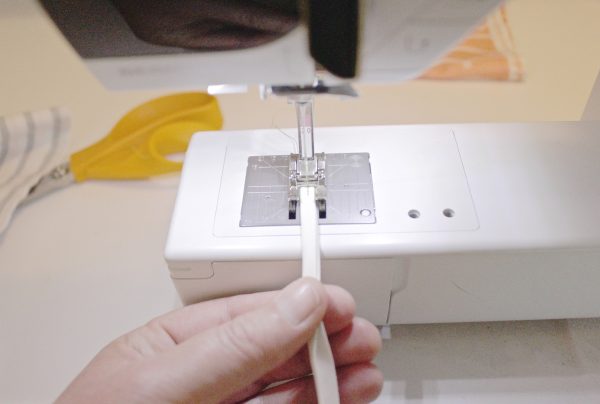
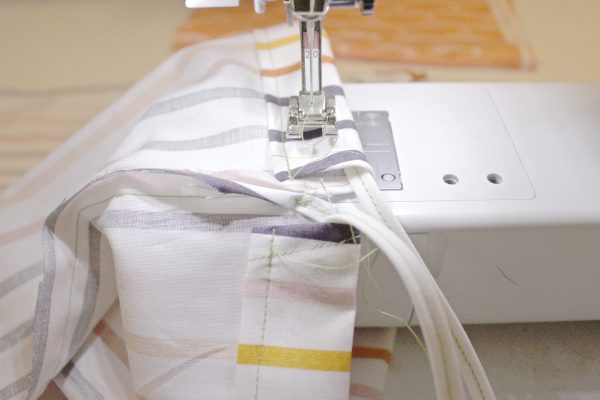
8. Place your sewn bias tape or ribbon inside the fold of the hem at the top of your bag.
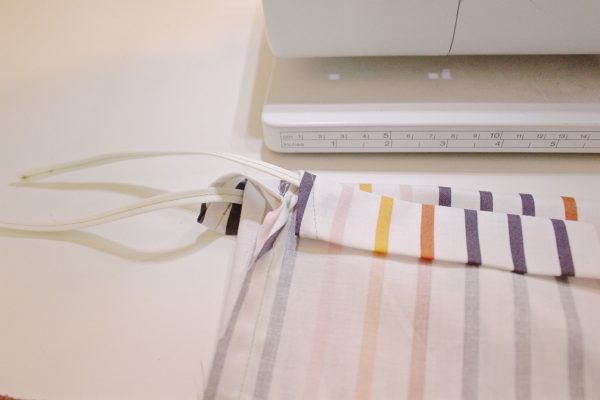
9. Start on one of the side where the tie comes out and sew the fold down with the tie inside the channel until you reach the other end of the bag where the other side of the tie comes out. I used the edge of my presser foot as my seam guide allowance meaning that the edge of my fabric was at the edge of the presser foot.
What you might also like
3 comments on “DIY 10-Minute Shoe Bags”
-
-
Great idea , will definitely sew up some of these, I try to out my shoes at the bottom of the suitcase or the side compartments. However, sometimes I have to put one on the top at the last minute!!
-
If you fold your fabric and then cut your rectangle 18 inches by 14 inches then one of your measurements needs to be doubled – 28” X 18” or 14” x 36”. One piece: 14” X 18” would make a very small shoe bag.
Leave a Reply
You must be logged in to post a comment.







Hi Nicole,
Your Mom is RIGHT! I never pack my shoes with my clothes; the shoe bags are wonderful.
Thanks for a great tutorial too!
JenniferSherese