How to Sew Baby Moccasins
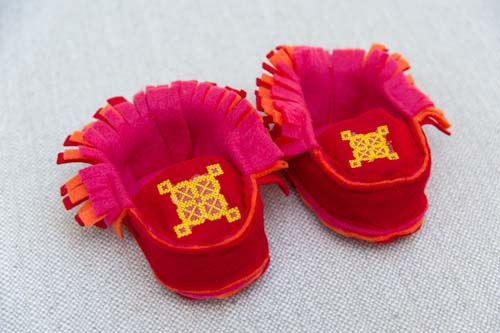
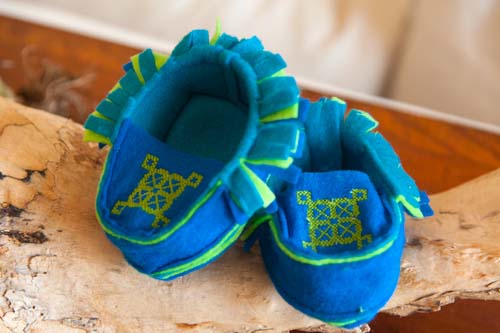
Warm, toasty, cozy, and looking cool. Taking just a few steps to make, the design possibilities are endless. Play with fabric, leather, felt, etc. and embellish with embroidery, glitz, or anything you like. This is a great project for using up remnants, too. Once you make a pair, you won’t want to just stop there. After all, when those little piggies come back from market, they like to slip into something comfortable.
Supplies
- Four 9ʺ x 12ʺ sheets of craft felt in desired colors
- Coordinating sewing thread
- Scissors
- Straight pins
- Sewing machine
- Quarter-inch foot (BERNINA Patchwork Foot #57)
For optional embroidery
- OESD StabilStick Tear-Away sticky-back stabilizer
- Quilt basting spray or temporary fabric adhesive spray
- OESD AquaFilm water-soluble stabilizer
- Coordinating embroidery thread
- Embroidery machine
Step 1) Embroider the moccasin tops.
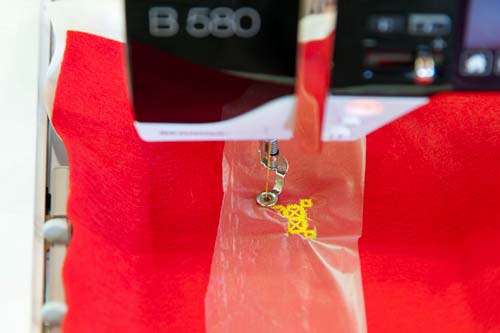
Adhere the tear-away stabilizer to the wrong side of the felt.
Place water-soluble stabilizer on the top.
Hoop all three layers together in the embroidery hoop.
Embroider your desired design on the felt.
Gently tear away the excess stabilizer.
Step 2) Cut the felt pieces.
Download and print the baby moccasin templates: Baby_Moccasins_pattern_pieces_121814.pdf
Cut six sides (three per shoe) on the fold.
Cut six bottoms (three per shoe).
Cut two tops. For embroidered moccasins, center the designs on the moccasin top pieces.
Tip: For the tri-color effect shown in the photos, layer three different colors of felt for the sides and bottoms of the moccasins.
Step 3) Construct the moccasins.
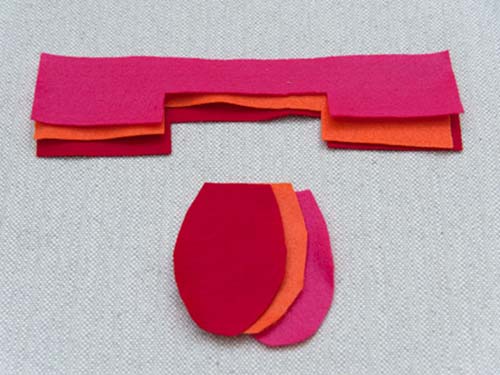
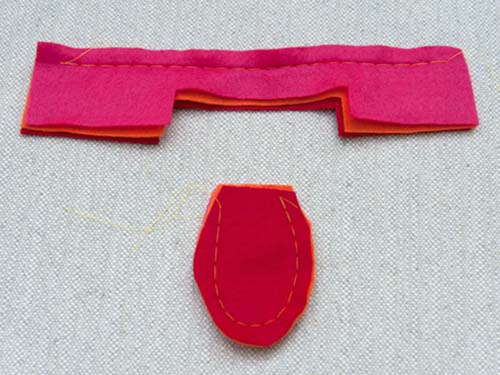
Layer three pieces of cut felt for each moccasin bottom and side.
Baste the layers together.
Tip: On my BERNINA 580, I used basting stitch #21. If your machine doesn’t have a basting stitch, use a straight stitch with the length set as long as possible.
Sew the moccasin top to the moccasin side, matching the center notches as marked on the pattern pieces, using a ¼ʺ-wide seam allowance.
Repeat for the second moccasin.
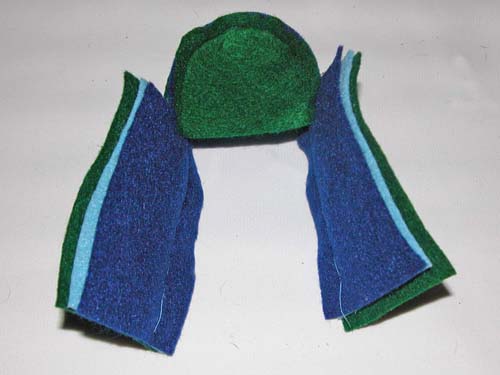
Sew the moccasin bottom to the moccasin side, again matching the center notches as marked on the pattern pieces, using a ¼ʺ-wide seam allowance.
At the back of the moccasin, sew where the side felt overlaps.
Repeat for the second moccasin.
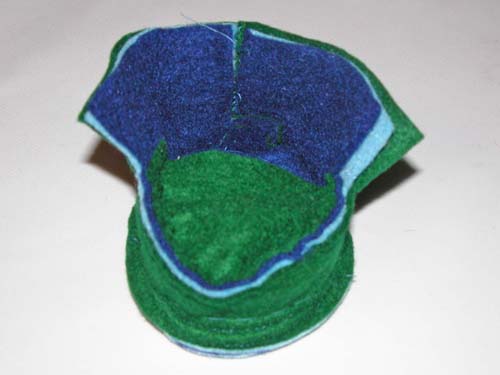
Fold down the fringe area of the side fabric and topstitch 1” from the front edge of the moccasin. This will help the fringe lay flat.
Cut fringe in strips approximately 1/4ʺ wide.
Remove the basting stitches. You’re all done!






One comment on “How to Sew Baby Moccasins”