How to Make a Chic Wrap
With a downtown attitude and easy-to-follow instructions, this designer-inspired wrap is sure to become a new favorite. Style it any way you like – tie it in the front, wrap it to the back and tie it, throw it over your shoulder, or let it fall loose. However you choose to wear it, you’ll stay in vogue with this look sewn using knit fabric.
Supplies
- 2-1/2 yards of interlock knit
- Measuring tape
- Fabric-marking tool
- Scissors
- Thread
- Sewing machine
Step 1) Measure and mark main fabric piece.
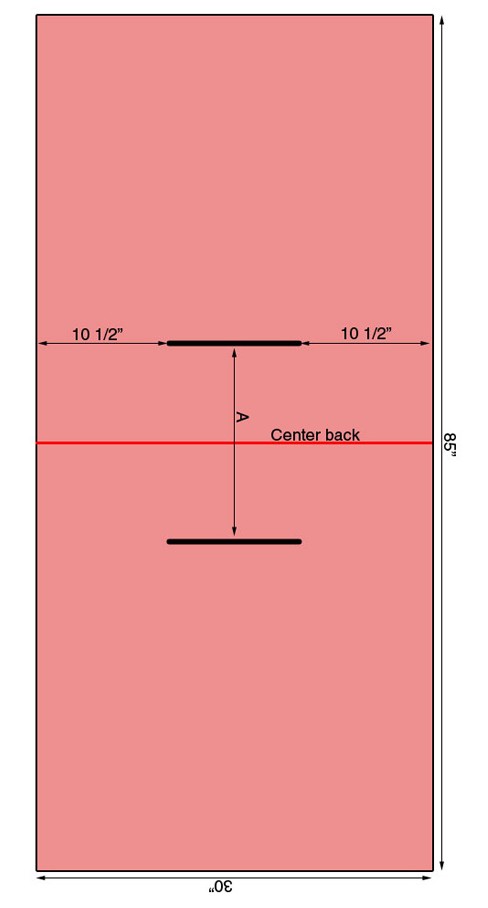
Measure across the back of your favorite t-shirt from armhole to armhole. Add 1″ to this measurement to find Length A. Mark the fabric as shown in the diagram.
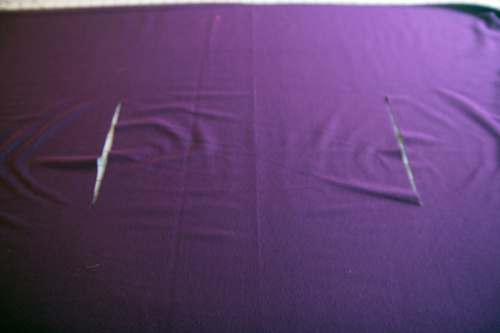
Mark 9″-long armholes on the fabric spaced as shown in the diagram.
Cut out the wrap fabric.
Step 2) Measure and mark the sleeves.
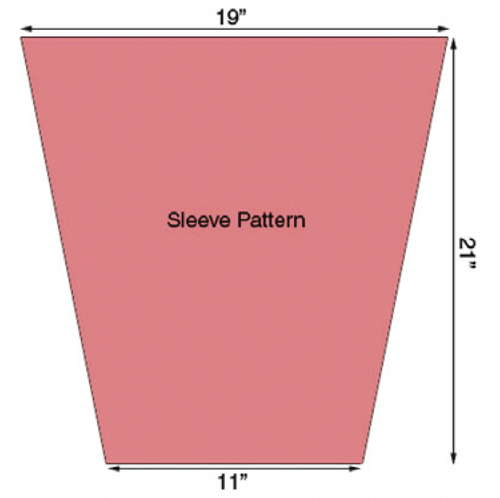
Mark the sleeve fabric as shown in the diagram. The 11″ end is the sleeve hem and the 19″ end is the armhole end.
Cut out the sleeves.
Step 3) Attach the sleeves.
Cut armholes in the wrap following the diagram in step 1.
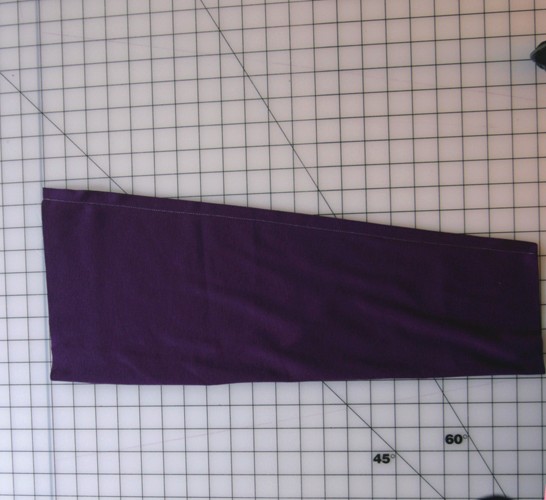
Fold one sleeve in half with right sides together and the 21″-long edges aligned. Sew the 21″-long edge with a 1/2″-wide seam allowance. Press the seam allowances open. Repeat for the second sleeve.
Pin a sleeve to each armhole with right sides together. Align the sleeve underarm seam with the bottom point of each armhole cut. Sew each armhole with a 1/2″-wide seam allowance. Press the seam allowances toward the sleeves.










One comment on “How to Make a Chic Wrap”