Hand-look Quilted Wallet
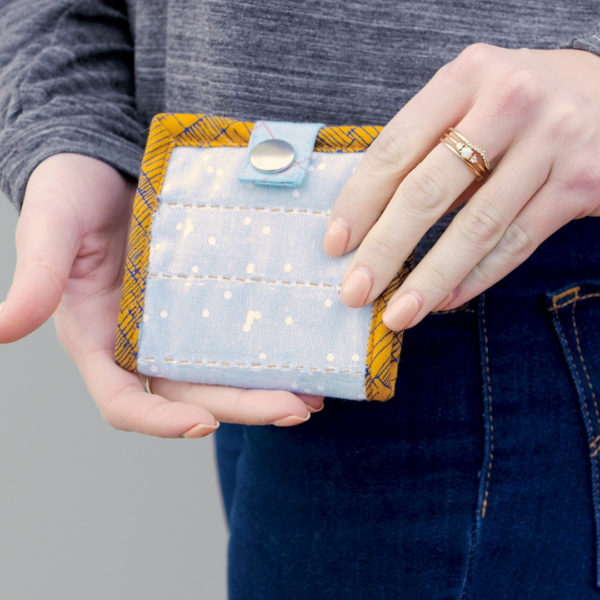
I love to travel handmade—having bags and accessories I have made myself is always a great way to show off my skills and wear something I’m proud of! A handmade wallet is a worthwhile accessory to make yourself as it’s something you likely use every single day.
Our project today takes a simple pattern for a wallet and adds a unique touch: the hand-look quilting stitch. Let’s take a look at how to make this fun project!
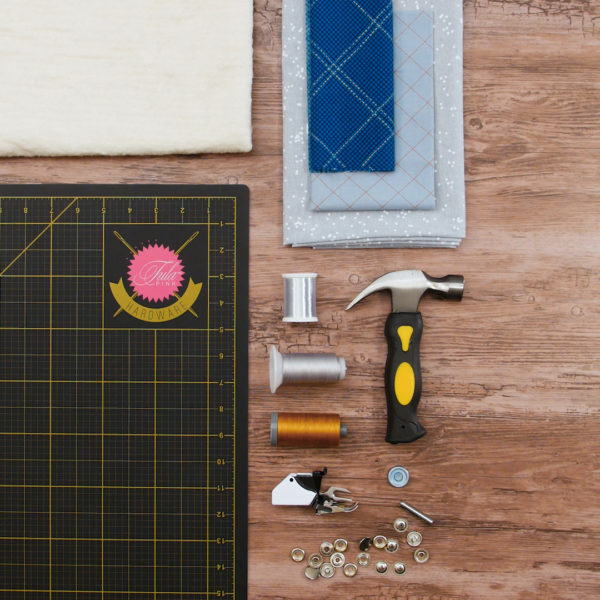
Materials to sew hand-look quilted wallet
- Exterior fabric
- (1) 9” x 6”
- Lining fabric
- (1) 11” x 8”
- Contrast fabric
- (1) 4” x 2”
- (2) 8” x 3”
- (2) 8” x 2”
- Binding fabric
- 30” of 2” wide binding
- ½ yd fusible woven interfacing
- (1) 4” x 2”
- (1) 8” x 3”
- (1) 8” x 2”
- Batting scraps
- 505 Spray Adhesive
- Topstitch needle 80/12
- Polyester monofilament thread
- Aurifil 28 wt cotton thread
- Heavy duty snaps
- Hammer
- Rotary cutter
- Self-healing cutting mat
- Three-sole walking foot #50
- B 570 QE
Steps to sew hand-look quilted wallet
Step 1. Layer fabrics
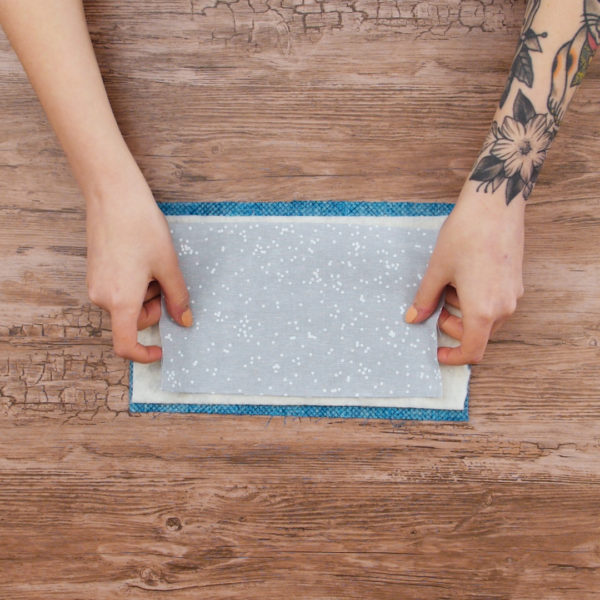
Our first step is to prepare a tiny quilt sandwich for our quilted exterior panel. We want to quilt a panel larger than our finished size so that we can trim down to fit. Since our finished and trimmed panel will be 8” x 4 ½”, we will quilt a small panel at approximately 9” x 6”. As with any quilt, make sure your batting is larger than your quilt top and your backing is larger than the batting.
Step 2. Quilt exterior
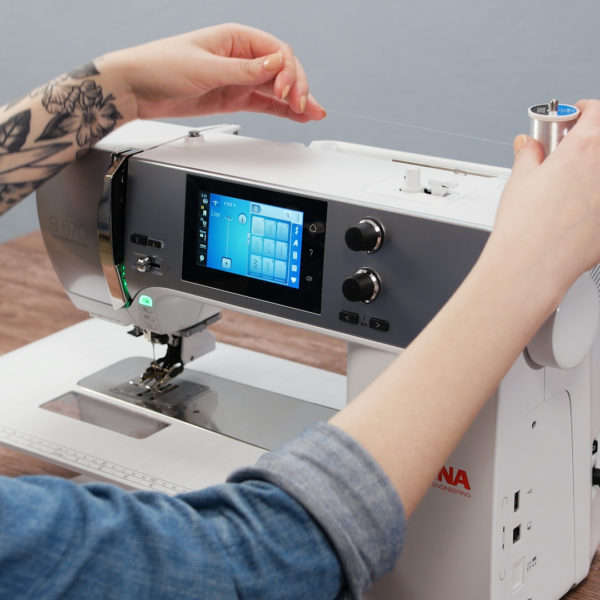
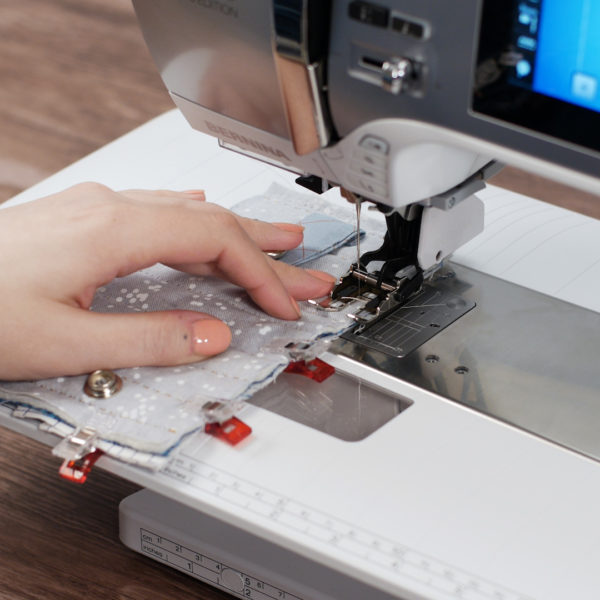
Next we will quilt our exterior panel. Attach the Three-sole walking foot #50 to your machine. Wind a bobbin with 28 wt thread and thread the needle with polyester monofilament thread. Monofilament threads are commonly made of either polyester or nylon—polyester is better for our application here because it is stronger than nylon and will withstand the tension required for this stitching!
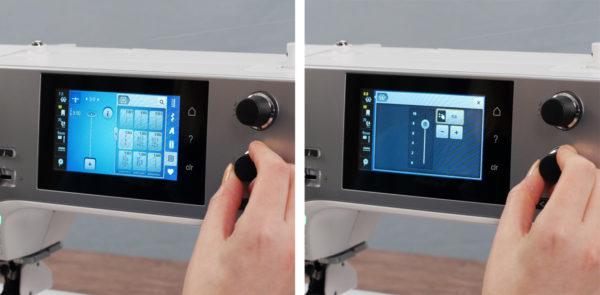
Now we will set up our stitch. Select stitch #1304, the hand-look quilting stitch, increase the stitch length to 3.5 mm and increase your upper thread tension to 8. You may need to adjust this tension once you get stitching but it’s a good place to start. This stitch requires such a high tension because what it does is the monofilament top thread will bring the bobbin thread up to the top to imitate the look of hand quilting.
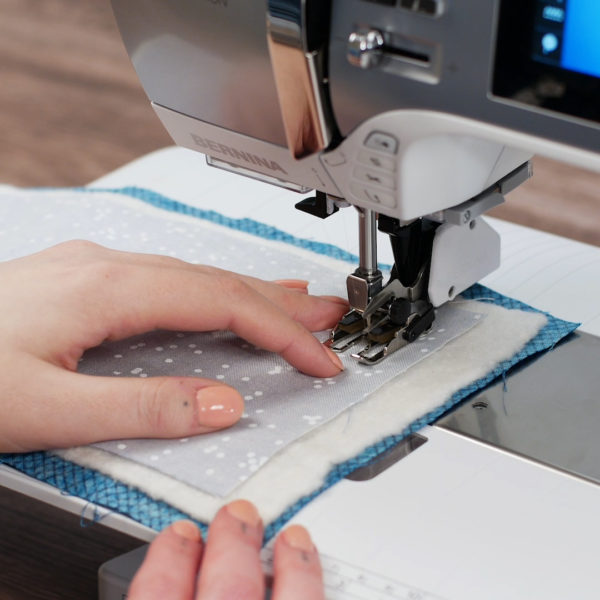
With your stitch set up, you can get to quilting! When you first begin a row with this stitch, it may take a couple stitches to get that bobbin thread pulled up and visible. Adjust your upper thread tension if necessary. Quilt lines about ¾” apart across the exterior panel. You can mark these lines with a chalk pencil or hera marker.
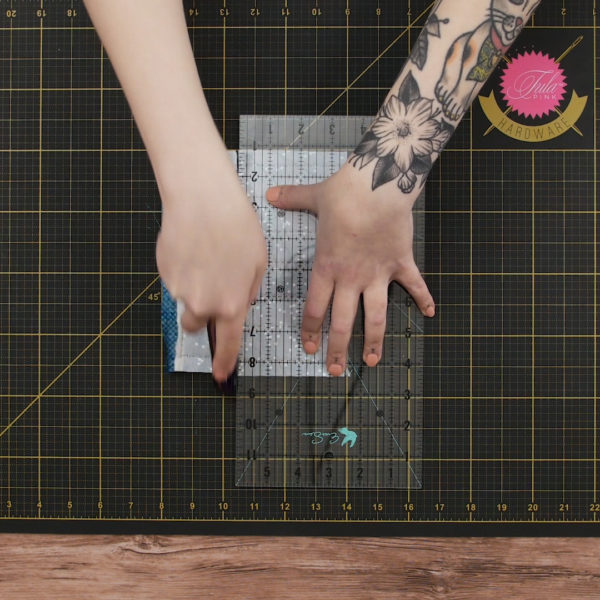
When your exterior panel is quilted, trim it down to 8” x 4 ½”.
Step 3. Add closure tab
Next, we will create a tab that will fold over to snap our wallet closed. Cut a piece of contrasting fabric and a piece of fusible woven interfacing both at 2” x 4”. Fuse the interfacing to the wrong side of the fabric. Fold over ¼” all the way around and press. Then, fold in half lengthwise and press. Edgestitch all the way around.
Attach the closure tab to the right side of the exterior panel aligning centered and about 1” in from the raw edge.
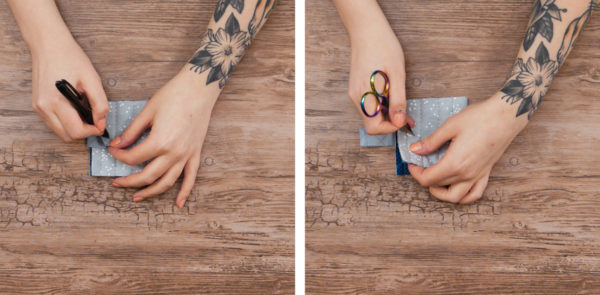
Mark the placement for the snap on the opposite end of exterior panel, again centered and about 1” in from the raw edge, folding the tab over to make sure things are aligned neatly. Create a small hole with a seam ripper or fine tipped snips.
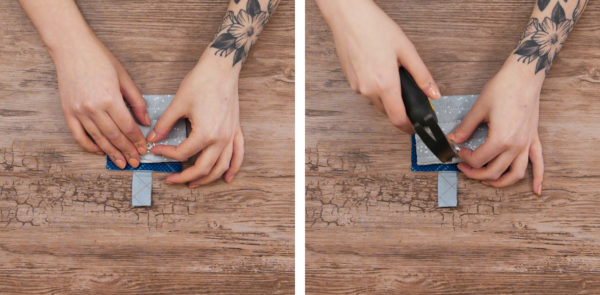
Follow your snap manufacturer’s instructions for setting this hardware. Set the receiving end of the snap into the exterior panel and the polished nickel side in the closure tab.
Step 4. Create pocket panel
The next thing our wallet needs is pockets! Fuse interfacing to one of each of the 8” x 3” and 8” x 2” contrast fabric pieces. Align the two 8” x 3” pieces right sides together and sew along the long edge with a ¼” seam allowance. Press seam allowance open. Fold right sides together and press at seam again. Edgestitch along the pressed, seamed edge. Repeat the process for the 8” x 2” pieces.
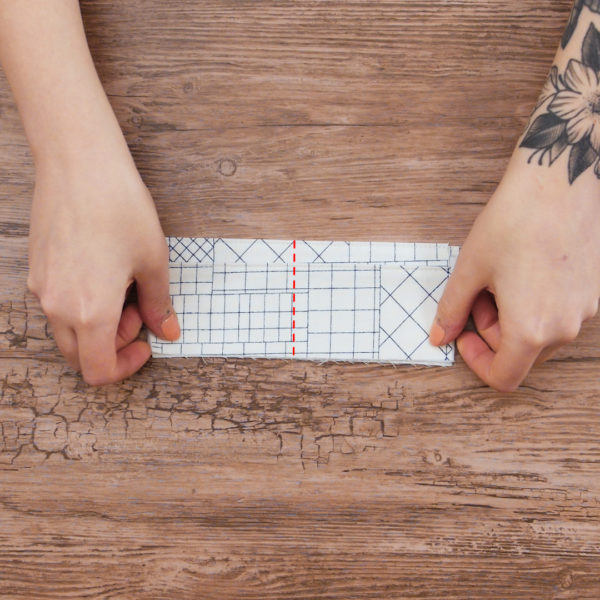
Layer the smaller of the pocket panels on top of the larger and mark center line.
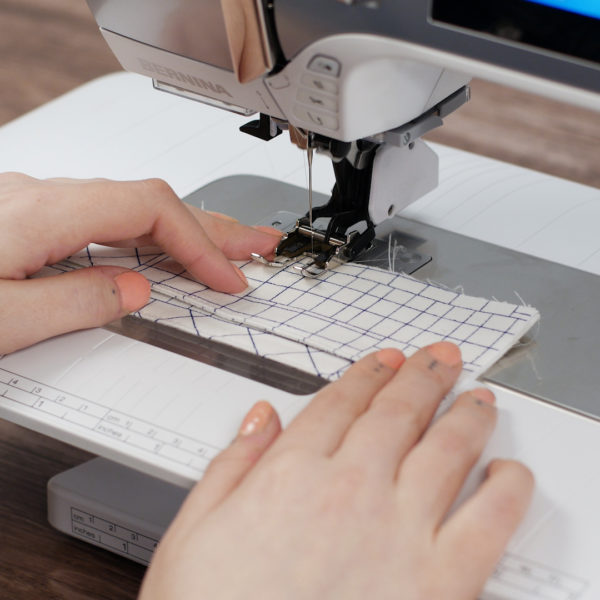
Stitch together at center to create one pocket panel.
Step 5. Baste together
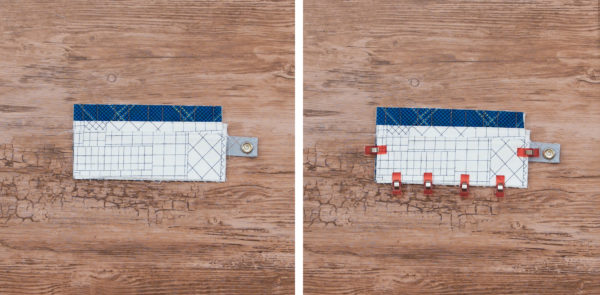
Layer the pocket panel on the wrong (lining) side of the quilted panel, aligning bottom and side raw edges together. Pin or Wonder Clip together.
Select a straight stitch and lengthen to 6 mm. Baste the pocket panel to the exterior panel with a scant ¼” seam allowance.
Step 6. Bind
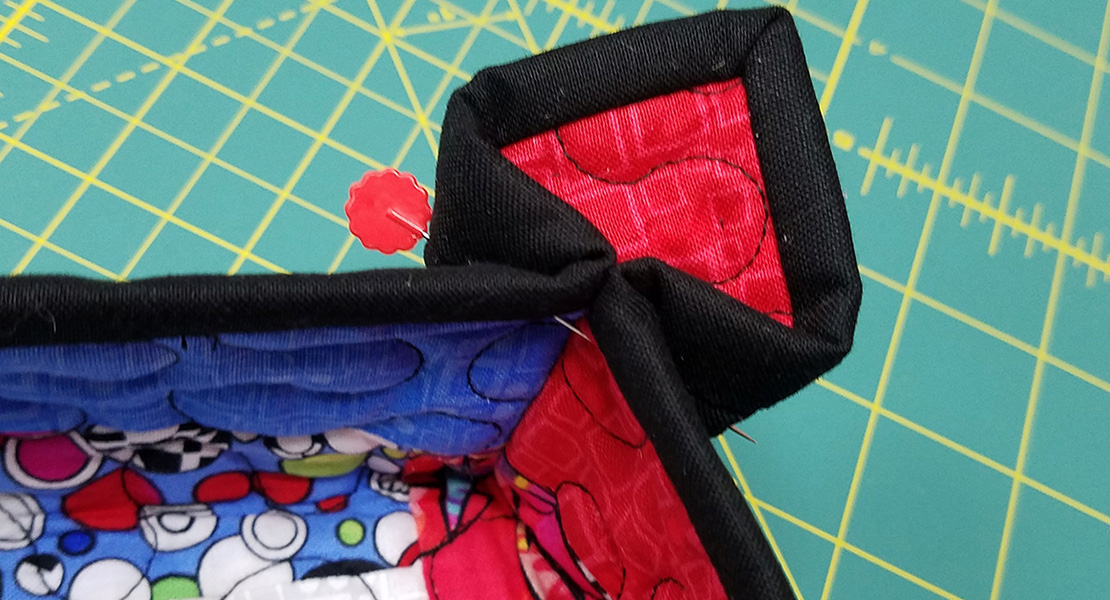
The final step in the process is to bind! There are many different ways you may choose to bind this raw edge. Just keep in mind that you will need about 30” of binding and you will attach the binding with the lining/pocket side up, then wrap around to the exterior to stitch down. Whether you choose to stitch down by hand, by machine, or with a binding attachment accessory, once you are bound, you are finished!
What you might also like
7 comments on “Hand-look Quilted Wallet”
-
-
Did you change your needle to one with a larger eye? Changing needles may help.
-
-
Can’t wait to get it made. Thanks for the pattern. Kambrook.
-
Cool idea, I’m making checkbook covers in the hoop, your wallet is a great compliment for gift sets. Thanks
-
I too was very disappointed when experimenting with this technique.
-
-
Can you give directions for that stitch on Bernina QE 440?
-
The aurora 440 QE has three variations of the hand-look stitch: #44, #60, and #61. I suggest testing each of these out and deciding which one you like best!
-
Leave a Reply
You must be logged in to post a comment.






I have spent hours trying to do stitch 1304 with monofilament thread. The thread always breaks! Then you spend more time picking the monofilament from inside the machine. Changed tension, bought new thread, talked to dealer etc. Pretty much decided it is not good use of my time to use monofilament thread with Bernina. Switch to the older Elna no problems.