Invisible Zipper Pillow Cover Tutorial
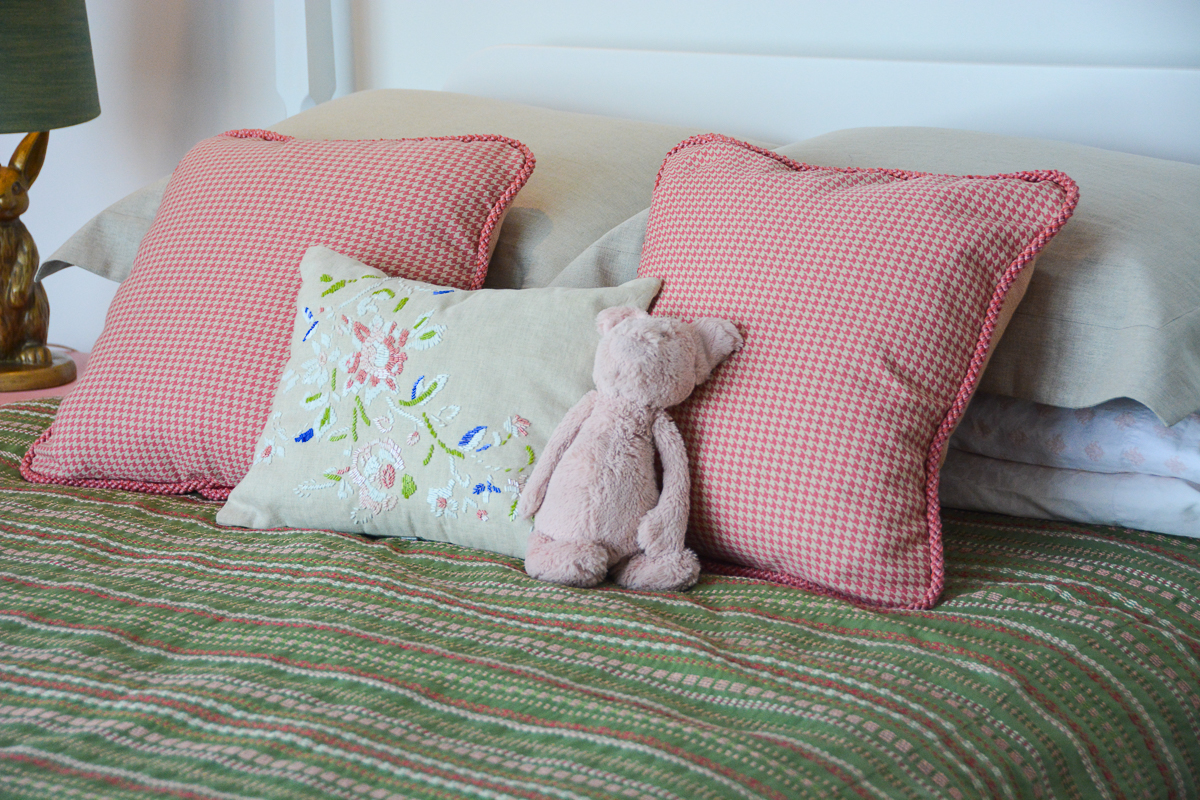
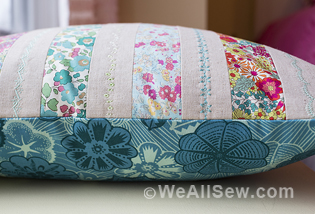
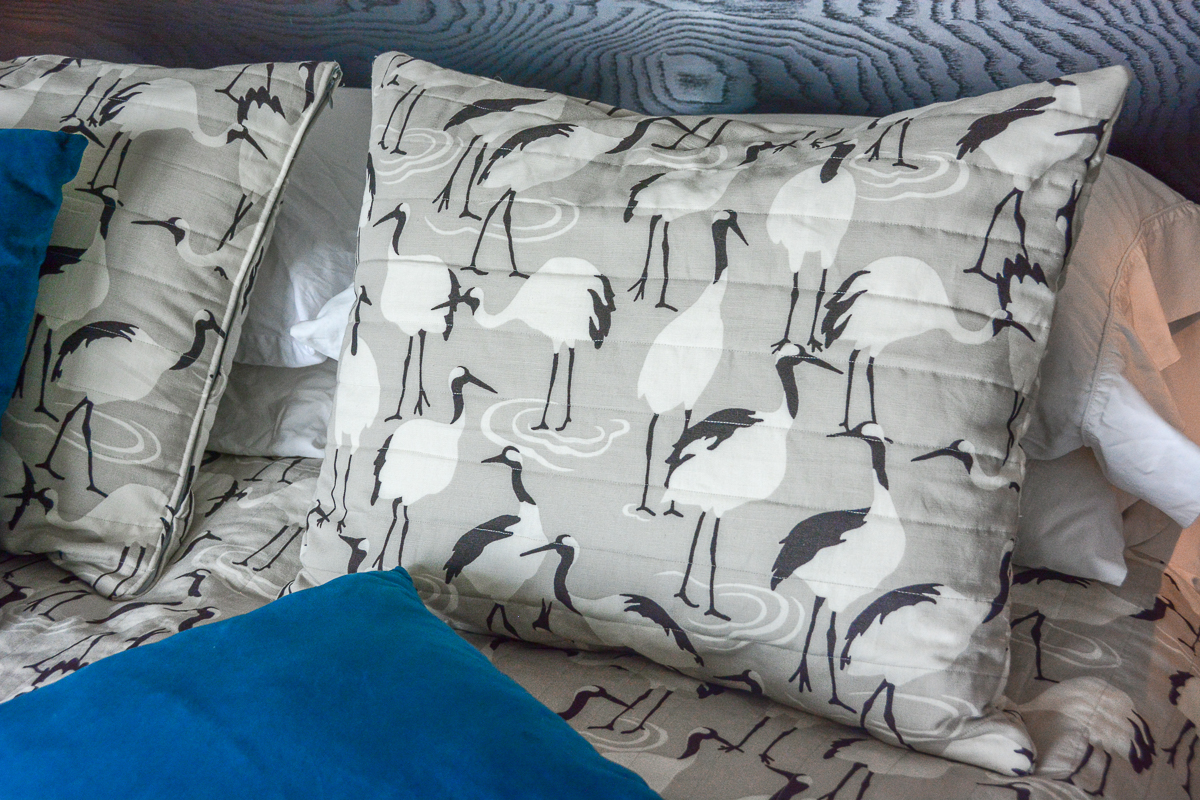
Do you have any tired or worn-out throw pillows that need a makeover? Create a simple invisible zipper pillow cover to give your throw pillows a new look!
Materials to Make an Invisible Zipper Pillow Cover
- Sewing machine (I use a BERNINA 590 E)
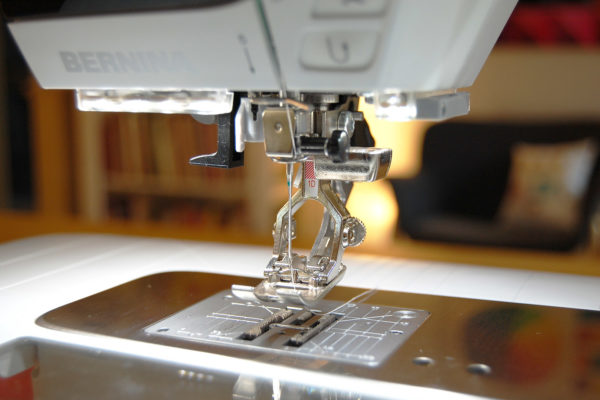
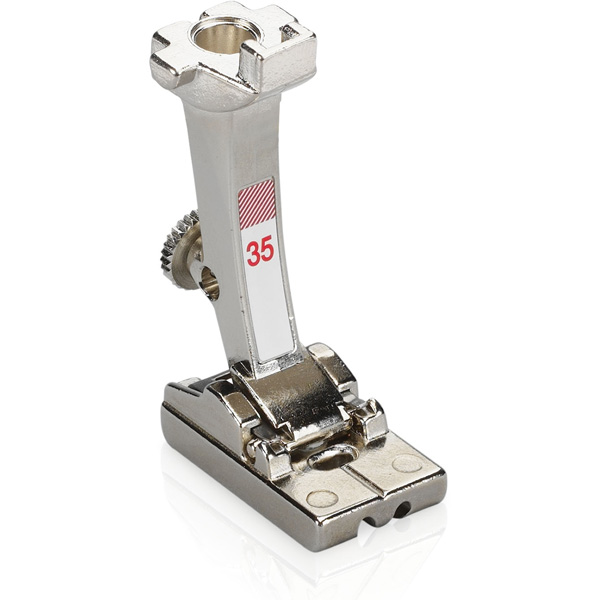
- Invisible zipper foot #35
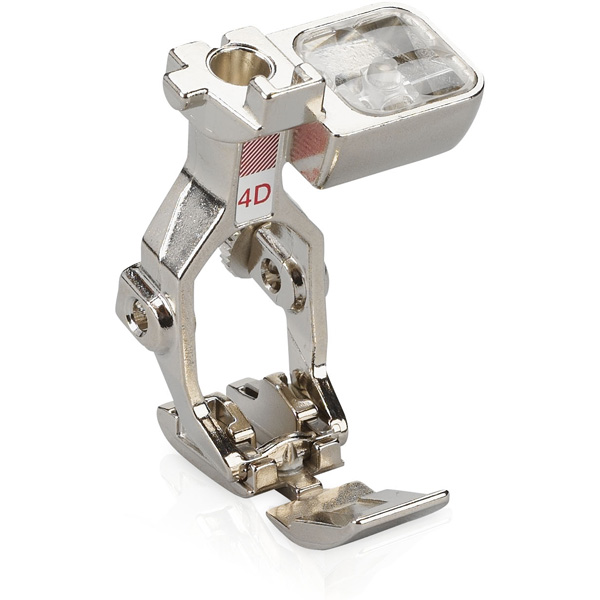
- Zipper foot #4D
- Reverse pattern foot #1D
- Pillow or pillow form
- Invisible zipper about the same length as your pillow
- Coordinating thread
- Fabric—two pieces for pillow cover cut 1″ larger than pillow
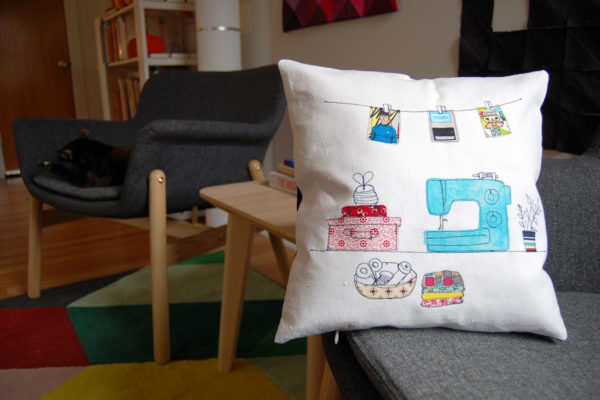
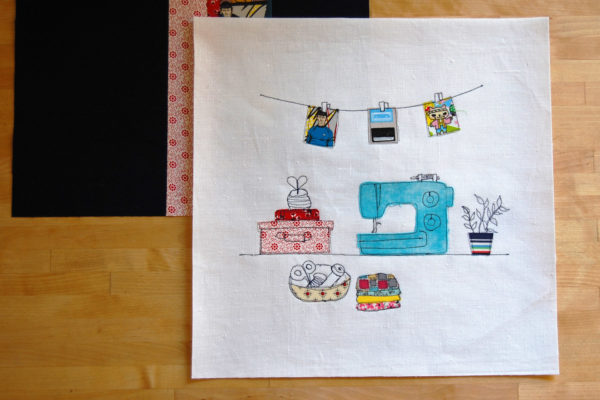
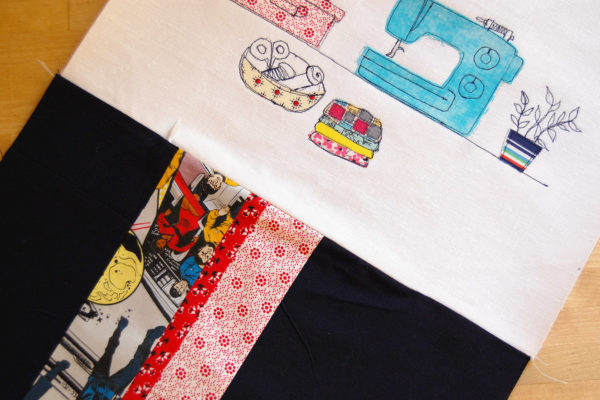
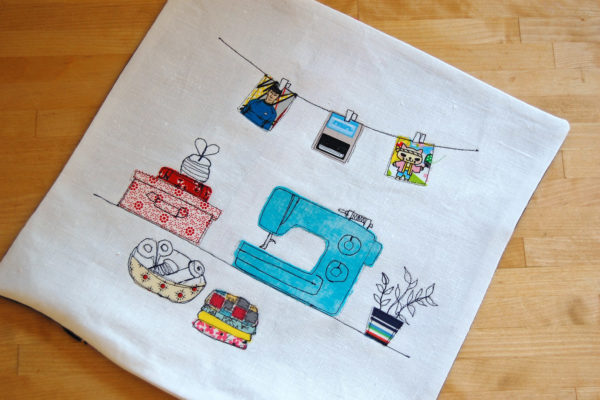
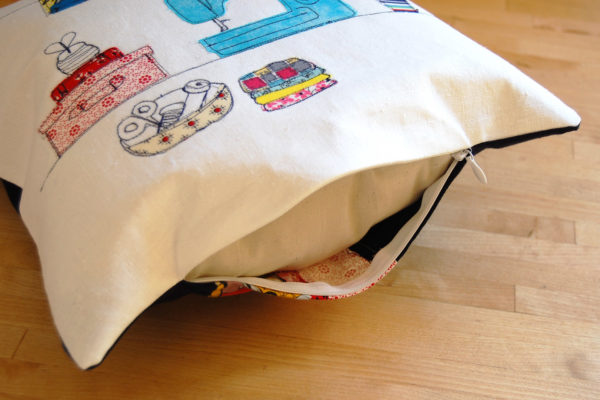
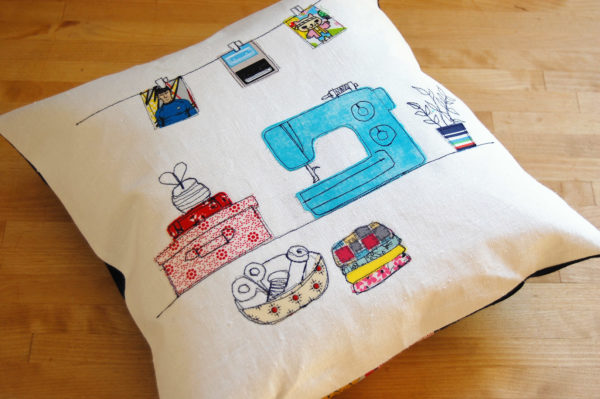
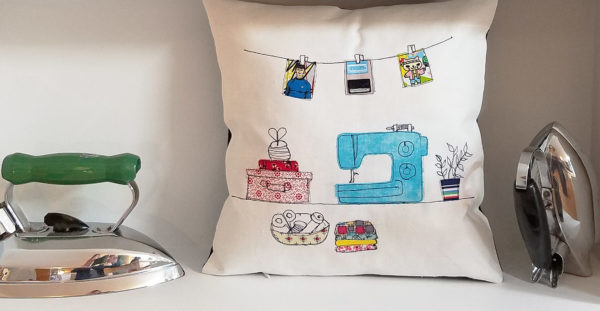
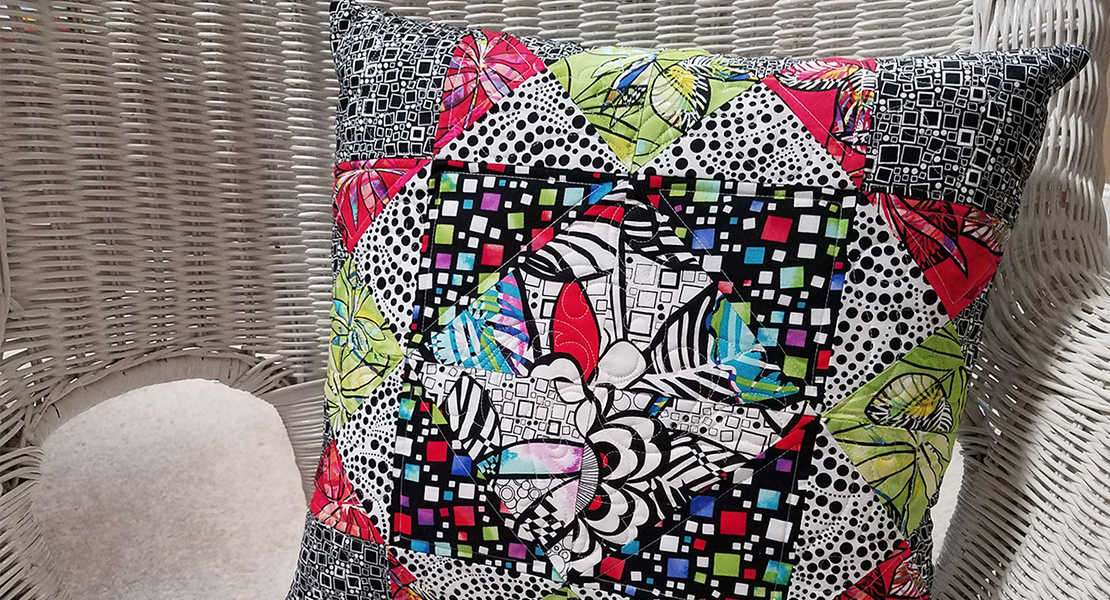
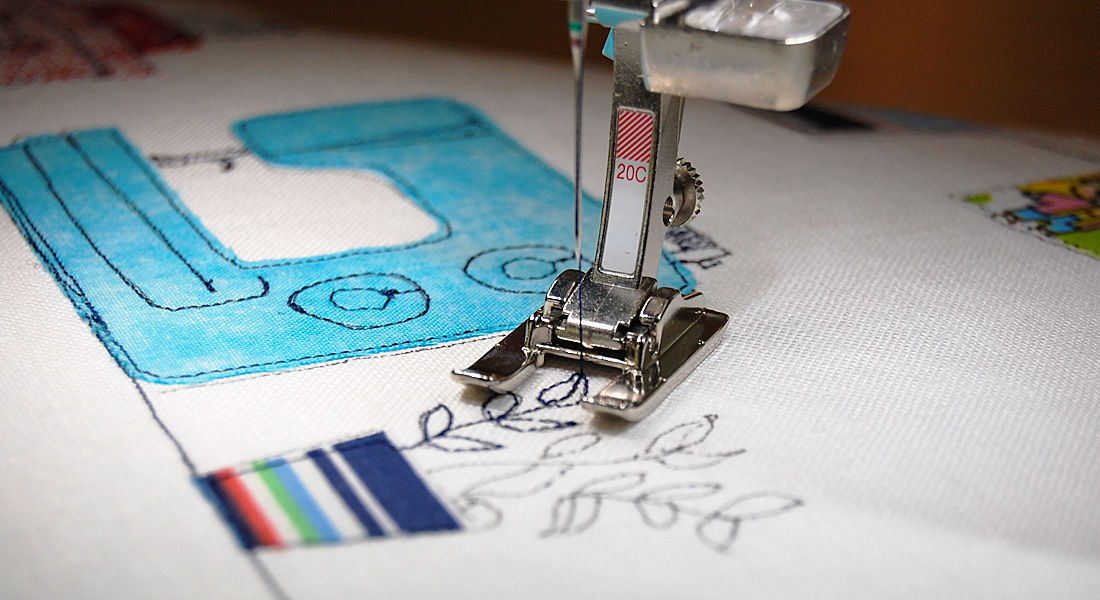
You can use solid colored fabric, patchwork, or anything else you choose to create your pillow cover. I used an appliqué design created from Minki Kim’s book, Diary in Stitches (click here to see how I made this design). I created a simple patchwork panel for the back of the pillow cover.
Measure your pillow to cover or your pillow form, my pillow form measures 12″ x 12″. Add 1″ to each measurement to cut each side of the pillow cover. Since my pillow form measures 12″ x 12″, I added 1″ to each side for a final pattern measurement of 13″ x 13″.
Your invisible zipper should measure about the length of one edge of the pillow to just 2″ shorter than the edge. If the zipper is too short, you won’t be able to pop the pillow cover over the pillow! If your zipper is too long, follow the manufacturer’s instructions for shortening the zipper.
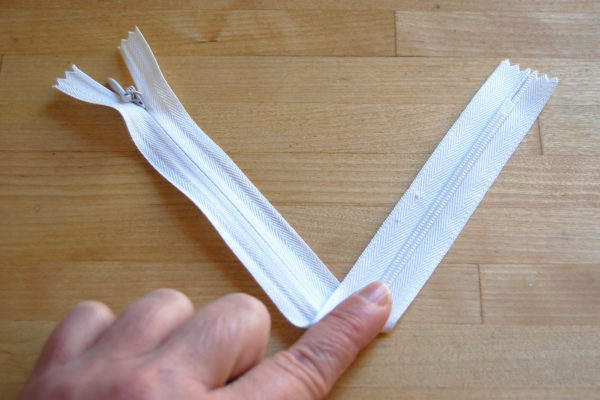
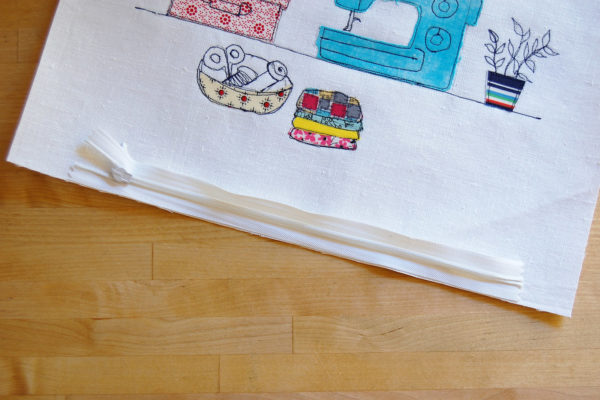
Give the zipper a thorough pressing on the polyester setting before starting your pillow cover. Notice above the invisible zipper has two sides; the coils show only on the wrong side of the zipper.
Install Invisible zipper foot #35 to sew the zipper in place.
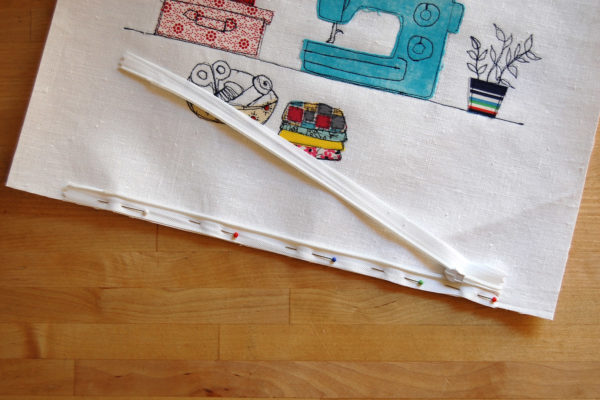
With zipper open, place one edge right side down on the bottom edge of one side of the pillow cover. Make sure the zipper coil faces towards the inside of the pillow and the edge of the zipper tape is flush with the raw edge of the pillow cover. Pin in place.
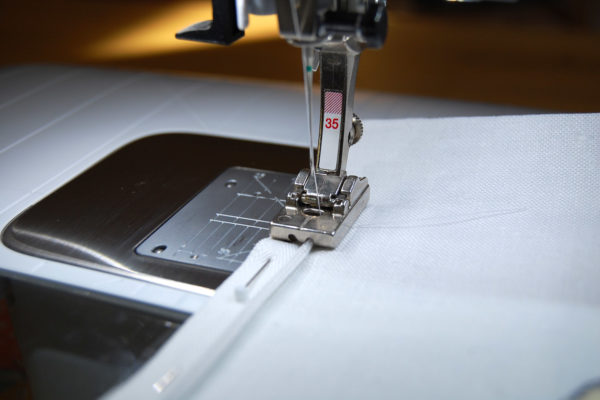
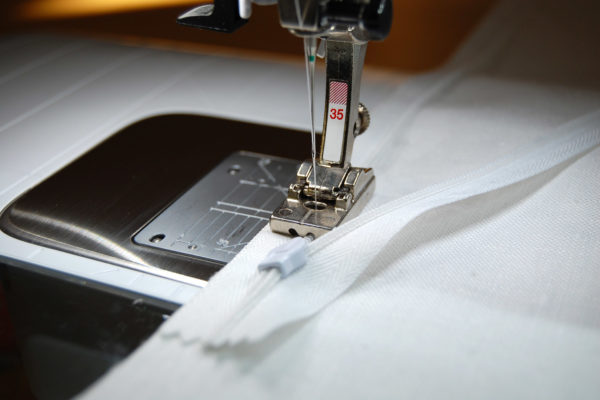
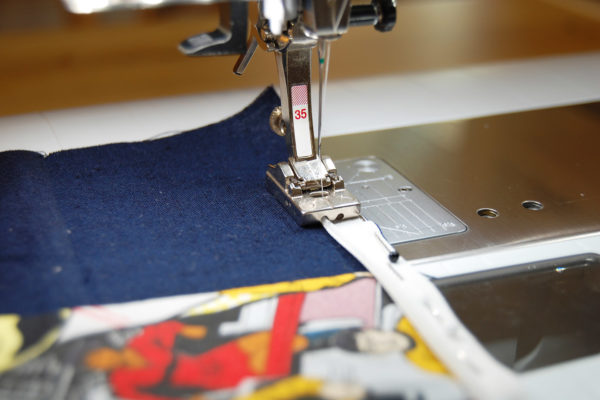
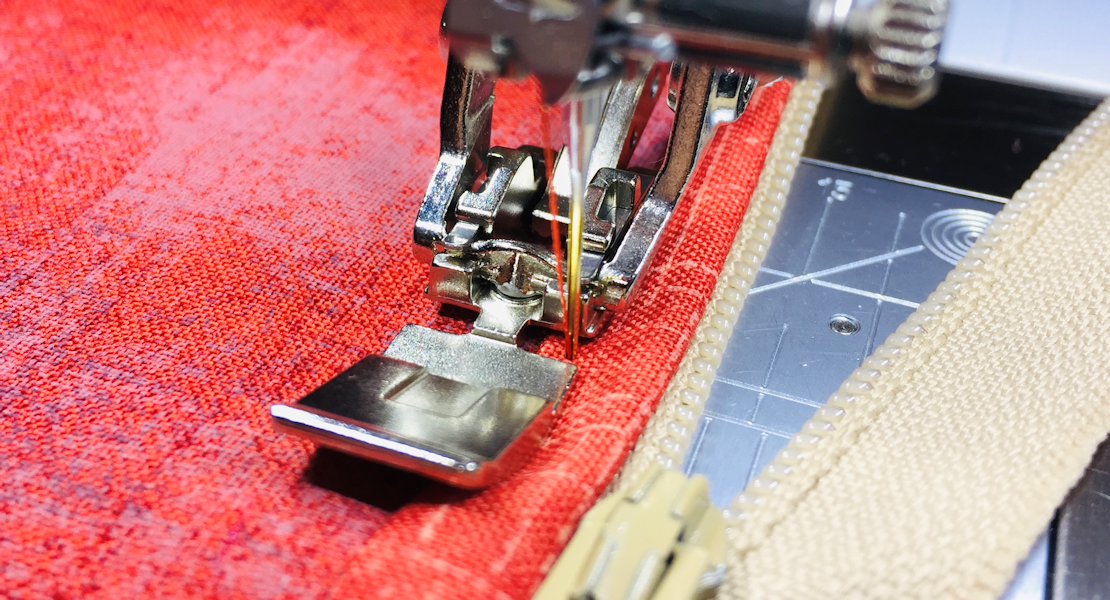
Place pinned zipper under the Invisible zipper foot #35 at your sewing machine. Insert the zipper coil in the far right slot of Invisible zipper foot #35. Look carefully, the needle should be penetrating the zipper tape right next to the coil. The top of the foot is open to allow you to move the needle over one or two positions if you need to hug the edge of the coil a little tighter. Adjust if necessary. Begin sewing at one end of the zipper, back stitching as you begin.
Sew down the length of the zipper, back stitching when you reach the zipper pull.
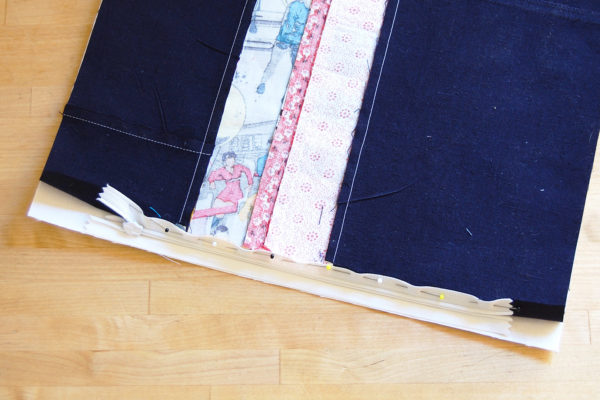
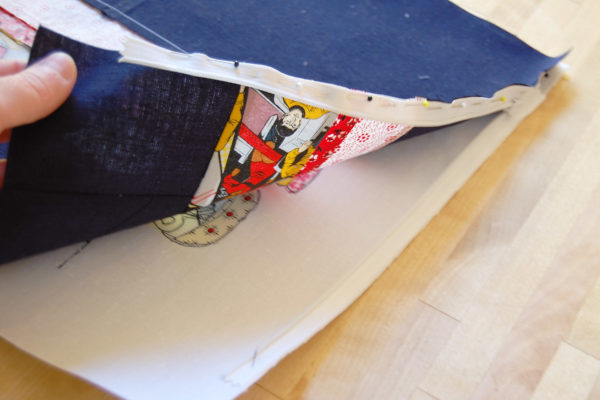
After stitching one side of the zipper, close the zipper and carefully line-up the other side of the pillow cover, matching raw edges. Pin the edge of the zipper to the other bottom edge of the pillow cover.
Open the zipper again before sewing.
Place the pinned zipper under the Invisible zipper foot #35 with the coil seated in the far left slot, and stitch as above.
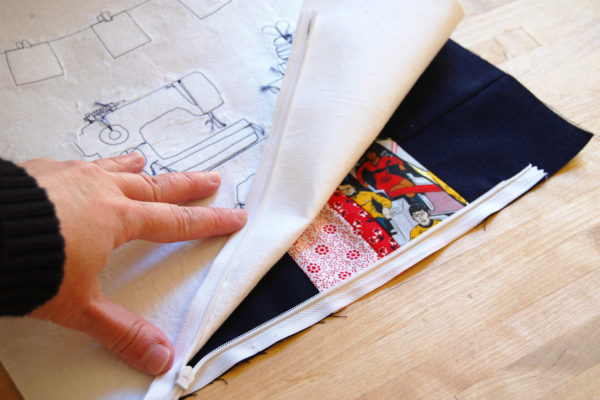
Close the zipper after stitching. We will finish stitching this edge of the pillow cover before moving on.
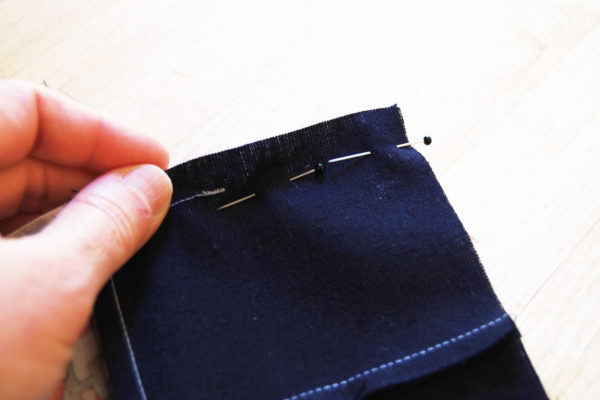
Pin the two open ends of the pillow together on either side of the zipper, from raw edge to where the zipper begins.
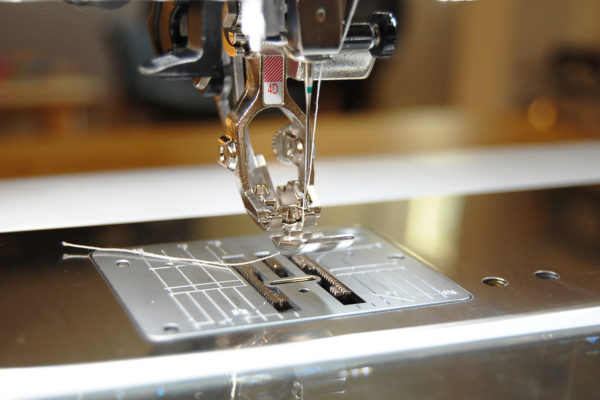
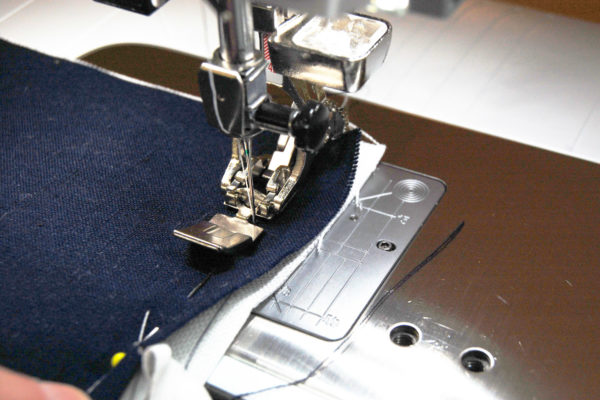
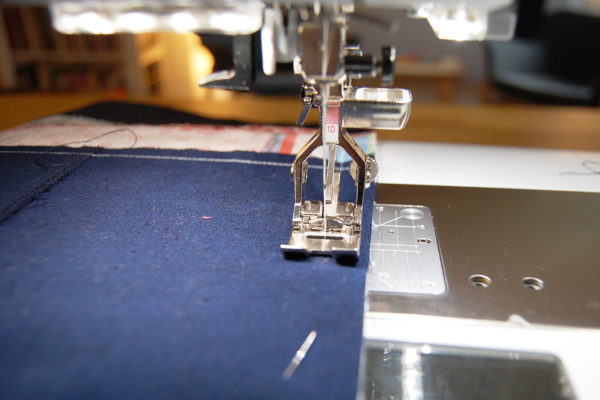
Install Zipper foot #4D and engage the Dual Feed if you have this feature. Using the Zipper foot #4D will help to sew as close as possible to the inserted zipper.
Move the needle to the right so it will clear the middle of Zipper foot #4. Measure from the needle position to the edge of the fabric 1/2″ and stitch. On my B 590 E this measurement falls on the 5/8 stitch line, so I can follow this line on the stitch plate. Sew right up to the inserted zipper and back stitch. Repeat for the seam on the other side of the zipper.
After stitching, bring the pillow cover to your iron and press this seam well. Make sure the seams on each side of the zipper are pressed open.
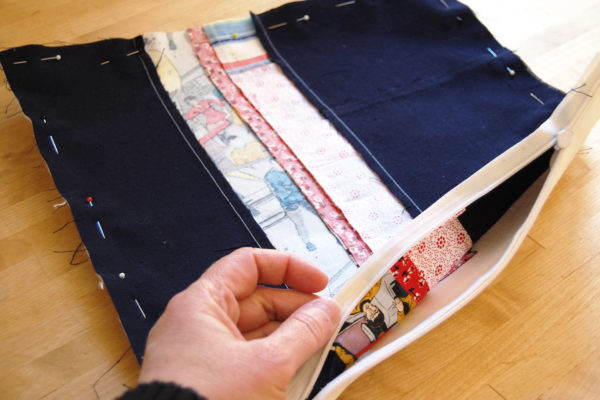
Flip the pillow cover right sides together, matching raw edges, and pin around the other 3 sides. Make sure to open the zipper before stitching the next step!
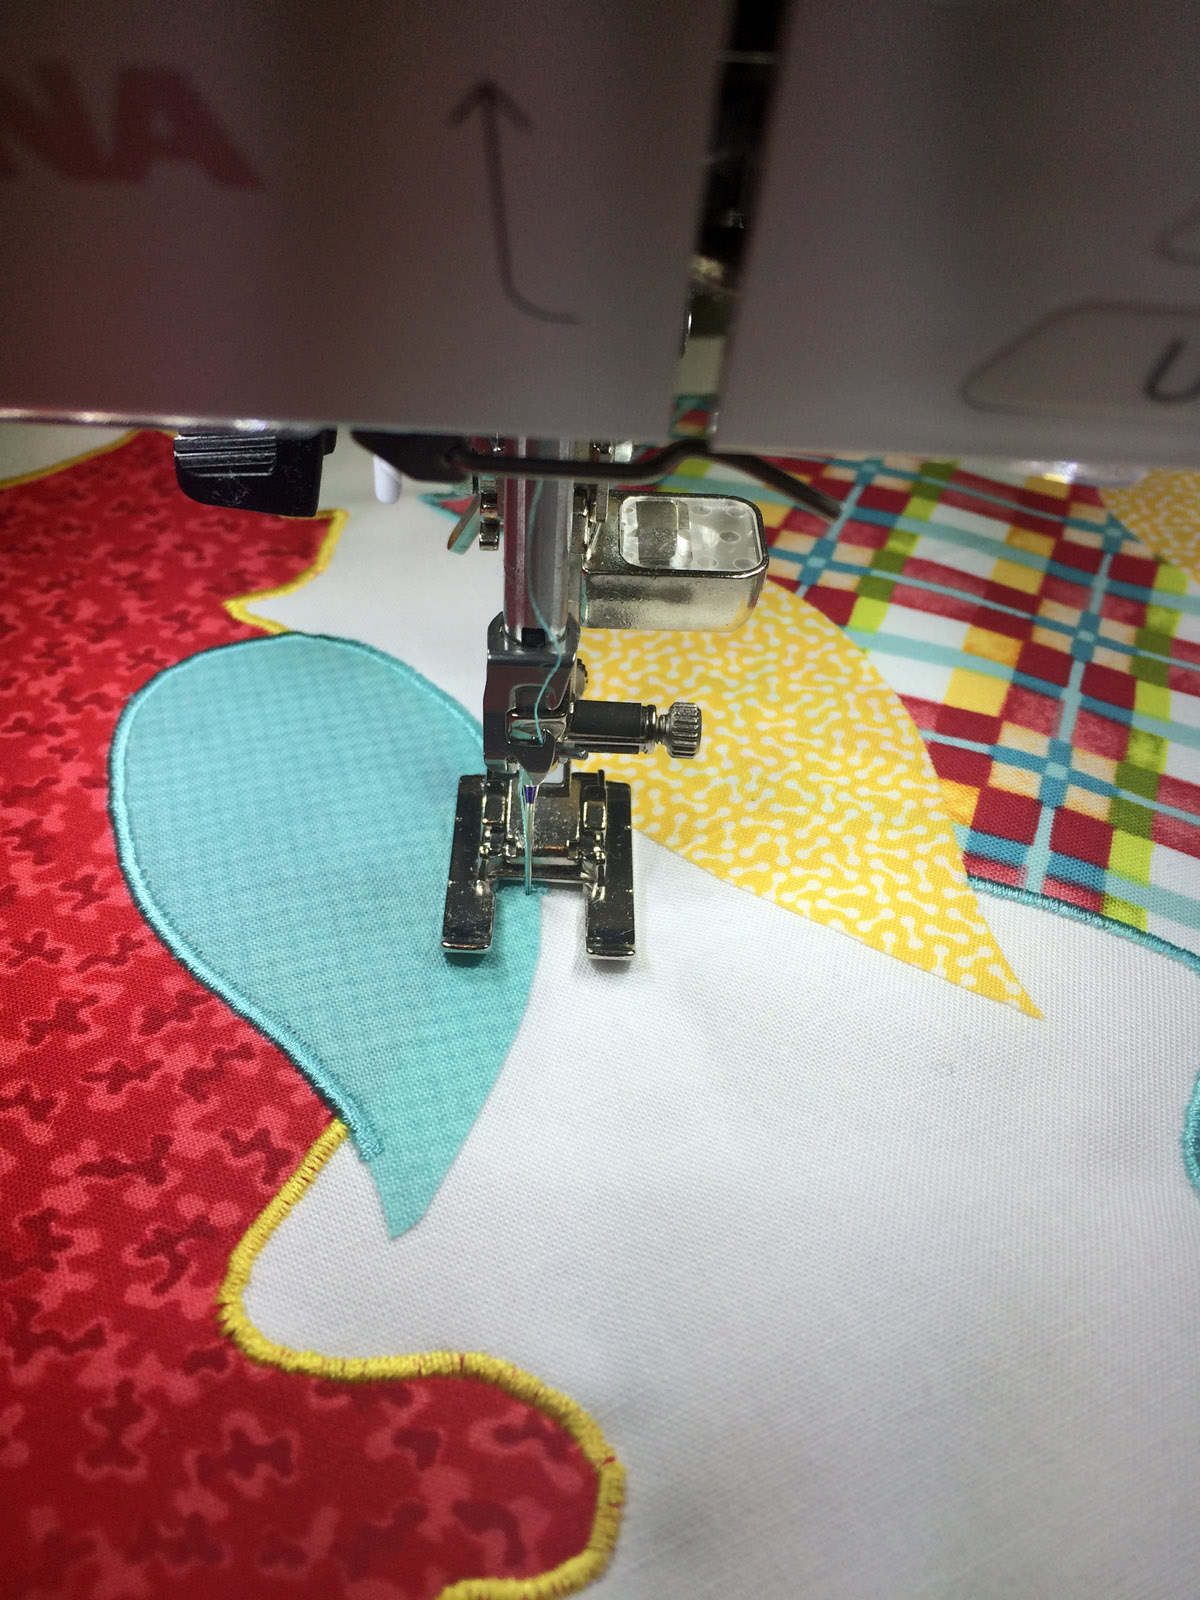
Install Reverse pattern foot #1D and engage Dual Feed if you have this feature on your machine.
Stitch around the remaining three sides of the pillow cover with a 1/2″ seam allowance.
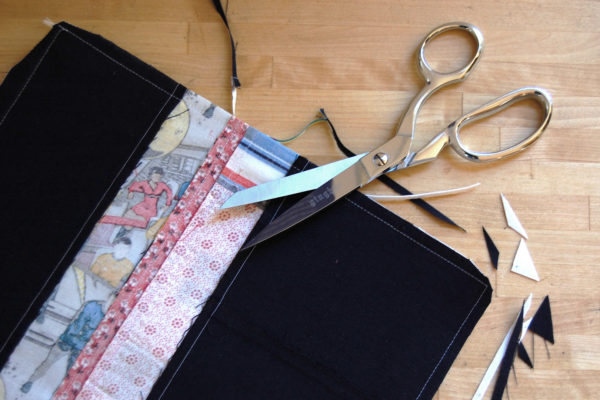
Trim seam allowances to 1/4″ and clip corners close to stitching.
Turn pillow cover inside out, carefully pushing corners out with a point turner or the blunt edge of a chopstick. Press the edges well.
Insert the pillow or pillow form.
Zip up the pillow cover.
Enjoy!
What you might also like
4 comments on “Invisible Zipper Pillow Cover Tutorial”
-
-
This is perfect to show how easy it is to sew in an invisible zipper for anyone who has been afraid to try and that having the right tools for any project makes everything that much easier.
-
These look like great instructions but as I have a Bernina 440 I am wondering which the best feet I shoiud use?Many Thanks
Yvonne-
Hello wekasix, you can use Invisible zipper foot #35 to insert the invisible zipper, Zipper foot #4 to finish the zipper seam, and Reverse pattern foot #1 to sew the pillow. If you are interested in purchasing any feet or accessories you don’t already have on hand, check in with your local BERNINA store.
-
Leave a Reply
You must be logged in to post a comment.














Do I see Mr Spock on that clothesline? Love it!