Unicorn Mini Quilt
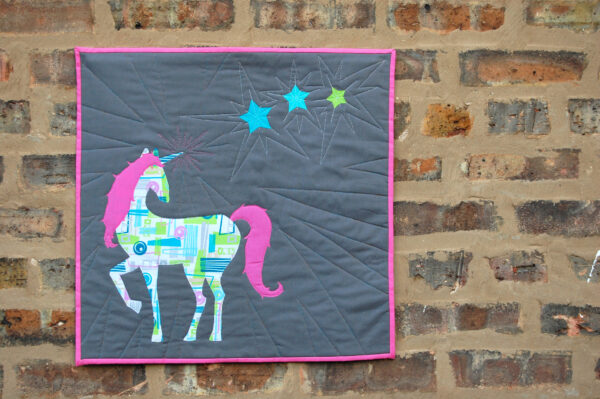
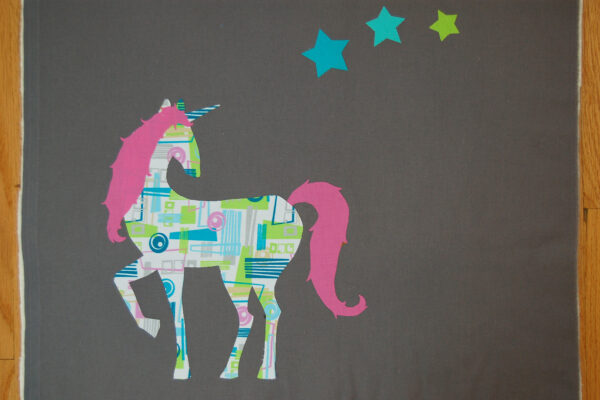
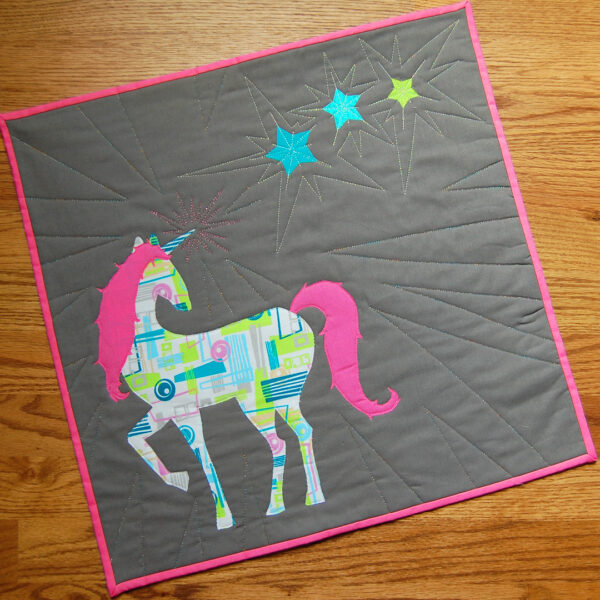
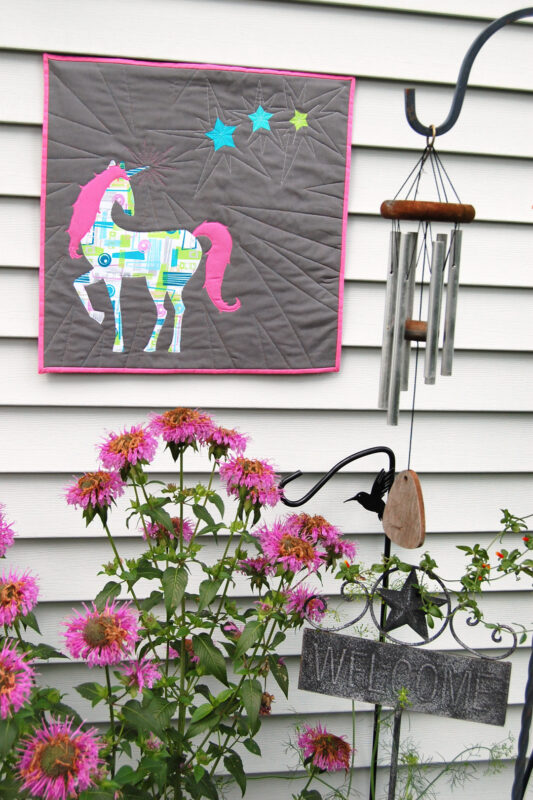
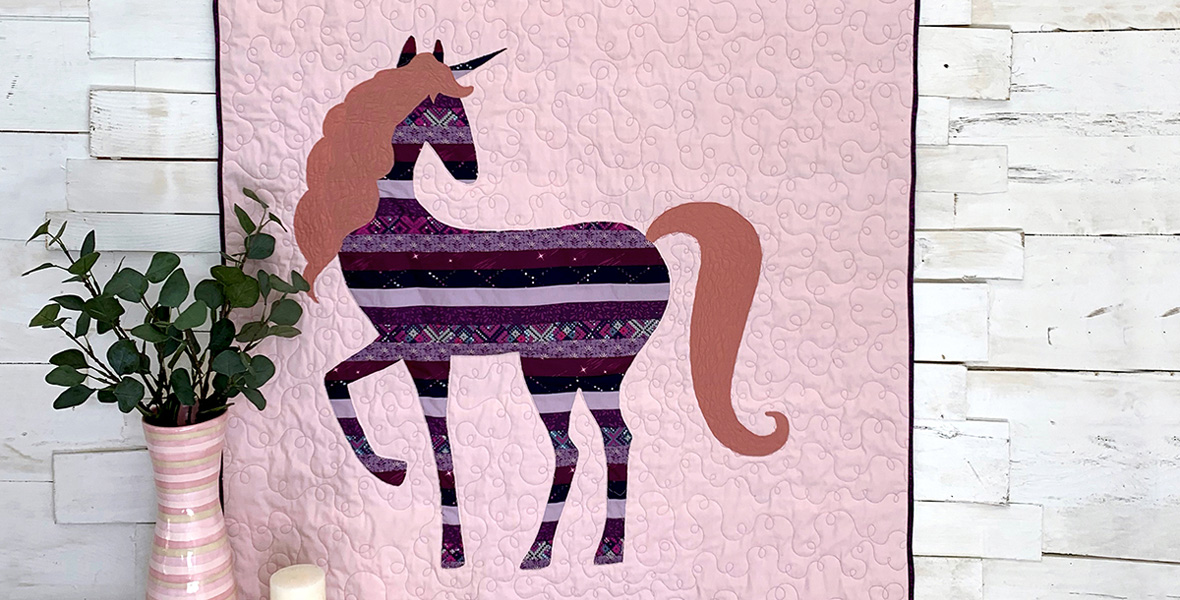
Did you see Art Gallery Fabric’s super cute unicorn baby quilt project? I wanted to make a smaller version for our home to hang in our garden (and eventually in my 10 year old daughter’s room, of course). Let me show you how to use the template from the AGF Unicorn Quilt tutorial to create a smaller appliqué Unicorn Mini Quilt!
Materials to Make a Unicorn Mini Quilt
- Visit the Reverse Appliqué Unicorn Quilt Tutorial and download the template
- Printer loaded with 8 1/2″ x 11″ paper
- Paper cutting scissors
- Tape
- Fat quarters or two pieces cut 18″ x 22″ for mini quilt front and back
- Scraps of fabric for unicorn and stars
- Iron on double-sided adhesive
- 1/3 yard fabric for binding
- Quilt batting scrap cut approximately 20″ x 24″
- Temporary spray adhesive or quilt basting spray
- Cutting mat, quilting ruler, and rotary cutter
- Various threads
- Walking foot #50
Step one: print the template.
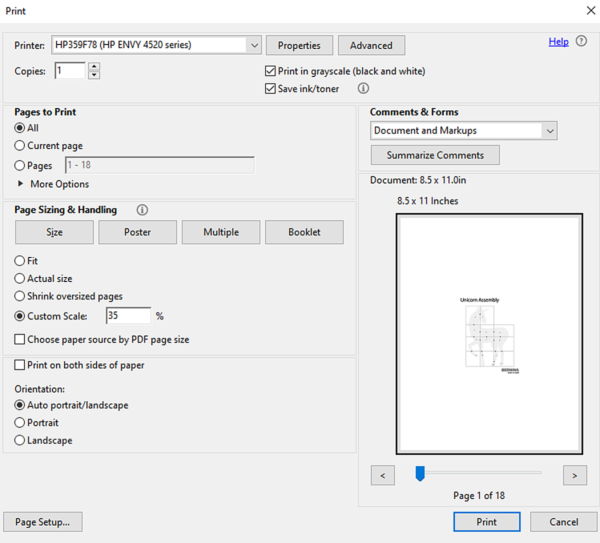
To create the smaller unicorn and shapes, I decreased the size of the downloaded templates before printing from my PC.
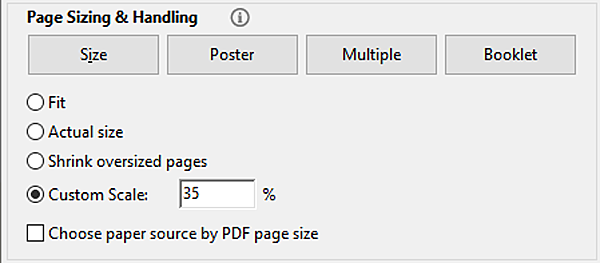
When opening the print dialog box, look for the Page Sizing & Handling section.
In the Page Sizing & Handling section, select “Custom Scale” and enter 35%. This will print the entire set of templates to fit on the mini quilt.
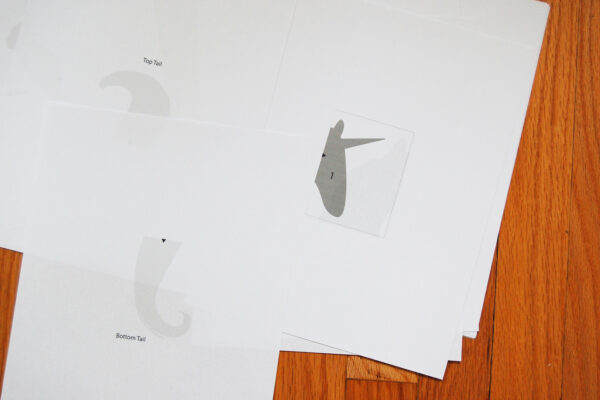
The pages will print to include a unicorn template, mane and tail template, and star templates.
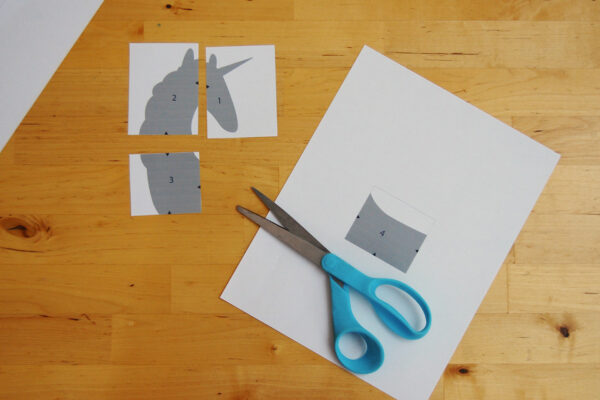
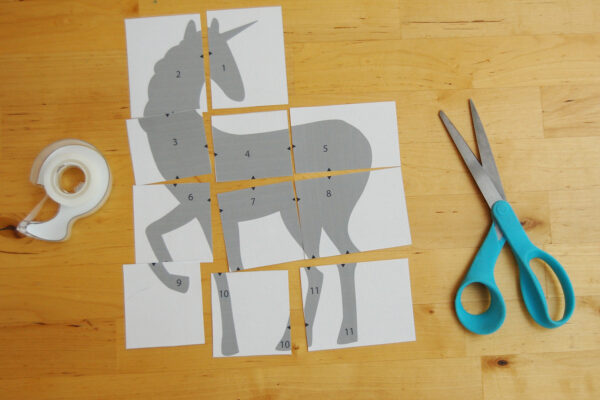
Using craft or paper scissors, cut out the unicorn body template pieces on the solid lines.
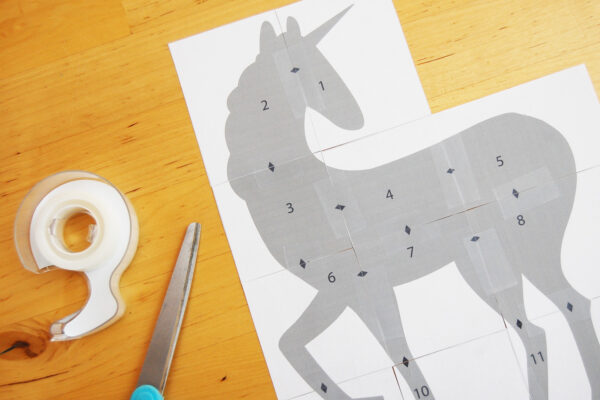
These pieces start to fit together like a puzzle, and you can use the included unicorn assembly diagram to help get the pieces together the right way.
Use tape to hold the unicorn template together. Cut out and tape together the two mane and tail templates.
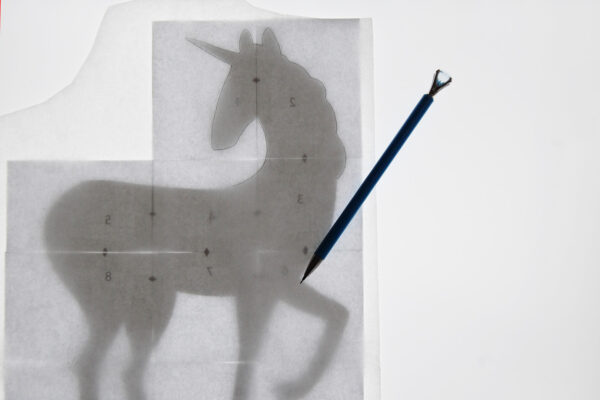
Use the paper backed iron on double-sided adhesive and trace each piece of the template to the paper backing. I used my Daylight Company Wafer Lightbox to trace the shapes. Remember, the final shape will be the mirrored after tracing it to the paper backing. I made sure to flip the unicorn, mane, and tale when tracing to make sure they were all in the right facing direction when appliquéing the shapes to the mini quilt.
Follow the manufacturer’s instructions for ironing the adhesive to the back of the fabric appliqué shapes, and cut the shapes out of the fabrics.
Use an adhesive temporary spray baste to layer the backing fabric, the quilt batting, and the top layer of fabric. Press well with an iron to make sure all wrinkles are smoothed out. Remove the paper backing from the appliqué shapes and arrange on the top layer of fabric. I did this step directly on my pressing board, and ironed the shapes down as soon as I found a good layout.
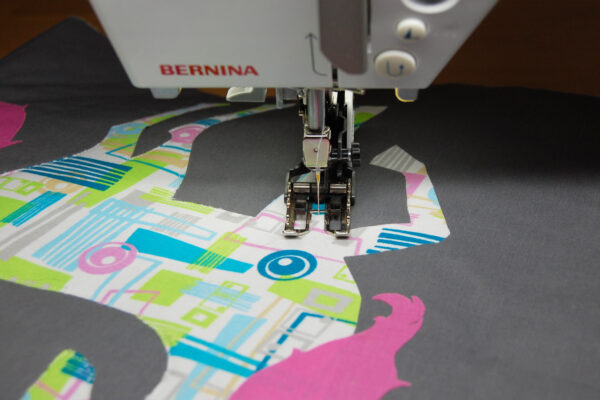
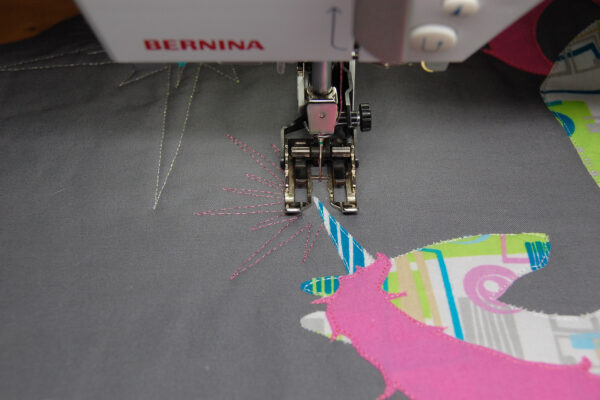
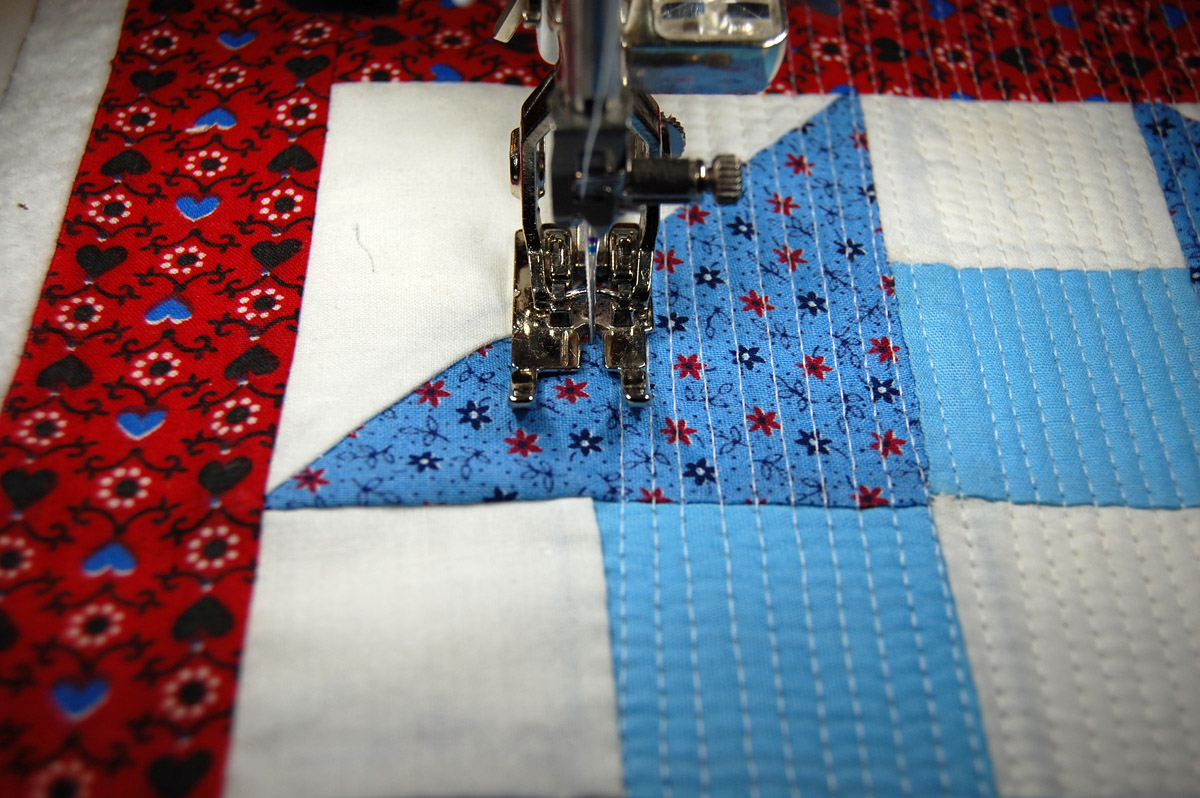
You can quilt the mini quilt in any way you choose! I used Walking foot #50 with the open toe foot to stitch around each shape with a short straight stitch. I used white thread to coordinate with the unicorn body, and pink to coordinate with the mane and tail.
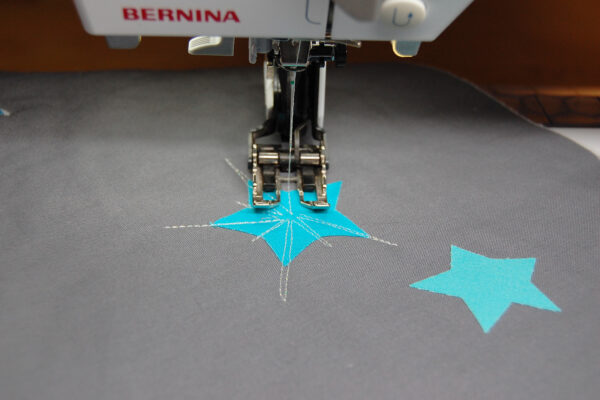
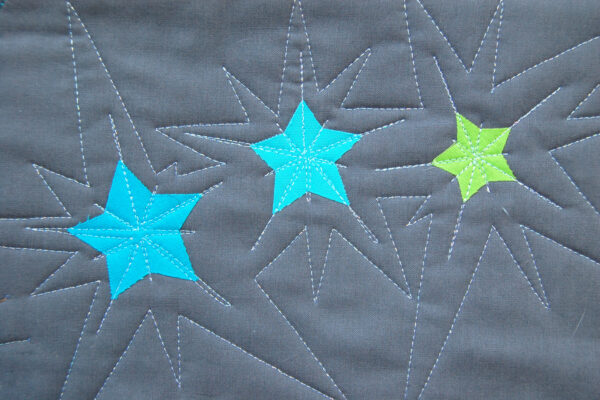
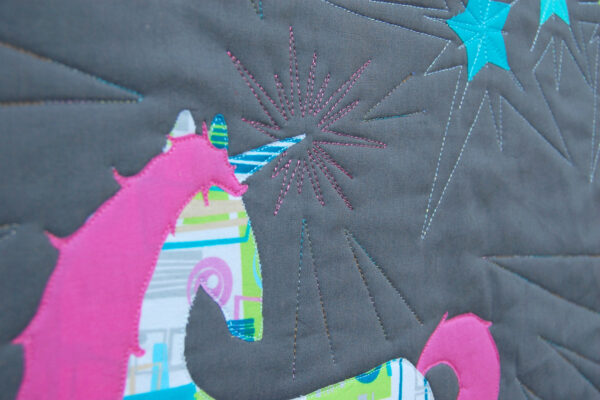
I added a bit of sparkle to the stars with some fun, sparkly threads.
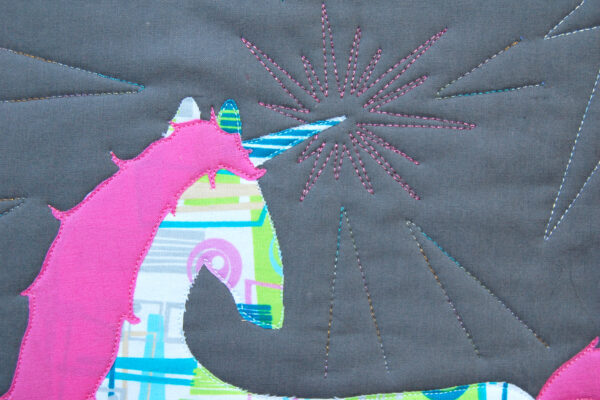
And the unicorn’s horn needed a bit of magic sparkle, too!
I also added some rainbow sparkle lines in the background of the quilt.
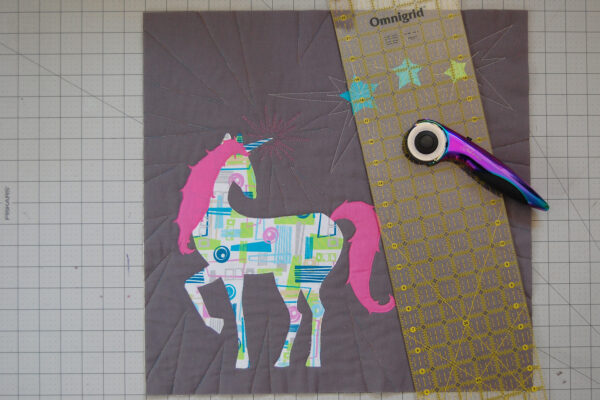
When you are happy with the quilting, square up your mini quilt with a ruler and rotary cutter.
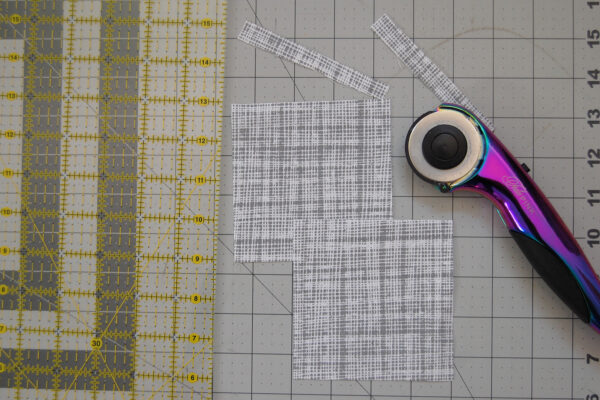
I cut my mini quilt down to 18″ x 18″ square. I decided to add two quick hanging pockets at the top corners of the mini quilt that are secured in with the binding. Here’s how I made the quick hanging pockets.
I cut two 4″ x 4″ squares of backing fabric.
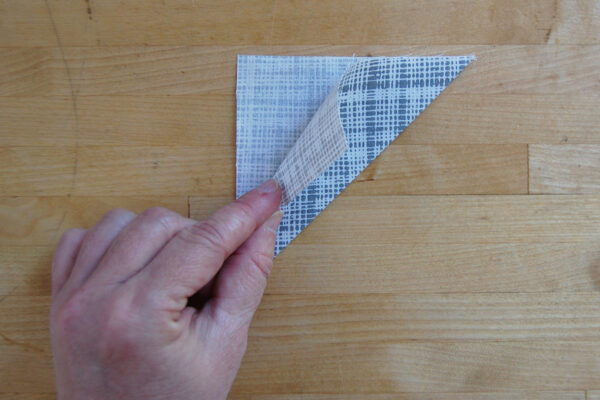
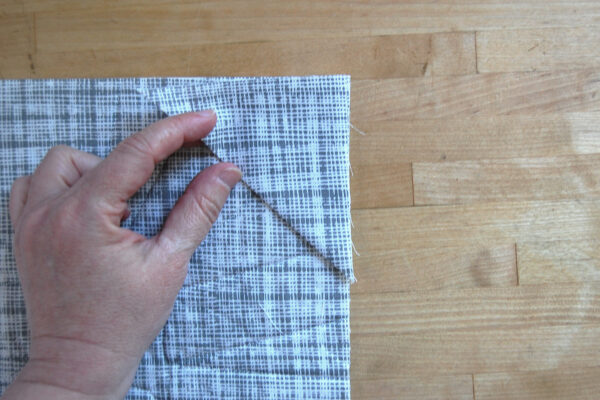
I folded each square in half, wrong sides together, and pressed a sharp crease to create a triangle shape with a finished edge.
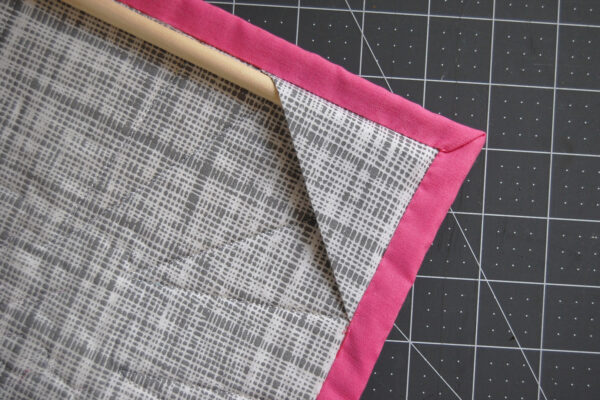
I pinned one triangle in each top corner of the quilt, and they are finished in with the binding to create pockets. I cut a thin dowel rod to fit in the pockets, and the mini quilt is ready to hang.
You can finish the edges with your favorite binding method. I wanted to create a very thin binding, and used the double-fold binding method outlined in this tutorial with strips cut 2 1/4″ x 2 1/4″ wide. I stitched on the binding with the Walking foot #50 with a scant quarter-inch seam.
After pressing the binding to the back, I hand stitched to finish.
