How to Free-motion Quilt a Paddy’s Hat
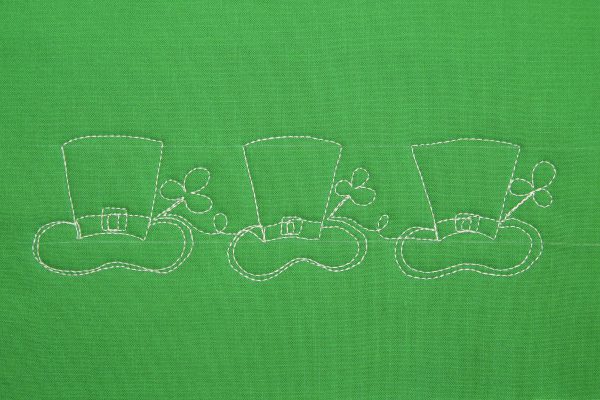
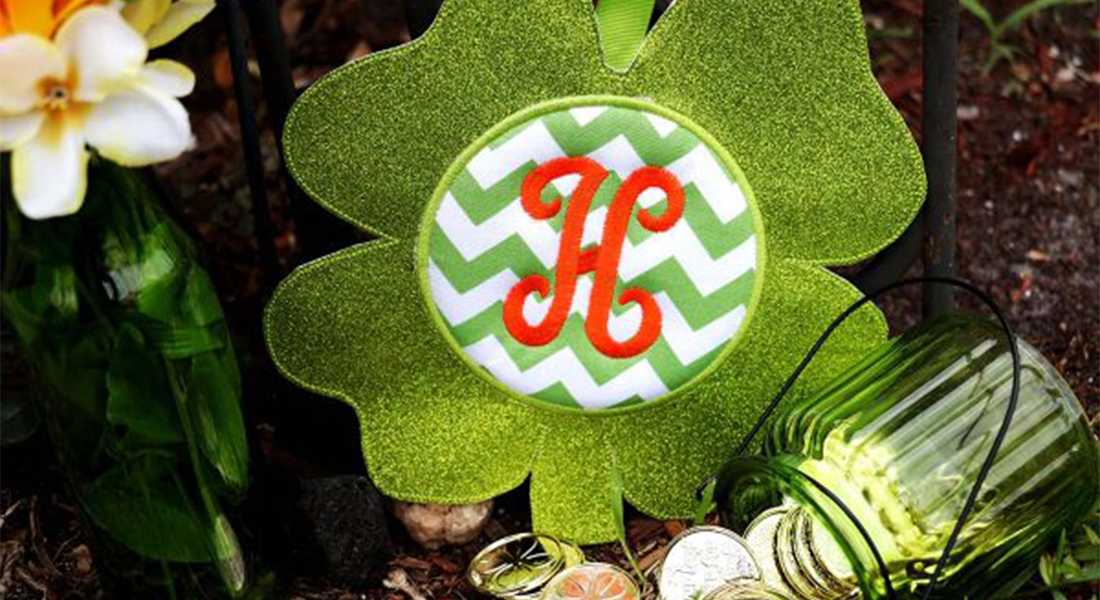
Top of the morning, Quilters! Whether you are Irish all year or just for the day, Paddy’s Top Hat is a great motif to add (lucky) charm to your quilts!
I’m Lori Kennedy from Lori Kennedy Quilts and I love to add seasonal and holiday motifs to all of my quilts. For St. Patrick’s Day, I love to free motion quilt motifs like Shamrocks and Paddy’s Top Hat. Choose a bright green fabric and contrasting, heavy weight (40 wt or heavier) to make the motifs really pop on your quilt blocks and borders.
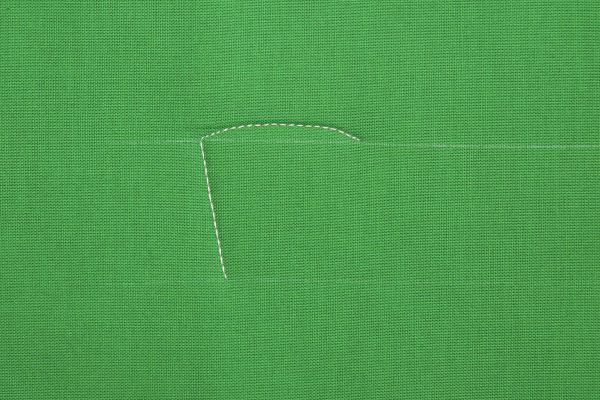
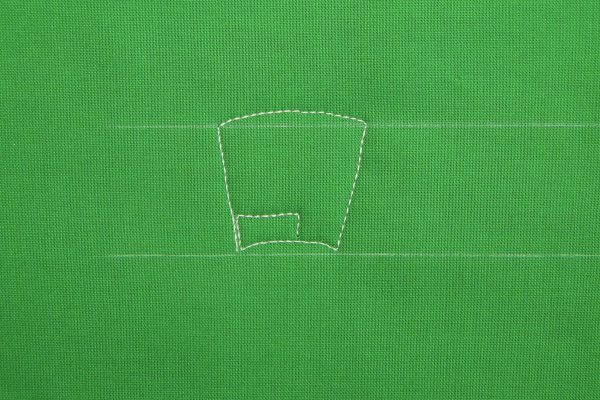
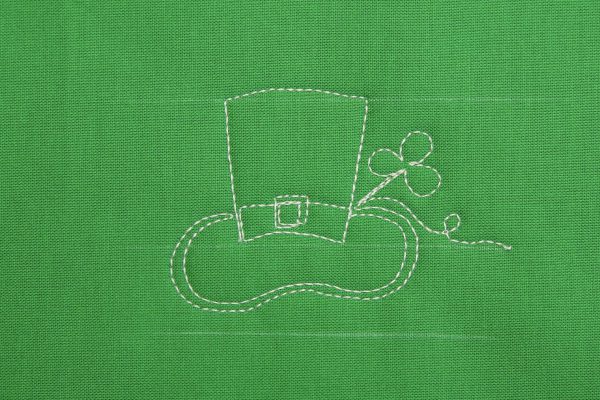
Begin by drawing two parallel lines to serve as guidelines. Begin stitching on the bottom line. Stitch a line, angling slightly outward, ending on the top line. Add a slightly convex line to create the top of the hat.
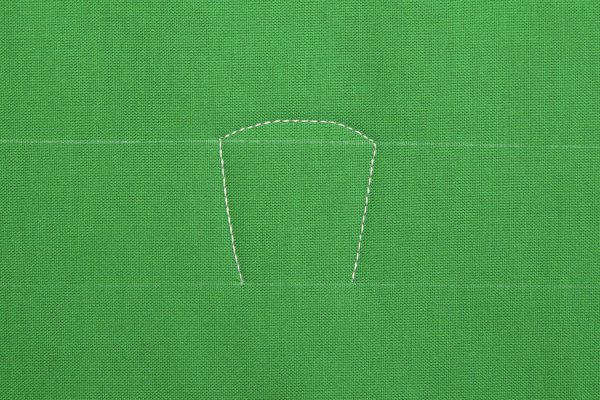
Stitch a line, angling slightly inward, to the bottom line.
Add a convex line, ending just before the first line.
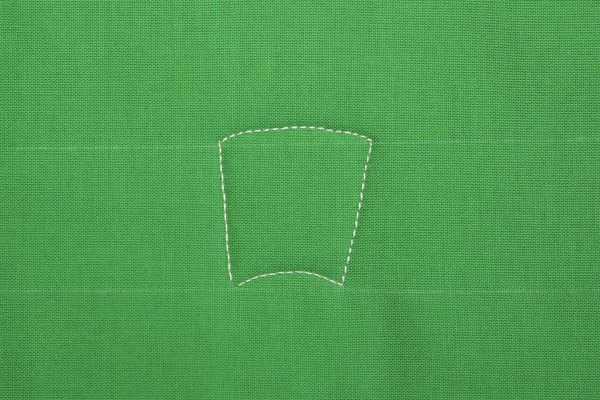
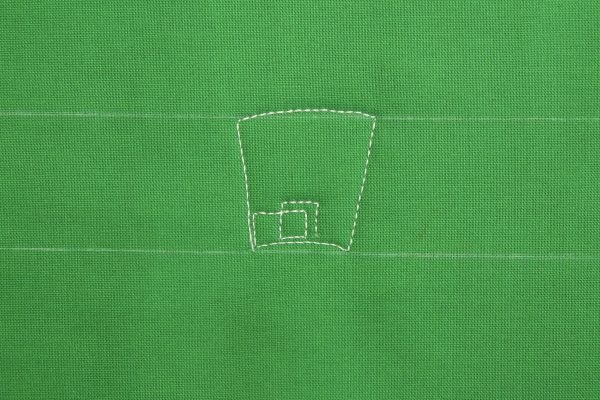
Stitch up four or five stitches, then stitch a horizontal line. Drop down a few stitches, ending before reaching the lower convex line.
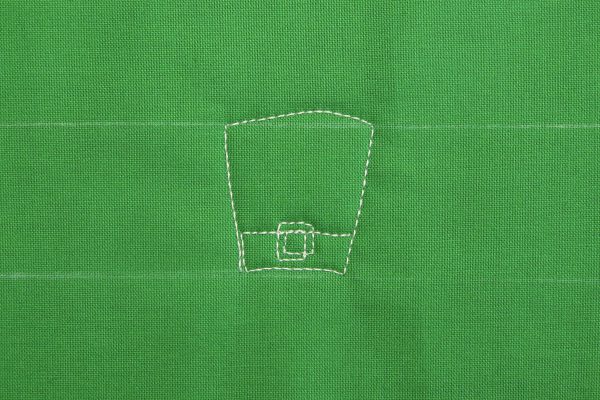
Stitching in a clockwise direction, create a square by stitching to the left, up, right and then down.
Continue stitching a clockwise direction. Stitch to the left and up, then stitch a horizontal line all the way to the right side of the top hat.
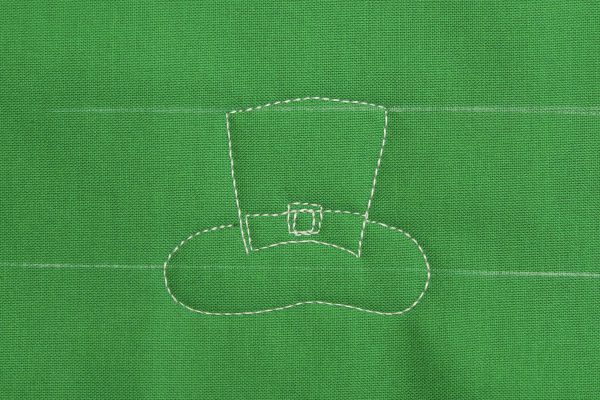
Stitch a bean shape from the right side of the hat to the left side of the hat to create the brim.
Closely echo stitch the bean shape, ending on the right side of the hat. Add a clover embellishment to complete Paddy’s Top Hat. Add a loopy line to begin the next motif in the pattern. Perfectly charming!!!
If you would like a refresher on machine quilting, you might like Twelve Steps to Free Motion Quilting. You’ll be ready to stitch in less than five minutes!
For more holiday and seasonal motifs, please check out my books at Lori Kennedy Shop!
