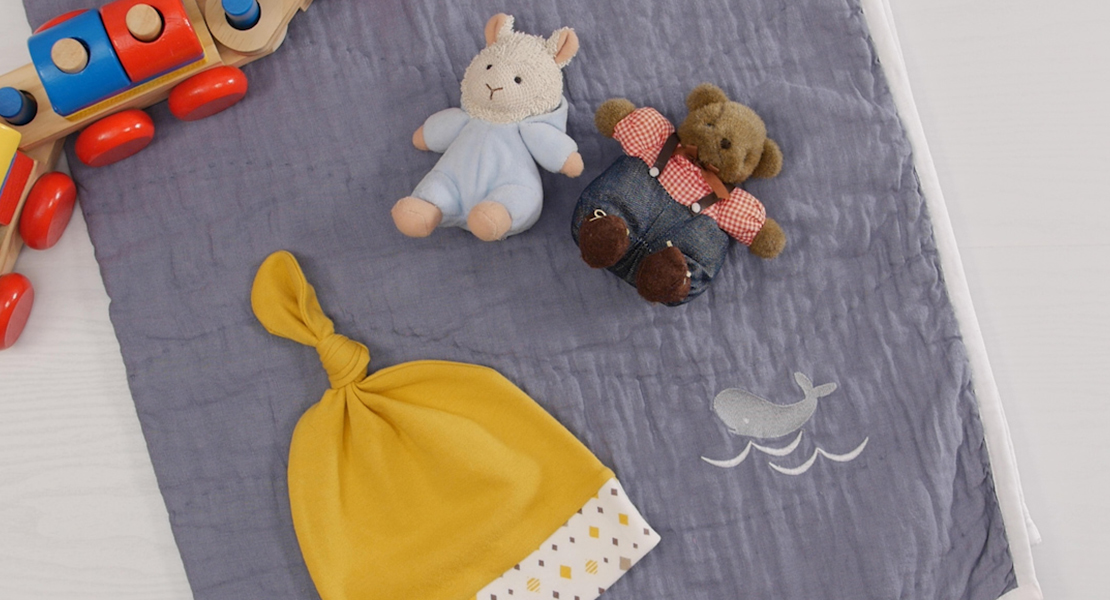
Reversible Baby Bloomer
In this tutorial I am going to share a simple method to sew a reversible baby bloomer (diaper cover) using your own favorite pattern. I love to pair these little bloomers with my favorite reversible sundress (of course!) Twice the wearability options without twice the work! Who wouldn’t want that? Well, this Enneagram 6 with a 5 wing is all about it!
I can see it now: the earliest times in my life when multi-tasking surfaced. Thinking of Bubblegum Ice Cream at the moment. (Ewwww.) Now that I’m a self-identified Enneagram 6, I completely understand this tendency. Why would I NOT want to keep my options open? (i.e. have the ice cream AND the candy?) And you never know when you might be ready for that perfect photo and your baby dribbles carrots on the front of her sundress. No problem- just reverse it!
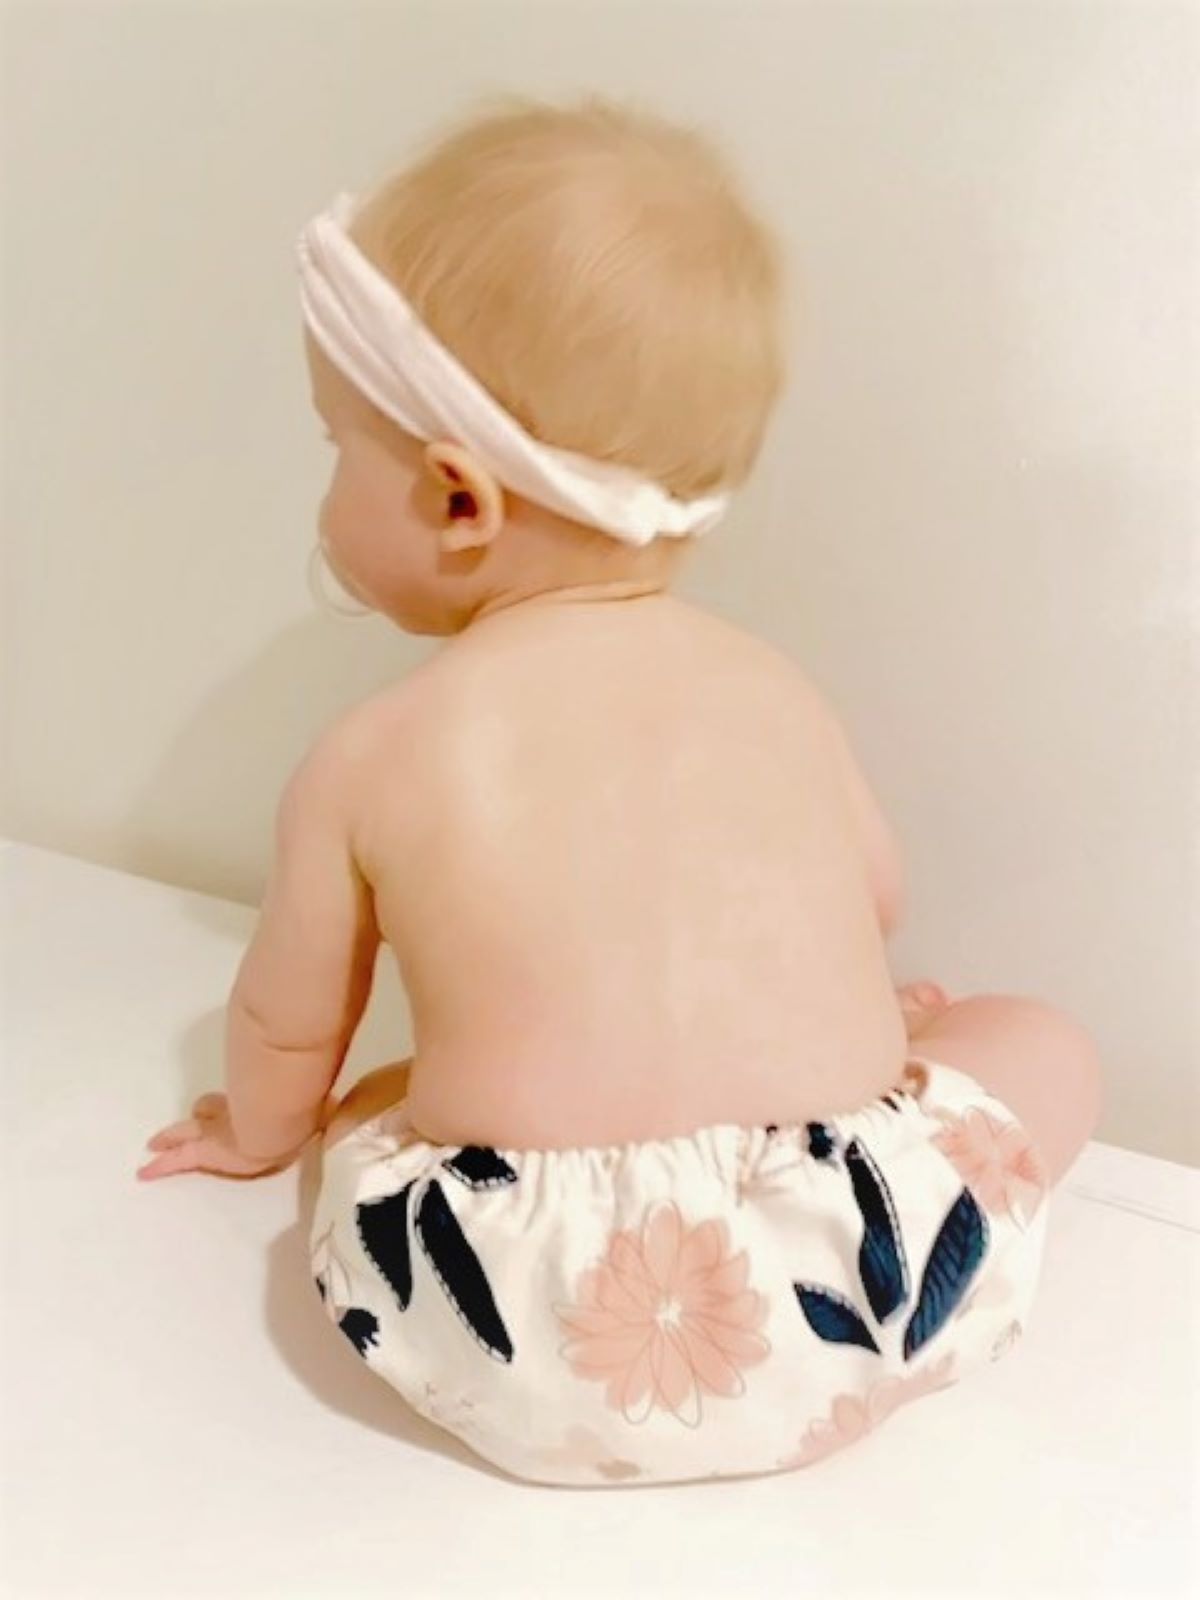
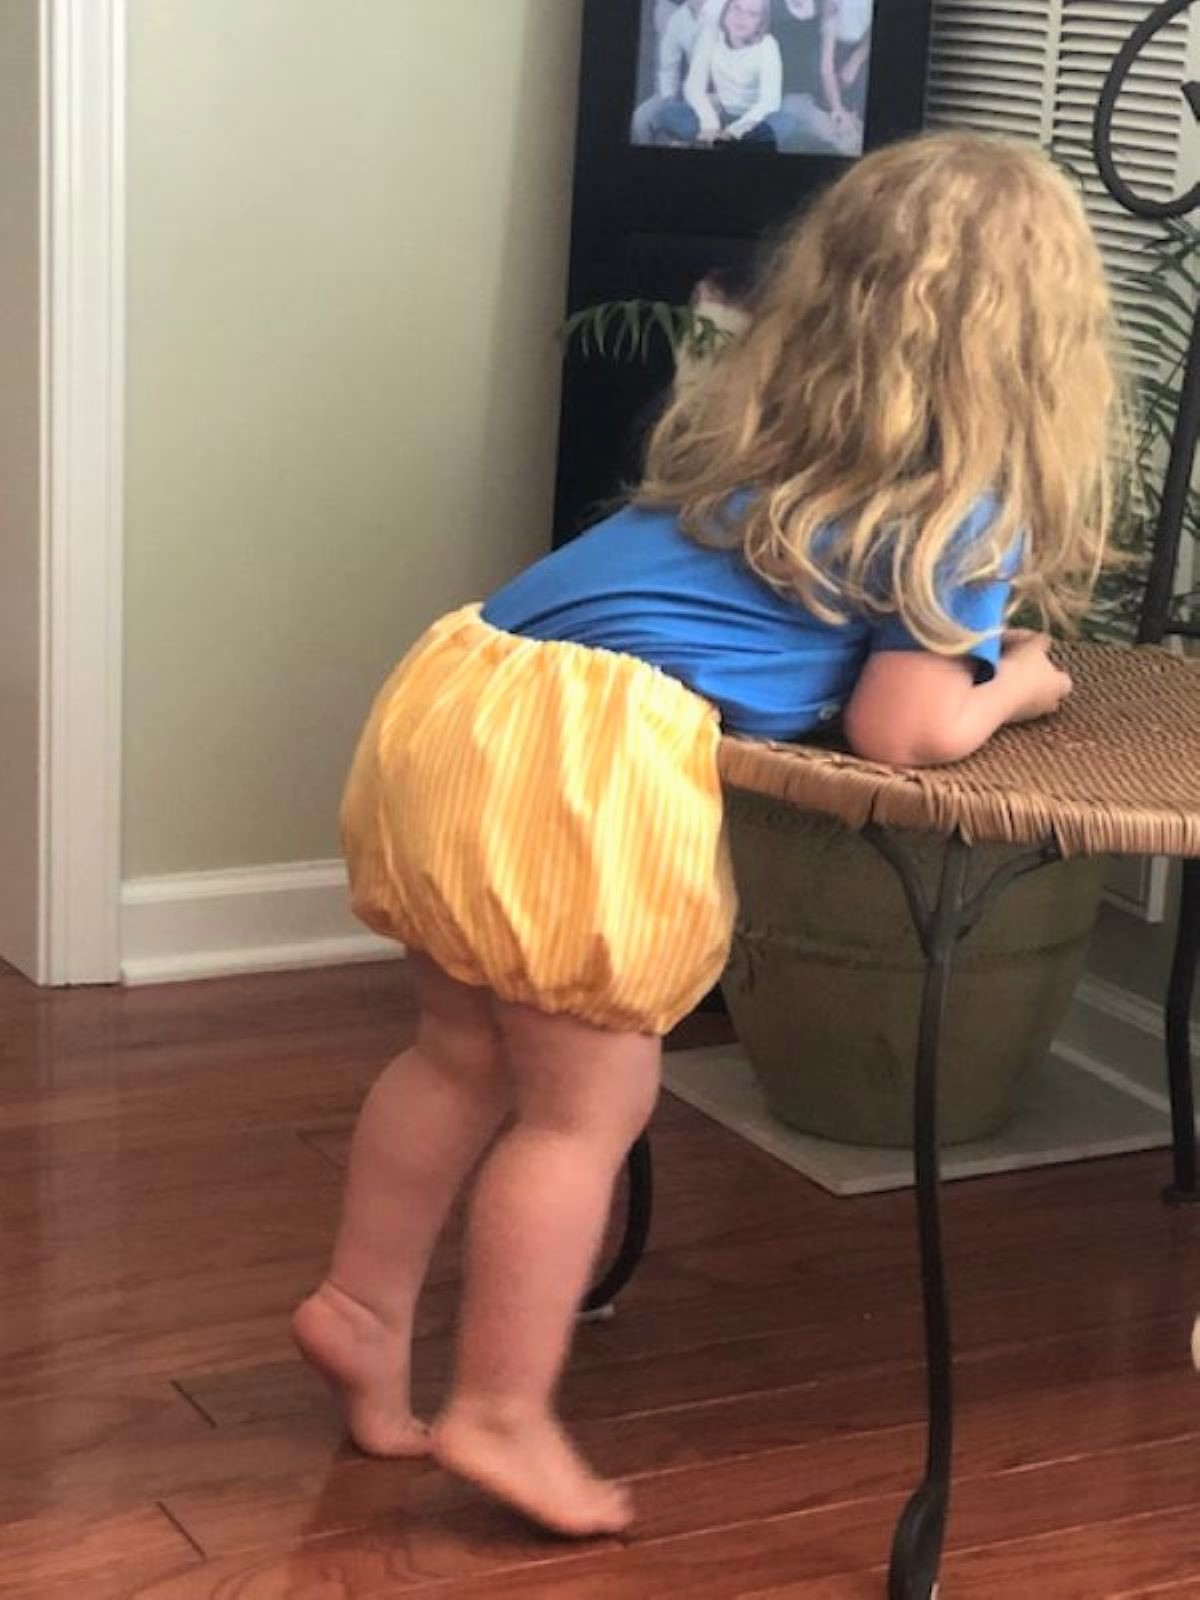
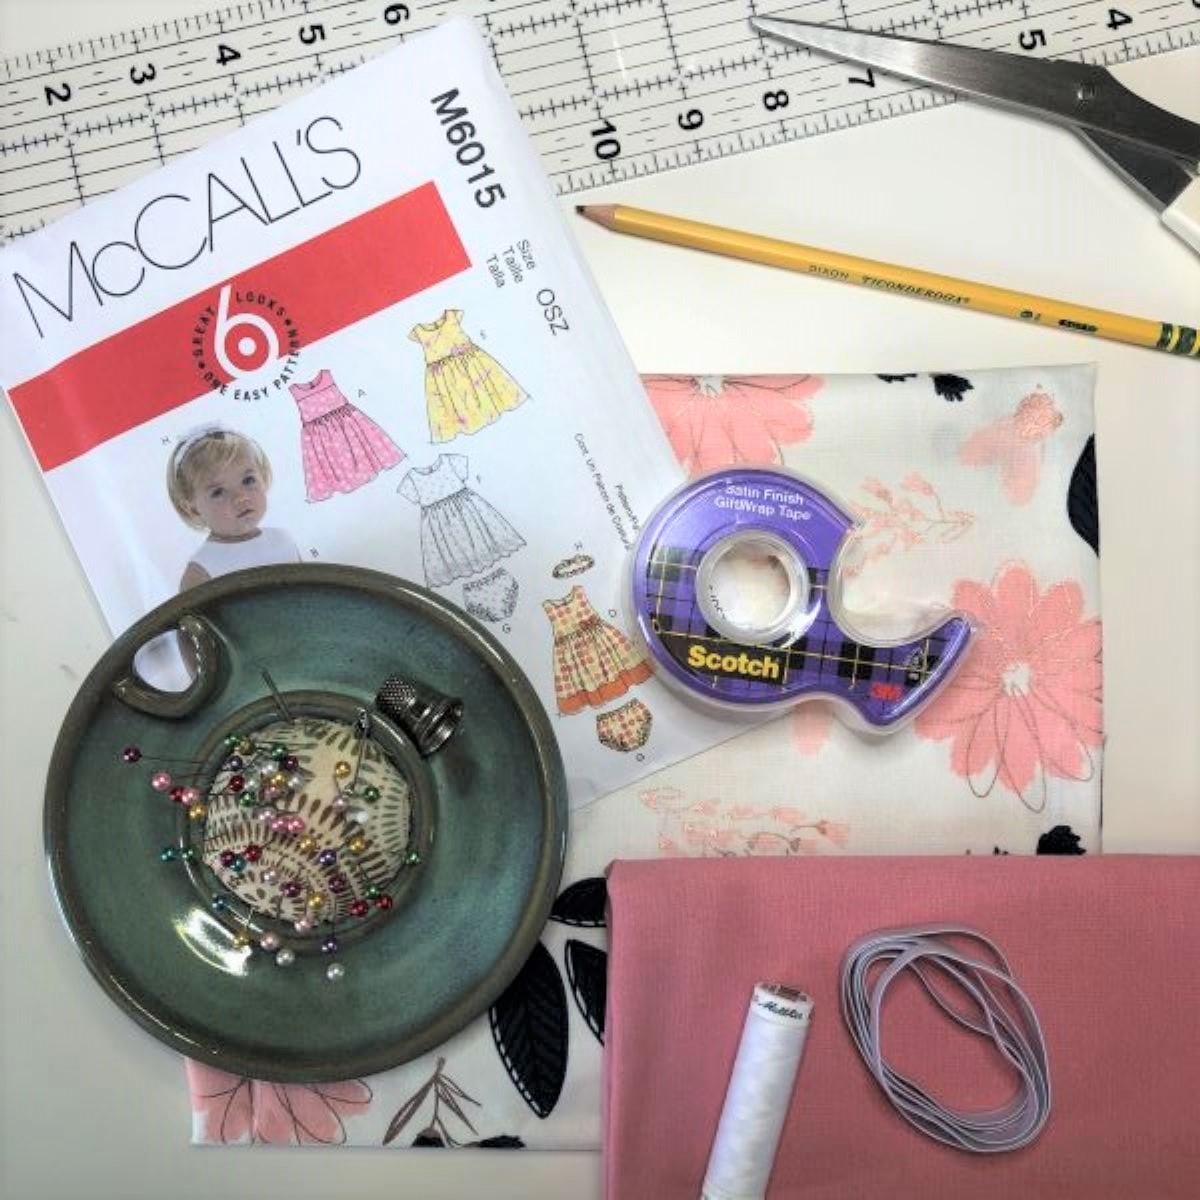
The reversible baby bloomers shown above are from two different patterns. First, The floral/solid combo is McCall’s 6015, which is a current pattern. For the second, the yellow stripes combo, I used a favorite oldie but goodie: McCall’s 5353. This diaper cover is fun because it has more “poof” and plenty of room to make them a good choice for those folks who use cloth diapers. If you don’t already have a favorite bloomer pattern, you can find lots of free options online. FYI: many free patterns come with the understanding that you won’t sell the projects you make. Please be respectful of other makers’ hard work.
Materials to Sew a Reversible Baby Bloomer
- Appropriate yardage of two coordinating fabrics (cotton, cotton blend, knit). It is best to pre-wash your fabric in order to avoid shrinkage of finished project. NOTE: If you are using a one-piece bloomer pattern as I am, I do NOT recommend a fabric design with a specific top and bottom (i.e. a scene with forest animals), because one side of the bloomer will have an upside down design.
- 1/4 inch elastic in length recommended by your pattern instructions.
- Thread
- Trim (optional if you want to embellish your bloomer). Keep in mind, however, that when you reverse the bloomer, the trim may create bulk on the inside of the bloomer. Because of this, flat trims may work better than ruffles for this type of bloomer. Once you are comfortable with this method, you may also choose to add embroidered elements, which is a super-adorable option! Just be sure to do all embellishing before sewing the bloomer together.
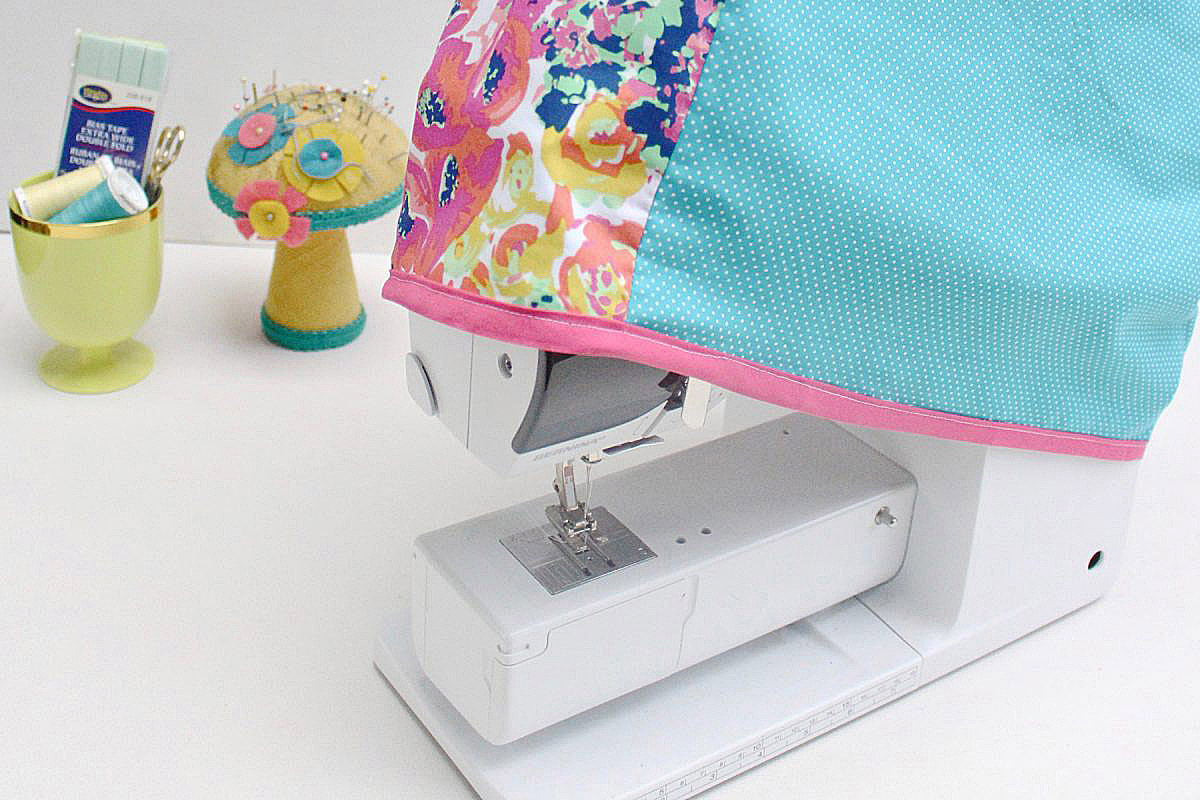
Tools to Sew a Reversible Baby Bloomer
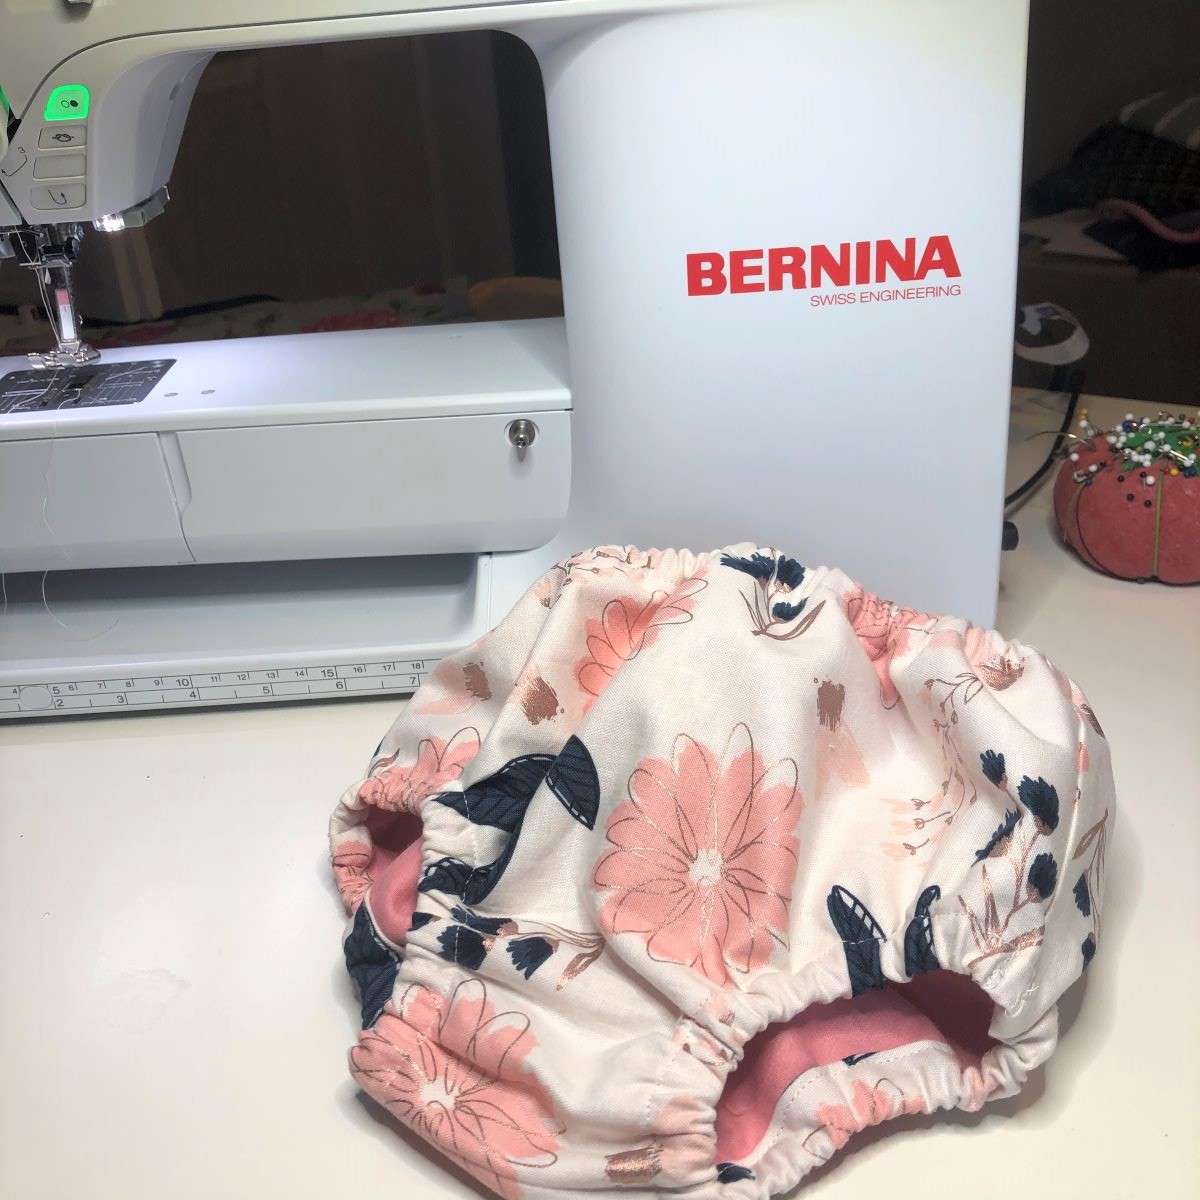
- Sewing Machine- I’m using the BERNINA 435
- Pattern of choice
- Tissue paper (if tracing original pattern)
- Straight-edge
- Pencil
- Invisible Tape
- Pins
- Fabric scissors
- Fabric Marking Pen
- Safety pin for threading elastic
Instructions to Sew a Reversible Baby Bloomer
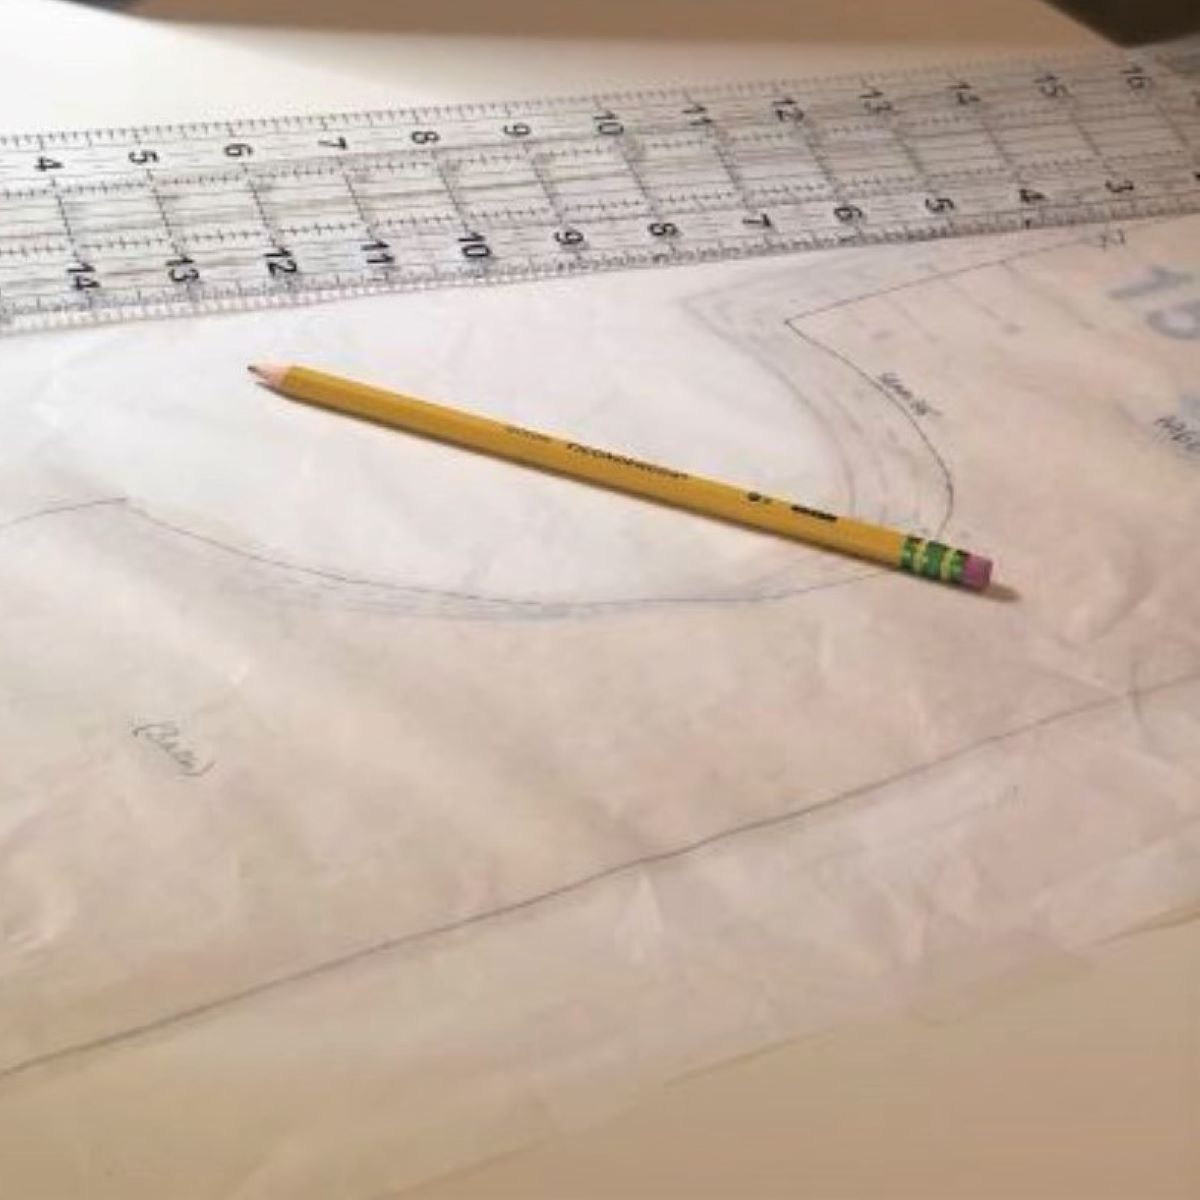
STEP 1, TRACE THE BLOOMER PATTERN (optional)
To start, it should come as no surprise that I don’t like to cut my original pattern pieces. You know, why limit my options for multiple sizes? Plus, patterns can be SO expensive, I just think it’s good fiscal responsibility to keep my original pattern in good shape. I’m using tissue paper, invisible tape (I like the gift wrap tape because it peels off more easily), a straight edge, and a pencil to trace my pattern. Make sure to transfer all pattern markings.
STEP 2, LAY OUT THE PATTERN & CUT
Once you have your pattern prepared, and following the instructions for your particular pattern, layout front and back pieces. My pattern is one piece cut on a fold – so simple! If your pattern has multiple pieces, just follow your instructions and meet me at Step 5. For a deeper dive into pattern layout and cutting, check out Sara Johansen’s Tips for Cutting a Sewing Pattern.
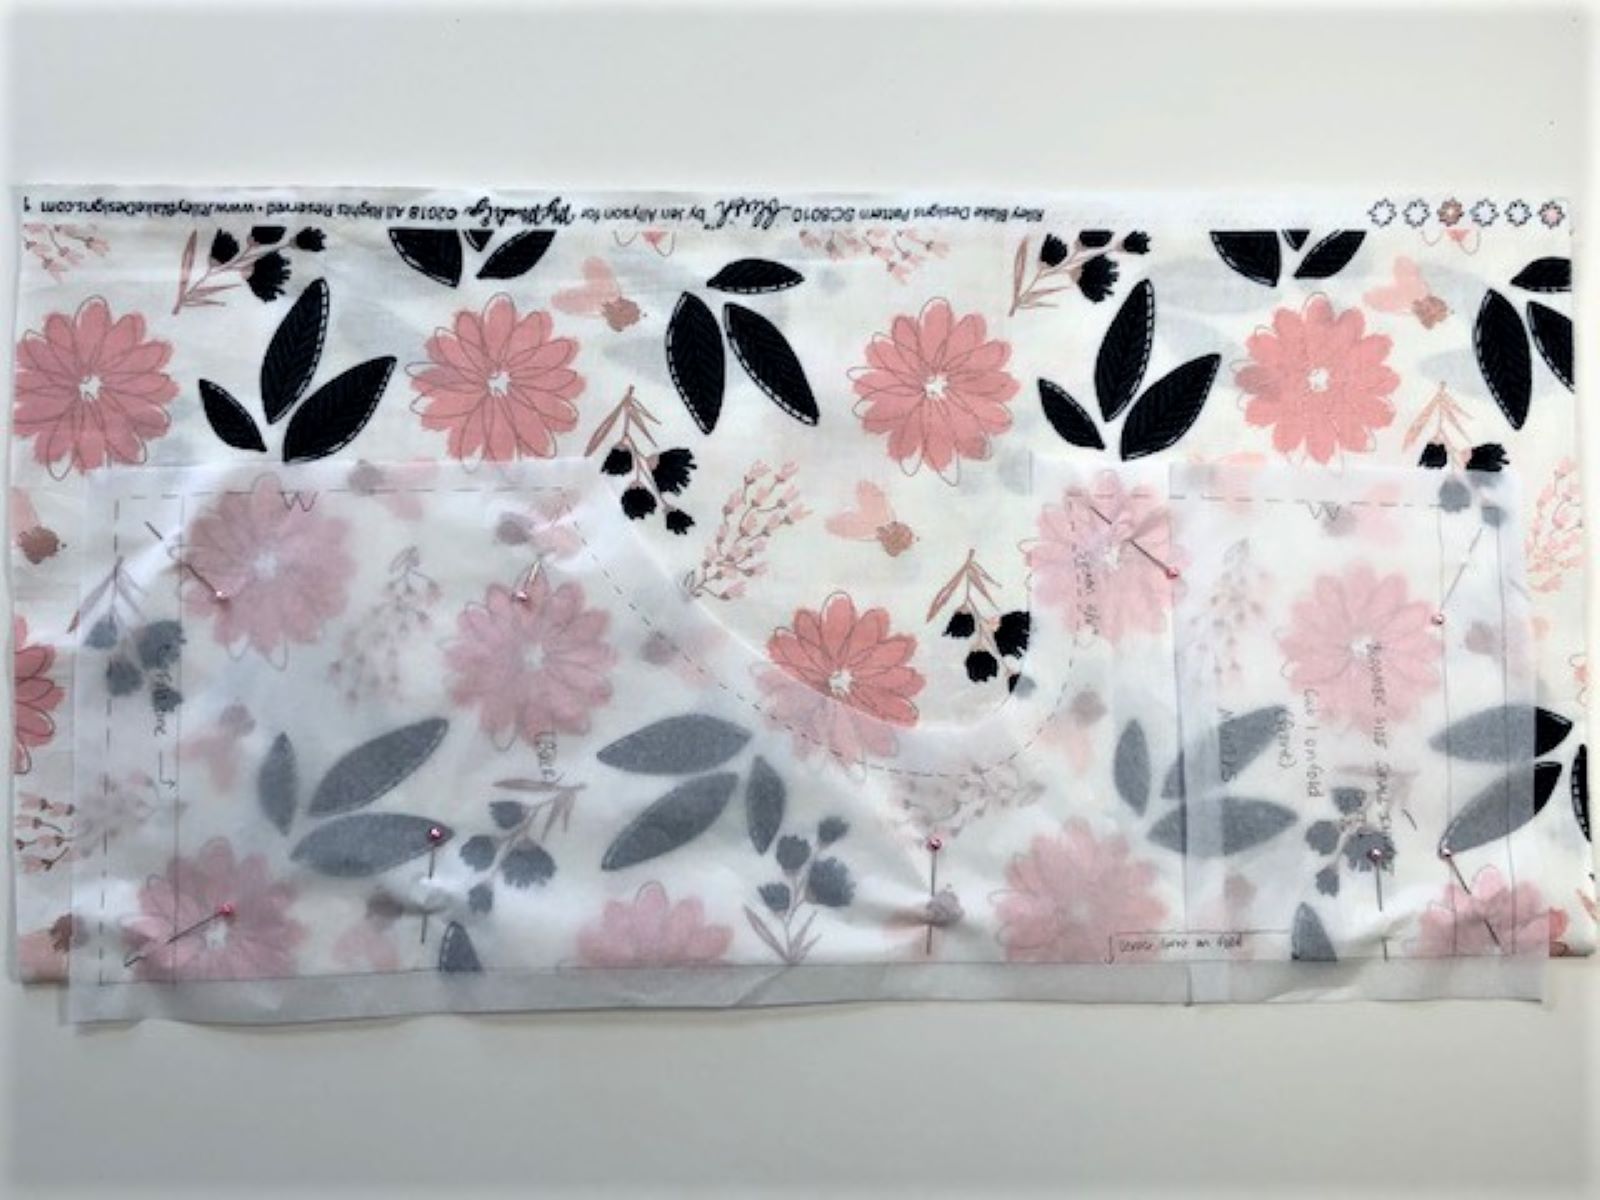
Cut one bloomer from each fabric. If your fabric design is random, you probably won’t need to worry about matching up the print and it is A-OK to layer the fabrics and cut both at the same time. If you want to match your fabric design, see my “Bonus Tip: Matching Fabric Design” tutorial.
STEP 3, SEW THE SIDE SEAMS
Following instructions for your pattern, sew side seams for both bloomers.
STEP 4, MARK THE FOLD LINES
Mark the fold lines for the elastic casing.

STEP 5, COMBINE THE TWO BLOOMERS
With fabrics WRONG SIDES TOGETHER, insert one bloomer into the other, match seams and pin seams at waist and leg.
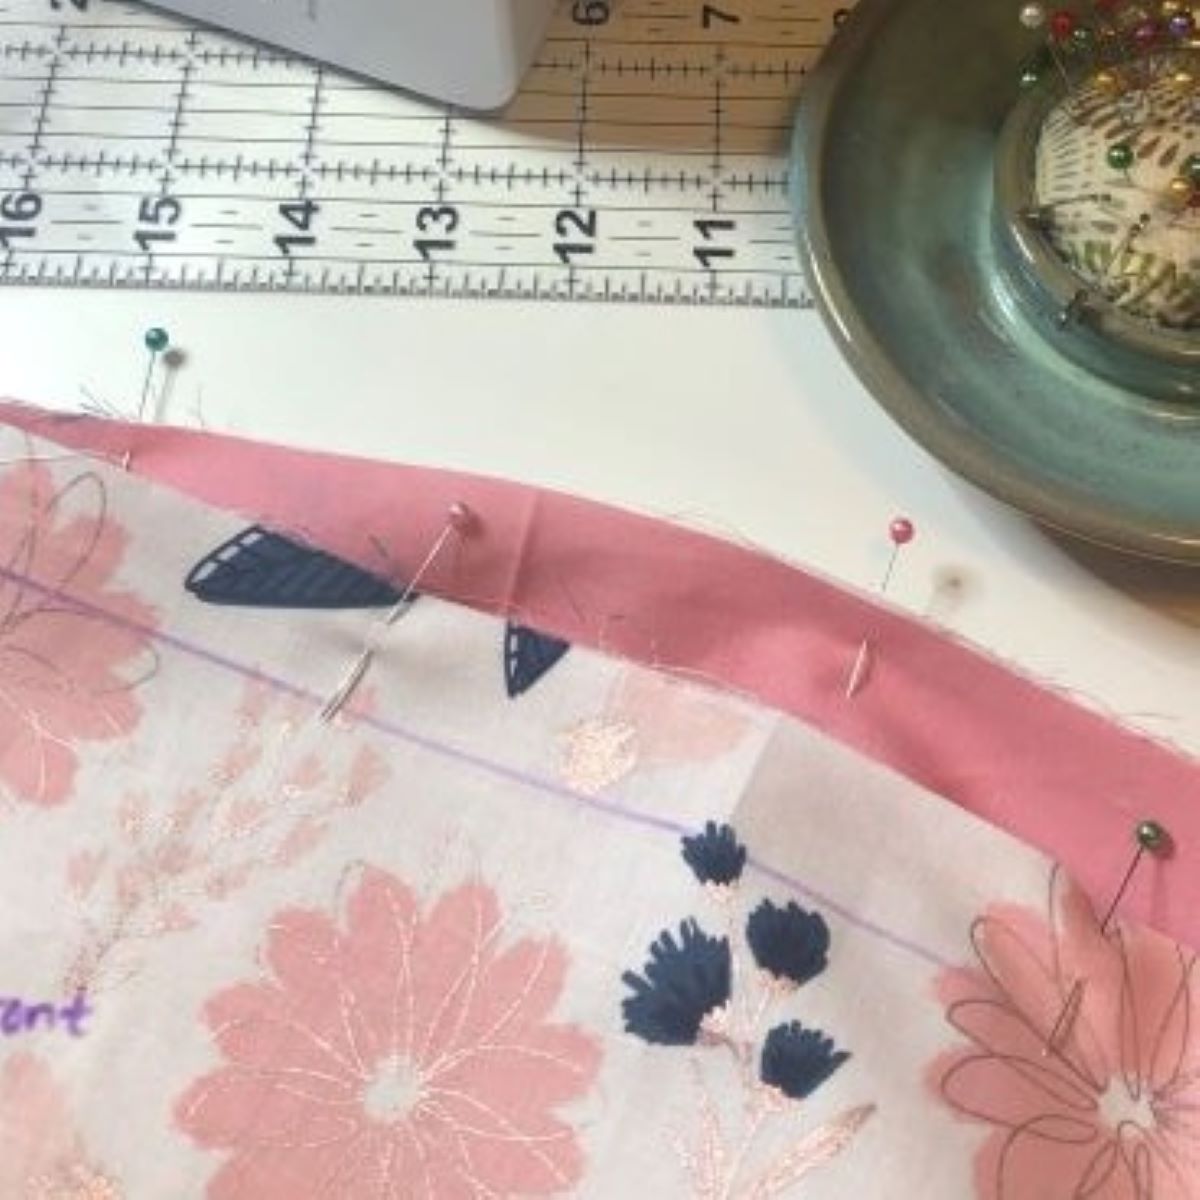
STEP 6, STITCH OPENINGS TOGETHER
Once you have the two bloomers together smoothly, pin around waist and leg openings. The two bloomers should fit together perfectly.
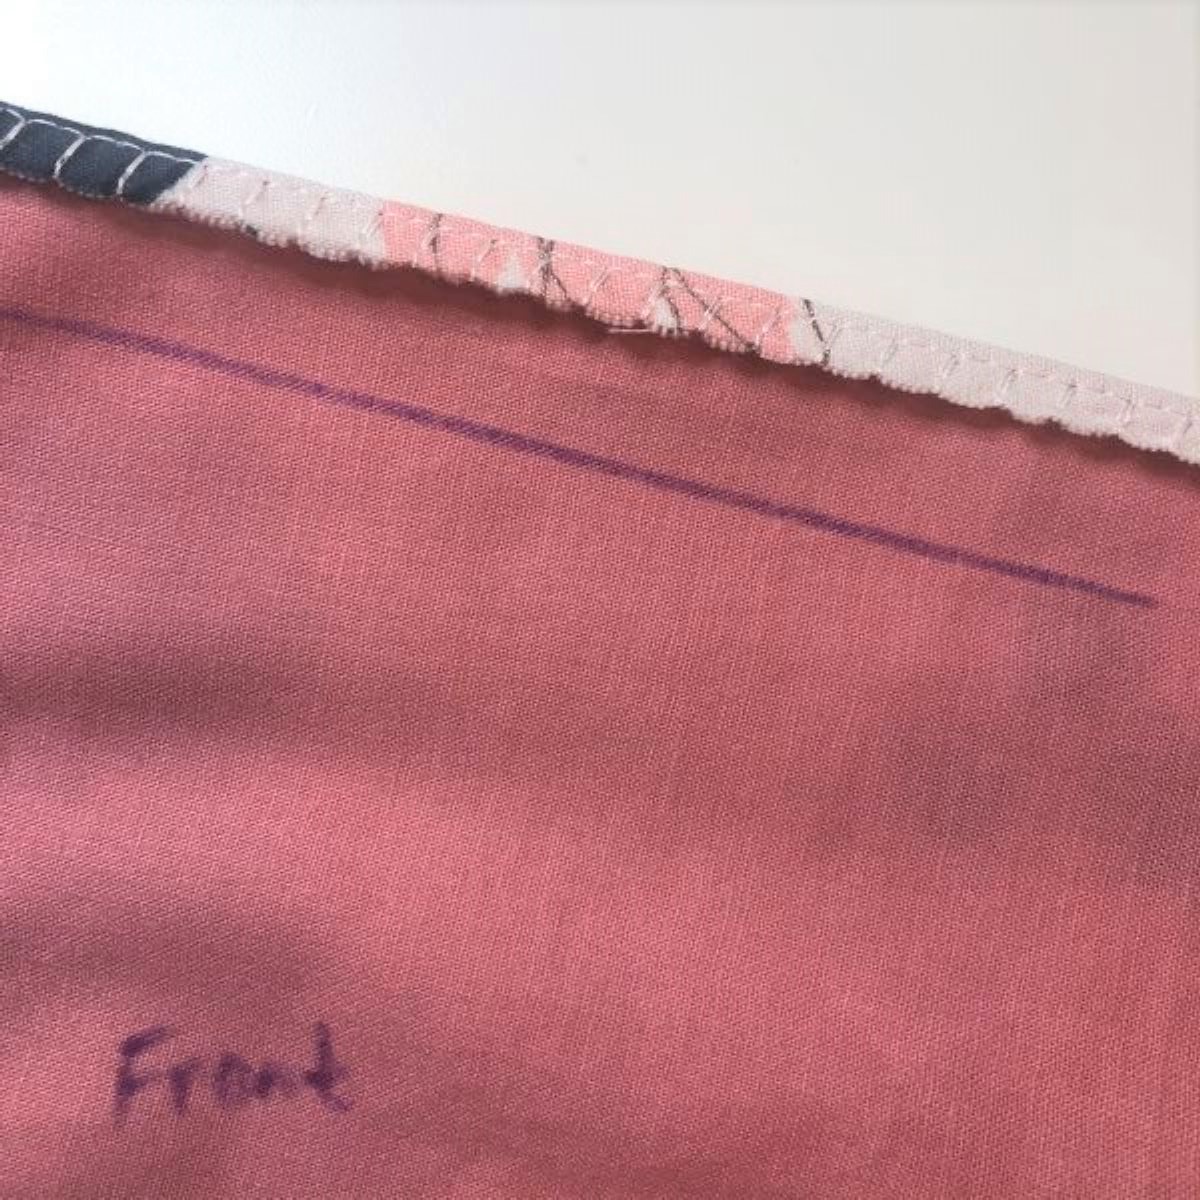
STEP 7, FINISH RAW EDGES (optional, but recommended)
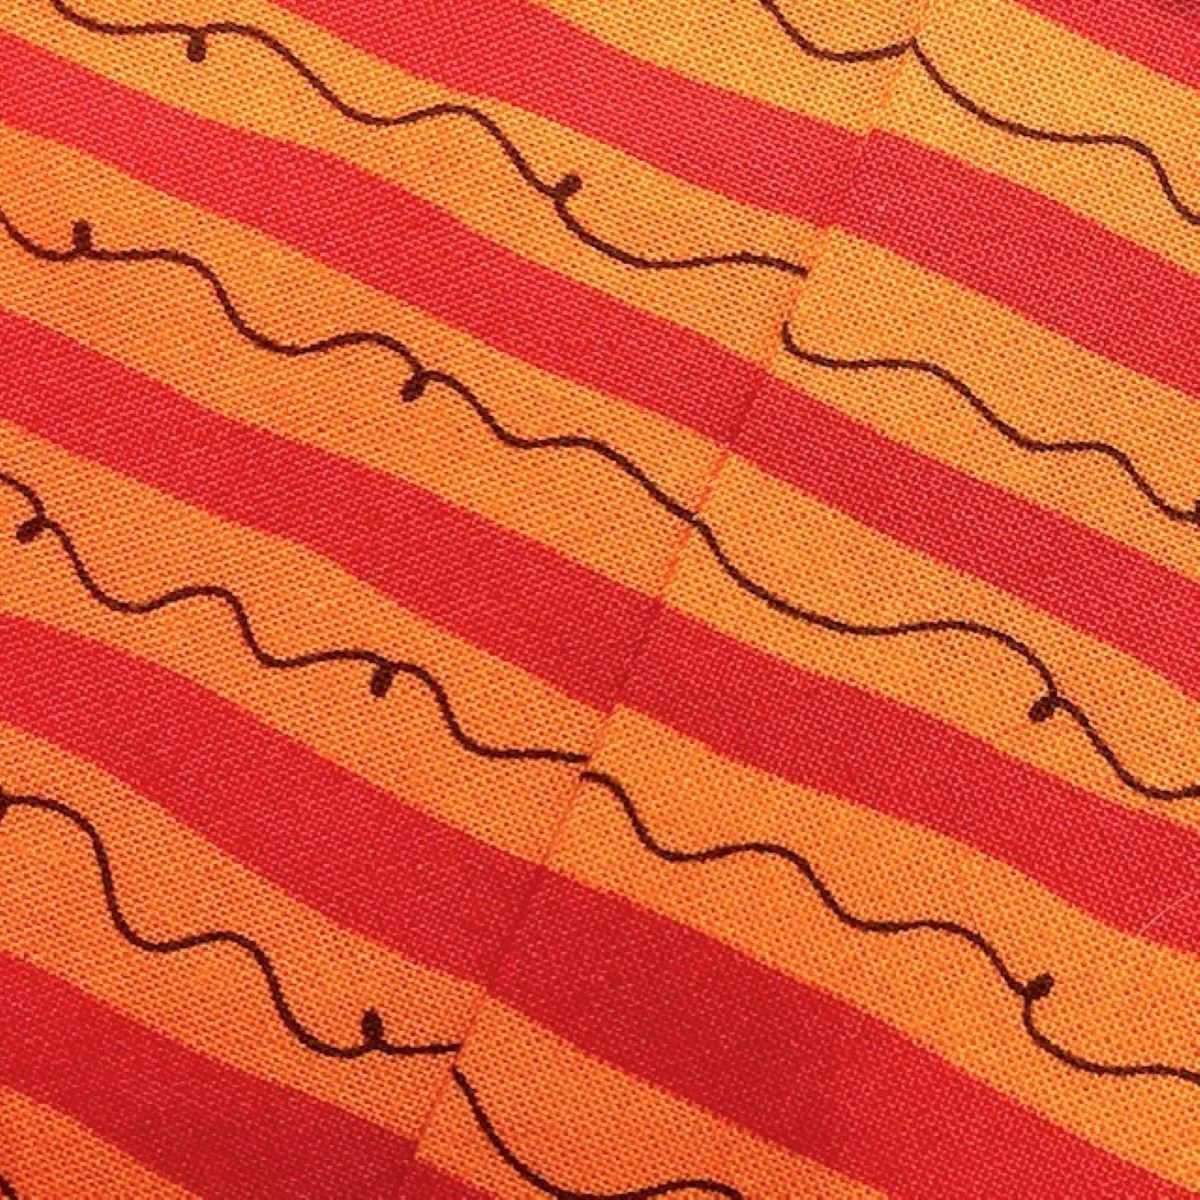
I like to finish the edges because (A) having a neat edge to work with for the next steps makes life easier; and (B) I love the finishing stitches on my new BERNINA 435, so it’s fun to play! I used Stitch 13 with the standard settings for this project.
STEP 8, CHOOSE SIDES!
I know sometimes choosing sides in life is hard, but this is a fun decision: which side of the bloomer will have the contrasting fabric showing? For the sweet floral one above, I tried it both ways to see which I liked better. My personal preference is to have the contrast show on the solid side of the bloomer.


STEP 9, PREPARE CASING FOR ELASTIC, STITCH
On the waist and leg openings, fold fabric at edge of finishing stitch. This is where you begin to see the benefit: no measuring!
Then turn again to press on the fold line you marked at the beginning. Pin in place. I like to do one opening at a time so I’m not poking myself with all the extra pins while I’m stitching, especially on the smaller leg openings.
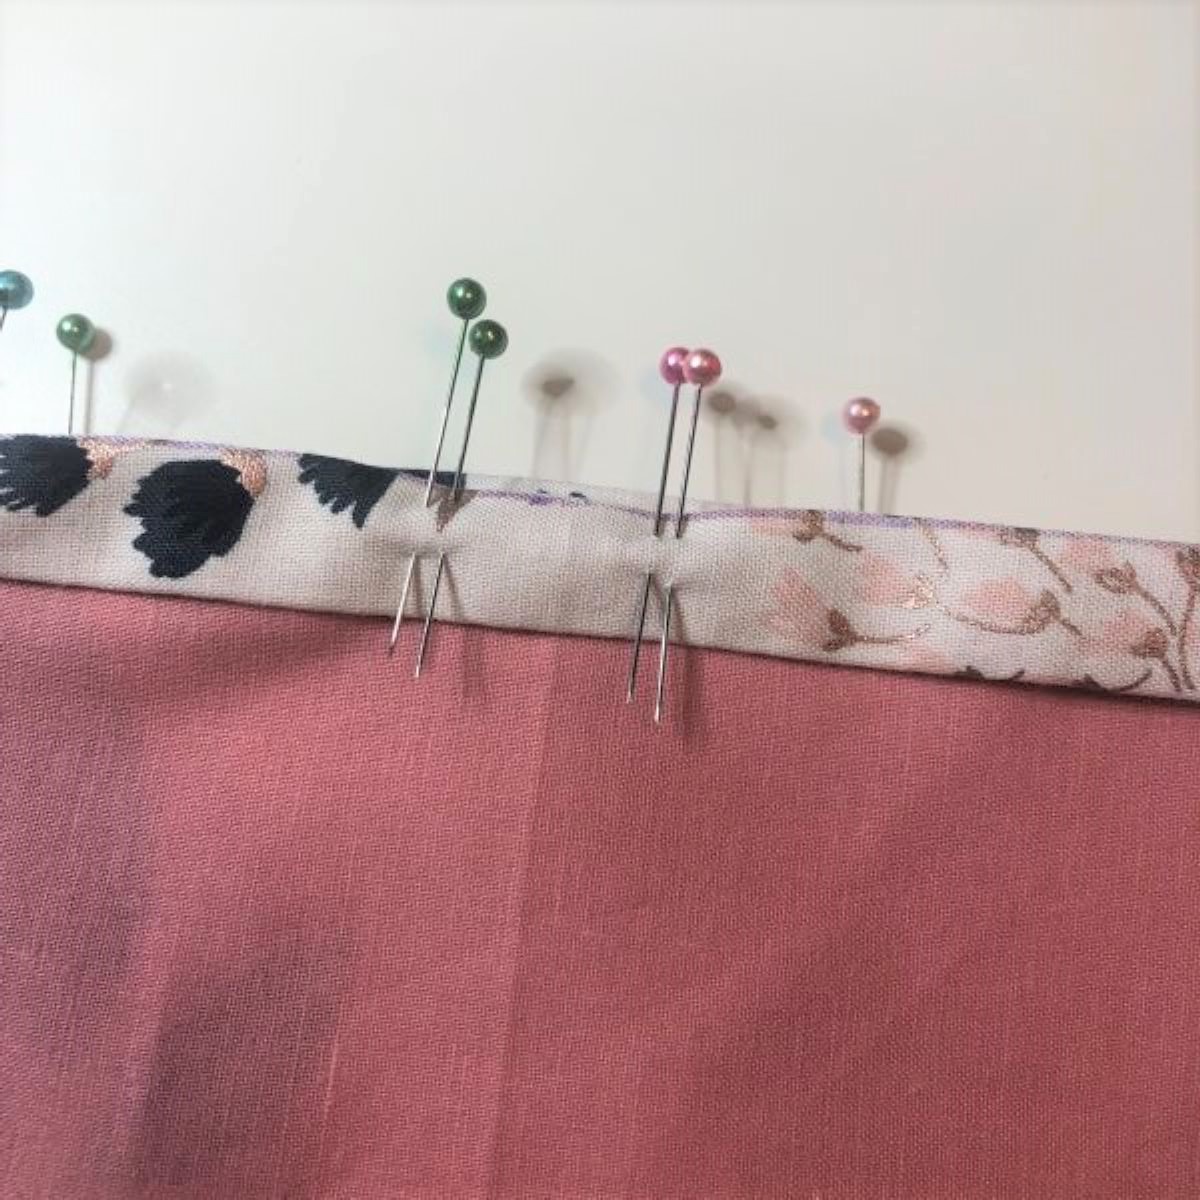
Note: there may be a few places where your fabric doesn’t lay smoothly. No worries. Just ease it in, spreading out any puckers across several pins. This won’t show because of the gathering effect of the elastic. Tip: I use two pins placed close together on either side of the opening in the casing. This way I won’t accidentally sew the opening shut. I’ll bet you can guess how I figured this out!
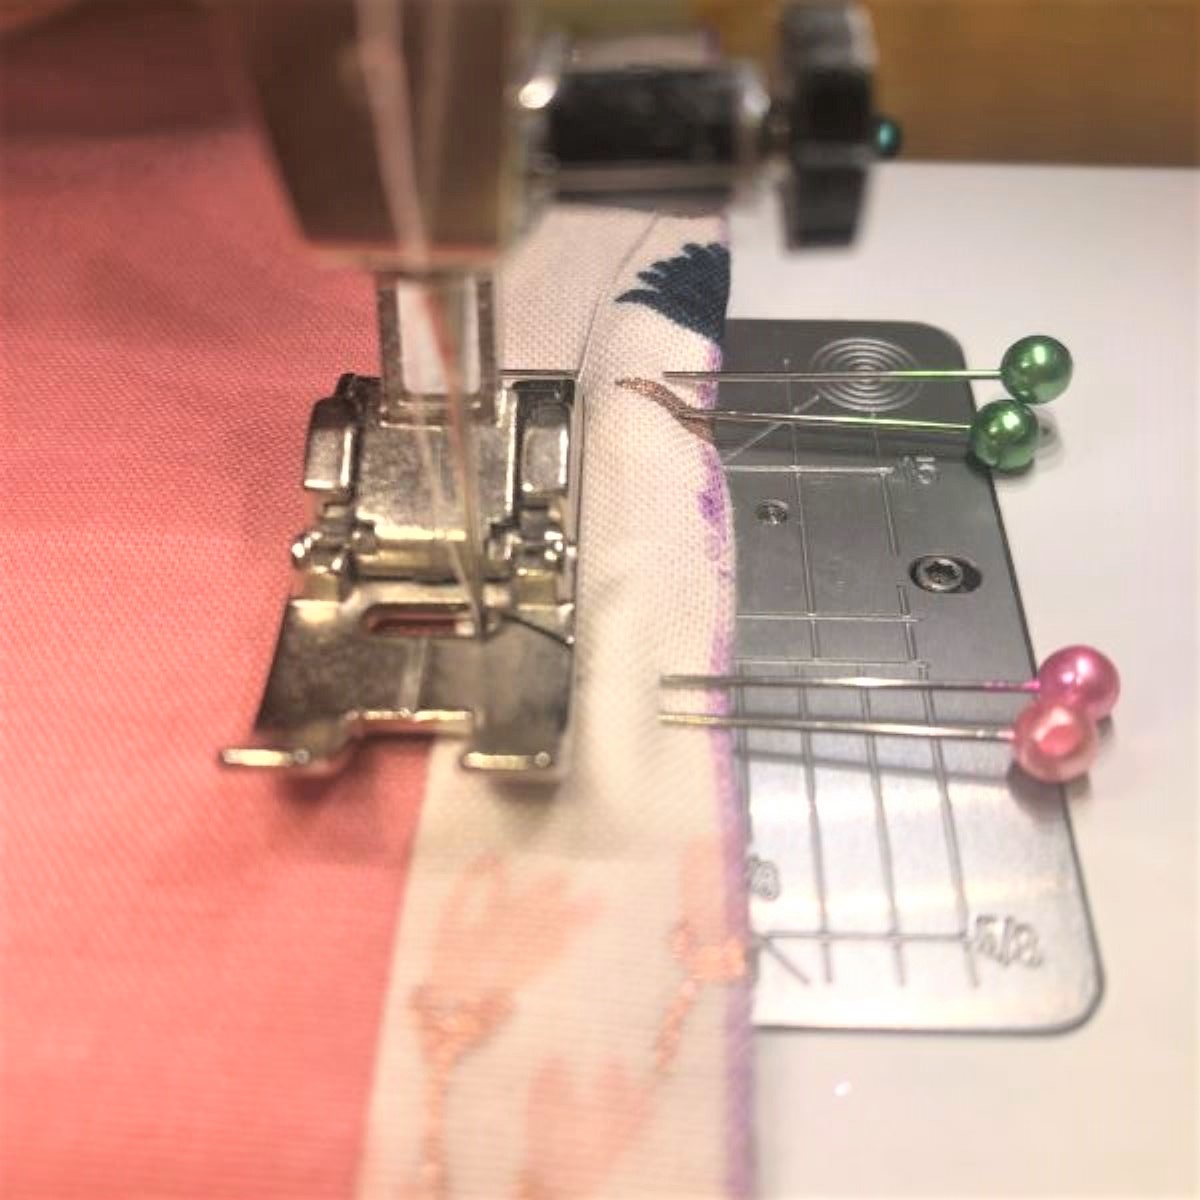
Once your pins are in place, stitch waist casing as shown. Repeat for each leg opening. TIP: Remove the slide-on table from your machine to take advantage of the free-arm function especially when stitching the leg openings.
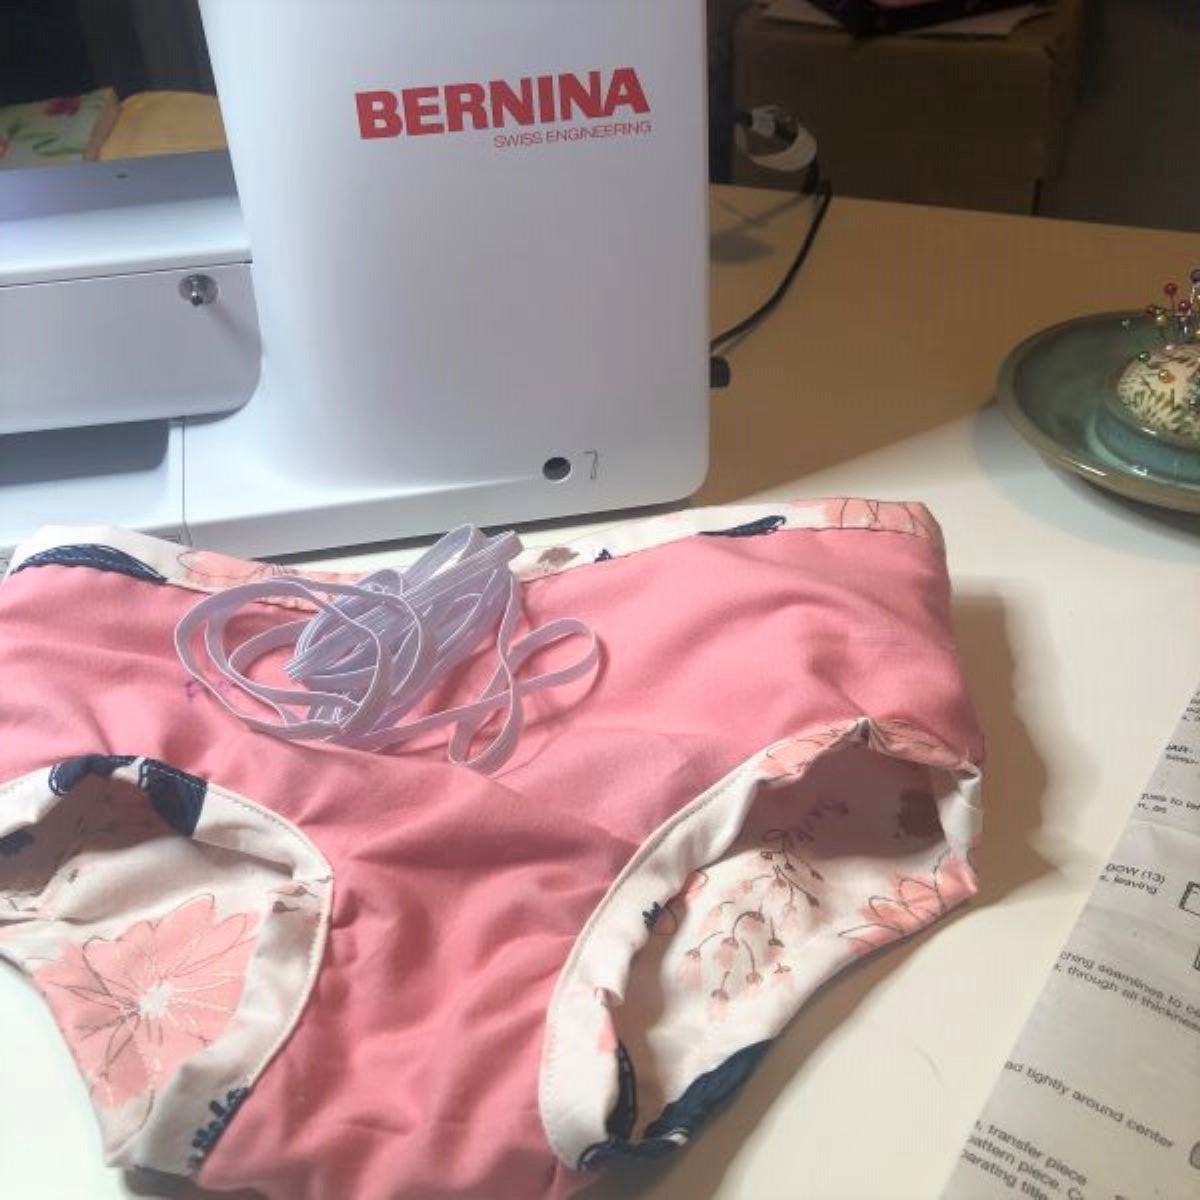
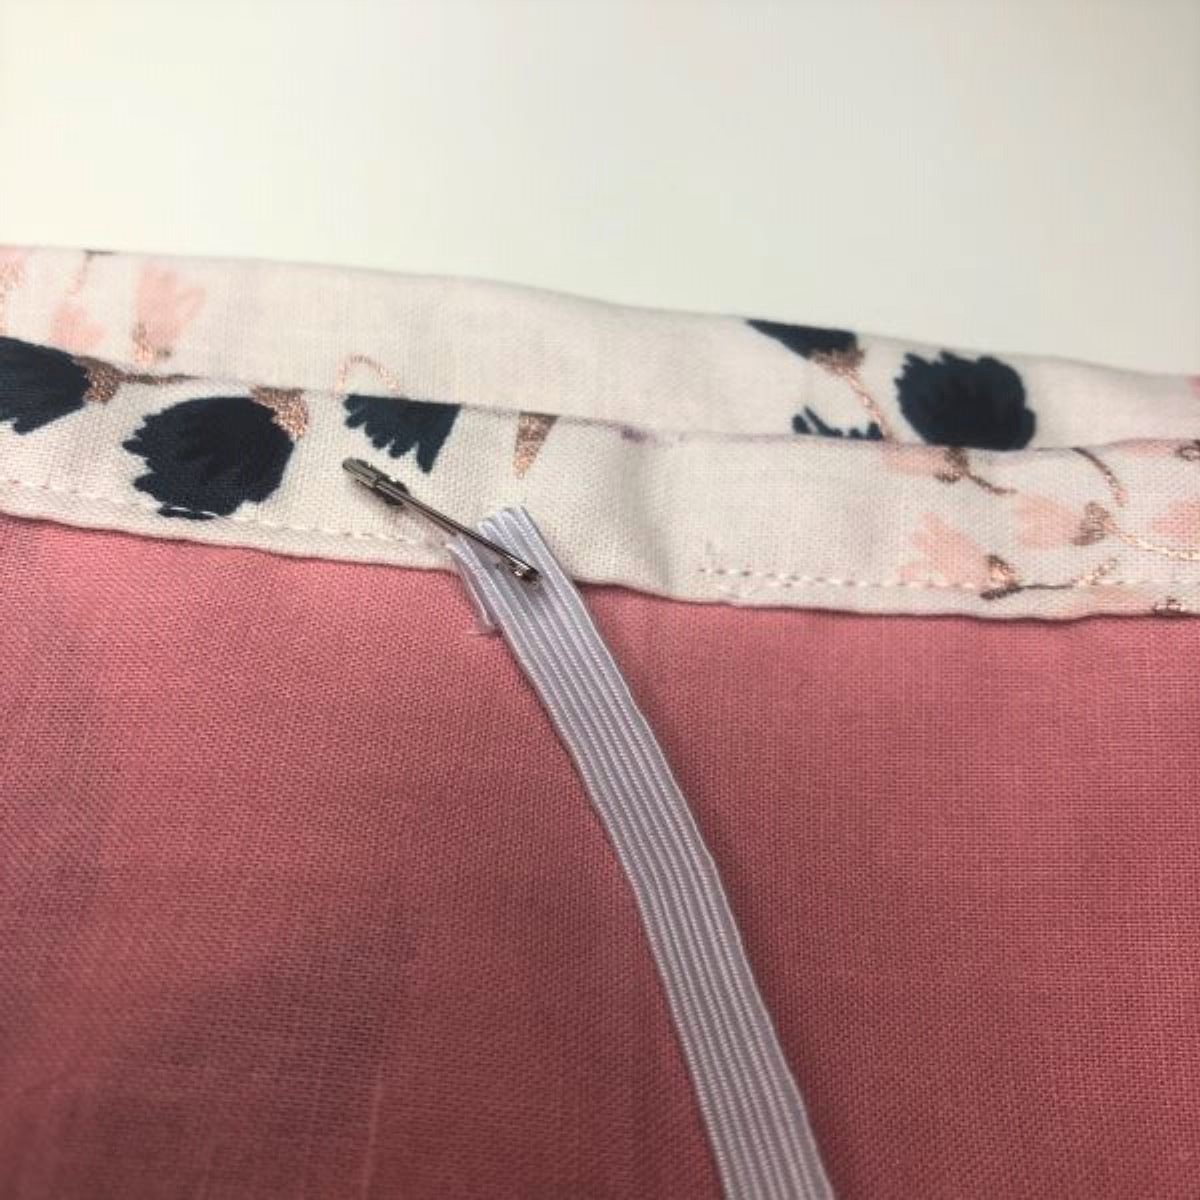
STEP 10, INSERT ELASTIC AND CLOSE OPENINGS
According to the instructions and measurements of your pattern, cut, insert, and secure the elastic and stitch the casing openings closed.
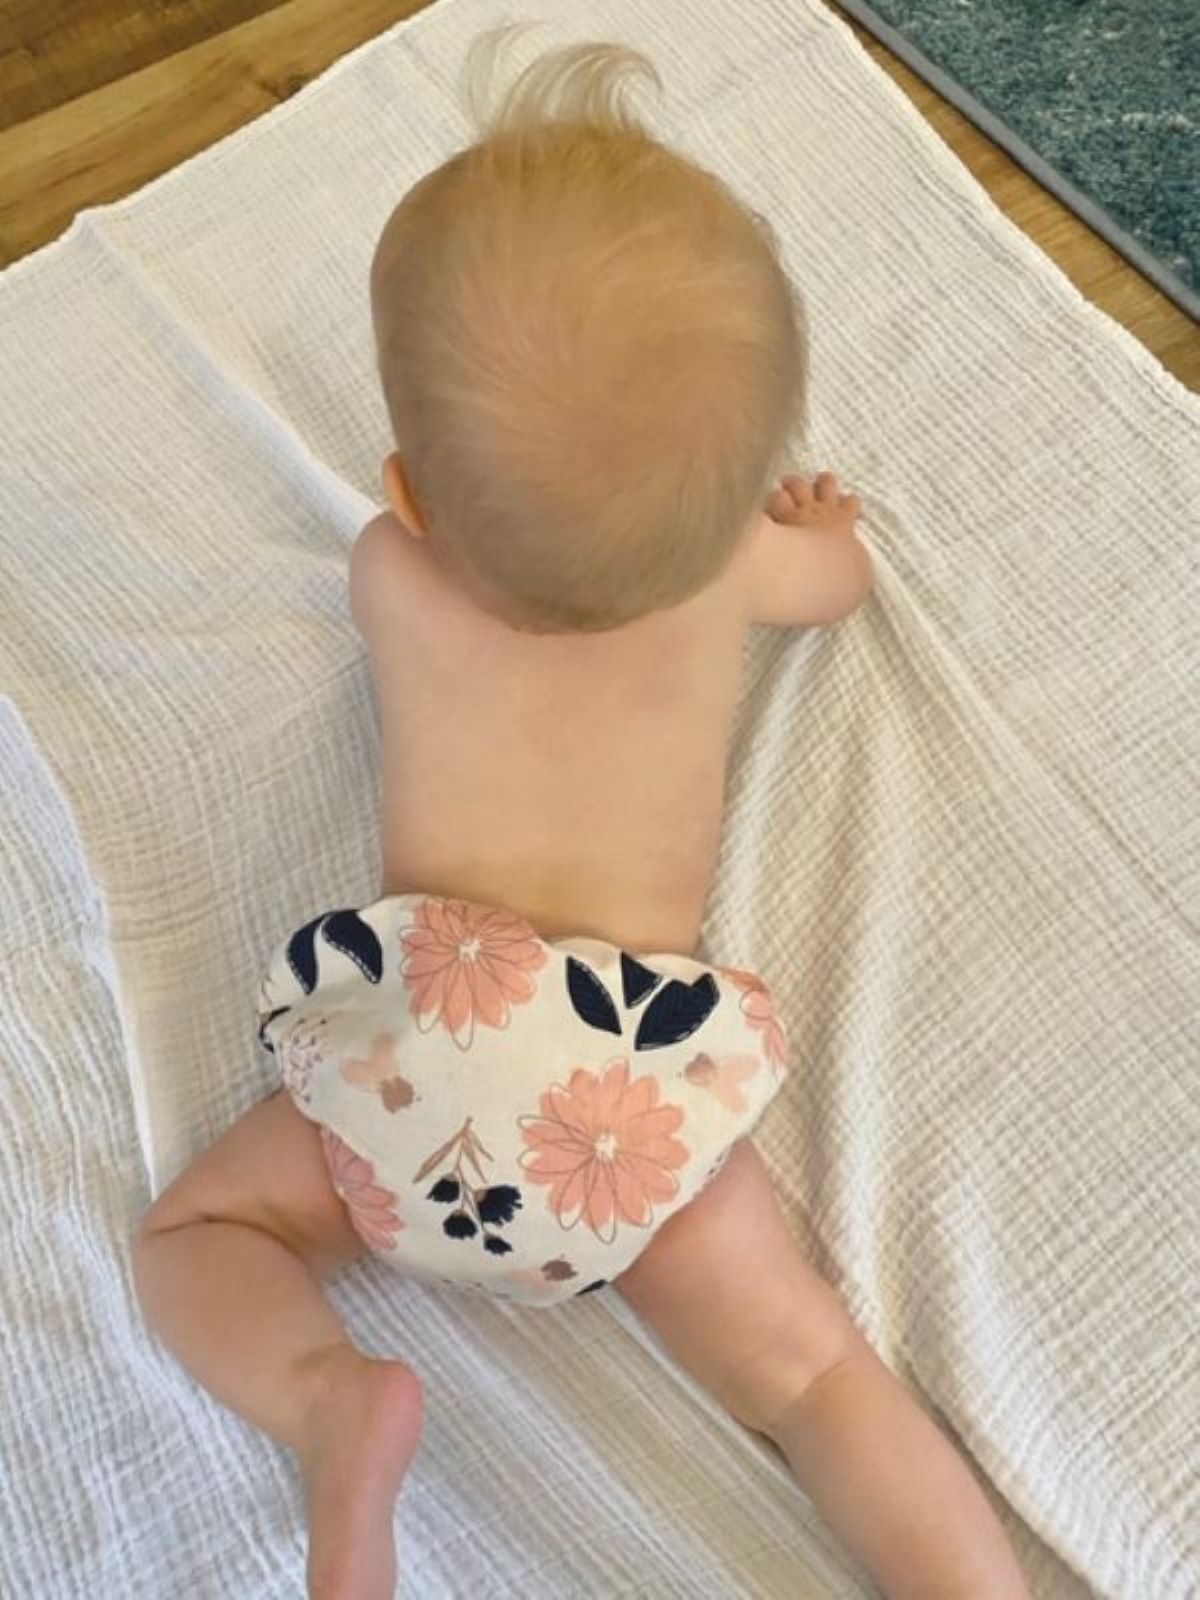
YOU DID IT! A SUPER EASY AND SUPER CUTE REVERSIBLE BLOOMER!

How sweet is this little floral bloomer? And the baby is pretty sweet too! In case you love this fabric as much as I do, it is from the Riley Blake collection which I purchased at Gina’s Bernina Sewing Center here in Knoxville. Check them out online. They have an amazing selection of great fabrics, and they are so helpful and knowledgeable about about all things sewing!