Upcycle a Wedding Dress Into a Christening Gown, Part 1: Planning
It can be pretty intimidating to think about using a pair of scissors to take apart a precious keepsake. A nice way to get your feet wet with this project is to start with a simple design and start with someone else’s dress.
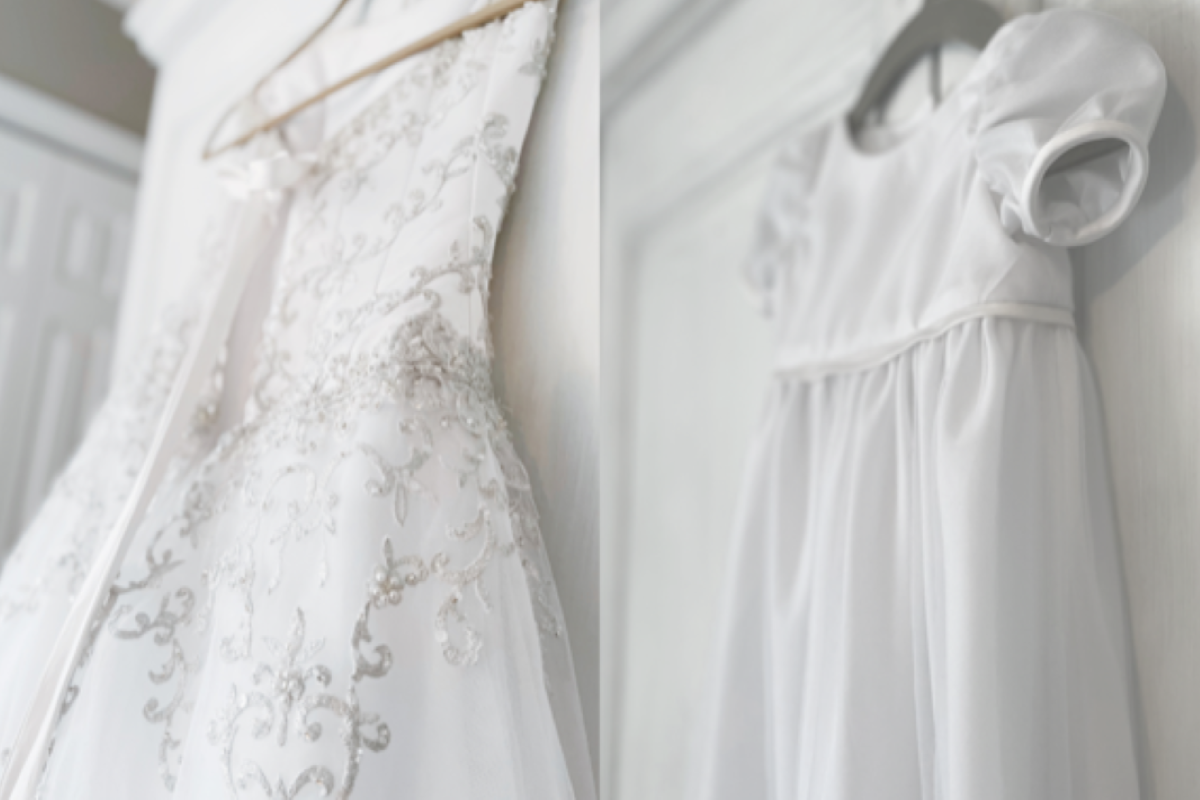
The wedding dress I am using for this project was given to me by a friend. You may find a free, or nearly free, gown simply by putting the word out. It turns out not everyone is as sentimental as me! Online marketplaces may be a possibility, and many thrift stores have inexpensive gowns which would be great for a practice project to bolster your courage.
What to do with a practice christening gown made with someone else’s dress? Get creative here too! Consign it. Sell it in your brand new Etsy shop. Donate it. There are organizations that can distribute items to families who would be thrilled to accept a handmade gown. I have posted some ideas on my website.
Materials to Begin Planning Your Wedding Dress to Christening Gown Project
- Computer or another device to access the internet
- Drawing supplies
- Wedding dress
- Optional: Samples from local fabric store
Steps for Planning Your Wedding Dress to Christening Gown Project
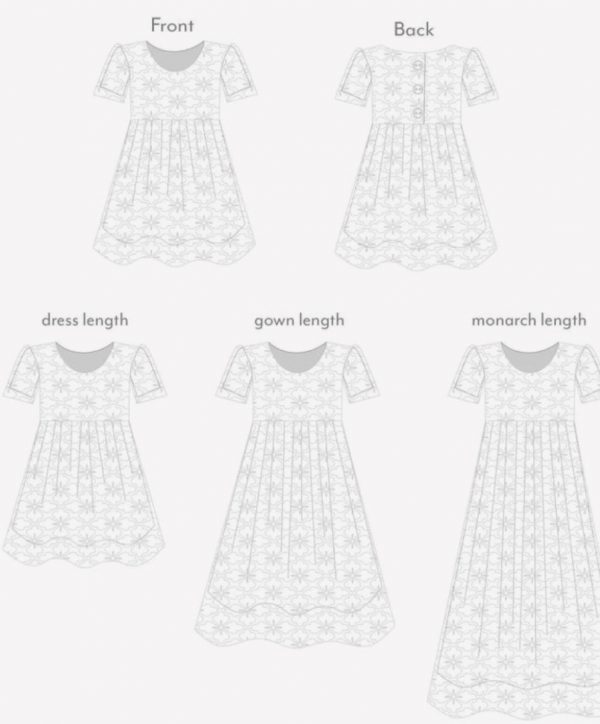
Step 1: Select Basic Christening Gown Design Elements (dress silhouette, sleeve length, etc.)
If you’re not sure what you want yet, just start pinning. On Pinterest, of course!
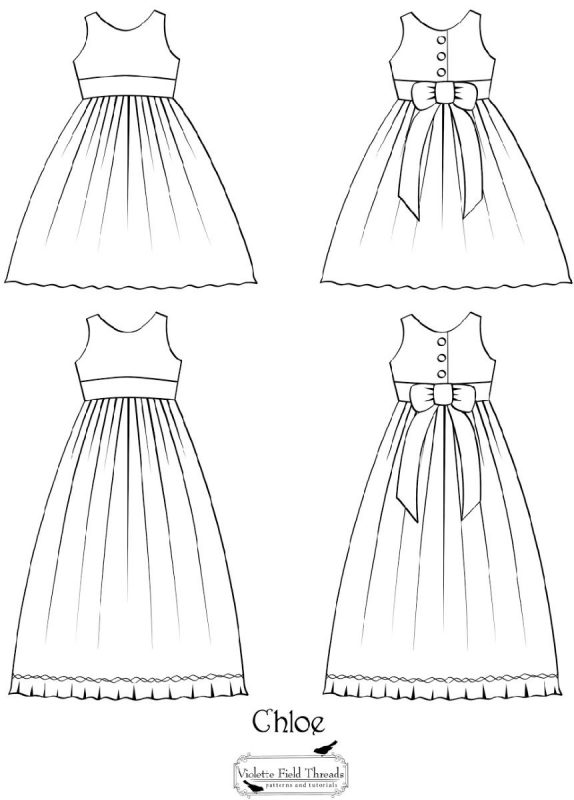
Create a vision board and add gowns you like. Take the time to make a note about what it was that caught your eye. The neckline? The sleeves (or lack of sleeves)? The heirloom detail? Just keep pinning until you start seeing a pattern. (Pun intended: see what I did there?) Then sketch out what is rising to the top of your favorites. Have fun with this part and don’t worry if you don’t think you’re creative. You’re about to surprise yourself and wow your friends!
Step 2: Choose Pattern(s) for Christening Gown
Once you have your sketch pretty well complete, leave it alone for a bit. Review your vision board, but resist the urge to keep pinning or you may find yourself with a case of “Analysis Paralysis.”
Come back to it later, make any final tweaks, then check out your nearby pattern retailer or favorite online site. I highly recommend heading to your local independent fabric store, as these folks know their stuff, and are so helpful! You’ll probably be back there to purchase your special trims, lace, and any other high-quality notions needed for your project.
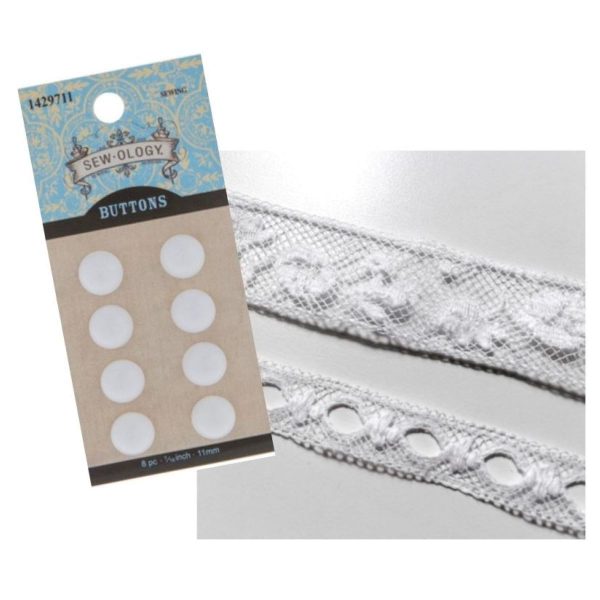
Step 3: Consider Additional Materials (lace, trims, buttons, etc.)
While you’re at your local sewing center, definitely take a look at other materials and notions you may want to consider for your project.
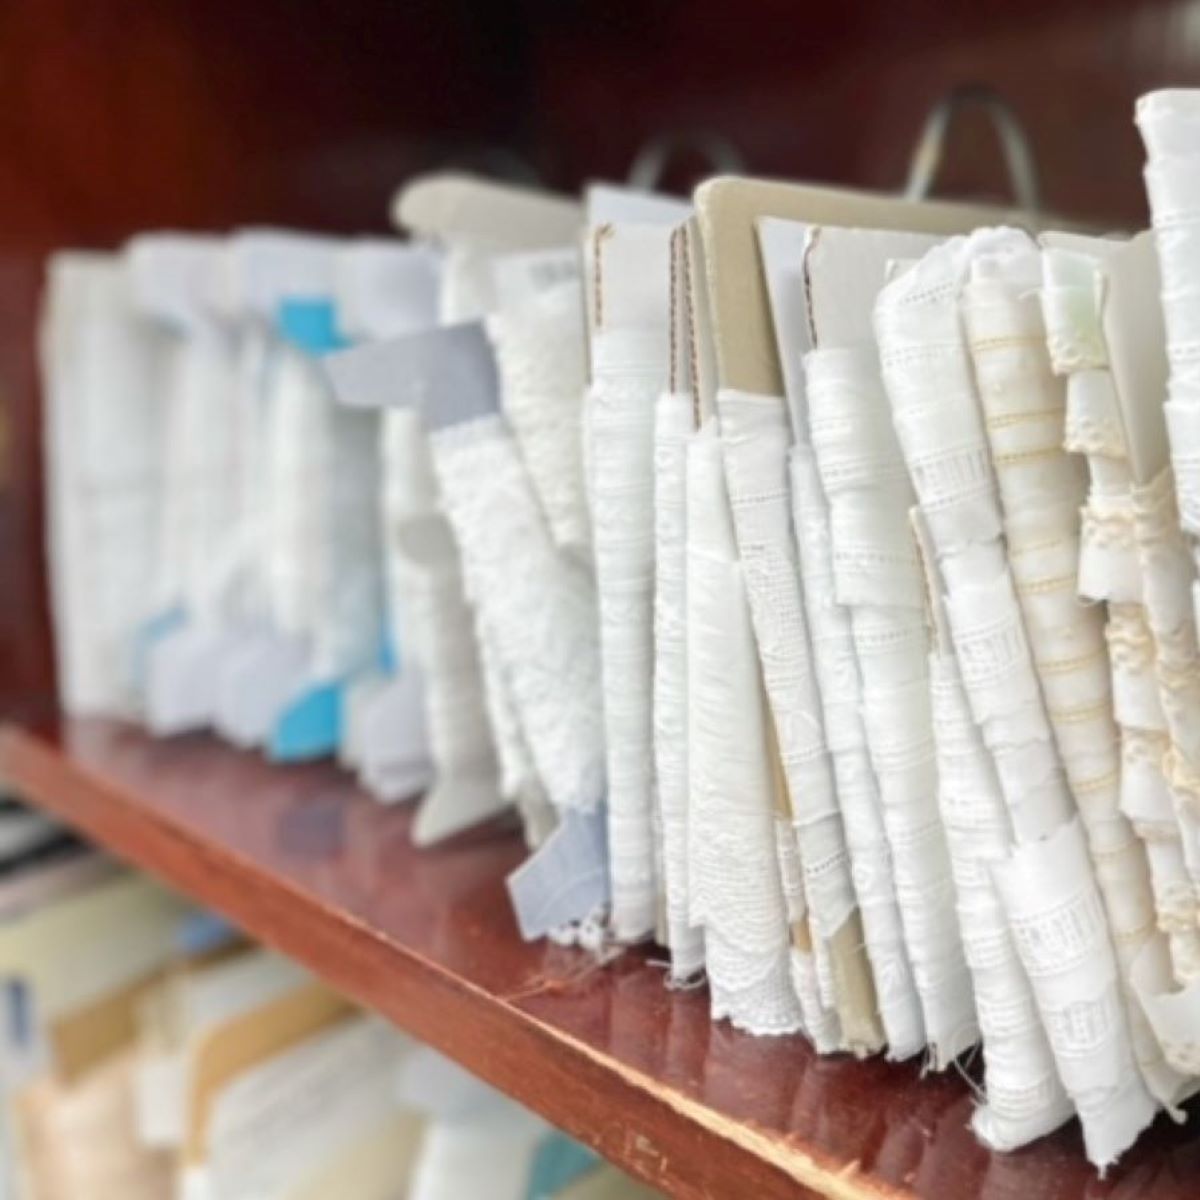
This is a project you’d want to be proud of long after you’re not around to see it, so make sure to use the highest quality materials you can afford. If you already have the wedding dress you’ll be working with, see if you can clip some fabric samples from an inconspicuous area to begin to narrow down your choices. No need to purchase these yet, but you’ll thank yourself later if you ask for samples or write the product information down. Ask me how I learned this lesson . . .
When you have your Christening gown design (mostly) planned out, it is time to get that chocolate ready and prepare for Part 2 as we talk about deconstructing the wedding dress. You can do it!
Upcycle a Wedding Dress into a Christening Gown
- Introduction
- Part 1: Planning
- Part 2: Deconstruction and Preparation
- Part 3: Construction
What you might also like
3 comments on “Upcycle a Wedding Dress Into a Christening Gown, Part 1: Planning”
-
-
How sweet that you were both able to share your time, talent and treasure to create a special keepsake for your granddaughters!
-
-
It is so interesting i was searching for this topic from a long time. I read this article very carefully and now I got all my best information for writing blog on own manufacturer. I am so glad that i finally find blog resemblance to my topic. Thanks for this.
Leave a Reply
You must be logged in to post a comment.


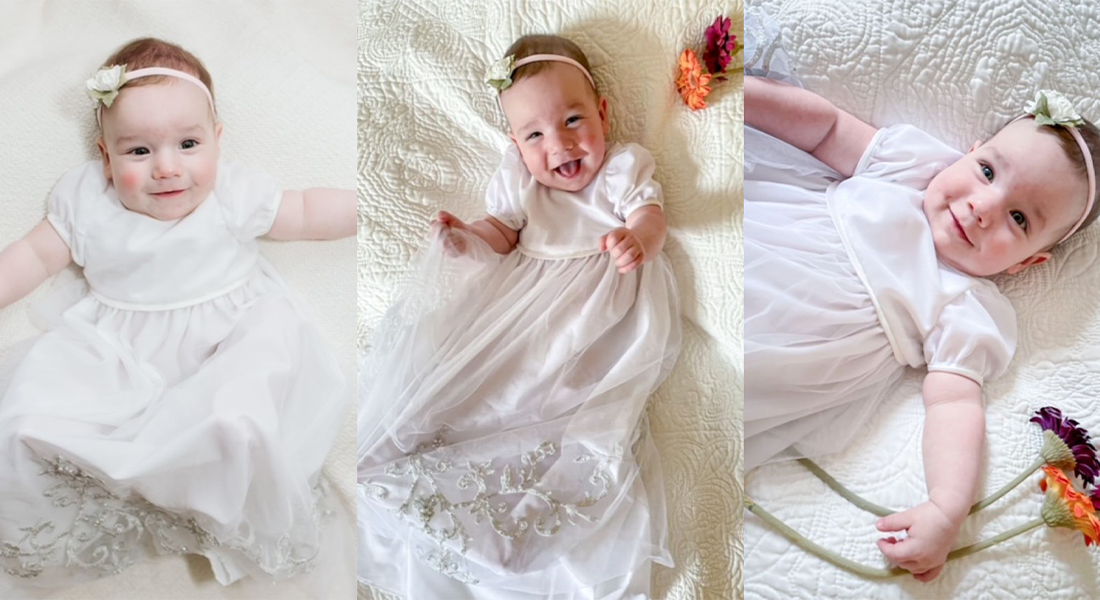
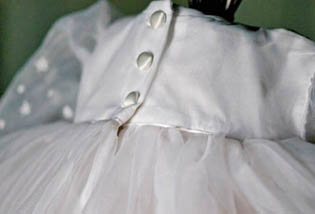


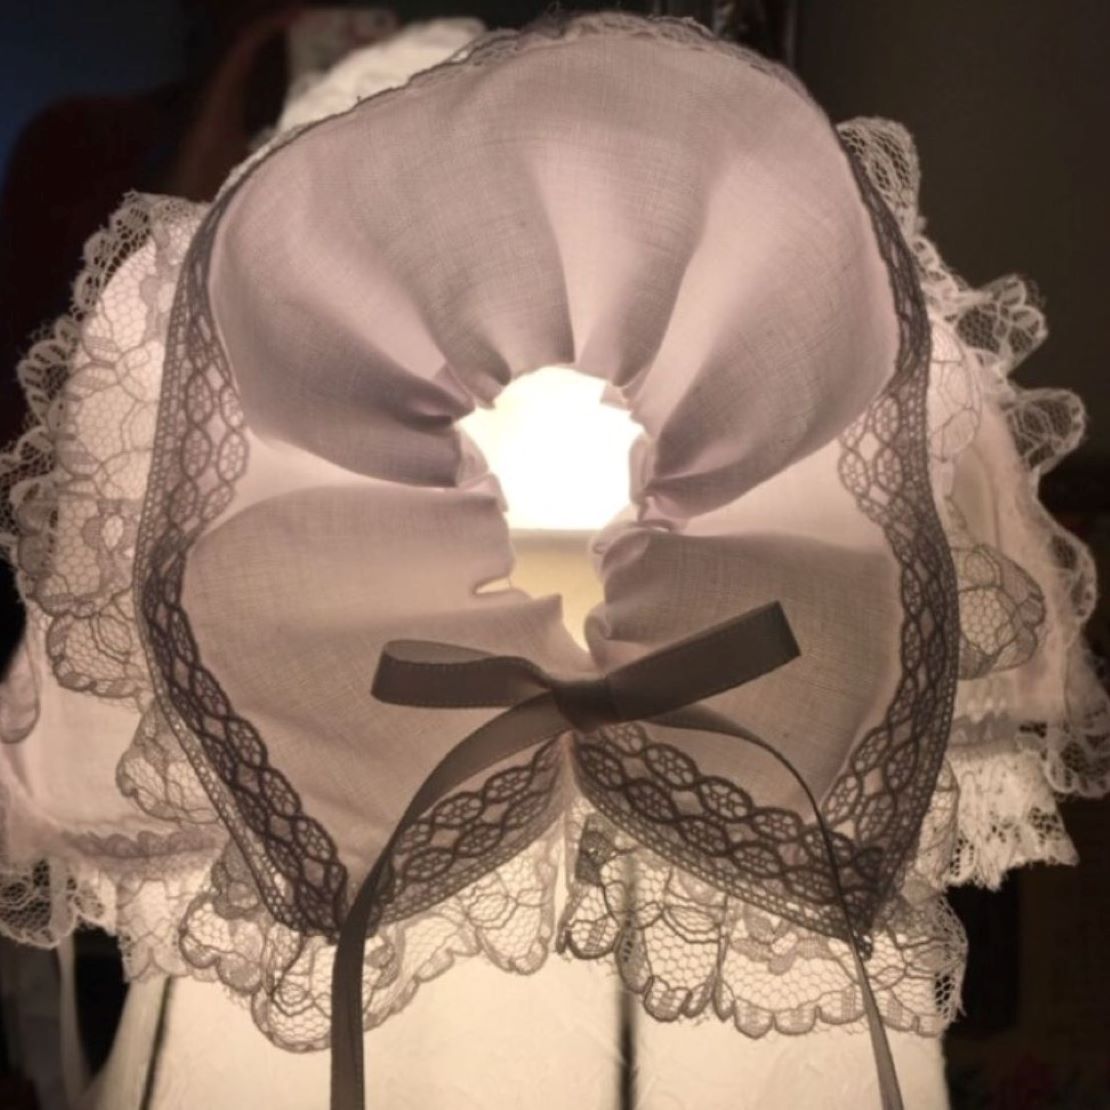


I have done this for my grand daughters. Their Grand mother shared her wedding dress and I put it together. the best part was “loads of lace”!