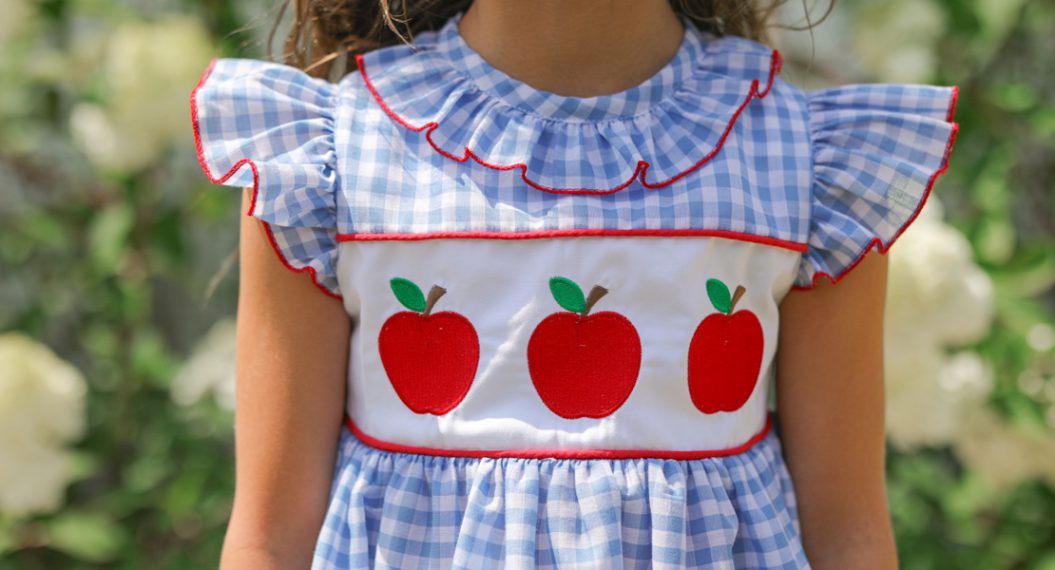
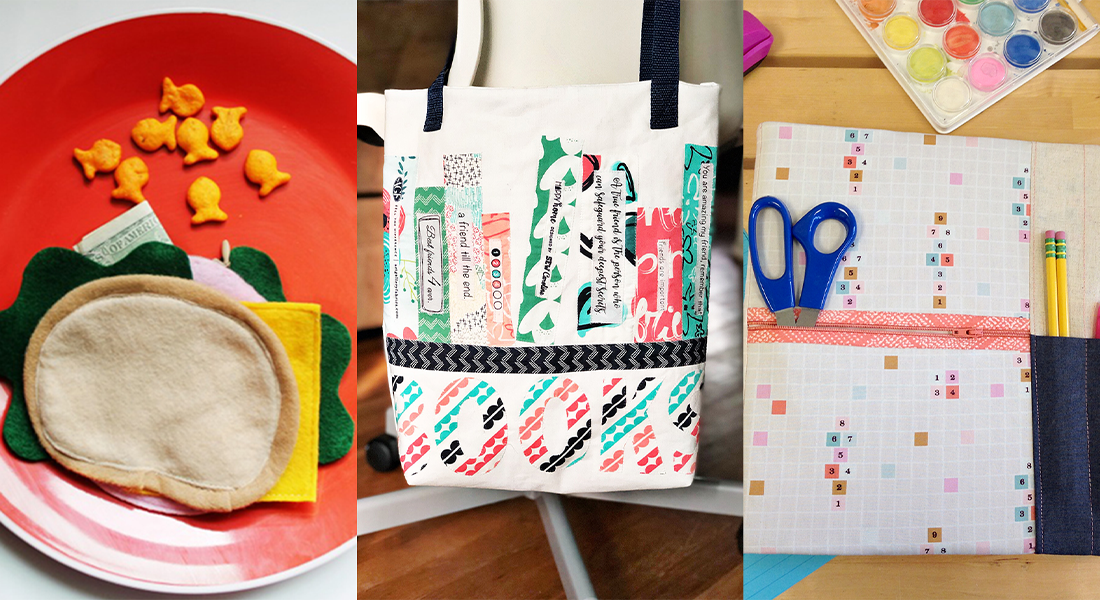
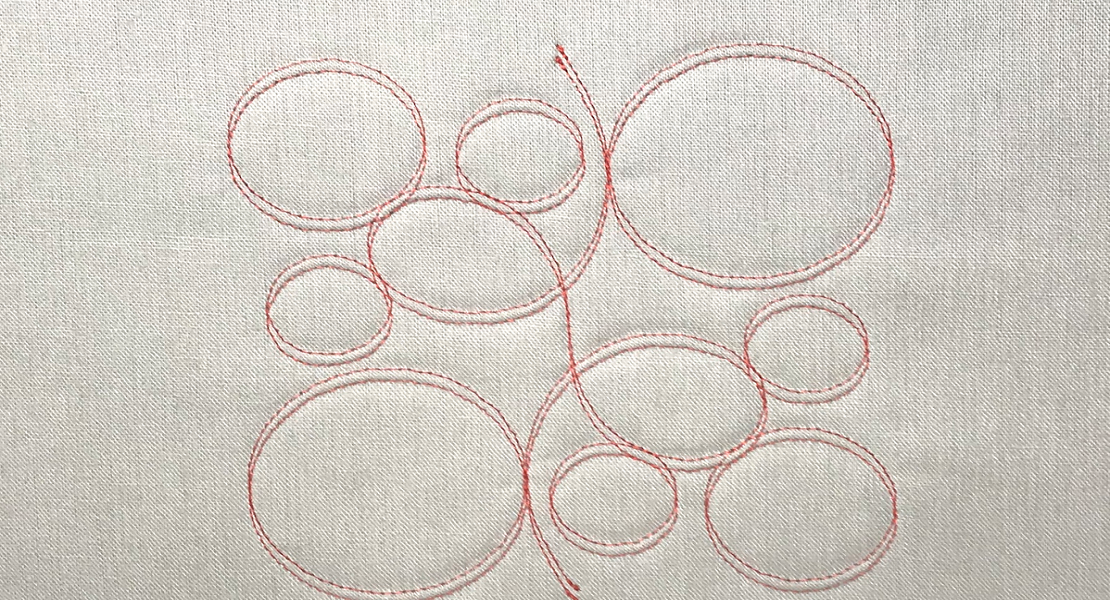
Back-to-school Machine Embroidery Appliqués
Hi, I’m Kate from Tough Kitten Crafts, and I empower sewists to move from frustration and become fearless with machine embroidery via online education. I love the cute and quick machine embroidery appliqués from OESD, and today I’m gonna show you how to spruce up some back-to-school gear in a flash.
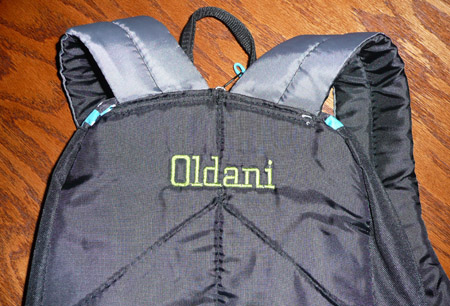
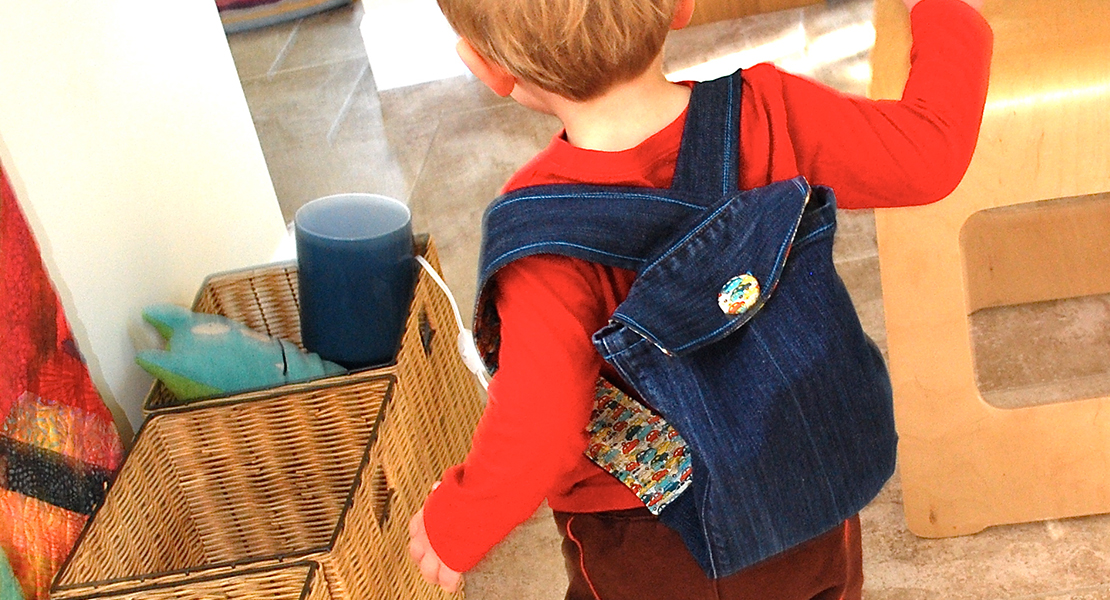
When creating for the little ones in my life, I usually live by the KISS method (Keep It Simple, Sister) because while kids are . . . well, kids! Interests come and go, they grow out of things quickly, and they can be pretty hard on things, handmade items or not. So, after learning my lesson a few times, I started focusing my handmade efforts on quick projects, especially customizing premade items. Adding details to ready-to-wear clothes or store-bought backpacks and bags is an awesome way to show love while saving time.
Supplies for Machine Embroidery Appliqués
- OESD Applique Fuse and Fix
- OESD CutAway Stabilizer
- OESD Whippersnapper Embroidery Collection
- OESD Expert Bobbin Thread
- Spray Baste
- Nifty Notion’s Lightbox
- Sharpie/pen
- Laurastar Iron
- Canvas fabric or embroidery blank
- Printer
- Embroidery Thread
- Fabric scraps for applique
- Topstitch 90/14 needle
- Scissors
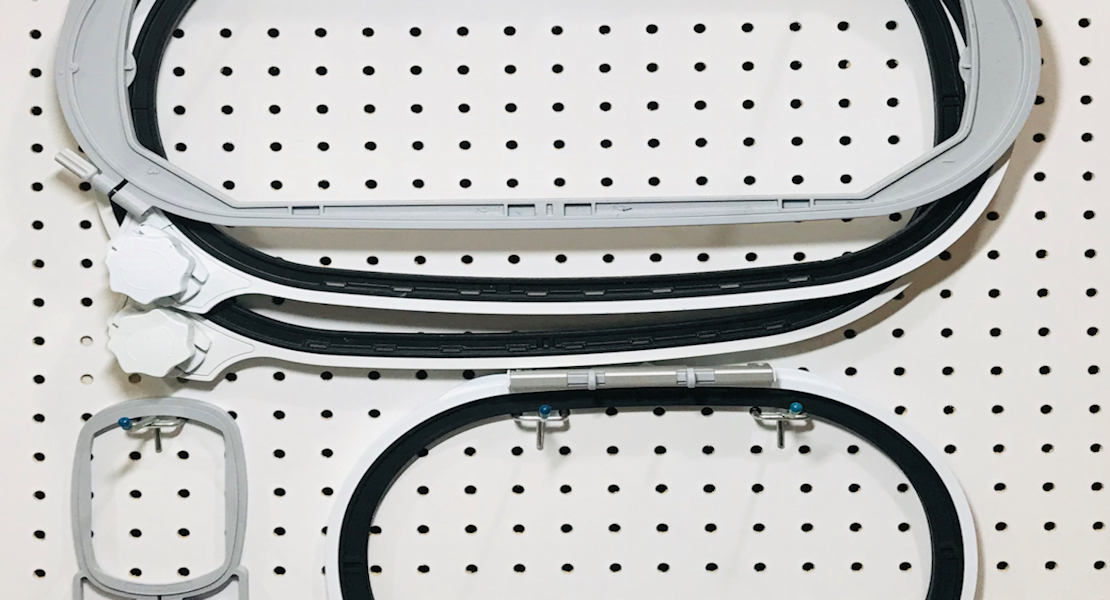
- BERNINA Maxi Embroidery Hoop
Instructions for Machine Embroidery Appliqués
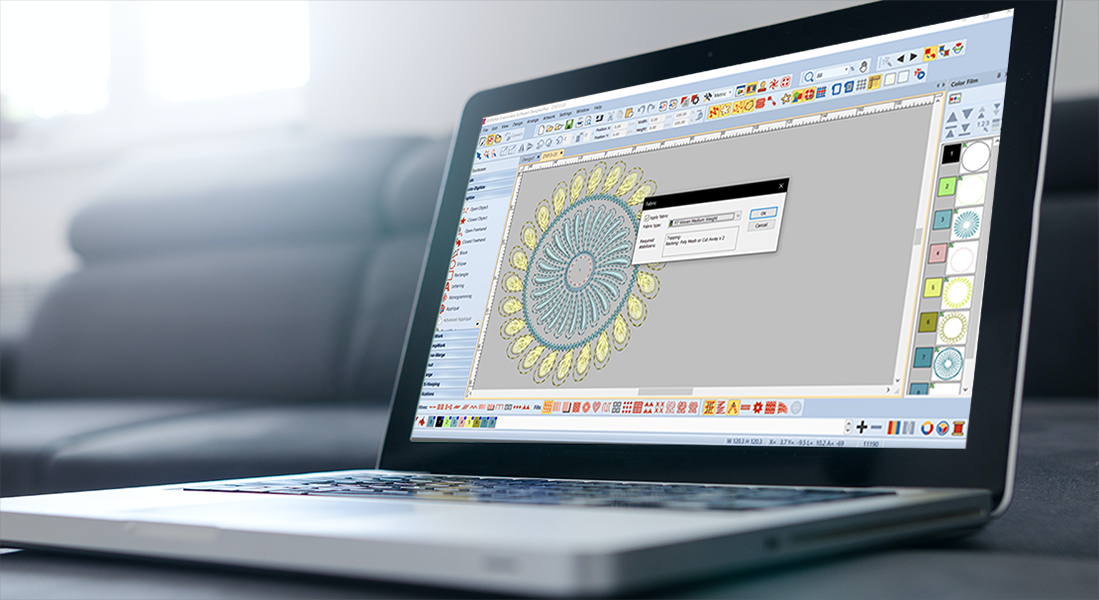
Let’s start by prepping our supplies. Print out the outlines for your appliqués, press your fabric scraps and canvas, and prep your machine by cleaning, oiling, and getting a new needle. When printing, remember to print it to “actual size” so you don’t distort the design.
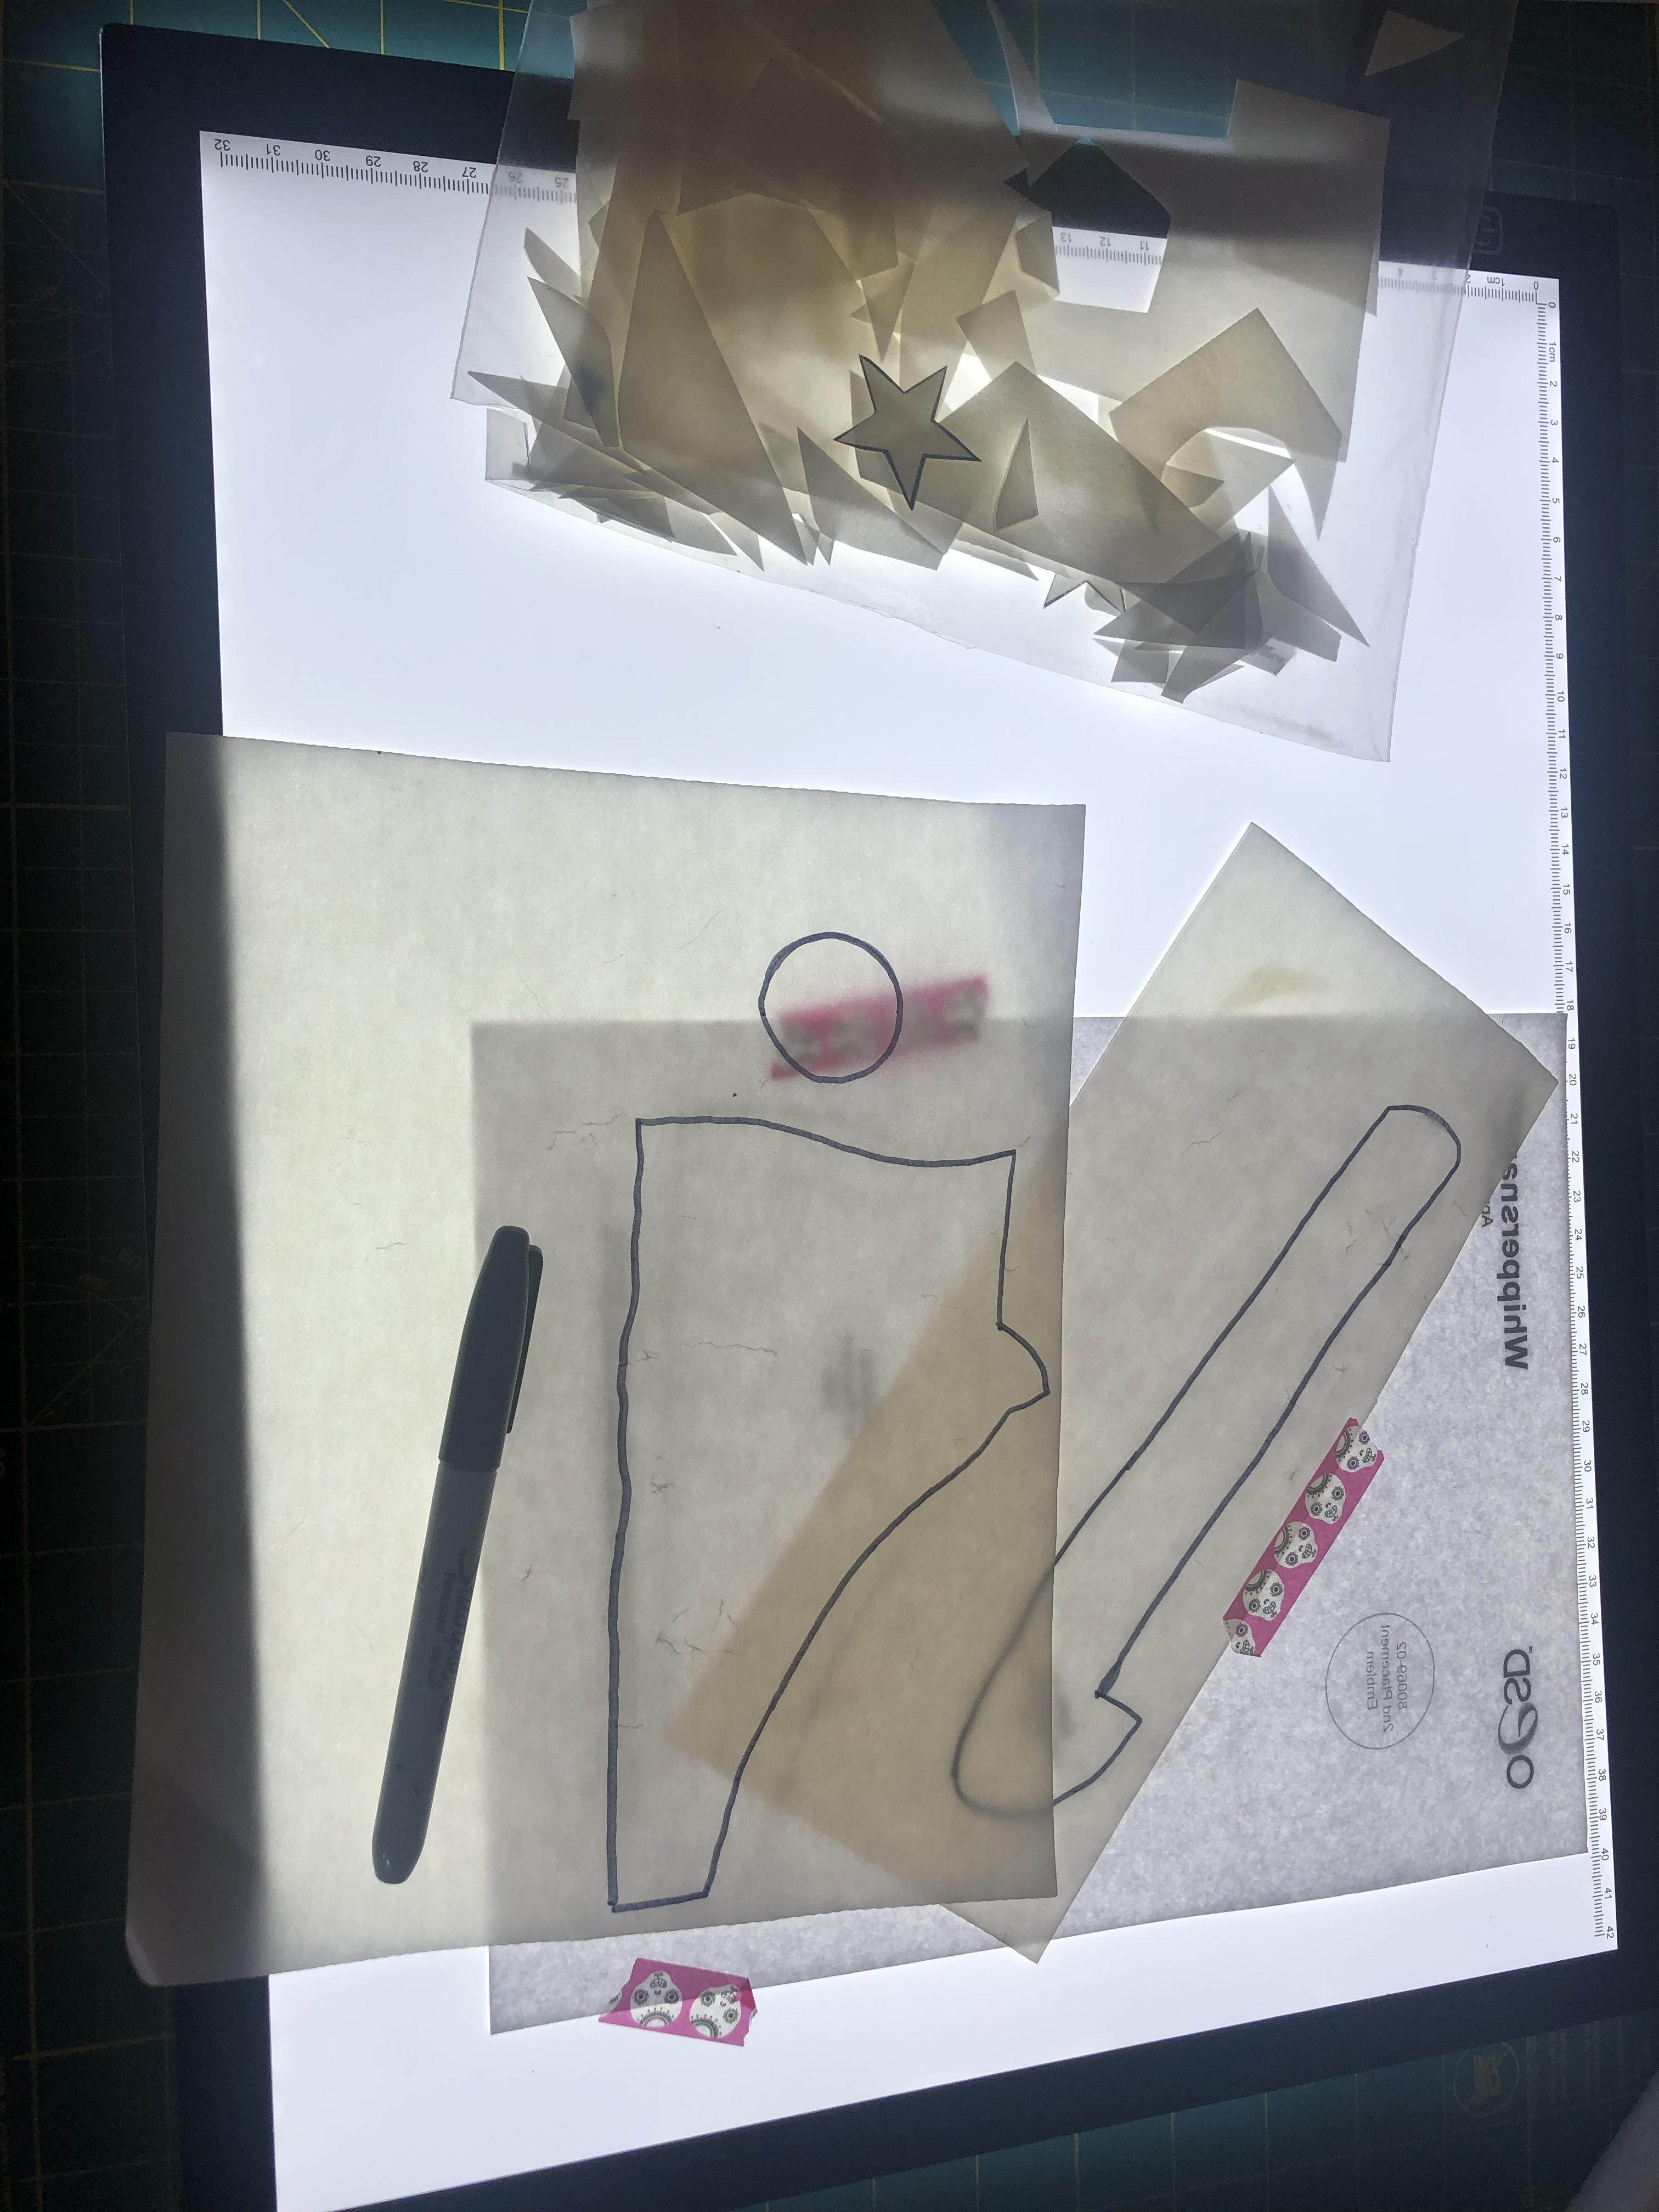
Turn on your lightbox, and place your printed appliqué pieces upside down, so you are looking at the inverted designs. Place your fusible web over your designs, shiny side up, and use a piece of embroidery or washi tape to prevent slippage. Trace each piece.
Hint: I like to keep a bag of odds and ends of fusible web for various pieces of applique. Useful for embroidery and sewing! (pictured to the left of the photo)
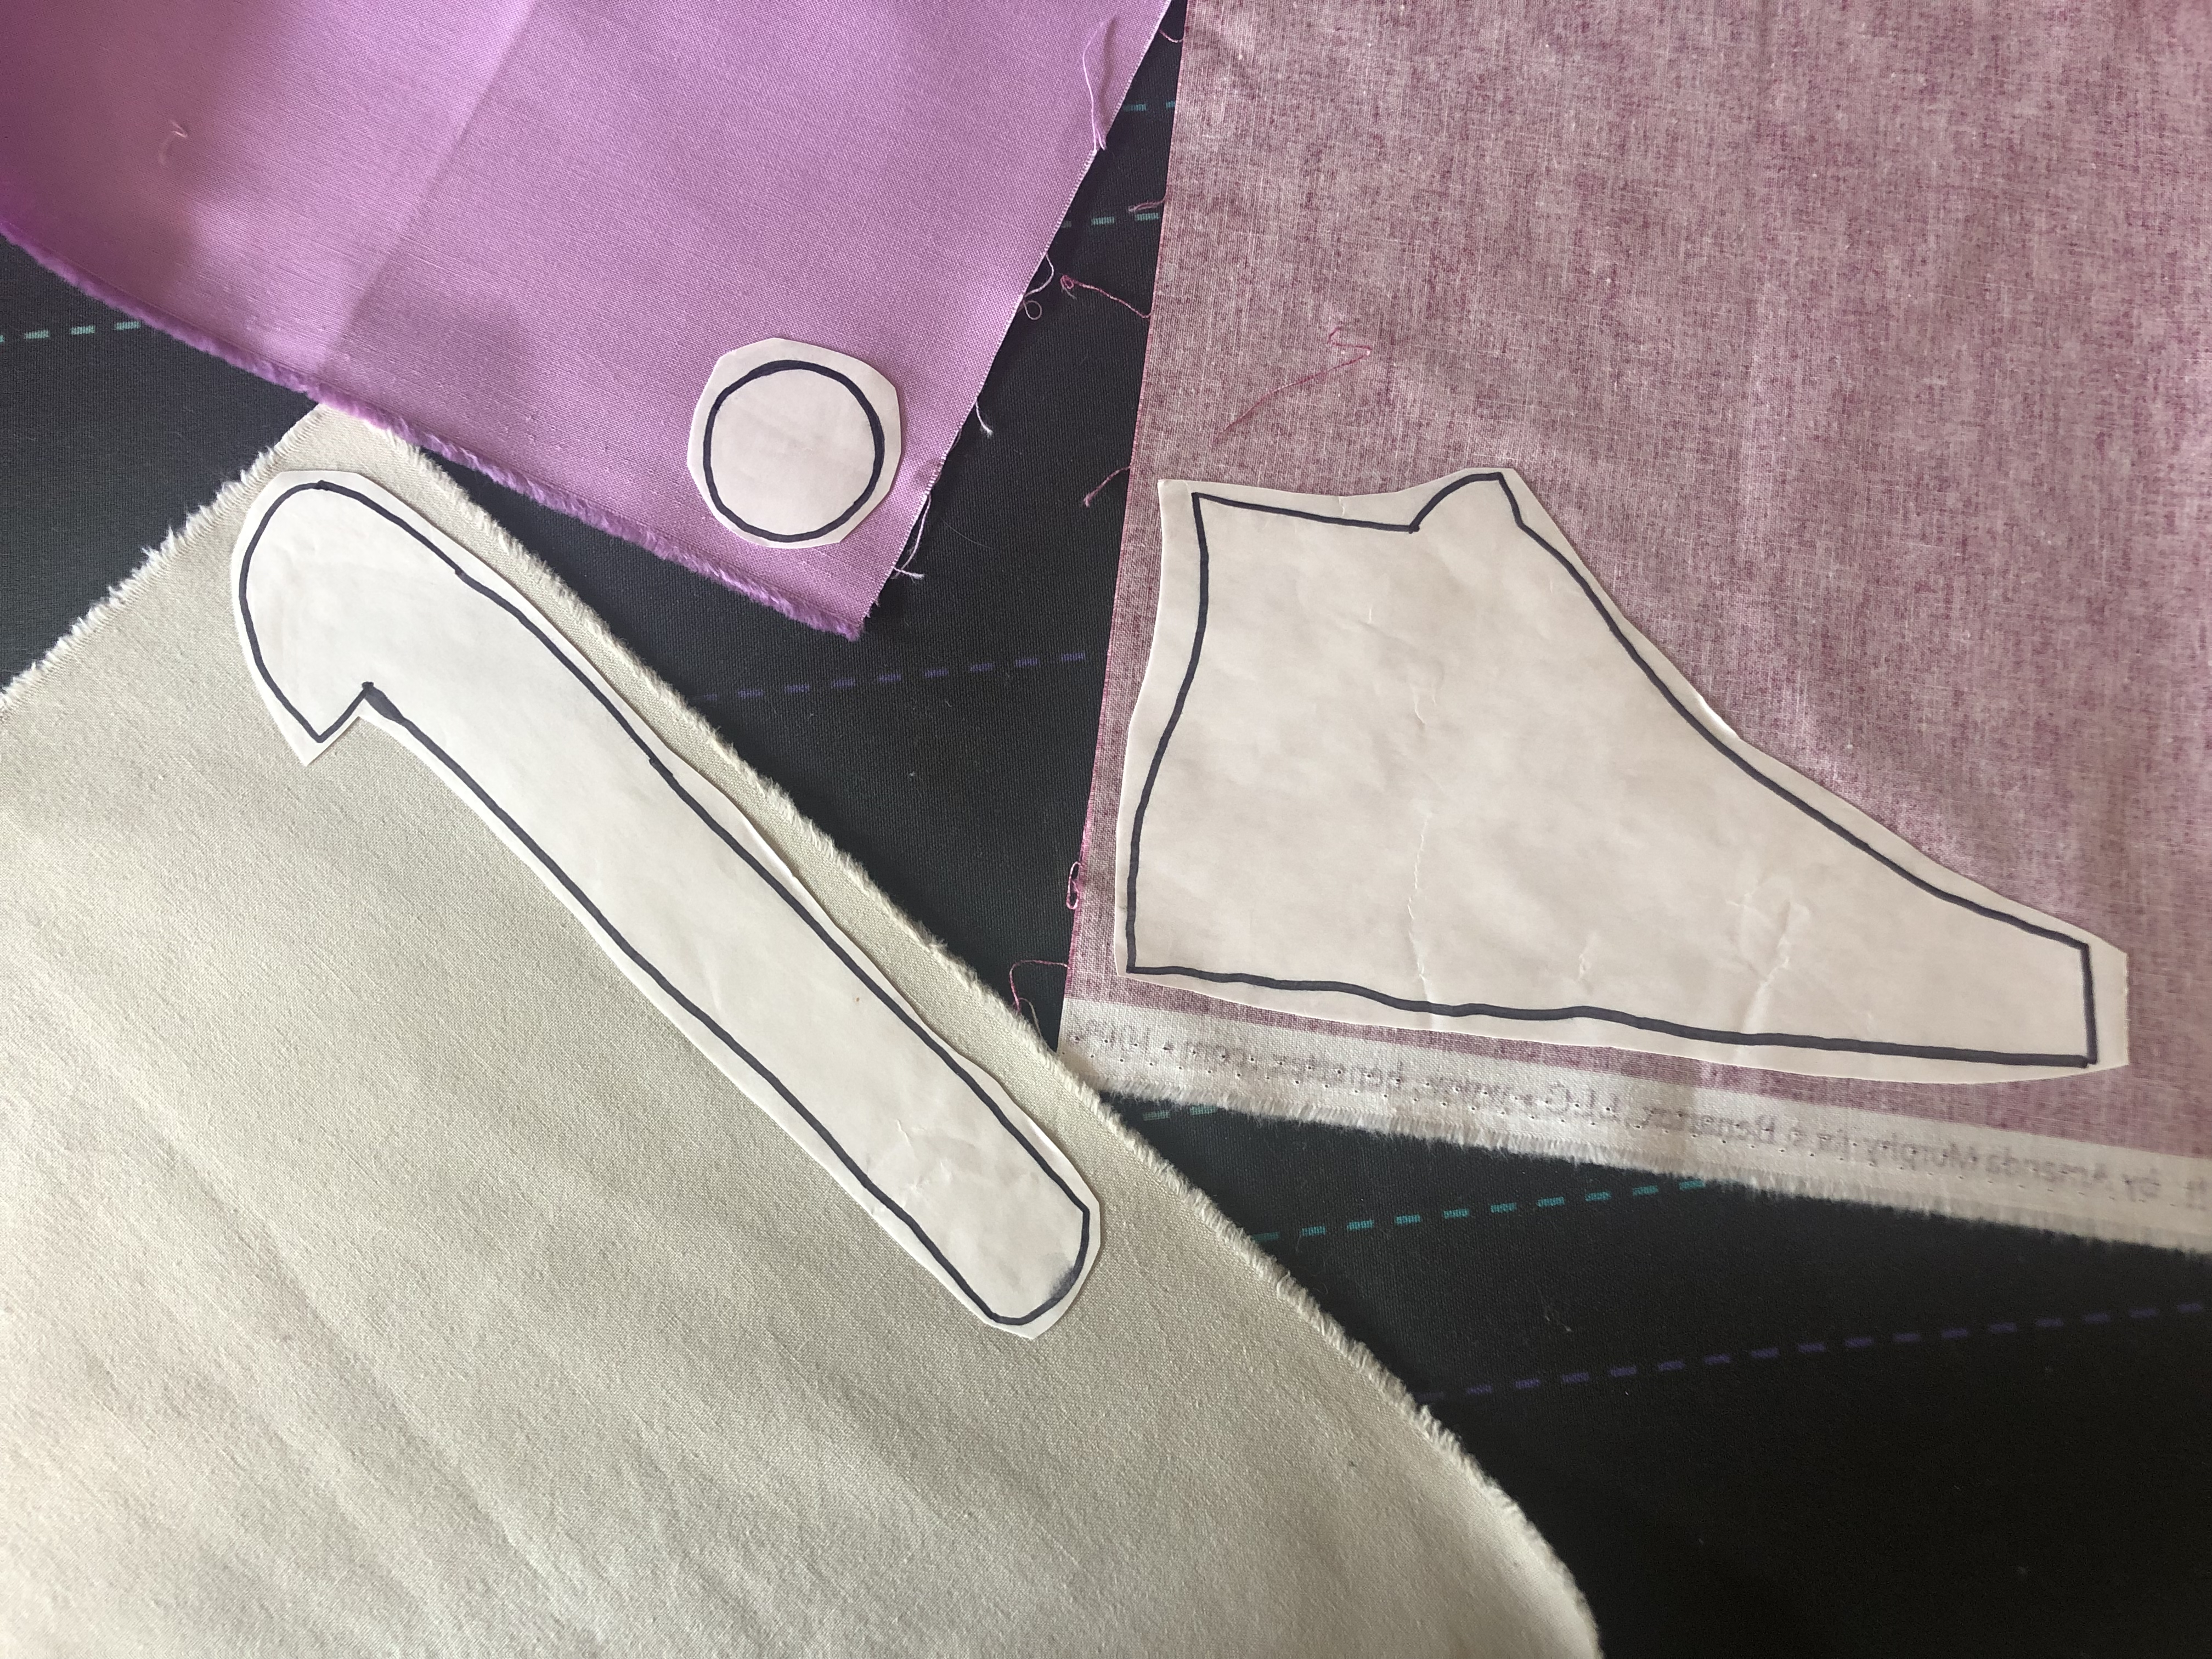
Cut out your pieces. Don’t cut out this fusible web directly on the lines you traced, be sure to leave yourself some extra around the outside.
Fuse your appliqué shapes to the wrong side of your fabric, according to the package instructions.
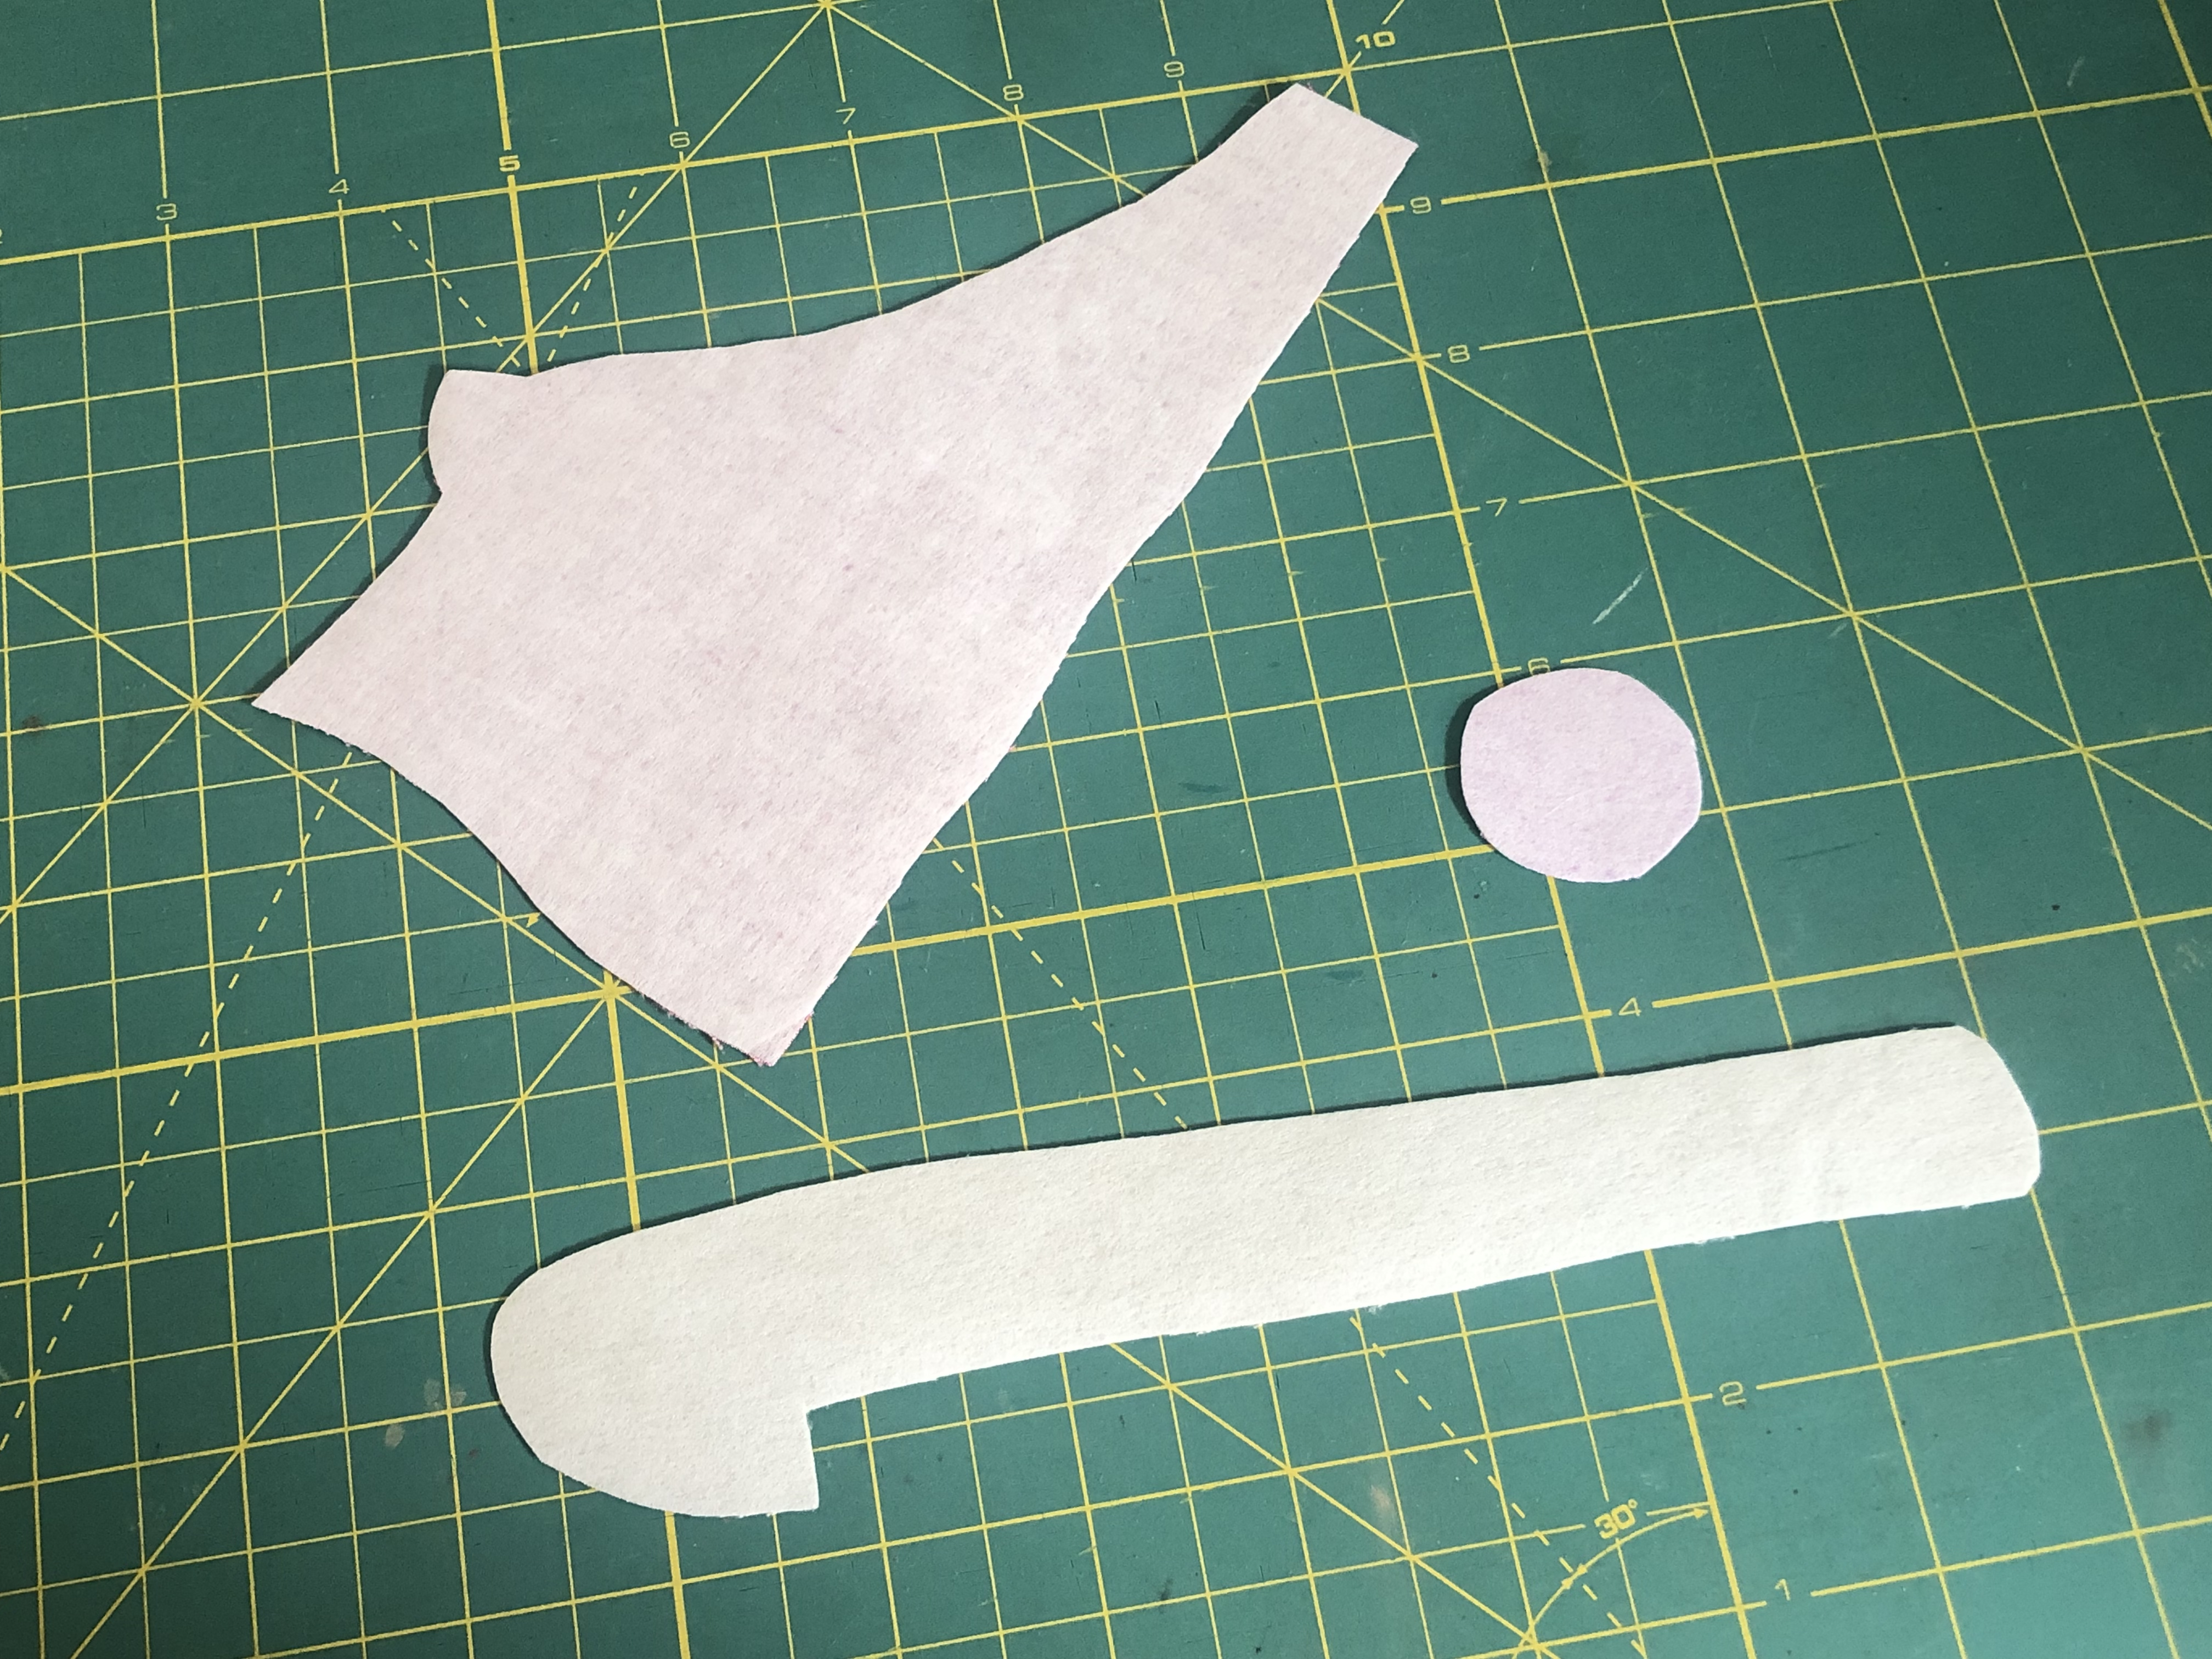
Cut out your appliqué pieces and set them aside. These are raw edge appliqués, so there is to need to be incredibly accurate with your cutting. You are actually better off cutting it a little bigger because you can always trim it down after your outline gets stitched.
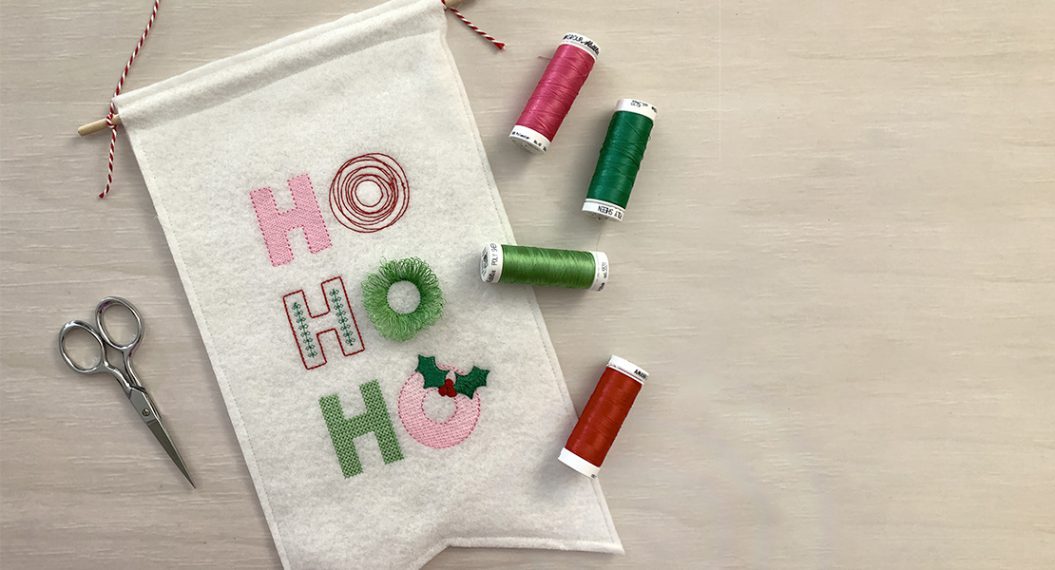
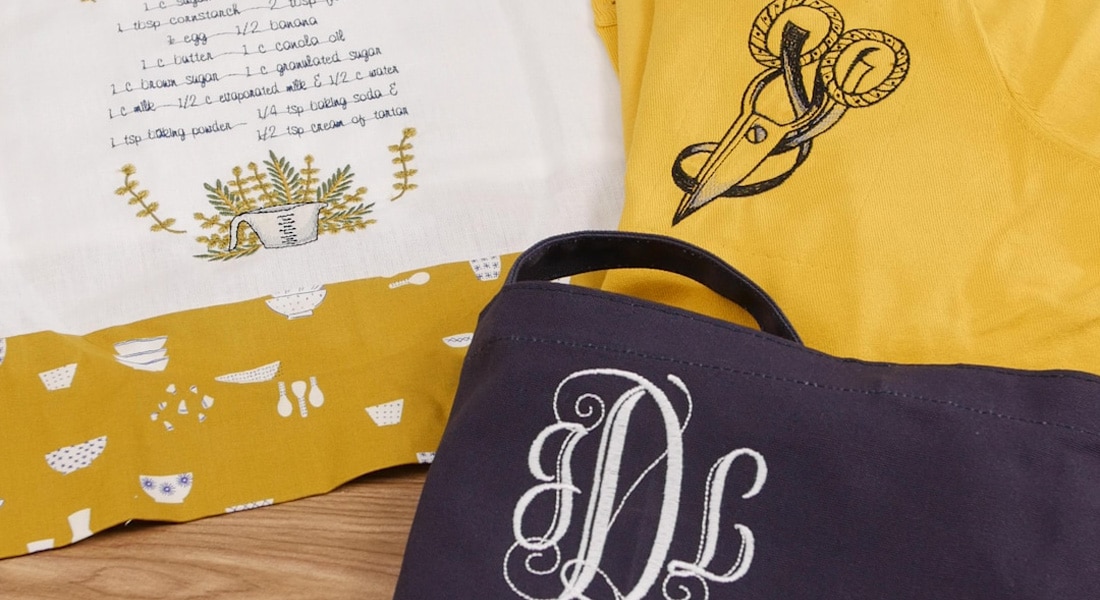
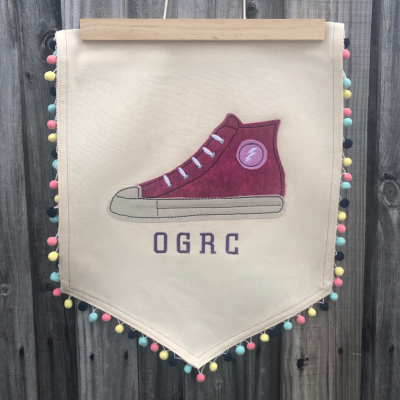
I am using a cute little pre-made banner for this project. I recommend using an embroidery blank with a flat surface or plain piece of fabric the first time you do this type of appliqué so you can get the hang of it. After that, you’ll be able to add these appliqués to shirts, backpacks, skirts, anything you can think up!
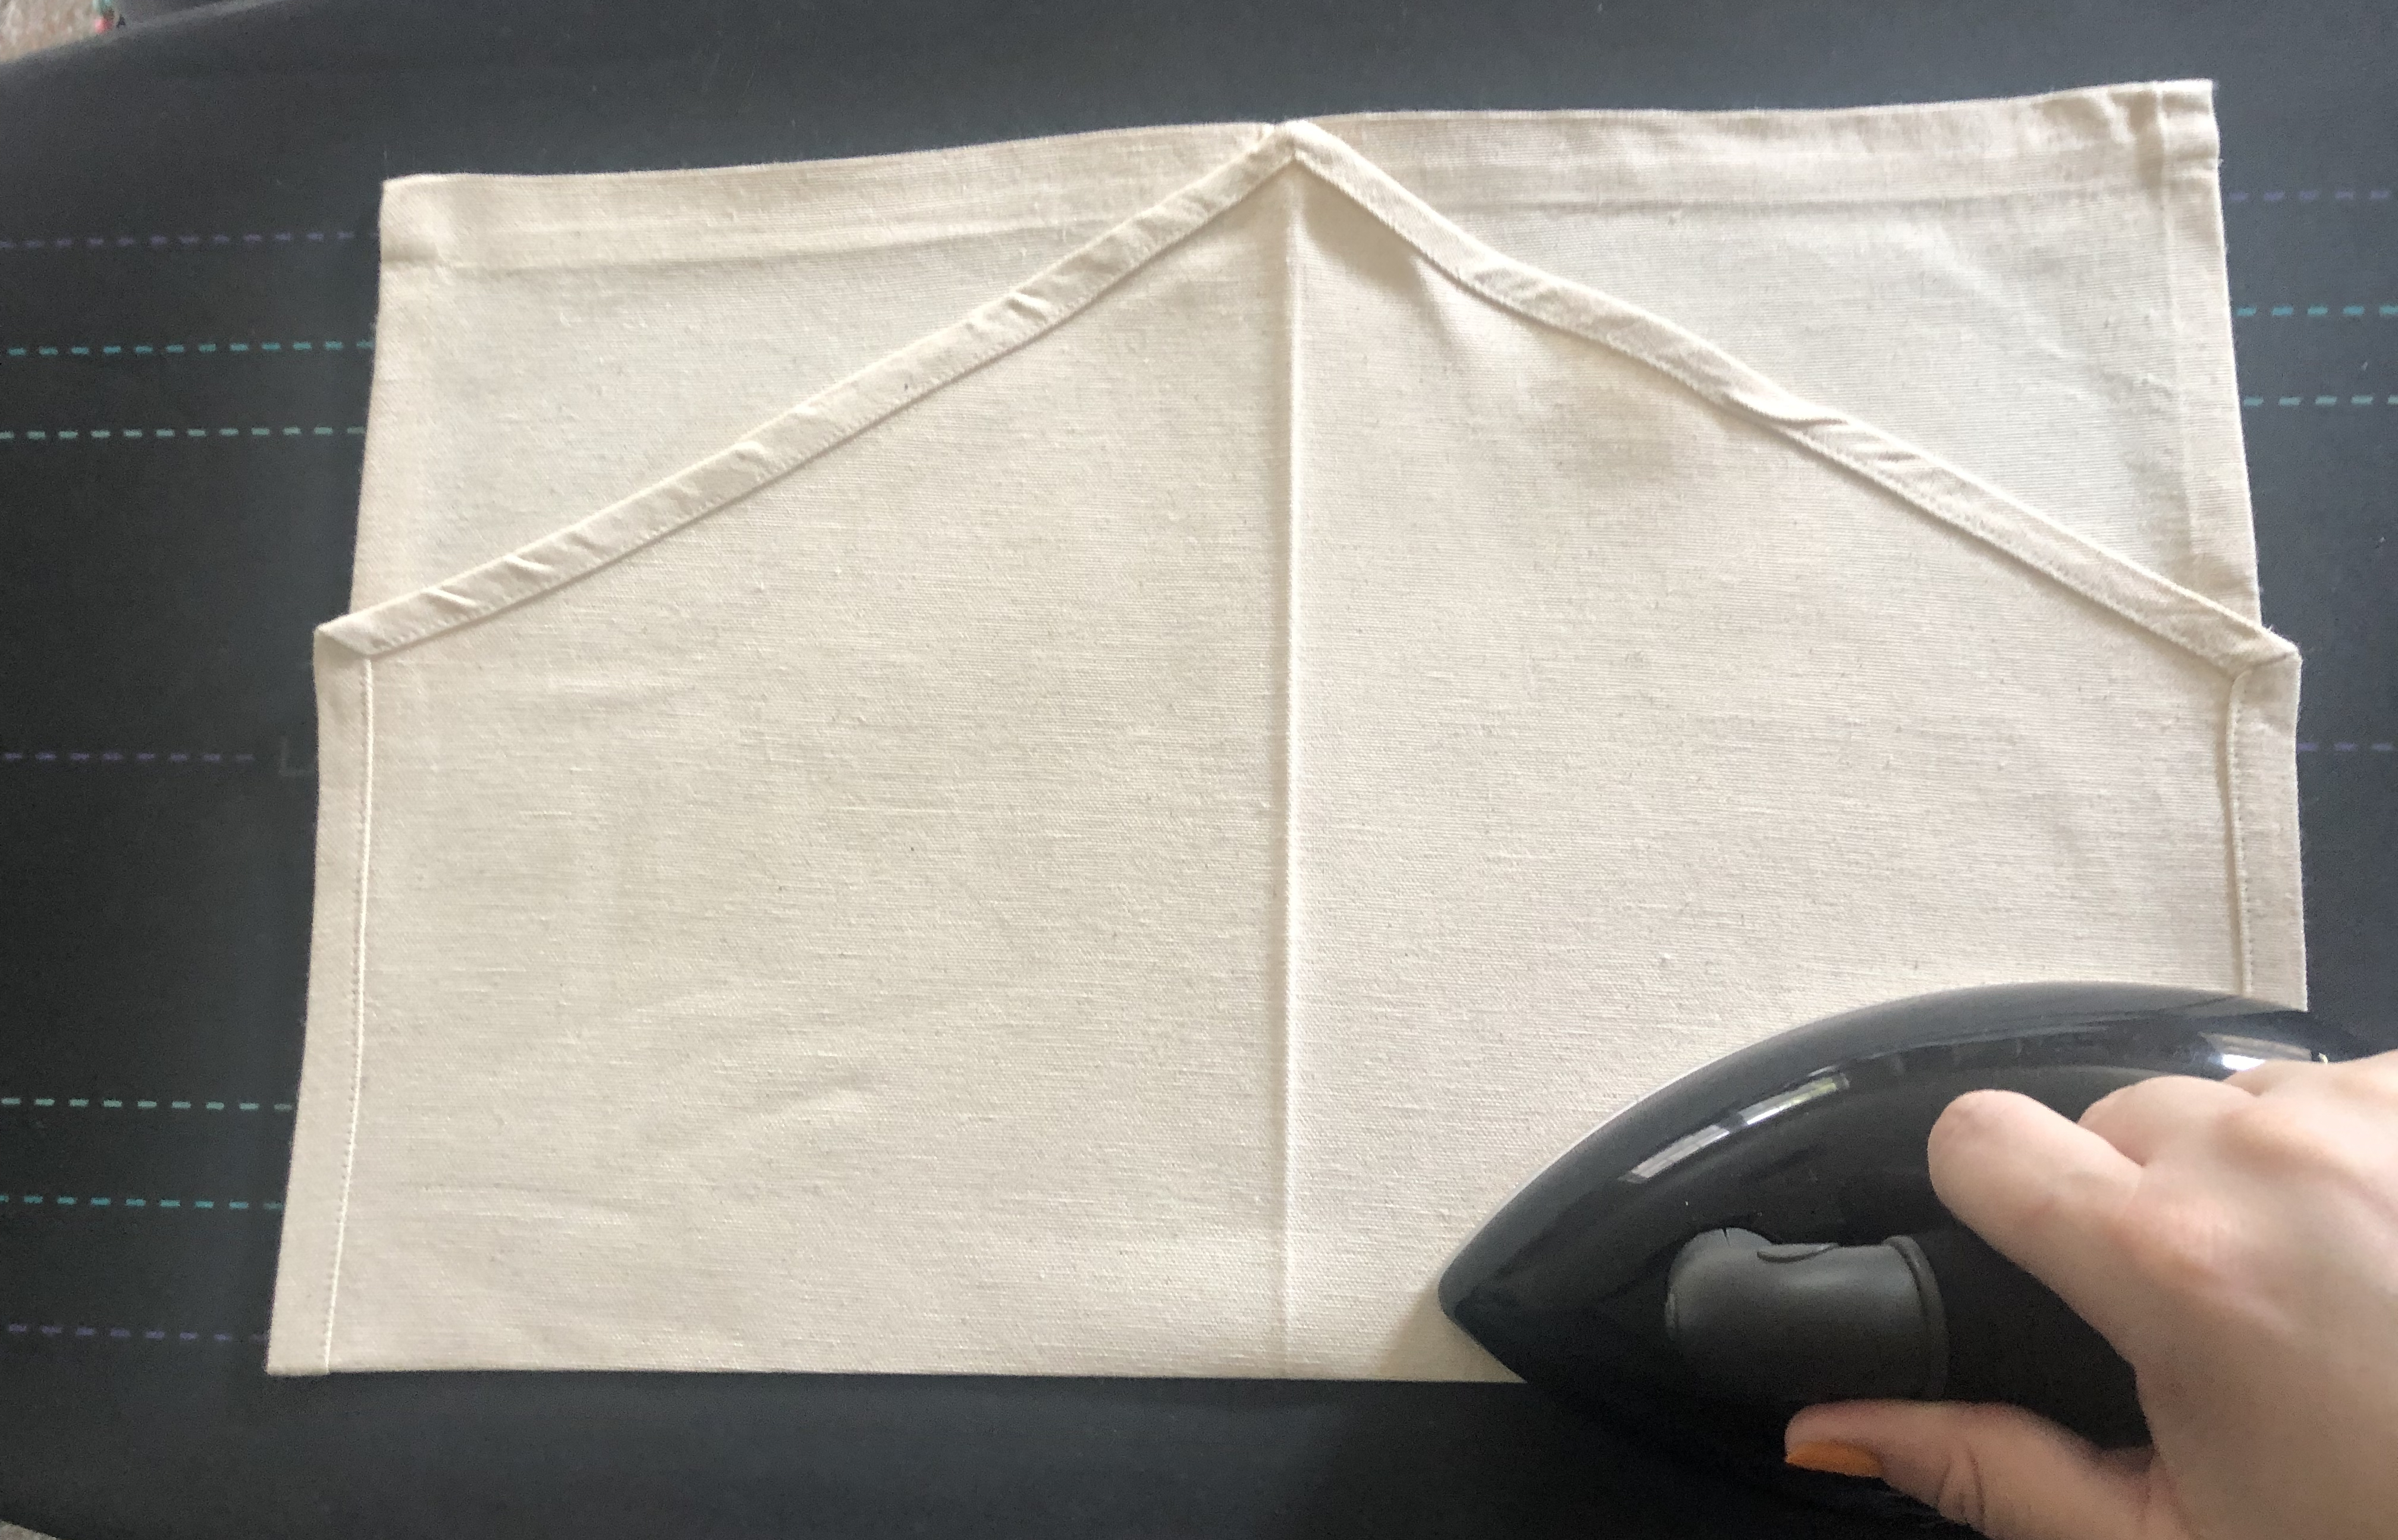
To mark my banner, I fold it in half (right sides together) and press a crease into it vertically. Unfold it, fold in half horizontally (right sides together), and press a crease, being careful not to press out your previous crease.
We now have the center of our fabric without the use of marking tools!
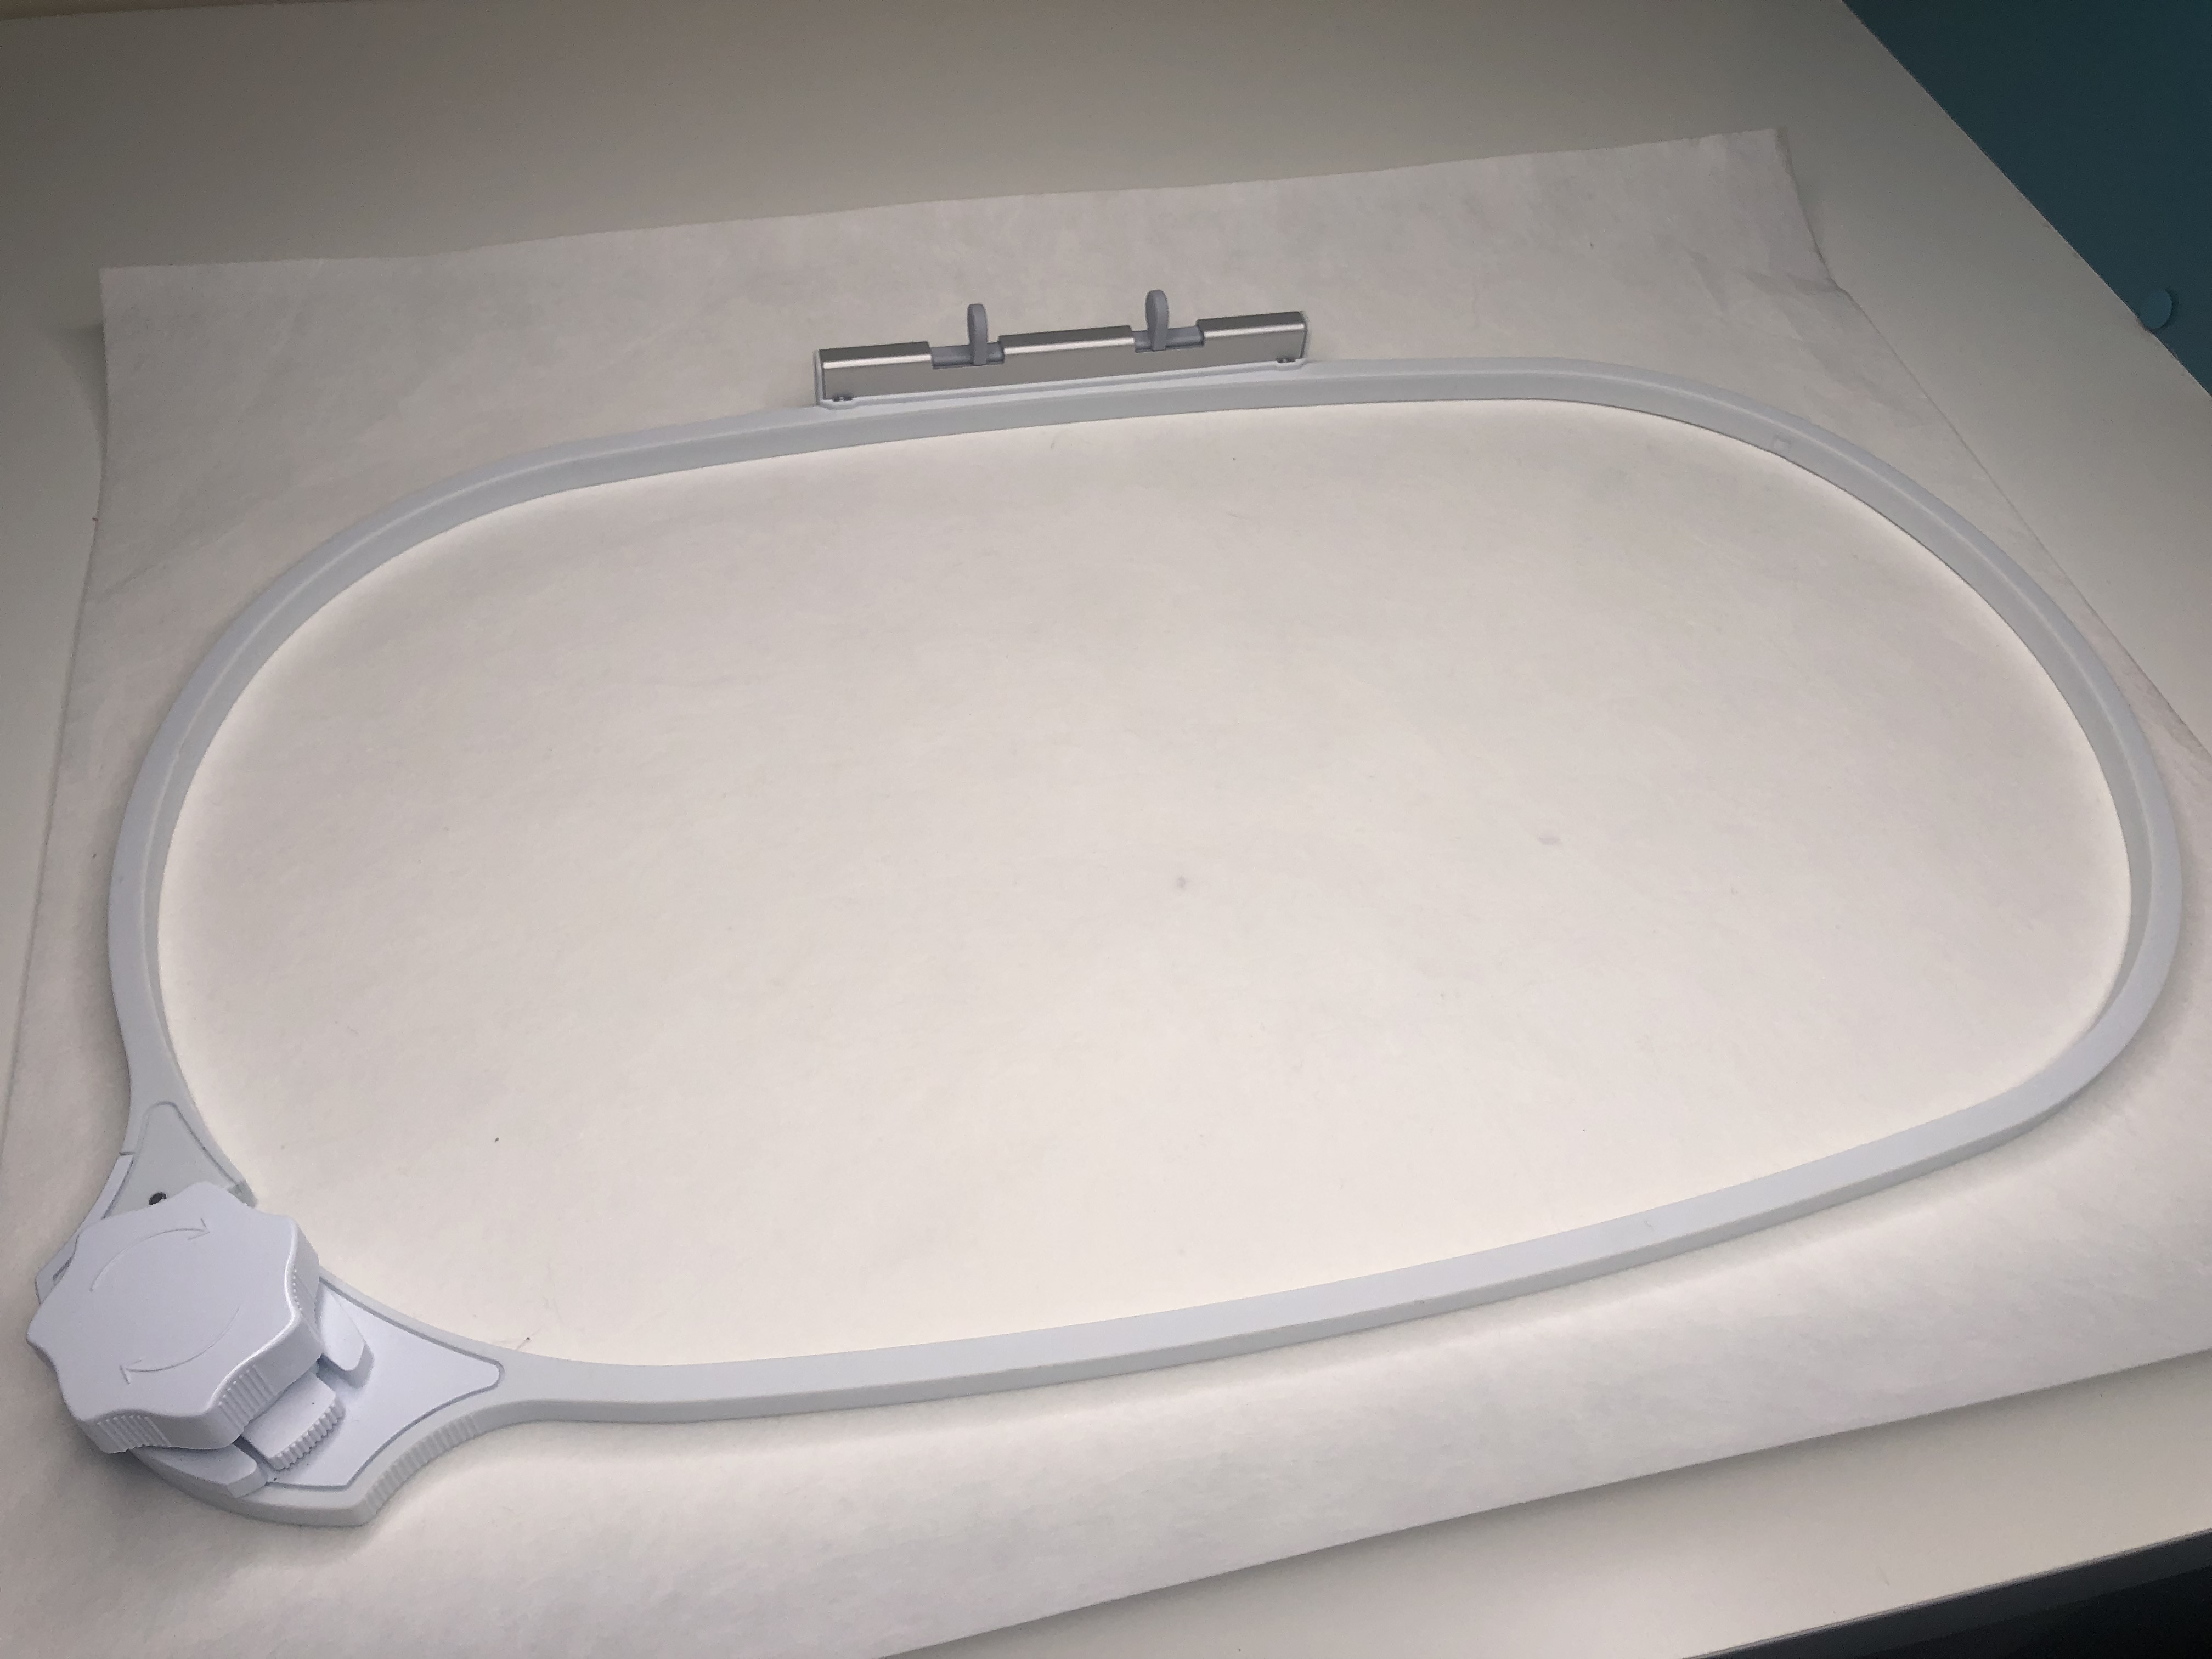
Cut your cutaway stabilizer so that it is at least 1.5” bigger than your hoop on all sides.
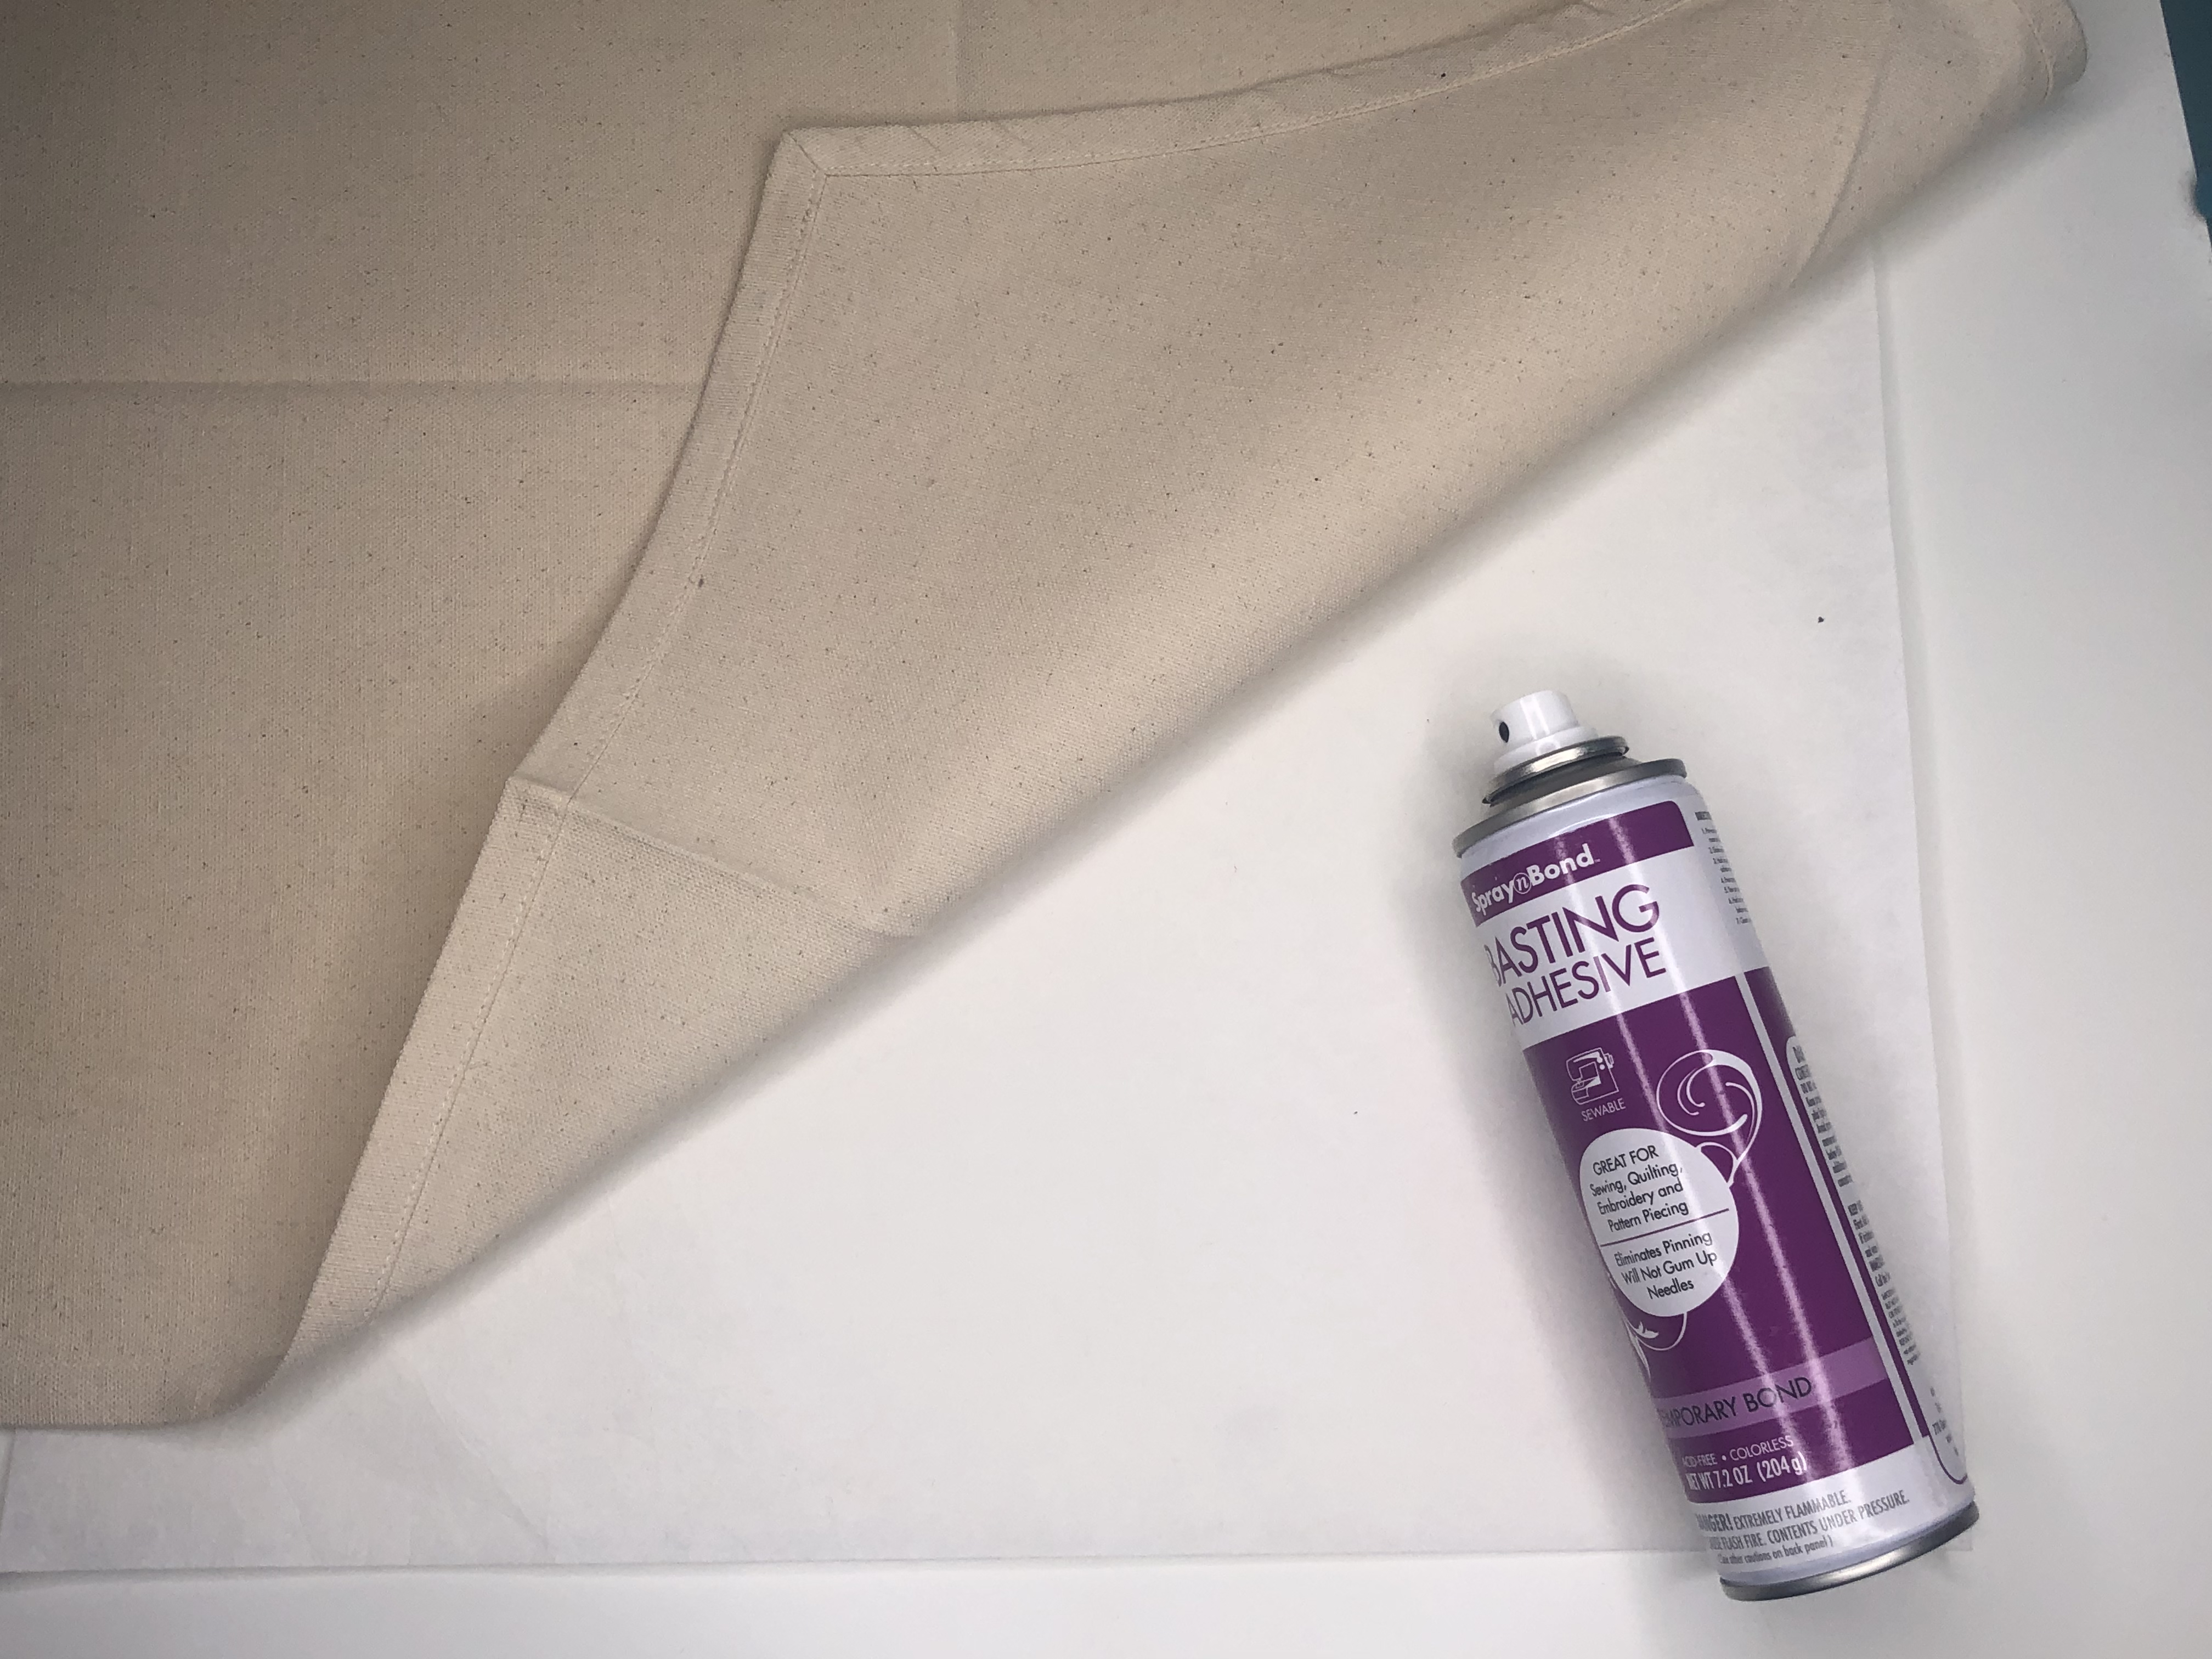
Spray your stabilizer with spray baste and smooth it to the back of your fabric, centered.
Hoop your fabric and stabilizer. Hoop so that your marked center is roughly centered in the hoop, but don’t worry about it too much as we will use pinpoint placement to center our design perfectly.
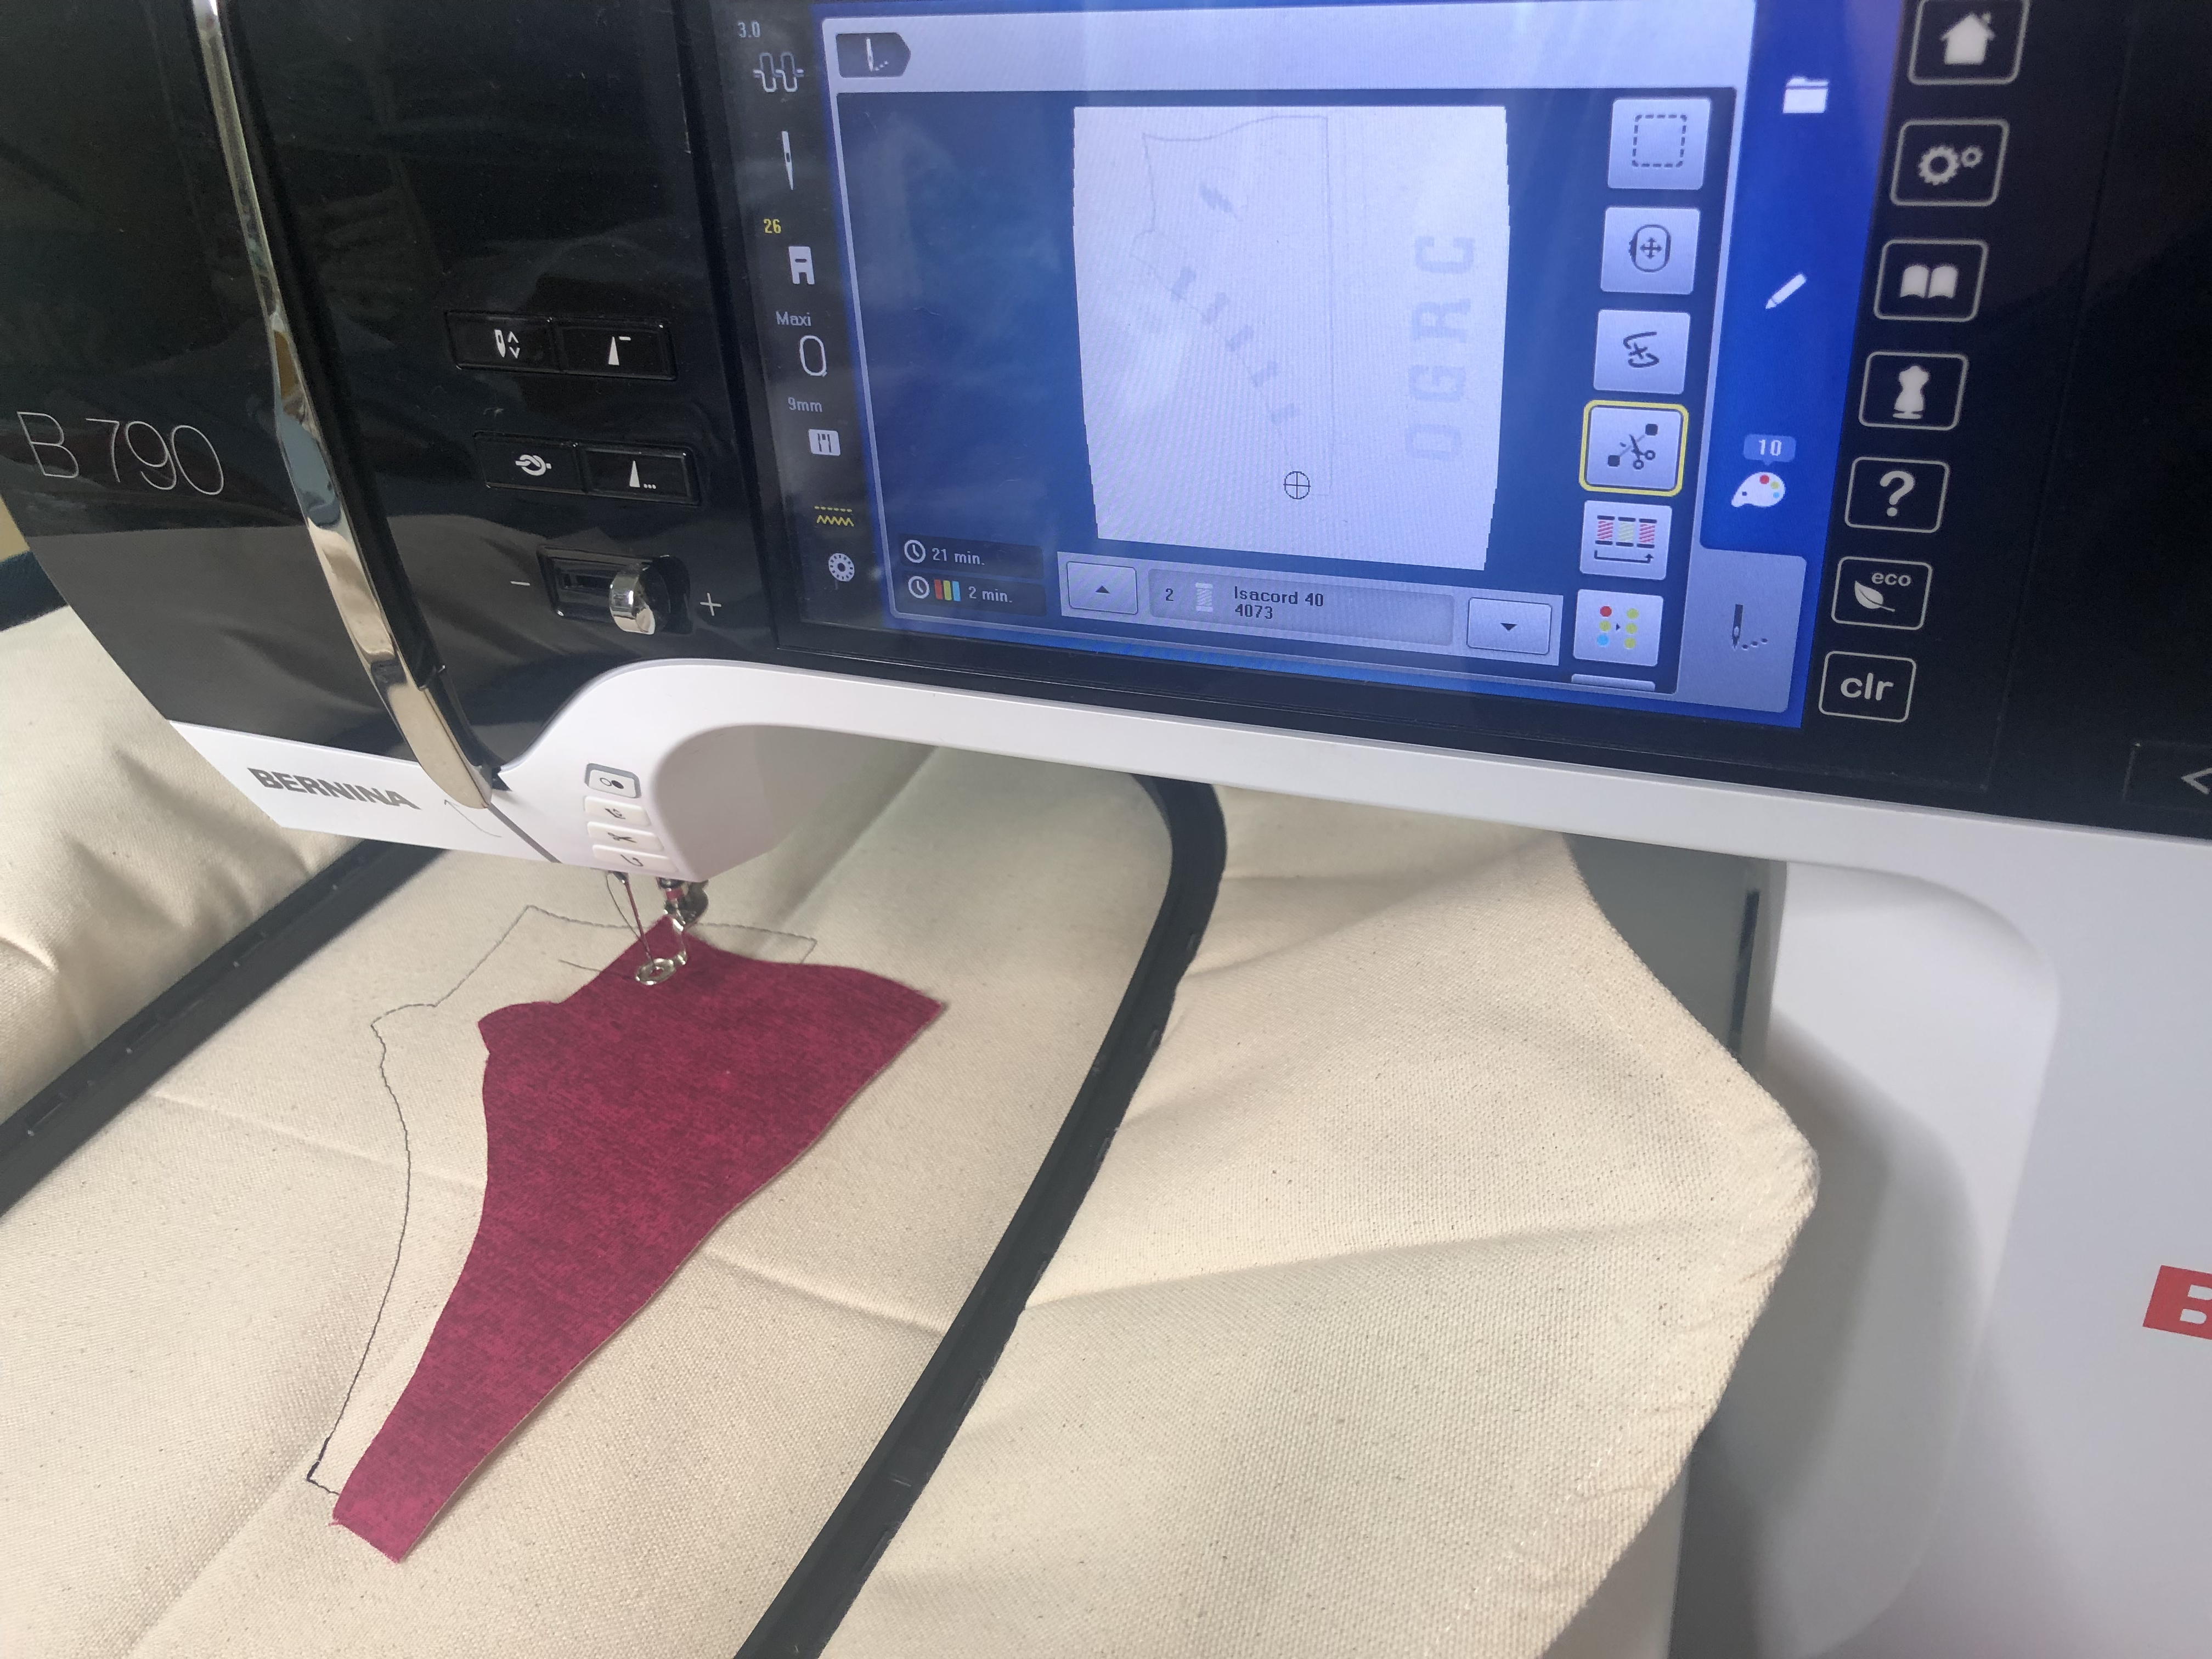
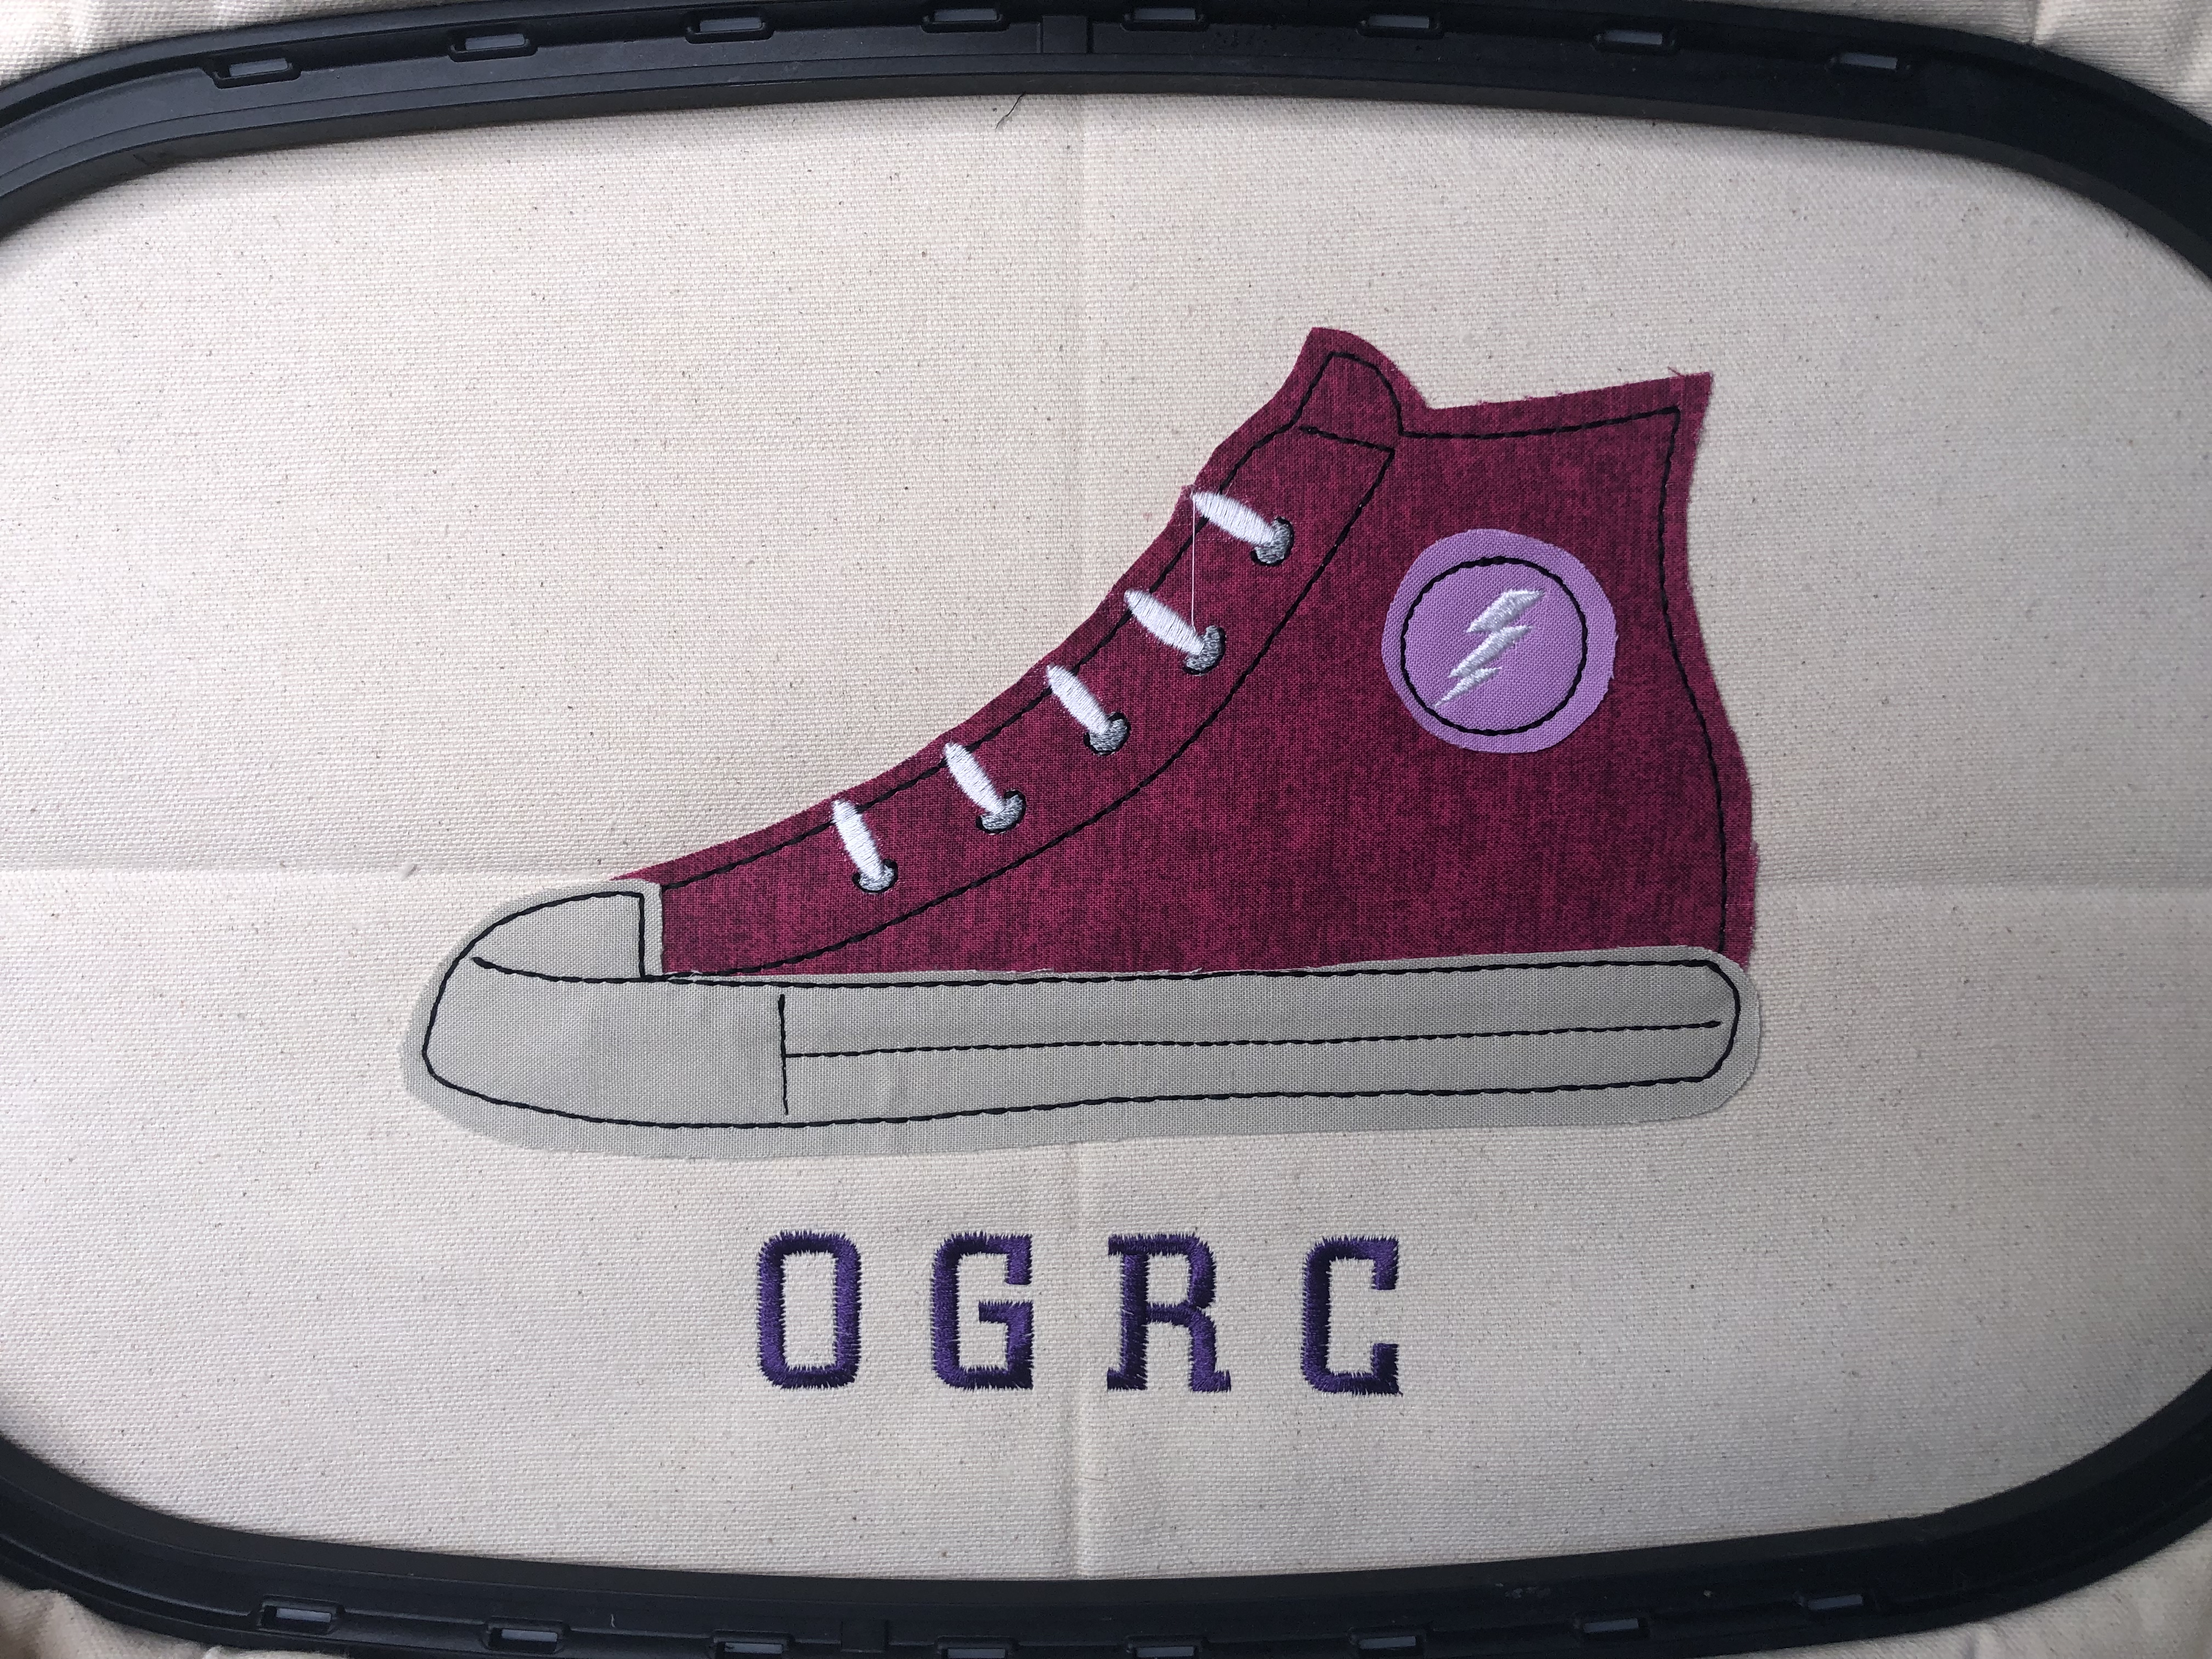
Bring up your appliqué design in your machine. At this point, you can use lettering from your machine to add a name, school initials, or anything else you like to your design.
I added “OGRC” to my design for Orlando Girl’s Rock Camp; ORGC is the week-long camp my stepdaughters attend every year for girls and nonbinary youth. Girls’ Rock Camp Alliance is an international camp where campers form a band, write a song and then have a live performance at the end of the week to help eradicate all the limiting myths about music and gender that make girls and nonbinary people afraid to speak up, sing out, and make noise.
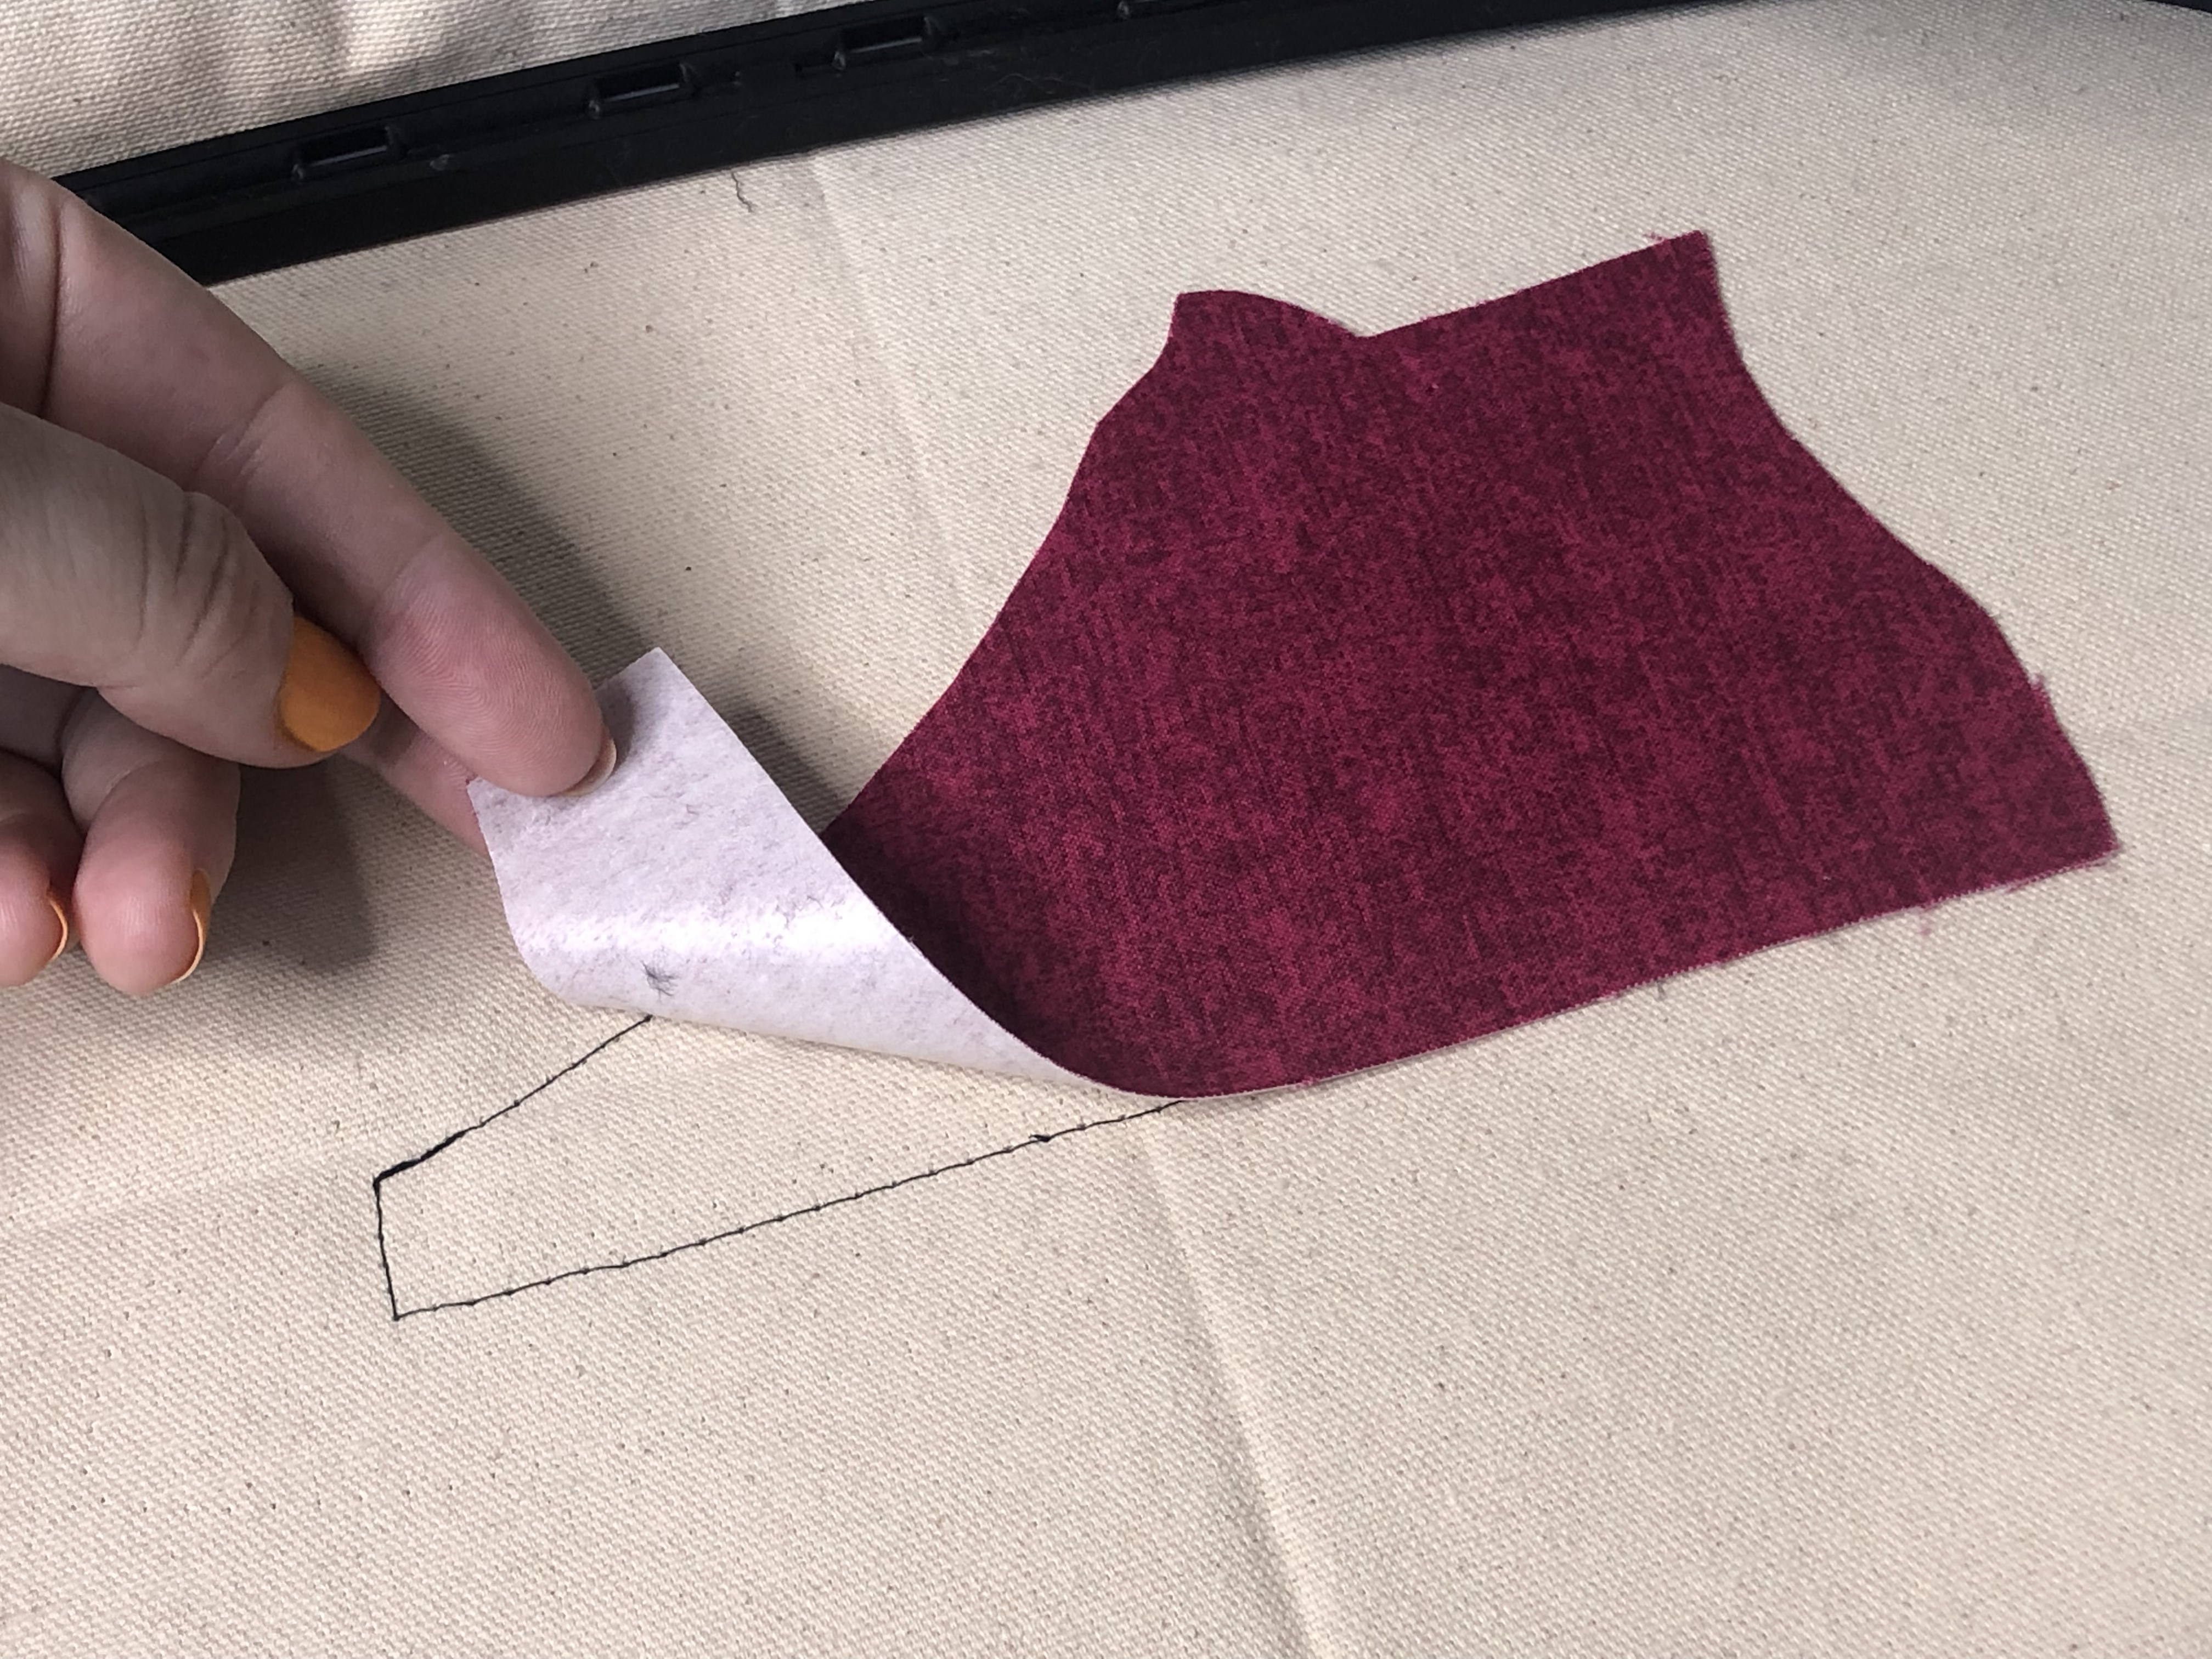
Stitch out the placement line. Remove the paper backing from your Appliqué Fuse and Fix and place it over the placement line.
Remember: Your fabric piece will be bigger than the placement line so you will be centering as best as possible over the whole area. If your fabric piece is too small, this is the time to double-check your printed pieces and re-trace them.
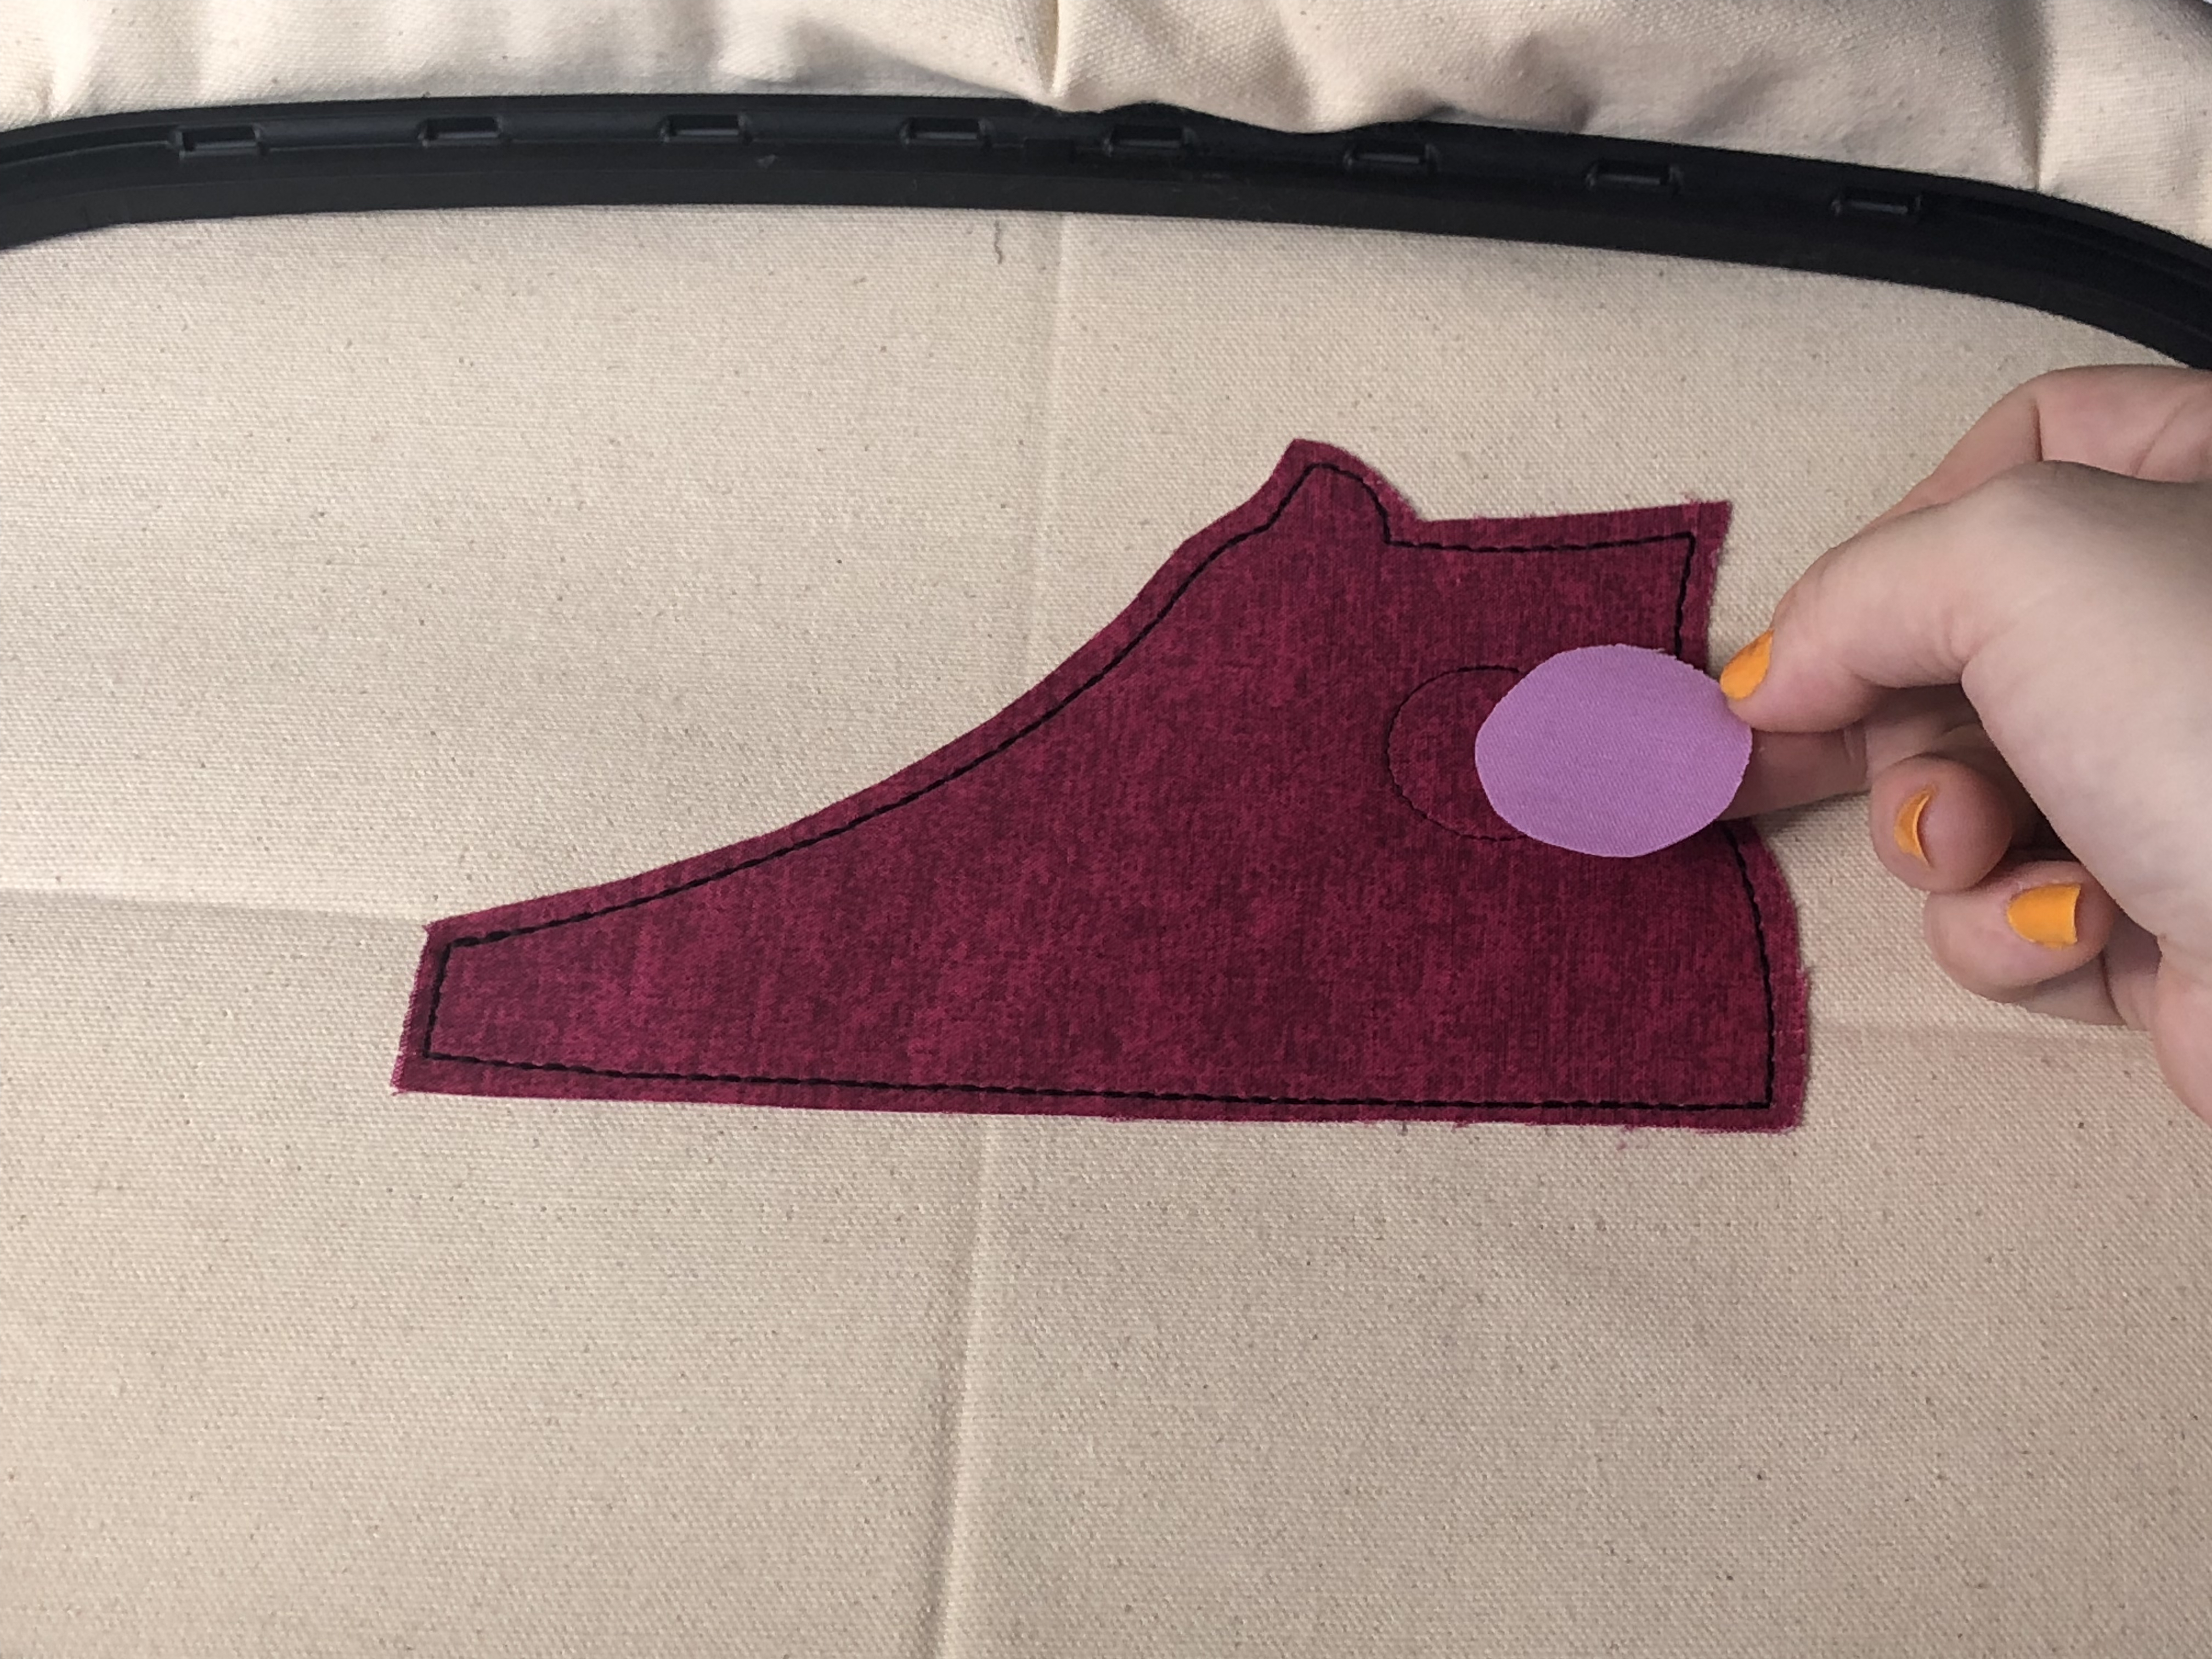
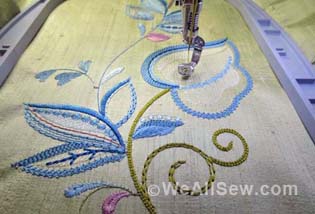
Stitch out the appliqué stitch. Repeat for all of your appliqué pieces.

Continue the rest of your design. Once applique pieces are finished you may have some embroidered areas, depending on your design.
Finish up your design.
That’s it! These raw edge appliques are so quick and easy you can add them to anything you like in no time flat.
These appliques are a great way to use your fabric scraps including knits/leftover t-shirt scraps, too!
Want more machine embroidery help? Hop over to my blog, Tough Kitten Crafts, for more projects, tutorials, and more!
You can check out my free Beginner’s Guide to Machine Embroidery or the Tough Kitten Crafts Blog, where you’ll find posts like Machine Embroidery for Beginners, Common Machine Embroidery Problems (And How to Fix Them!) and 3 Tips for Better Machine Embroidery (which also has a free download to help you improve your embroidery).
What items could you see yourself personalizing with some appliqués?
Who will you be making cute back-to-school items for?