How to Make a Coiled Rope Cat Basket

Make a big coiled rope cat basket decorated with strips of colorful scrap fabric. Finishing at 14″ wide and 6″ tall, this basket is fit for most big kitties.

My cats love boxes, baskets, and anything I make, so I decided to combine all of these things in one project. As expected, Sir Isaac and Miss Bea both love curling up in this coiled rope basket sewn with zigzag stitches! It’s easy to make, especially if you’ve tried sewing a rope basket before (check out the Rock a Rope Bowl tutorial here at WeAllSew).
Materials to Make a Coiled Rope Cat Basket
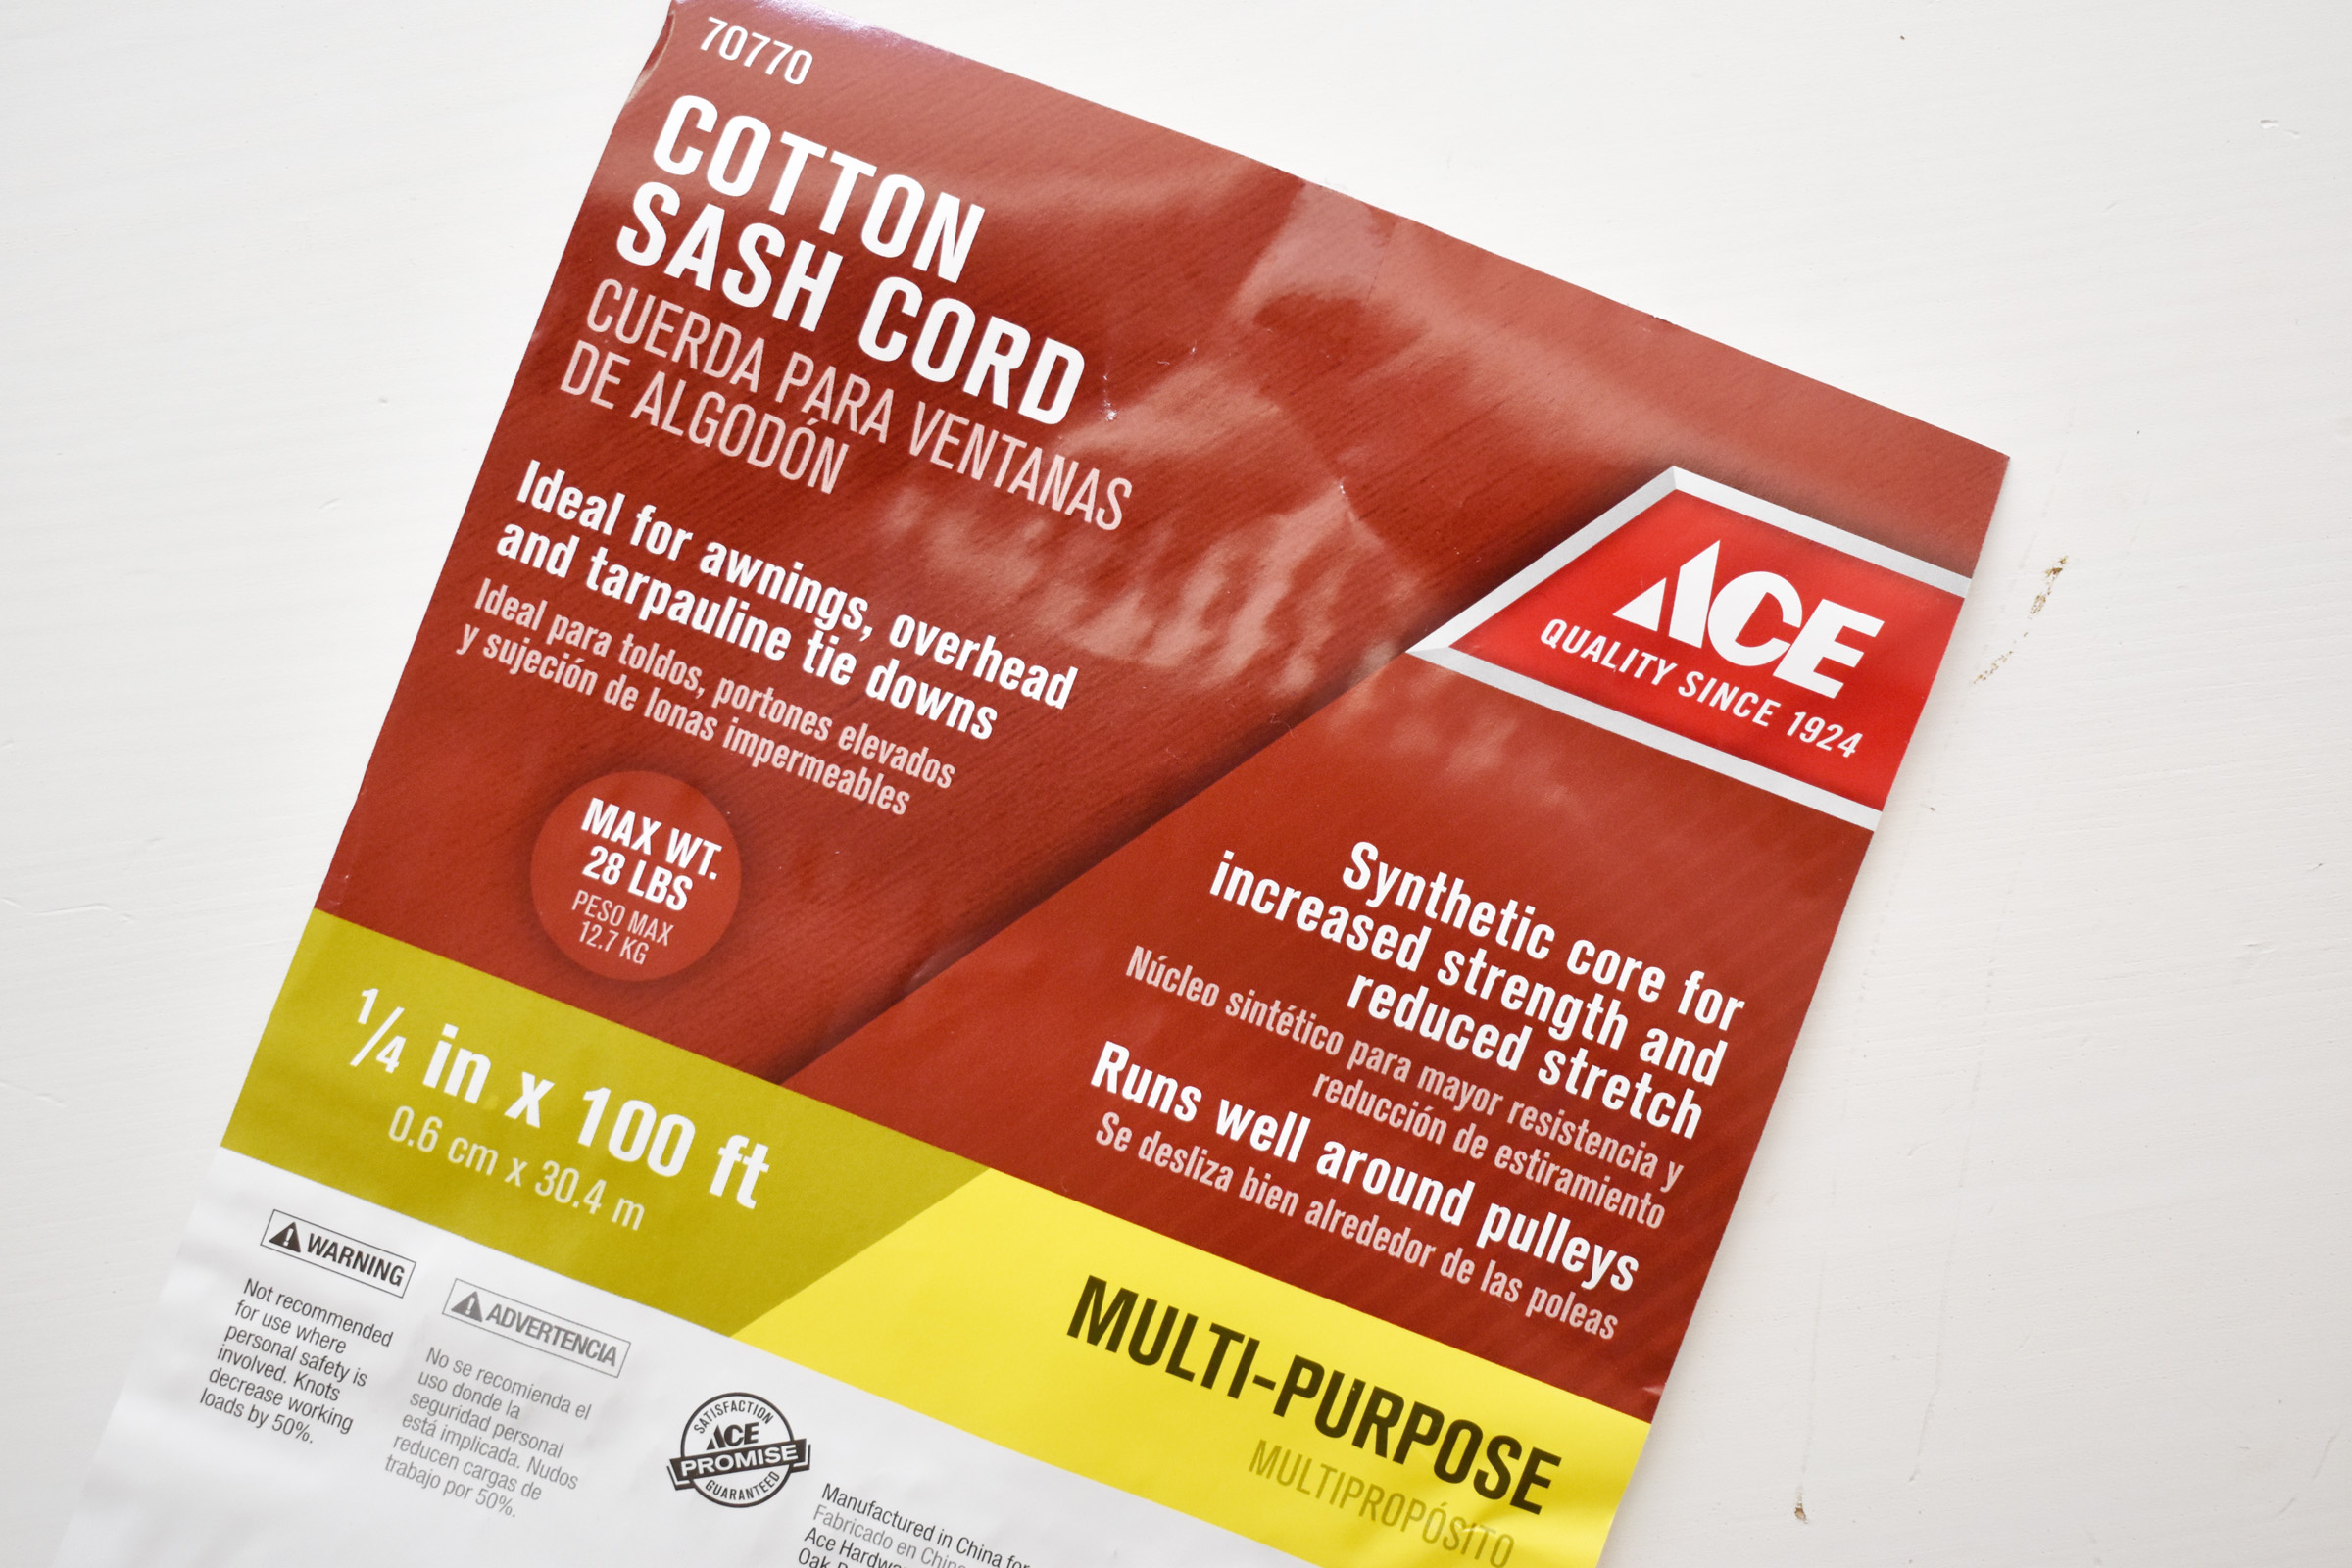
- One 100 ft package of 1/4″ wide Cotton Sash Cord (I picked up some from Ace Hardware)
- Clear tape
- Scrap fabric (can be any size from 6″ to width of fabric)
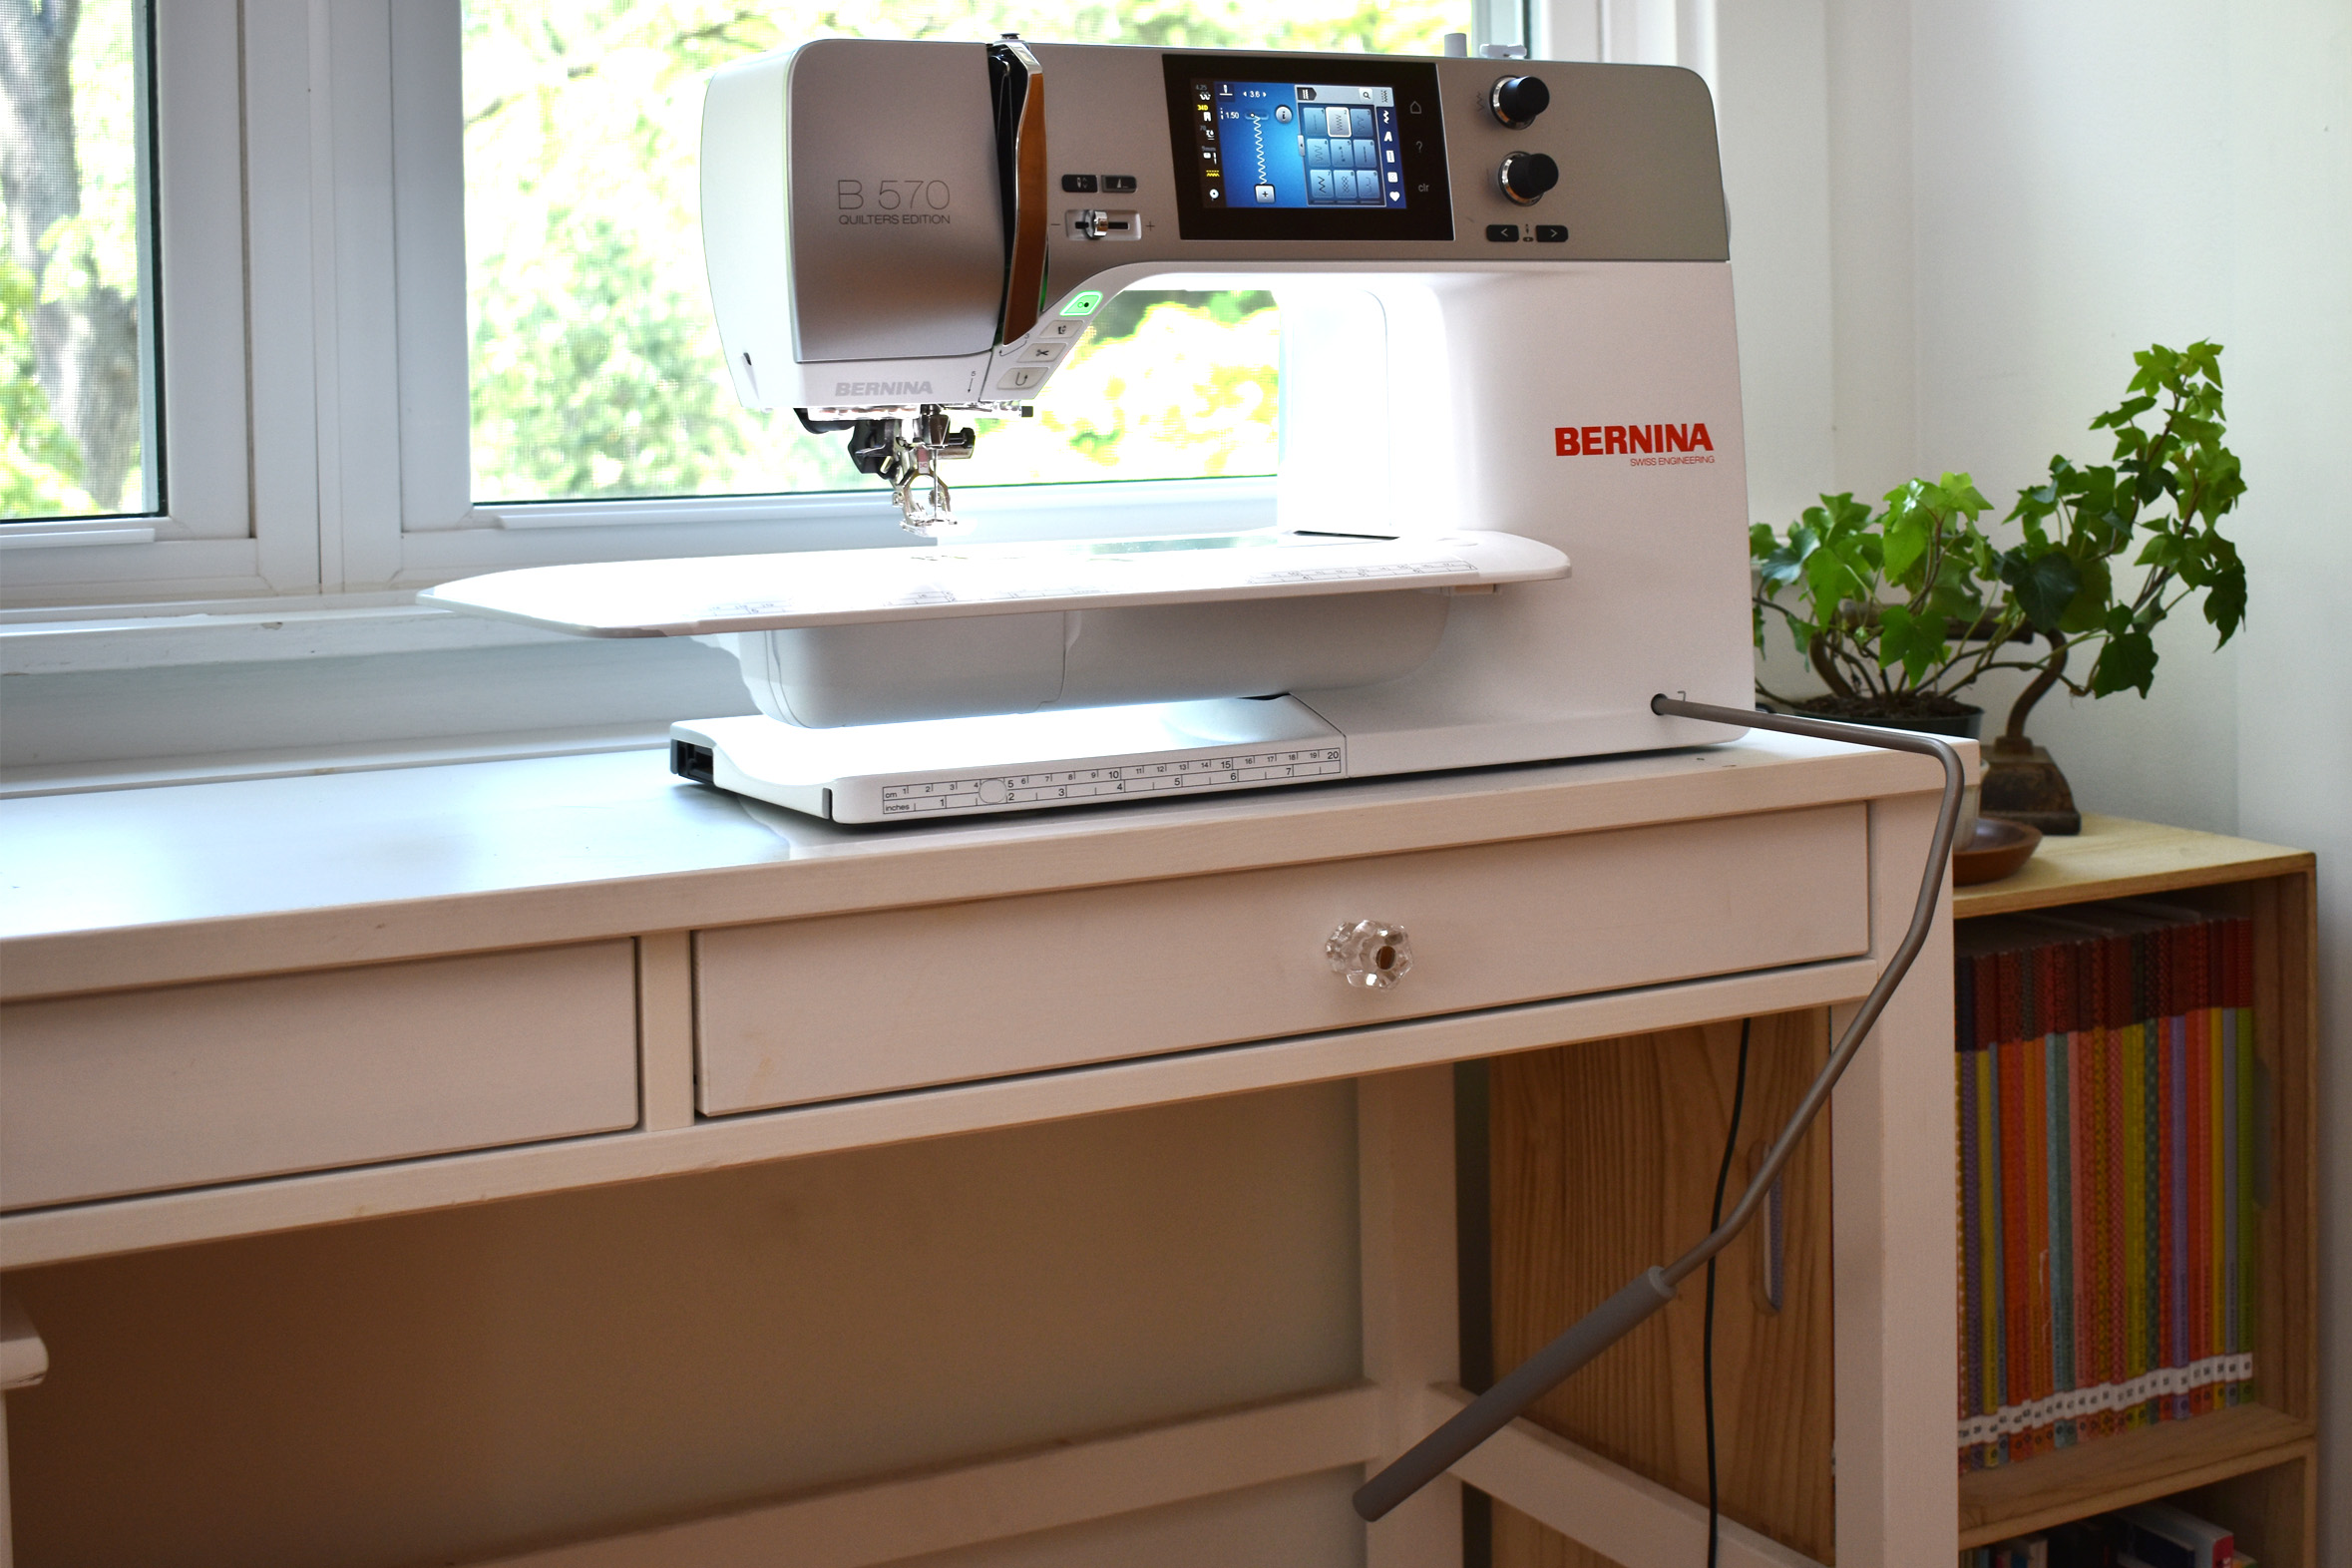
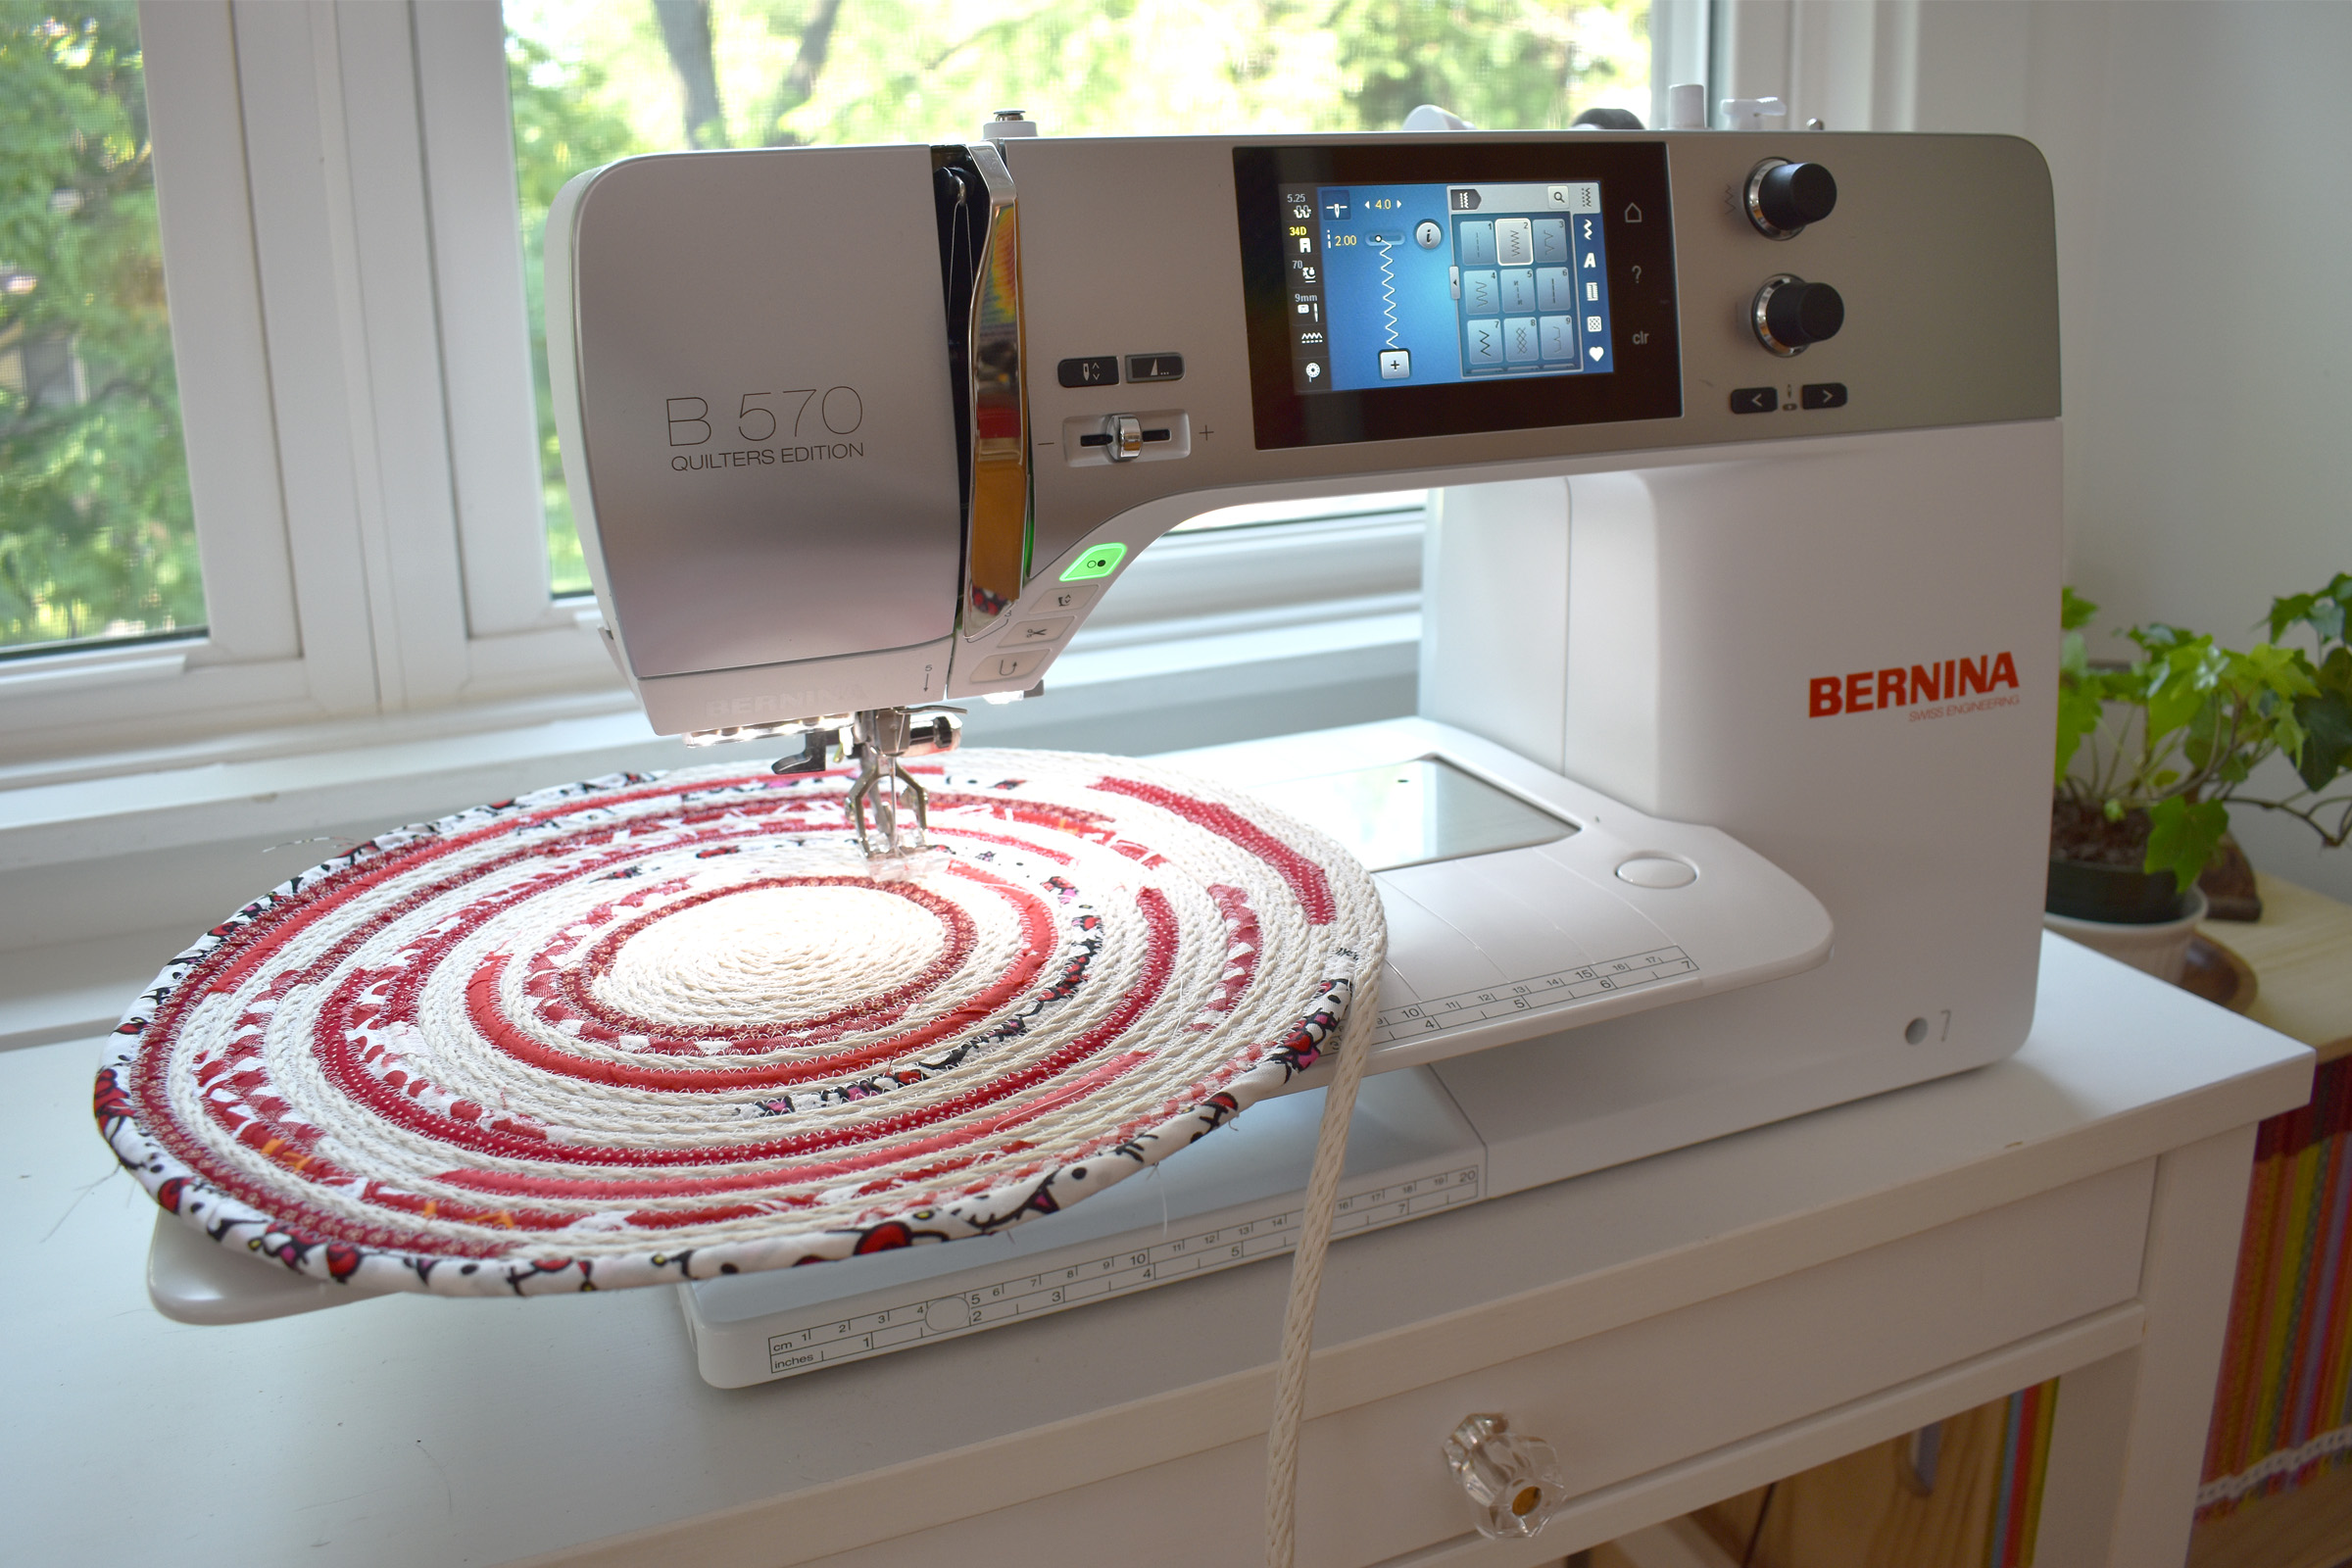
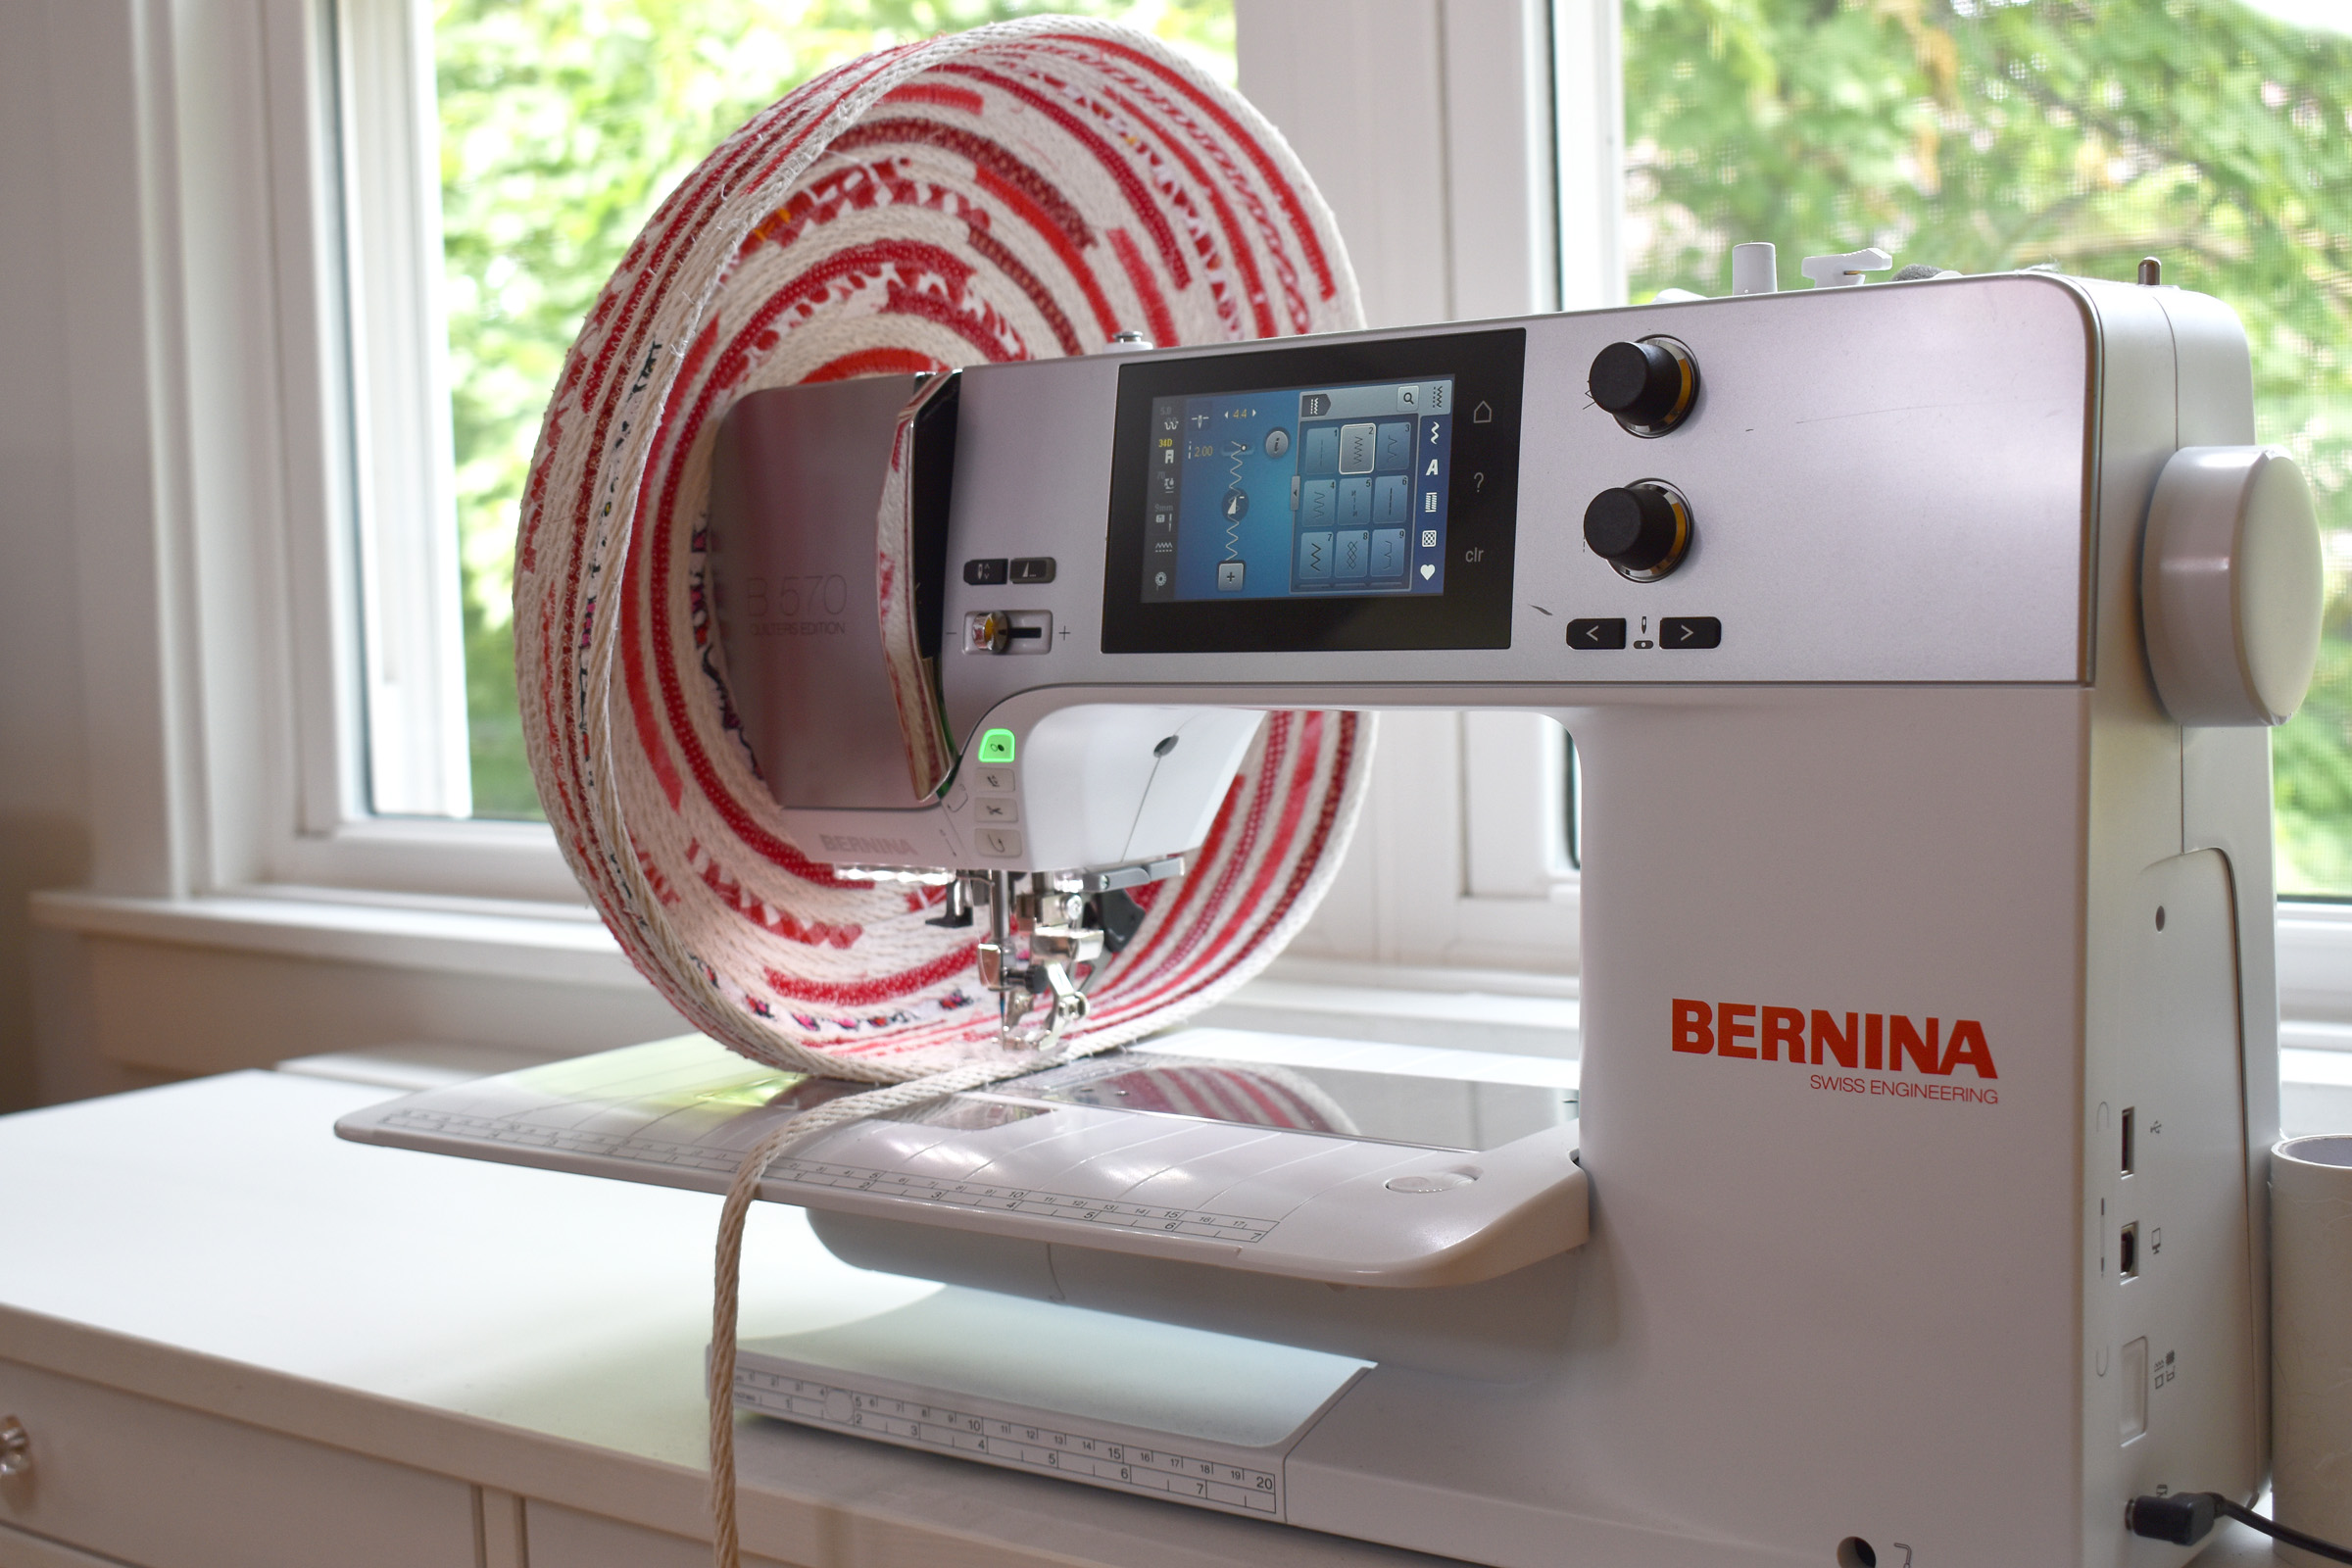
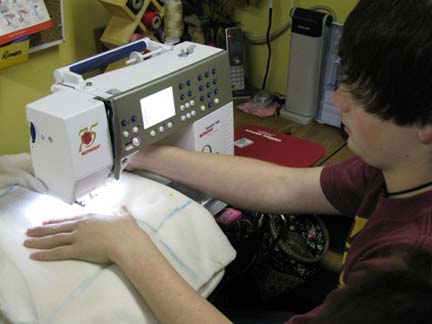
- Sewing machine (I use a BERNINA 570 QE)
- Reverse Pattern Foot with Clear Sole #34D
- Free-Hand System knee lifter
- All-purpose thread
- Rotary cutter, cutting mat and clear acrylic ruler
- Ironing board, steam iron
- Fabric scissors and thread snips
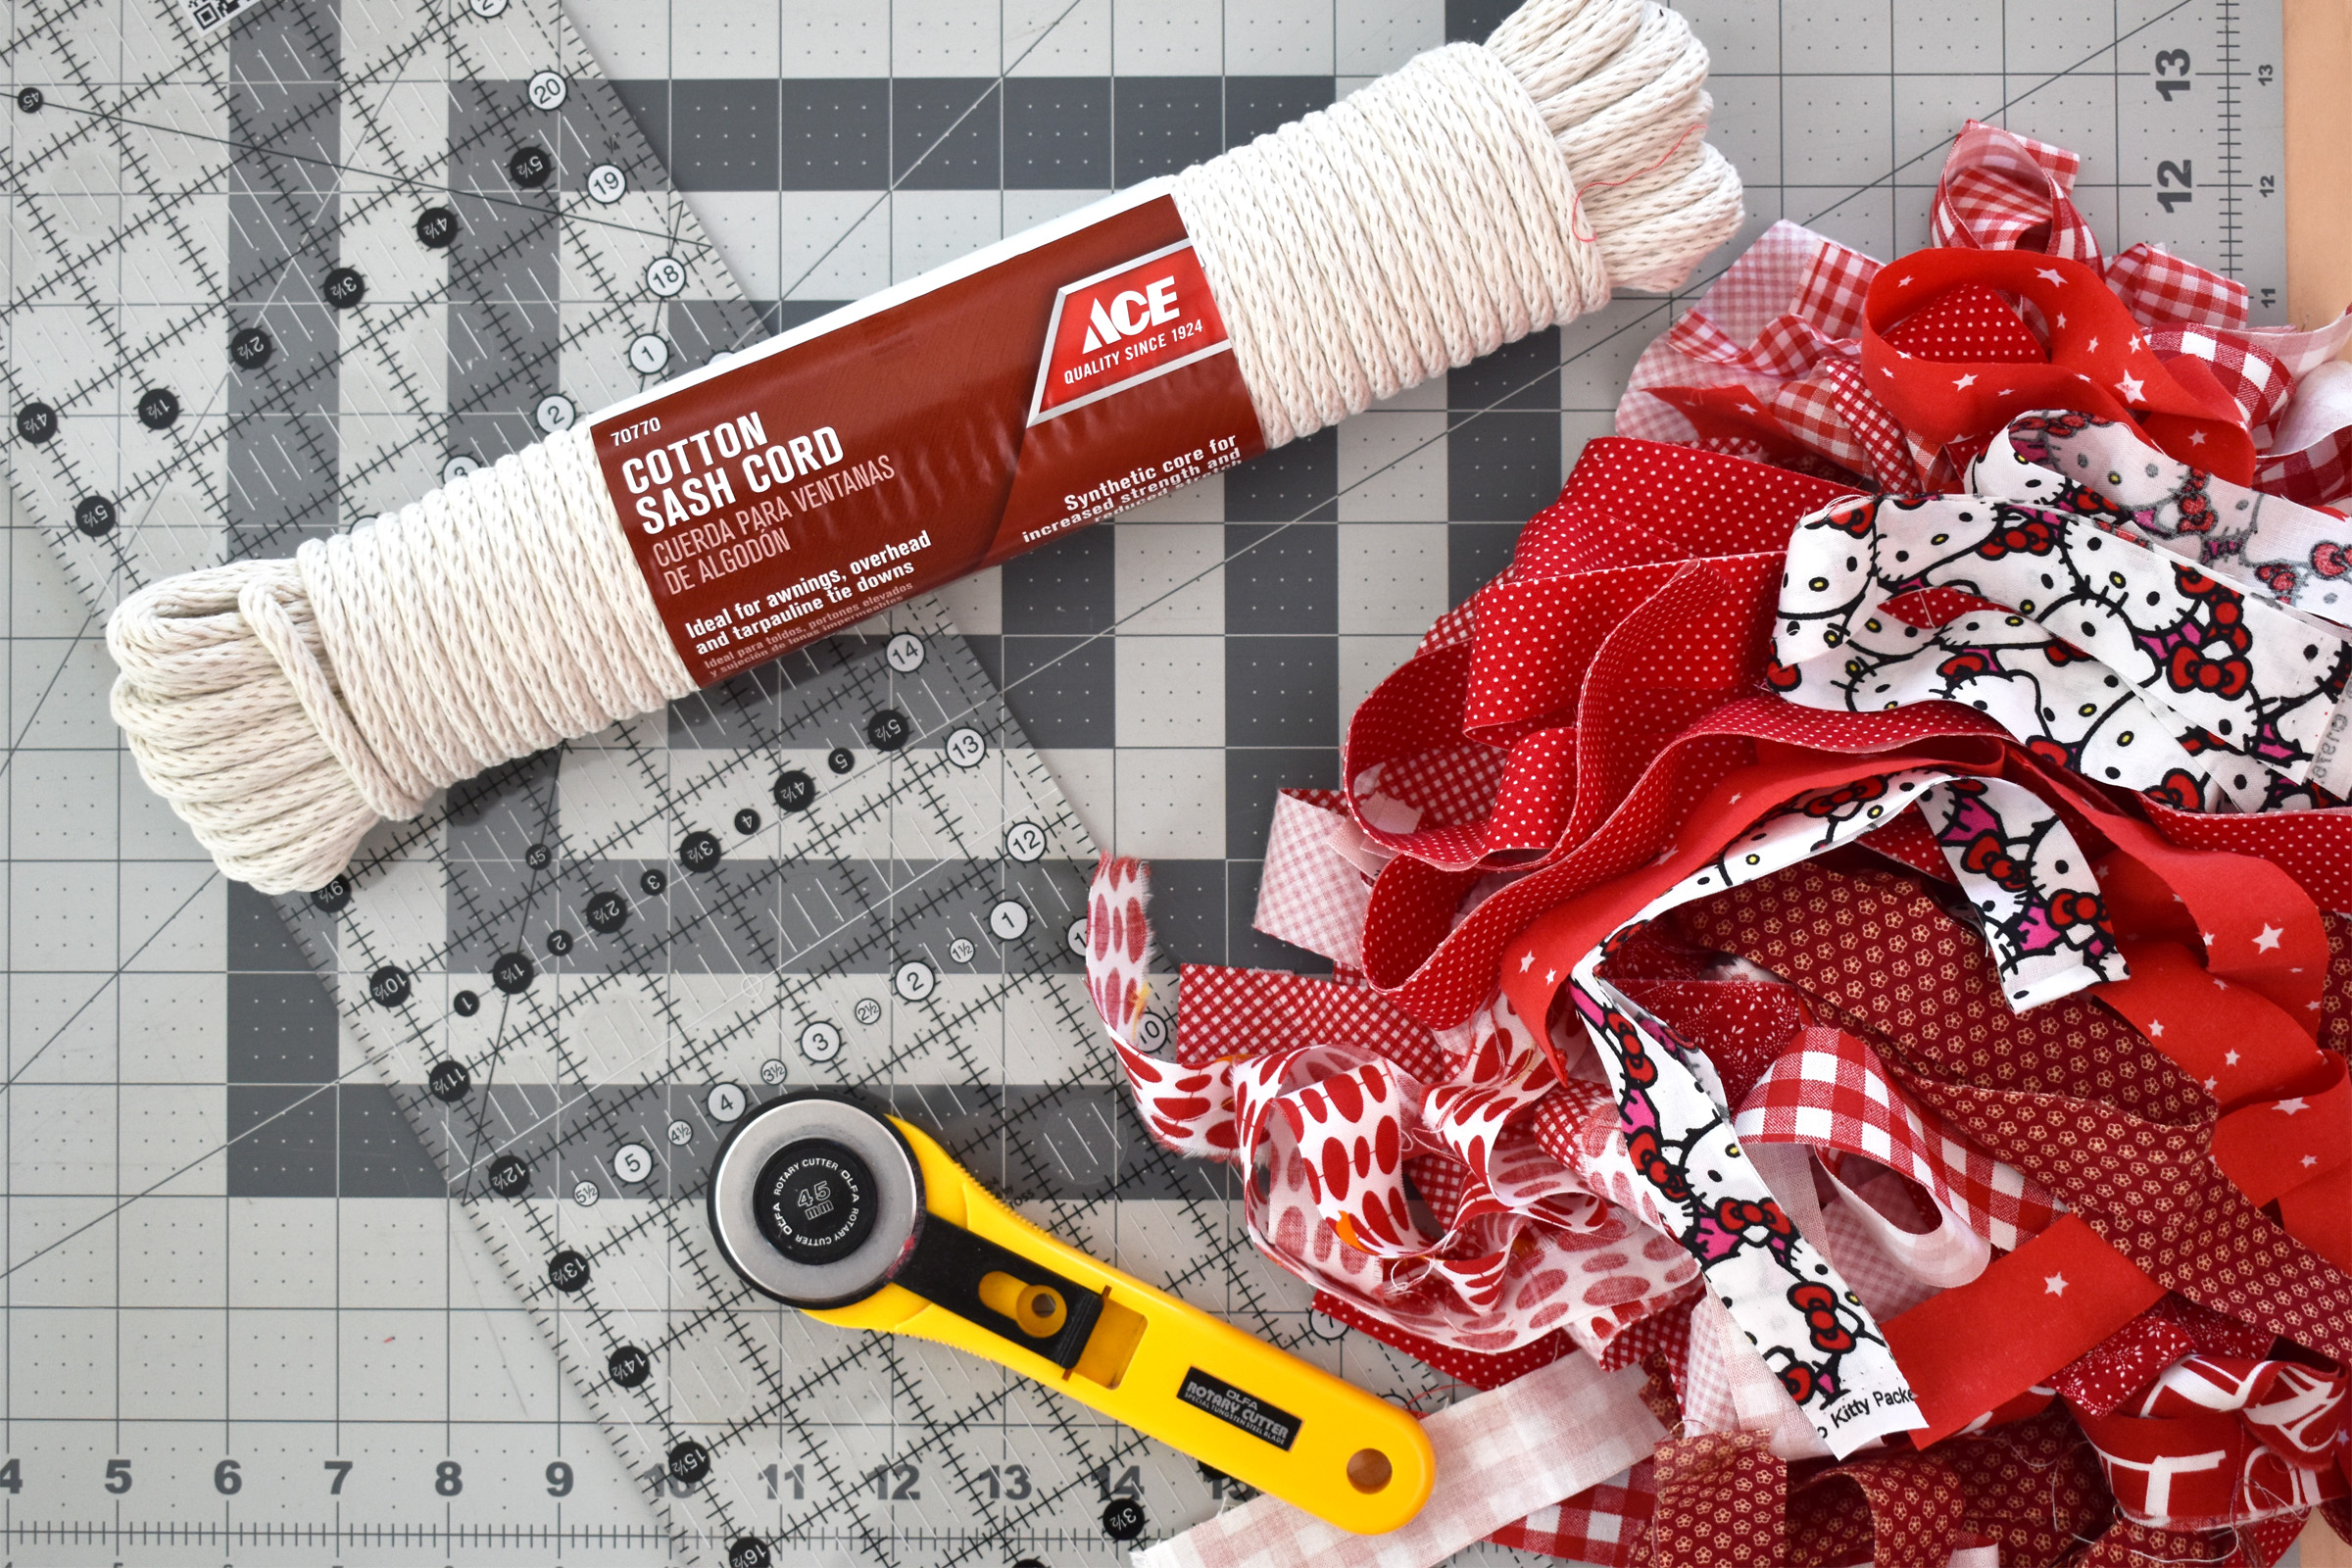
Cut fabric scraps into strips to make the coiled rope cat basket.
Press and cut the fabric scraps into 1″ wide strips. The scraps can be anywhere from 6″ long to the width of fabric, and a good variety of lengths makes for a more interesting basket. You will be trimming the strips to the desired length as you are sewing them into the basket.
There are so many ways to be creative with picking scraps for your basket. You can focus on scraps in one color family (I chose all red scraps), select just a few colors, or go with scraps of all colors.
When selecting the thread to sew the basket, white thread will blend best with the rope and show the least. If you want more fun pops of color try using a bright colored thread that will stand out against the rope.
Prepare the rope to sew the cat basket.
The cotton sash cord rope is key to making this basket sturdy enough to keep its shape but soft enough to be flexible. The rope has a loosely twisted synthetic core that gives it strength, and a braided cotton cord outer layer that is flexible and easy to sew through. Unlike some tightly woven ropes that are thick and tough to sew through, this rope easily allows the needle to pass right through.
Find the end of the rope, and wrap a piece of clear tape about 12″ from the end.
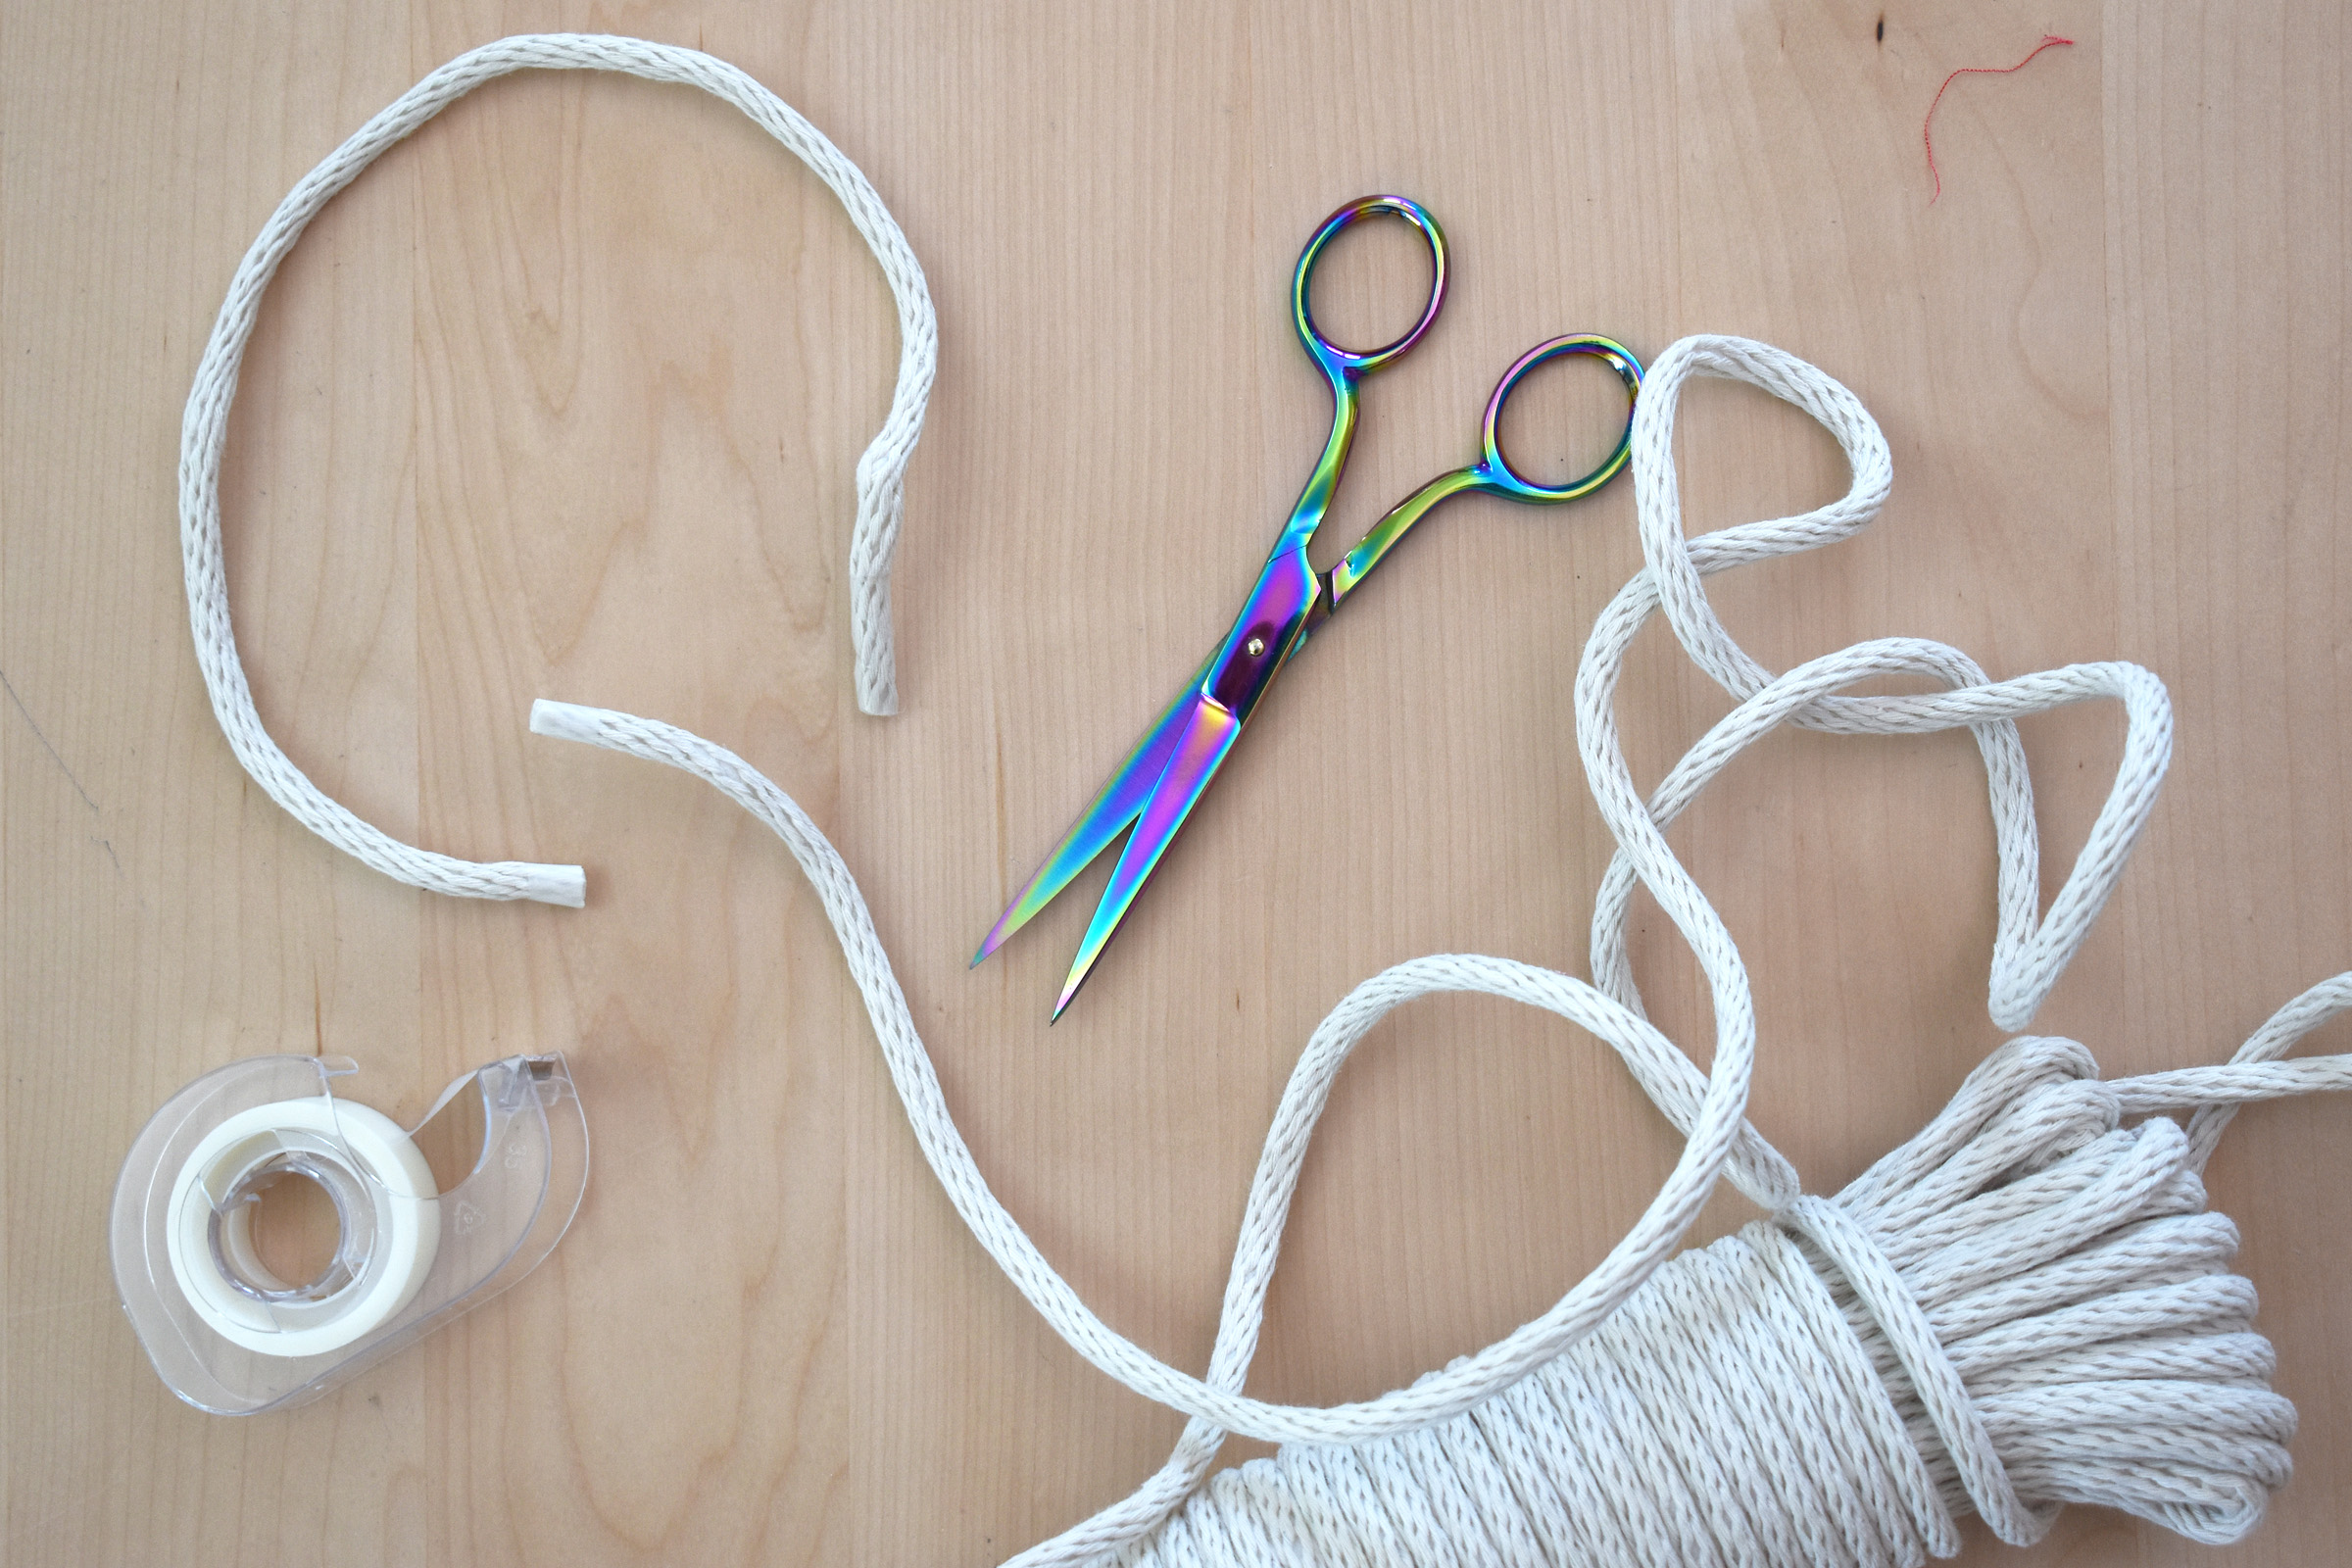
Cut the rope through the taped section; we will use the cut off portion to test your sewing machine stitches and get a feel for sewing through the rope. Set this small piece of rope near your sewing machine.
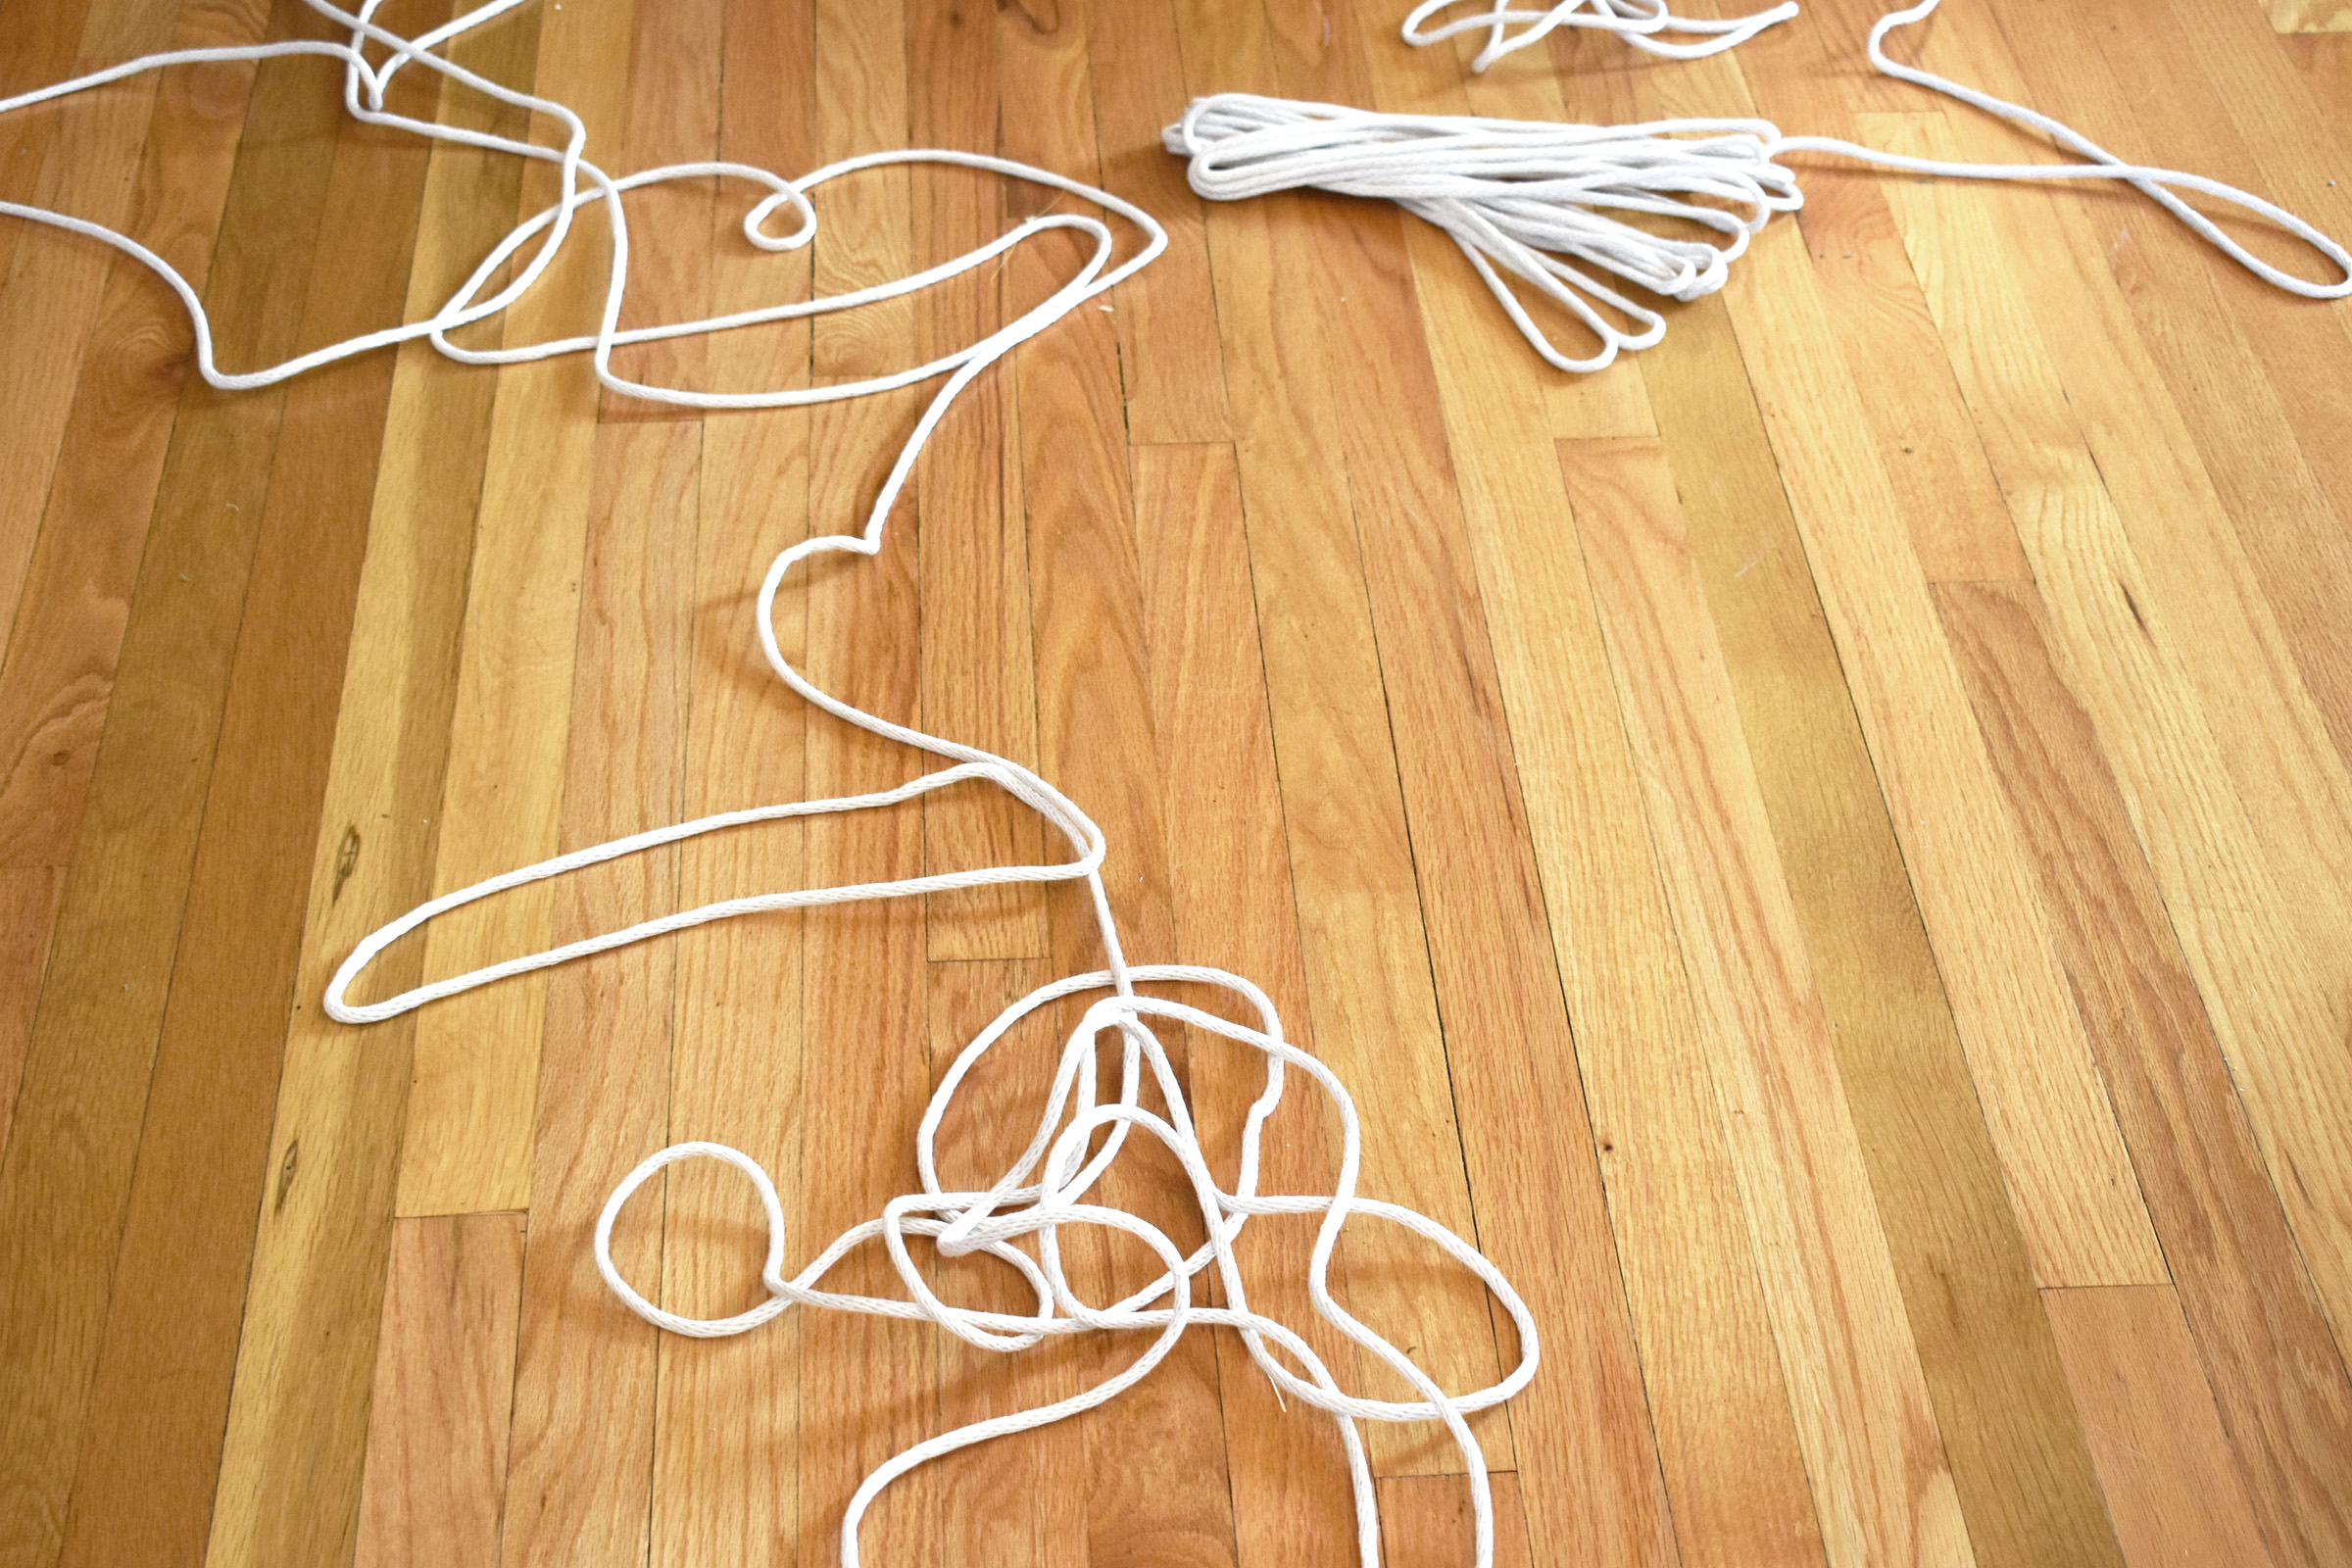
Unwind the rest of the bundle of rope and let it relax while you prepare to sew. This will help get some of the kinks out before sewing. You will use every inch of this 100 foot-long rope to make this basket.
Set up the sewing machine to sew the coiled rope cat basket.
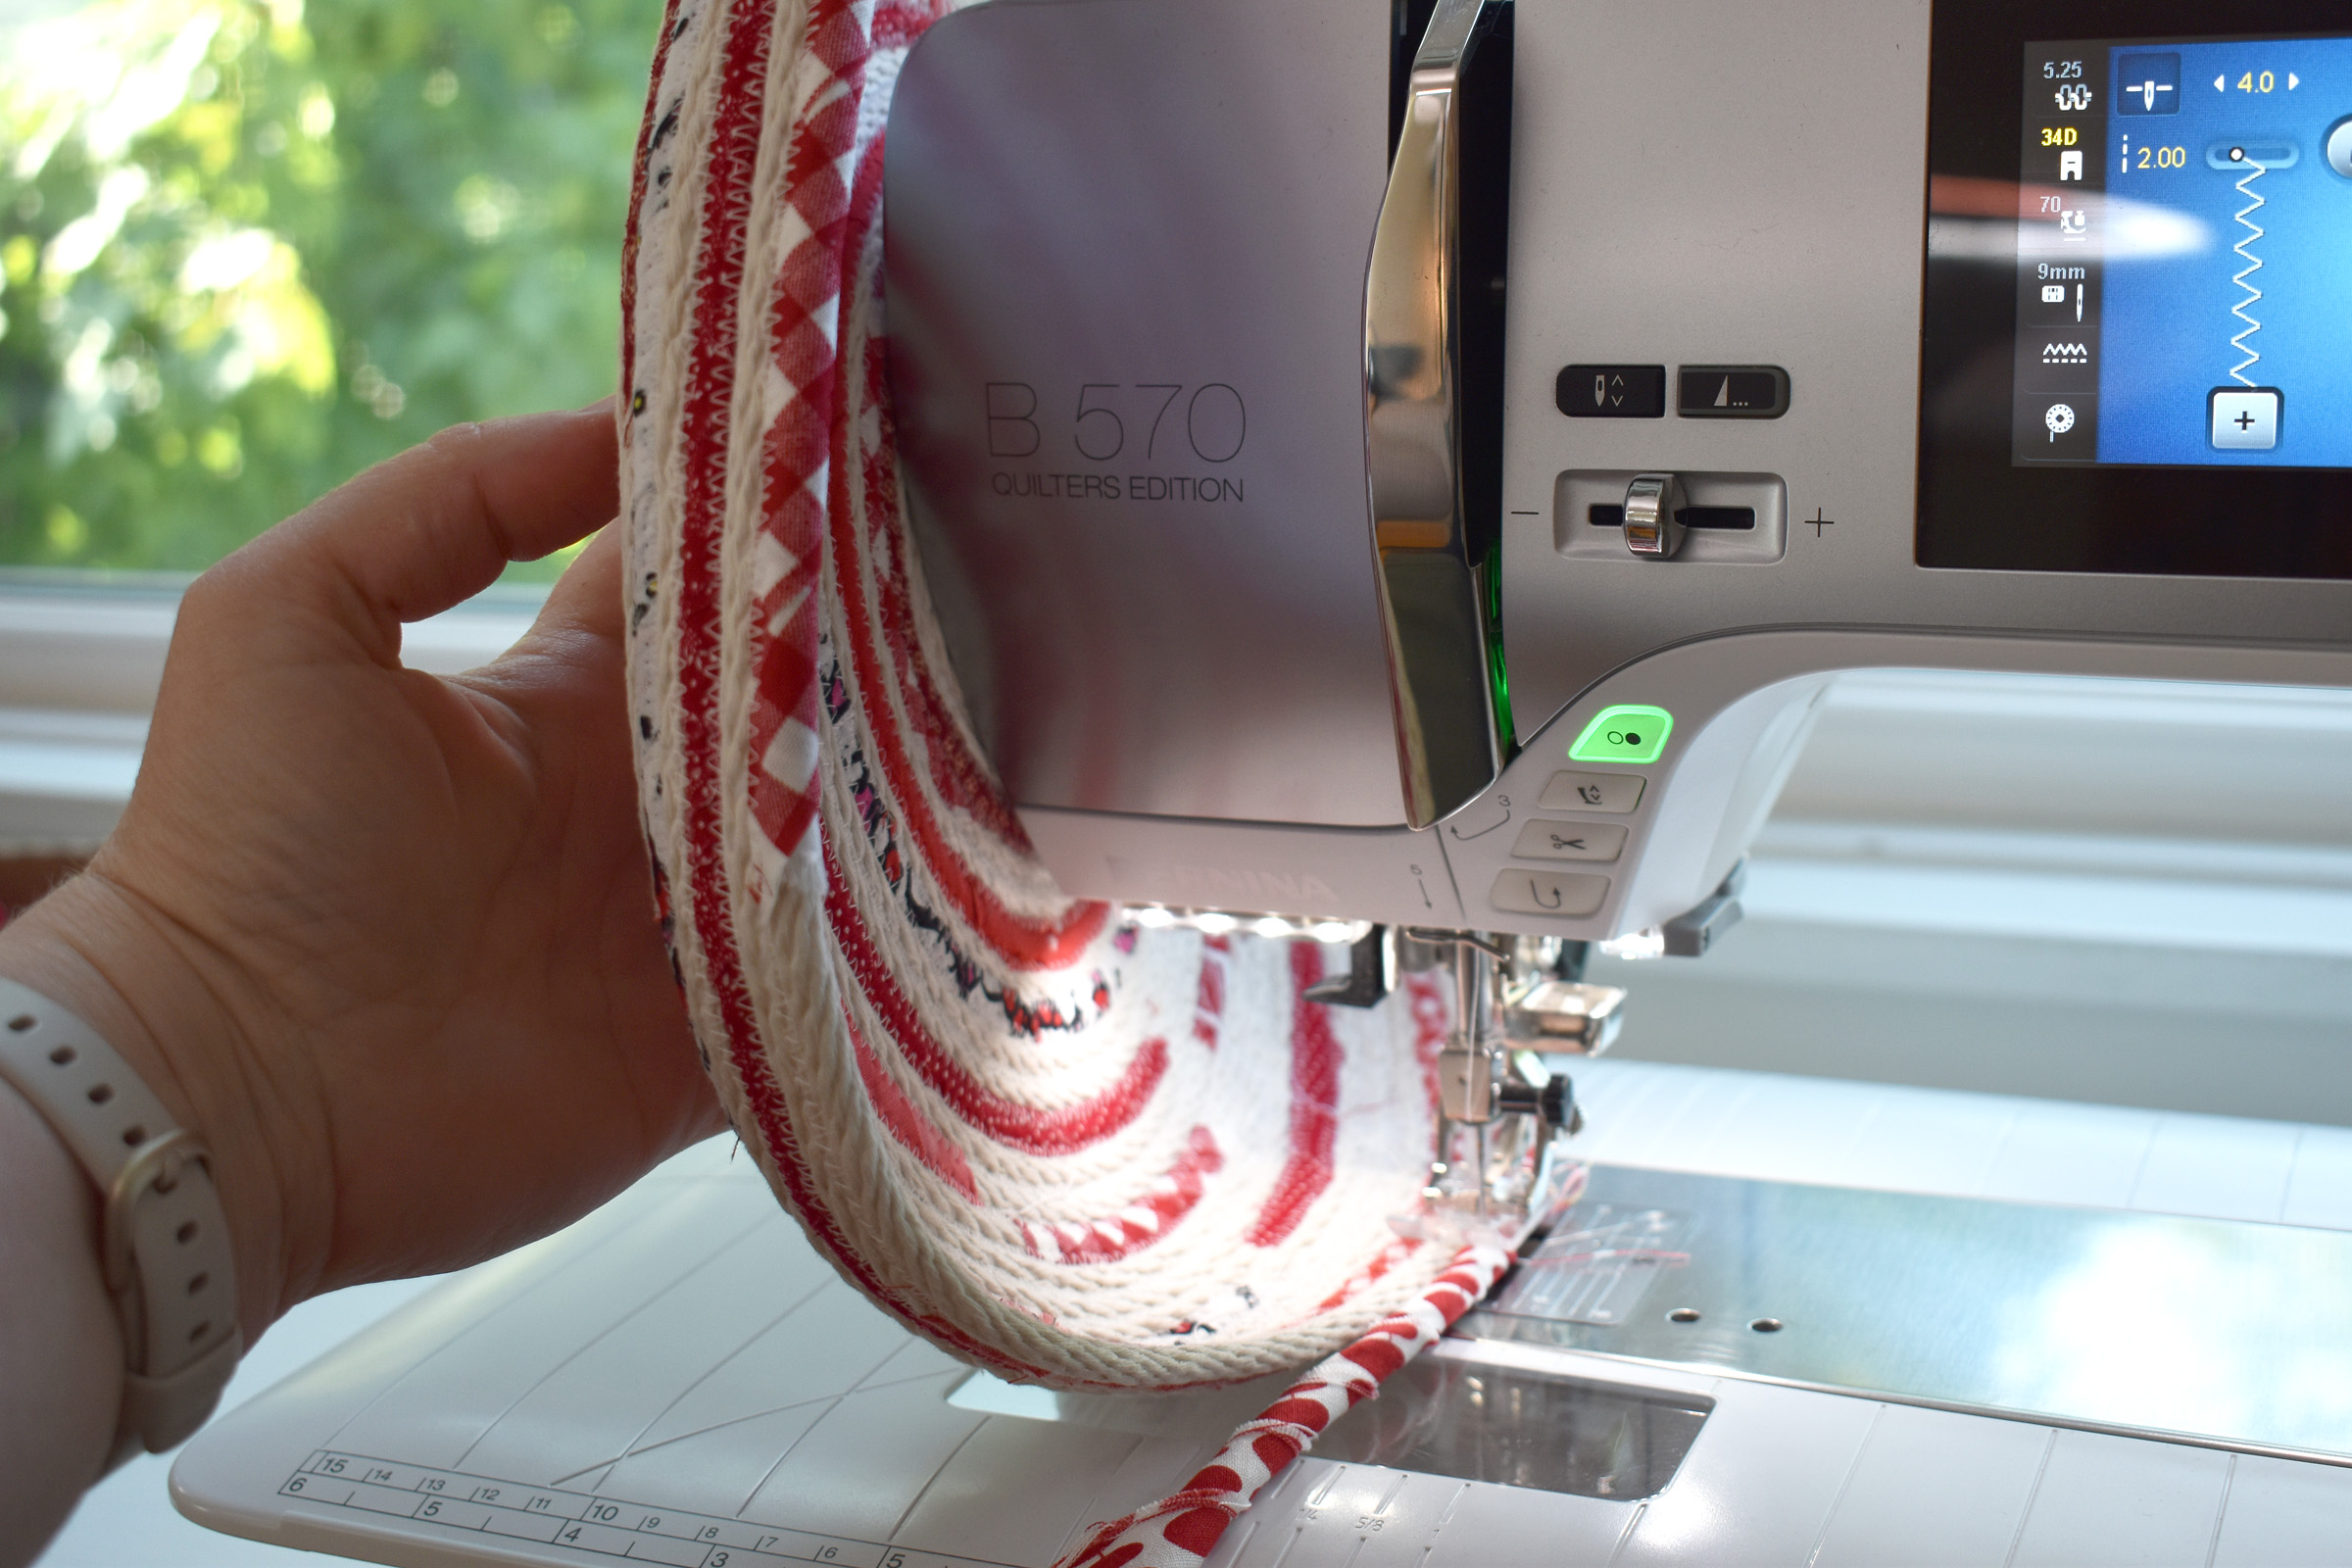
Use a large sewing machine needle size 90/14 or 100/16 sharp or jeans needle. Insert foot #34D and engage Dual Feed (if your machine is equipped with this feature, otherwise use #34C or #34). Wind at least two bobbins (I have the BERNINA Jumbo Bobbin in my machine and I used about 2 full bobbins for this project). Use the FHS to keep your hands free while sewing the basket. Set your machine to stop sewing with the needle down if your machine includes this feature.
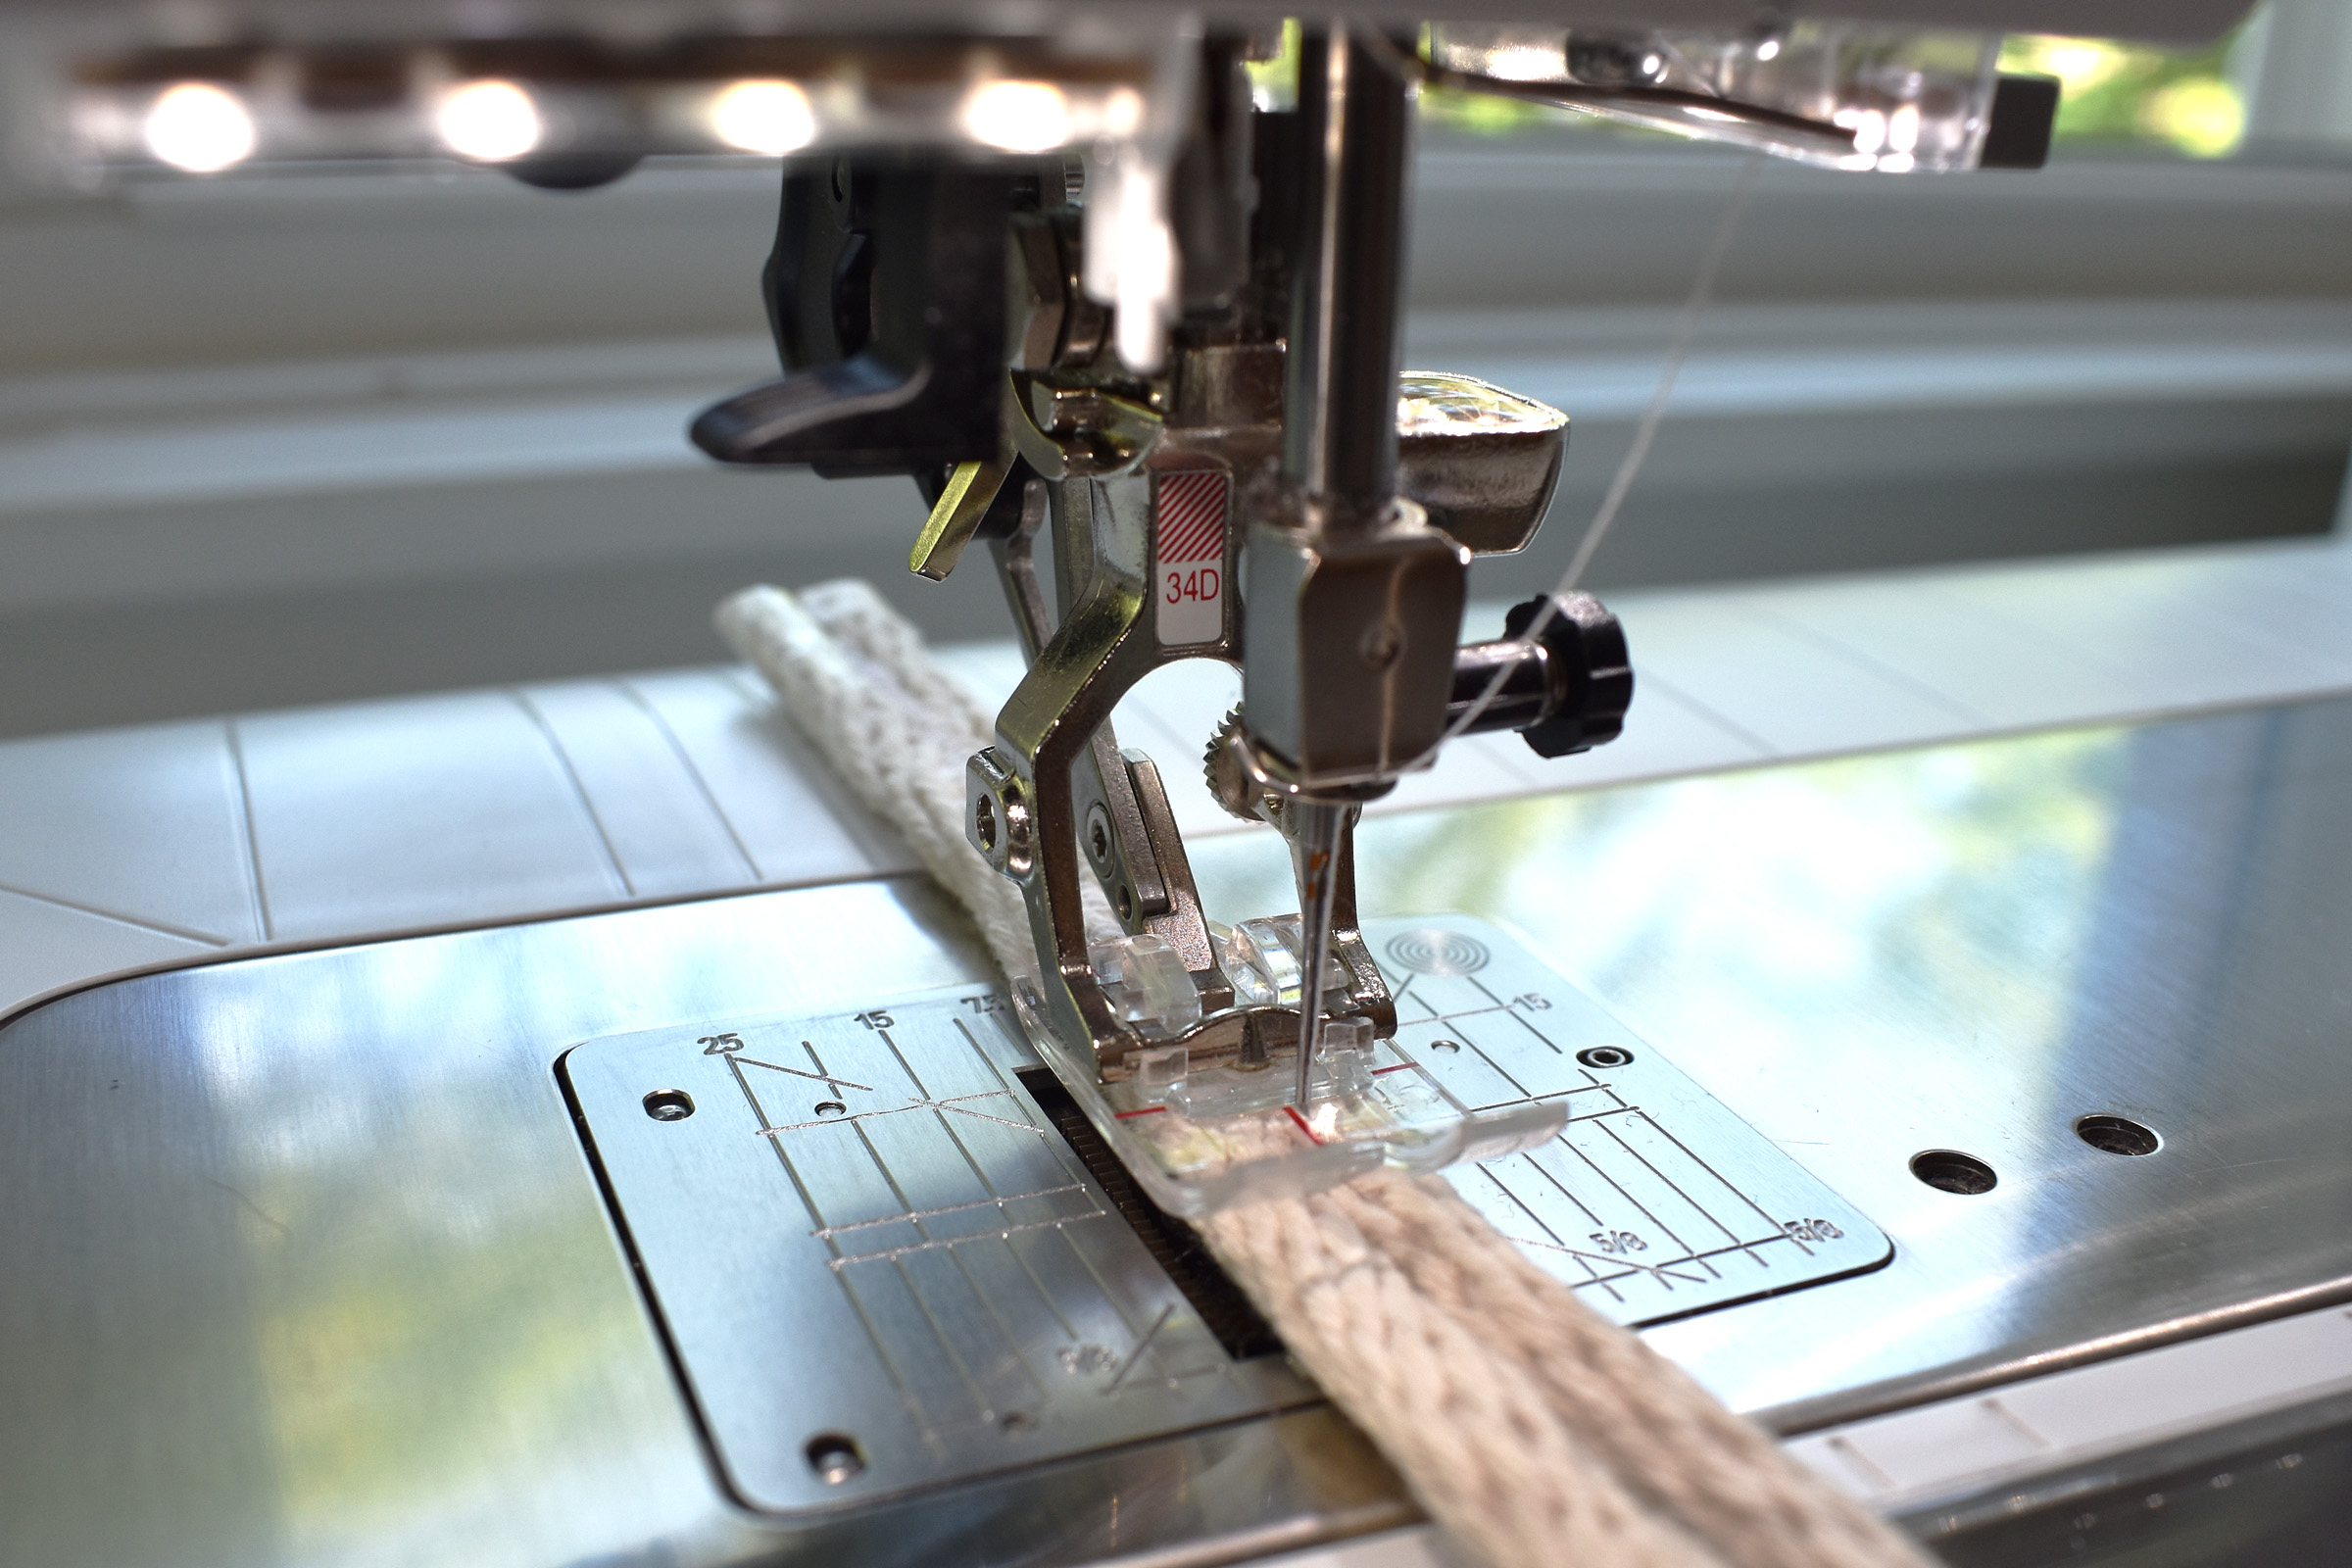
Select the standard zigzag stitch, fold the small piece of rope in half, and sew the rope pieces together. Your goal is to line-up the place where the pieces of rope meet with the center red mark on the front of foot #34D. The zigzag should be wide enough to easily sew through both sides of the rope. Try setting the zigzag stitch width at about 4.4mm and the stitch length at 2.0mm to begin, these are the settings I used for this project. Make any adjustments after checking out the small piece of rope with these stitch settings.

Begin sewing the coiled rope cat basket.
Start with the taped end of the rope that you cut to test the machine stitches. Begin to tightly coil the rope from the end to about 1 1/2″ across and use a clip to hold the small coil in place.
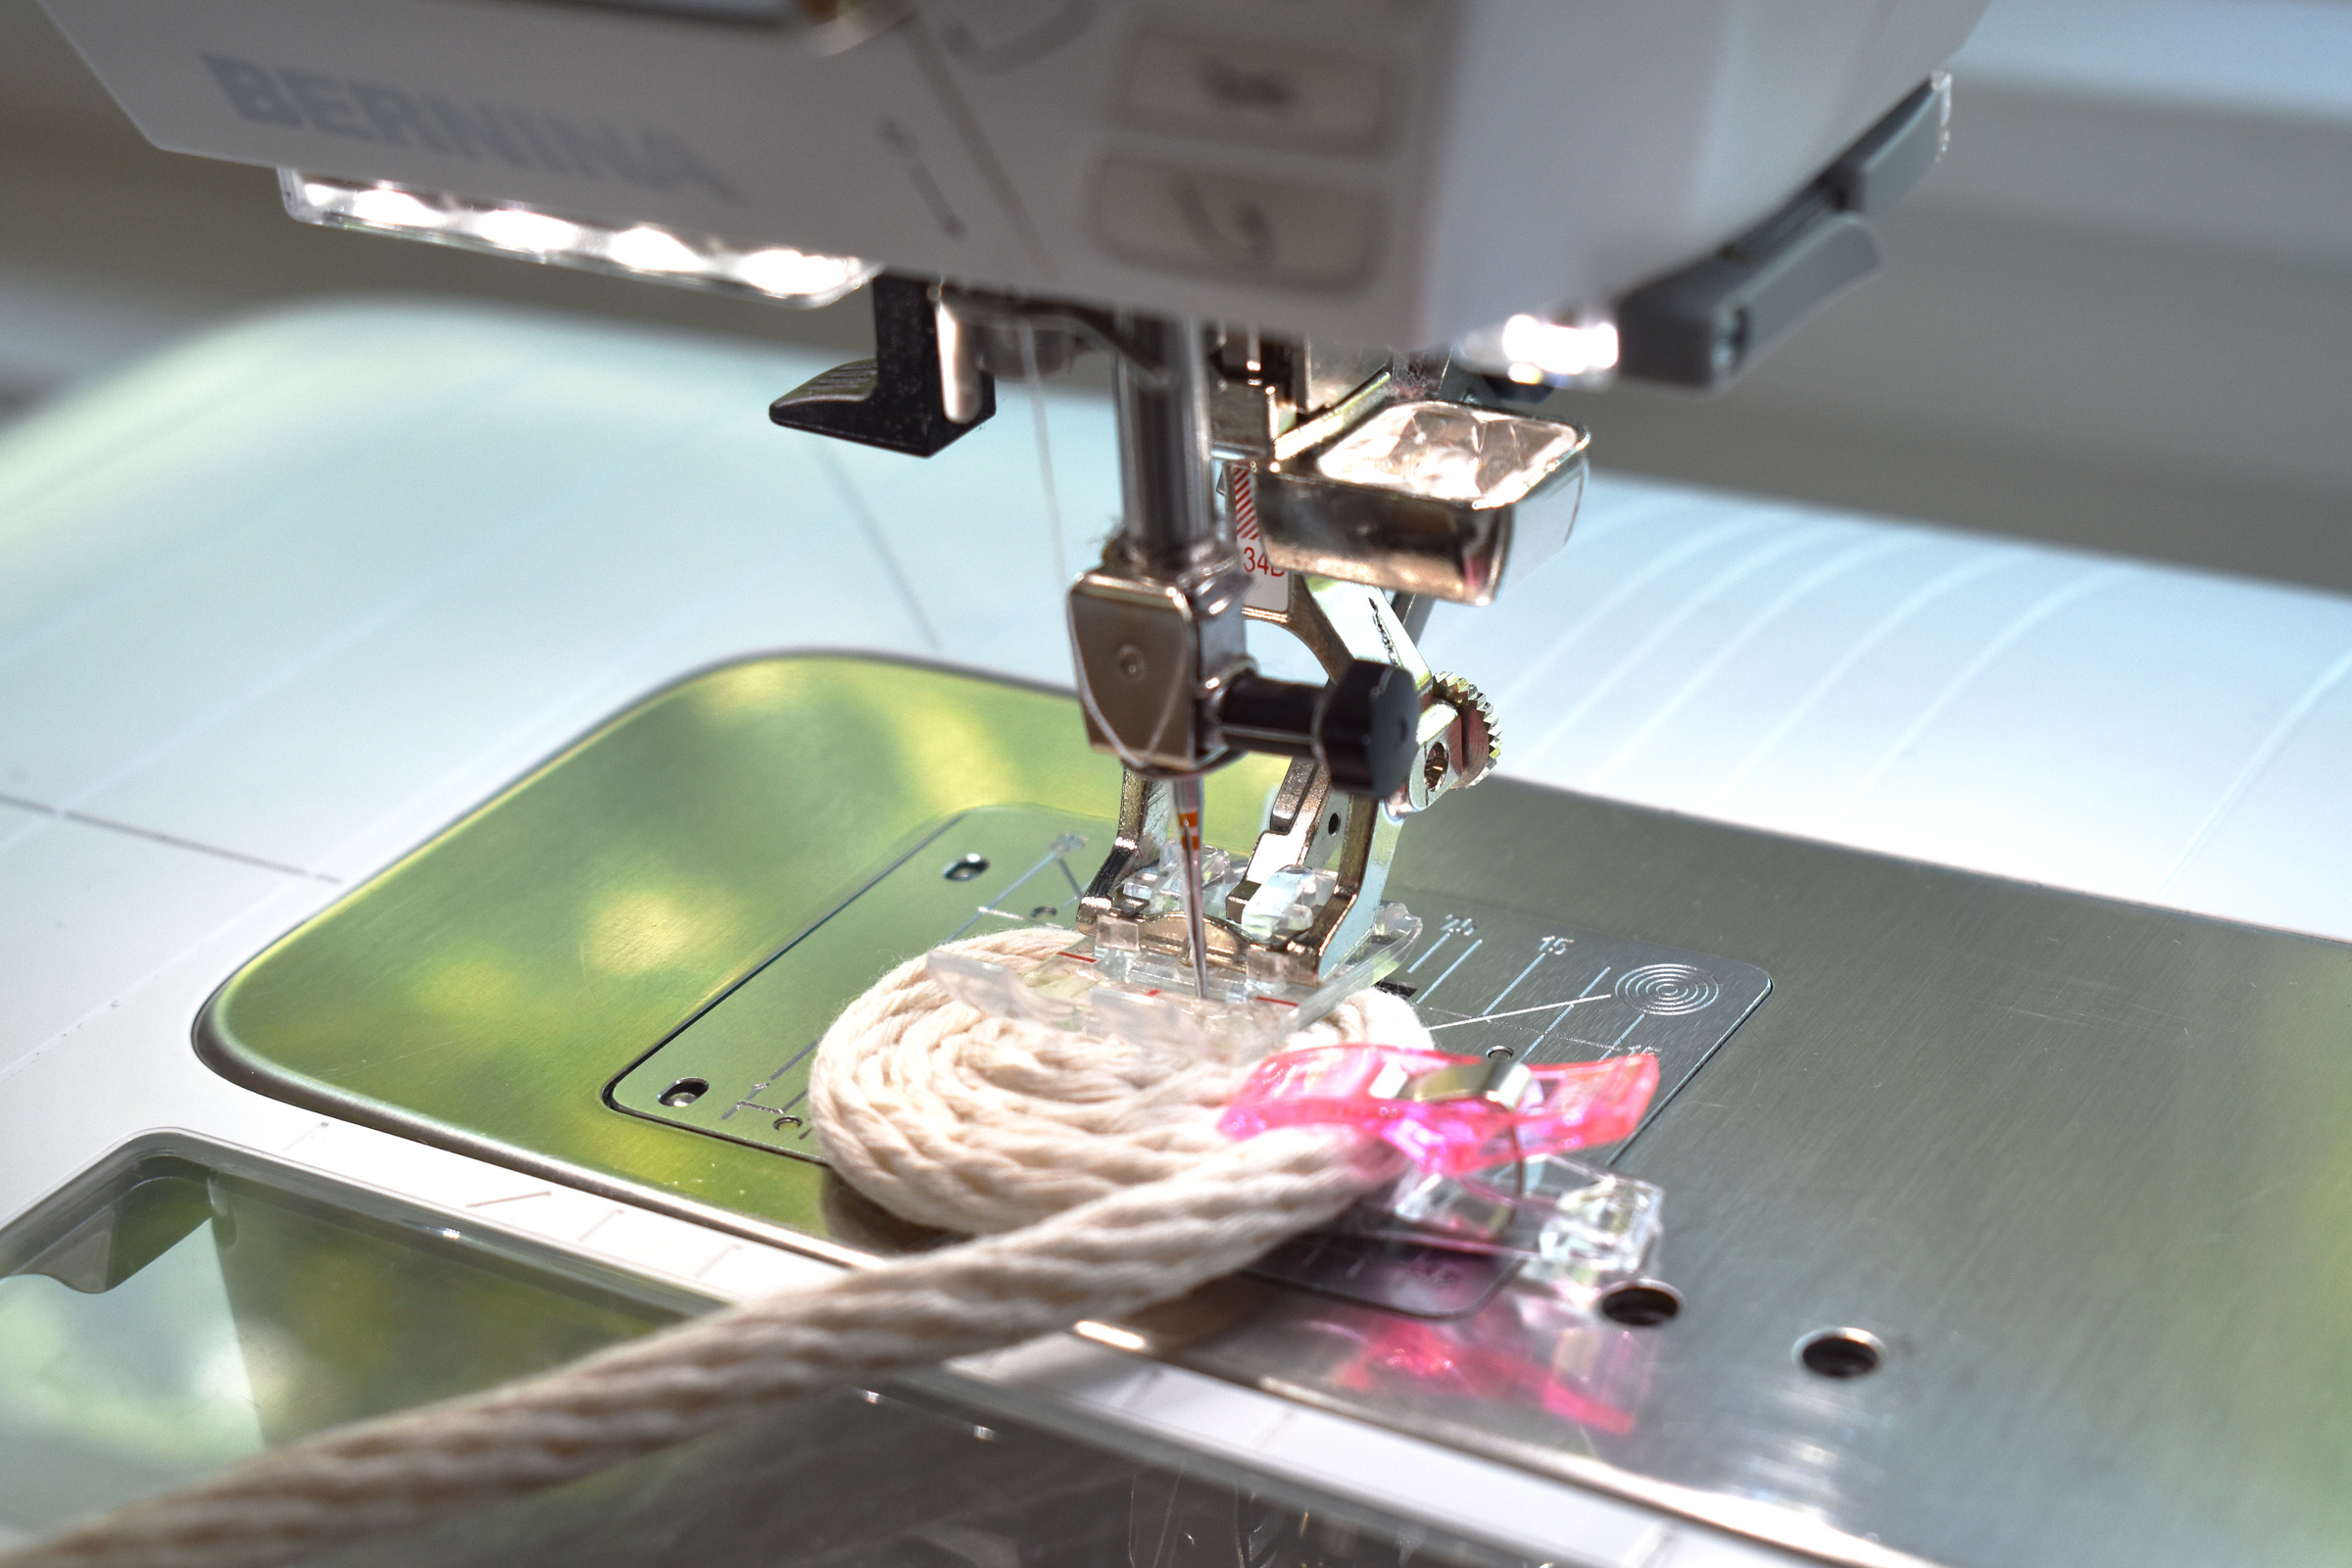
Use the FHS knee lift to place the small coil of rope under the presser foot and zigzag stitch across the center of the coil, from one end to the other, and then backstitch.

Next, start to sew where the outside piece of rope is meeting the coil, and begin to move around this line. Pivot around the tight curves with the needle down and use the FHS knee lift and let your hands move the coil under the presser foot.
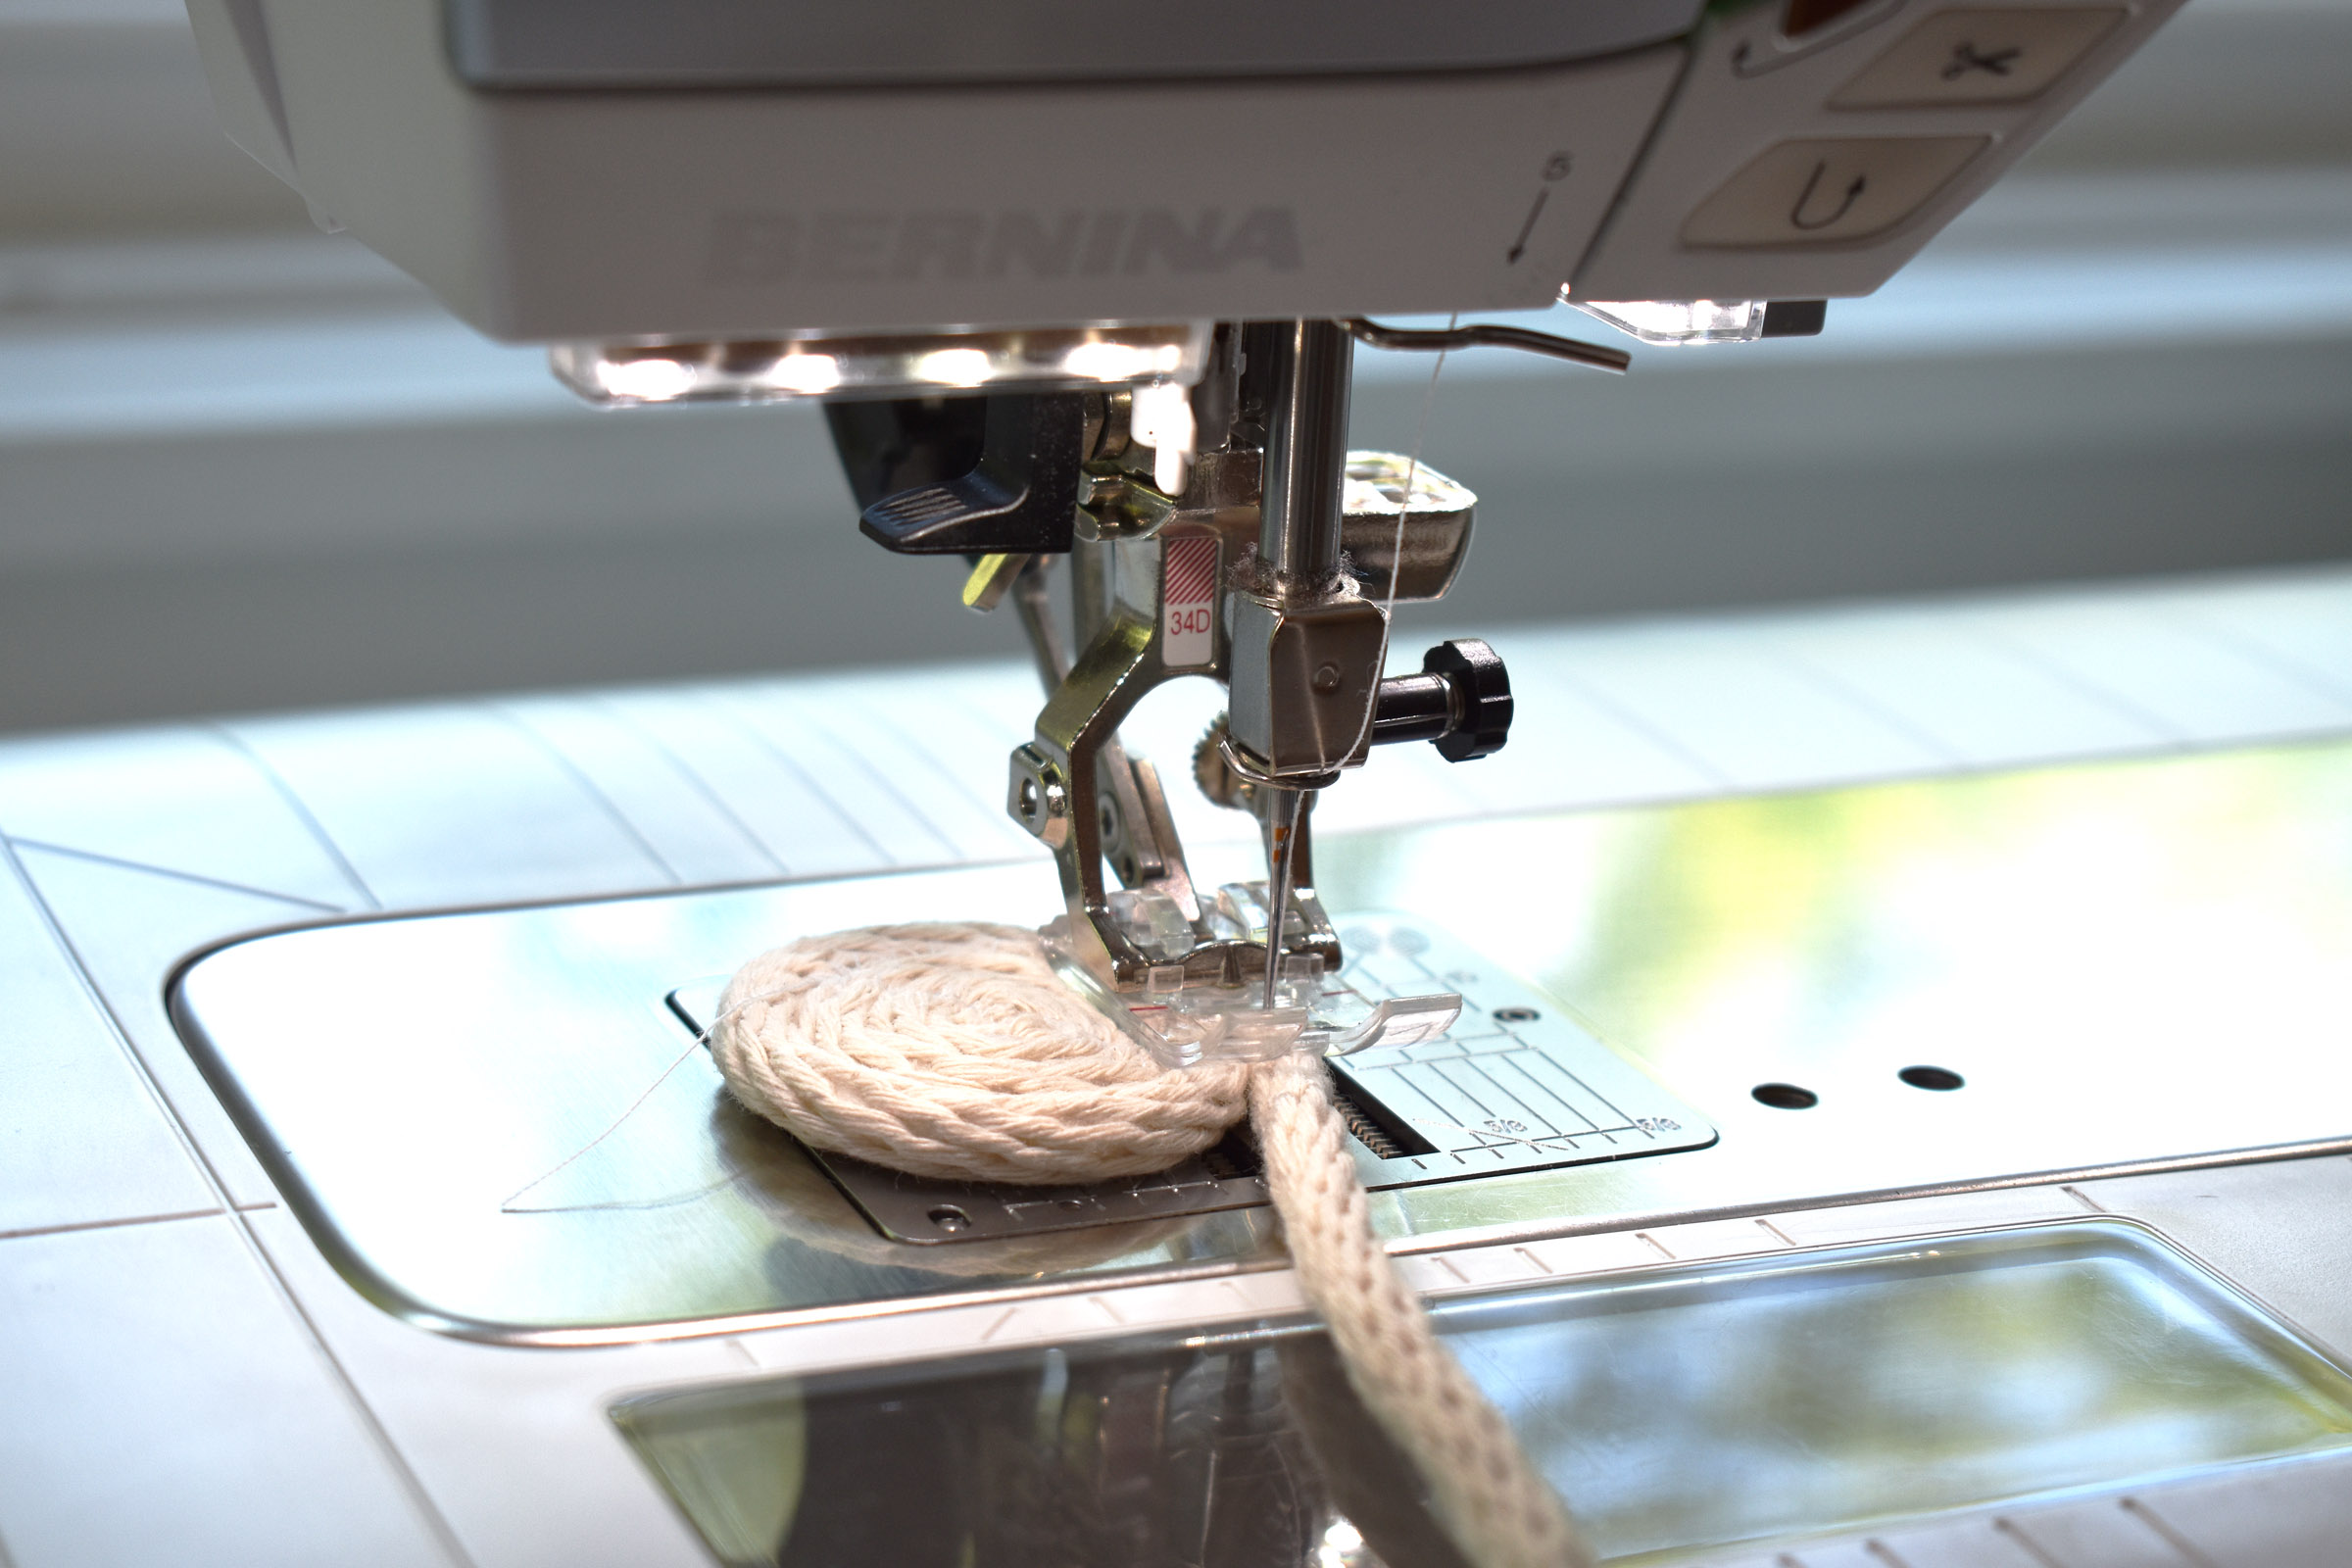
Continue sewing the coil, pivoting carefully around the curve. Try to keep the point on the coil where the outside rope is meeting the edge of the coil lining up with the center red mark on the foot.
This rope has a bit of stretch to it, and it is important not to pull the free end tight or put tension on the rope end when you are sewing the flat coiled base. Putting any tension on the free end of the rope will cause the rope to stretch and will make the coil start to bubble and curve up. Keep the free end of the rope guided to the coil without pushing or pulling.

When the coiled base is about 4″ to 6″ across, start adding fabric strips. Once you practice this technique a few times it will become second nature! Select the first strip you want to add to the coiled basket base. Play with winding the strip a few times until you find the right angle and winding pattern.
Place one end of the strip a few inches in front of the presser foot, under the free end of the rope at an angle down towards your right side. The end can stick out a bit, you can push it down in the space where the rope sides meet, or cut off the extra later if the end is sticking up.

Flip the long end of the fabric strip over the rope.

Then pull the strip under the rope and repeat. When you start winding the fabric strip around the rope the edges should overlap. You will notice that a shallow angle (if the strip is not at a sharp angle down) results in more overlap with the fabric strip, and a severe angle (if the strip is at a sharp angle down) results in a shallower overlap. I tend to prefer a more severe angle with less of an overlap because it makes the fabric strip wind farther on the rope.
Also, notice that you may have some loose spots when winding the fabric that look like bubbling or tucking; don’t worry about little imperfections as they will be stitched down into the basket with the zigzag stitches.
Wind a few inches of the rope, then begin stitching until the zigzag stitches start to sew through the fabric-wrapped rope. Then you can stop, wind the fabric a few more inches, and sew again. My strategy is to sew, wind, sew, and wind again, keeping an eye on how the fabric-wrapped rope is looking while I sew. When I think it is long enough, I snip the end and let the machine zigzag over the raw edge, and sew a bit of plain rope on the coil before adding more fabric.

The base will start to come together quickly. I kept the fabric strips in a bin next to my sewing machine and selected each strip as I was sewing, trying to sew different fabrics next to each other.
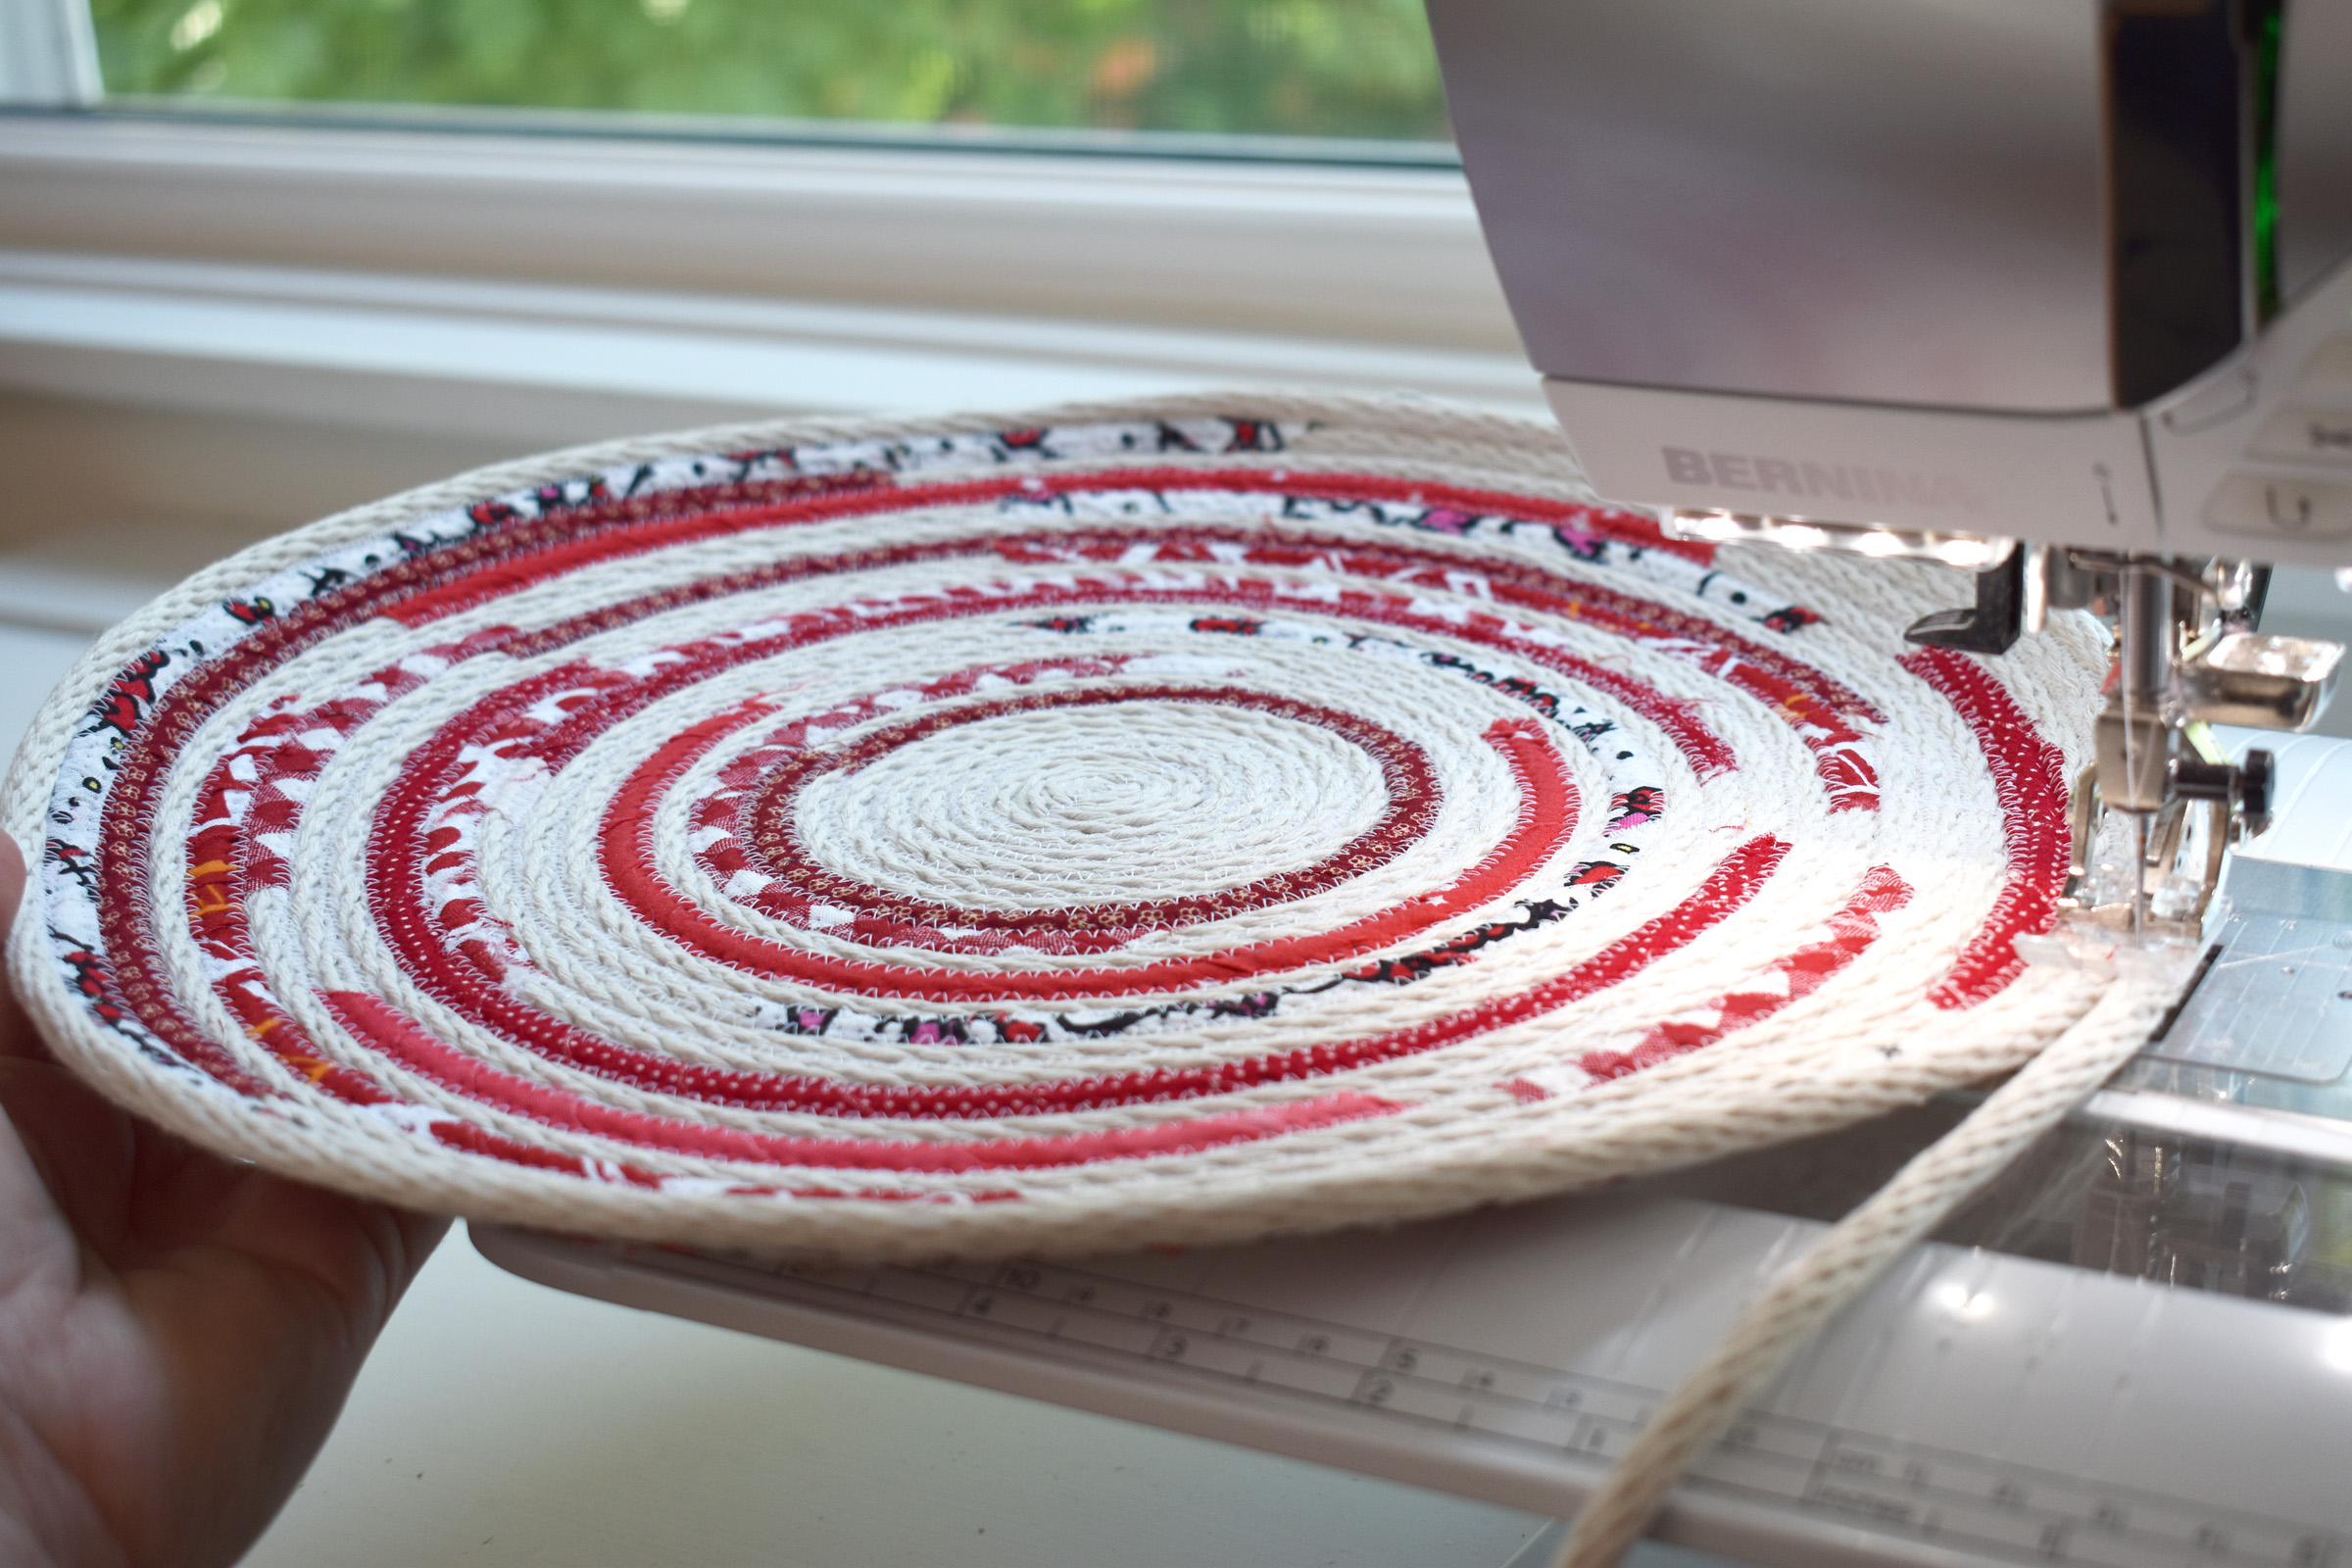
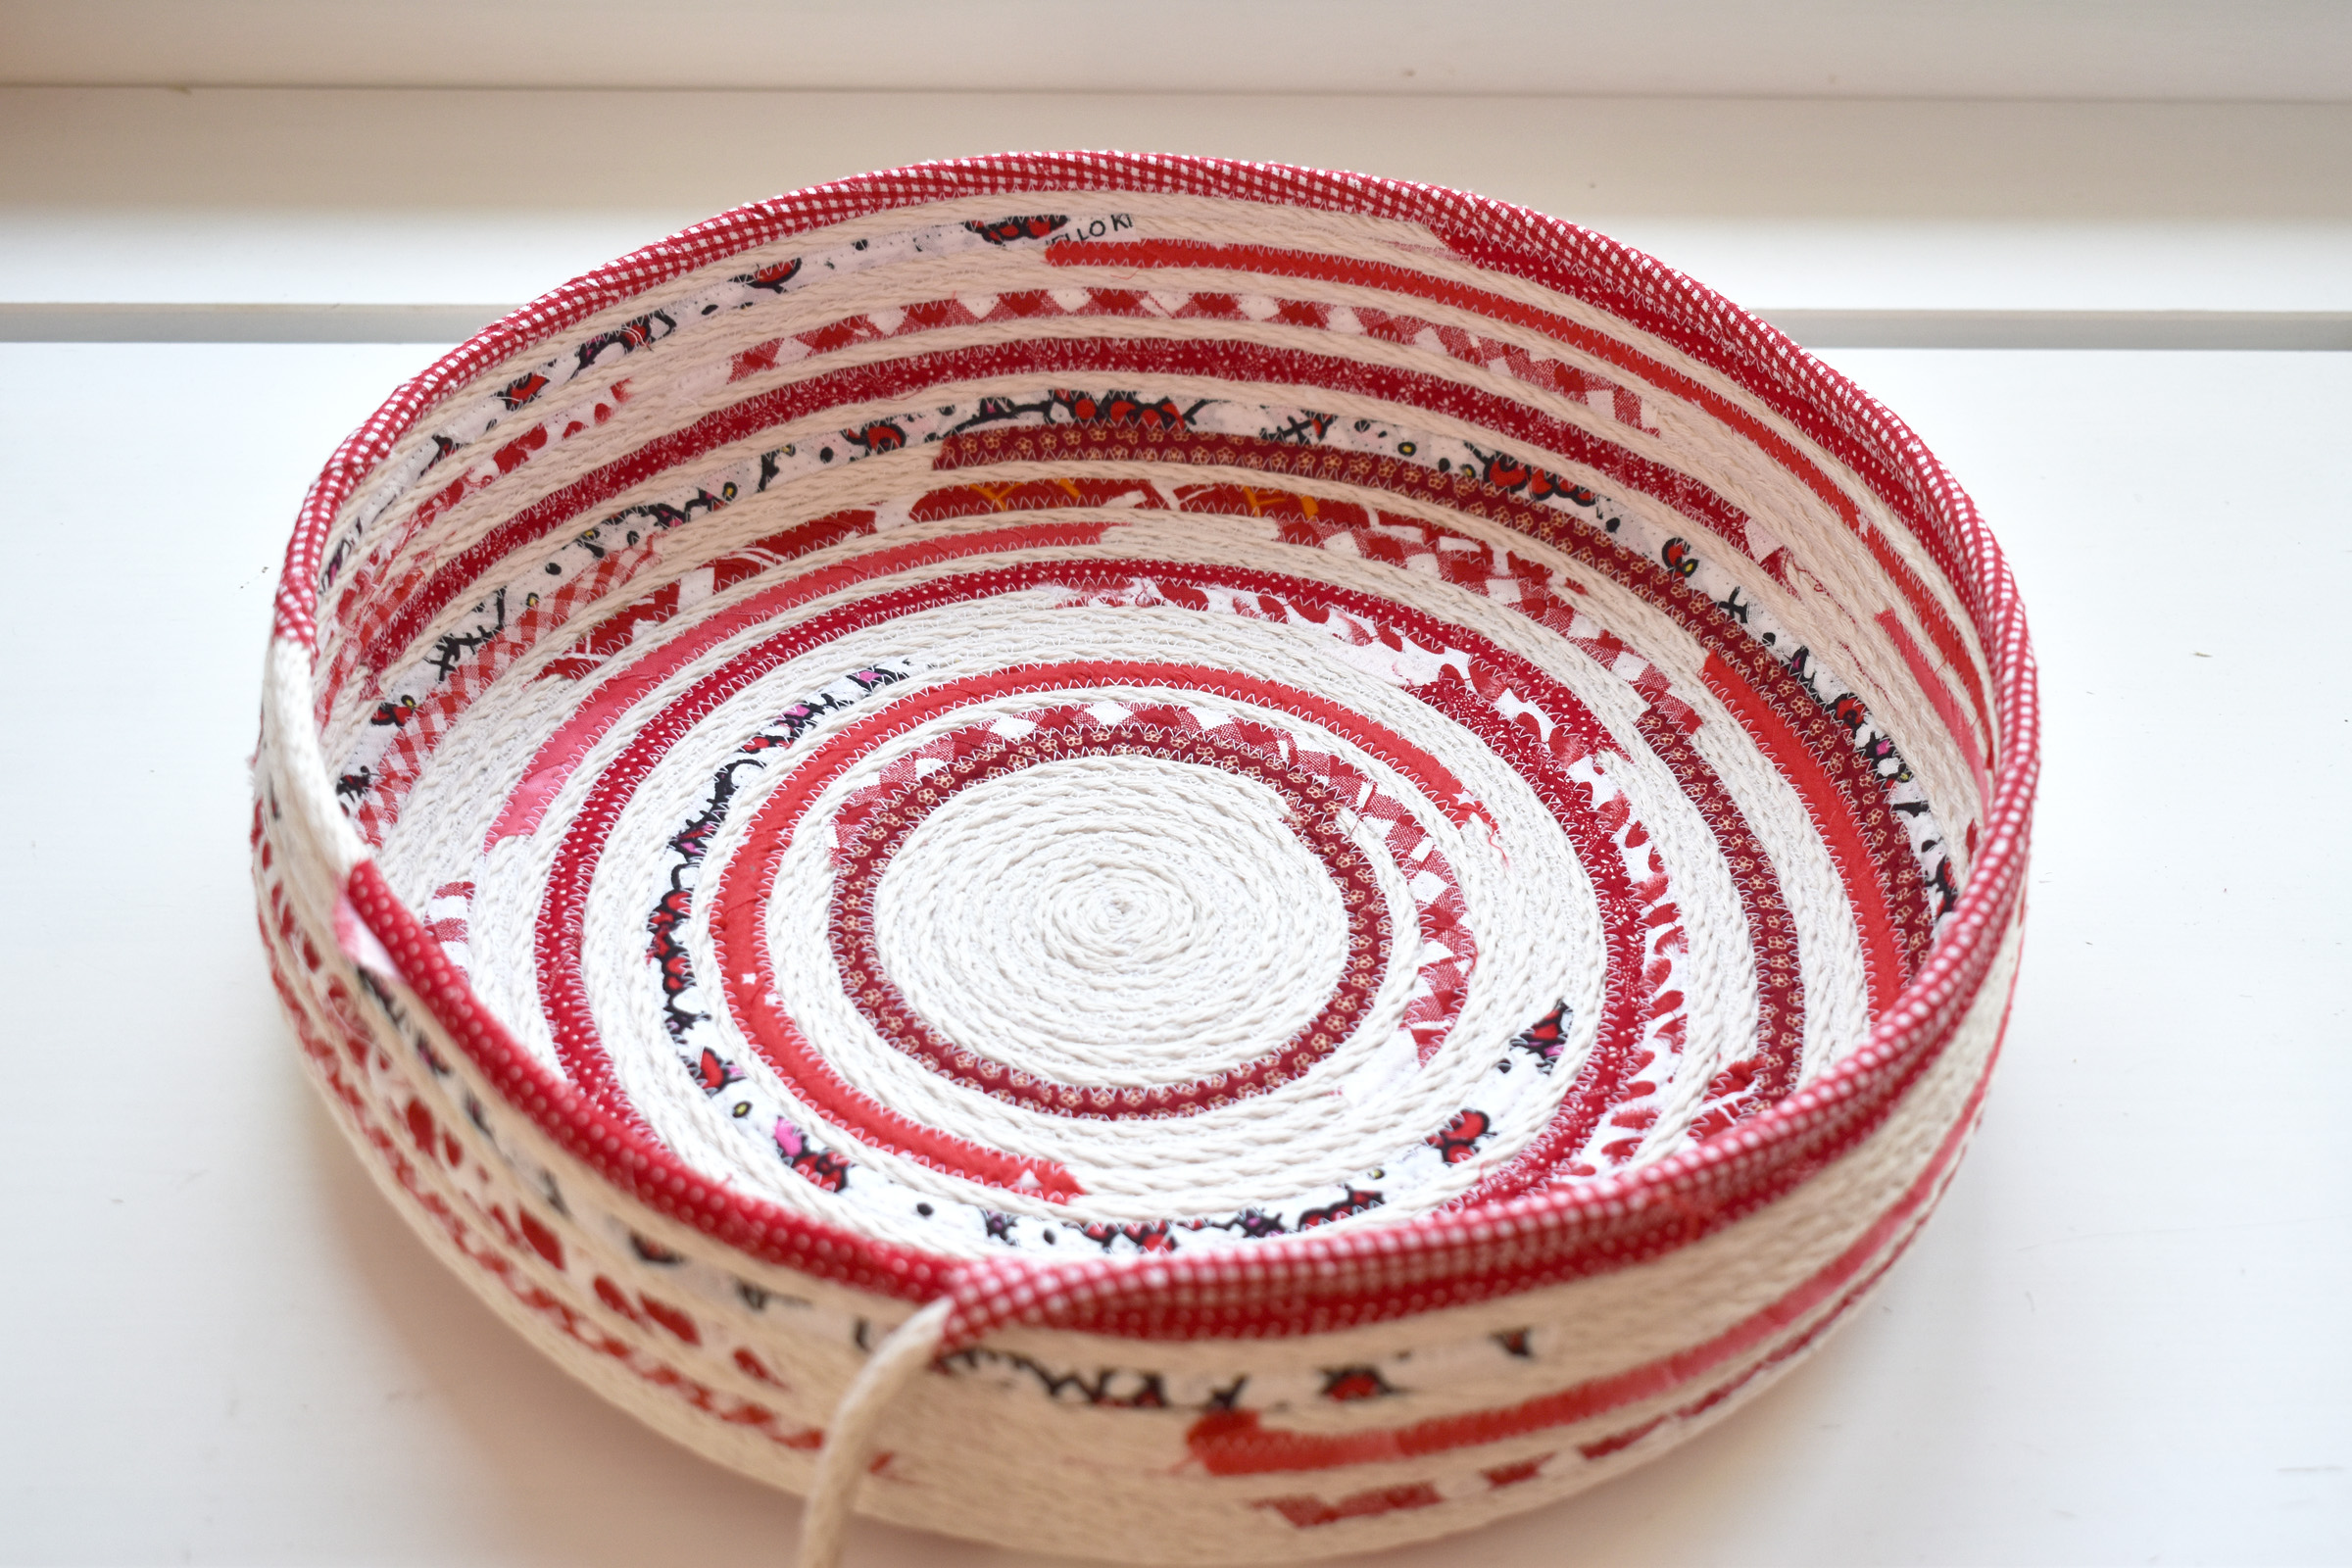
The other design element I chose was sewing some rounds in the coil without fabric so there would be some space between fabric rounds. This pattern of plain rope and fabric makes an interesting pattern that you can see on the finished basket.

Keep a measuring tape near the sewing machine and check the width of the base often. You will need to create a flat base 14″ across.
Any time during the making of this project you want to stop for any reason (get a cup of tea, give the cats some treats, take the dog for a walk) all you need to do is backstitch about 1/2″ and remove the basket from under the needle. It’s so easy to start again, just begin sewing about 1/2″ from where you stopped!
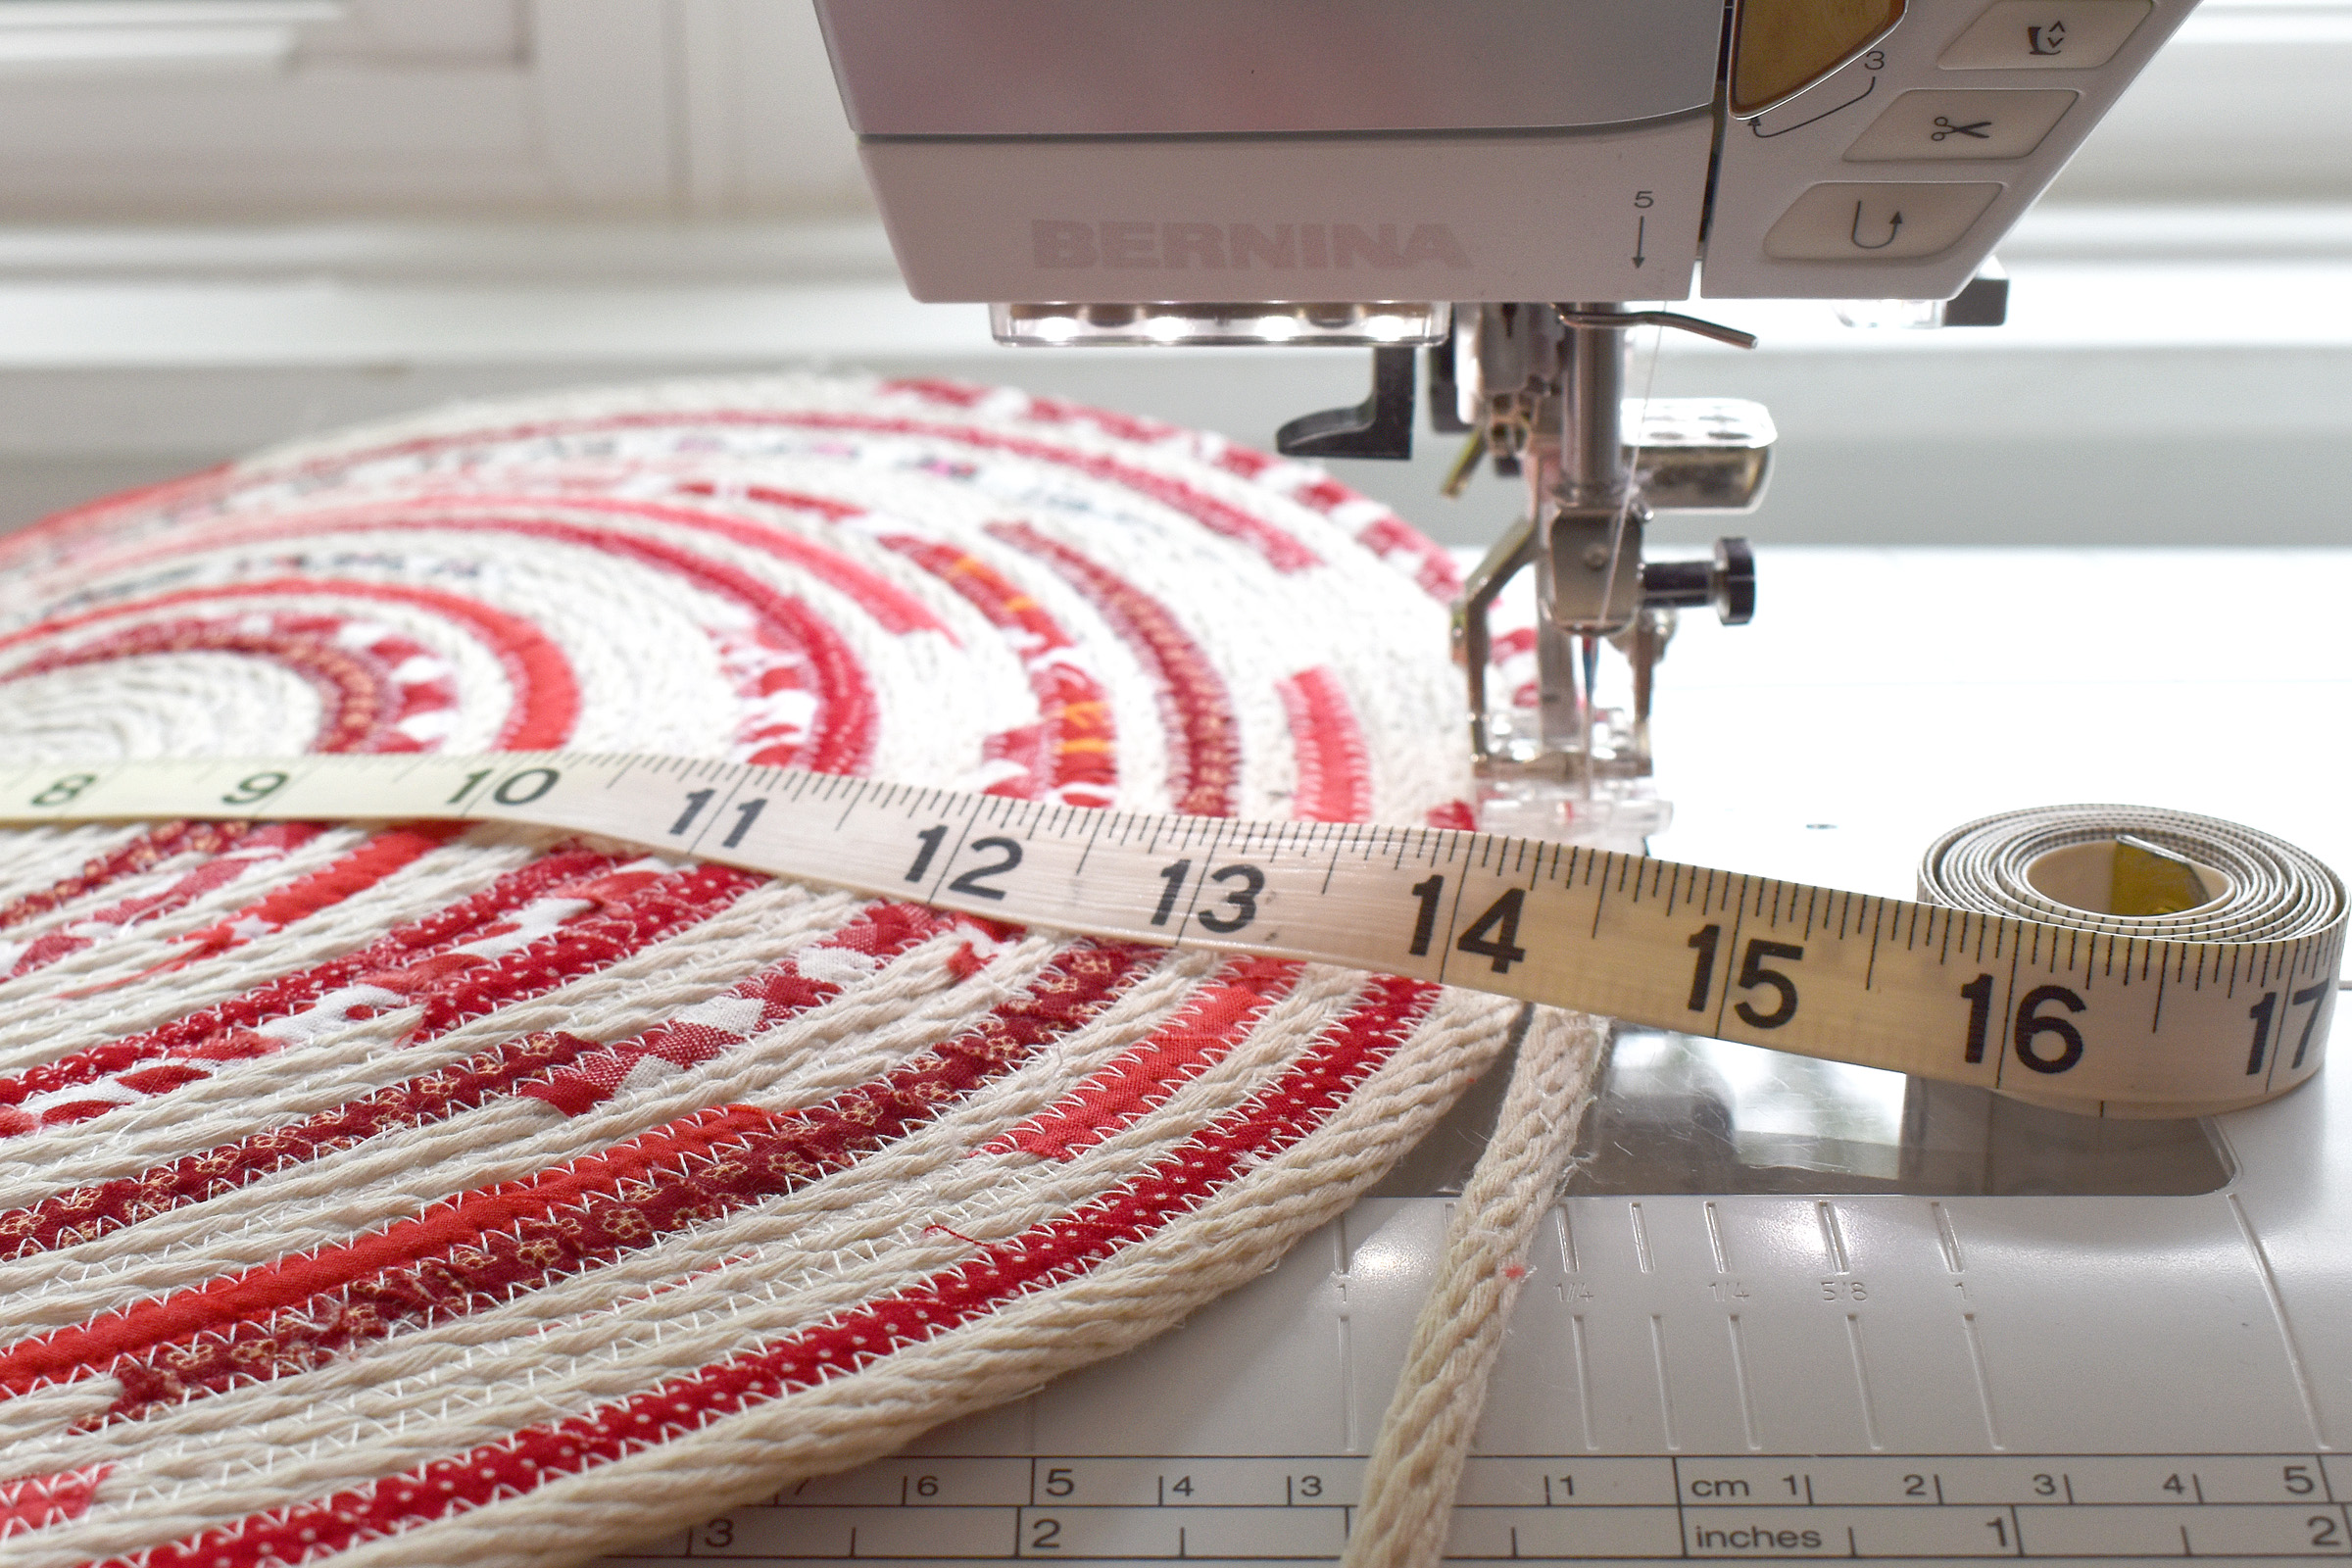
When you have stitched a coiled base that is 14″ across, stop sewing and remove the base from the machine to give it a quick steam press. Use the lowest iron setting that allows you to use steam in order to keep the synthetic core of the rope from melting under high iron temperatures. The steam press will help set all the stitches in the cotton rope and tighten it up just a bit. Get ready to start sewing sides for the basket.
Place the basket base back under the sewing machine presser foot about 1/2″ from where you stopped sewing, and begin to sew a few stitches.
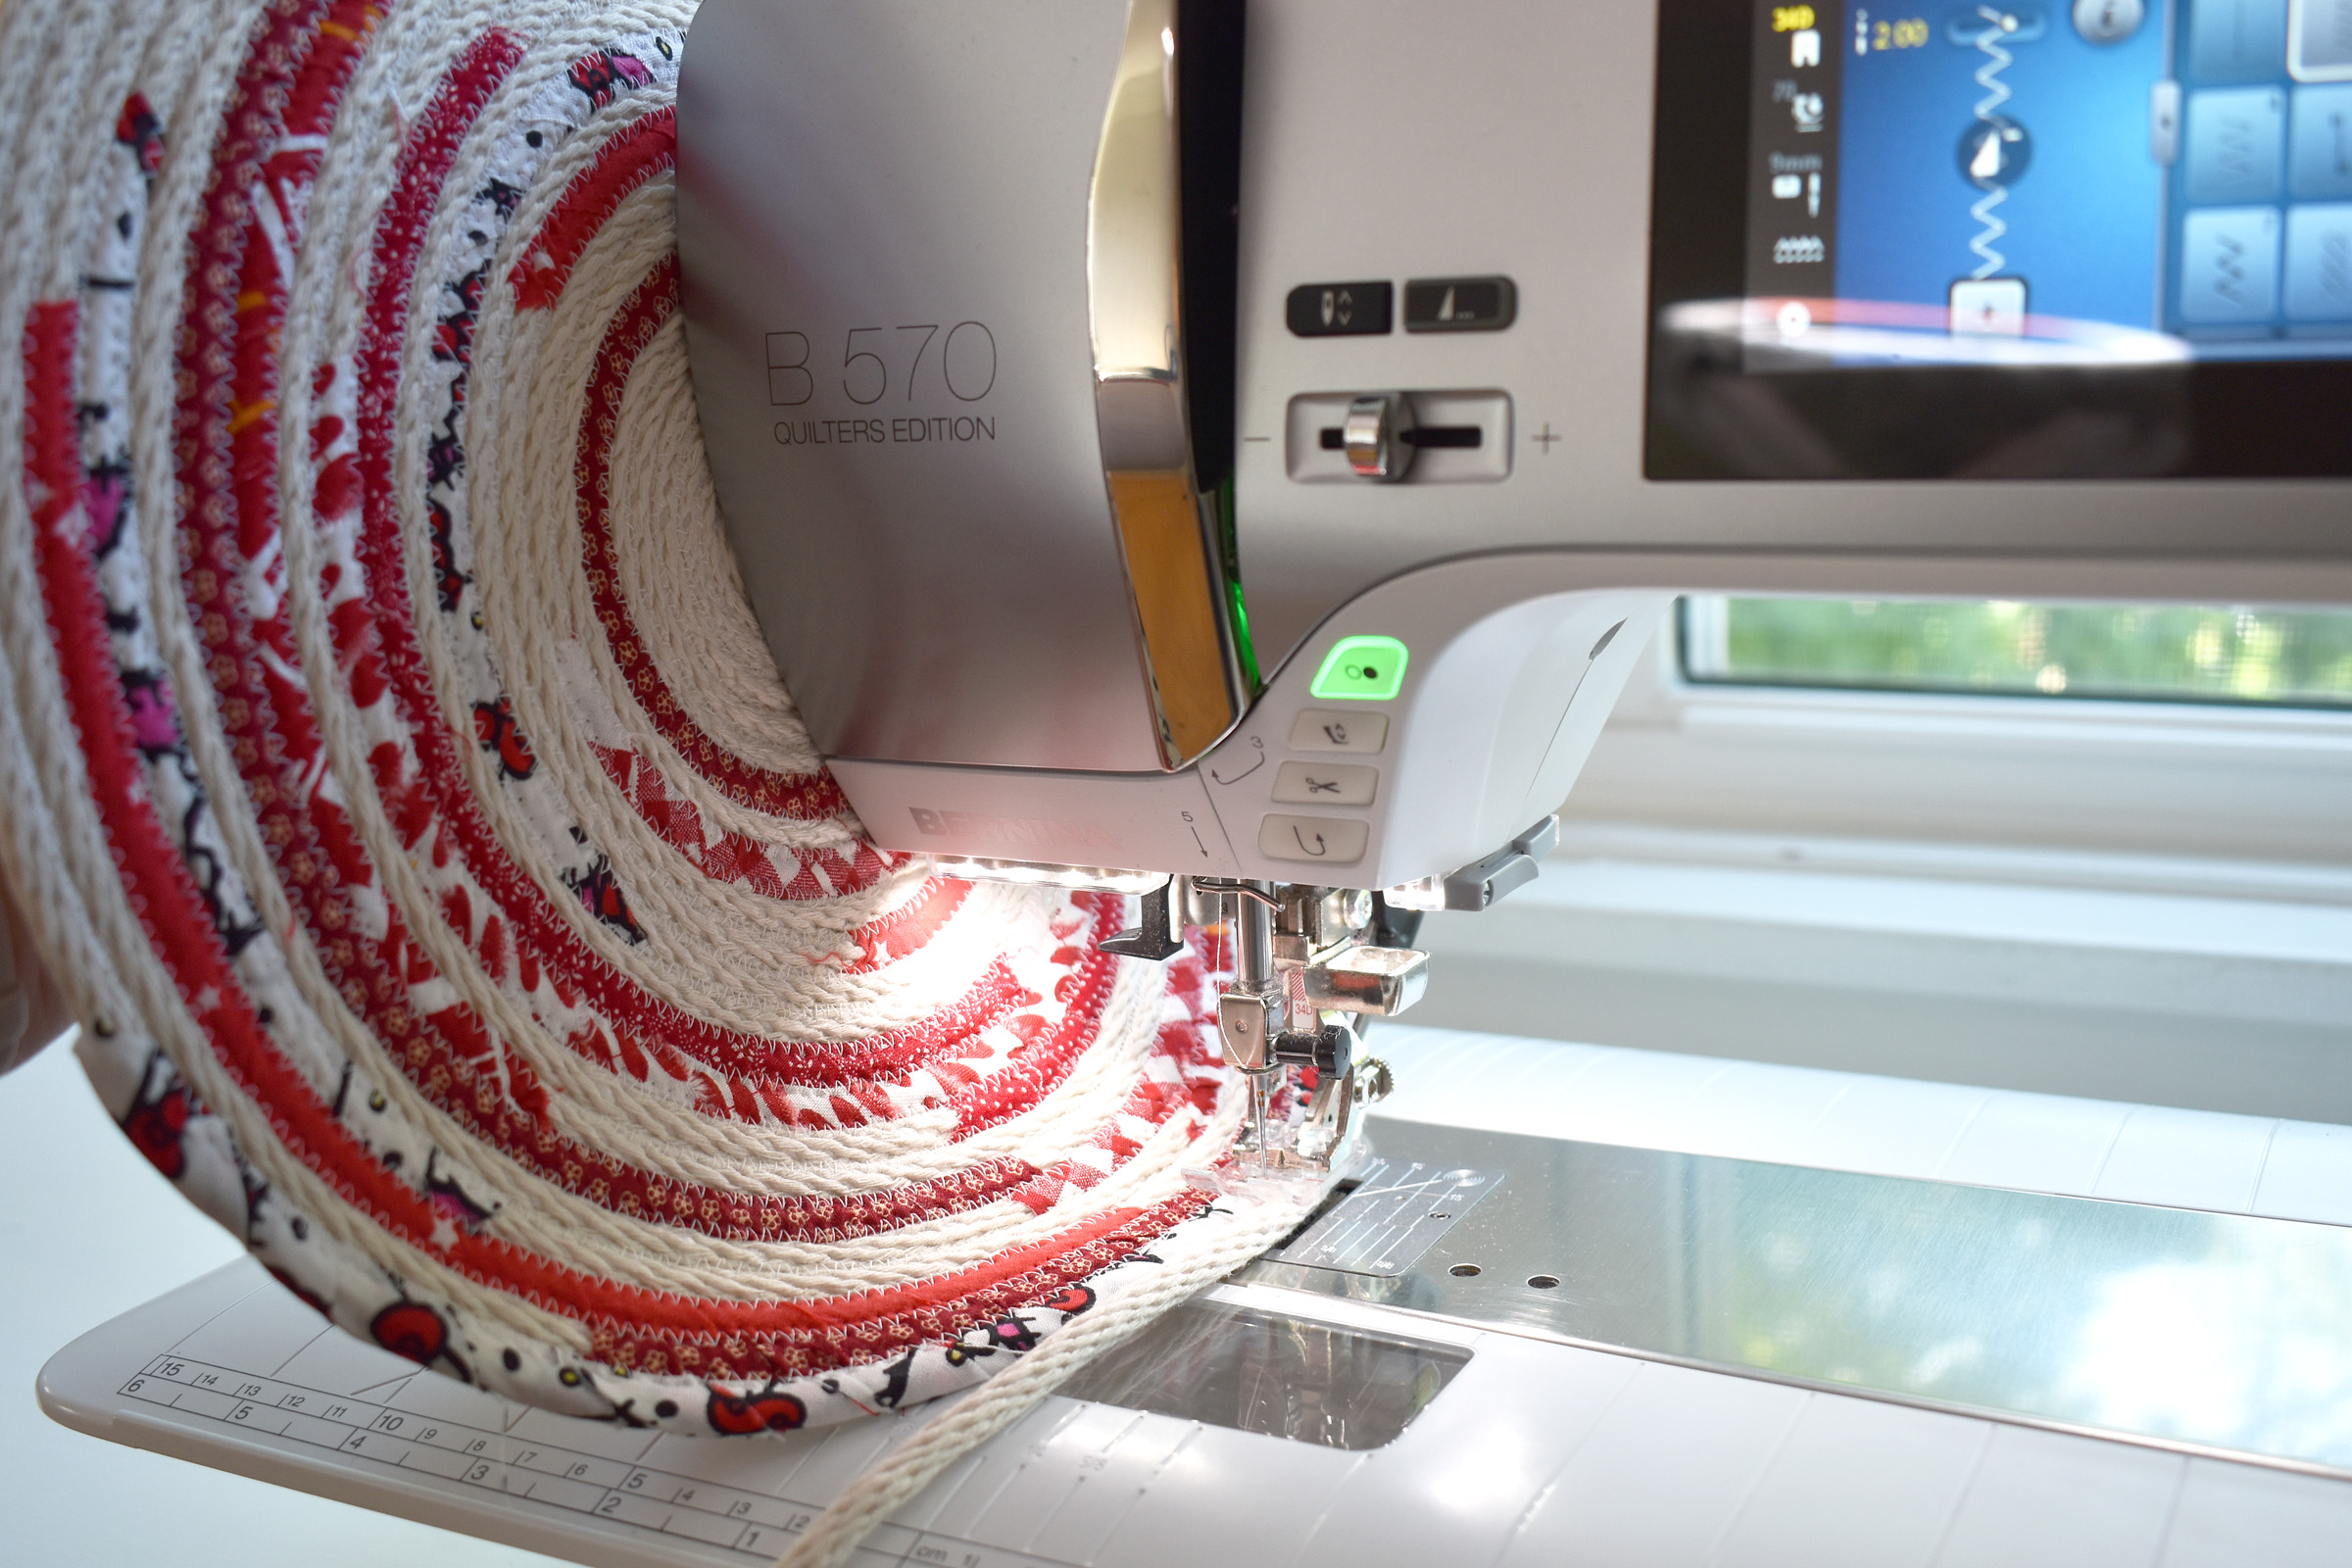
To sew the sides, you will hold the base up against the end of the sewing machine while applying slight tension to the free end of the rope. This can feel awkward, and you may want to just concentrate on sewing one round without adding fabric strips to get a feel for the process. This rope is just a bit stretchy, try pulling the free end now while the sewing machine is not stitching to feel the give in the rope. You will need to find the sweet spot of pulling gently enough on the free end of the rope to add tension without pulling so hard that the machine won’t sew or the needle bends. Play with this a little bit while sewing the first round.
Here I let the base down to show how the edges are beginning to curve up from putting tension on the free end of the rope while sewing with the base straight up against the end of the machine. It will take a few rounds to make the basket side begin to go straight up.
Once I made a pass with plain rope I got back to adding fabric, still applying a bit of tension to the rope end. After a few rounds of sewing, you will begin to see the basket sides pulling in more and more.
You can decide in the process how much you would like the sides to go out or in. If you keep putting that tension on the free end of the rope, your basket sides will continue to pull in making a basket that looks like a bubble. As soon as you stop applying tension to the free end of the rope while holding the base up to the end of the machine the sides will sew straight on top of the last round.
This is a good time to remind you, that if you stop sewing and take the basket off the machine to see what it looks like and don’t like the way it’s coming together, it is pretty easy to give yourself a do-over with a seam ripper. This rope will do fine with ripping out a few rows and re-stitching (ask me how I know!).
I removed the basket every few rounds to check the shape, making decisions about how to wrap fabric and where as I go.
Here the basket is pretty far along and can stand up by itself! At this point I decided to sew the remaining rows straight up and was careful not to apply any more pressure to the free end of the rope.
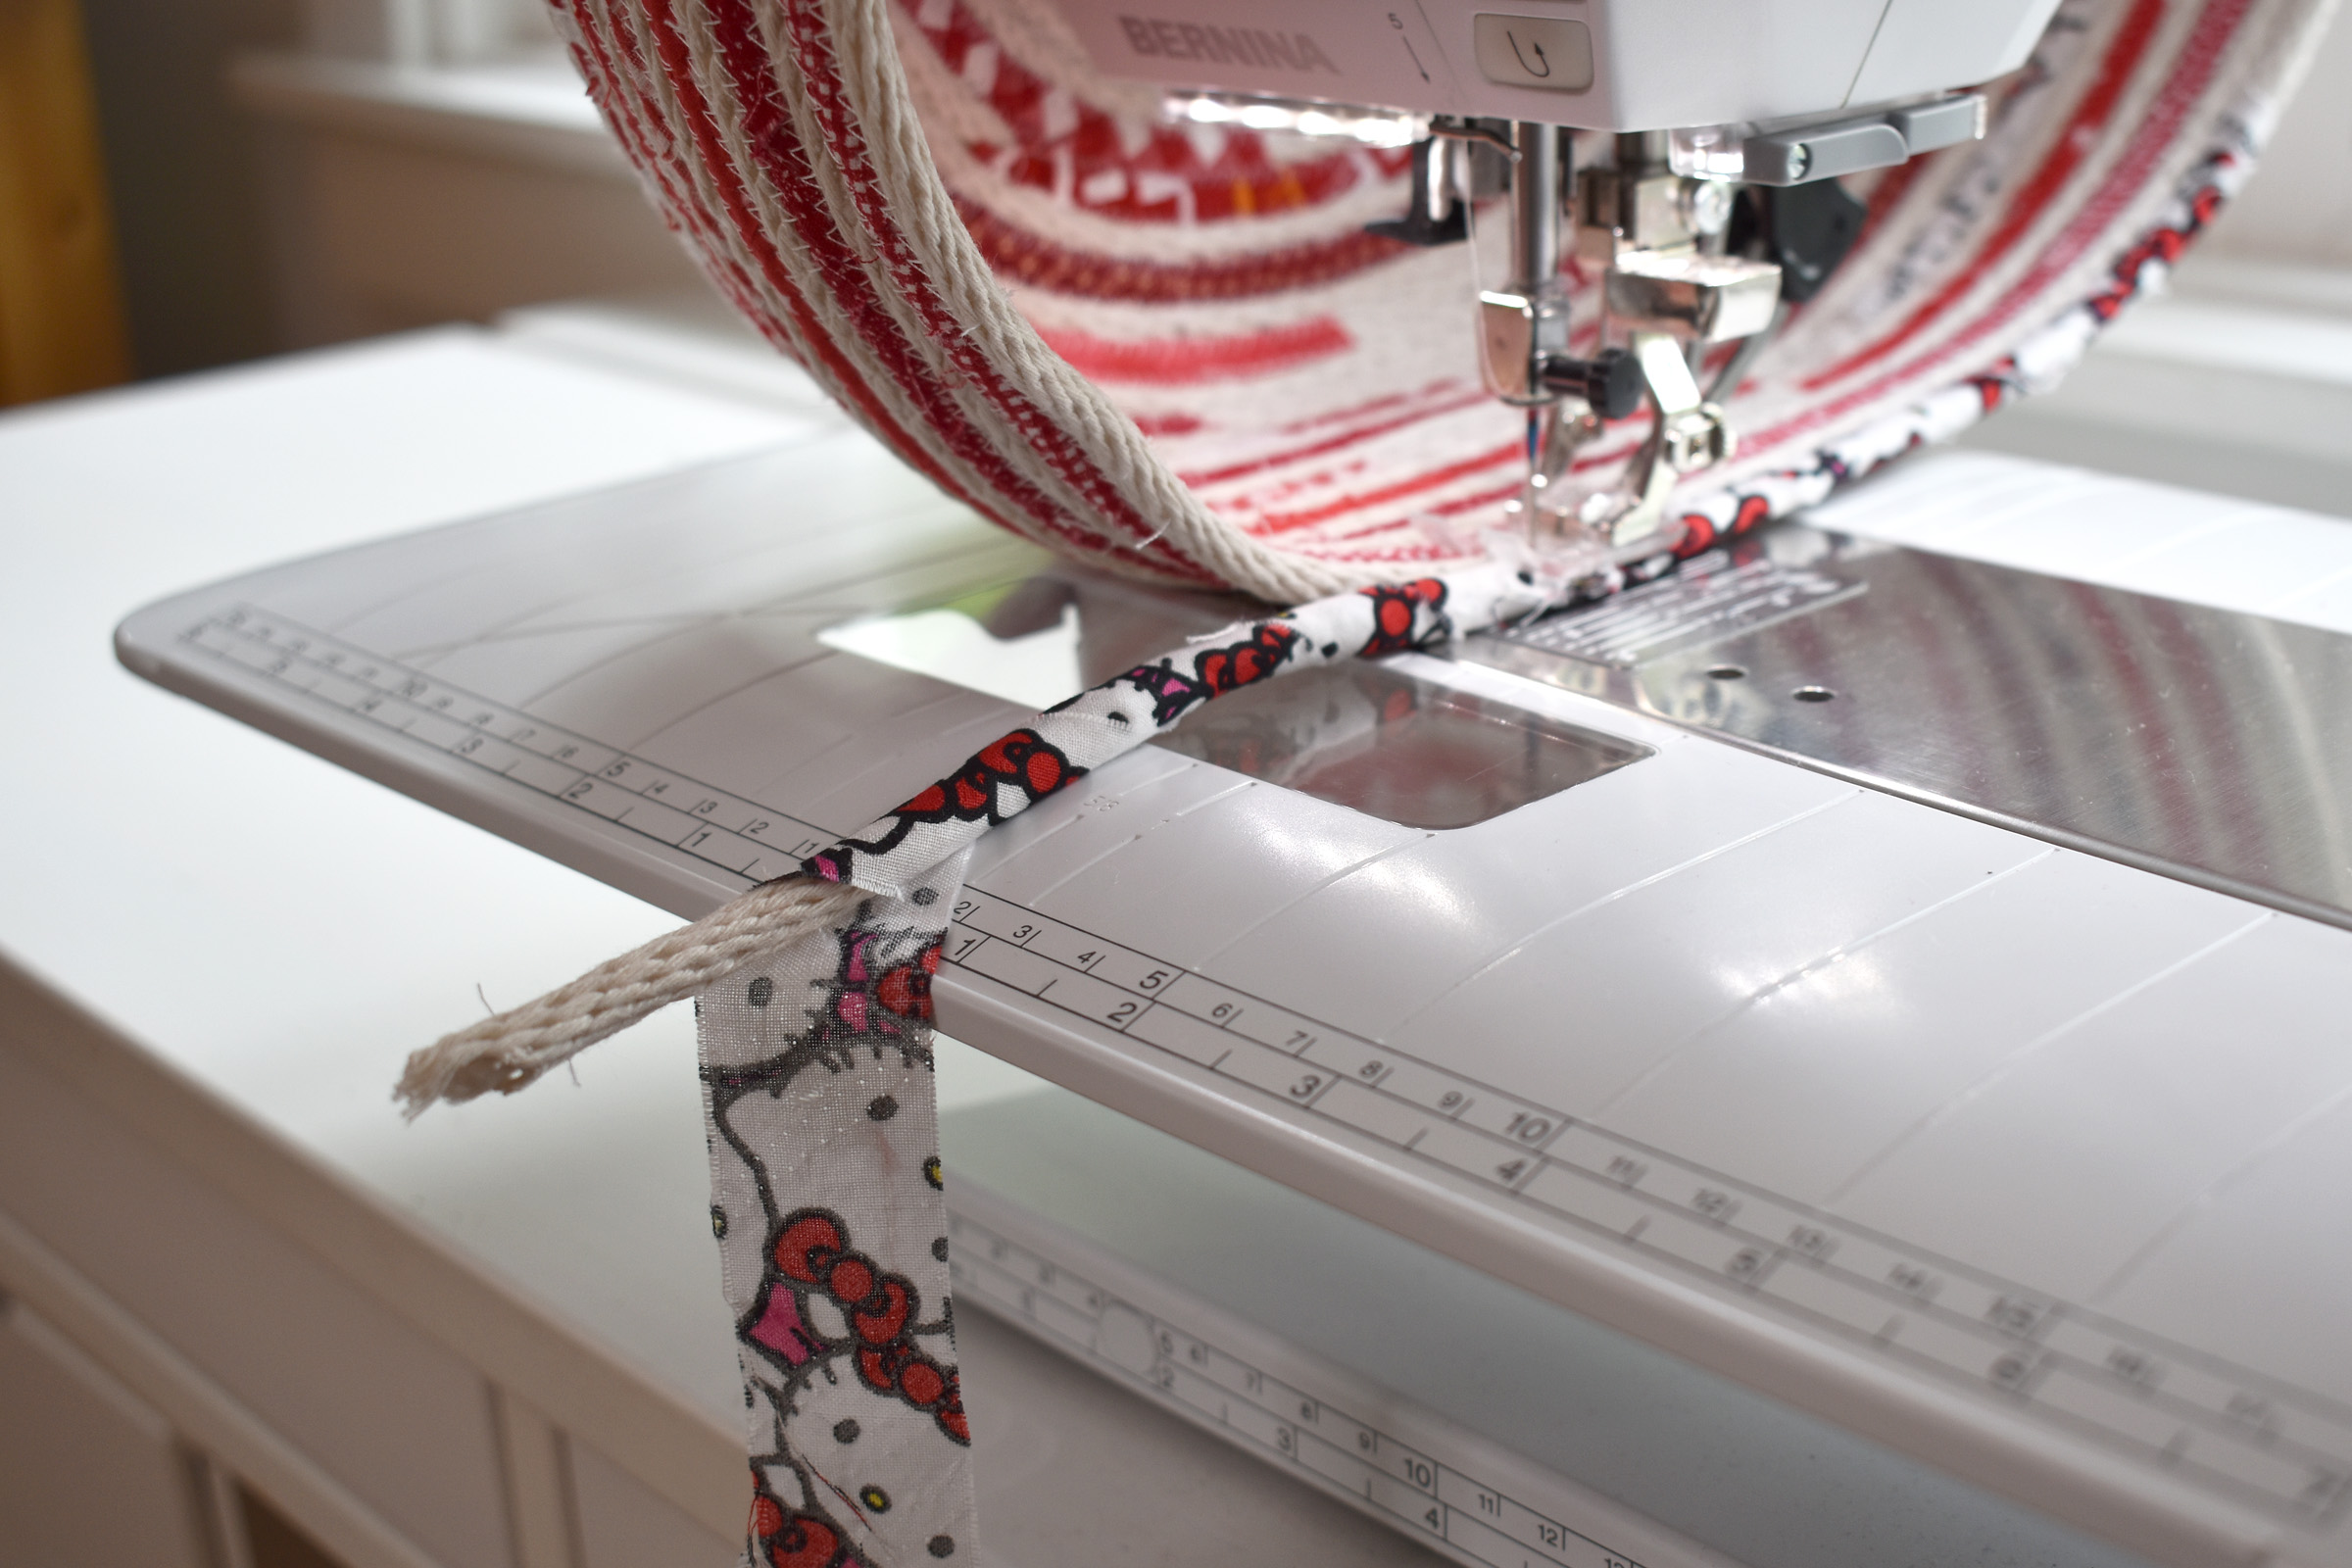
When you are getting close to the end of the rope, plan to wrap the end with a long fabric strip. I started sewing this strip several inches before reaching the end, making sure it was long enough to go past the end of the rope.
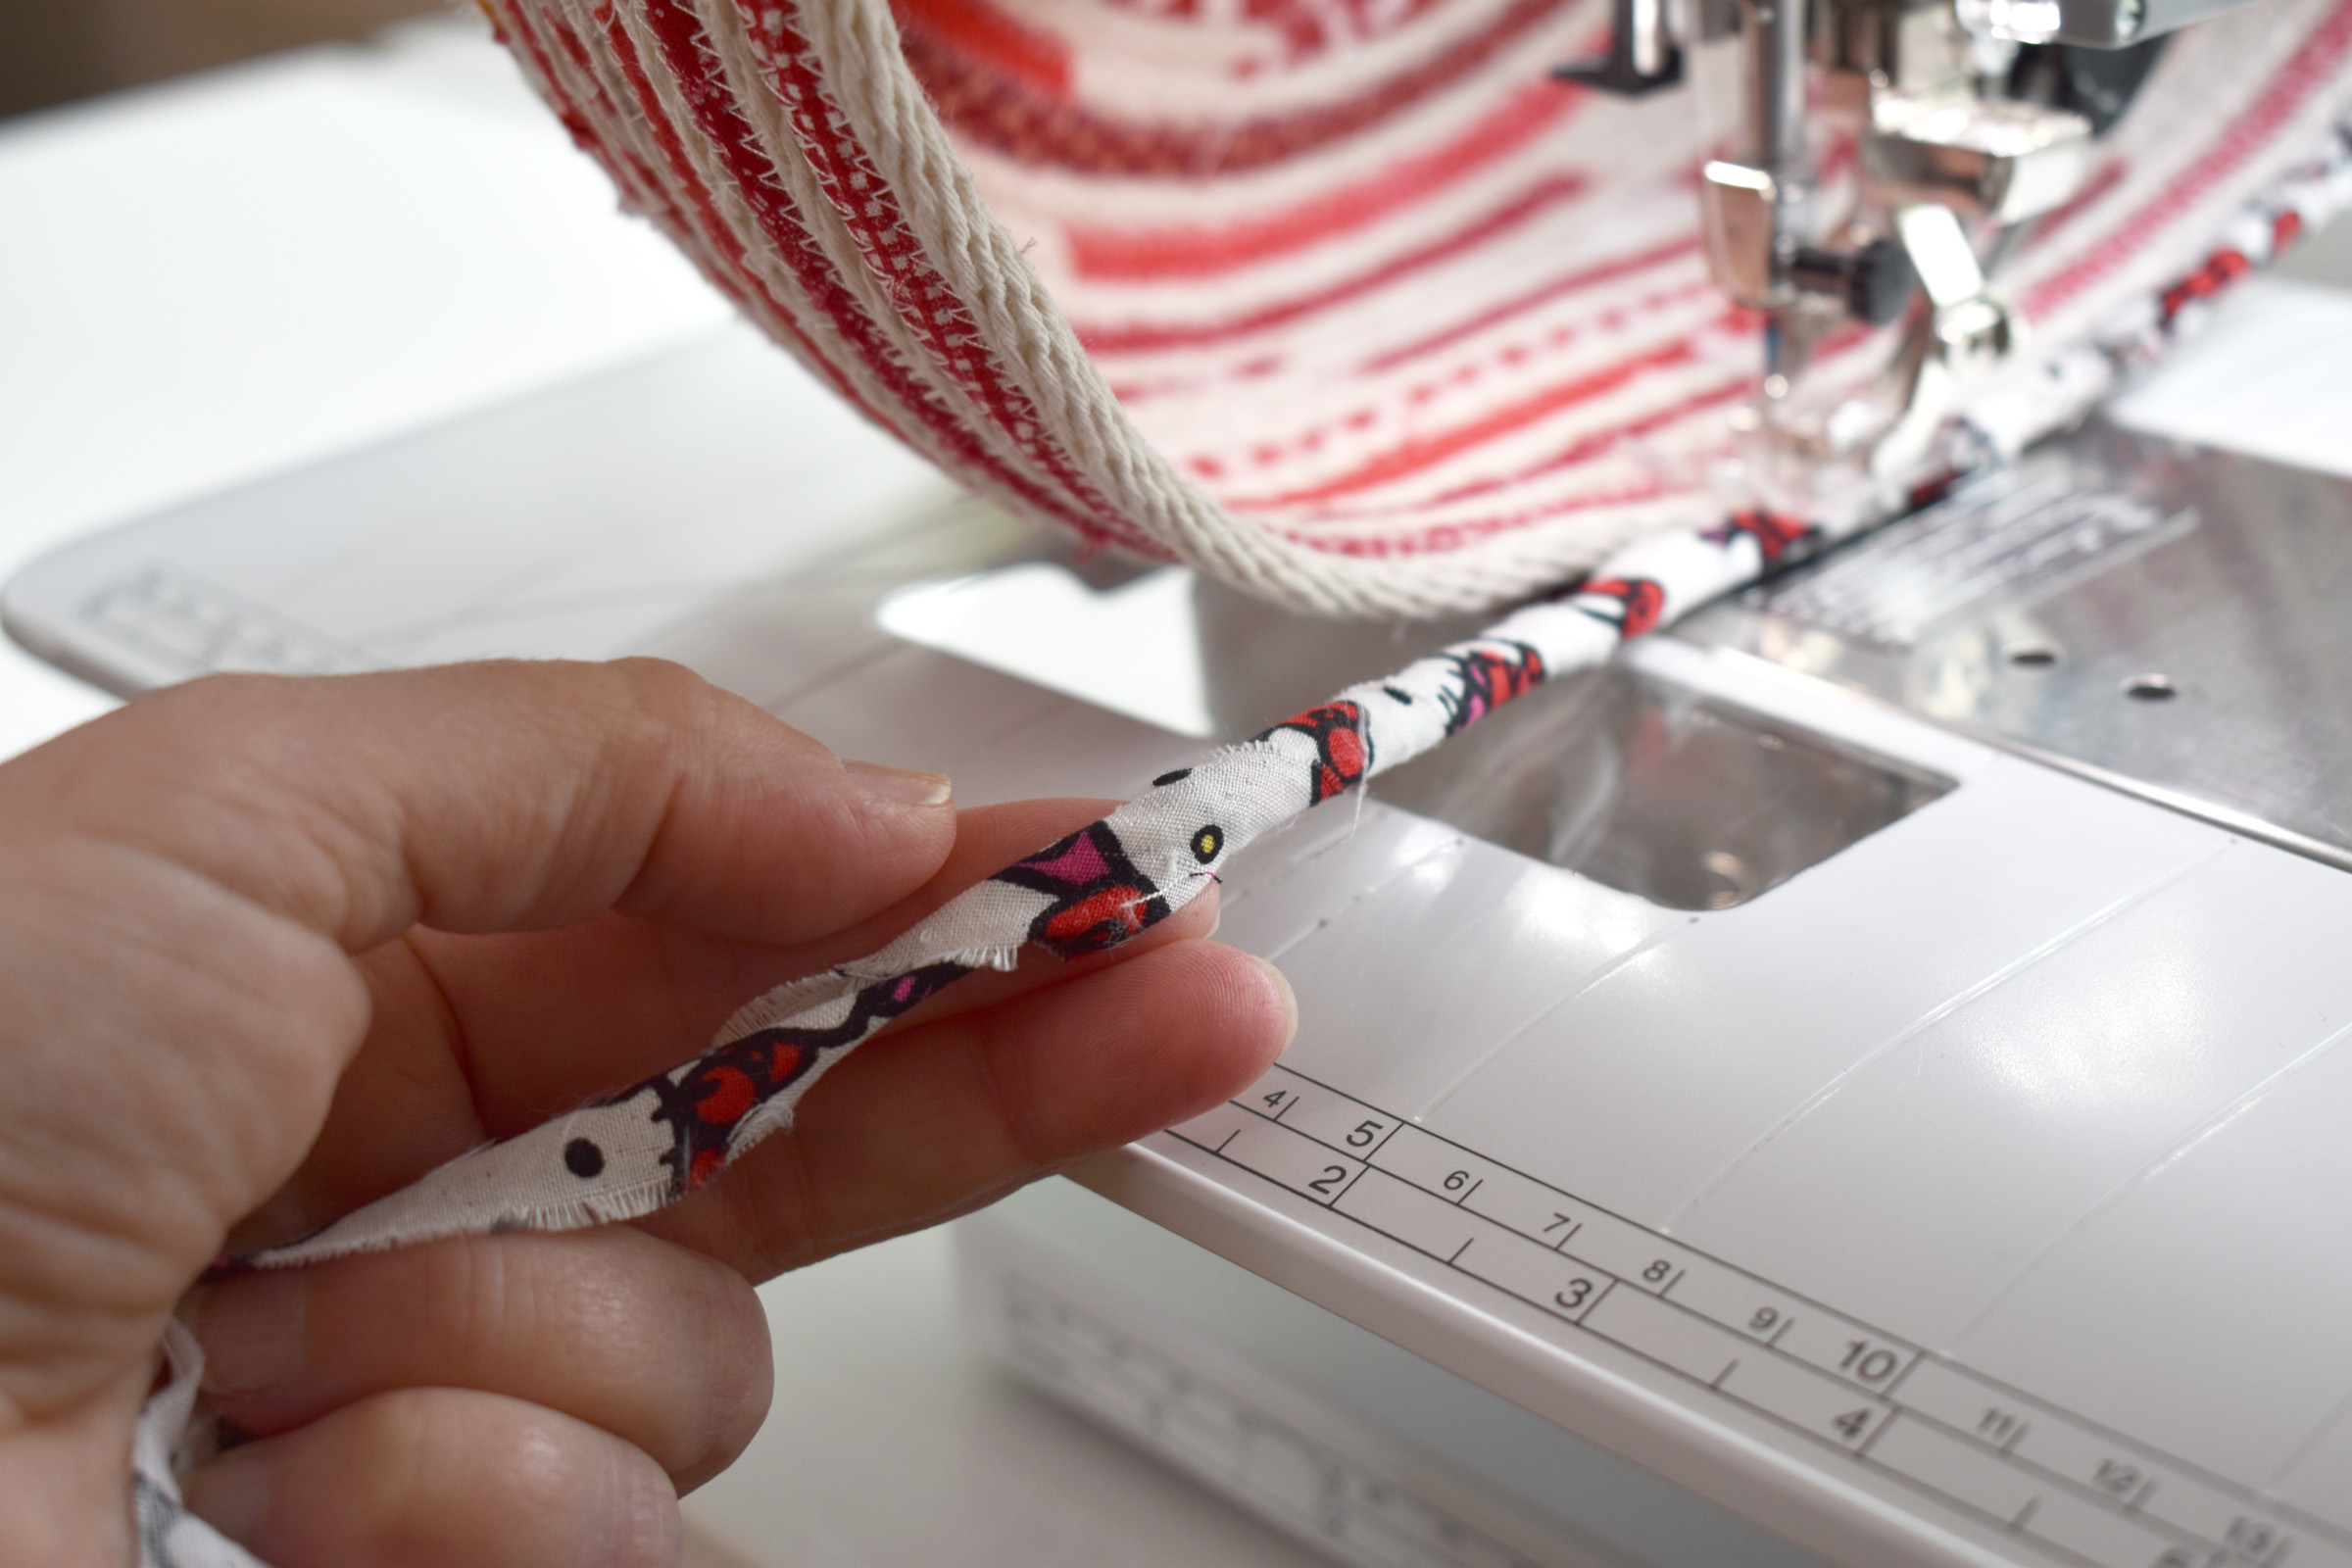
Continue wrapping the fabric strip past the end of the rope.
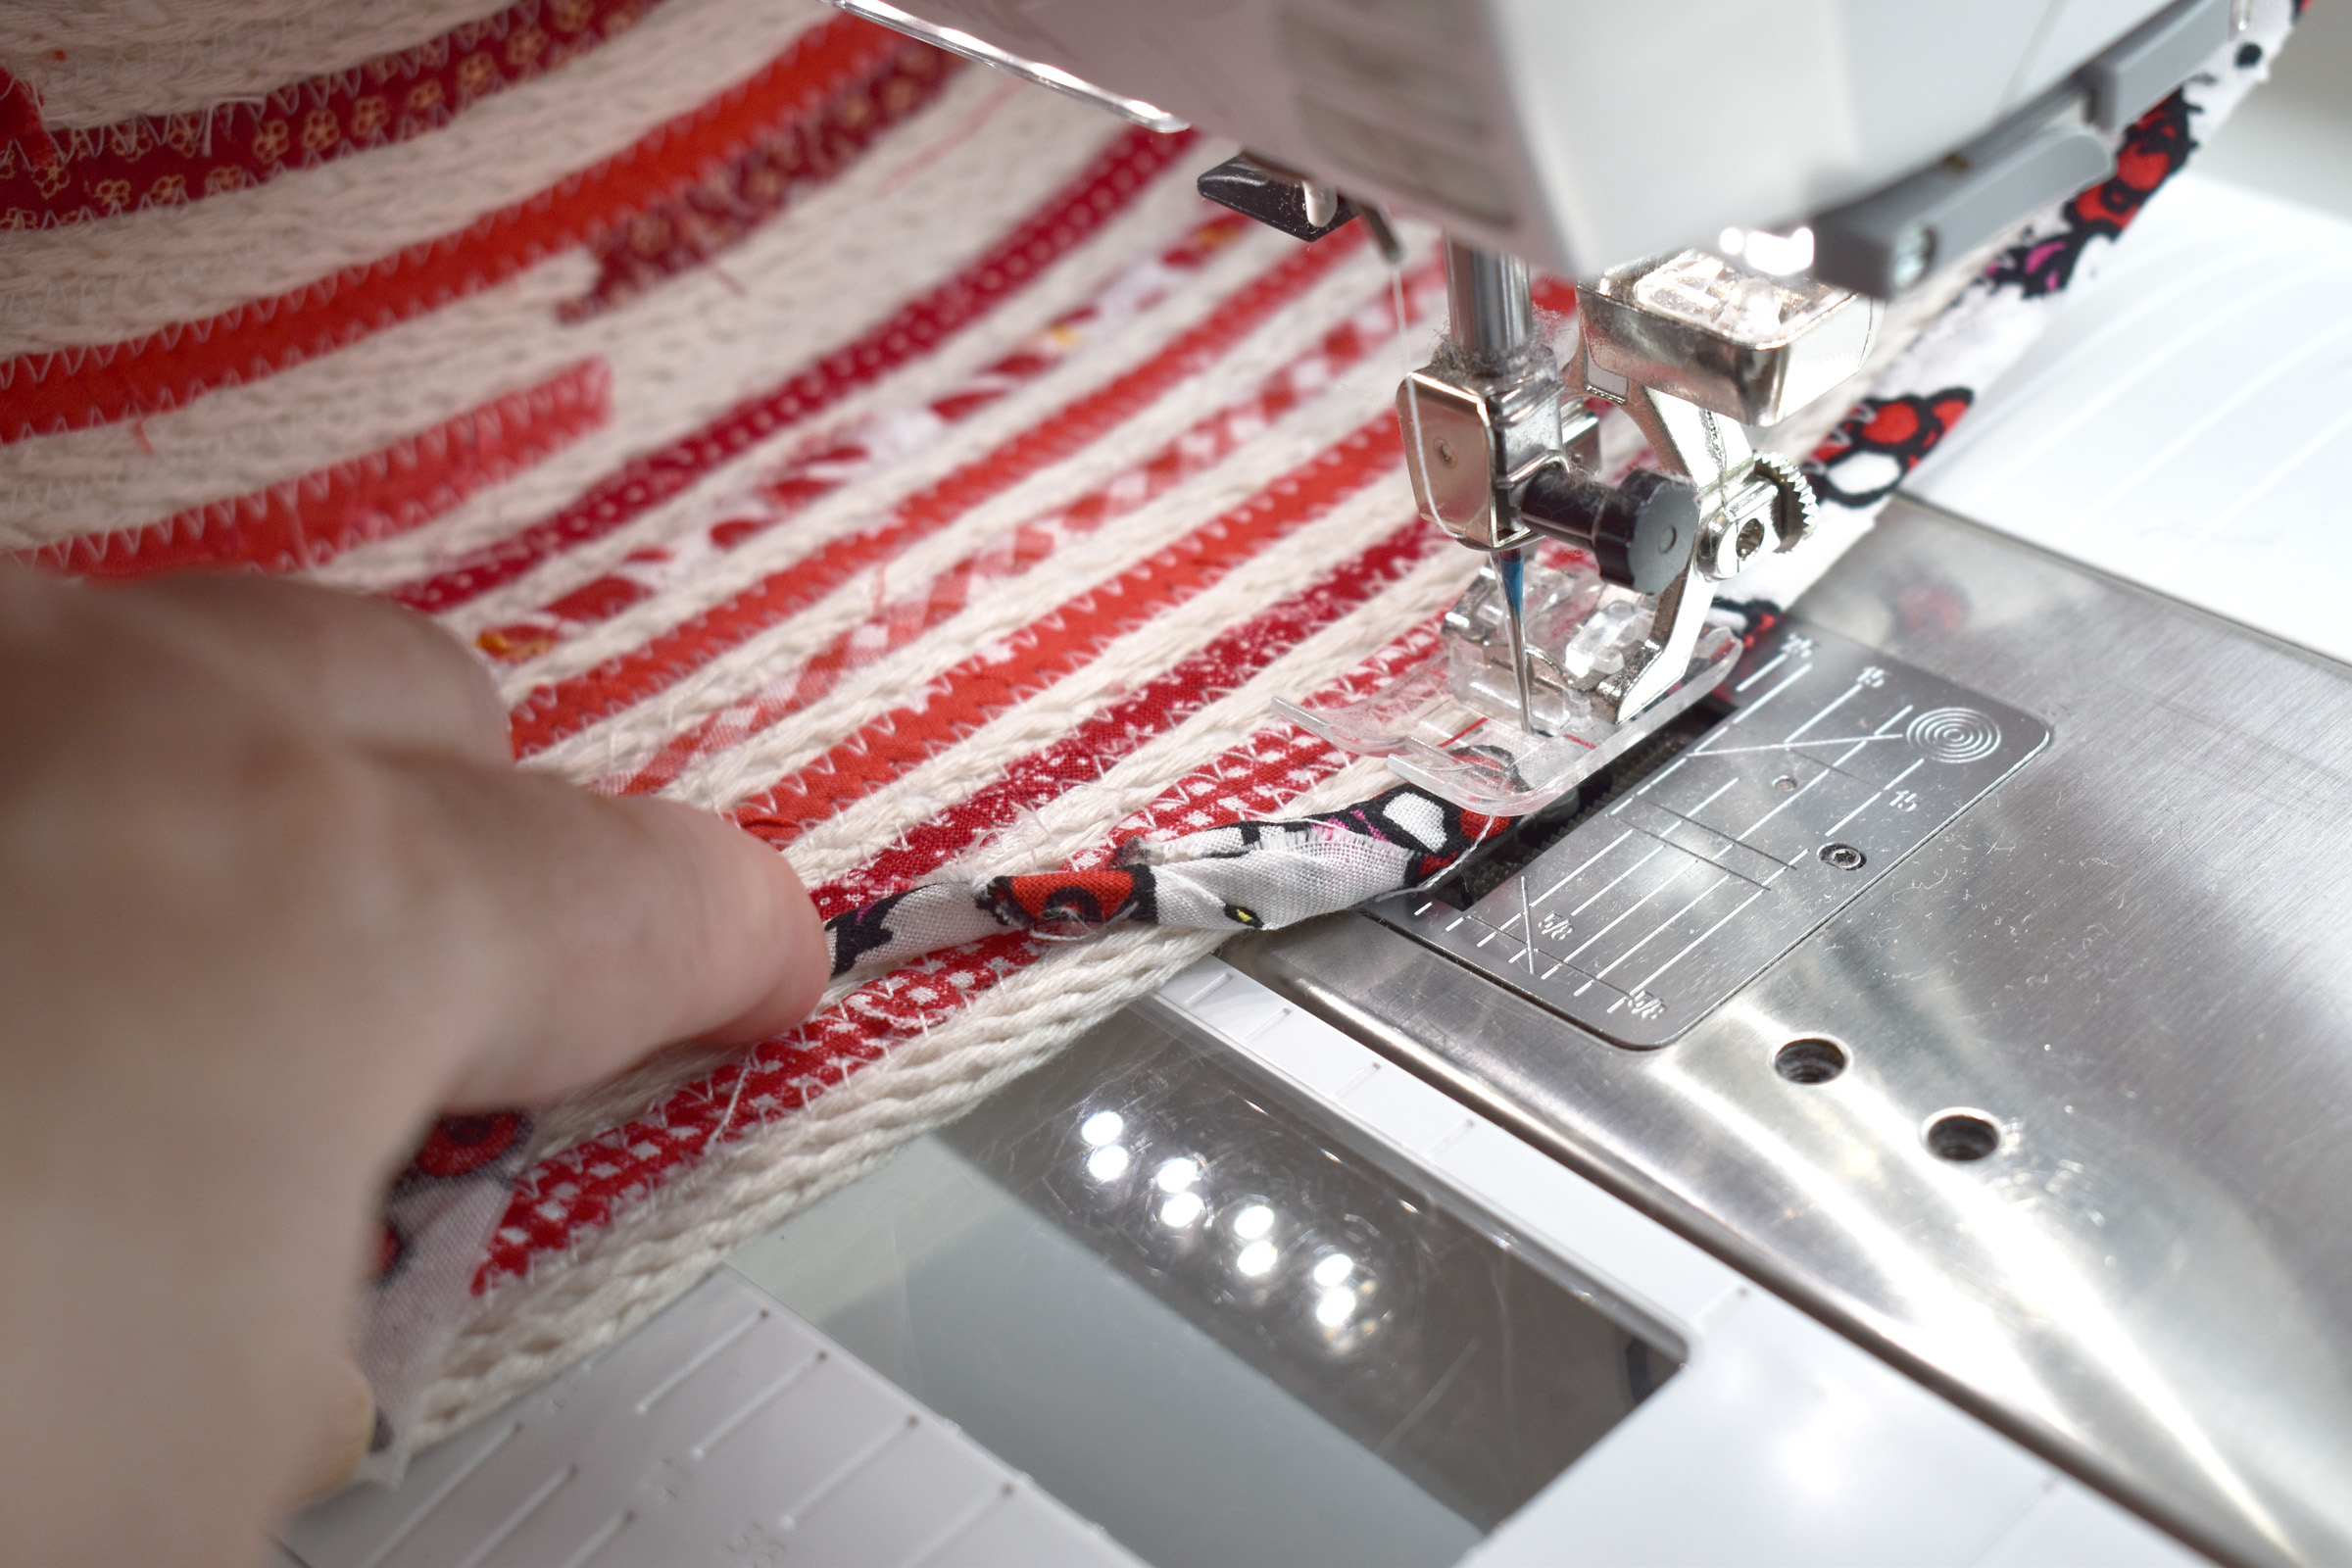
You can feel where the rope ends inside the wrapped fabric strip. Pull the twisted end of the fabric strip down inside the basket at an angle.
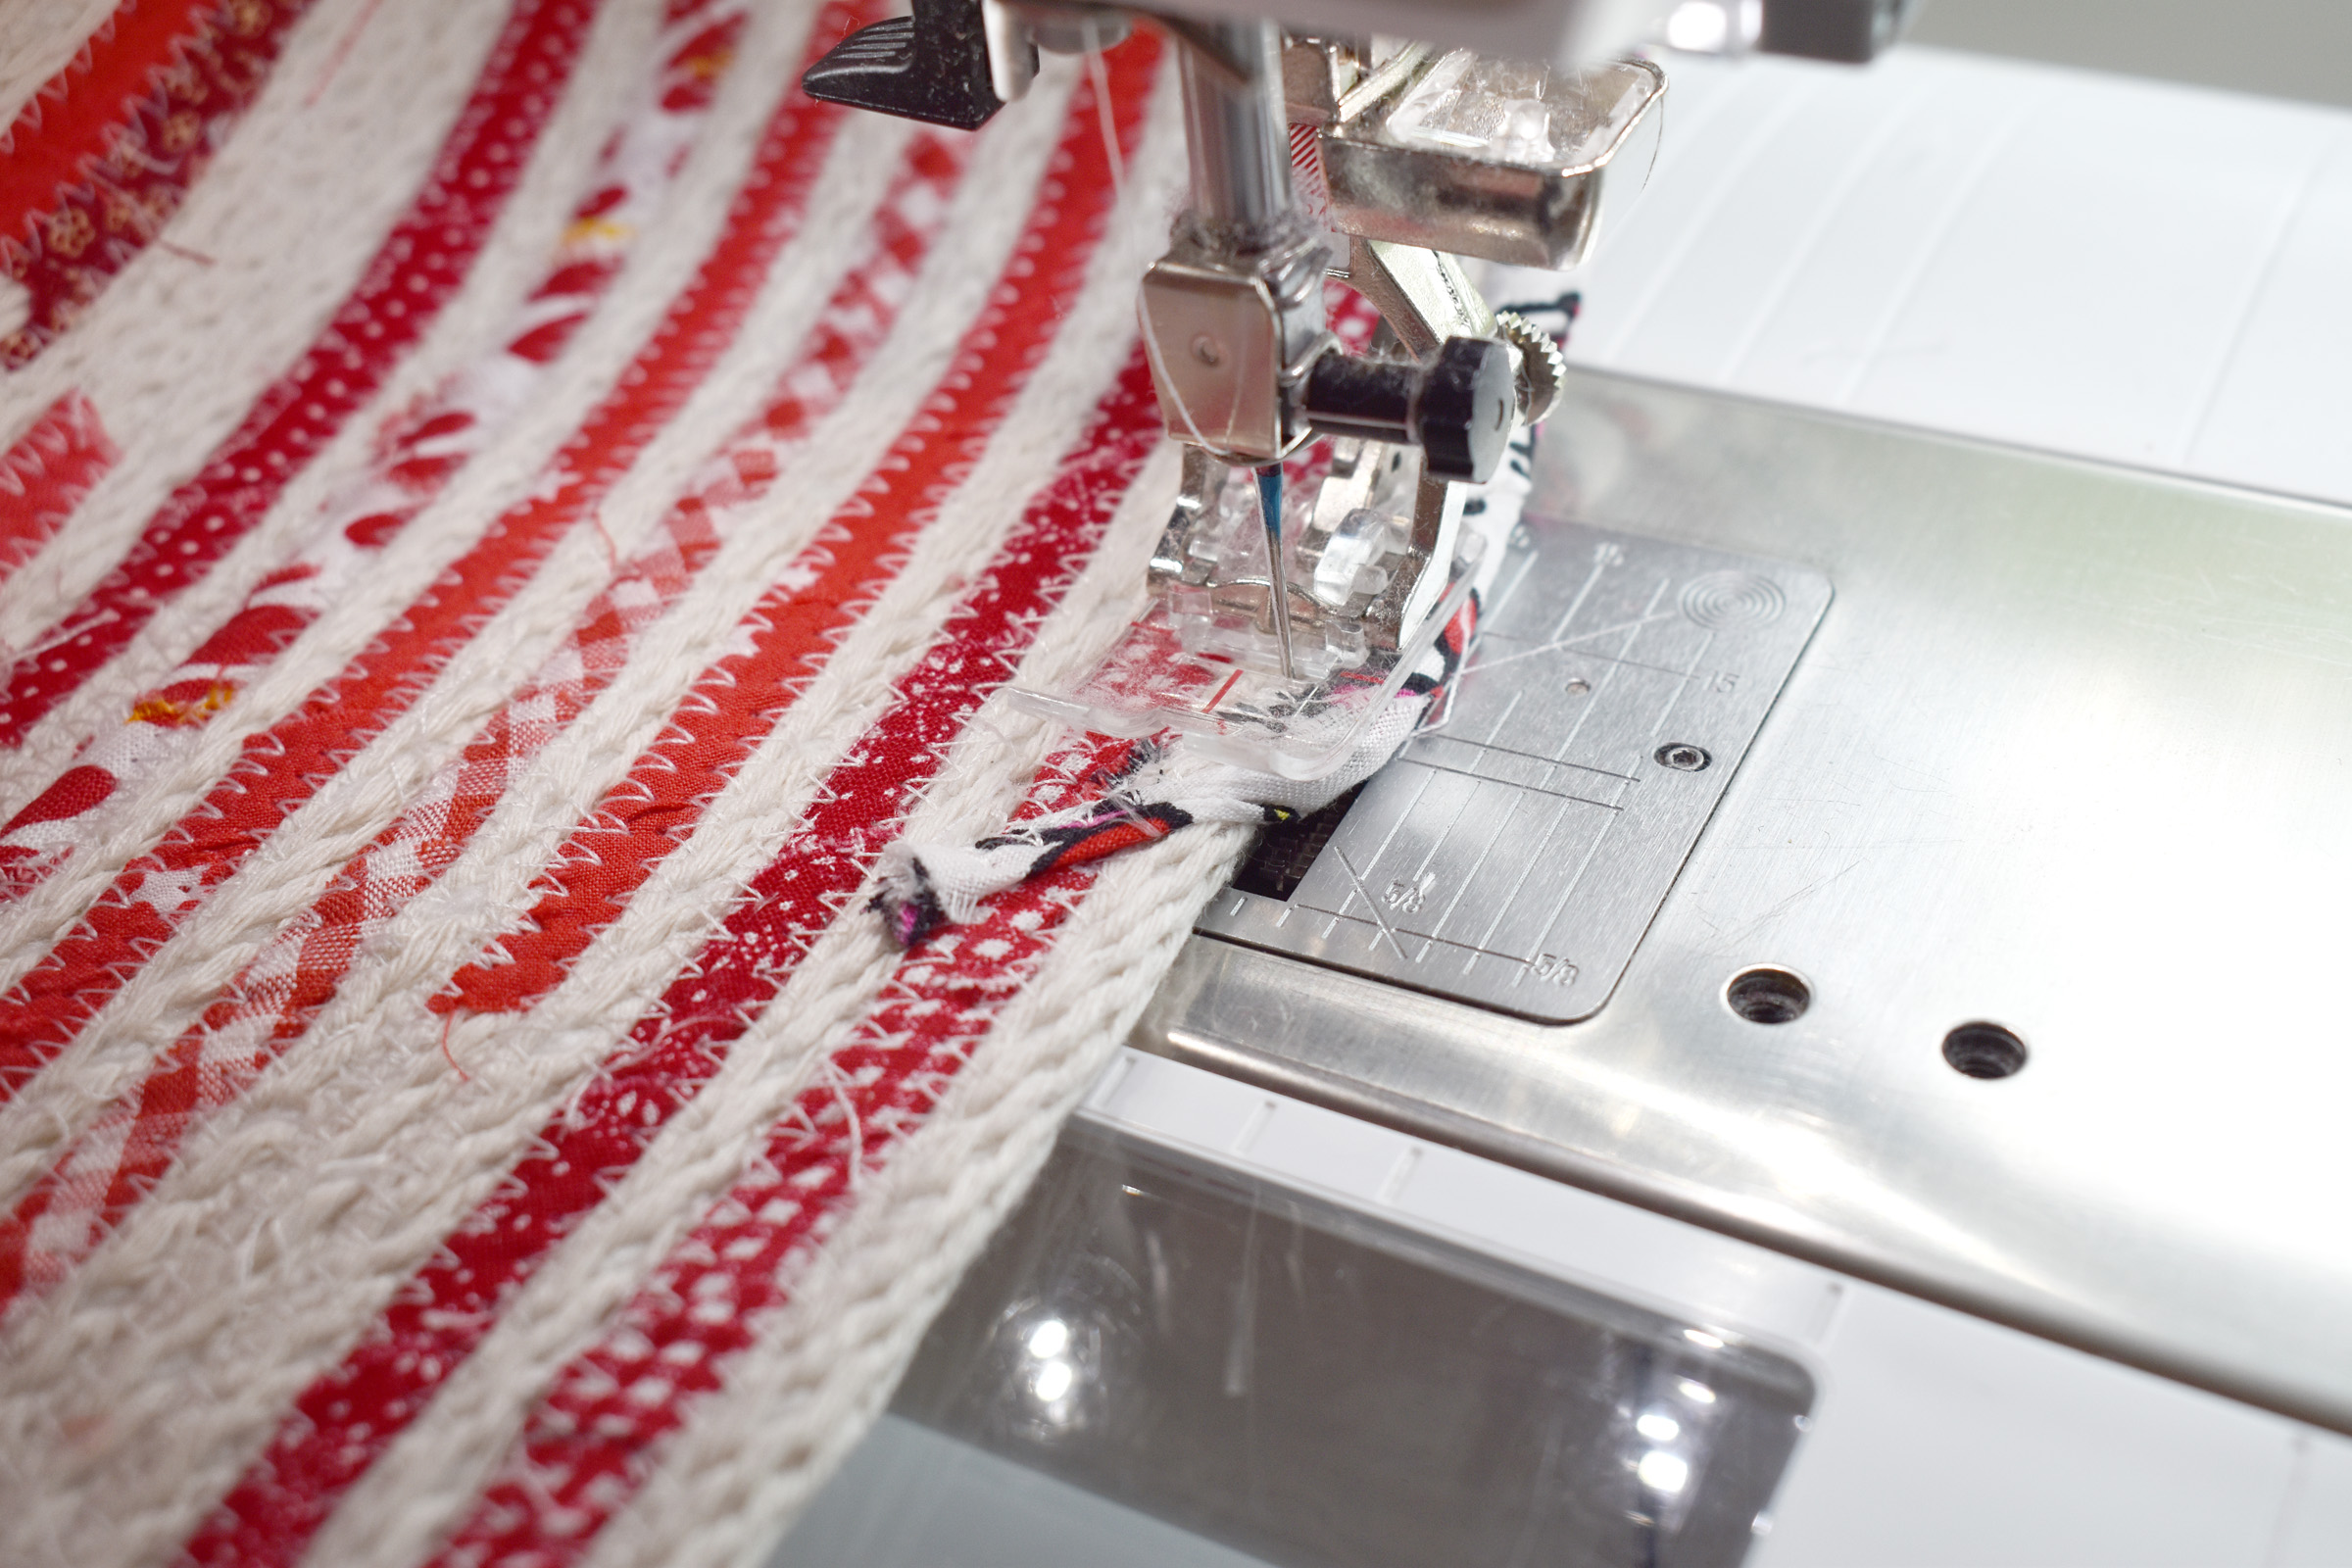
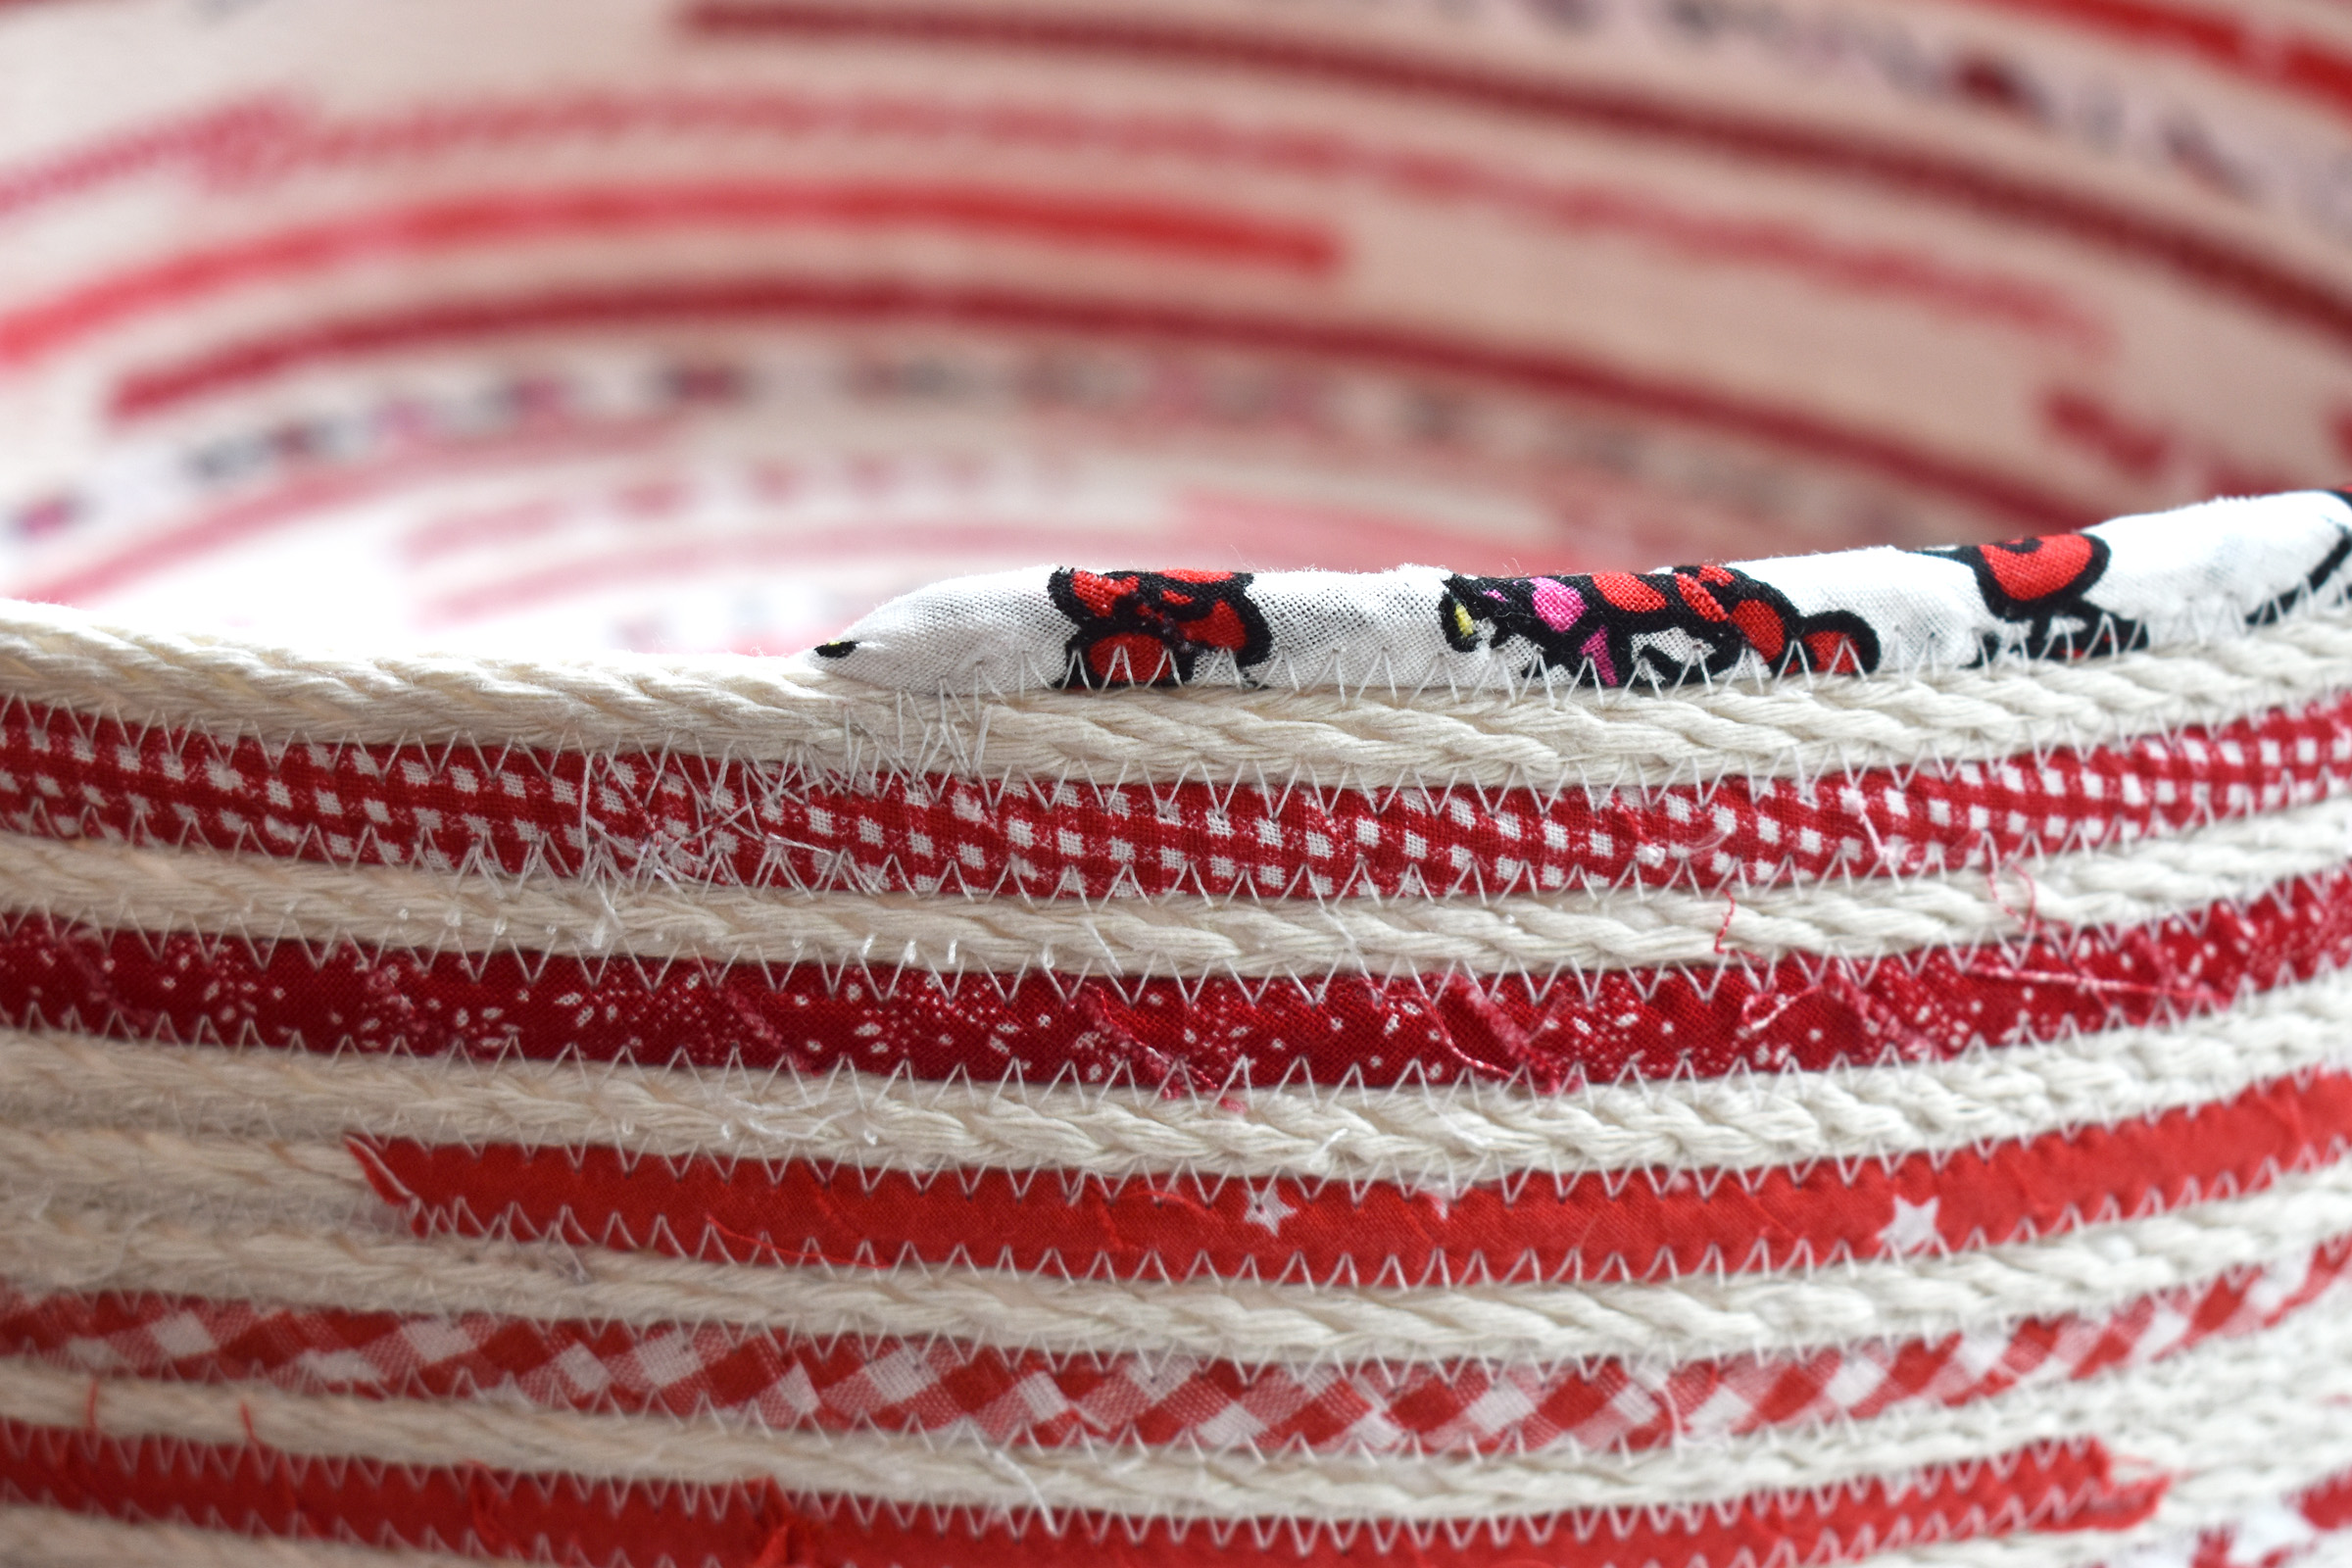
When the machine stitches to the end of the rope, turn and zigzag stitch over the twisted fabric about 1″ then backstitch and cut the extra fabric away close to the stitching. Stitch one more time over the twisted fabric end to secure it.
Give the sides of the basket a steam press over the end of the ironing board. Snip any thread ends or bits of fabric sticking out of the basket.
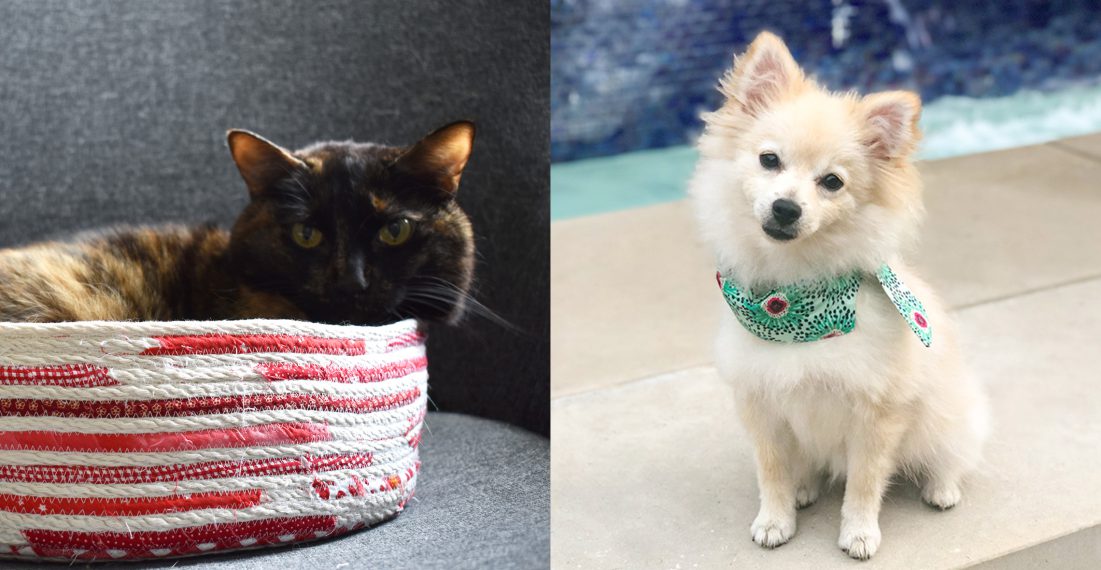
And your coiled rope cat basket is ready for action!
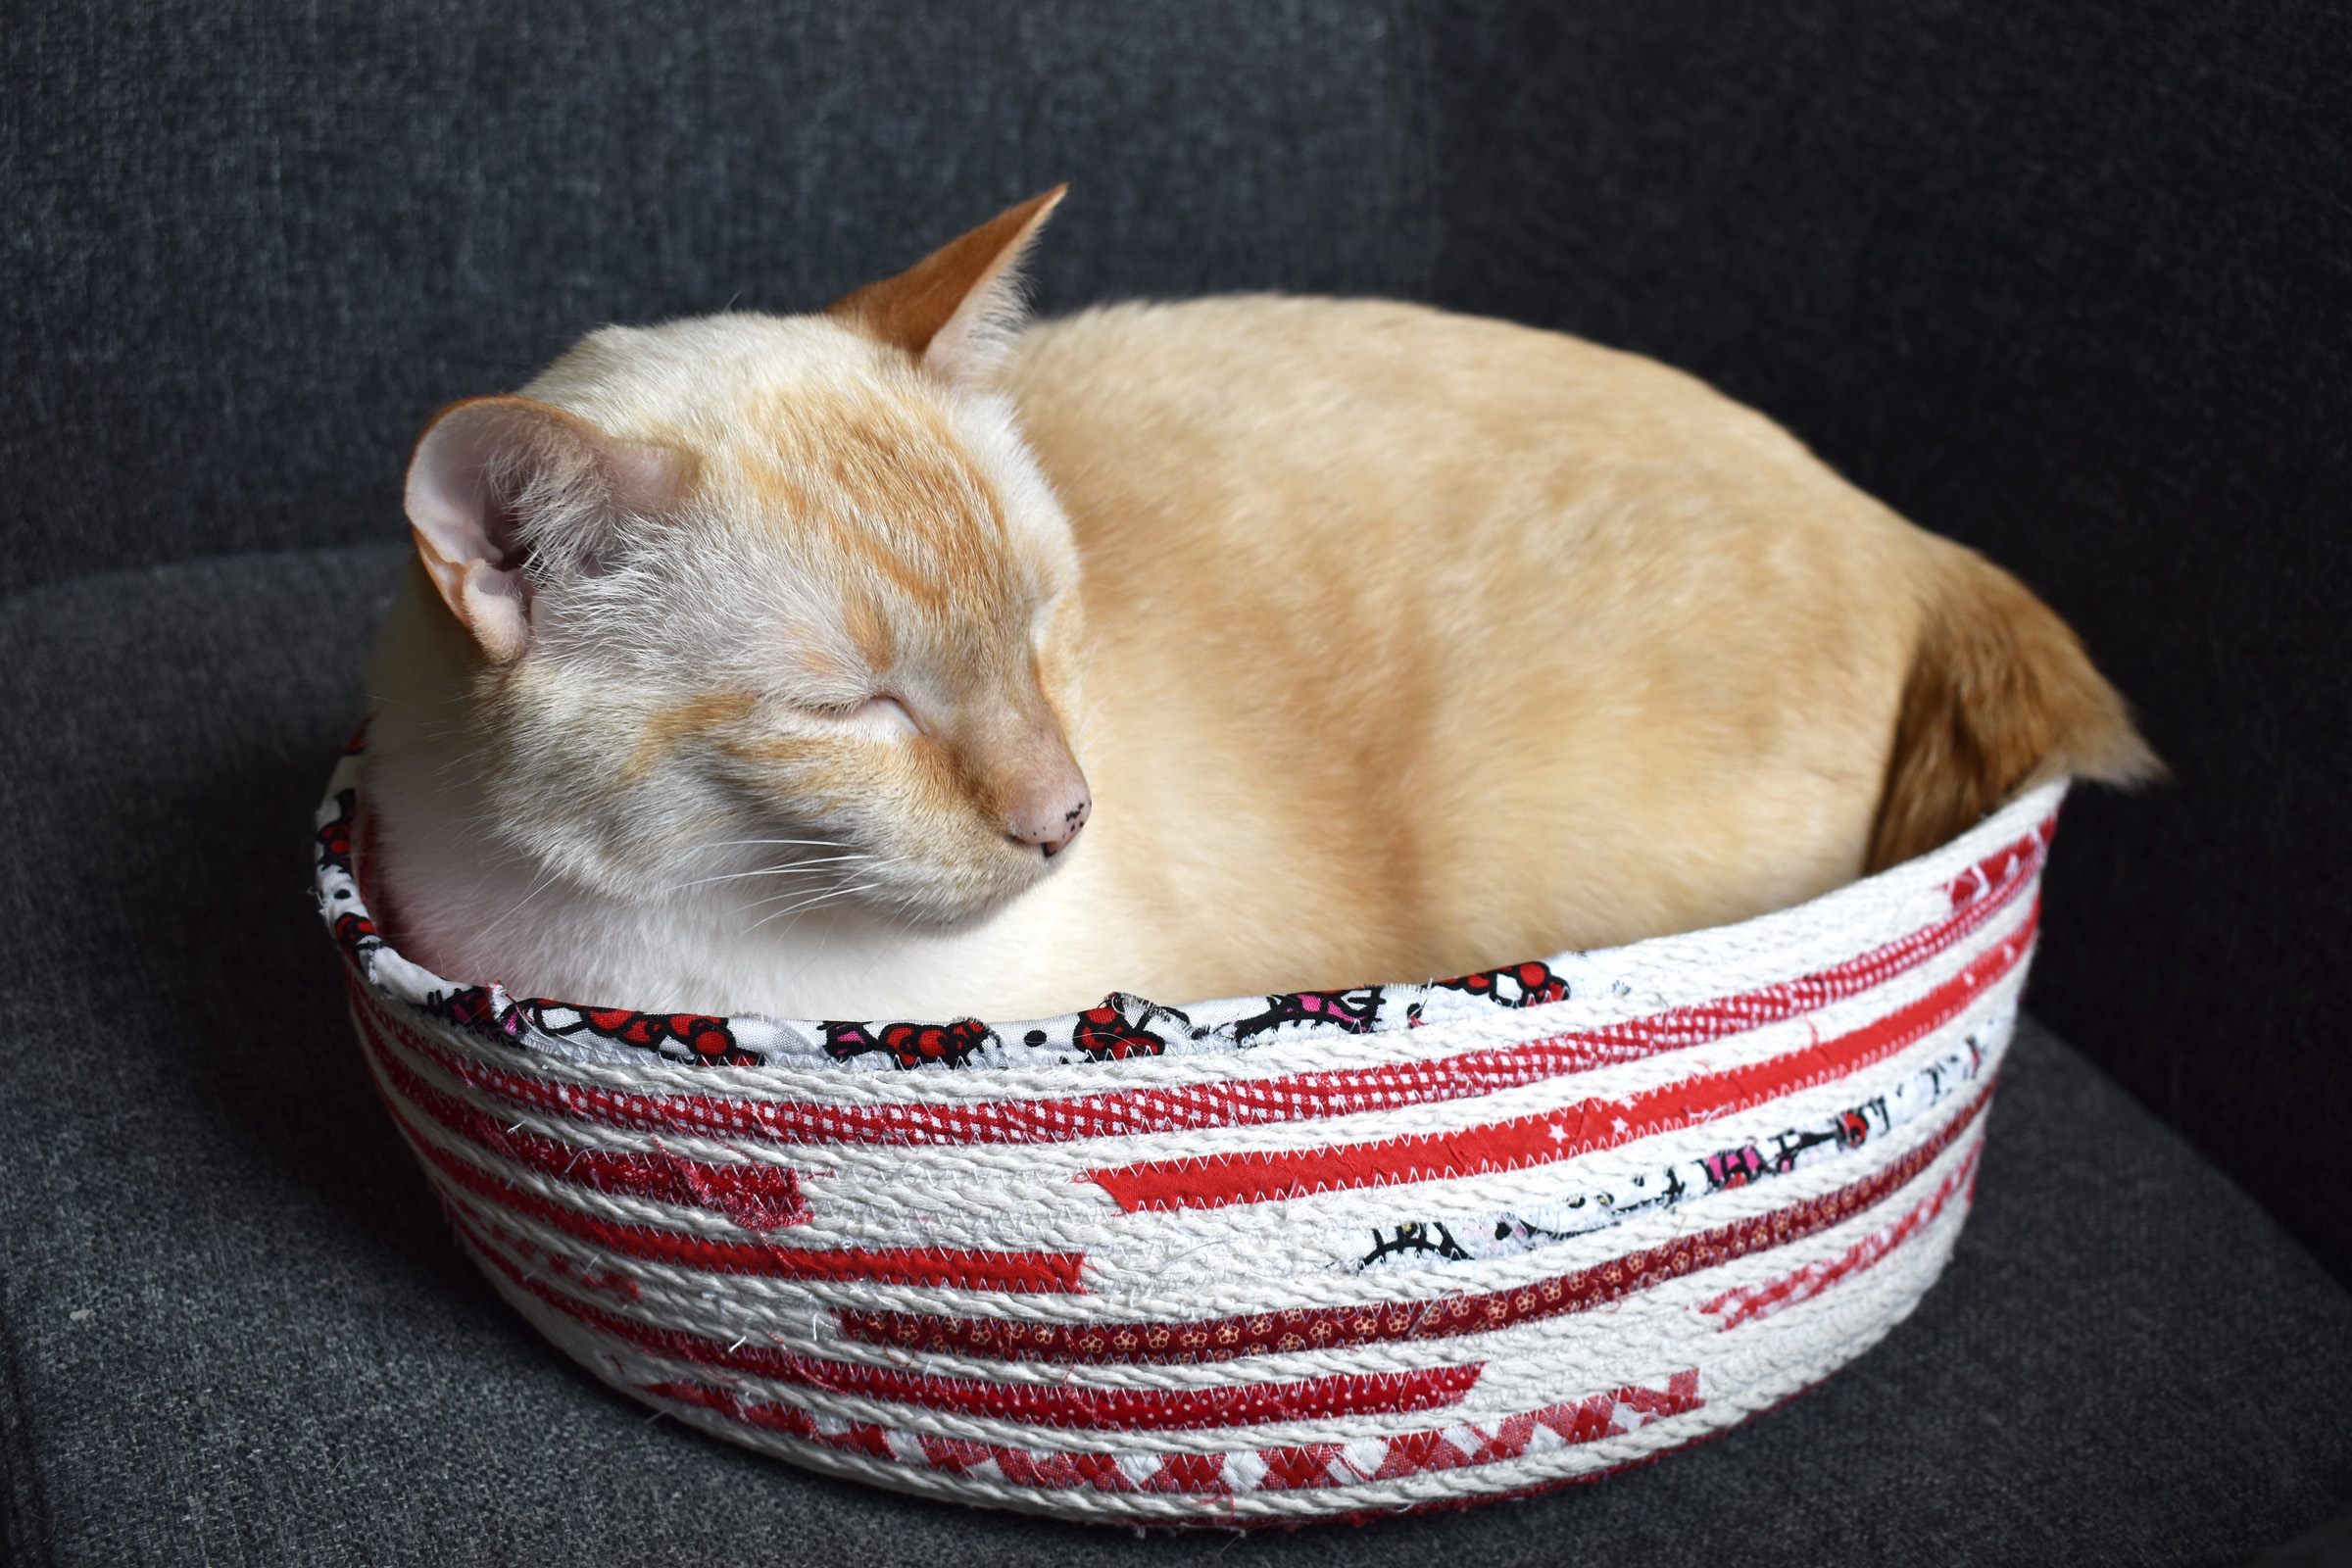
The rope basket is sturdy enough to fit even a big cat like my tall 15 lb Sir Isaac, but still soft and flexible enough to give a little when curling up.
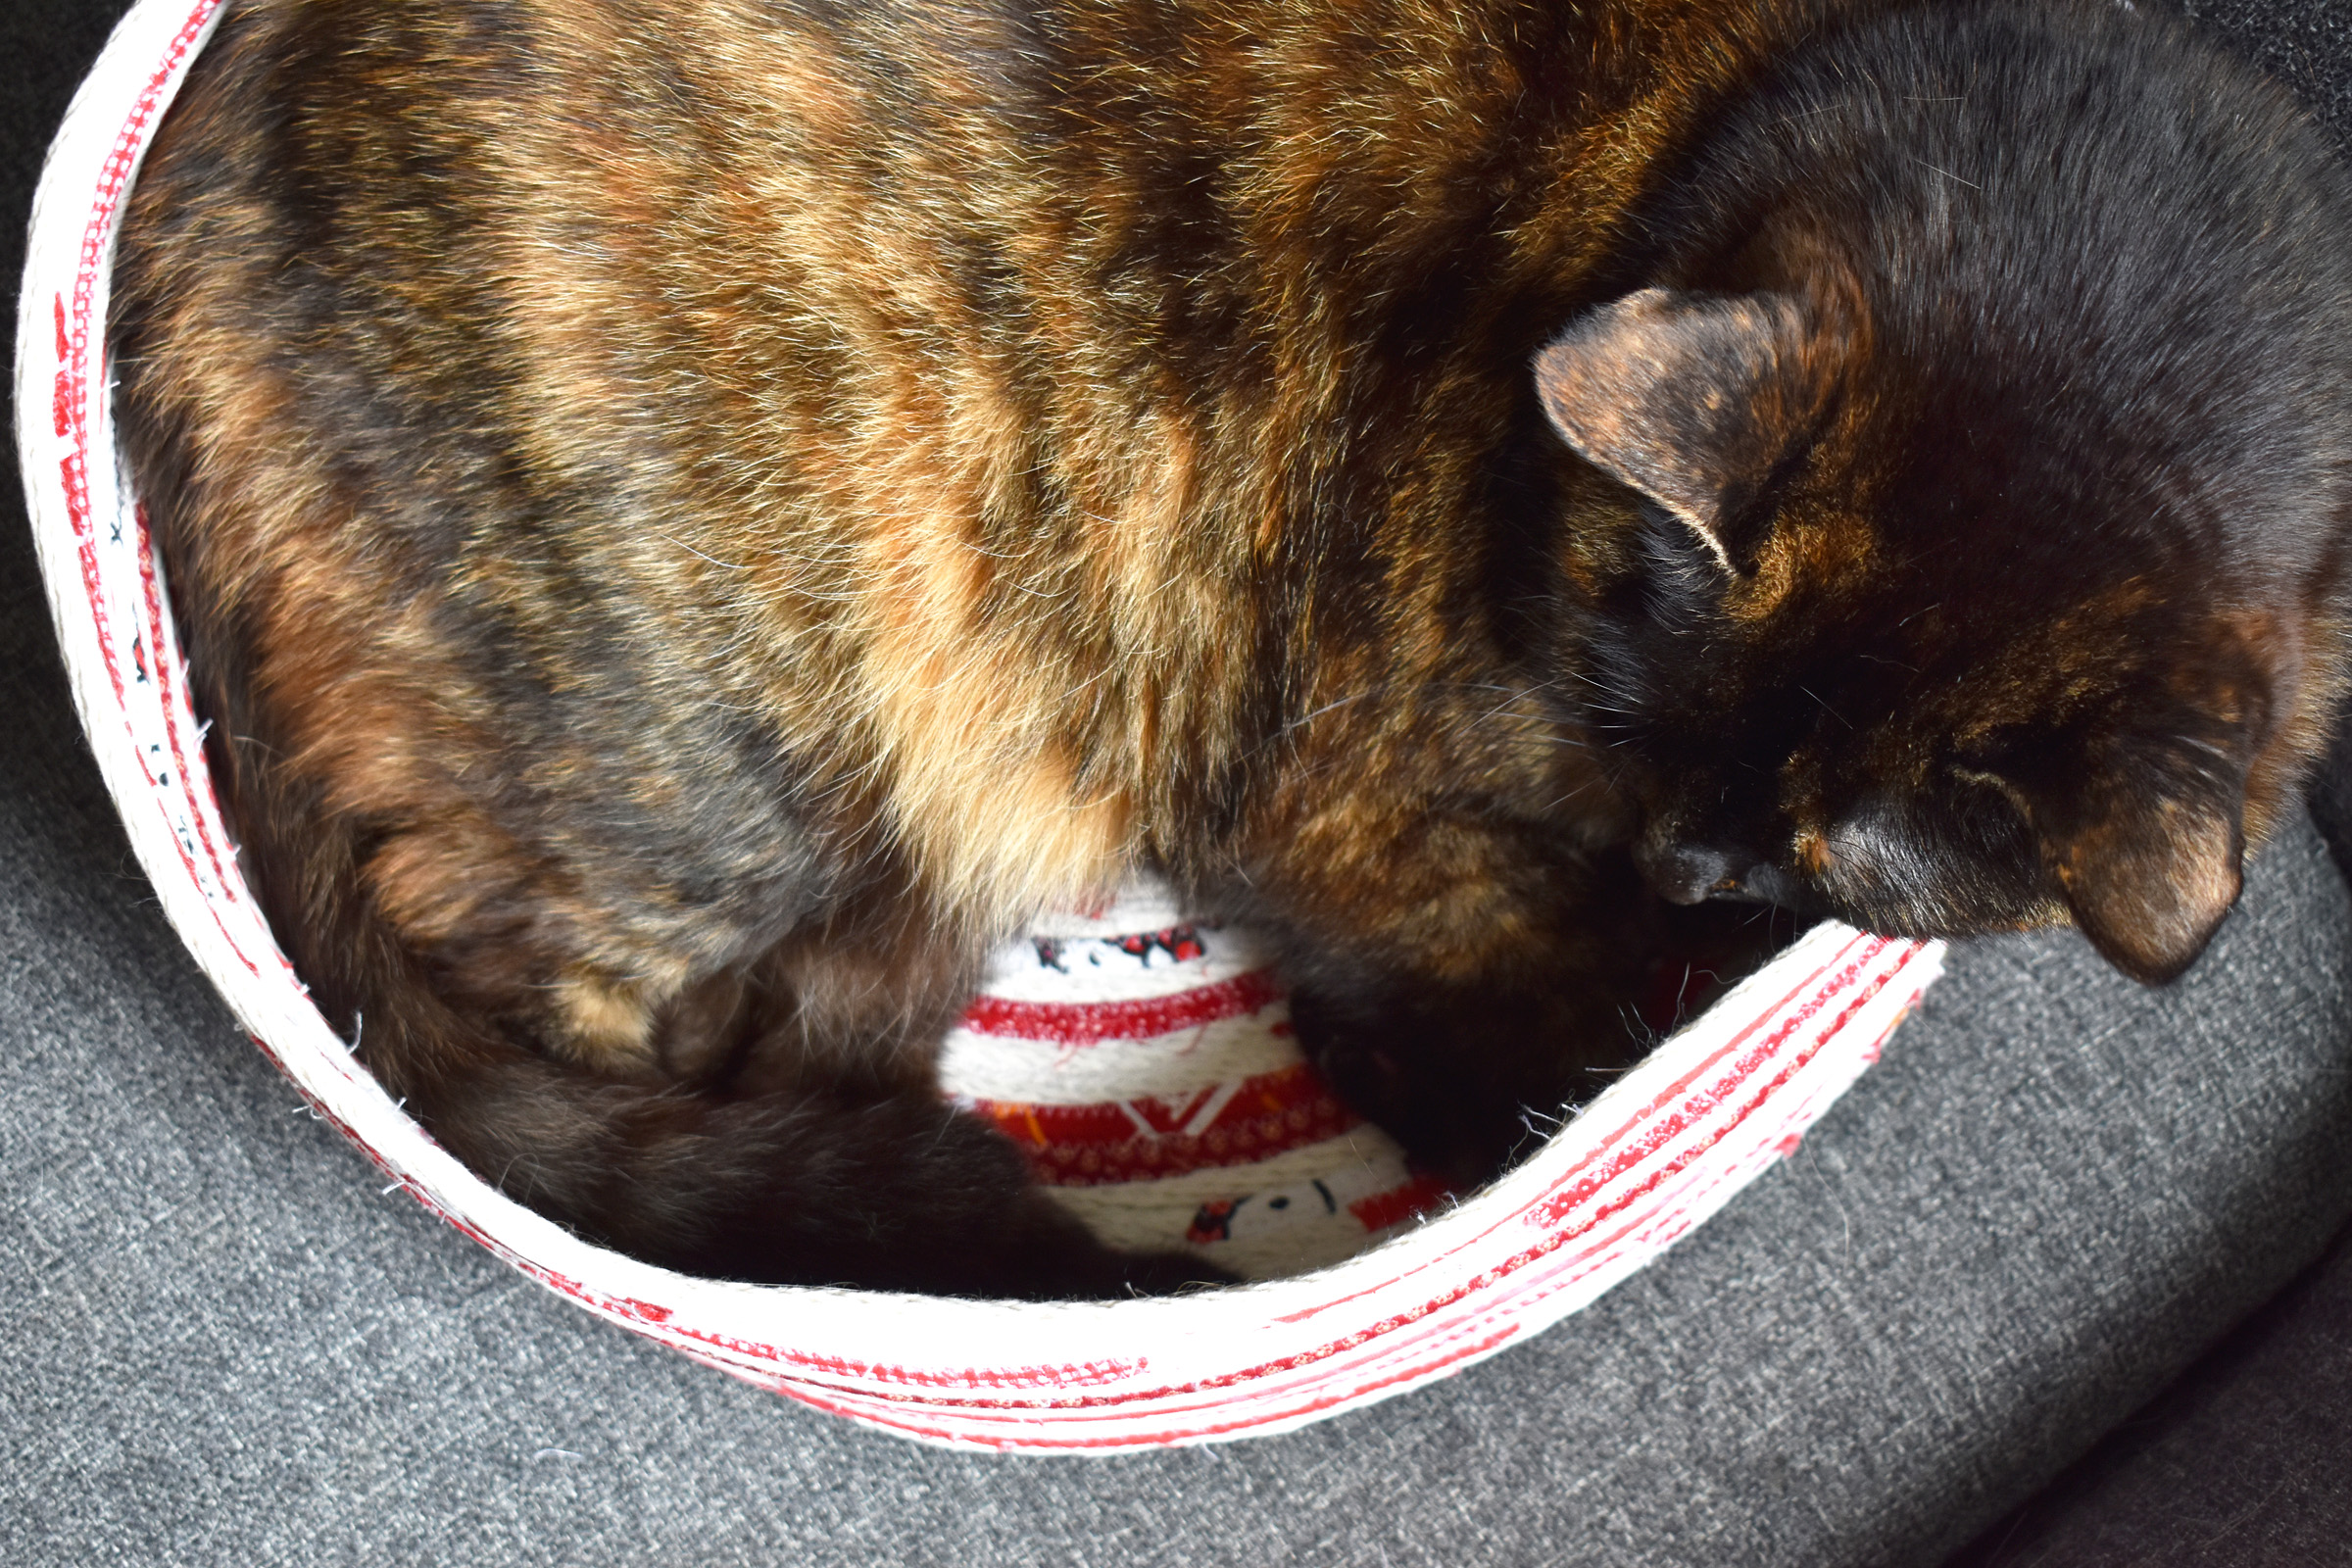
Miss Bea is 12 lbs and has plenty of room to do a cozy curl-up in the basket.
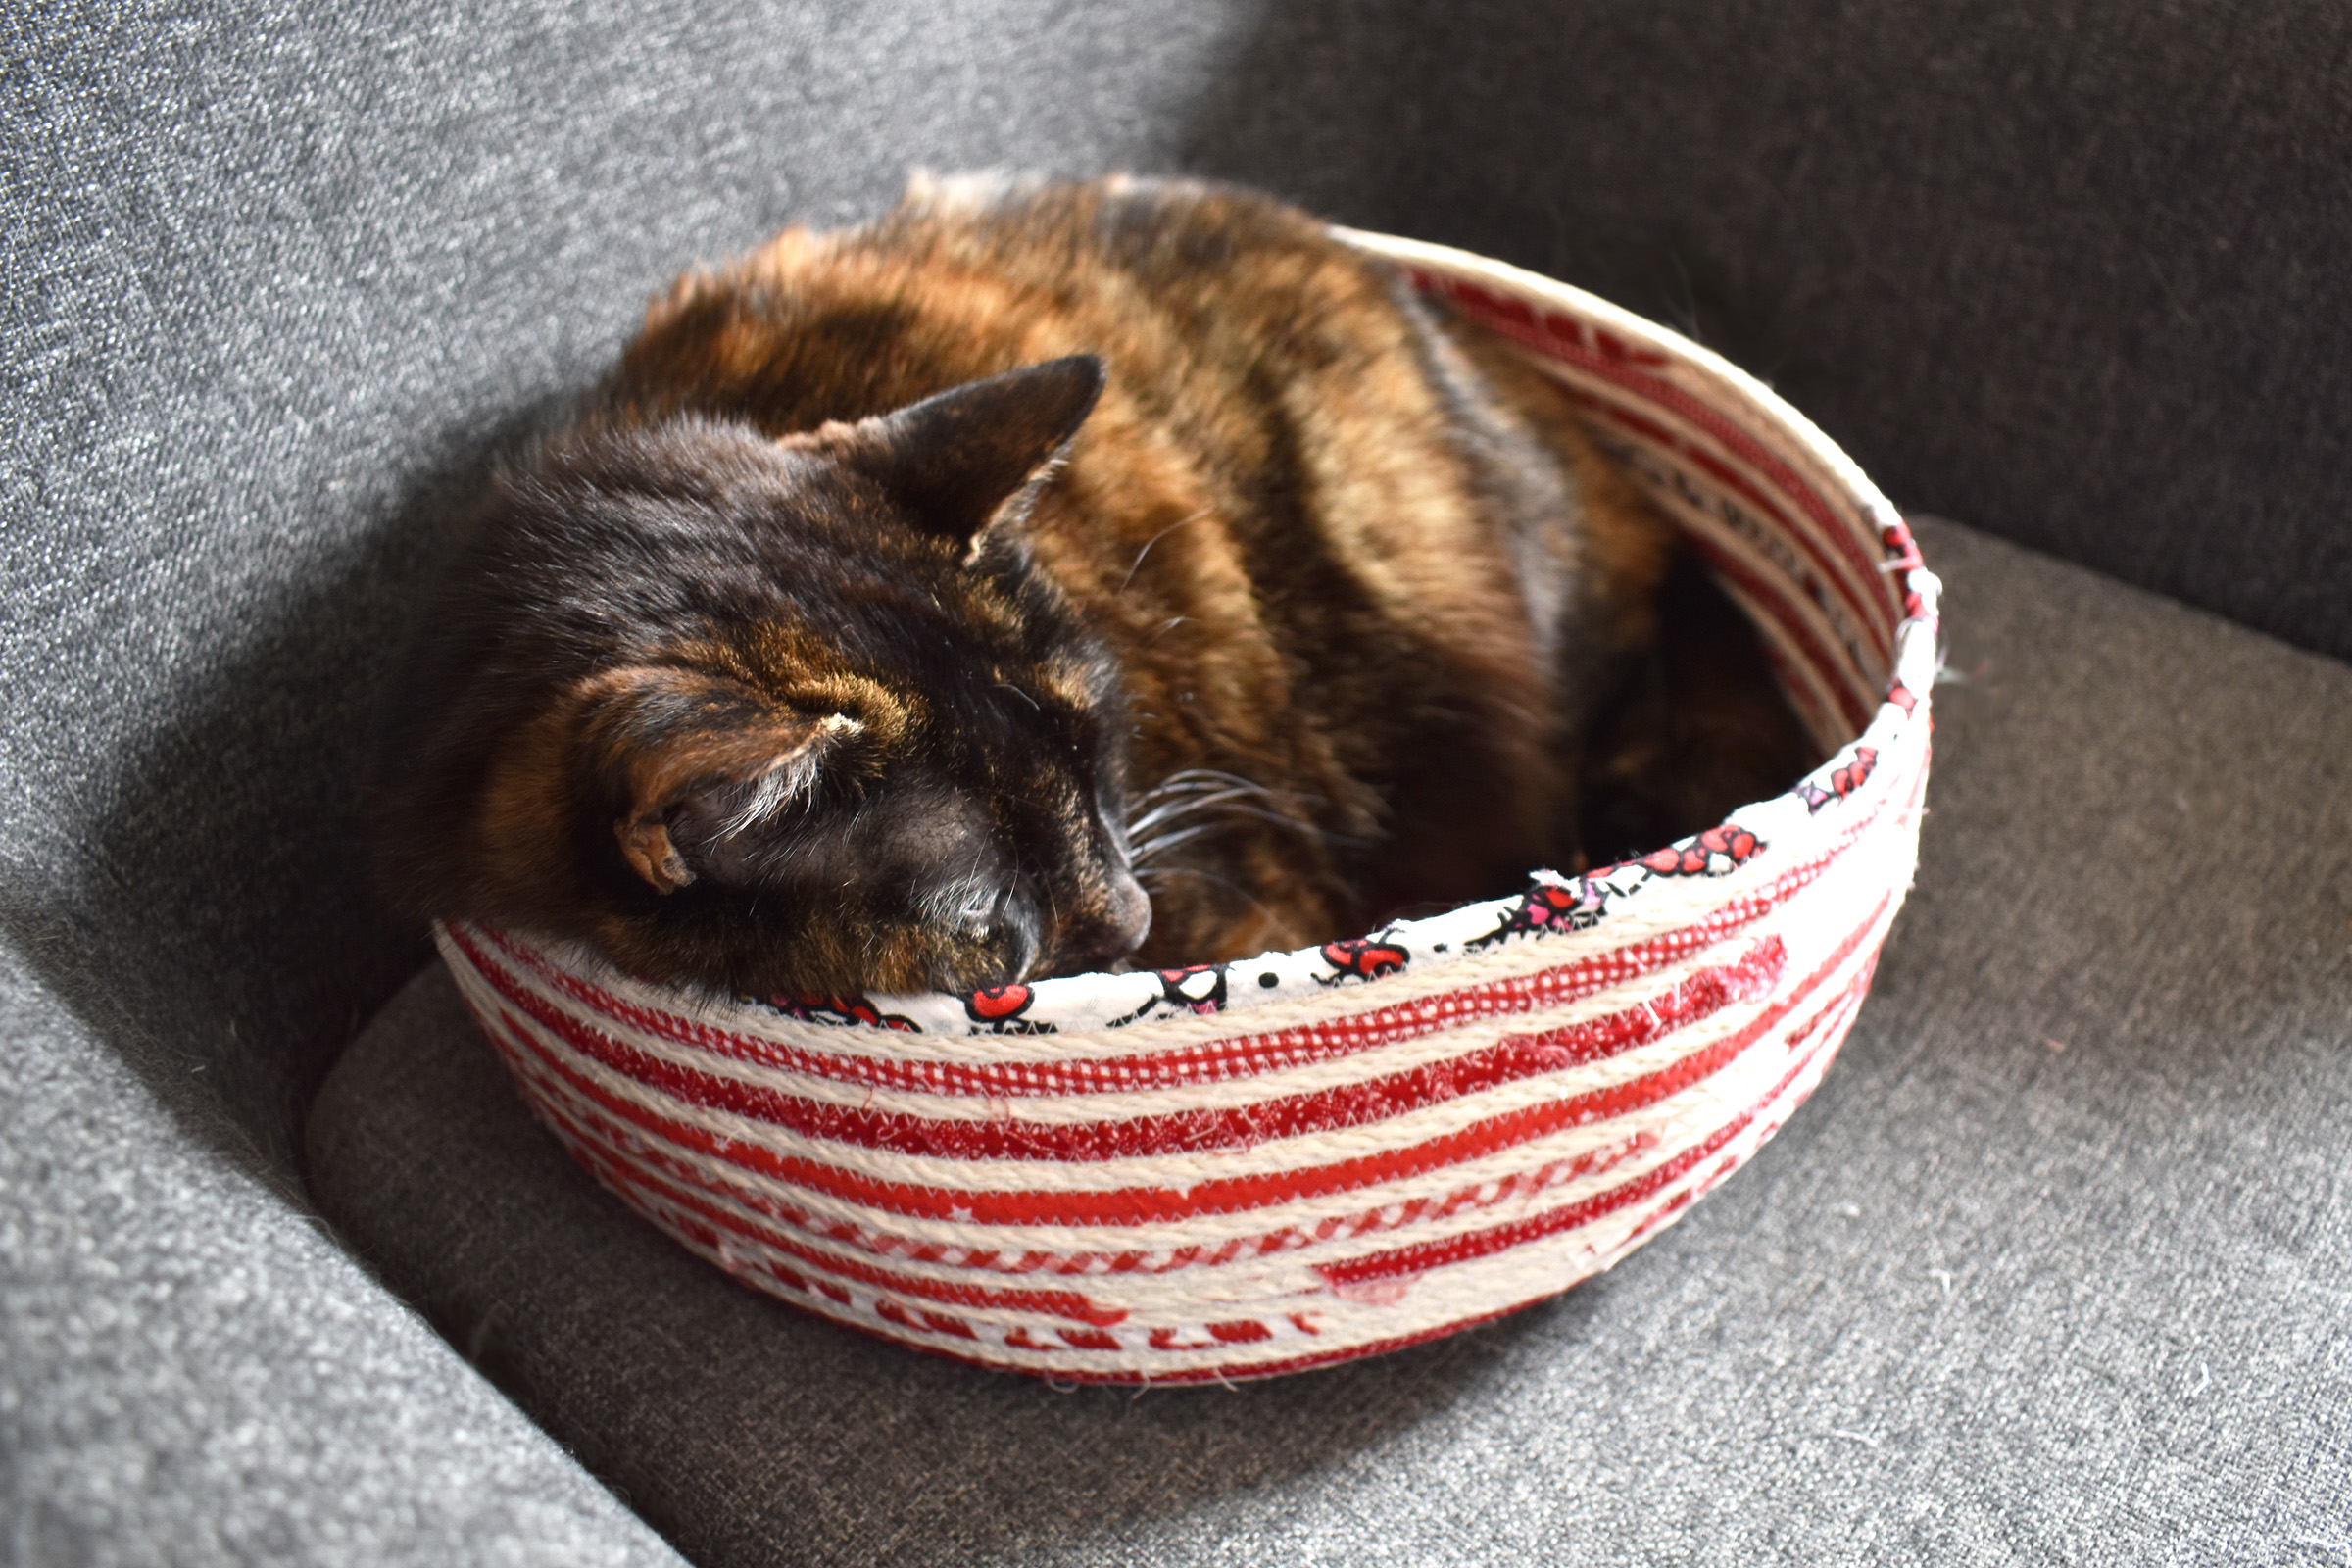
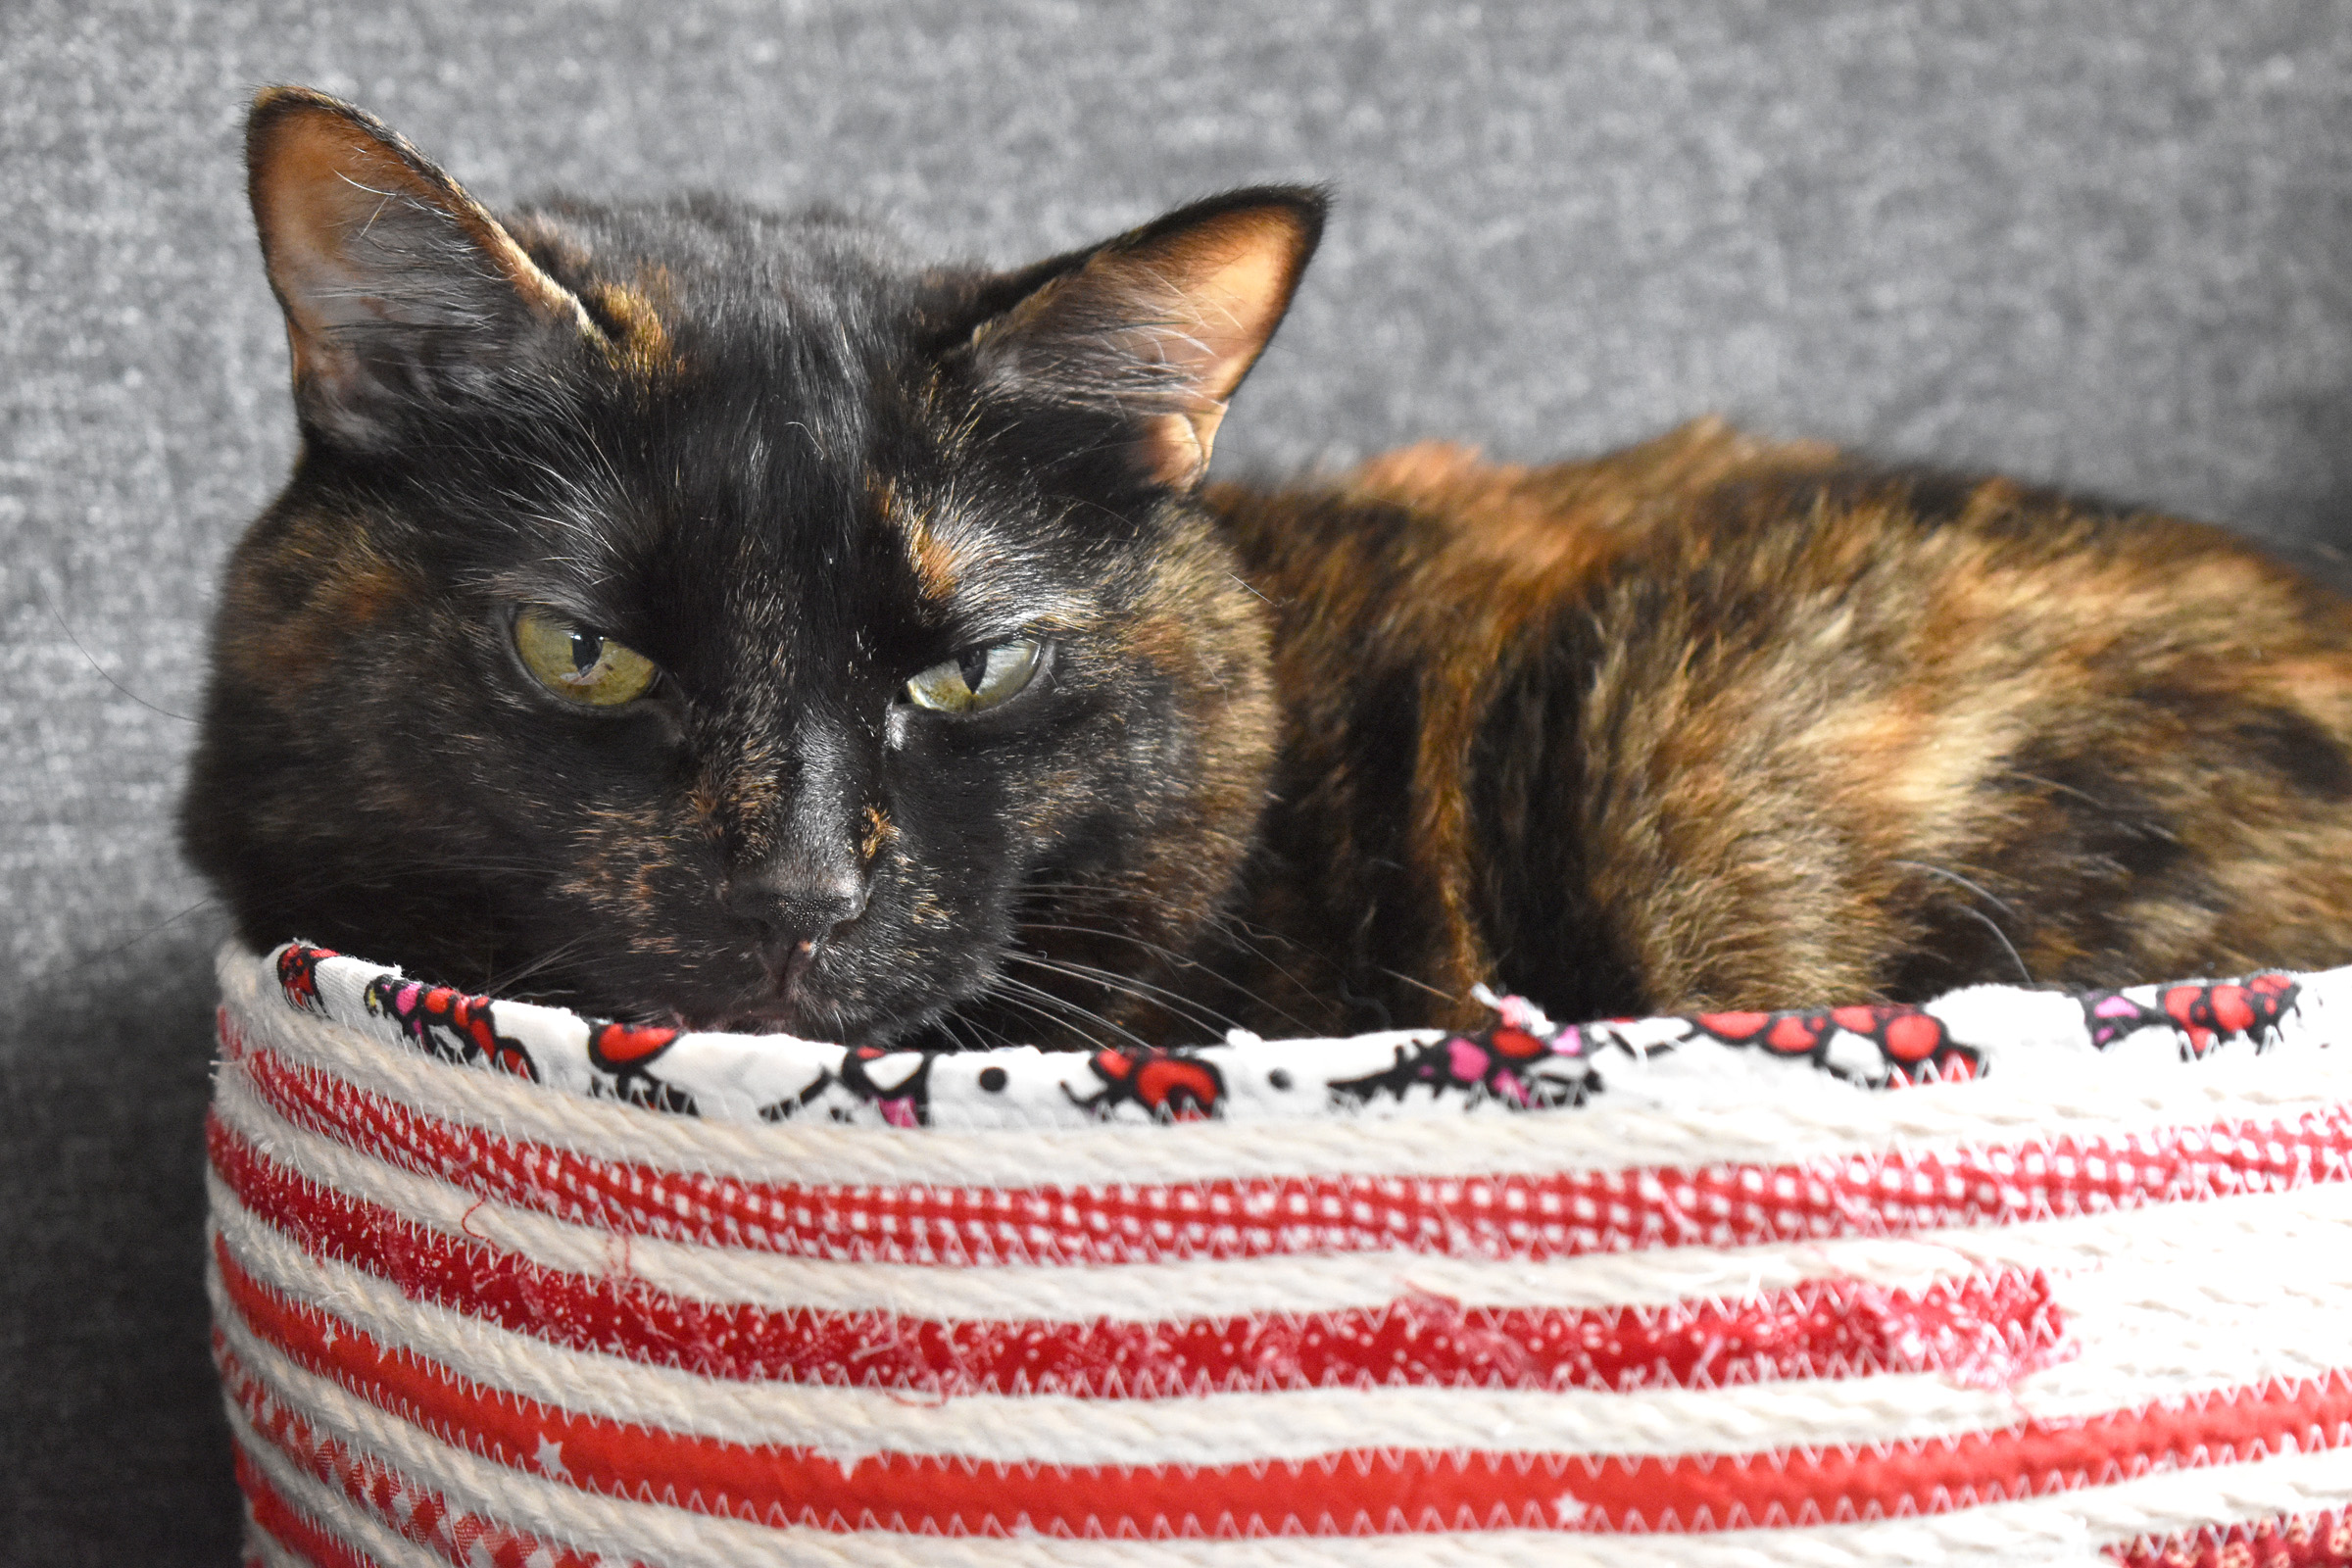
My cats really enjoy this basket and one or the other is usually napping in it. We hope you enjoy making your own coiled rope cat basket!


What you might also like


5 comments on “How to Make a Coiled Rope Cat Basket”
-
-
Hi @SHOOVER20603, thanks for checking out my project. Kitties love anything you make, so I’m sure your furry friend is going to love a basket you make!
-
-
I’m hoping this cording comes in a longer length as I have a grandcat Maine Coon and he is very large so wanting to make that base of the basket a little larger in diameter. Have you seen this done? Or, is there anyway I could continue with a new cord?
Thank you
-
Hi @MJANE, if you visit the rope section in your local hardware store you will see a lot of different choices! Yes, you can join pieces of rope to make a larger basket by butting the ends together as you sew. You can also cover the join with some fabric. You can also experiment with making a larger base for the basket to accommodate your Maine Coon buddy. Cheers!
-
-
This is going to be a Christmas present for my sister’s tuxedo cat! Thank you for such detailed instructions! Linda from North Dakota
Leave a Reply
You must be logged in to post a comment.
My kitty loves to curl up in a cheap bamboo basket from a funeral plant. I think this would be so much more comfortable not to mention pretty!