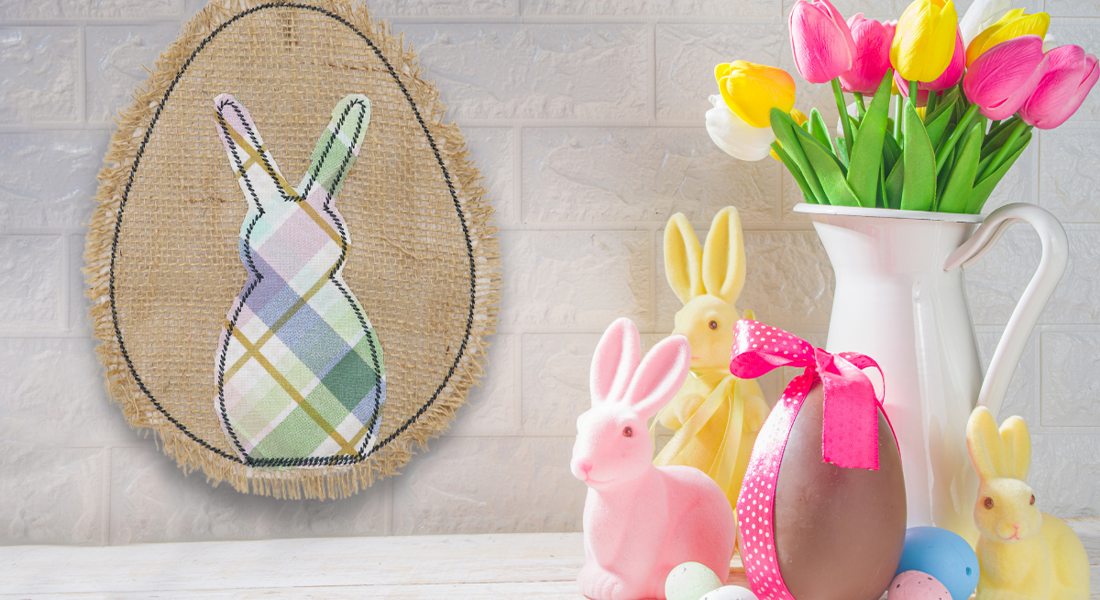
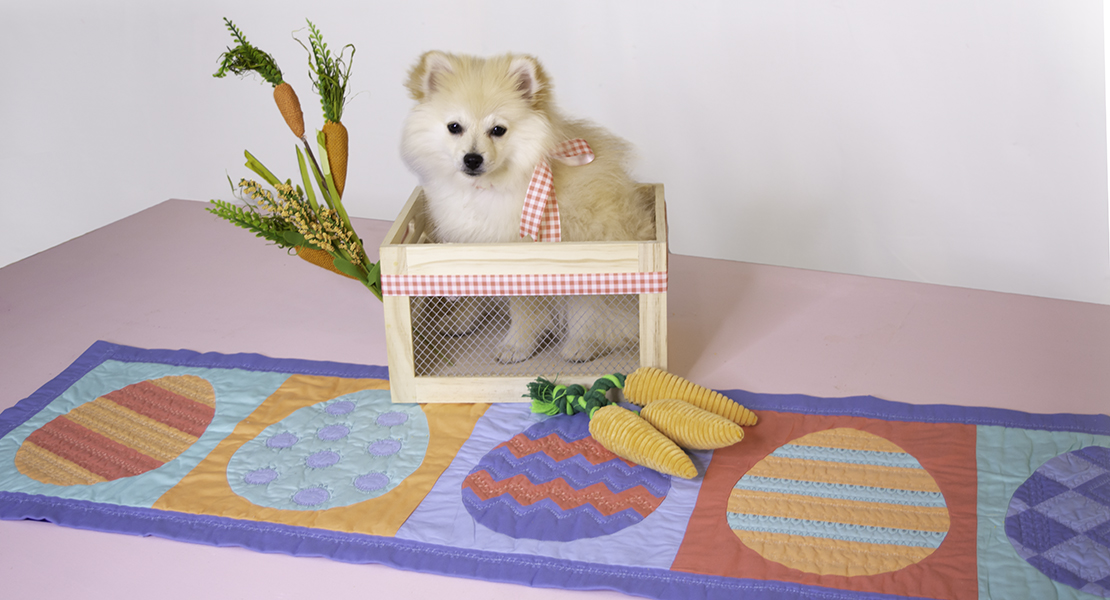
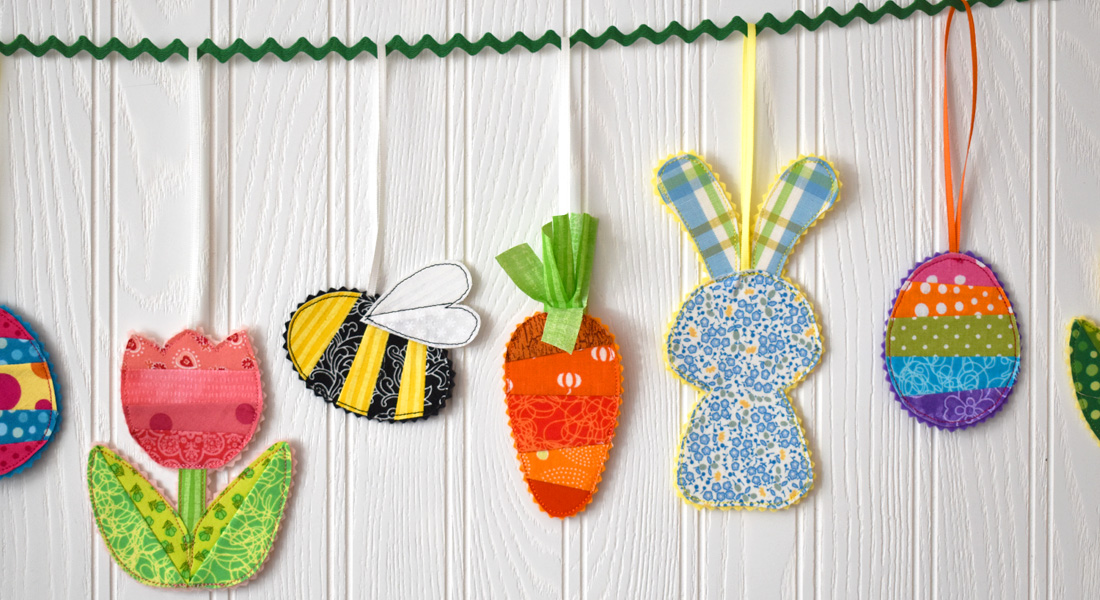
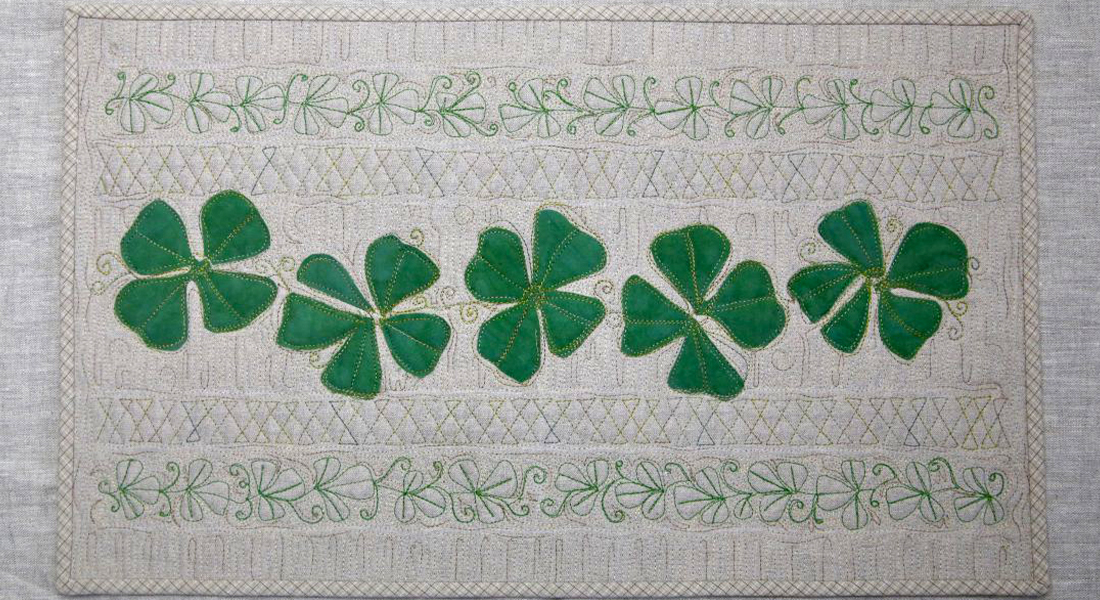
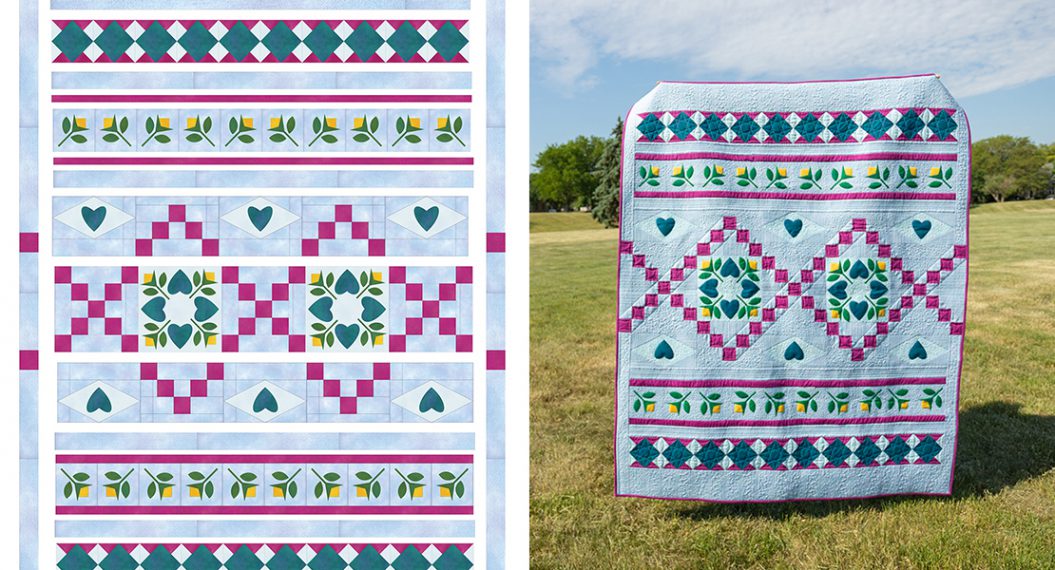
Easter Egg Table Runner Sew Along, Part 3: Appliqué Eggs and Assembly

Welcome to week three of the Easter Egg Table Runner Sew Along! This week we will use freezer paper appliqué to sew our eggs onto our egg backgrounds. Finally, we’ll assemble the runner top so it is ready to be quilted next week with decorative stitches! You can find the full instructions for the appliqué method and assembly here. If you need a refresher on the supply list you can find that in the week one post.

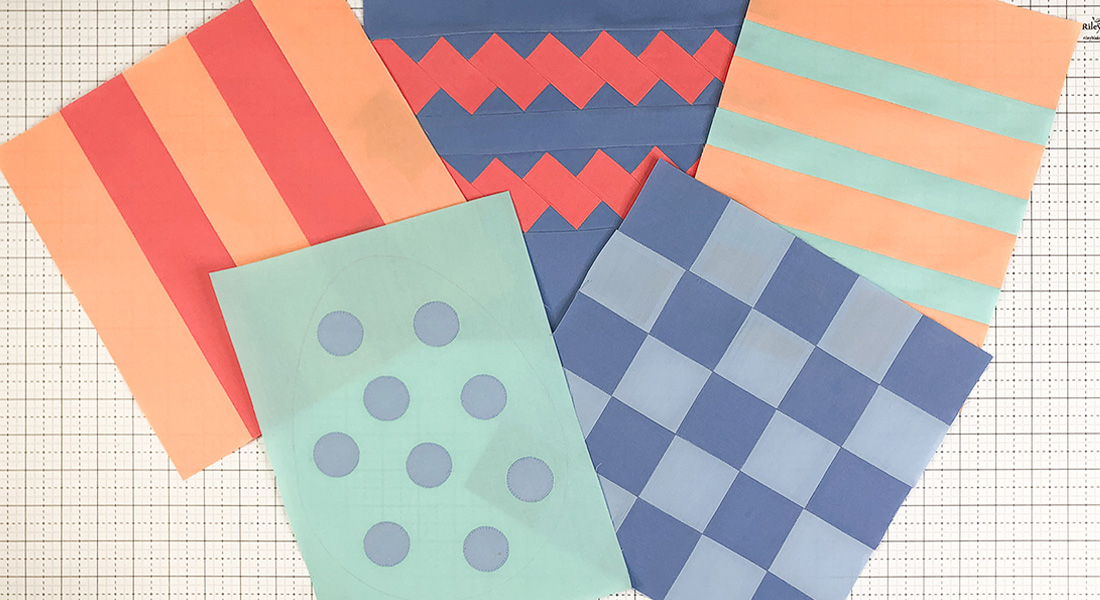
Appliqué Eggs
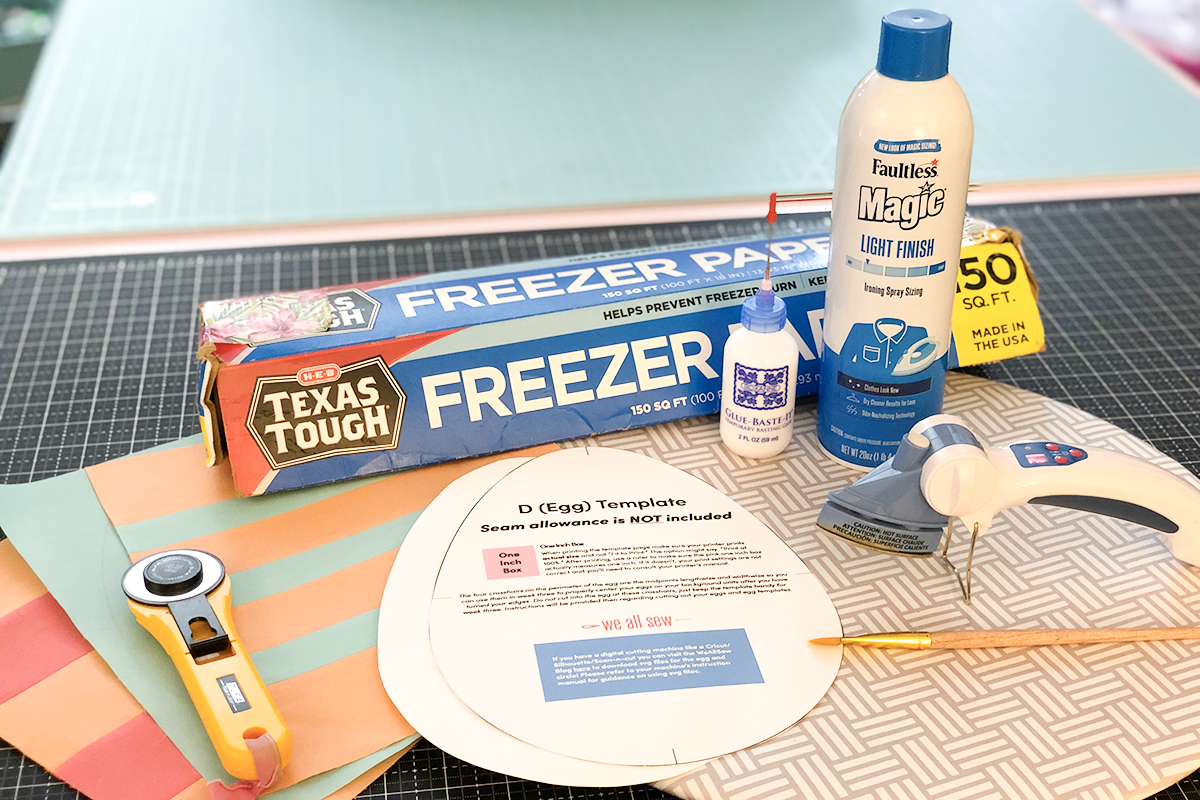
I’ll be showing you how to appliqué the eggs with my preferred materials. The method works great for me but you can substitute any products you like to make it work for you!
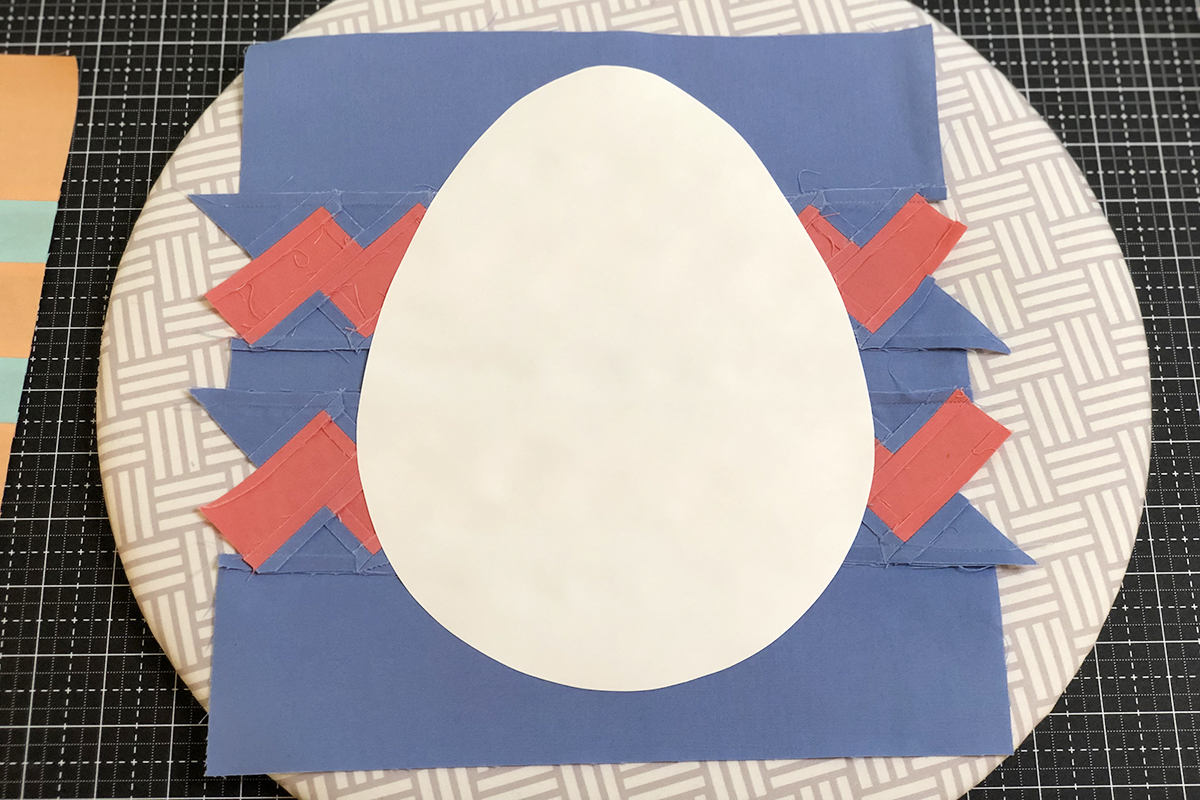
Using the egg template and your Cut Rite Heavy Duty Freezer Paper, cut out two or three egg templates on the drawn line. The heavy-duty freezer paper can be used more than once but because of all the seams, you likely will only get two eggs per sheet. Once the templates are cut out find the shiny/slick side of the freezer paper and place it shiny side down on the wrong side of your egg, placing it where you want the design to lay. Use your iron to press and adhere the template onto the egg fabric panel.
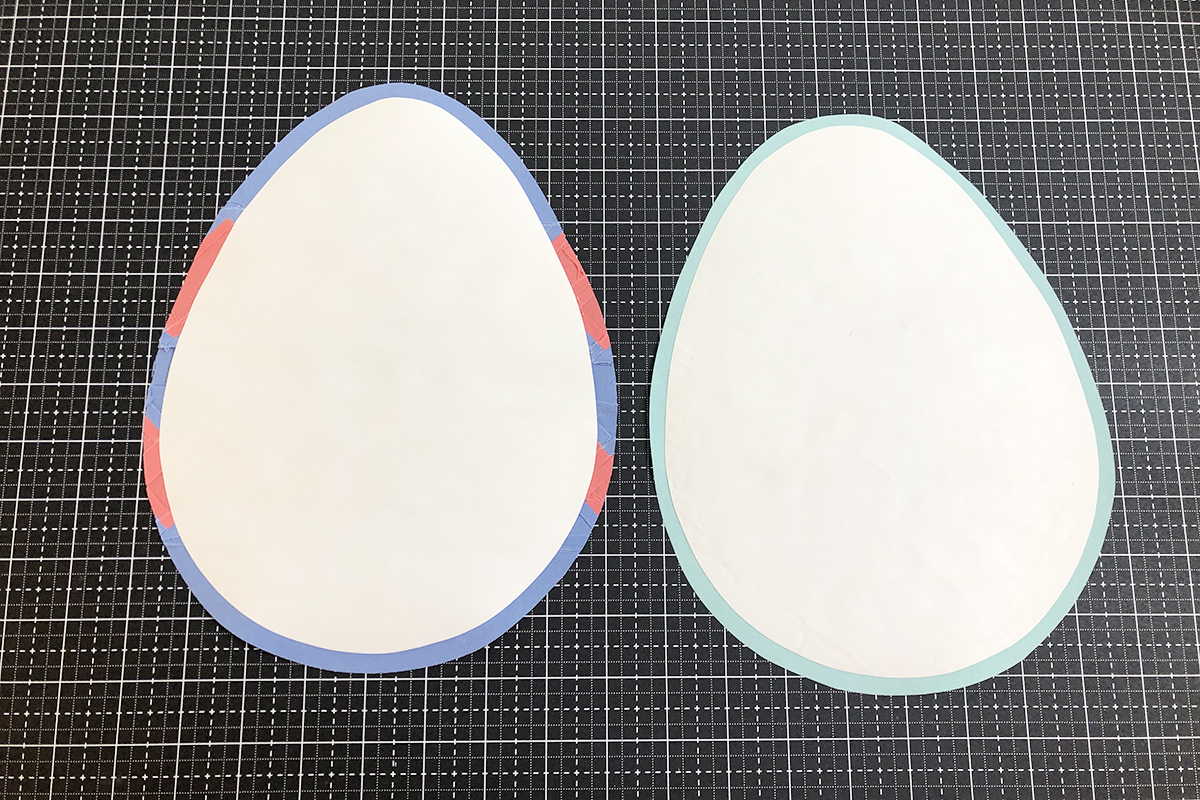
Use scissors or your rotary cutter to cut a little more than 1/4 inch around the egg template. This will be the part you turn over the edge.
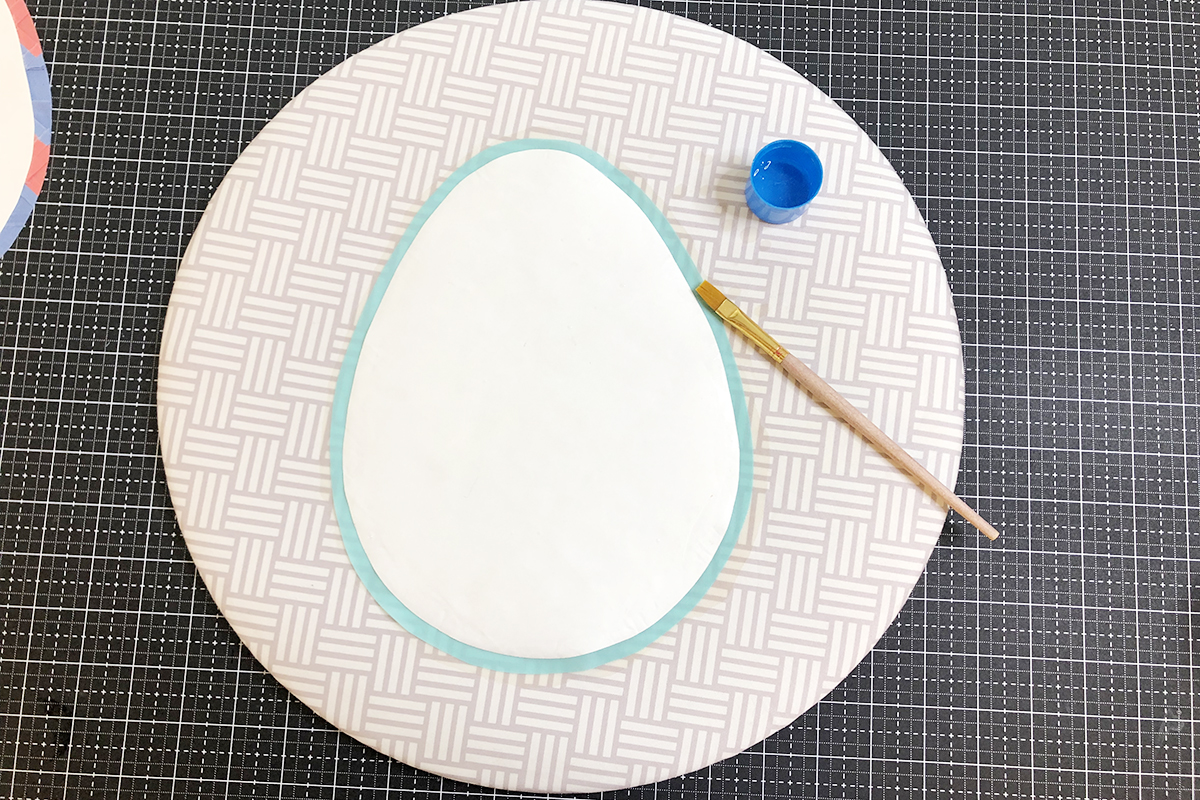
Spray some Magic Sizing into the cap and let it settle. Take your paintbrush and paint all the way around the egg on the fabric that hangs out over the template edge. You might also want to flip your egg over for the ones with bulky seams to make sure the entire seam is saturated with magic sizing before you press.
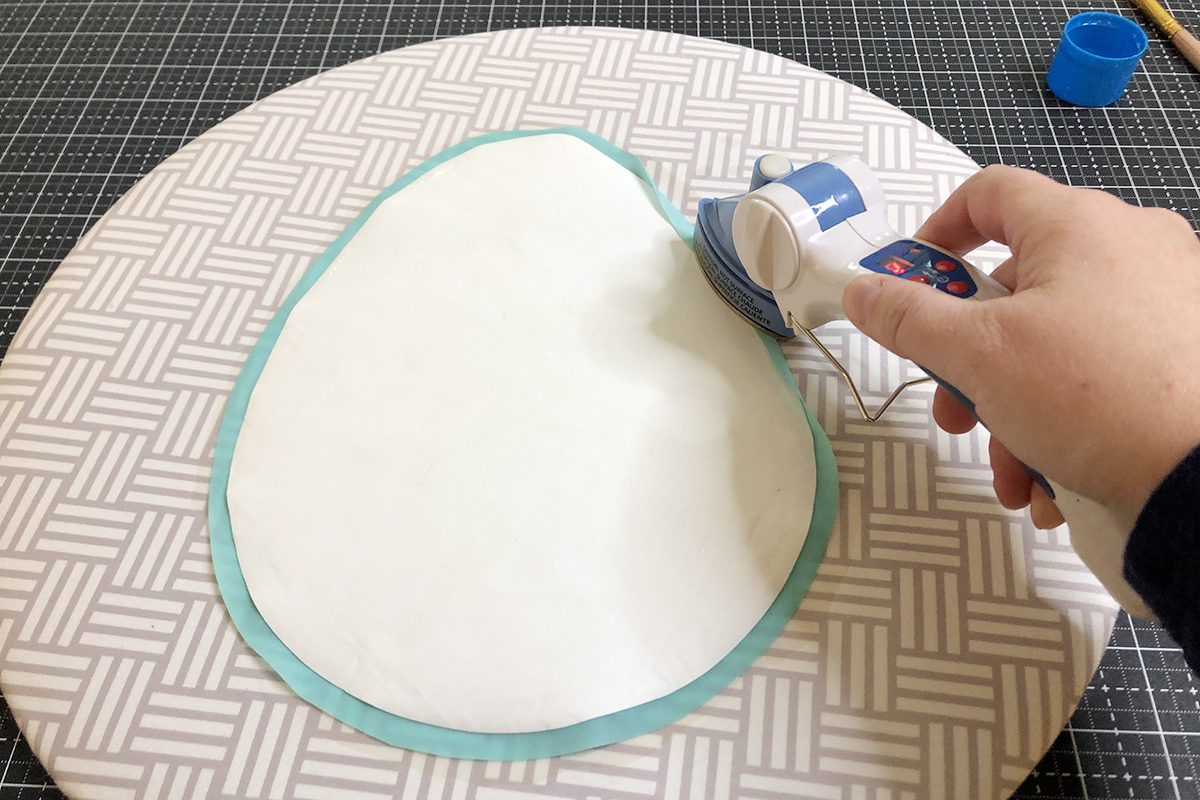
Use your mini iron to slowly press the edge so that it turns over the heavy-duty freezer paper. I use a higher heat setting with freezer paper than with mylar because you don’t have to worry about warping the freezer paper. If you get any funny points or sections around your egg once it is all pressed you can re-saturate it with magic sizing and repeat the process for that small section.
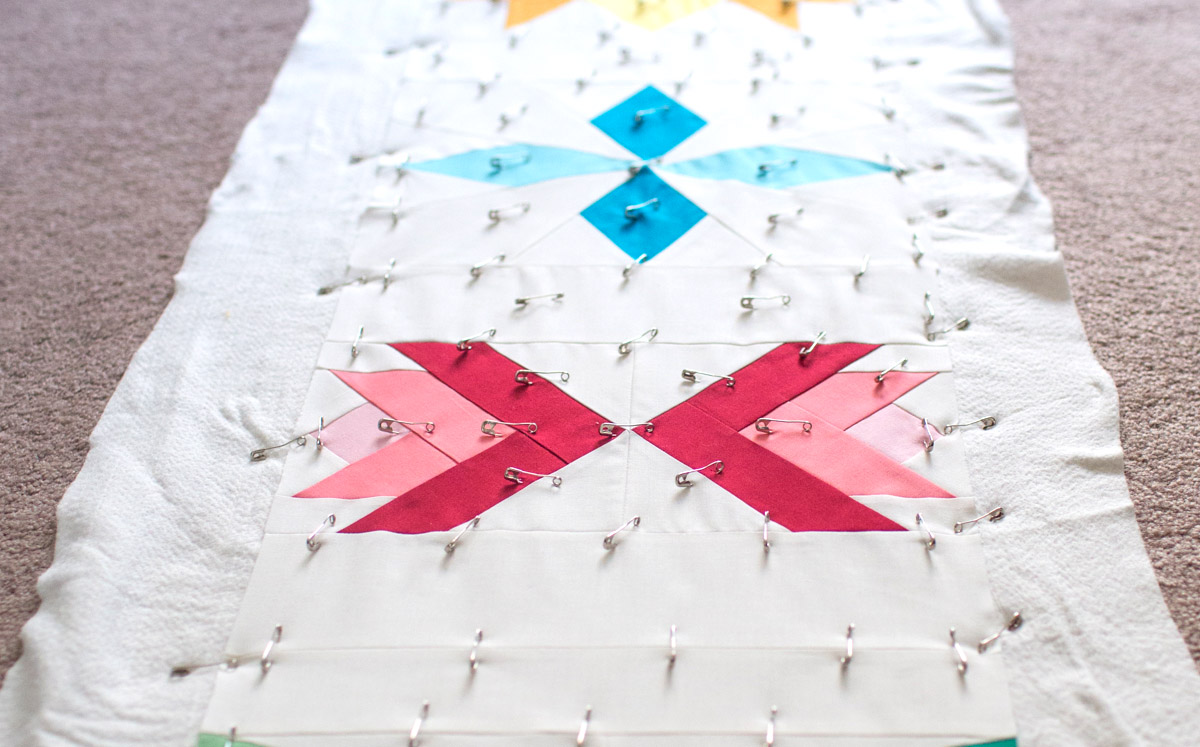
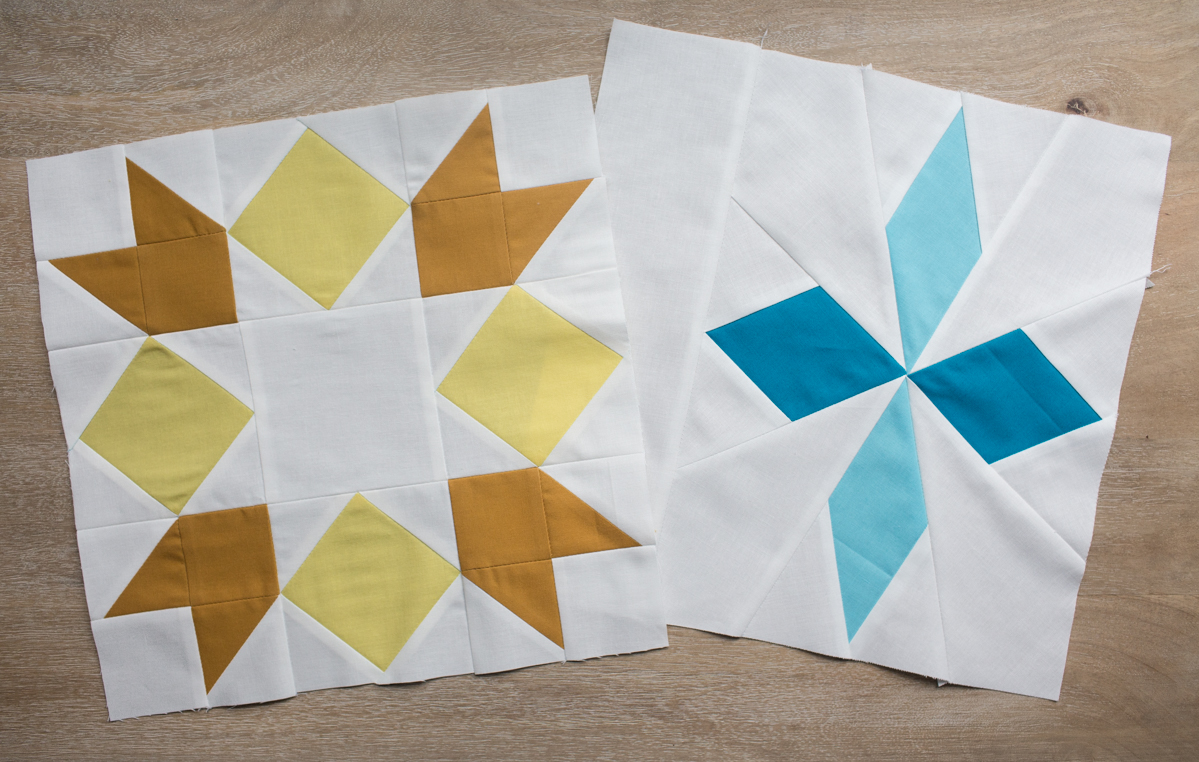
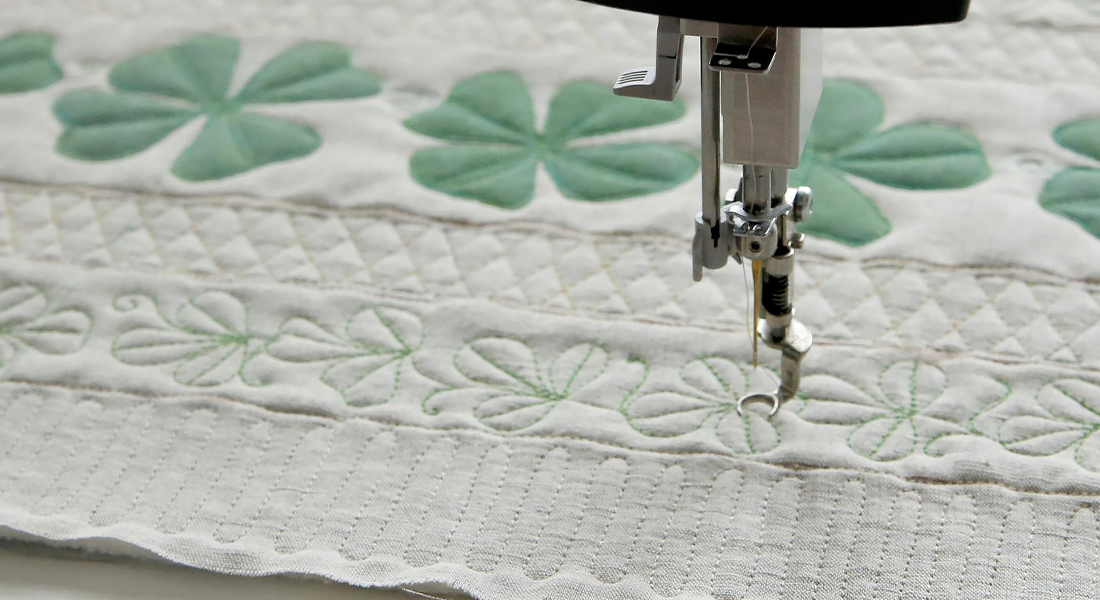
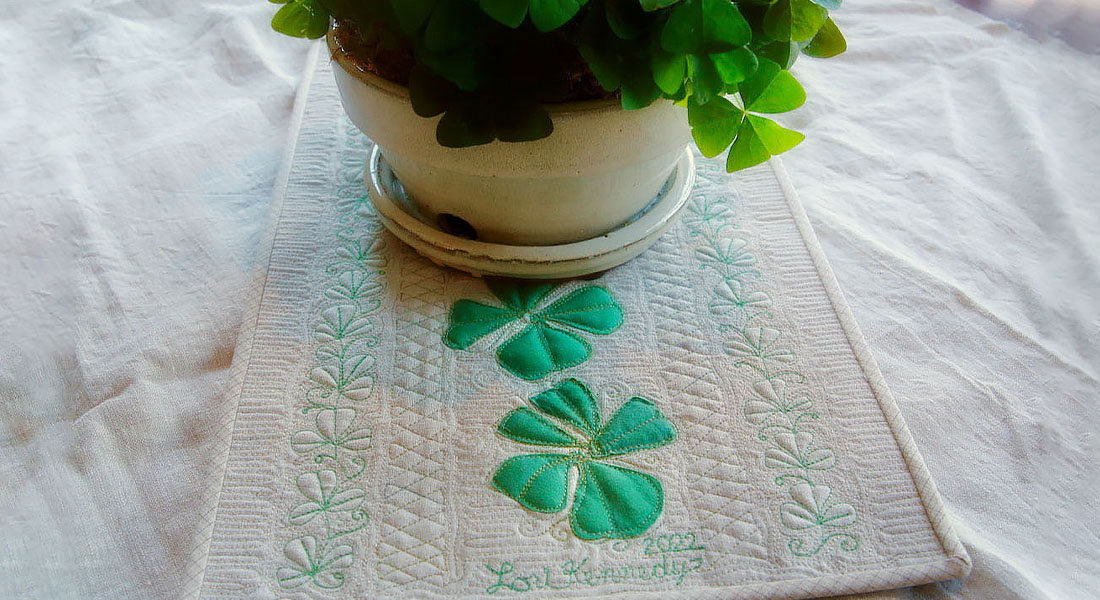
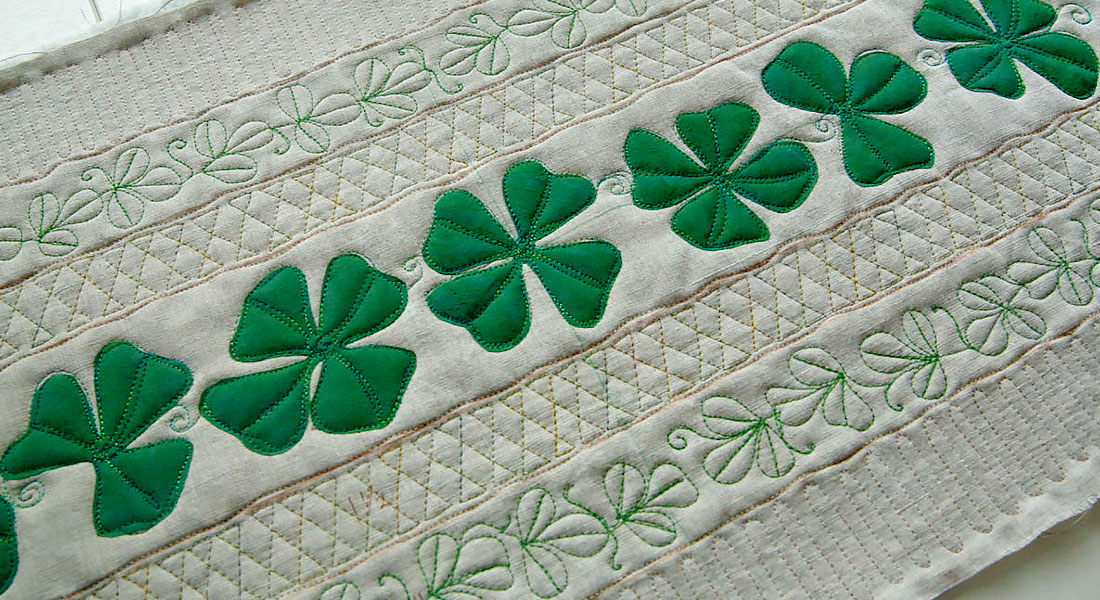
Assembly
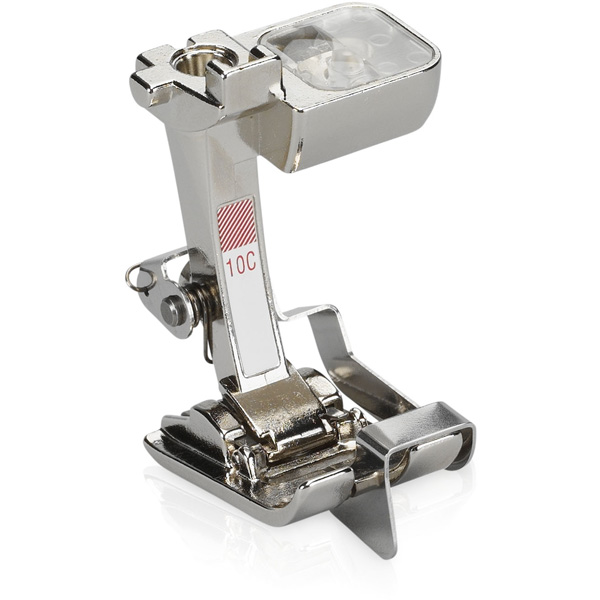
Refer to the pattern instructions for details on how to sew the eggs onto the background fabric. I use the BERNINA Edgestitch Foot #10D because the curve of the egg is easy to maneuver around and I like the guidance of the center blade. You might also consider the BERNINA Open Embroidery Foot #20D if you don’t have an Edgestitch Foot so you can see where your needle is hitting the seam. You can refer to week two’s tutorial regarding blanket-stitching for appliqué, as this is the same method I use for the eggs! Then you’ll assemble the table runner top!
Week 3 Wrap-up
Thank you for checking out week 3 of the Easter Egg Sew Along! If you are just joining us you can find week one here and week two here. If you are on Instagram I’d love for you to share your assembled top with the hashtags #eastereggtablerunner, #WeAllSew and #berninausa. Tag @berninausa and @corinne.sovey so we can follow along with your progress. Next week we will dive into all things decorative stitching to add some flair to our table runners. Until next time, happy sewing!