Embroider-Along Part 11: How to Embroider on Cuddle Luxe
Welcome back to my Embroider-Along: Part 11. Hi, my name is Sue O’Very, BERNINA Ambassador and machine embroidery expert. Today I’m going to show you how to embroider on one of my favorite fabrics, Cuddle Luxe. Read more about embroidering napped fabrics in Part 7.
Napped Fabrics Stabilizers, Needles and Threads
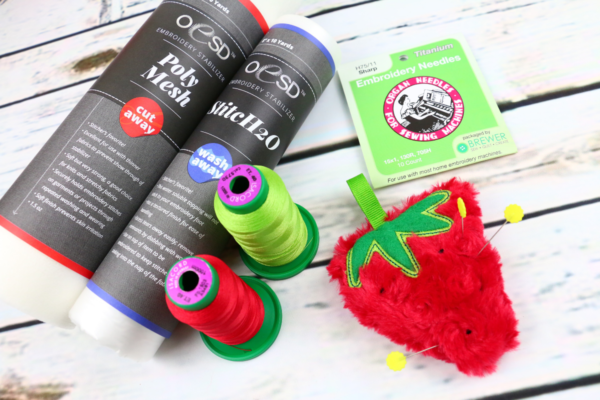
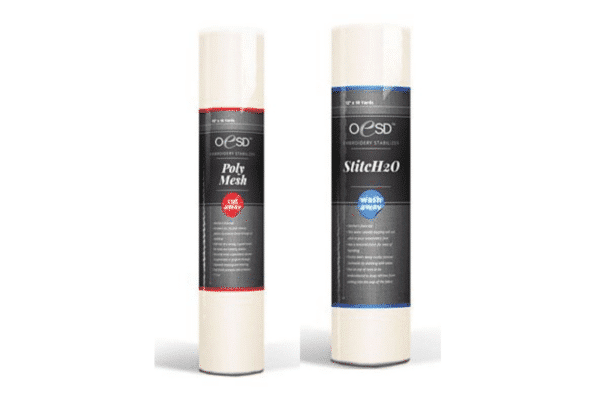
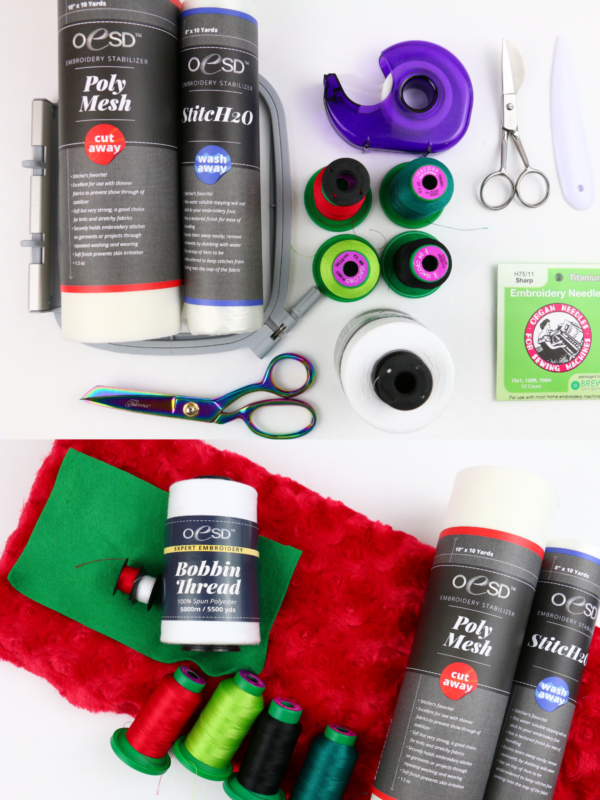
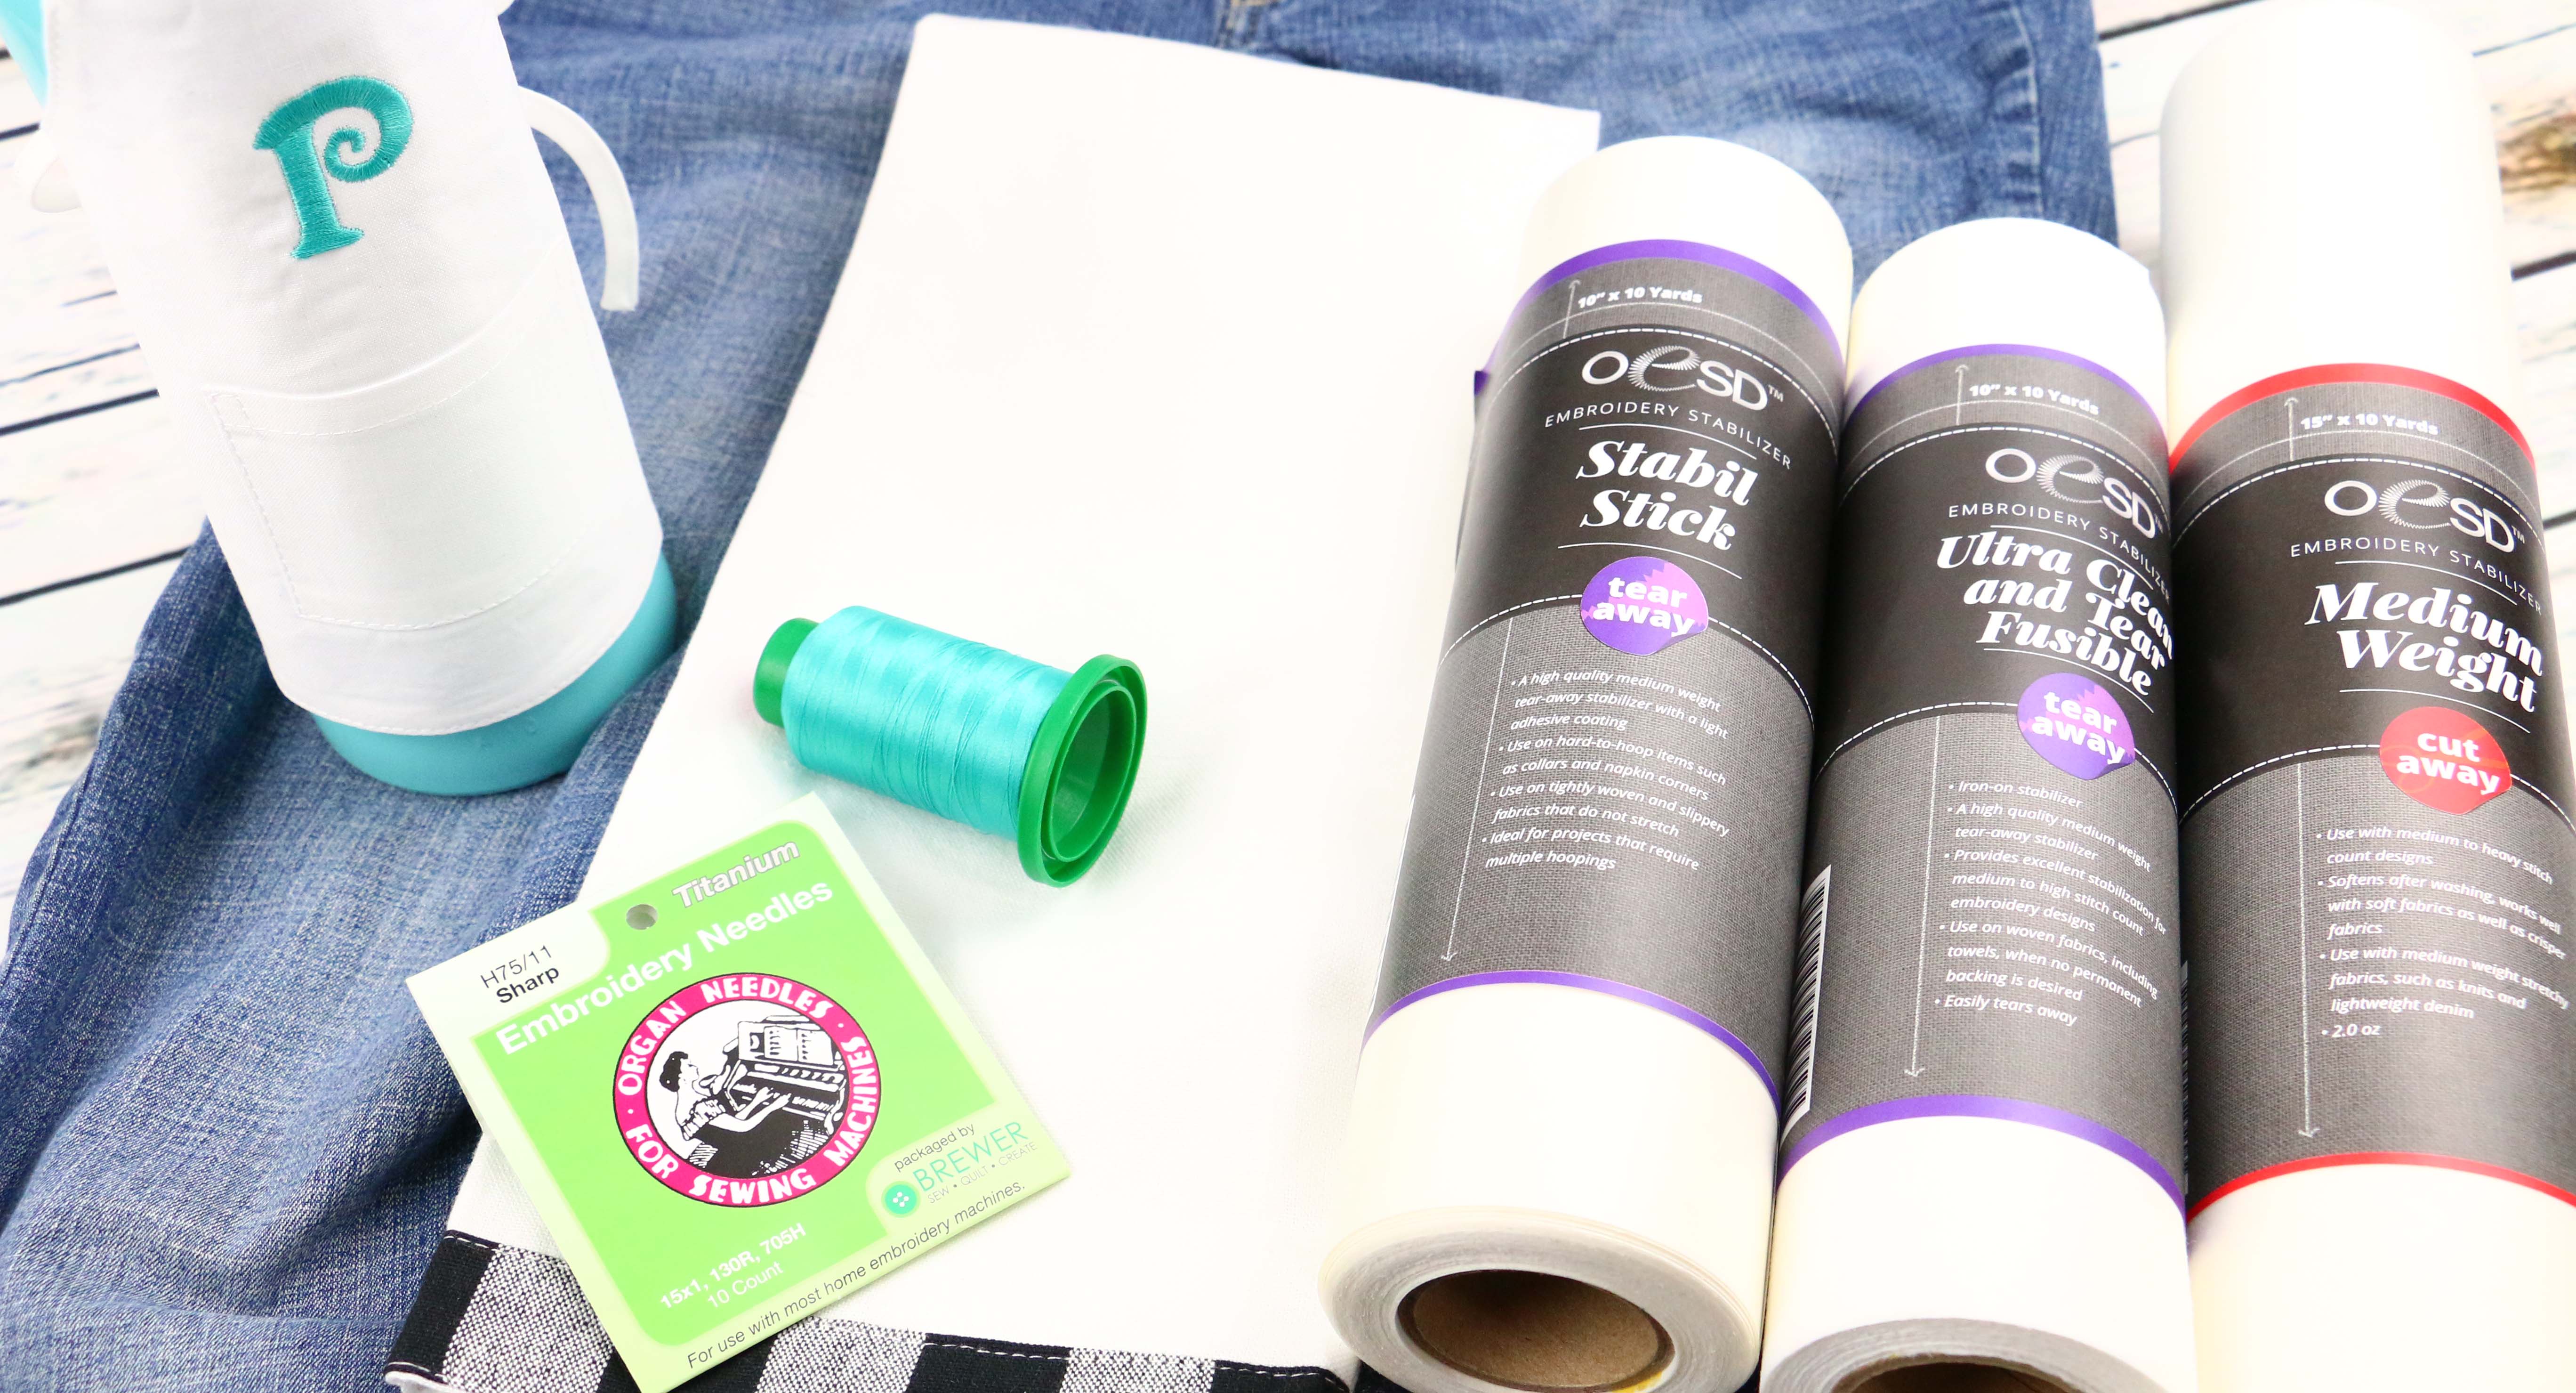
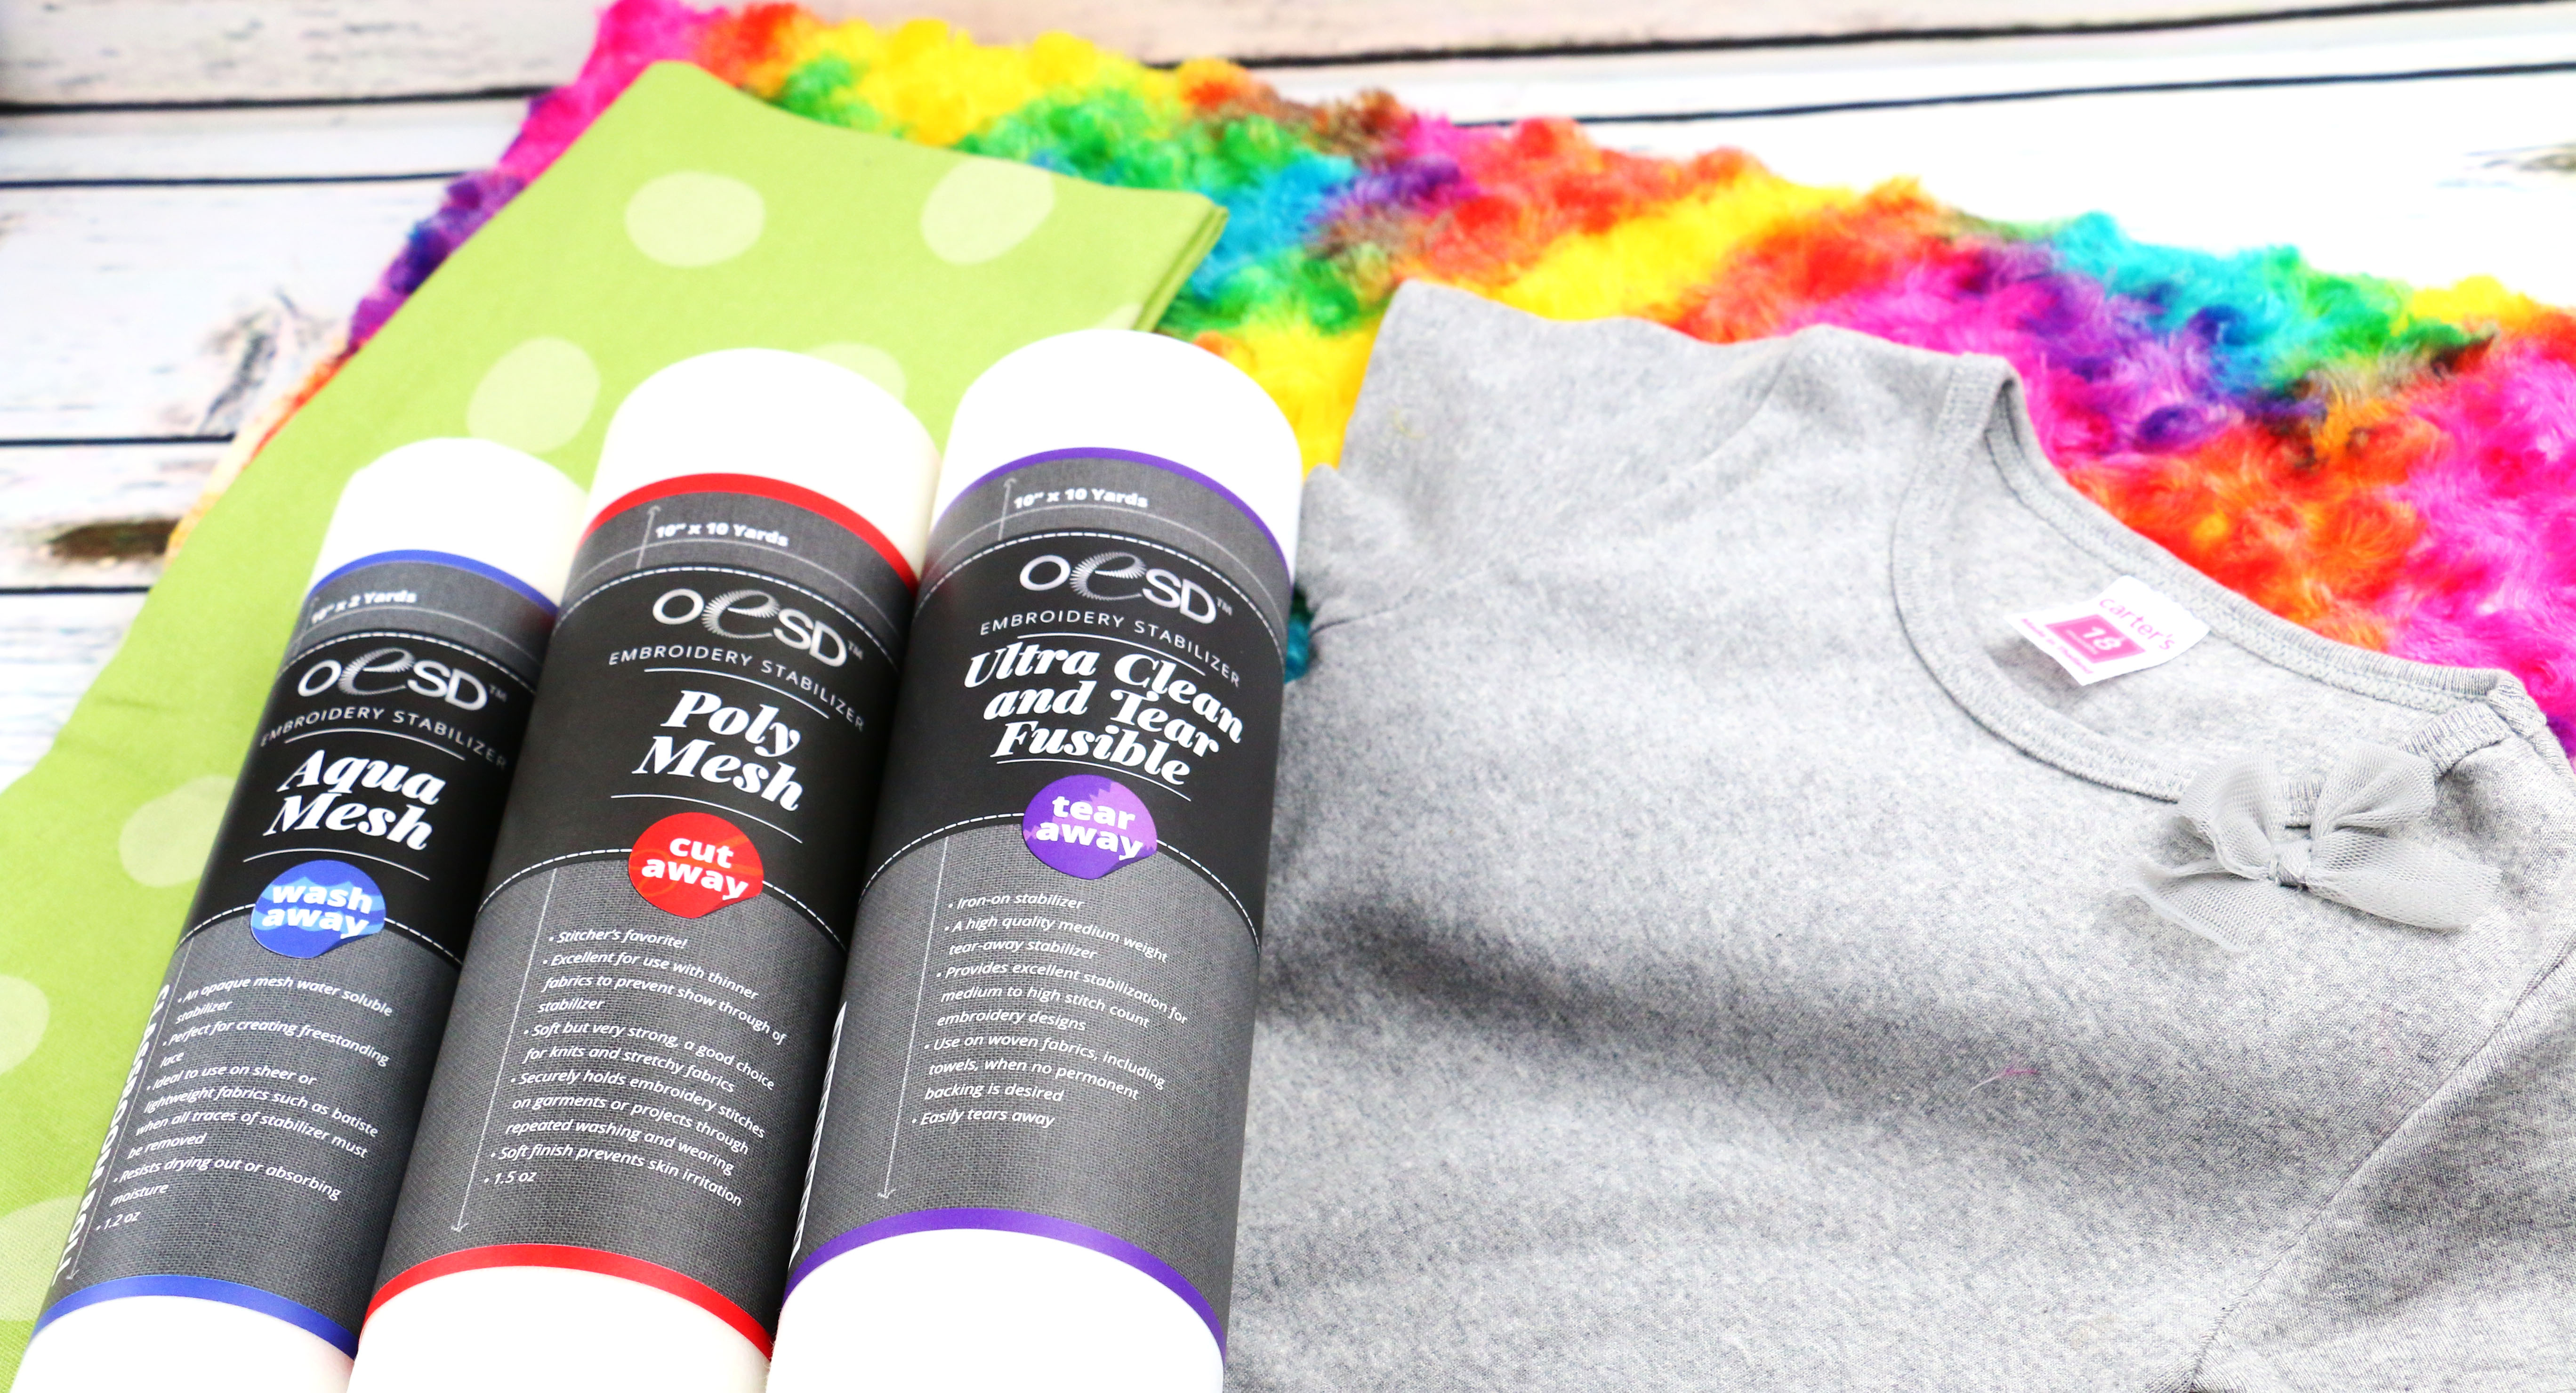
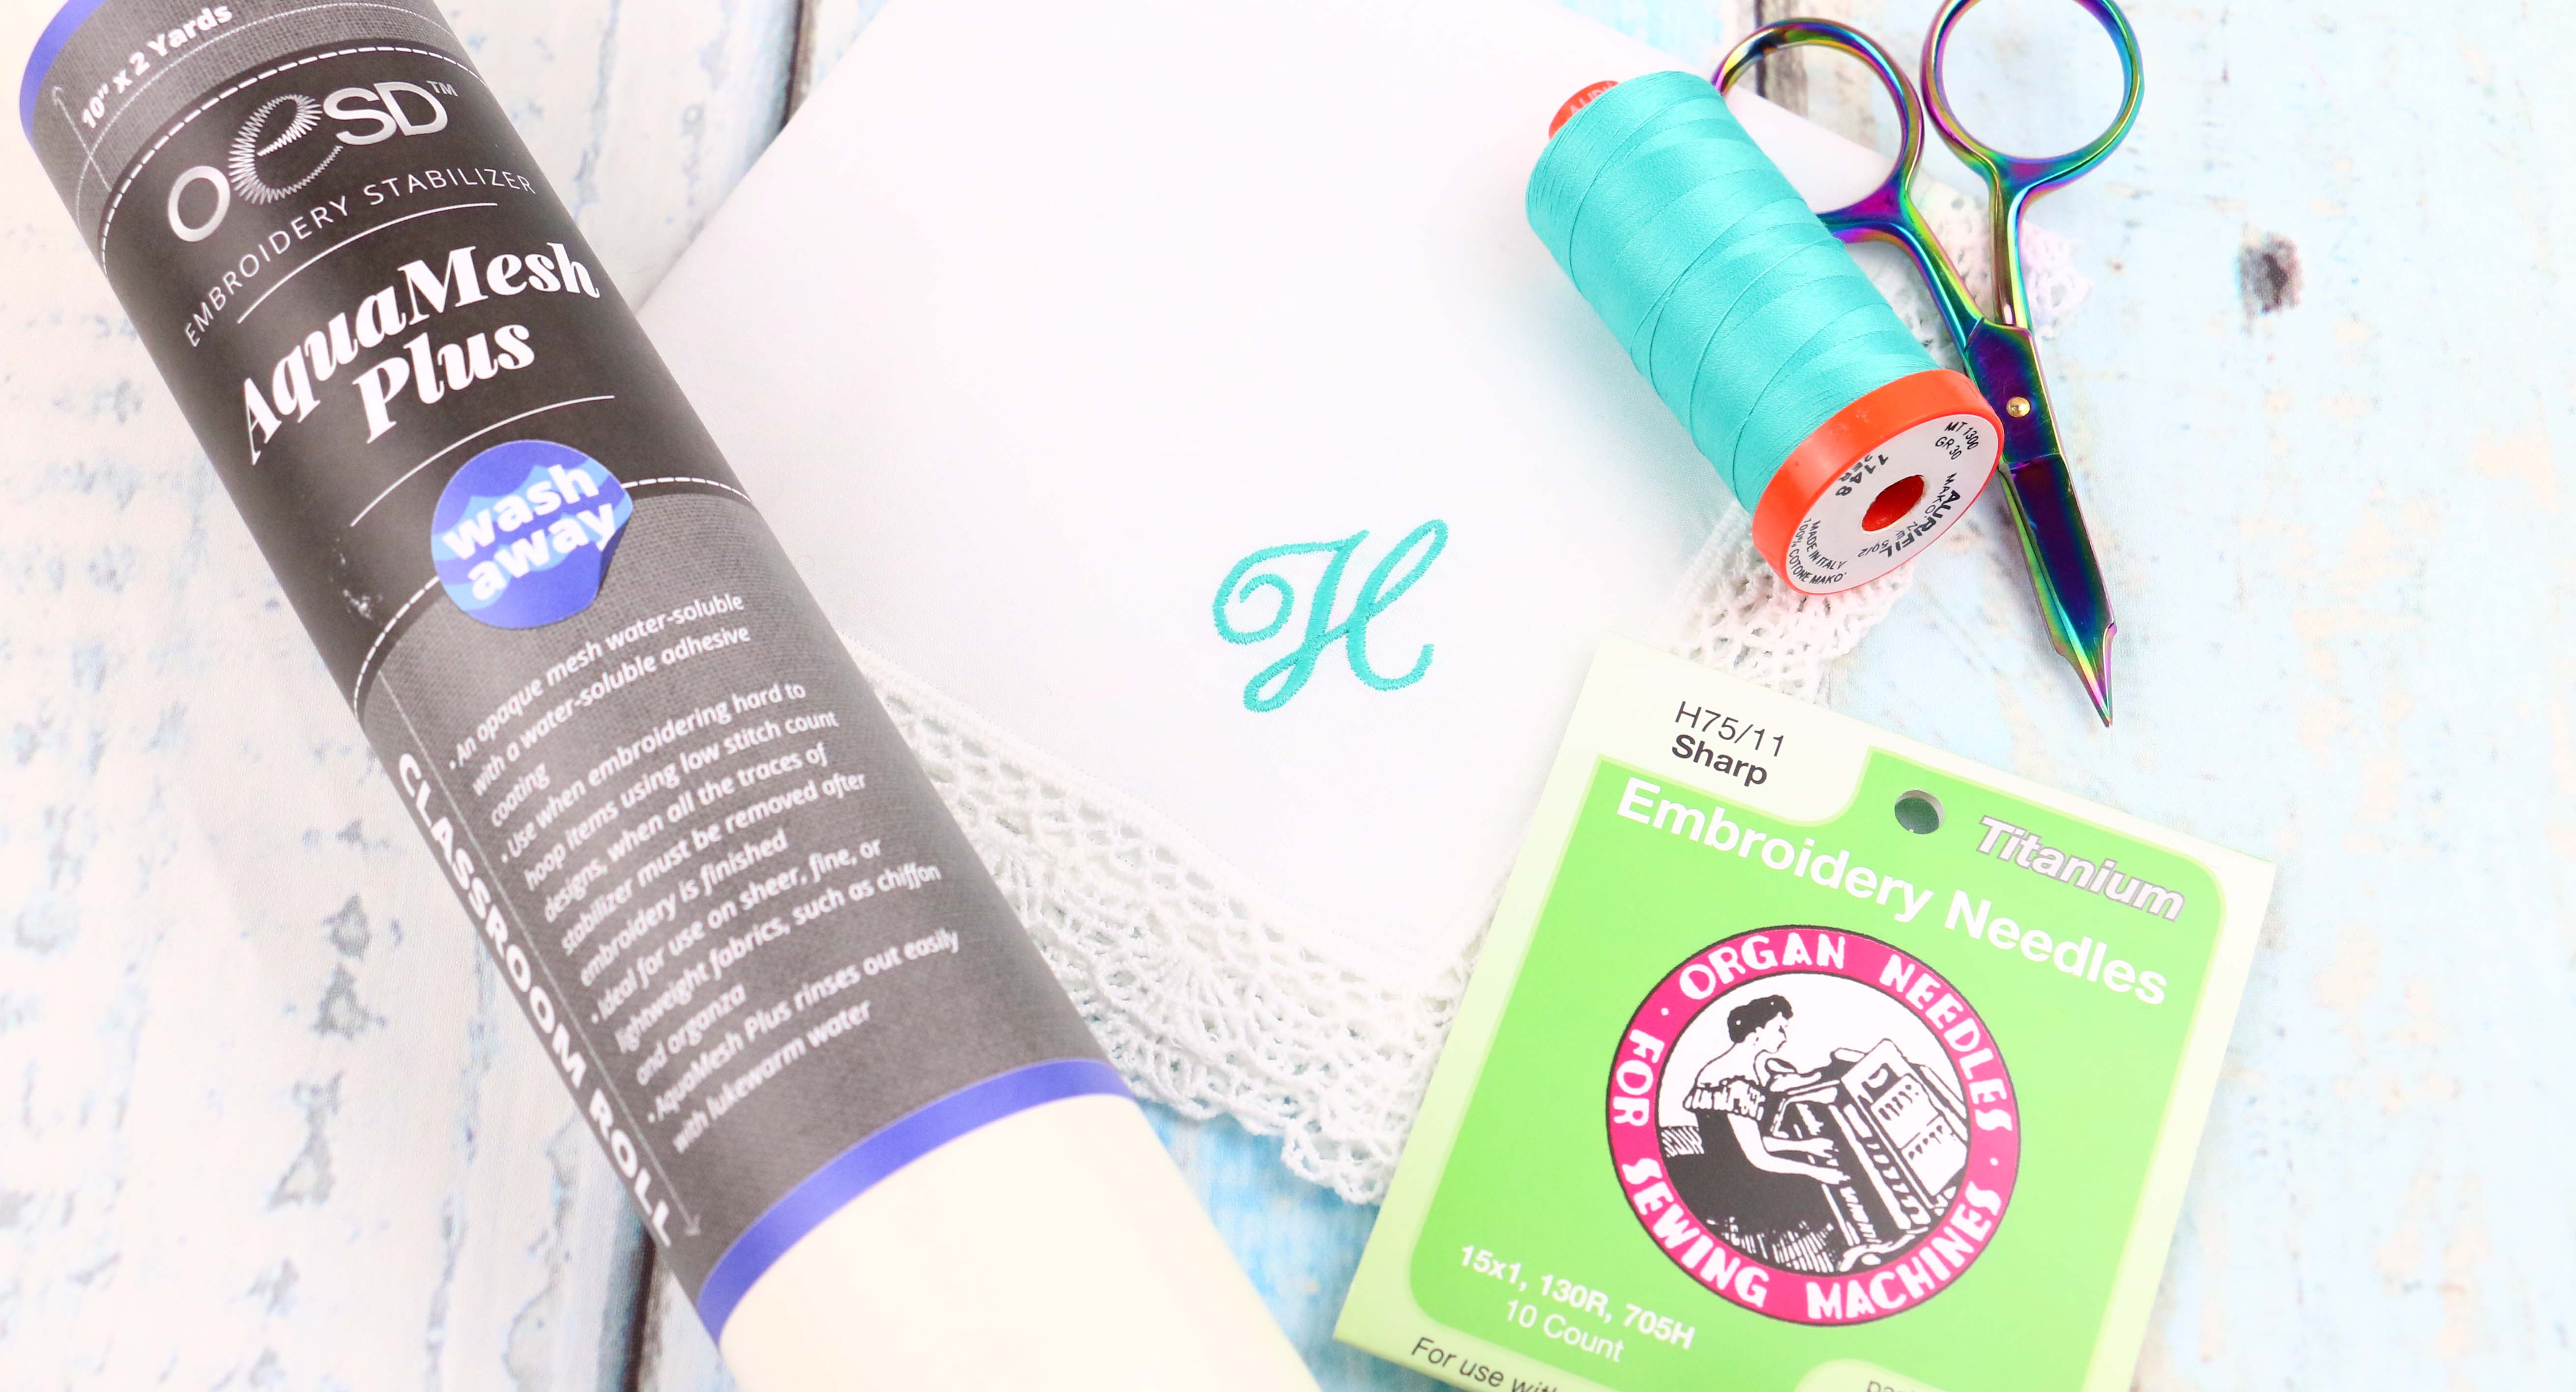
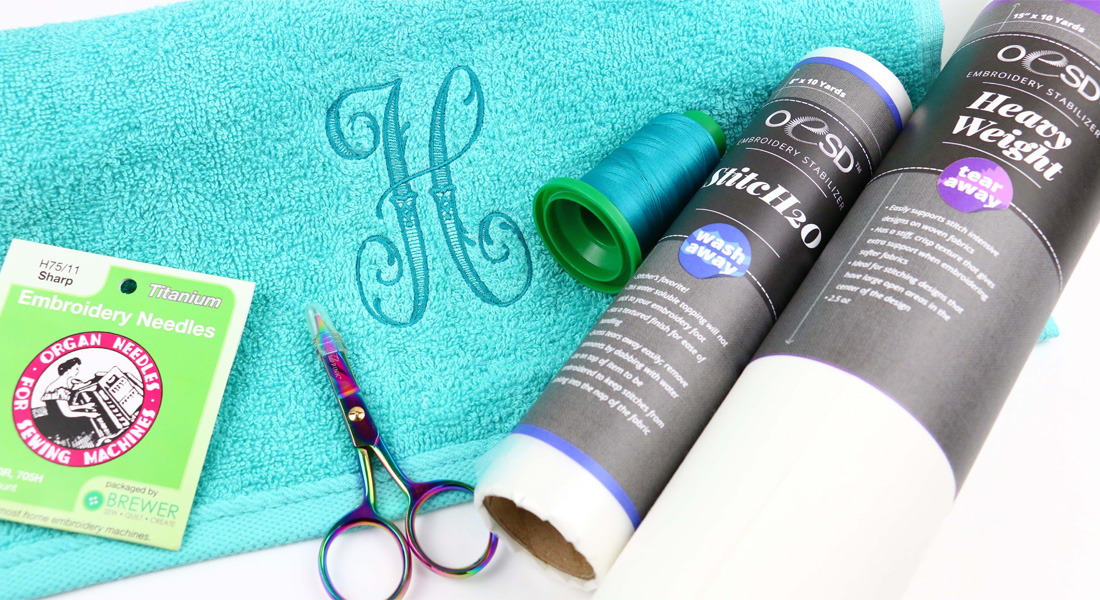
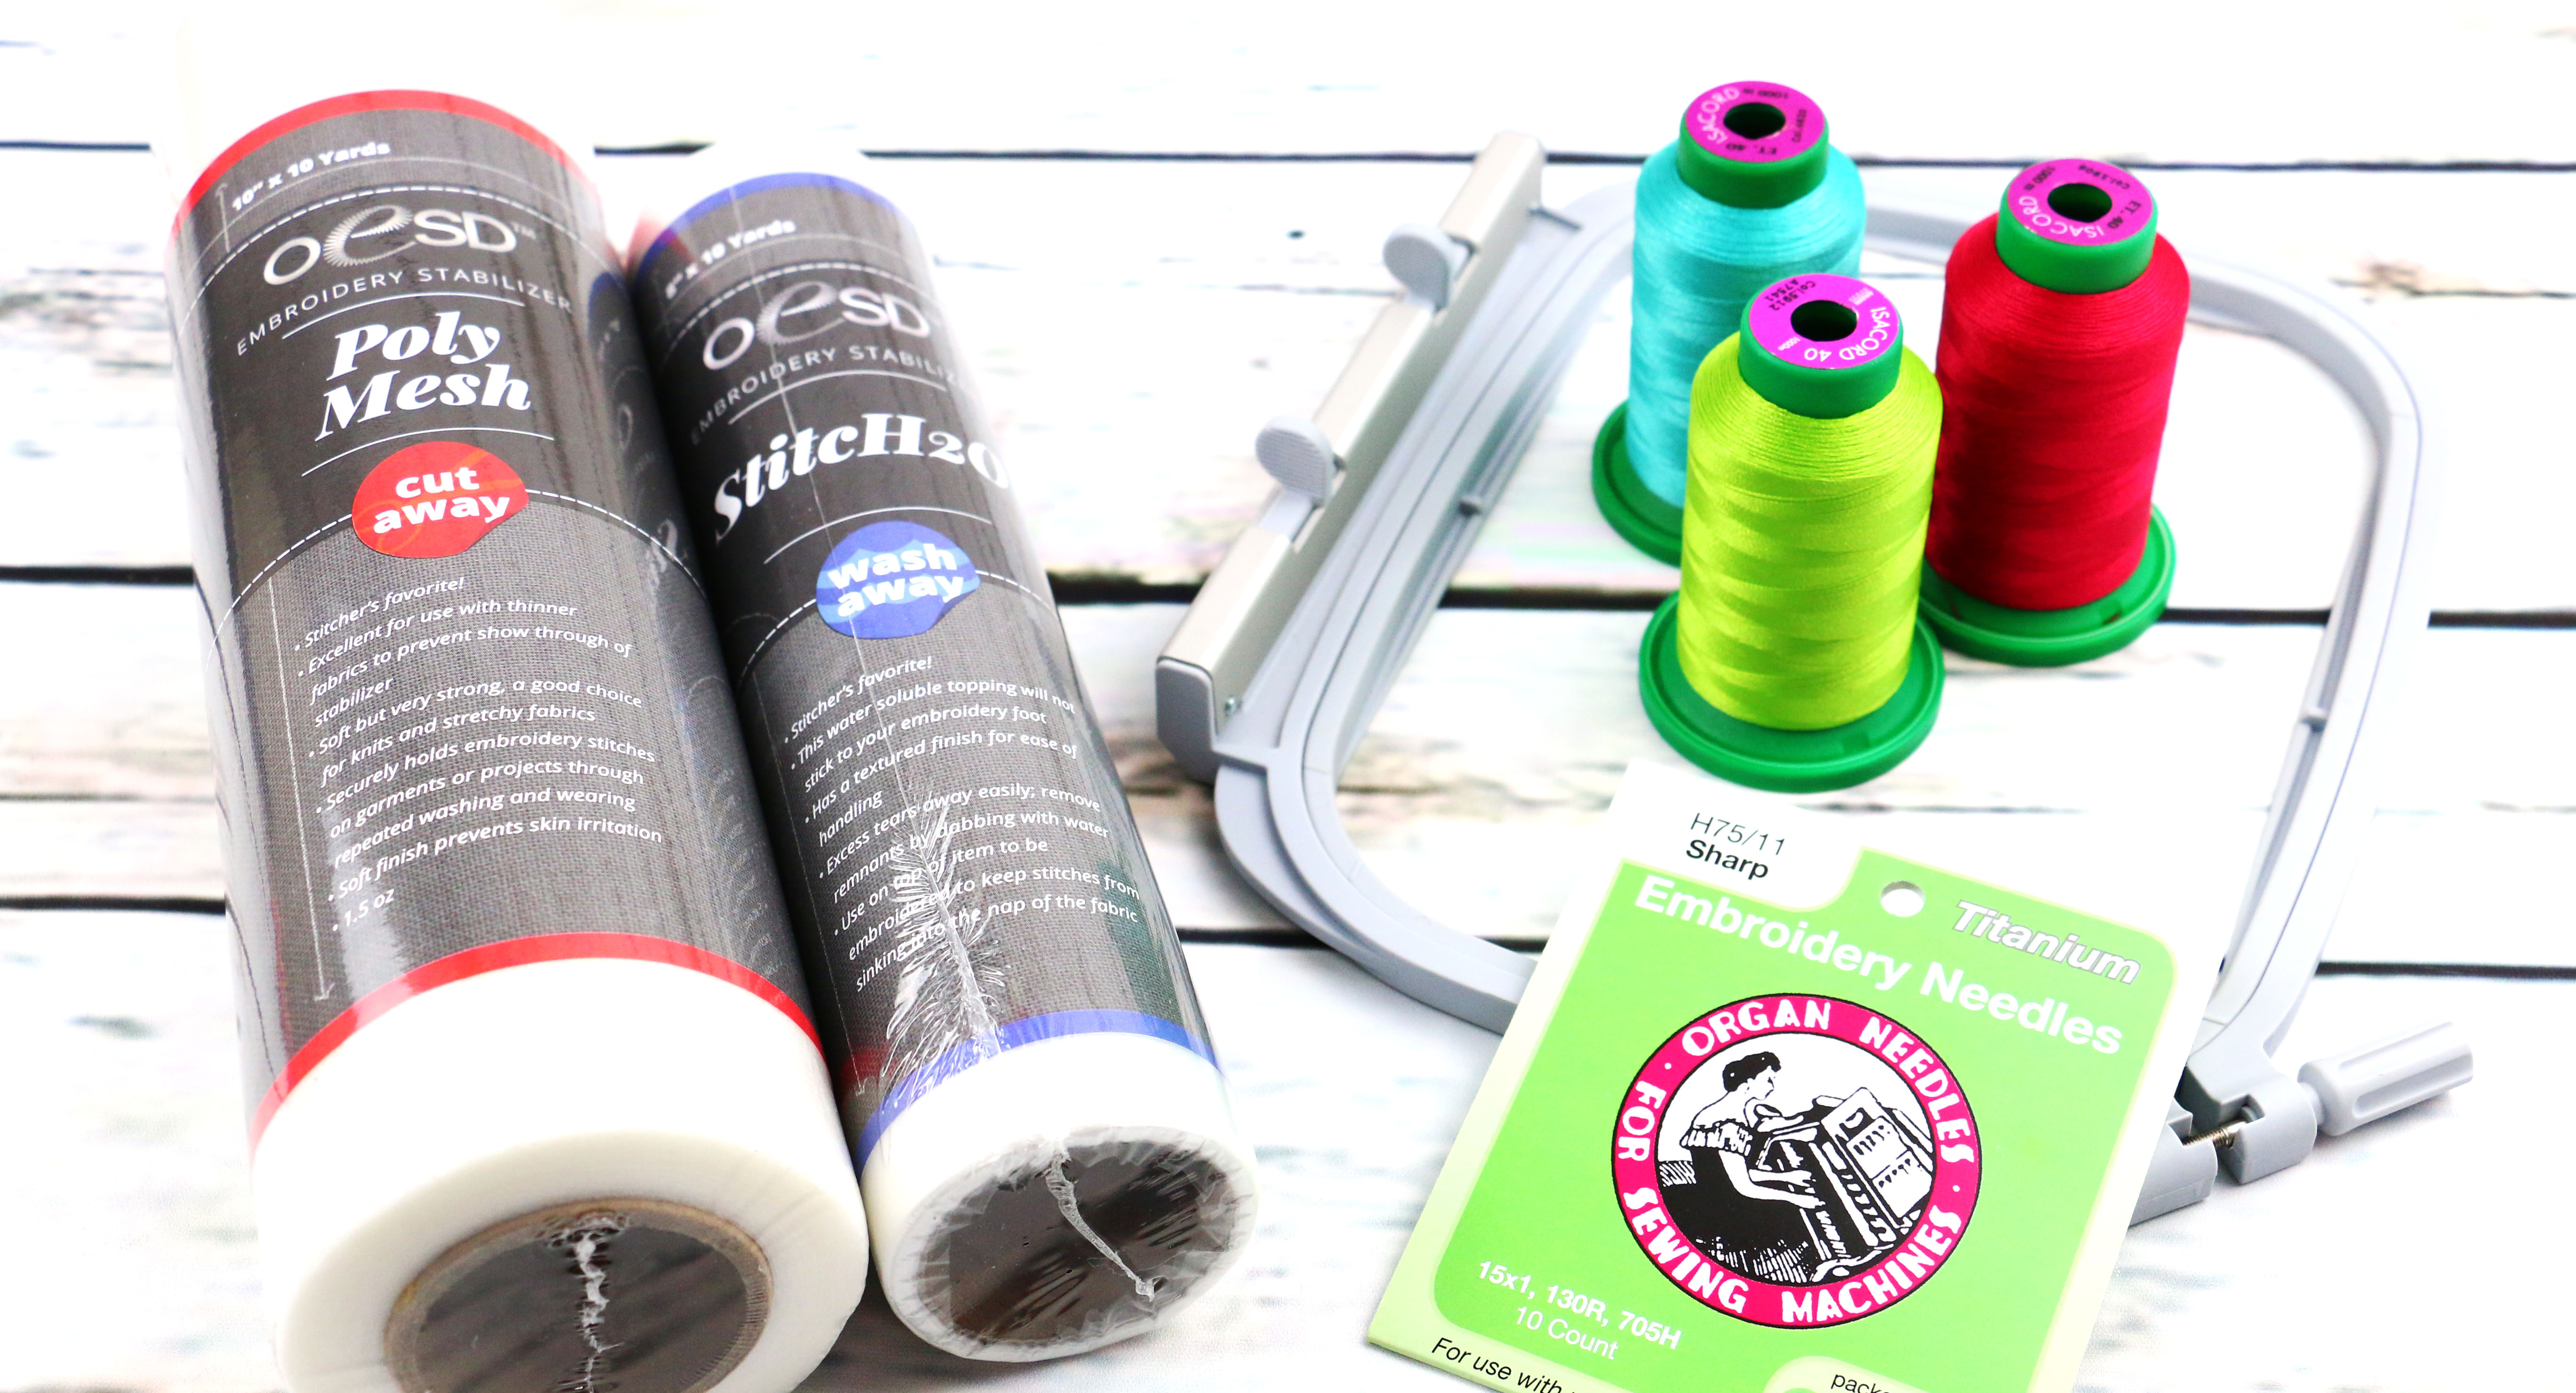
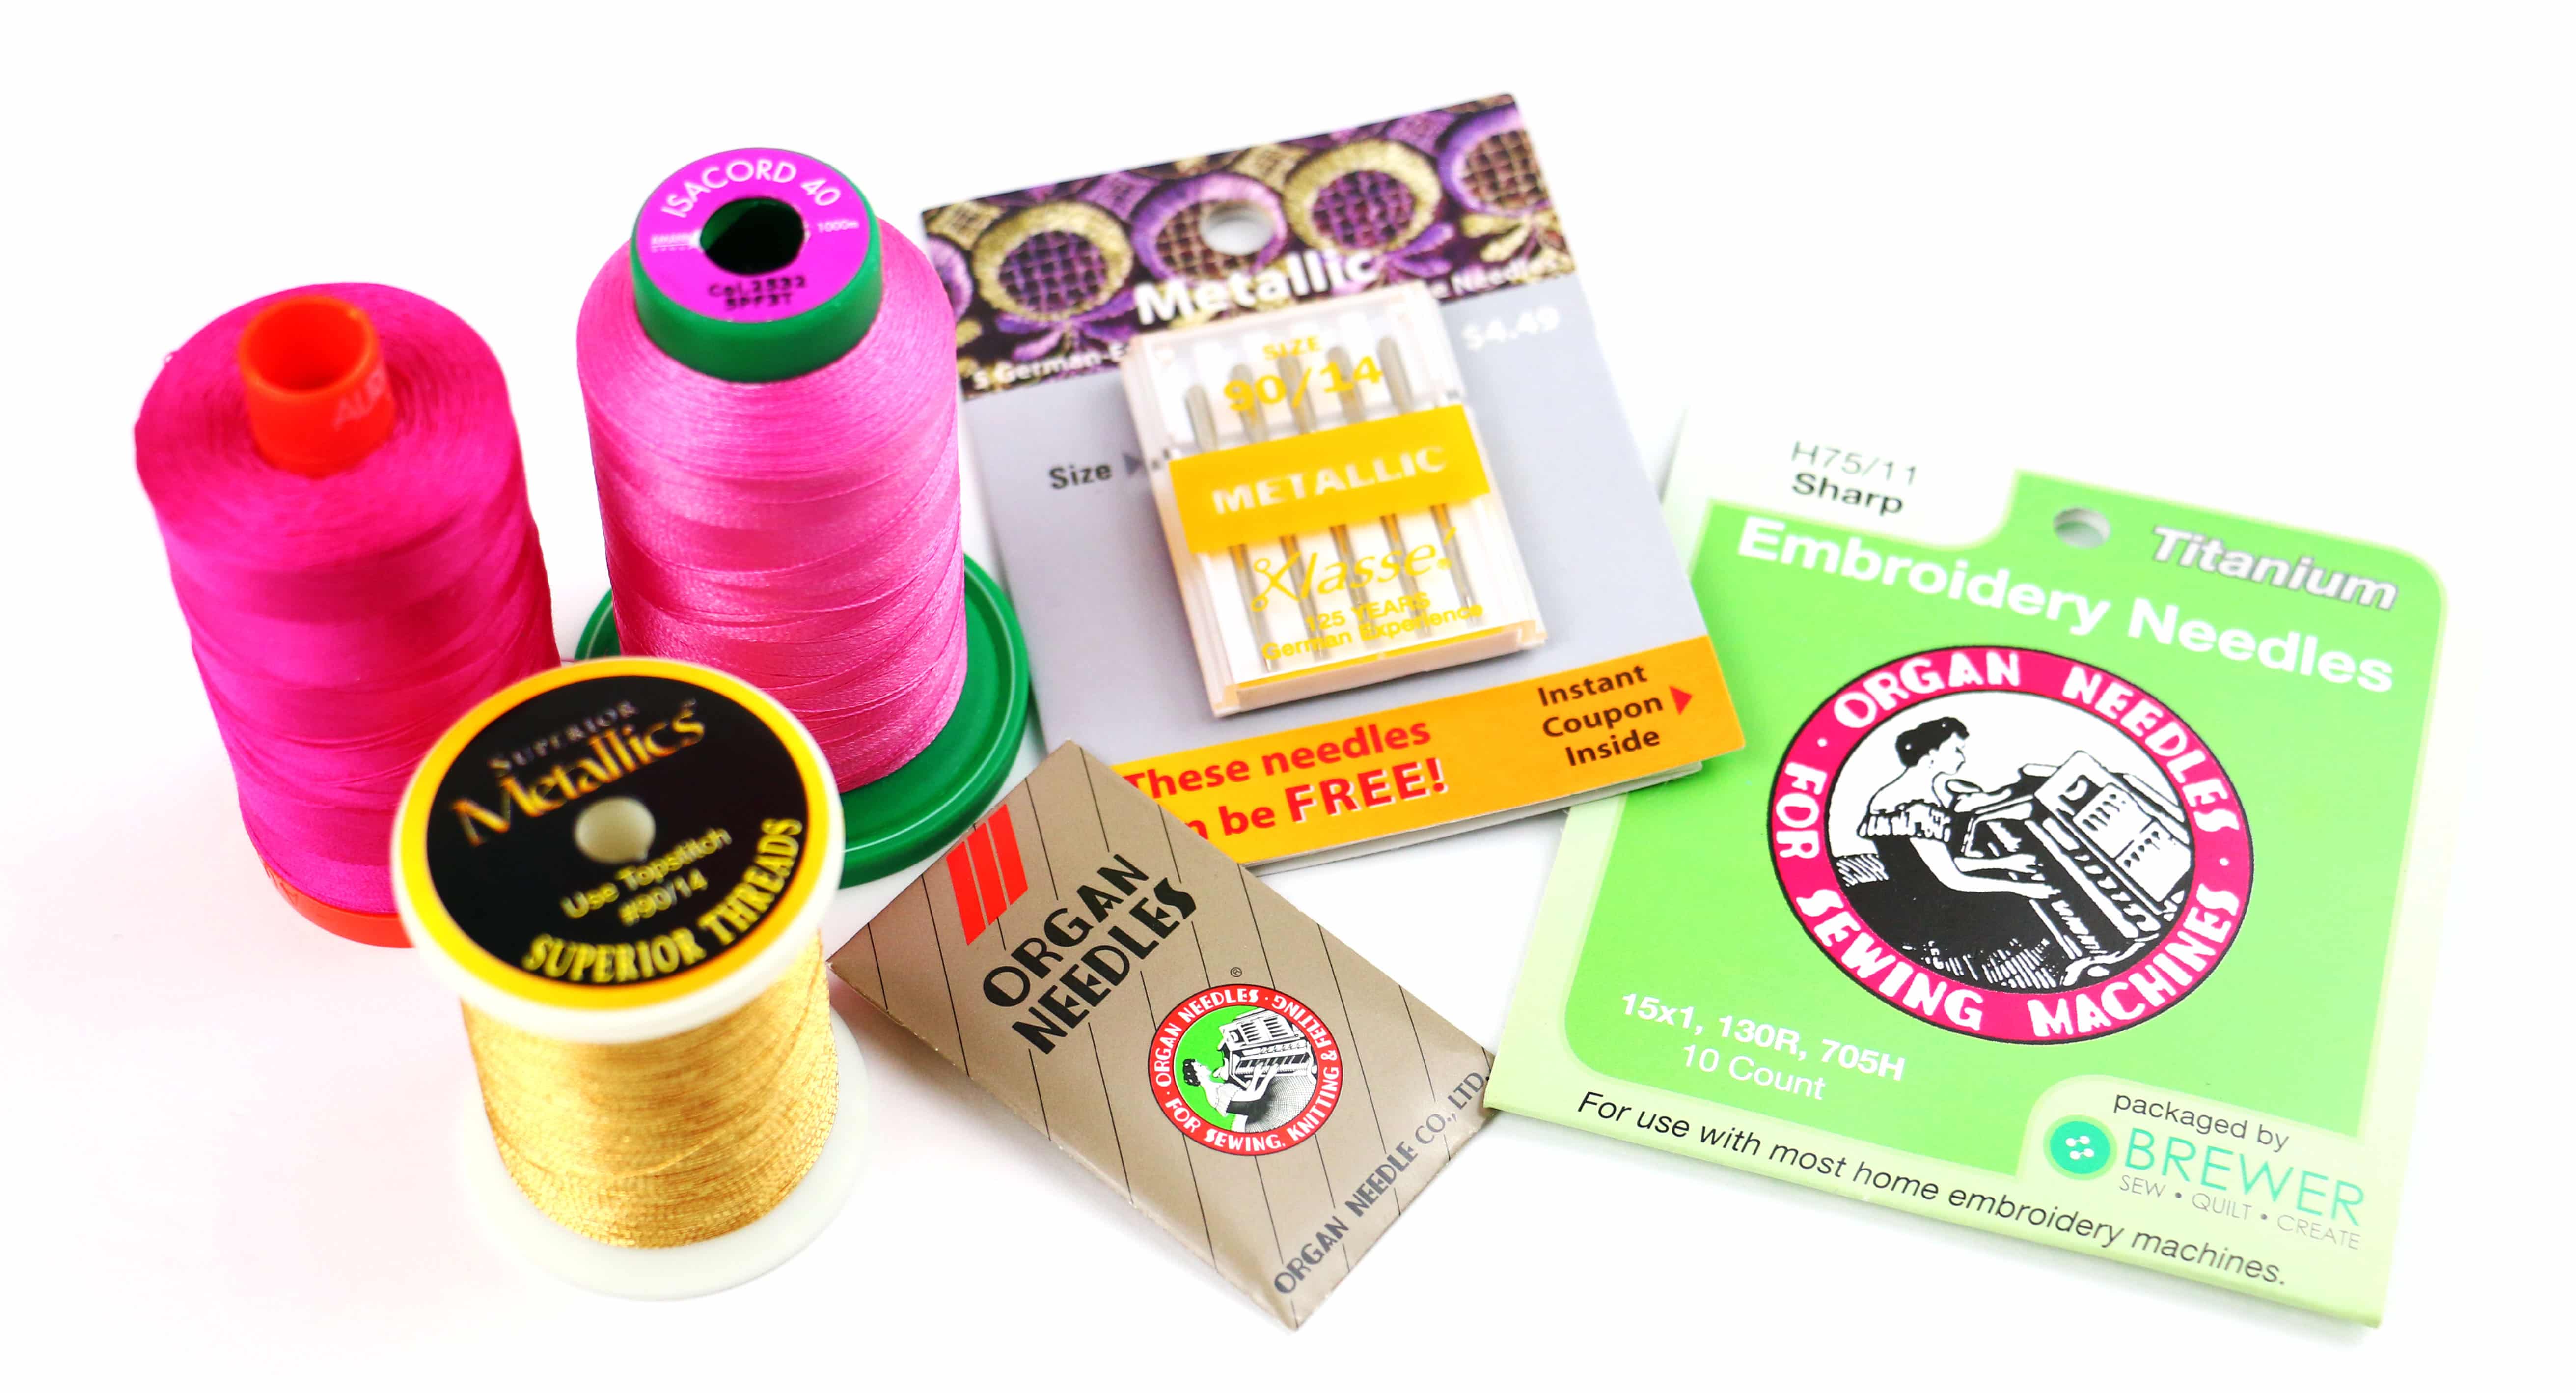
As covered in Part 7 there will be unique stabilizers for each type of napped fabric. With the Cuddle Luxe we will want to use two different stabilizers, the PolyMesh for the bottom and StitcH20 for the top. Use an embroidery size 75/11 needle and thread is totally up to you. However I would suggest sticking with a 40 weight Polyester. It will show up better on the napped material vs a thinner thread.
In the Hoop?
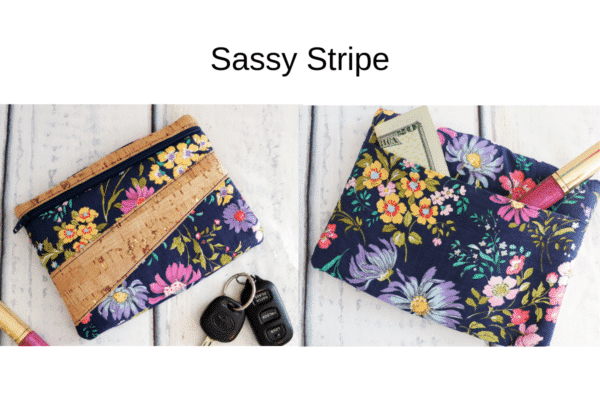
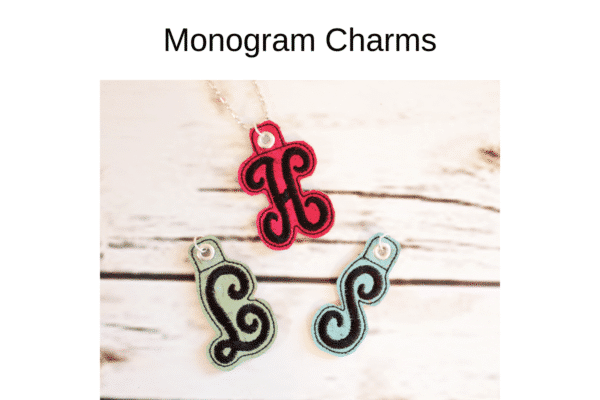
We have not covered what In the Hoop is yet however today I’m going to show you how to make an In the Hoop project. In the Hoop is a technique of machine embroidery where the project is constructed inside the hoop. Sometimes an In the Hoop project is partially finished requiring hand or machine sewing, like the Sassy Stripe Zipper Zipper bag show below. Other times an In the Hoop project requires no extra sewing such as the Monogram Charms.
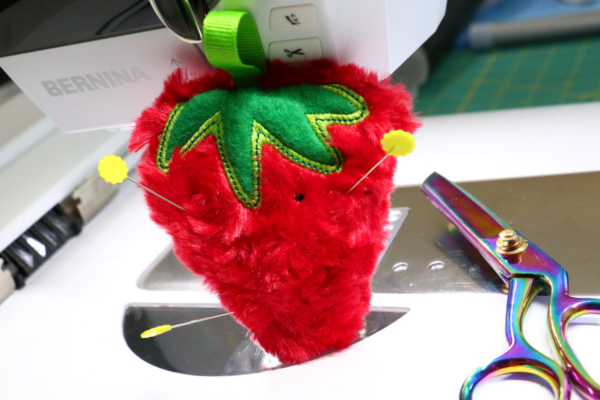
Today’s In the Hoop project features the Shannon Fabric Cuddle Luxe and felt to create an adorable Strawberry Pincushion. There will be a tiny amount of hand stitching after the filling is inserted. This pincushion stitches up fast and would be the perfect accessory to any sewing studio.
Supplies and Materials
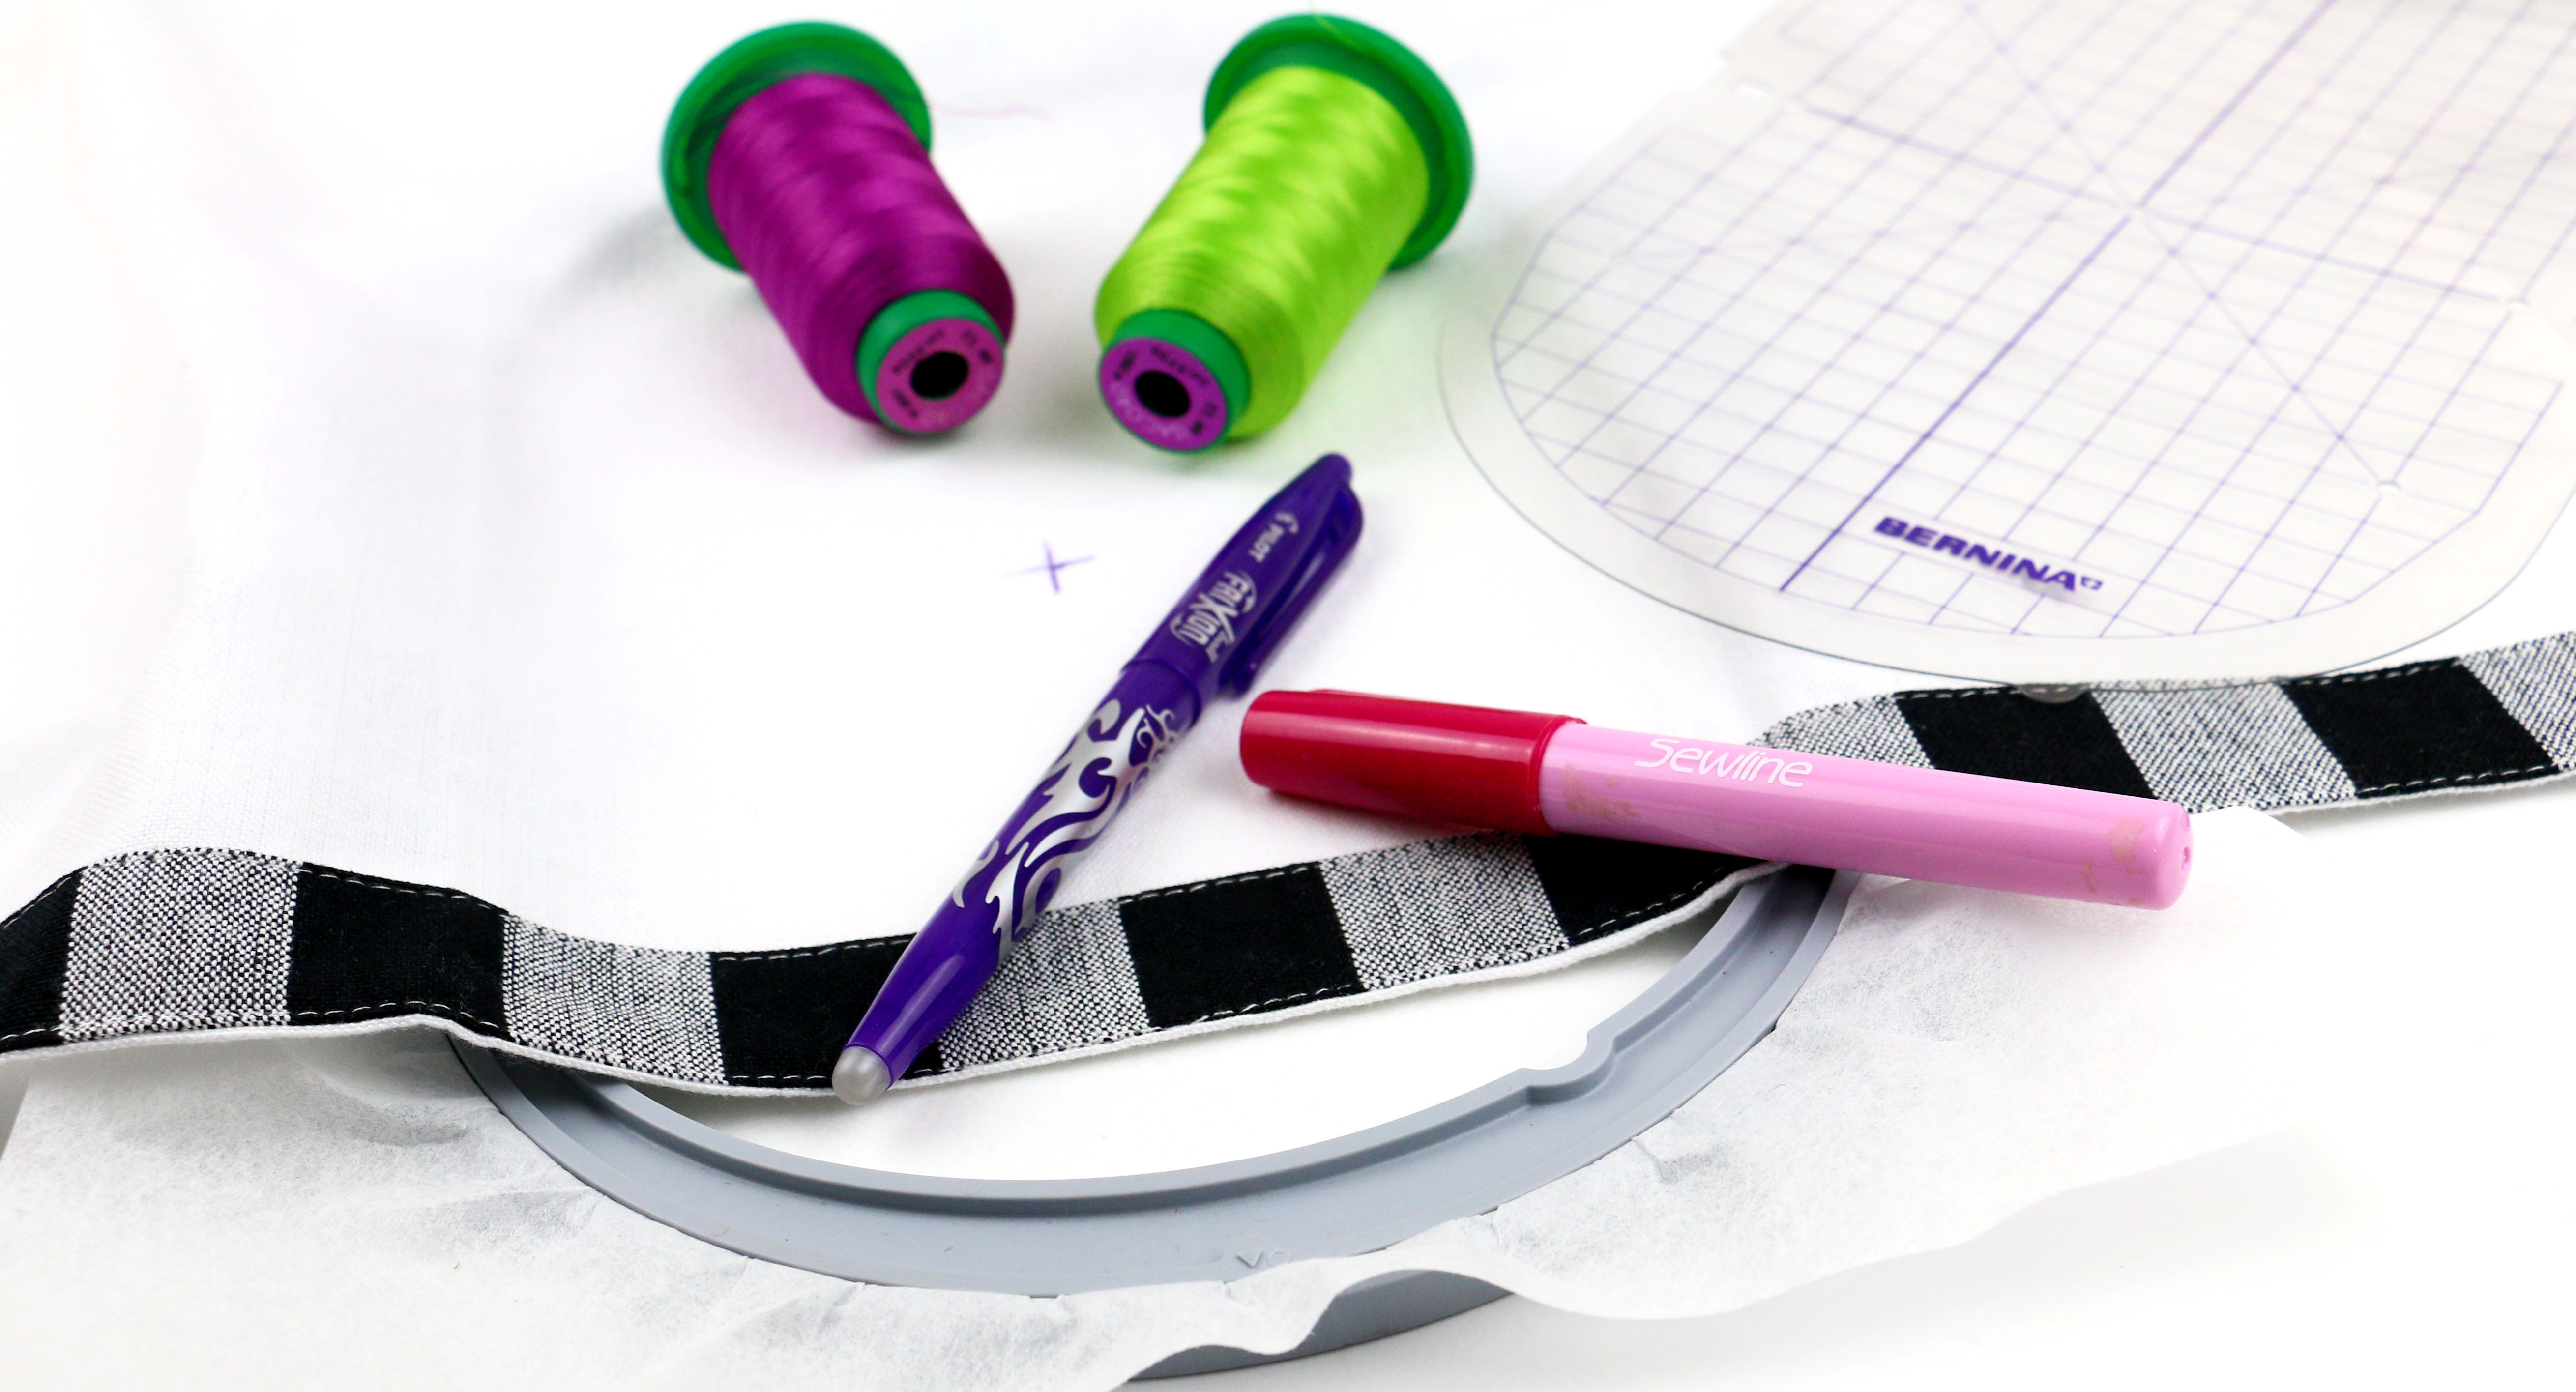
Here is a complete list of supplies and materials needed for the Cuddle Luxe Strawberry pincushion.
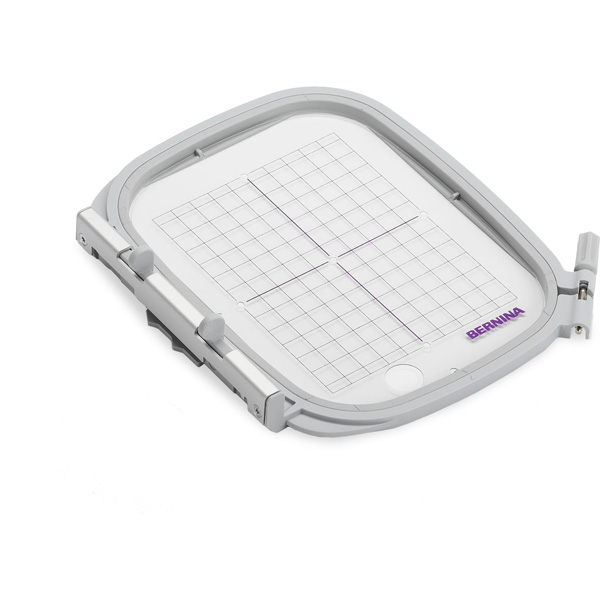
- Hoop (I am using the BERNINA 790 plus medium hoop)
- Cutting tools:
- Thread:
- 40 weight Polyester Red, Green, Dark Green and Black
- Matching bobbin of Red Embroidery thread
- 60 wt bobbin thread
- Stabilizer:
- Needle:
- Embroidery 75/11 needle
- Hand Sewing
- Point turner
- Clear tape
- Materials:
- Cuddle Luxe (I used the Cuddle Luxe Rose – Red color):
- (2) 5″ square for Front and Back, Red
- Felt:
- 5″ wide by 3″ tall, Green
- Ribbon: 3/8″ wide ribbon 4″ long
- Cuddle Luxe (I used the Cuddle Luxe Rose – Red color):
- Filling: Your choice – I used the Poly-Pellets
- Sheet of paper for funnel (for Ground Walnut shells or Poly Pellets)
- Download the Strawberry Pincushion embroidery designs
Embroider on Cuddle Luxe Strawberry Pincushion
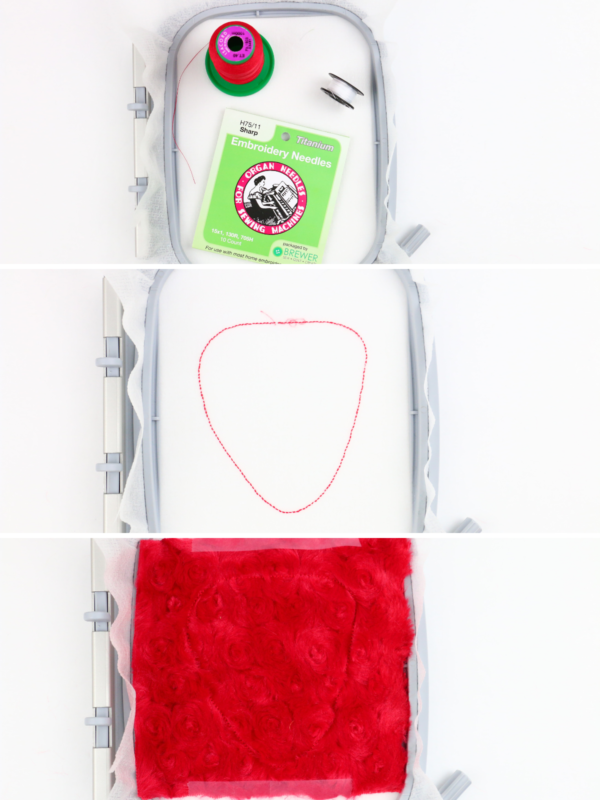
Insert brand new needle, 60 weight bobbin, thread top of machine with thread matching the front. Hoop PolyMesh stabilizer. Insert hoop into machine and sew the stitch #1, the placement stitch. Place the front right side up over the stitching, secure the top and bottom with tape. Sew stitch #2, the secure stitch.
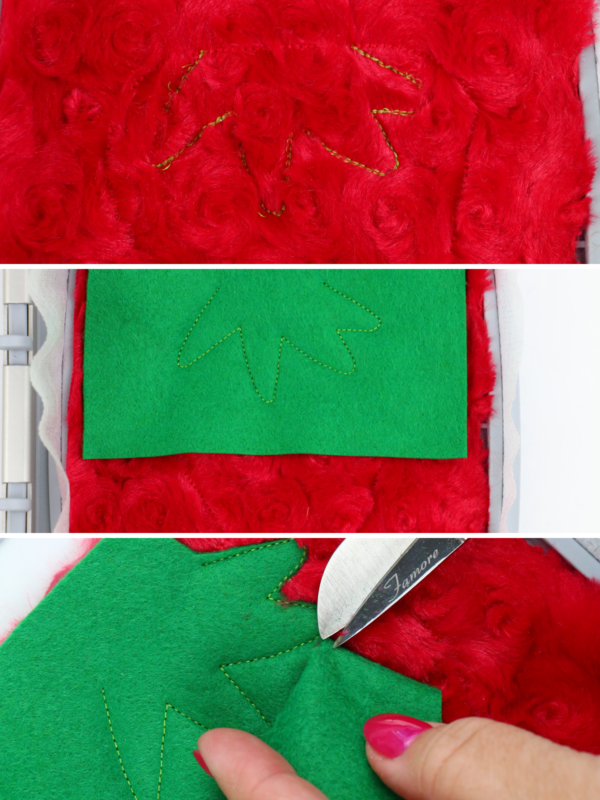
While hoop is in machine sew stitch #3, the stem placement stitch. Place the felt right side up over the placement stitch. Use tape to secure. Sew stitch #4 the stem secure stitch. Remove hoop from machine and place on a flat surface. Cut as close to the stitching without cutting the stitching along the sides and bottom of the stem pieces. *Do Not Cut the Top of the Stem* this will be set inside the seam allowance.
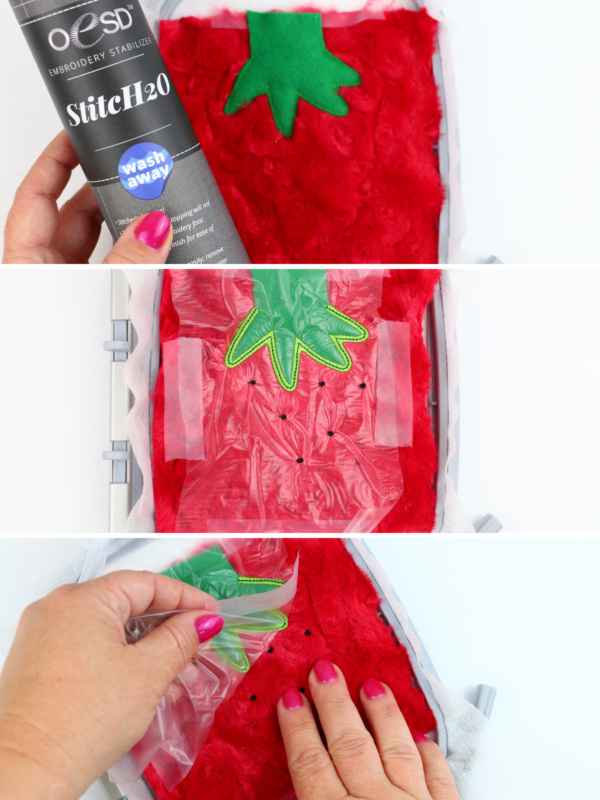
Place a piece of StitcH20 covering the front. This will help the satin stitches of the stem to lay flat over the Cuddle Luxe, and also the black seed stitches. Sew the satin stitch, #5, the center running stitch, #6 and the black seed stitches, #7. Once stitching is complete, remove the StitcH20 from the front, careful not to disturb the stitches.
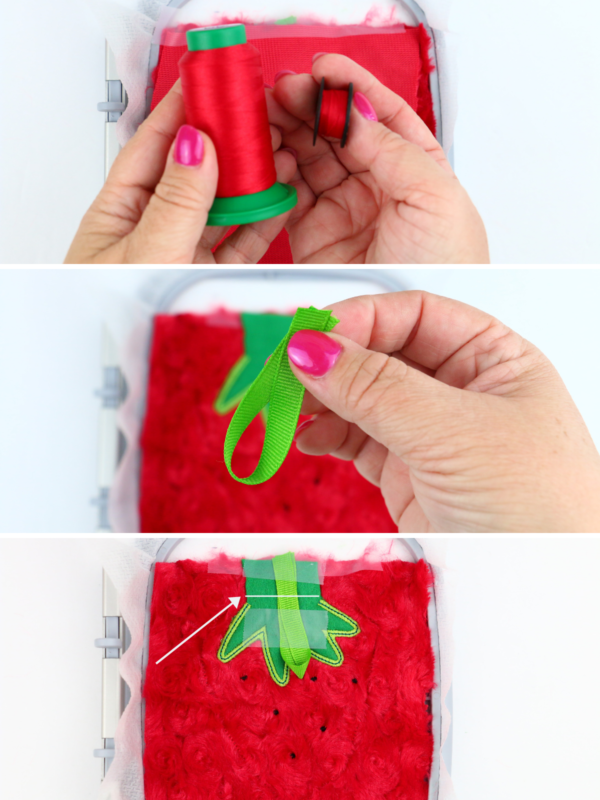
Change bobbin to match the top final construction stitch. Fold a piece of ribbon in half to form a loop. Tape to secure. Insert hoop into machine and sew stitch #8, the ribbon secure stitch.
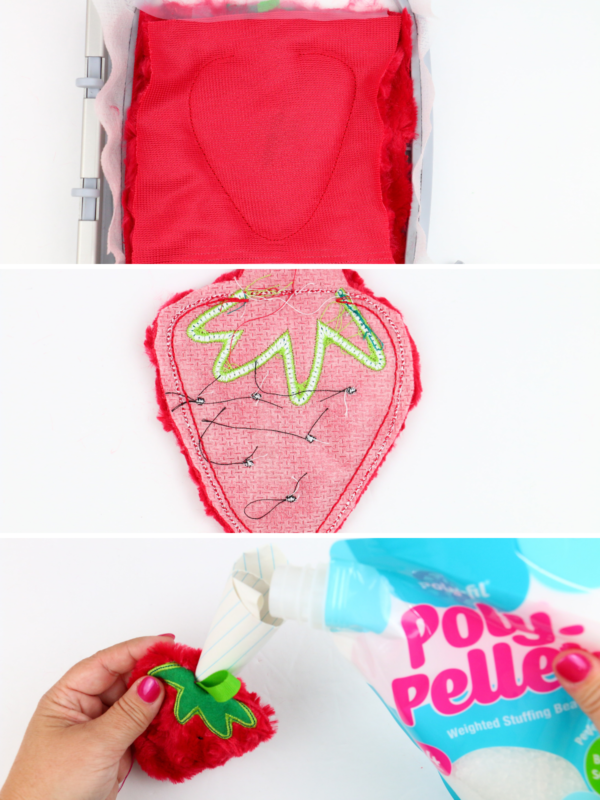
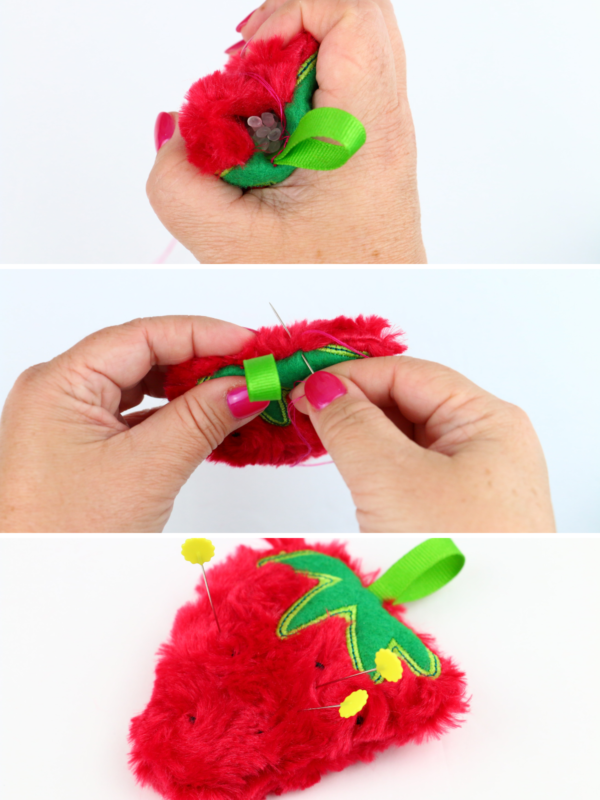
Place the back right sides down over the front. Secure with tape along the top and bottom. Sew the final stitch #9, the construction stitch. Notice the top portion is open for turning right sides out. Remove hoop from machine and materials from hoop. Cut all the way around outside stitching, leave about 1/4″ seam allowance. Leave about 1/2″ seam allowance at opening. Turn right side out. Use point turner as needed to smooth out seams. Roll piece of paper to form a funnel. Carefully insert filling into strawberry pincushion.
Once desired amount of filling is inside the pincushion, hand stitch closed. Pin away!
What is next?
The last part of my Embroider-Along is working with Pet Screen which is a type of sheer material. I will show how to make a tiny In the Hoop zipper bag to hold small notions. It’s going to be a fast and easy project, be sure to bookmark this page to come back again.
When did you get your first embroidery machine? Let me know in the comments below and please ask any questions you might have about materials I haven’t covered. Be sure to keep following along here, you can also follow BERNINA on Instagram and Facebook to see the latest post!
Here is the Embroider-along schedule:
- Embroider-Along Part 1: Intro four most popular materials for machine embroidery
- Embroider-Along Part 2: Stabilizer and Materials
- Embroider-Along Part 3: Needles and Thread
- Embroider-Along Part 4: Placement and Hooping for Machine Embroidery
- Embroider-Along Part 5: How to Embroider on Knits
- Embroider-Along Part 6: How to Embroider on Woven Materials
- Embroider-Along Part 7: How to Embroider on Napped Fabrics
- Embroider-Along Part 8: How to Embroider on Sheer Materials
- Embroider-Along Part 9: How to Embroider on a Ladies T-shirt
- Embroider-Along Part 10: How to Embroider on a Pillow Case
- Embroider-Along Part 11: Napped – How to Embroider on Luxe Cuddle® Rose
- Embroider-Along Part 12: How to Embroider on a Pet Screen
Until next time I hope you have a creative day, bye-bye!
Sue
What you might also like
14 comments on “Embroider-Along Part 11: How to Embroider on Cuddle Luxe”
-
-
That is so wonderful! A larger area is nice to cover more space and do more complicated designs. Happy embroidering.
Sue
-
-
Fun project and good tip on working with Cuddle Luxe, Sue!! I got my first embroidery machine a little over 2 years ago (it only had a 4×4 hoop so upgraded 3 months later to one with a 6×10 hoop…2 months ago upgraded to a 10 needle). Guess you could say I love machine embroidery!! Thanks for the cute strawberry pin cushion pattern :o)
-
You’ve come so far so fast!! Machine Embroidery is such a fun and fast paced hobby. Happy to hear you’re having a good time!
Sue
-
-
This has been a great series of tutorials so far, Sue. I got my 1st embroidery machine (a Bernina 170) about 15 years ago and have upgraded 3 times since then. I have a 590 now and am looking forward to being able to use some larger designs with the midi hoop. Thanks for doing such a thorough job. I am learning something new all the time.
-
Love the 590!! Beautiful machine with excellent embroidery. That Midi hoop was a great investment. Thanks for stopping by and happy you are enjoying the series.
Sue
-
-
Hi Sue, Thank you so much for this fun and darling pincushion! Your detailed yet easy to understand instructions make your projects the best!
-
🙂 So glad you are following and always love your kind words!
Sue
-
-
If I am using the cuddle lux for an applique and the fabric stretches in both directions, do you suggest a fusible on the back. Thanks for the tutorial. I bought my first embroidery machine about 10 years ago.
-
Sorry for the delay. I must have missed it.
To answer your question. IF you feel like it is shifting too much I would use one of two things:
1. Fusible WOVEN interfacing on the wrong side (Shape Flex is a good one)
2. Fusible paper back web (such as Steam a seam or Heat n Bond) then peel away the the paper and you could press the applique onto the main fabric after it is stitched.Let me know how it goes
~Sue
-
-
Hi Sue, I bought my first embroidery Machine in 2013. It was the Bernina 580! I’ve since traded up to the 790 and now the 880 Plus Anniversary edition. I love embroidered items and have enjoyed learning how to do different things. This was a fabulous series! Most of my problem is fear, but this series has taken the fear out of a lot of things and given me the confidence to branch out and do more embroidery! Thank you so much for a great series!
-
Oh yes, Fear!!! We have all been there. I say just dive it!! Start with something simple and work your way up. Each project will empower you and give you confidence. I am always here to help run ideas by to and so are the rest of the BERNINA folks!
Go for it!
sue
-
-
I received my first sewing machine, which was a heavy duty mechanic machine, 44 years ago and loved on it during my fashion clothing sewing days. I received my first embroidery machine about fifteen(15) years ago. It had a small embroidery field but it sounded so grand & I worked it so well. I sold it to my friend who loves it as well.
I love my newest edition – Bernina 765 Rose Gold SE. has a great large hoop field & wonderful designs. Before buying the B765 I used the Bernina 440 QE with embroidery module to do most of my embroidery, that was a workhorse of a machine.
Glad to see Bernina educators covering topics as embroidery and in the hoop projects. They are wonderful to stitch out.-
Yay!!! Thank you for the loyalty to the BERNINA family of machines. Nothing stitches like a BERNINA and it sounds like you know that all too well. Please tag me and BERNINA in any pictures you post, we do love seeing final stitch outs!
~Sue
-
Leave a Reply
You must be logged in to post a comment.



My husband bought me my first embroidery machine about 20 years ago. Used it a lot but it would only do small designs. I’ve recently upgraded to a machine that can do larger designs and love it!!