Embroidered Garden Flag
Embroidering on blanks is a fun and easy way to create cute décor for your home. Embroidery blanks are items that are already sewn and they are made so embroidery can be added easily. OESD has a great line of blanks that you can purchase online at EmbroideryOnLine.com or at your local BERNINA retailer, which is where I got the blank I will be using today.
I love using blanks, particularly when I don’t want to sew anything, I just want to embroider! They’re also great when you need a gift fast.

Let’s make a sweet garden flag with a welcoming message!

Machine and Products Featured
Materials for Embroidered Garden Flag
- OESD Garden Flag
- OESD Stabilstick Cut Away
- OESD Fusible Woven
- Water Soluble Marking Pen
- OESD Bobbin Thread
- 75/11 Embroidery Needle
- 80/12 Microtex Needle
- Embroidery Thread
- Thread to match the flag
- Embroidery Design
- I used “Pineapple Welcome” from the Pineapples collection from OESD
Embroidered Garden Flag Instructions
Step 1: Prepare the Flag
Begin by pressing your flag with the low heat setting on your iron. Fuse a piece of OESD Fusible Woven to the wrong side of the flag front.
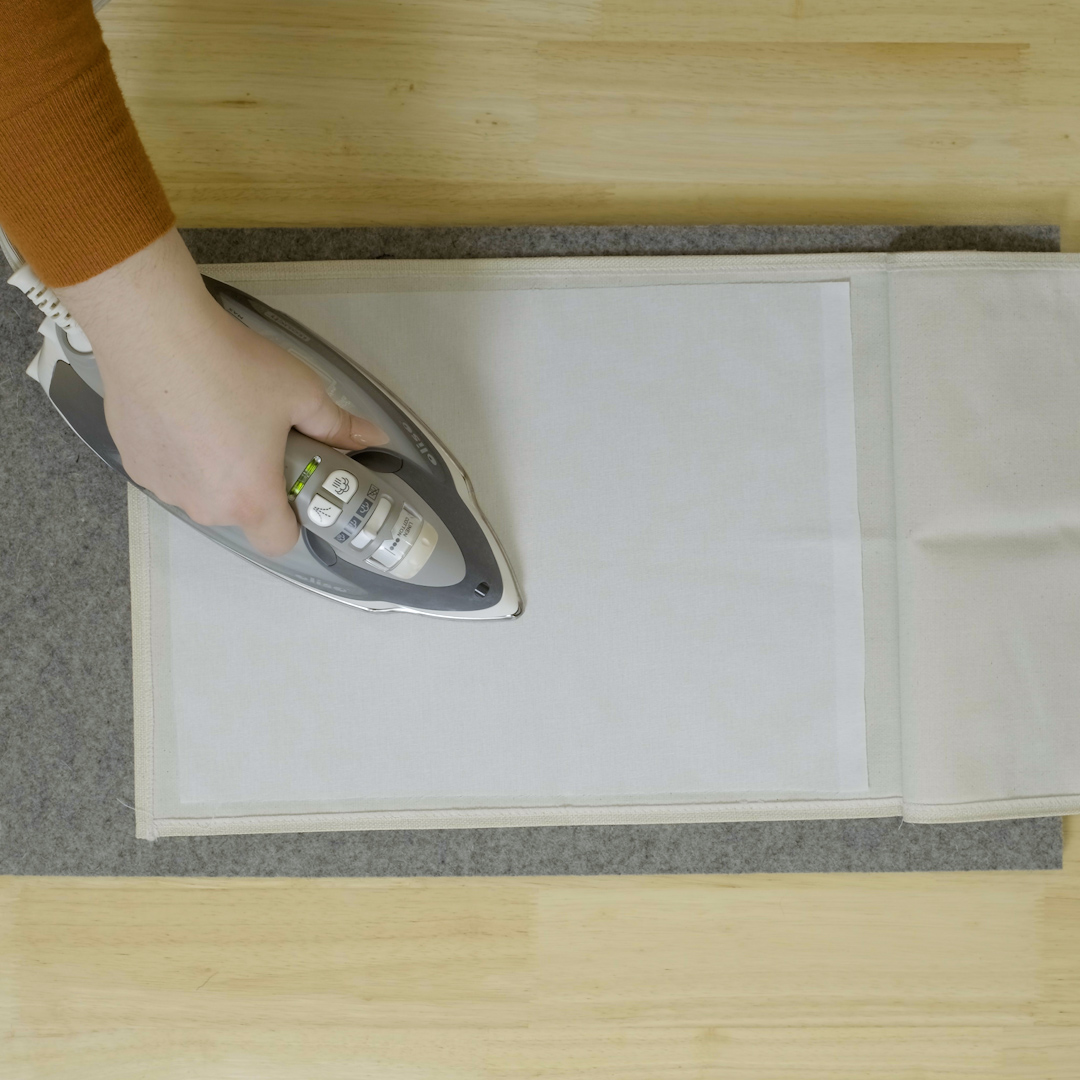
Next, we will mark the center of our flag. To find the center, I like to fold the flag in half and press the center in with my iron. To use this method, first, you will fold the flag front in half, length-wise with the right sides together, and press the crease in with an iron.
Tip: When marking the center with an iron for embroidery, it’s important to always fold the fabric right sides together. We do it this way because we want the front of the item to have the “valleys” in the fabric and the back to have the “peaks”. The peaks of the fold could interfere with the foot and your embroidery, while your foot will glide over the valleys of the fold quite nicely.

Open the flag front then fold in half widthwise with right sides together. Press a crease with the iron.

I typically work with just the creases to mark the center horizontal and vertical lines. However, depending on your material, this method can be a little hard to see in the hoop when embroidering, because of this, I will sometimes make the mark more obvious using a water soluble pen. Once the center is marked, set the flag aside.

Step 2: Prepare the Hoop
Cut a piece of OESD StabilStick CutAway to fit the size of your hoop, plus 1.5”-2” on every side of the hoop. With the shiny paper side of the stabilizer up, remove the entire paper baking. Careful! This stabilizer will stick to anything, especially itself, once the backing is removed.

With the sticky side up, hoop the stabilizer by itself.

Press the flag, right side up, into the center of the hooped stabilizer. Make sure the flag is flat to the stabilizer with no pulling or creasing of the fabric (except for the center marking crease)

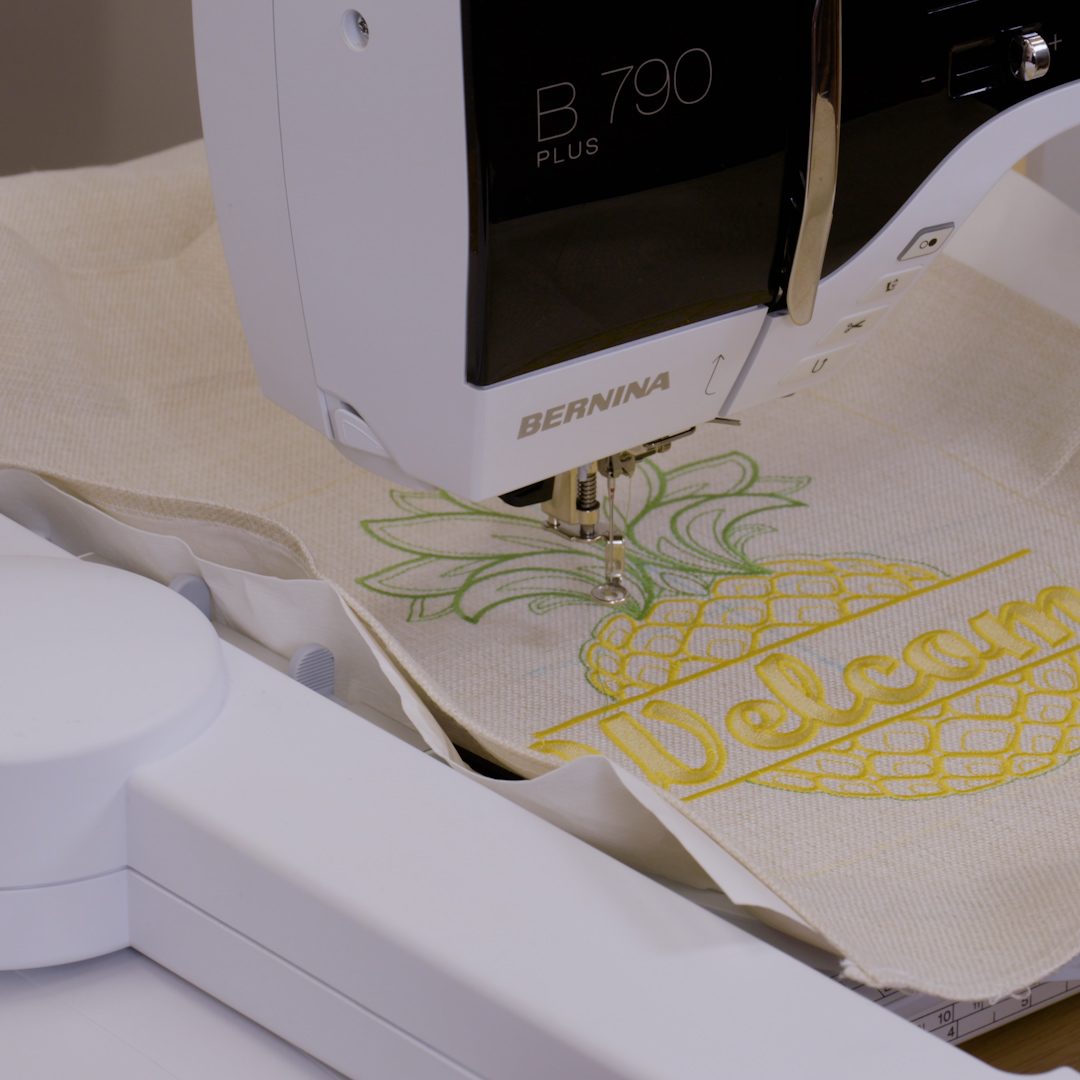
Step 3: Embroider the Flag
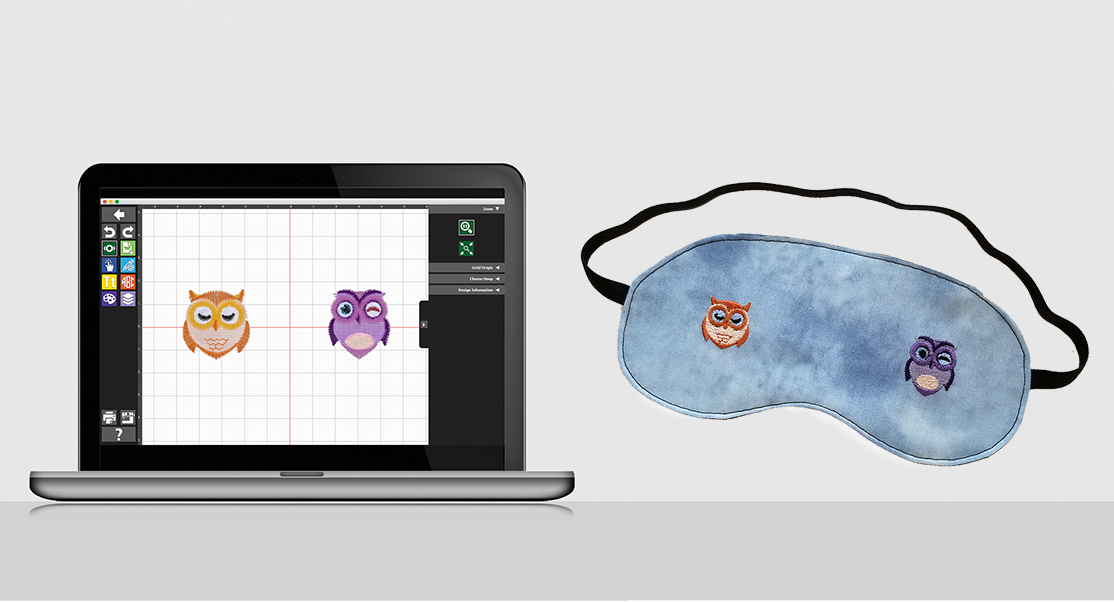
On the machine, bring up your embroidery design. Once you have edited the design and make any changes to make it look as you would like, select the Information icon, then select Pinpoint Placement. The machine will prompt you to put the hoop on the machine at the proper time. Place the hoop on the machine as prompted. Once this is done you will see the Pinpoint Placement screen, where you can select the grid feature.
Tip: Do not place the hoop on the machine until the machine prompts you to do us. If you do, the machine will just prompt you take off the hoop anyway, so we are simply saving ourselves time (and maybe even a little annoyance) by waiting to put the hoop on the machine until prompted.
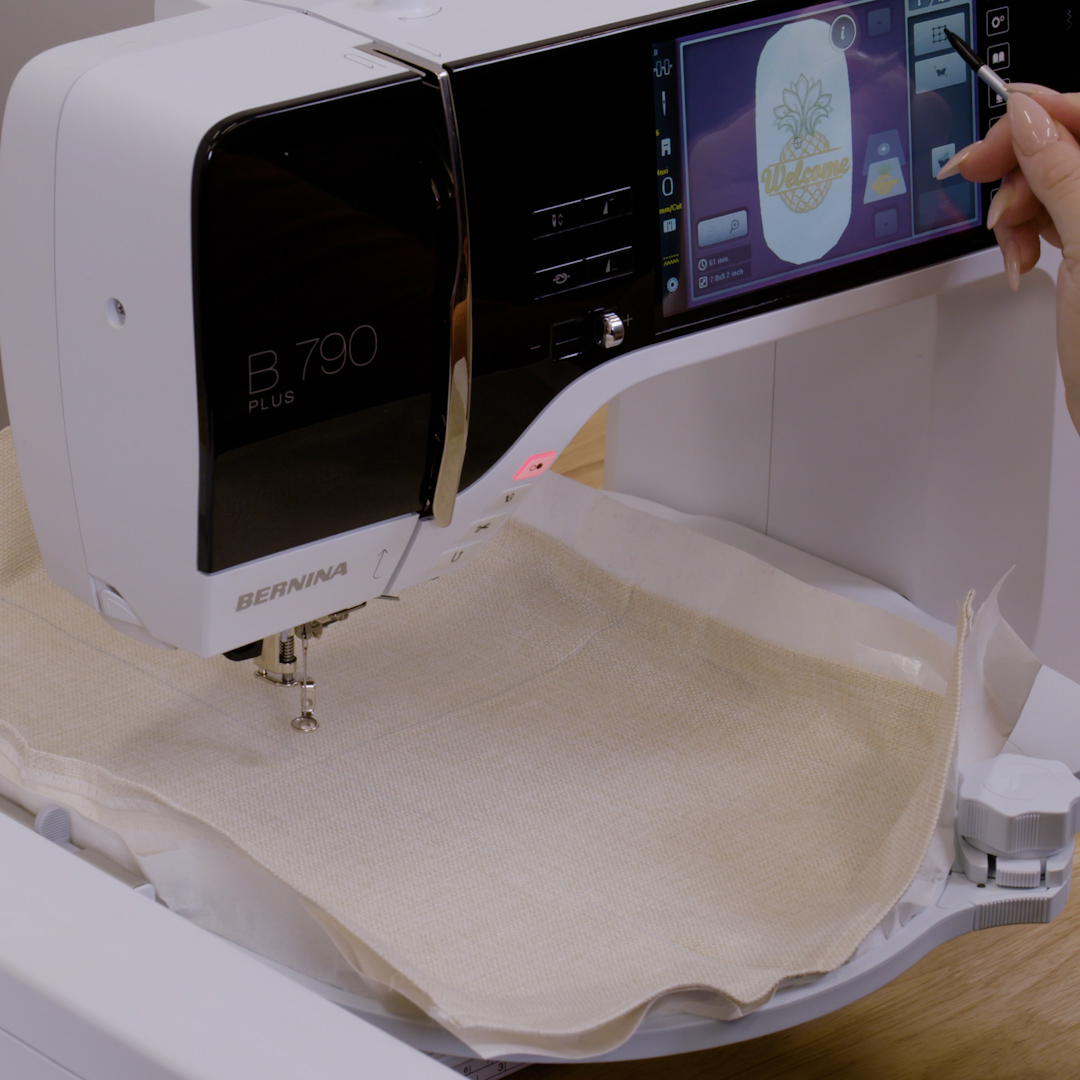
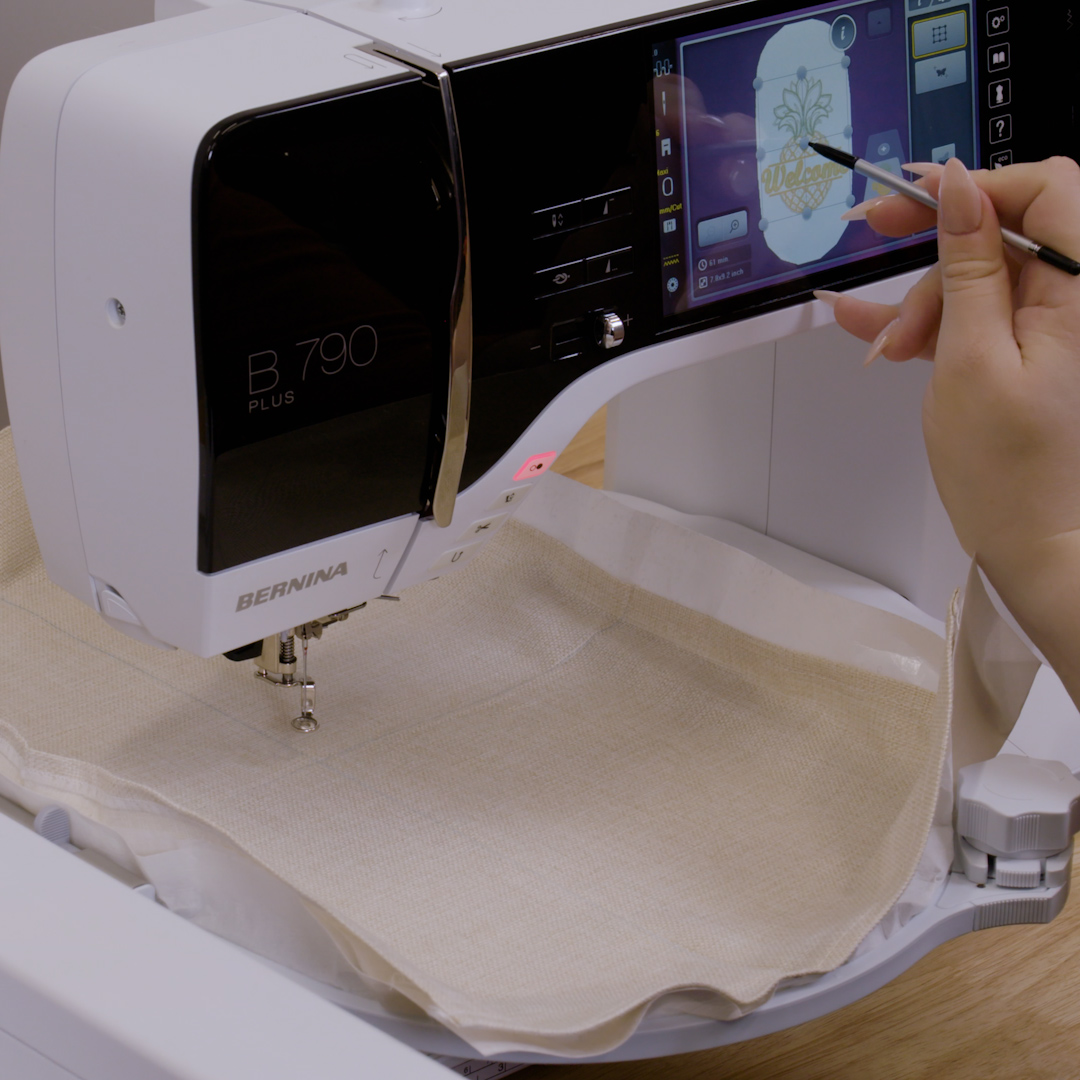
In the Pinpoint Placement screen, I like to choose the center radio dot first so I can use the Multi-function knobs to get the design centered over the marked center. Then it’s easier to use Pinpoint Placement to correct the design if the fabric is titled too far left or right. When the dot is positioned at the center press marks, touch Set.
Tip: Roll the hand wheel toward you to lower the needle and check your placement. Make sure the needle is all the way up before attempting to move on.
Then choose either dot to the right or left of the center dot. Position this dot along the horizontal pressed line, touching Set when the dot is positioned.
Once you have perfectly placed the pineapple in the center of your project you can begin embroidery.
Select the OK (check) icon to get started This icon can be found to the right of your screen under the Color Palette icon.
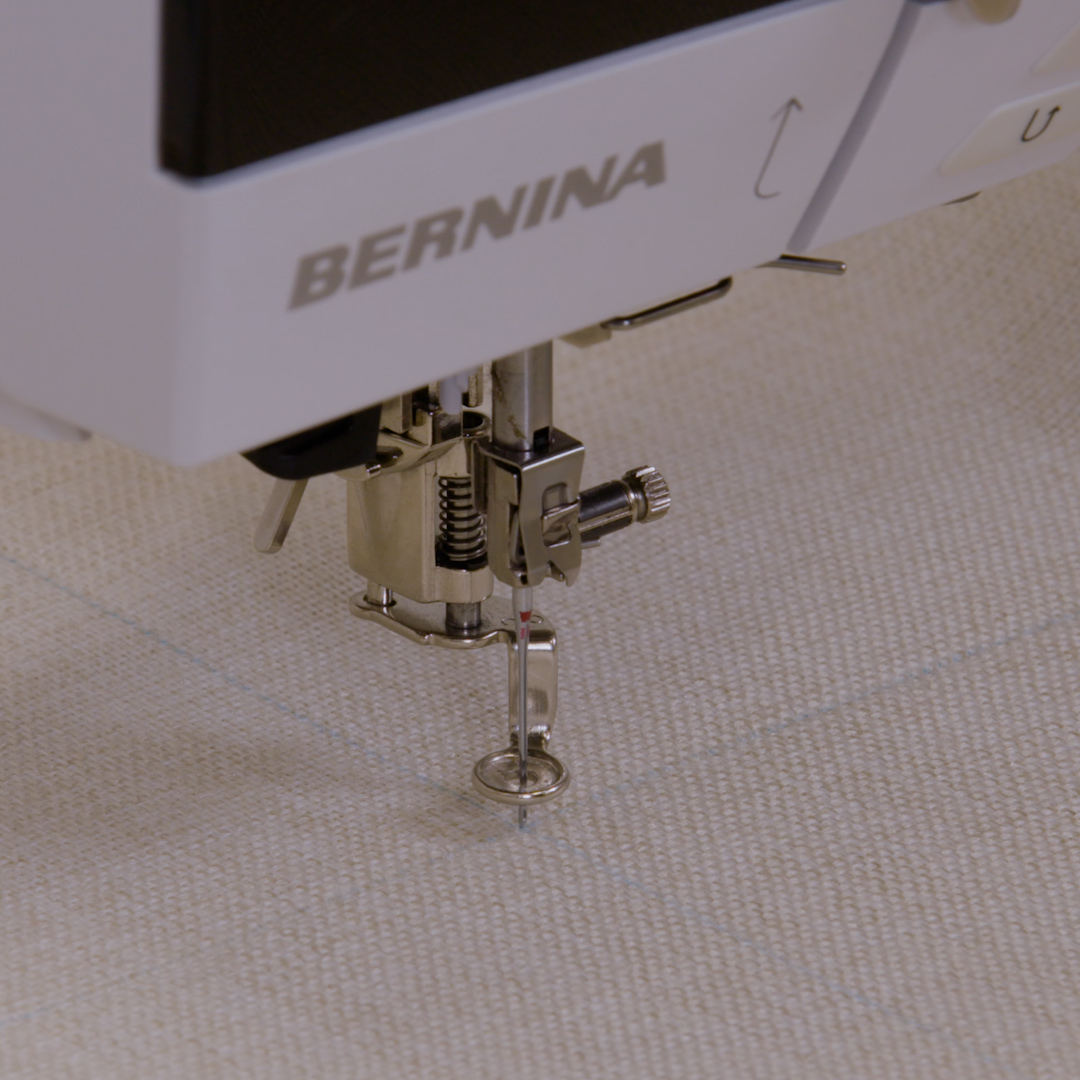
When the sewing screen appears, select the Basting Box icon. Anytime you are floating a project in the hoop as we are now, you should select the basting box to ensure the material cannot shift during stitching. Touching the Basting Box will toggle between No Basting Box, Design Basting Box and Hoop Basting Box. We will use the Design Basting Box for this project.
Tip: I love that my BERNINA allows me to use my foot pedal to embroider! This really comes in handy for basting boxes like we are doing now. I can stitch slowly and stop the machine instantly by simply removing my foot from the pedal if needed to smooth out any wrinkles. It is especially helpful when using a water soluble topper because you can simply lift your foot and the machine will stop so you fix any bubbles, etc. Topper can be tricky to get to lay just right, so the added control of using the foot pedal to stitch really helps!

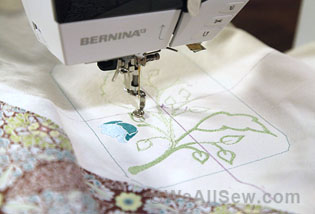
Once your basting box is finished, we are ready to start the embroidery. Press and hold the green button on the front of the machine to start the embroidery. Once the machine starts stitching, you may release the button.
Remember, when the machine is stitching we want to be very careful that nothing is in the way of the free arm or that we don’t bump the module, machine or arm. Before stitching, I always check the area, and during stitching, I am always careful to not bump the machine in anyway.

Allow the machine to finish stitching. Isn’t it cute?
Step 4: Finish the Flag
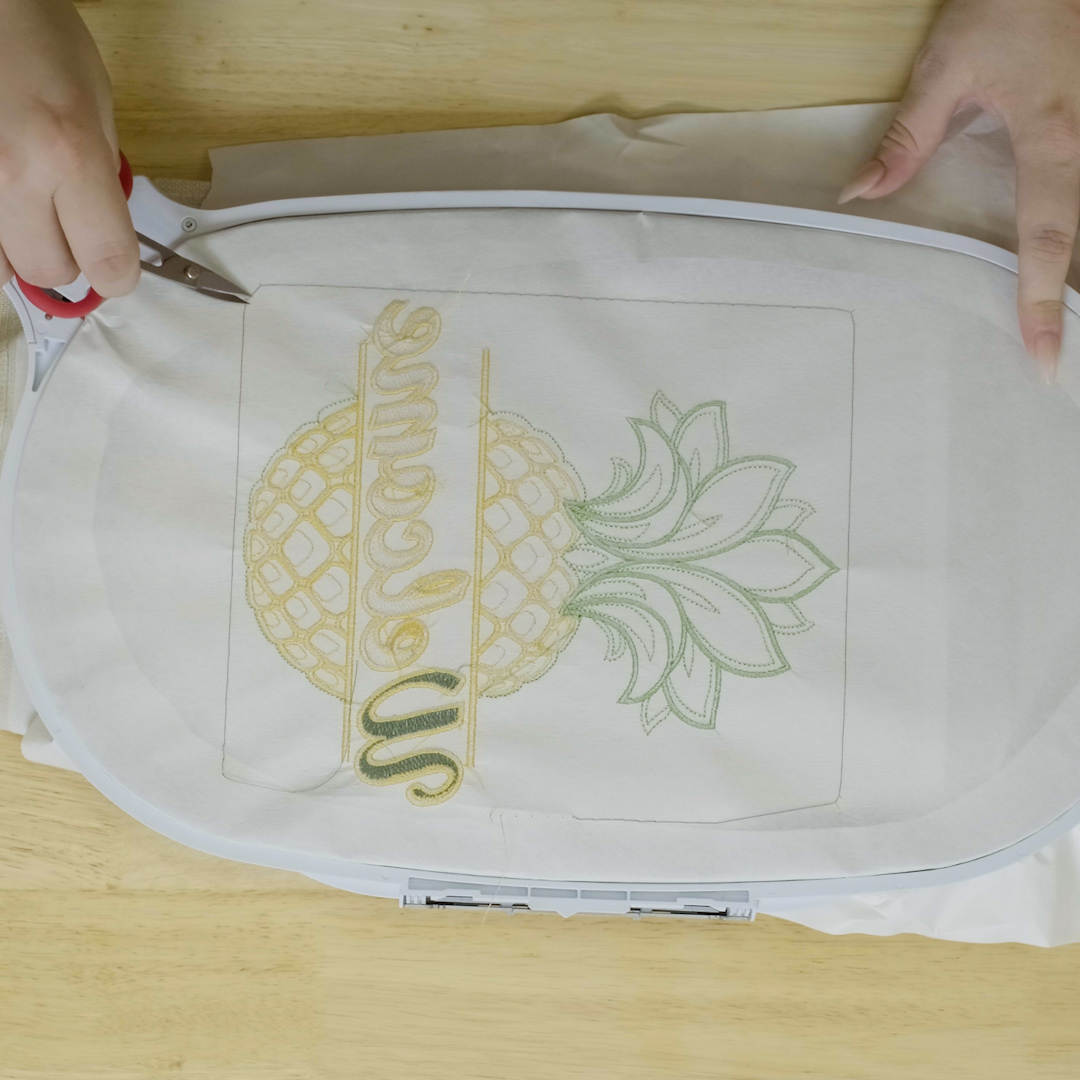
When the machine is done stitching, remove the hoop from the machine. Turn over the hoop and snip the basting stitches. This will help the basting stitch remove easily from the front.
Change your machine from embroidery to sewing. Attach the Reverse Pattern Foot #1D, an 80/12 Microtex Needle and change to the thread that matches your garden flag. Depending on the color of the garden flag and the bobbin thread you used, you may want to swap out the bobbin thread as well. Engage the Dual Feed.
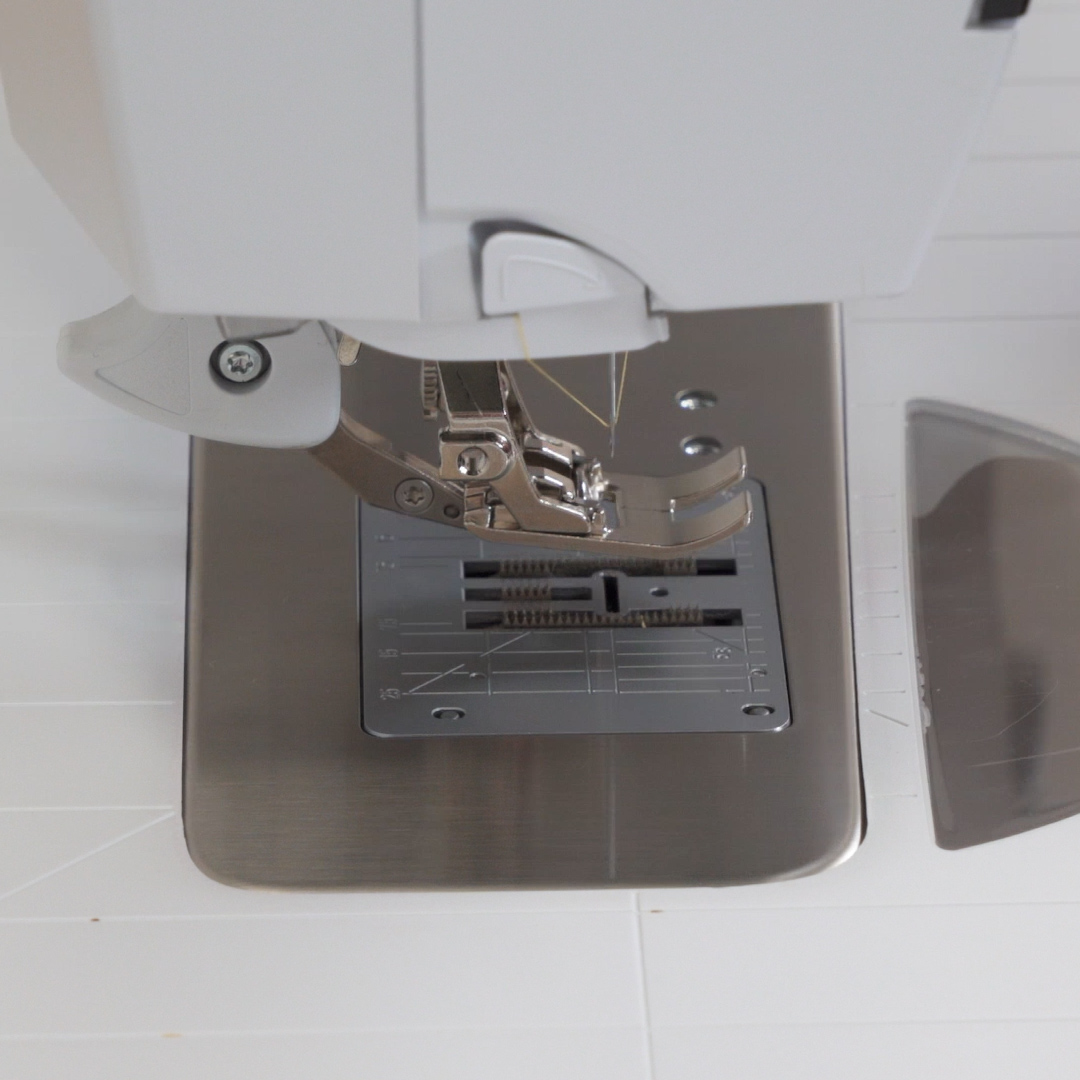
Sew around the three sides of the flag to close it up and that’s all- you’re all finished!

Great job making this cute and quick garden flag! With a project this quick, it could be easy to make a garden flag for every season! Don’t forget- each flag has a front and back so it’s easy to make two messages per flag before sewing the three sides!
Want more fun with blanks? Check out these awesome posts:
- Boring to Beautiful Blanks with Your Serger, Part One: Apron – WeAllSew
- Embroidered Kitchen Towels – WeAllSew
- How to Embroider a Mouse Pad – WeAllSew
- Embroidered Hat – WeAllSew
Happy Embroidering!