Embroidered Heart Pin and Free Embroidery Design
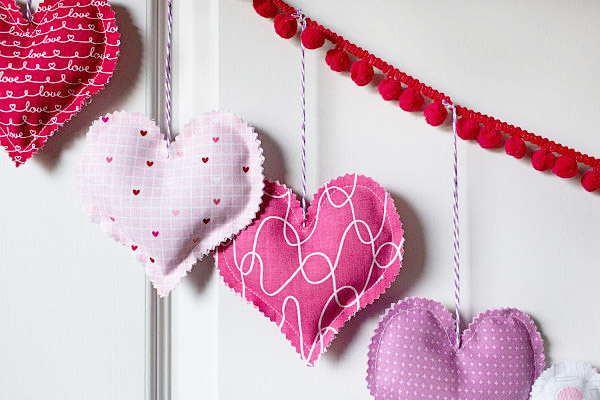
Christine Conner created this adorable embroidered heart pin especially for you! Download the free embroidery design, and create this cute pin in the hoop with your favorite colored fabrics and threads.

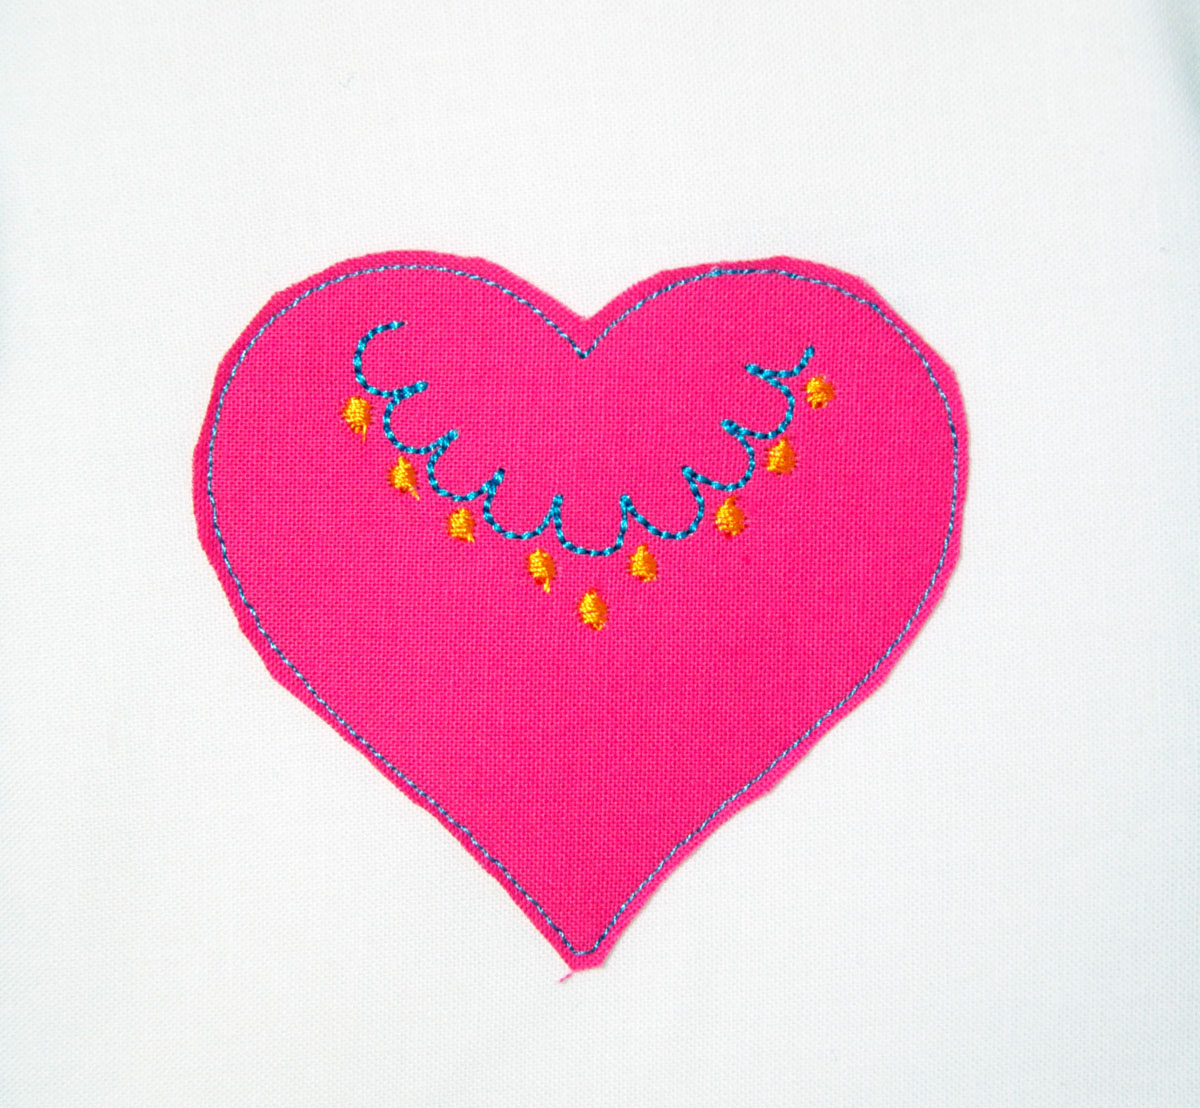
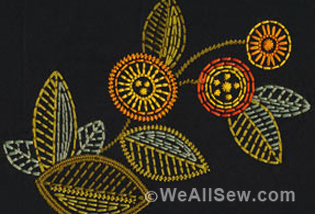
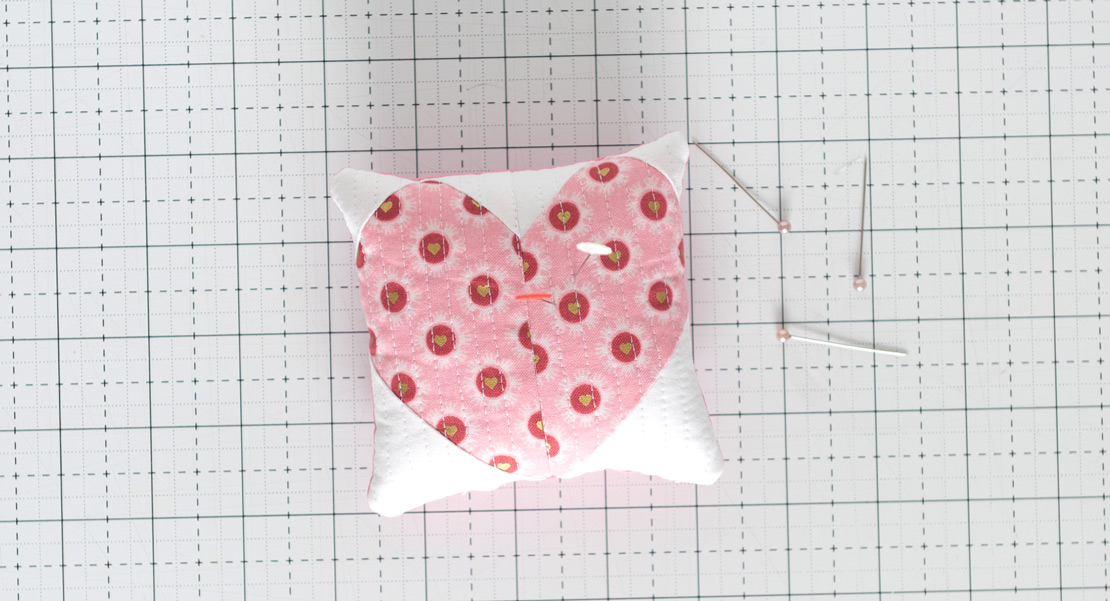
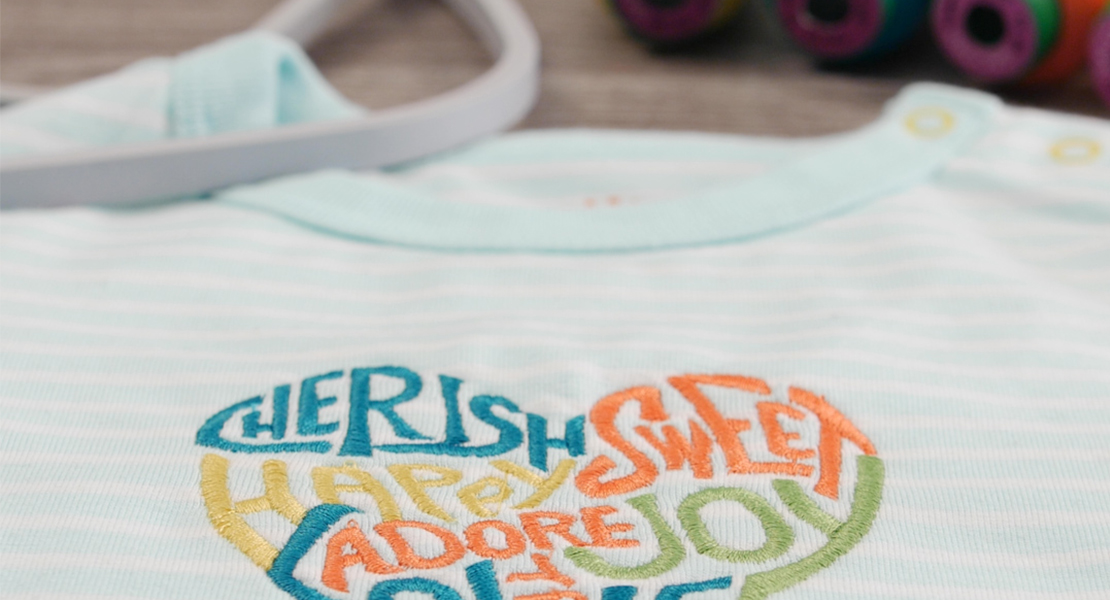
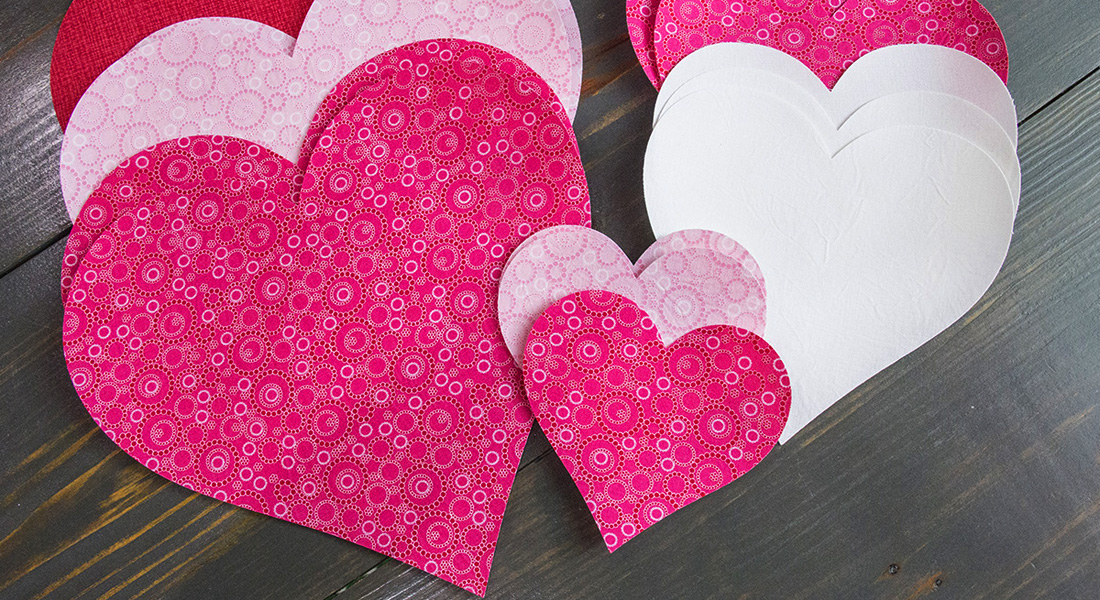
Hi everyone! I love Valentine’s Day, and everything about it: chocolate, flowers, the color pink, and hearts. I saw decorated heart cookies on Pinterest and thought to myself “wouldn’t these cookies make a cute pin to give to your friends for Valentine’s Day?” So, I designed this little pin that you can stitch out on your embroidery machine. It is only 2-1/2″ wide and 2″ tall. It is stuffed with a little bit of Poly-Fill to make is puffy. I think it is adorable, and I hope you like making it as much as I enjoyed digitizing it.
Materials to make an Embroidered Heart Pin:
- 10″ square of medium weight Tear Away Stabilizer
- 10″ square white fabric
- 4″ pink square for the heart
- Two 3″ x 4.5″ pink fabric for back
- 1 pin back
- A small handful of Poly-Fill Fiberfill
- Elmer’s Craft Bond Glue or other craft glue
- Embroidery Design: Heart Pin Embroidery Designs
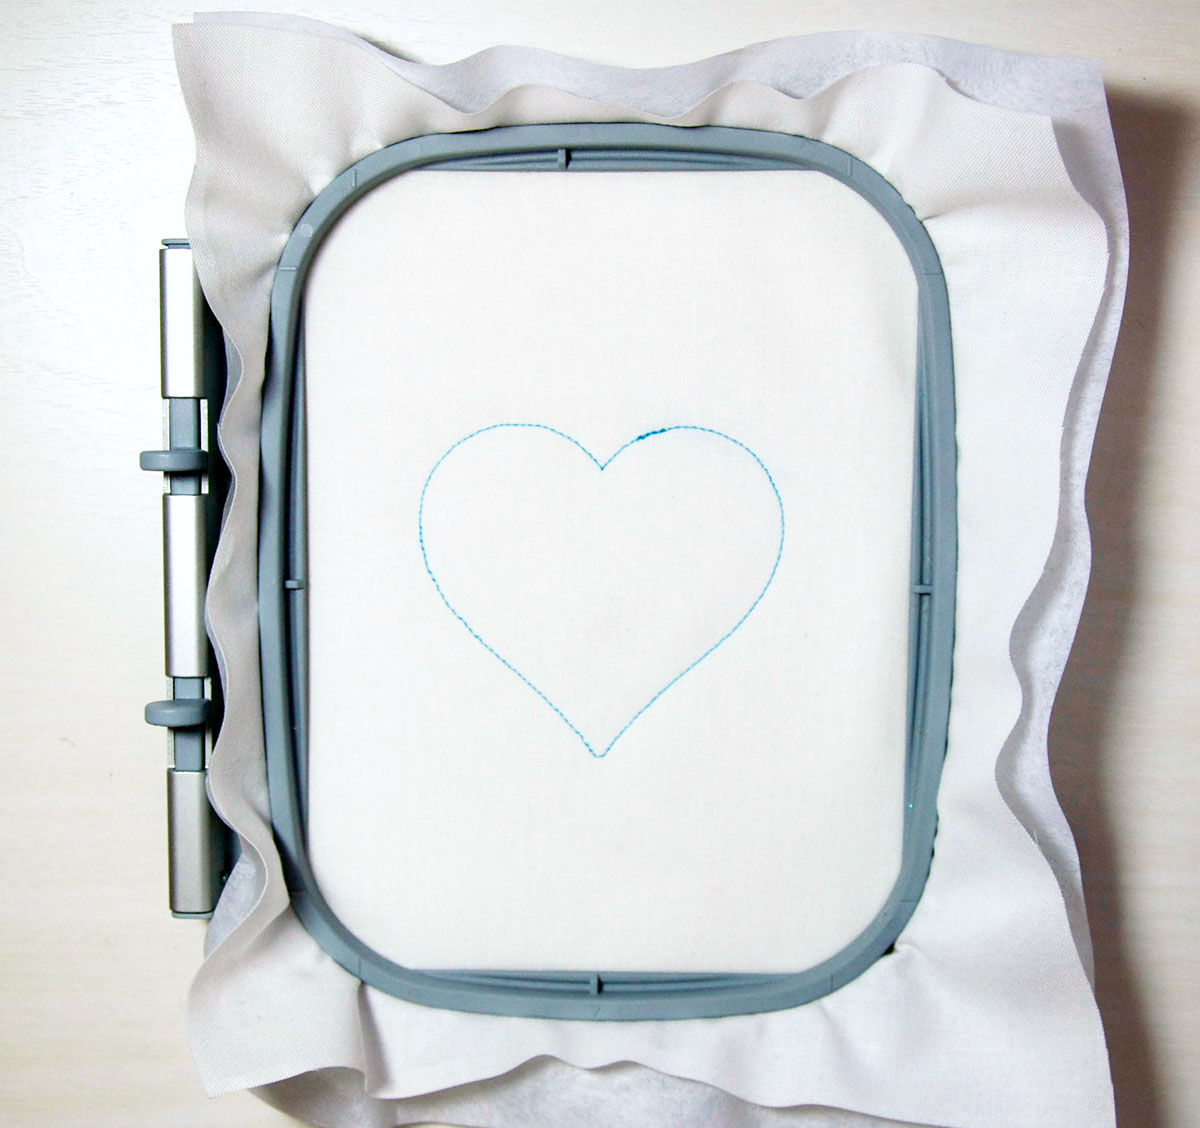
Step 1
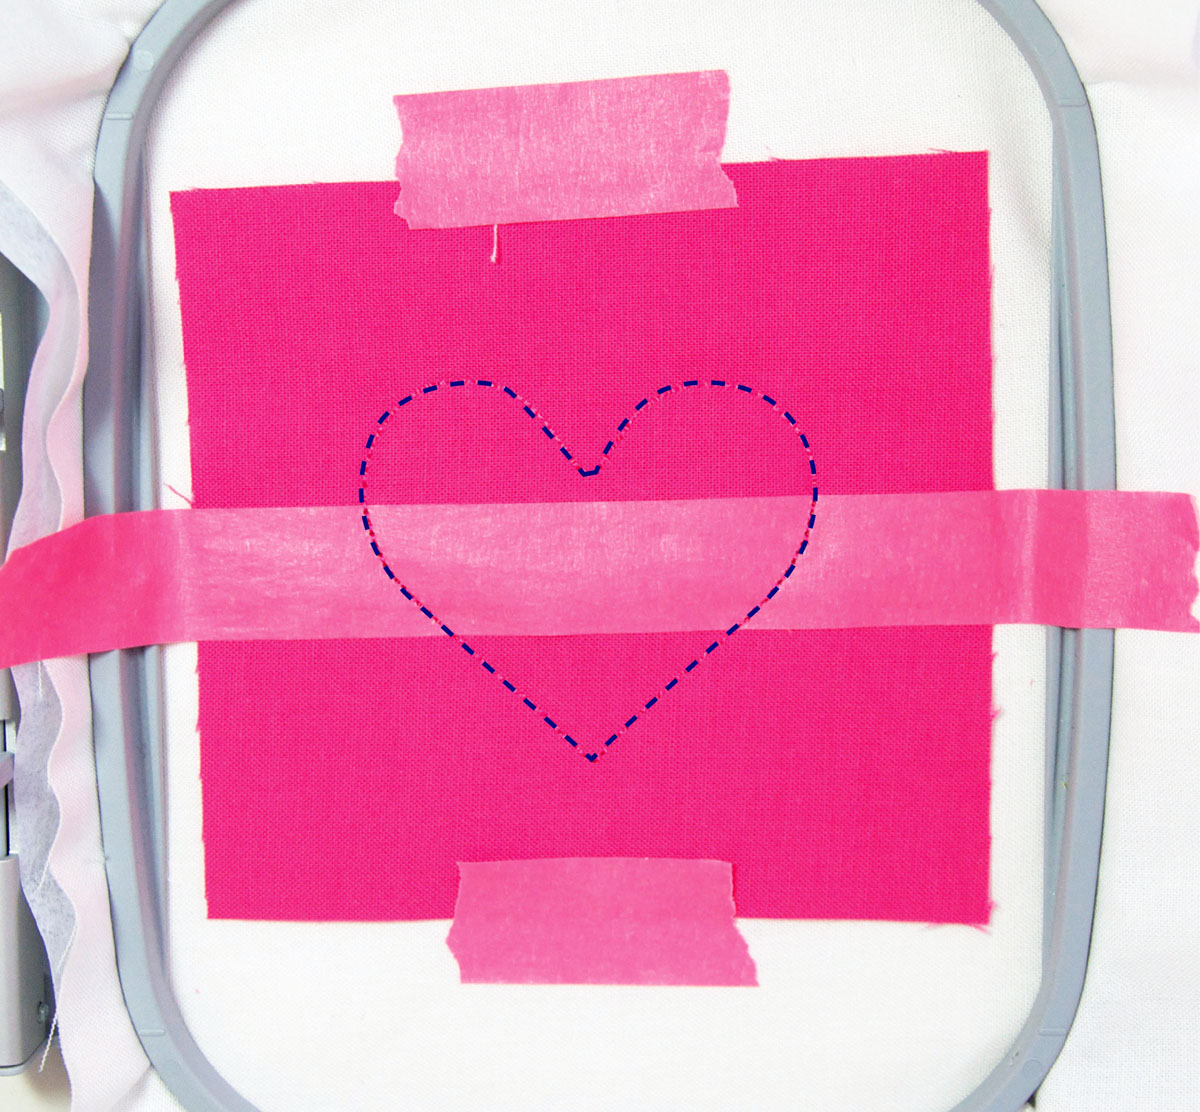
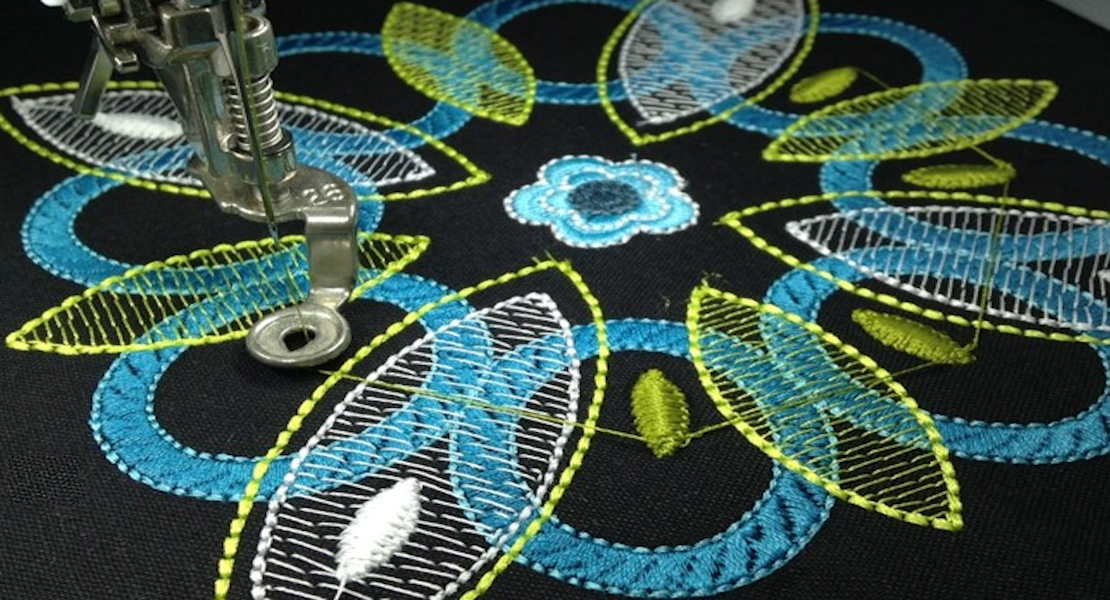
Hoop white fabric and stabilizer in a minimum 4″ x 4″ hoop. Thread your machine with blue thread (or thread color you would like) for the scalloped line in Step 4. Start the machine. The machine will stitch a placement line for your heart.

Step 2
Lay pink fabric over the placement line. Hold in place with painter’s tape, if necessary. Start machine. The machine will tack down the fabric.
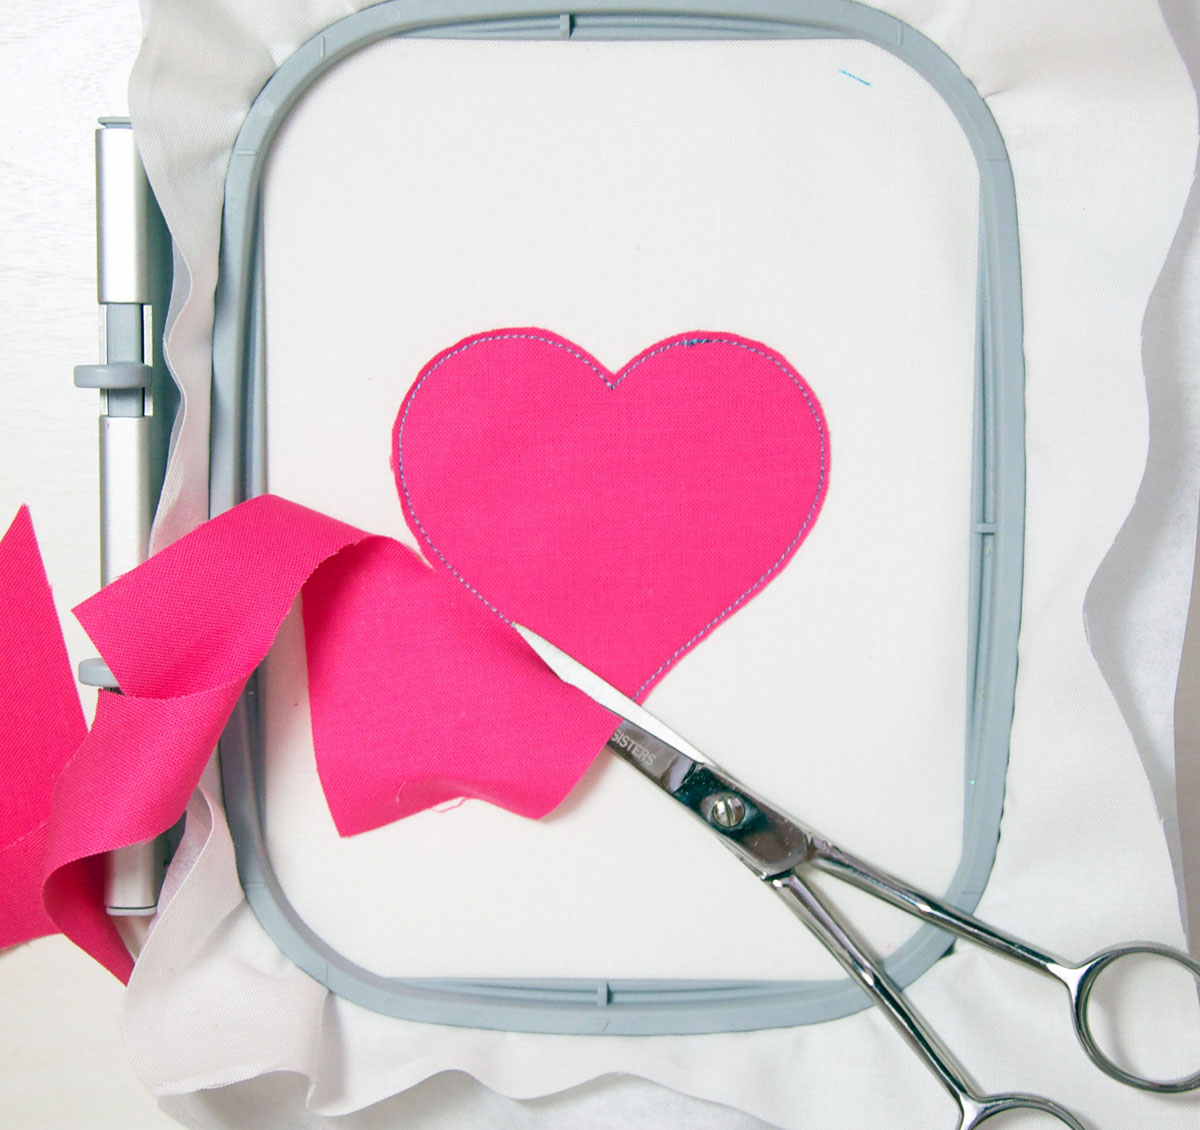
Step 3
Remove the hoop from the machine, but do not remove the fabric from the hoop. Lay the hoop on a flat surface and trim away the excess fabric. For this project, you do not need to worry about trimming real close to the stitches, because it will be trimmed again later. Return the hoop to the machine.
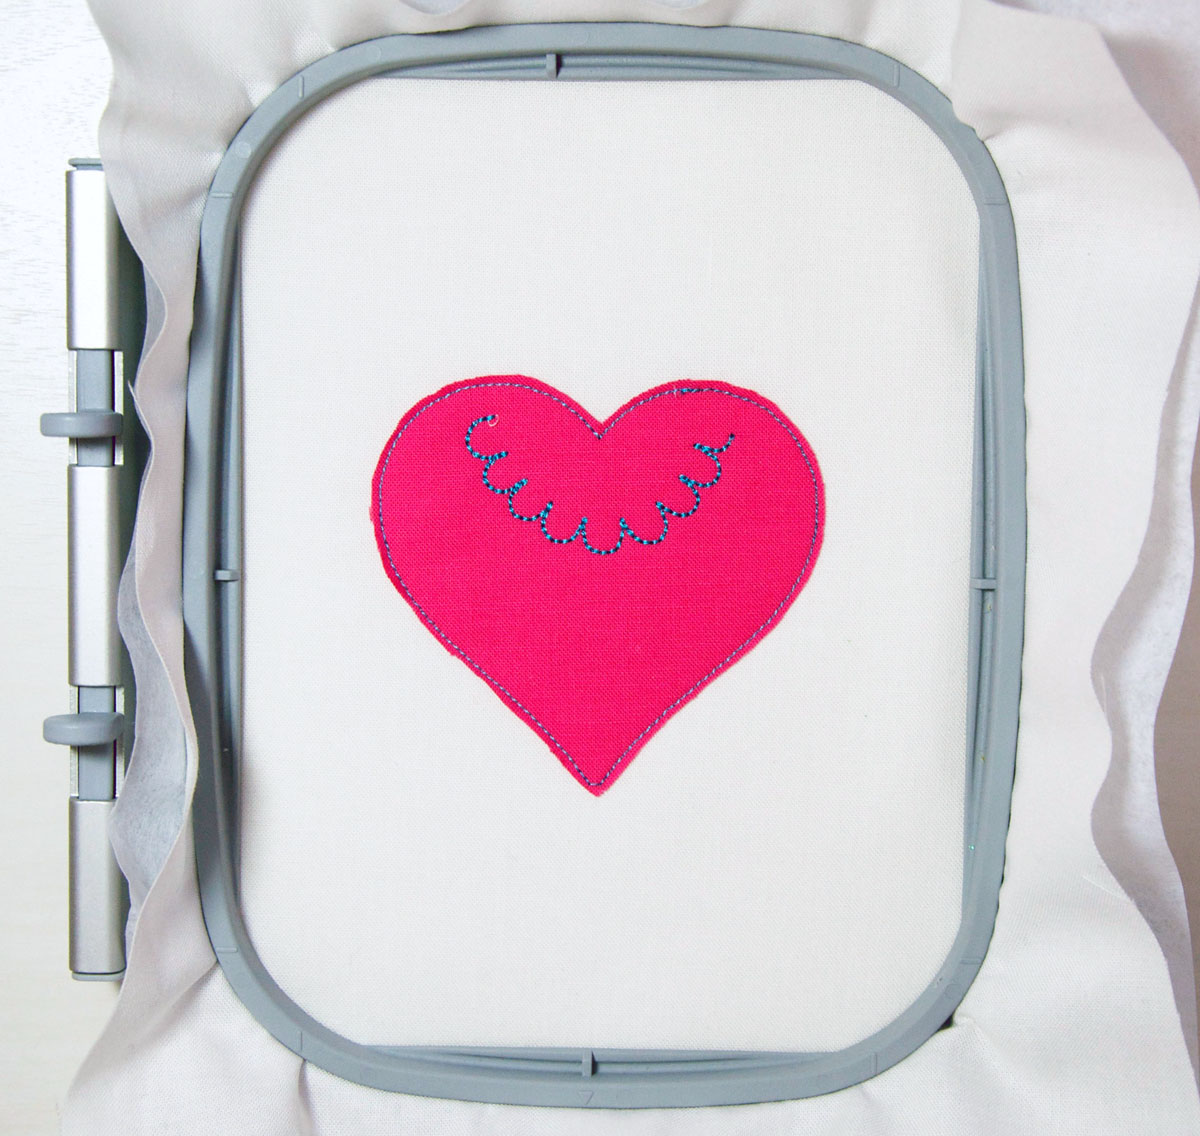
Step 4:
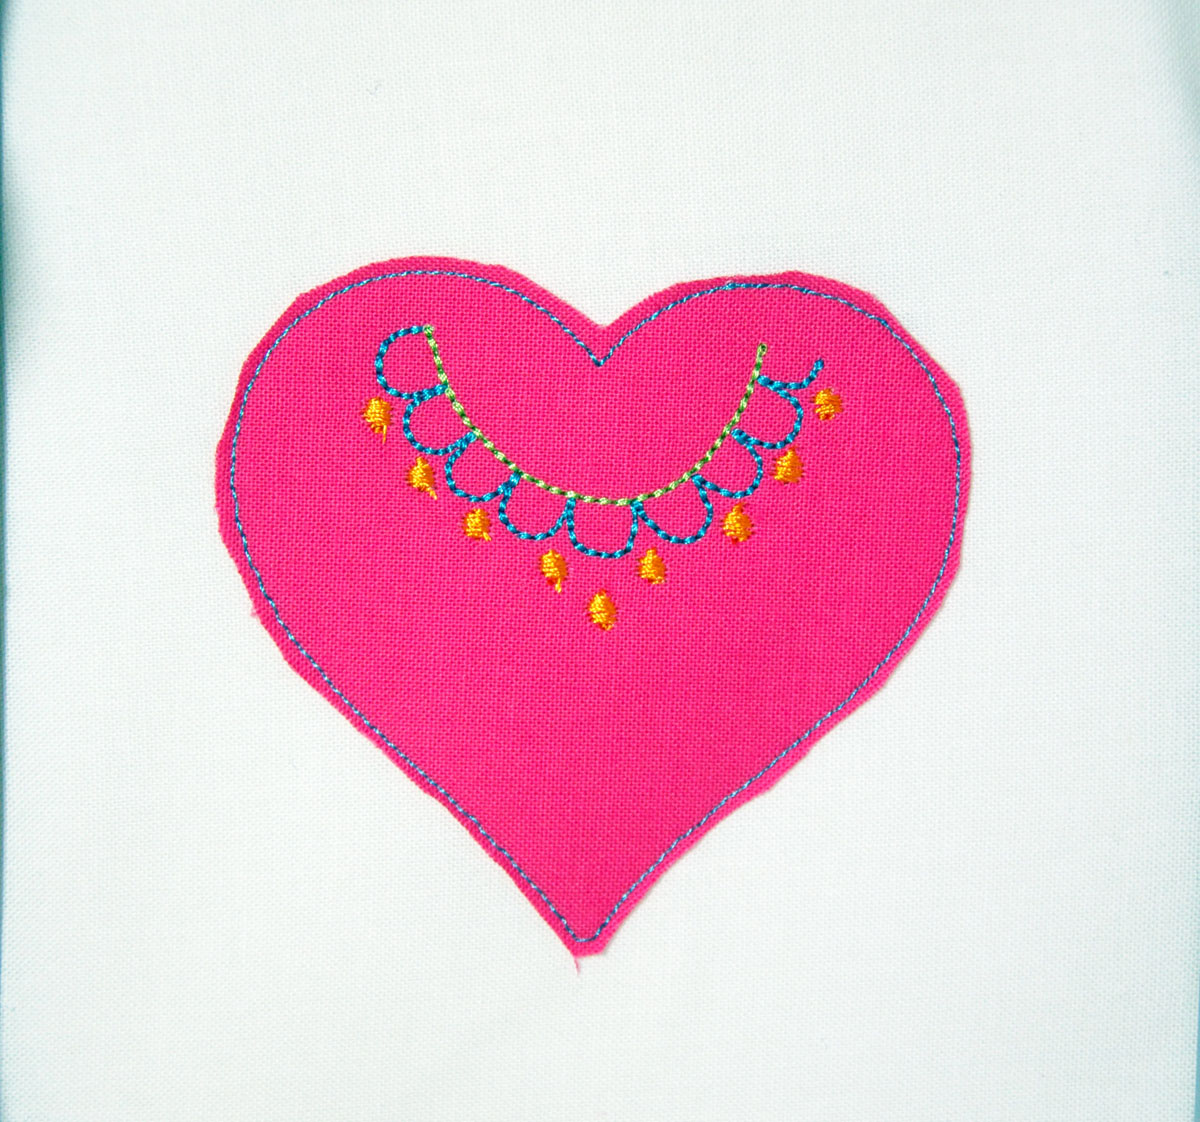
Start the machine. The machine will stitch the scallop line.
Step 5
Note: the thread colors from here on out are the thread choices that I used in the photographs. Feel free to use the thread colors that you like in steps 5-10.
Change the thread to orange. Start the machine. The machine will stitch the orange satin circles under the scallop line.
Step 6
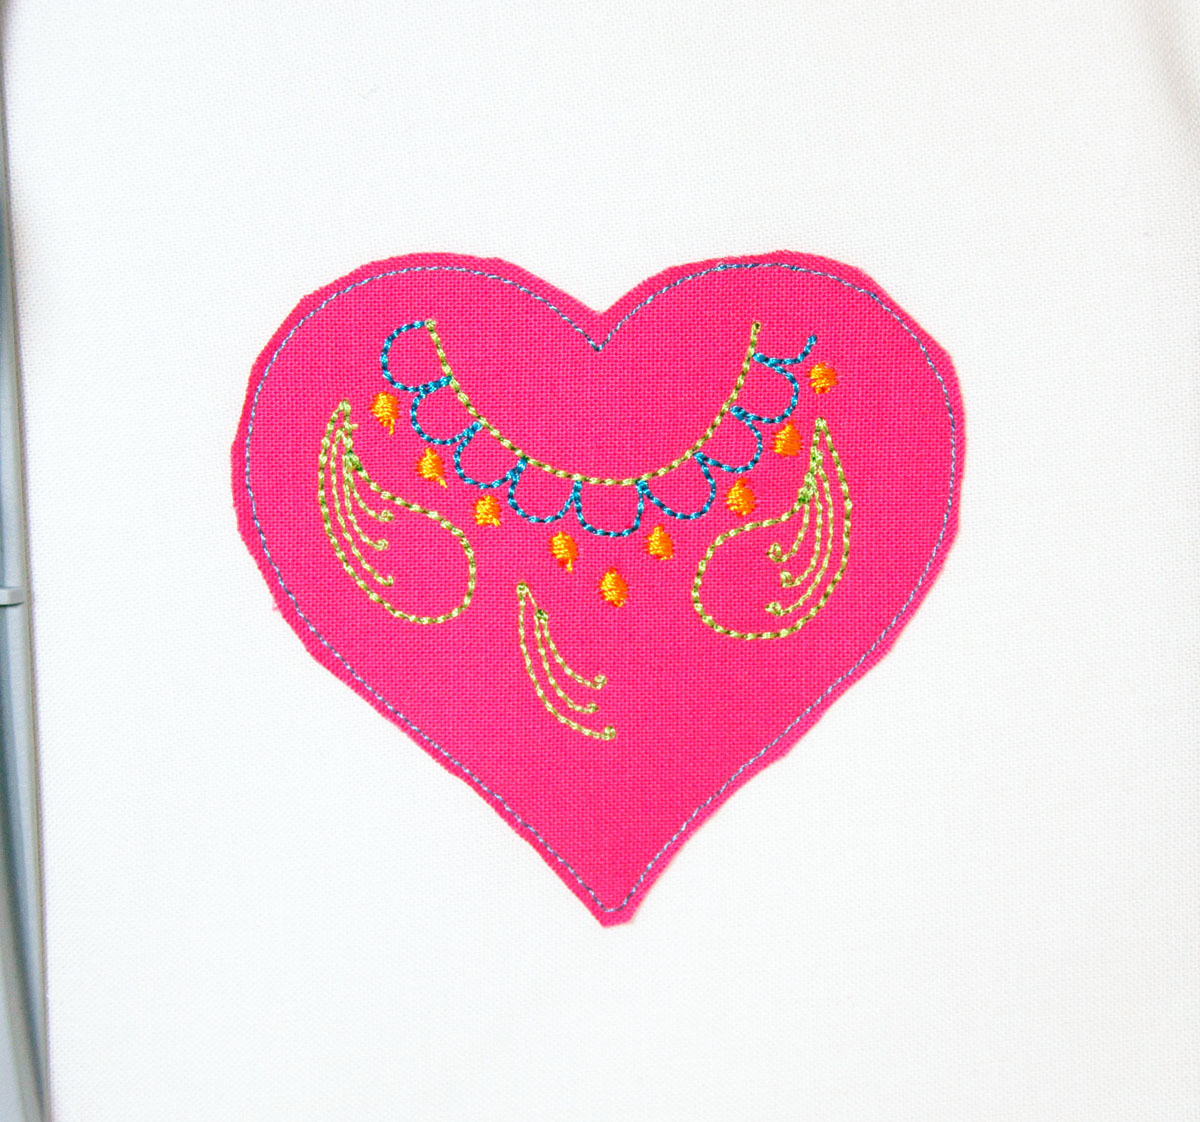
Change the thread to green. Start the machine. The machine will stitch a curved line above the scallop line.
Step 7
Either keep the same green thread, or change to another green thread of your choice. Start the machine. The machine will stitch the “grassy” lines inside the right paisley, the outside of the same paisley. It will then repeat with the paisley on the left. Last, it will stitch the “grassy” lines inside the middle paisley.

Step 8
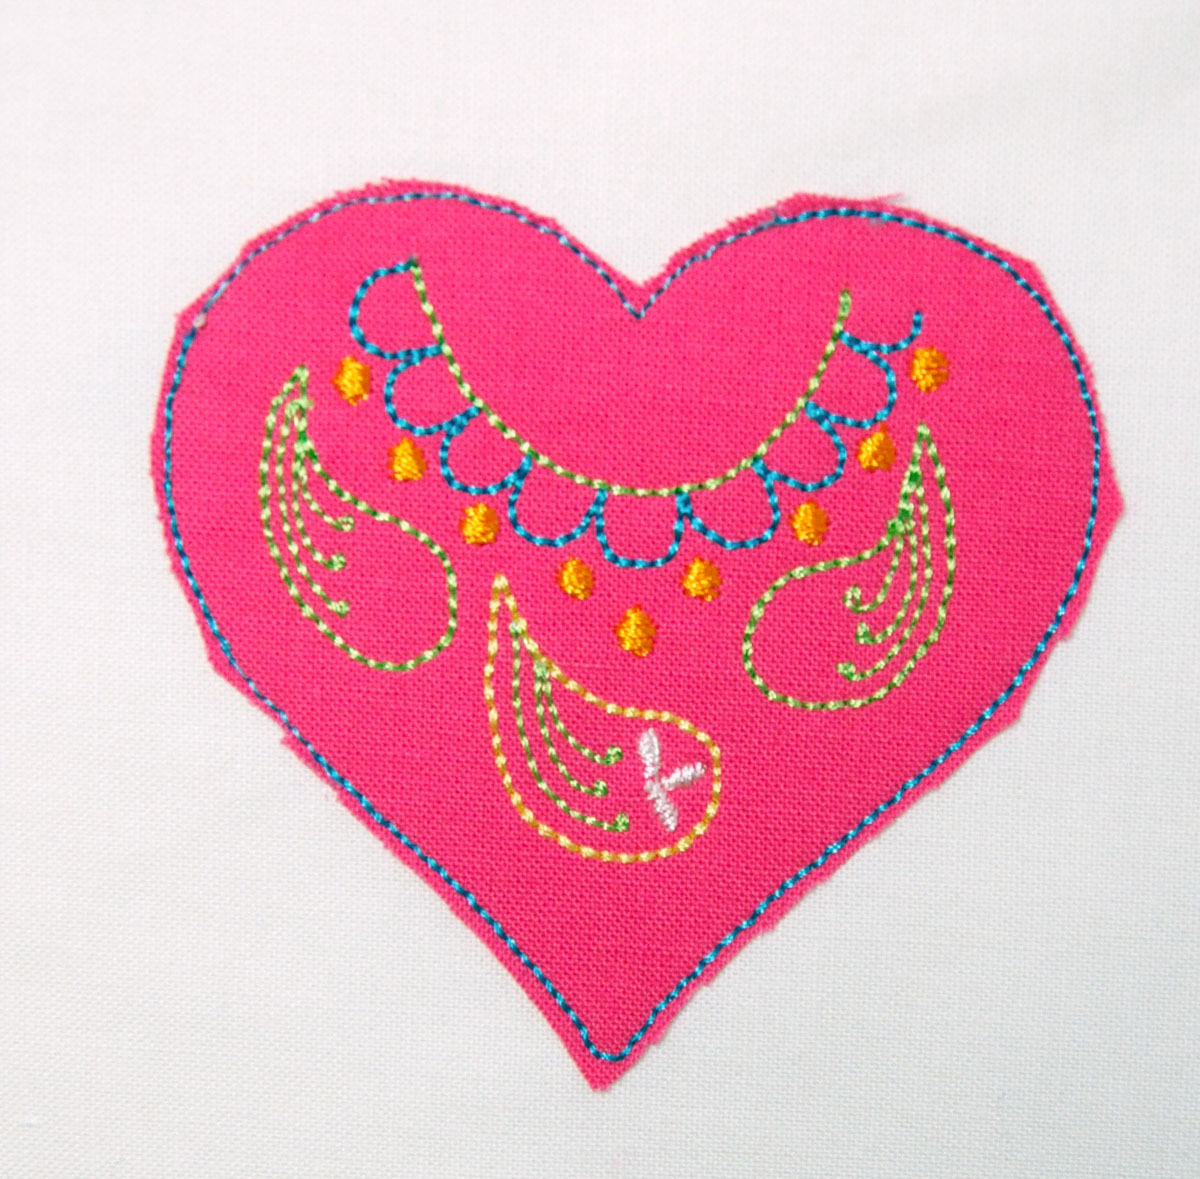
Change the thread to yellow. Start the machine. The machine will stitch the middle paisley.
Step 9
Change the thread to white. Start the machine. The machine will stitch the satin flower motif inside the paisley.
Step 10
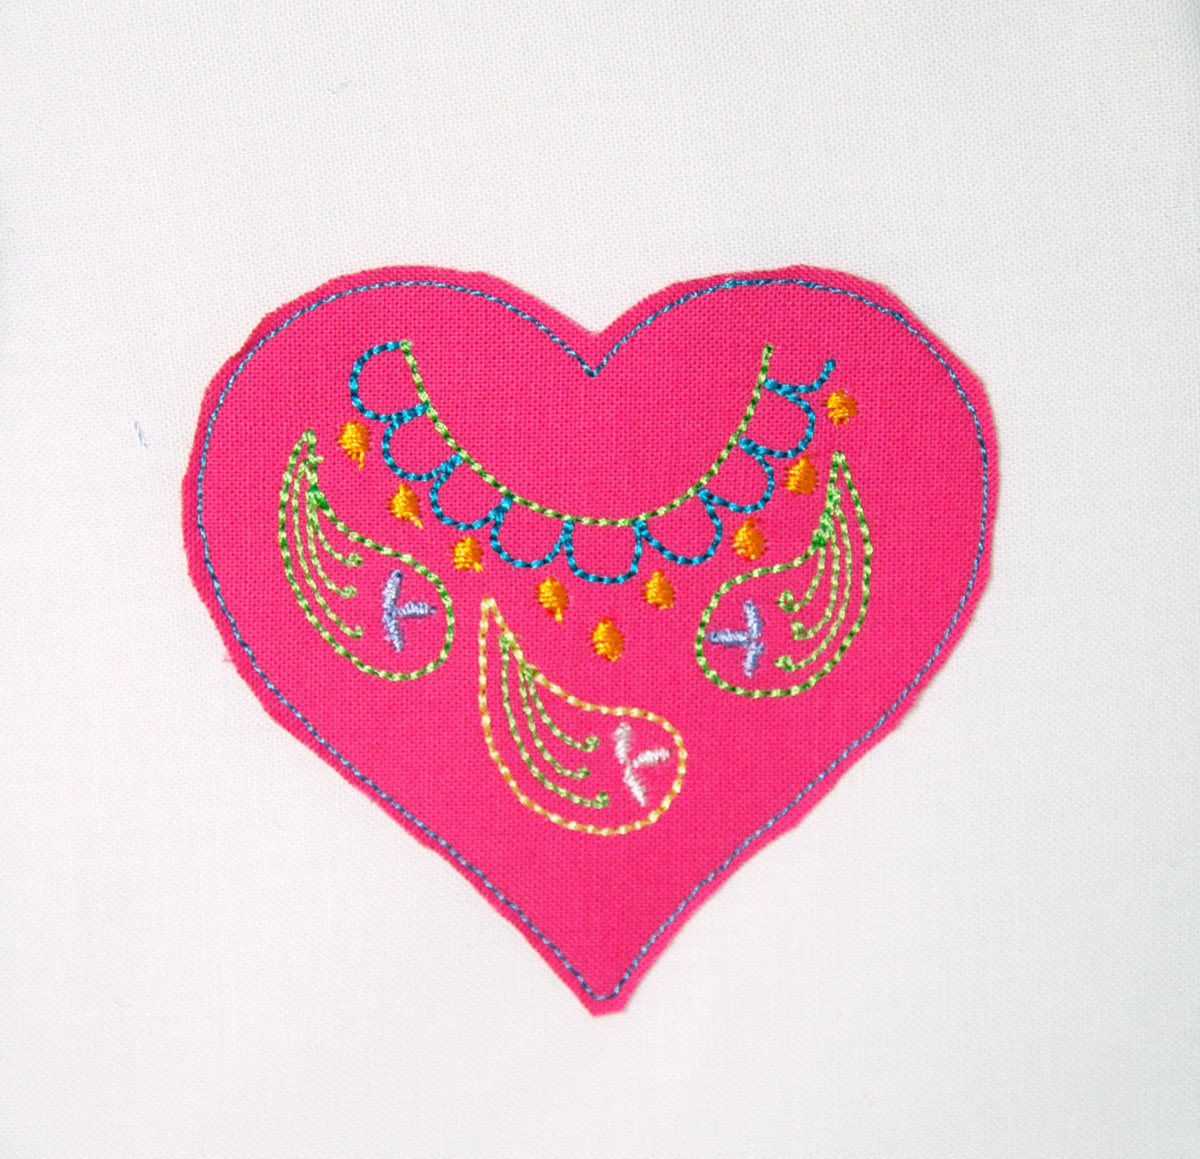
Change the thread to purple. Start the machine. The machine will stitch the satin flower motif inside the paisley on the left side and then on the right
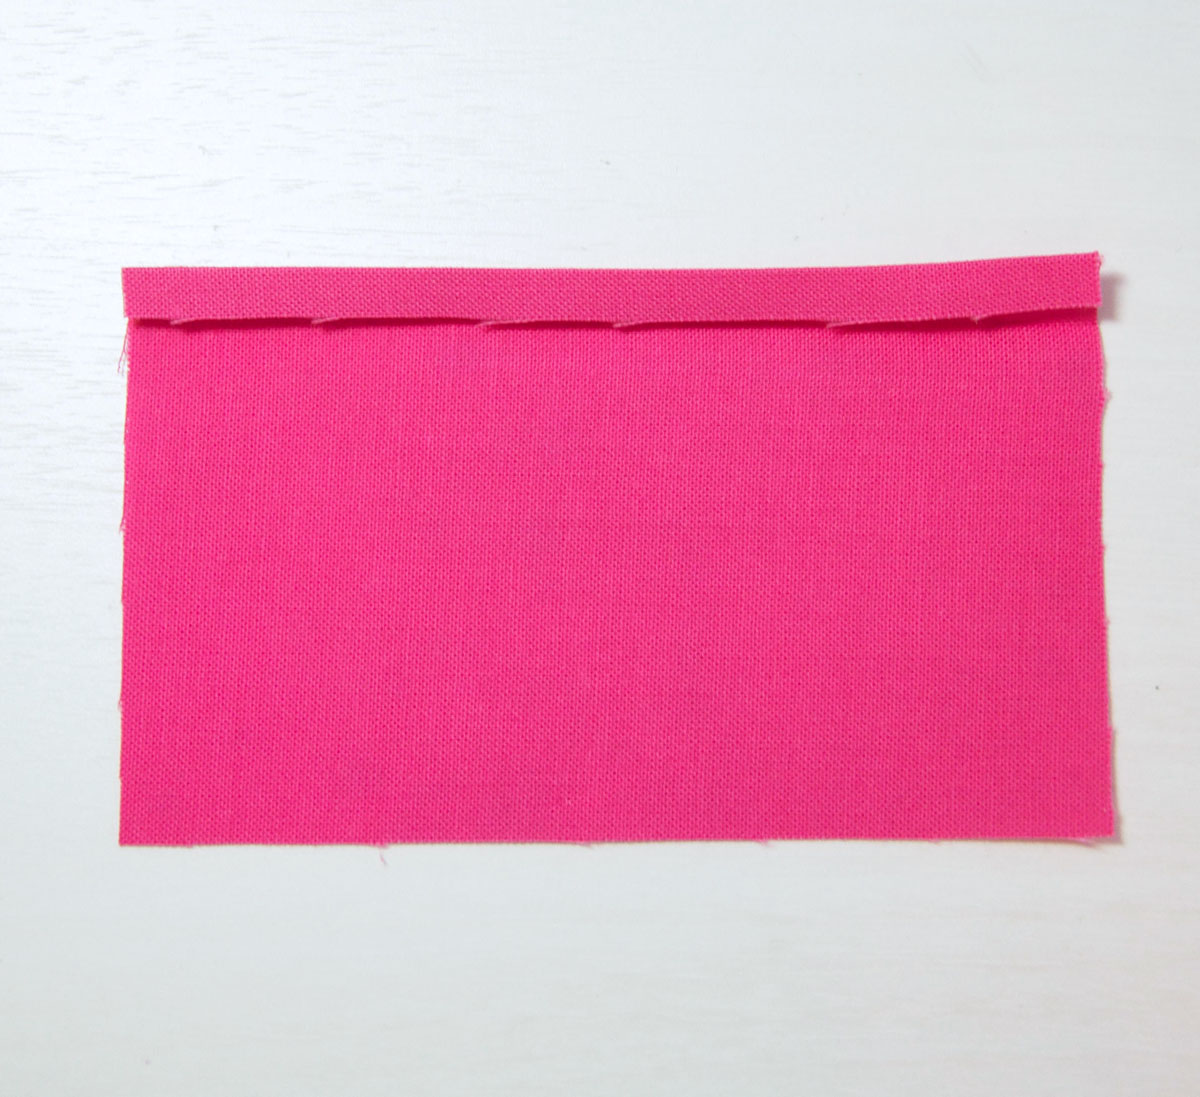
Step 11
You will create an envelope back now for your heart. Fold over 1/4″ on the 4.5″ side of the backing rectangle to create a raw finished hem. Press.
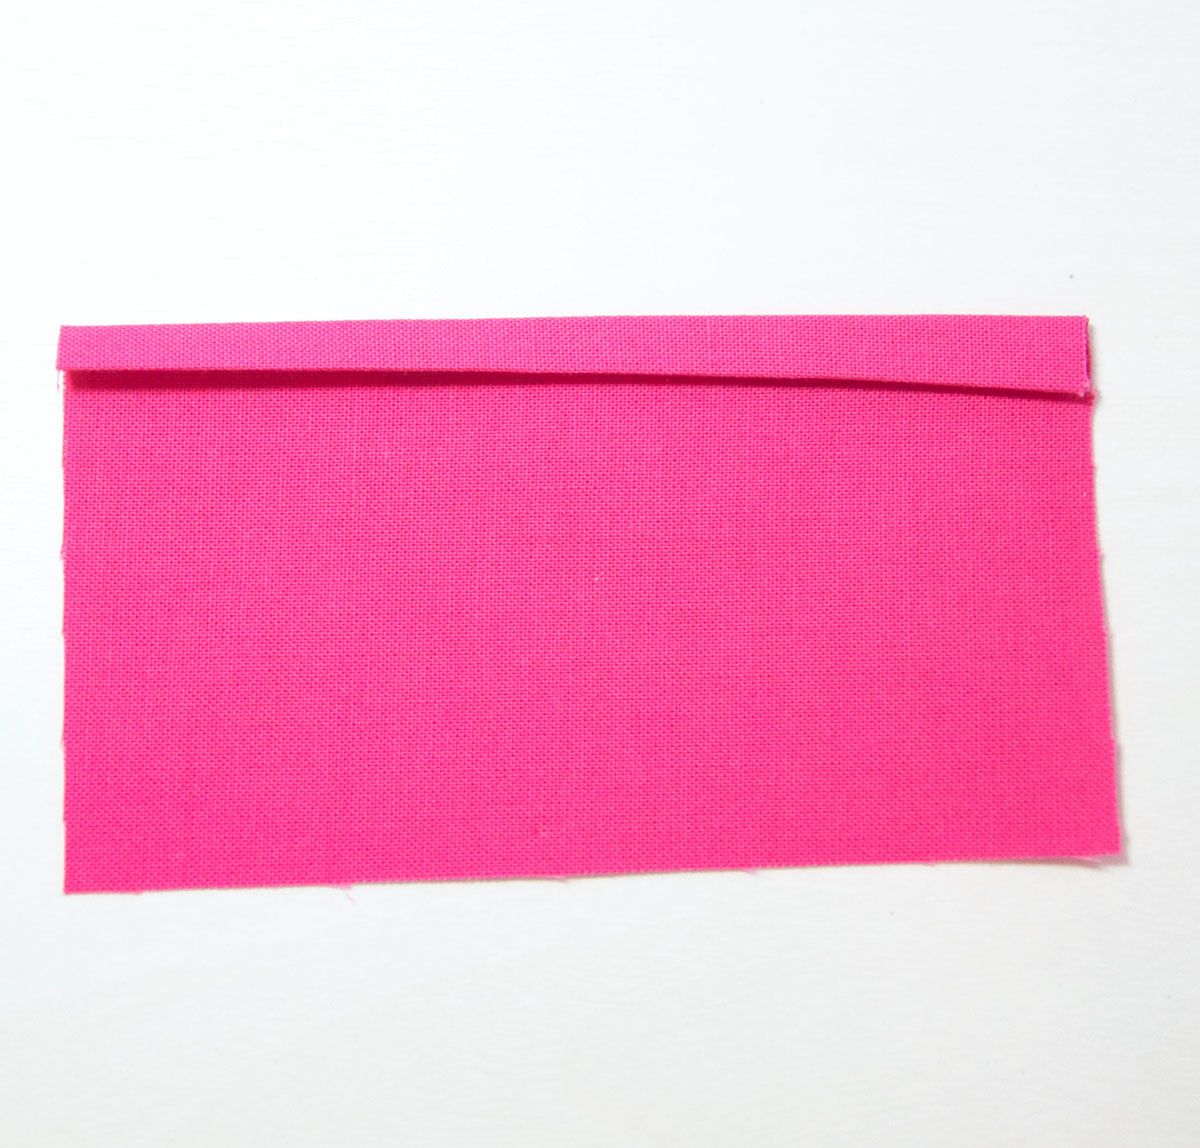
Step 12
Fold over again to create a finished hem. Press. Repeat steps 11 & 12 with the other backing rectangle.
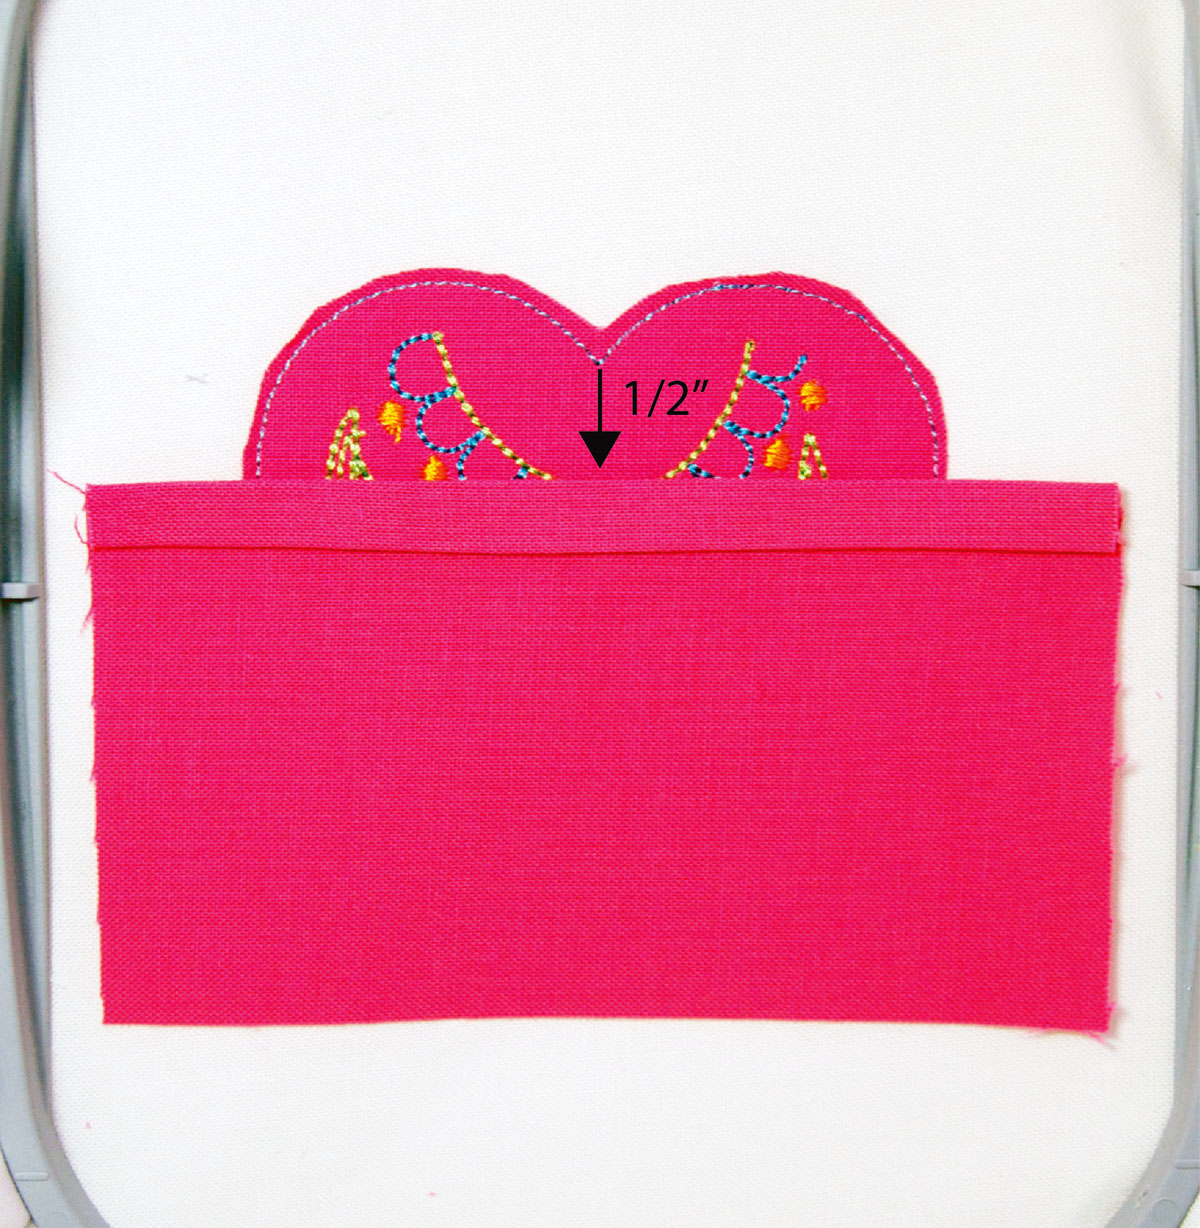
Step 13
Lay one hemmed backing rectangle over the bottom of the heart with the hem facing up, and the upper edge about 1/2″ below the center point of the heart.

Step 14
Lay the other hemmed backing rectangle over the top of the heart, so that the hem nestles with the hem of the bottom rectangle.
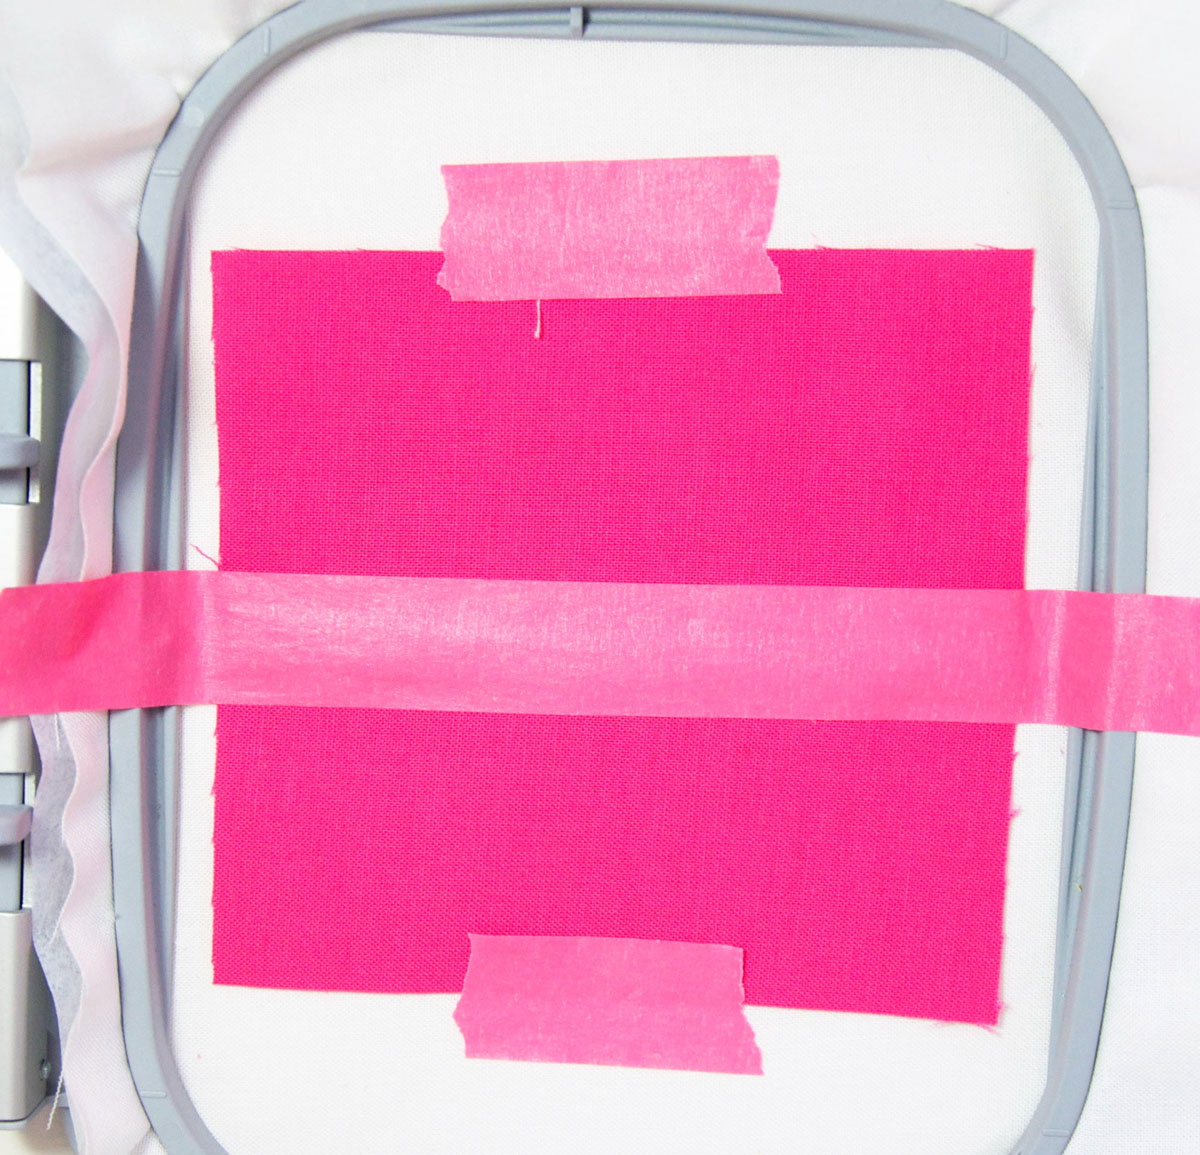
Step 15
Place painter’s tape across the hemmed edge. YOU MUST HOLD THIS DOWN WITH TAPE. If you do not, the embroidery foot could get caught under the hem.
Step 16
Change the thread back to pink or thread to match the appliqué heart fabric. Start the machine. The machine will stitch a line 1/4″ inside the first heart.
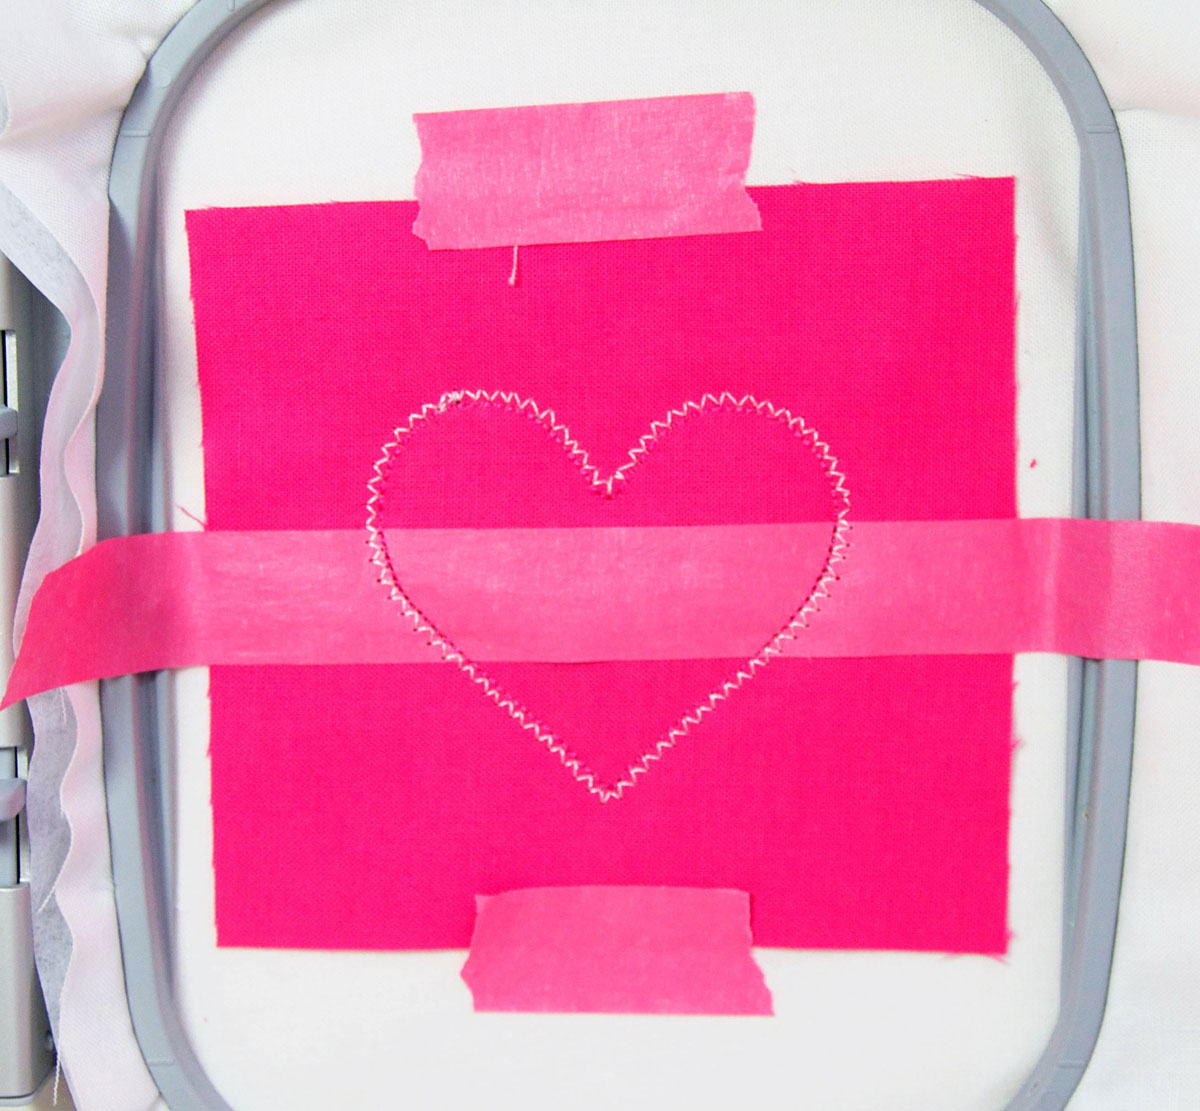
Step 17
Start the machine again. The machine will stitch a finishing zig-zag stitch. This will give your heart a nice finished edge on the inside.

Step 18
When the machine stops, remove the hoop from the machine, the fabric from the hoop, and the painter’s tape. You may have some tape under the stitches, but you do not need to worry about removing it. Carefully trim away the excess fabric by cutting close to the outside edge of the zig-zag stitch. Be careful not to cut through the stitches.
Note: Clip in-between the zig-zag stitches long the top curved section of the heart. This will help your heart turn better.


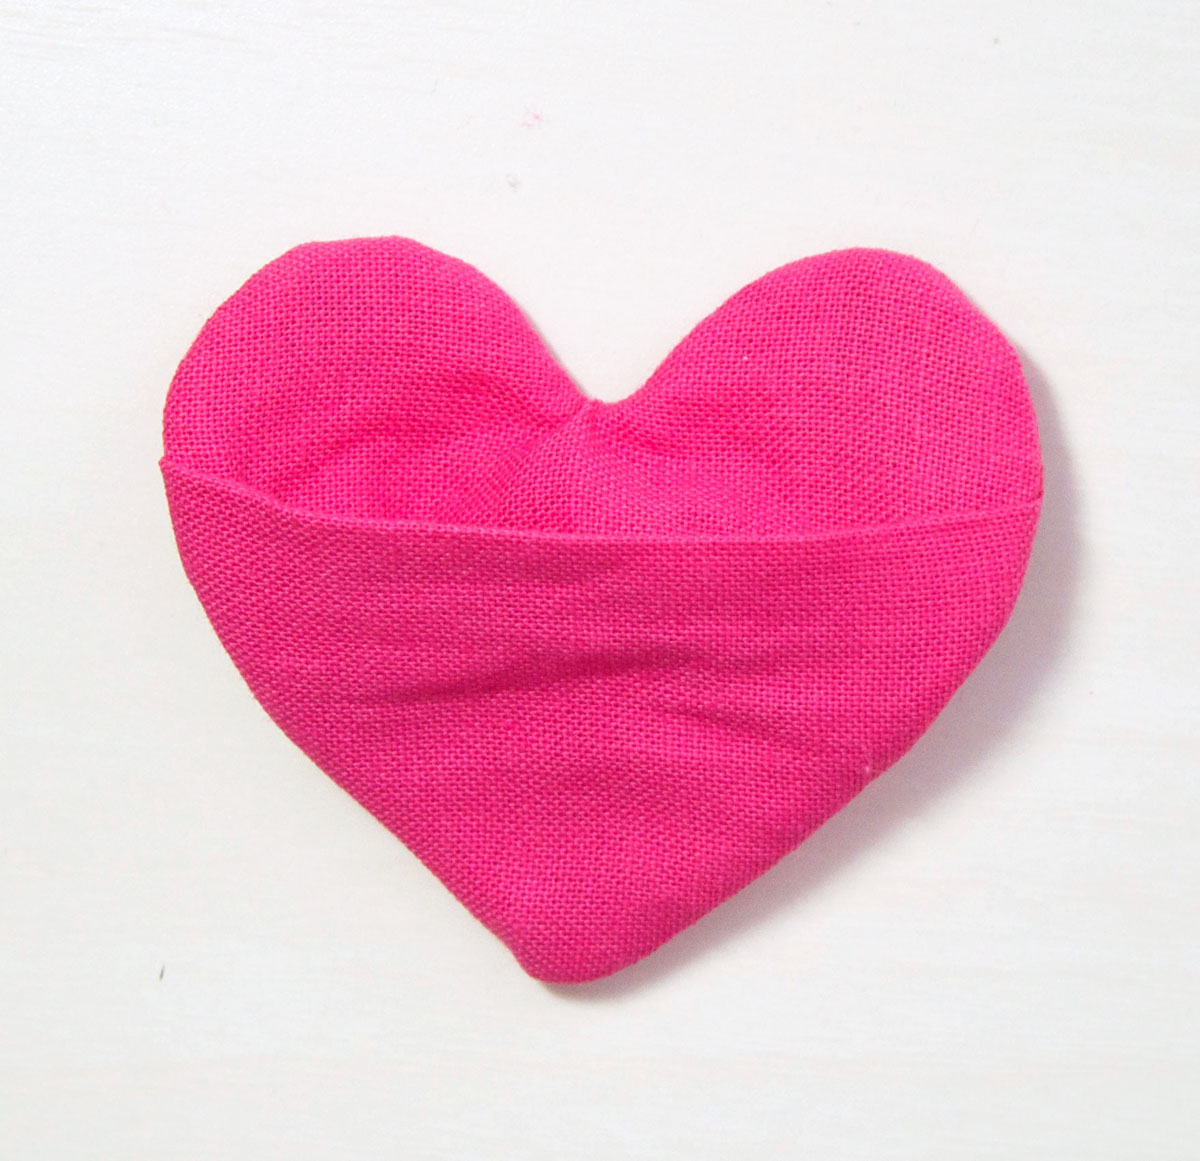
Step 19
Turn the heart right side out, starting with the top portion of the heart first, and then the bottom portion.
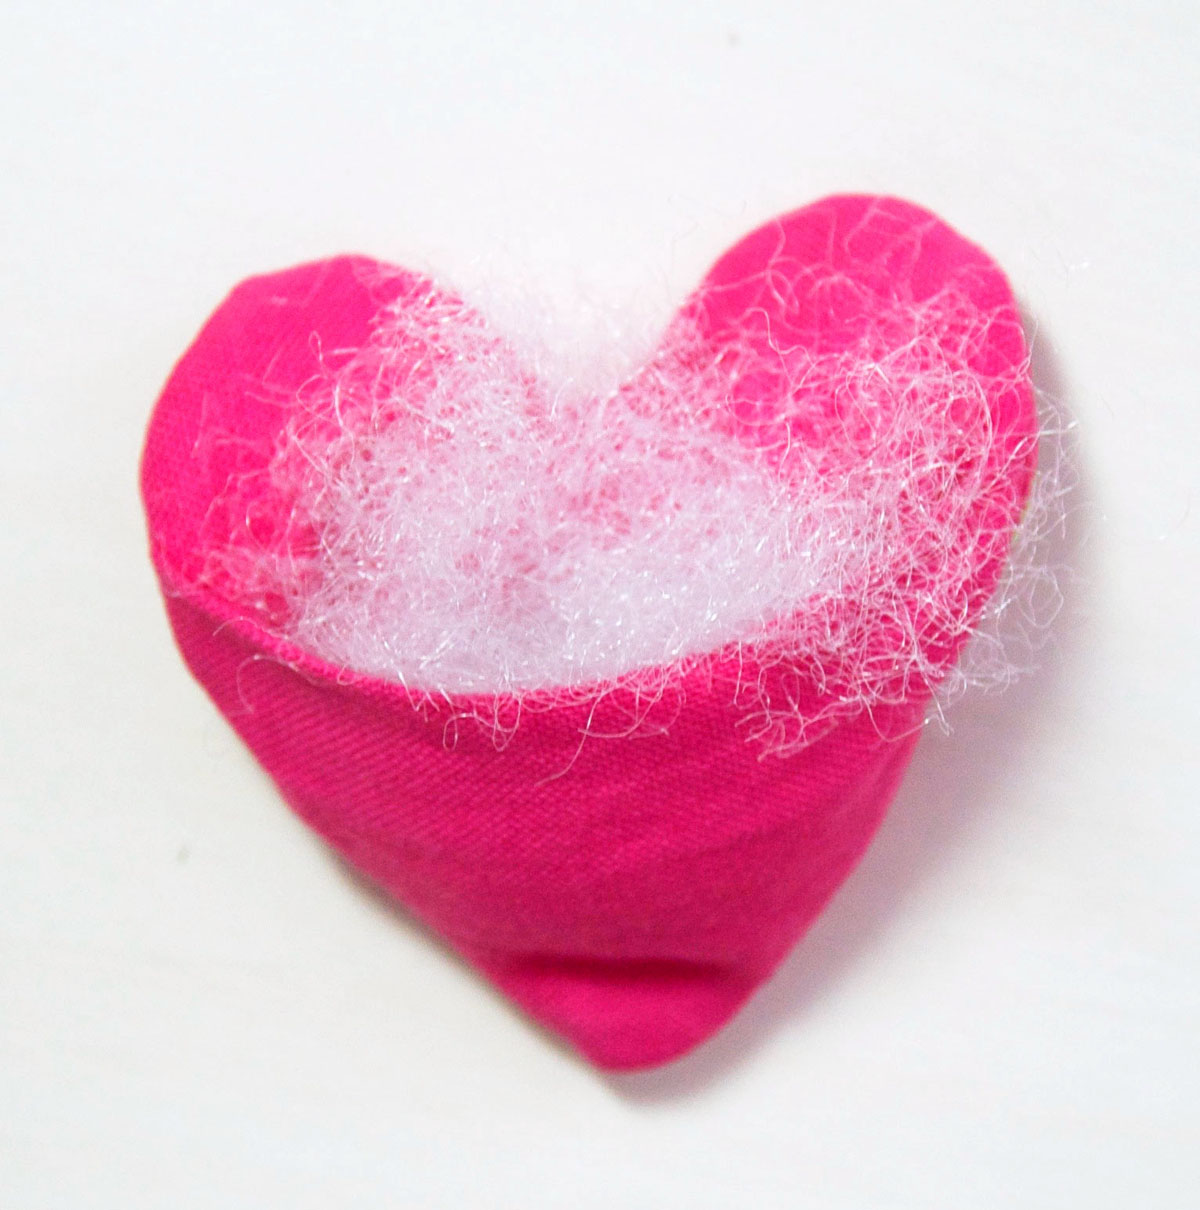
Step 20
Stuff a small amount of Poly-fill Fiber Fill into the heart.
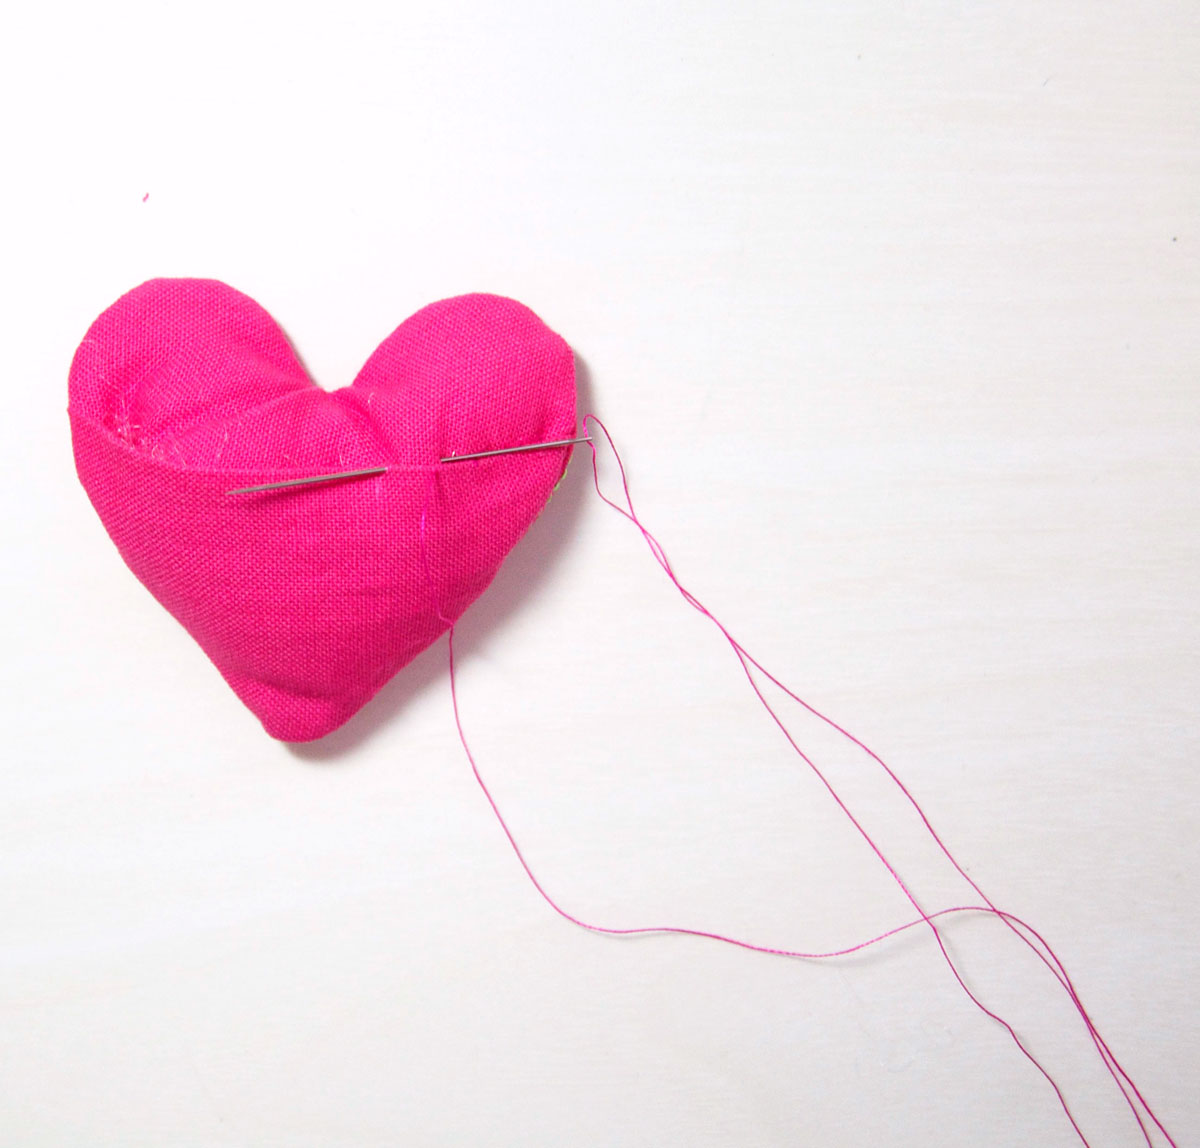
Step 21
With matching thread, stitch close the opening on the back of the heart.
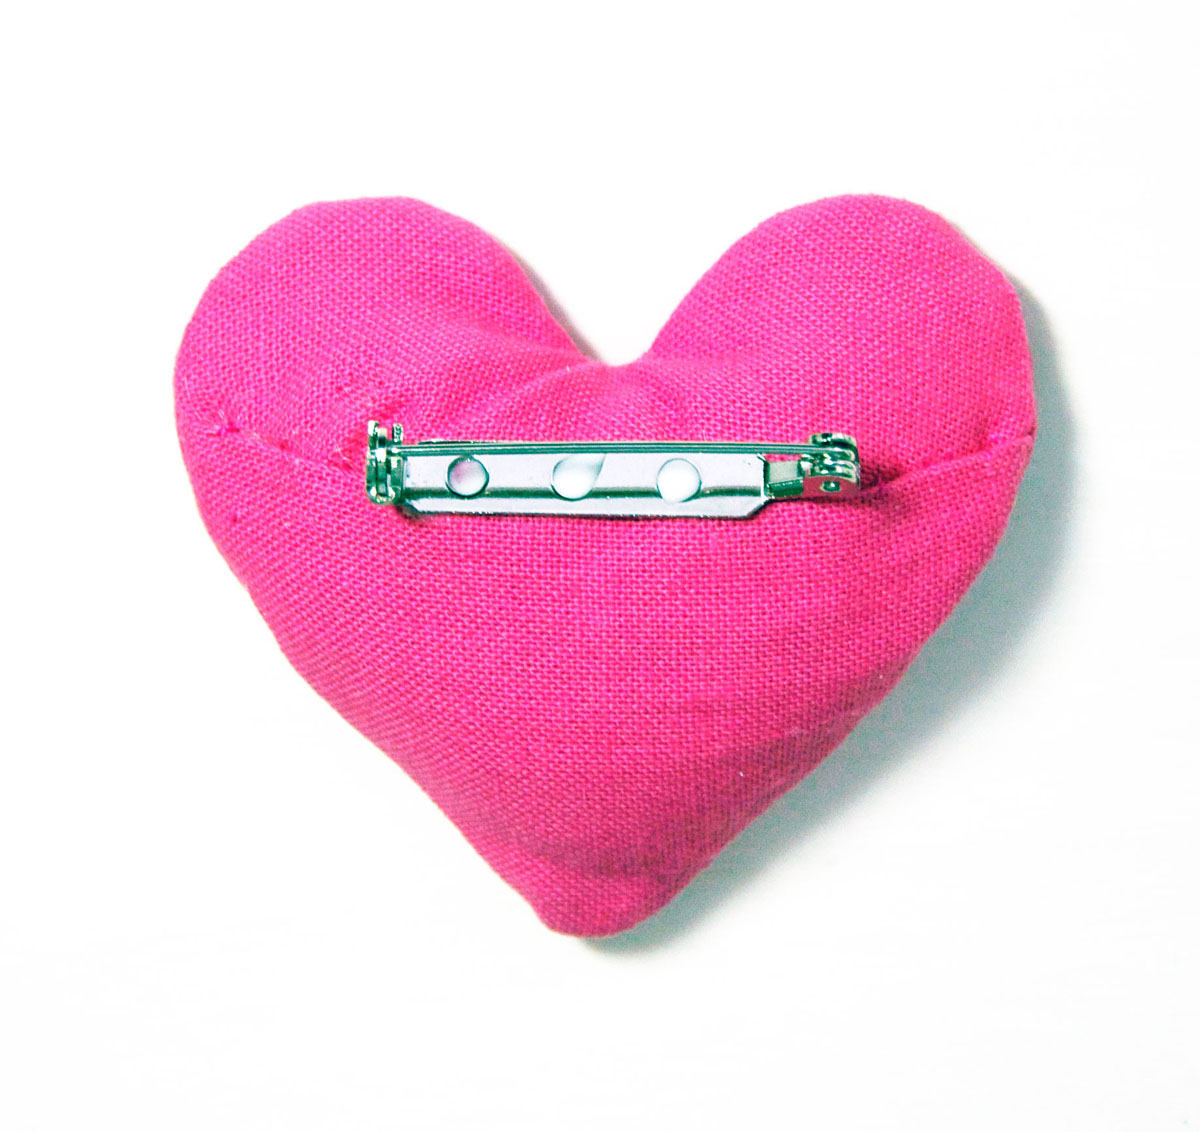
Step 22
Glue a pin back to the heart, just above the seam.
Used Products


What you might also like


7 comments on “Embroidered Heart Pin and Free Embroidery Design”
-
-
So cute! And it is great that I can use my embroidery machine that only uses a 4 x 4 hoop.
-
Very nice idea. Happy Valentines Day.
-
Love this! can’t wait to try this!
-
Cute idea. Great for teacher gifts.
-
So stickin’ CUTE!!! Thank you so much!!
-
I’d like to know where the designs are located if you could send the link, please. Thank you.
Leave a Reply
You must be logged in to post a comment.

love it! awesome