Embroidered Holiday Napkins
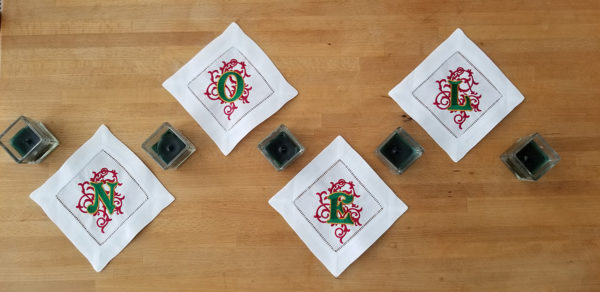
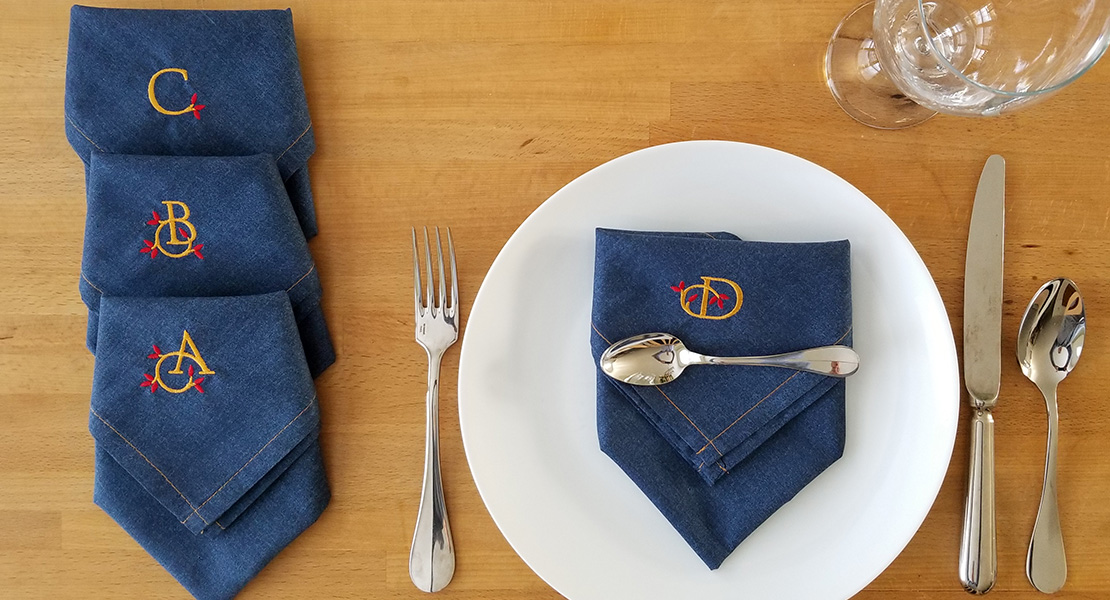
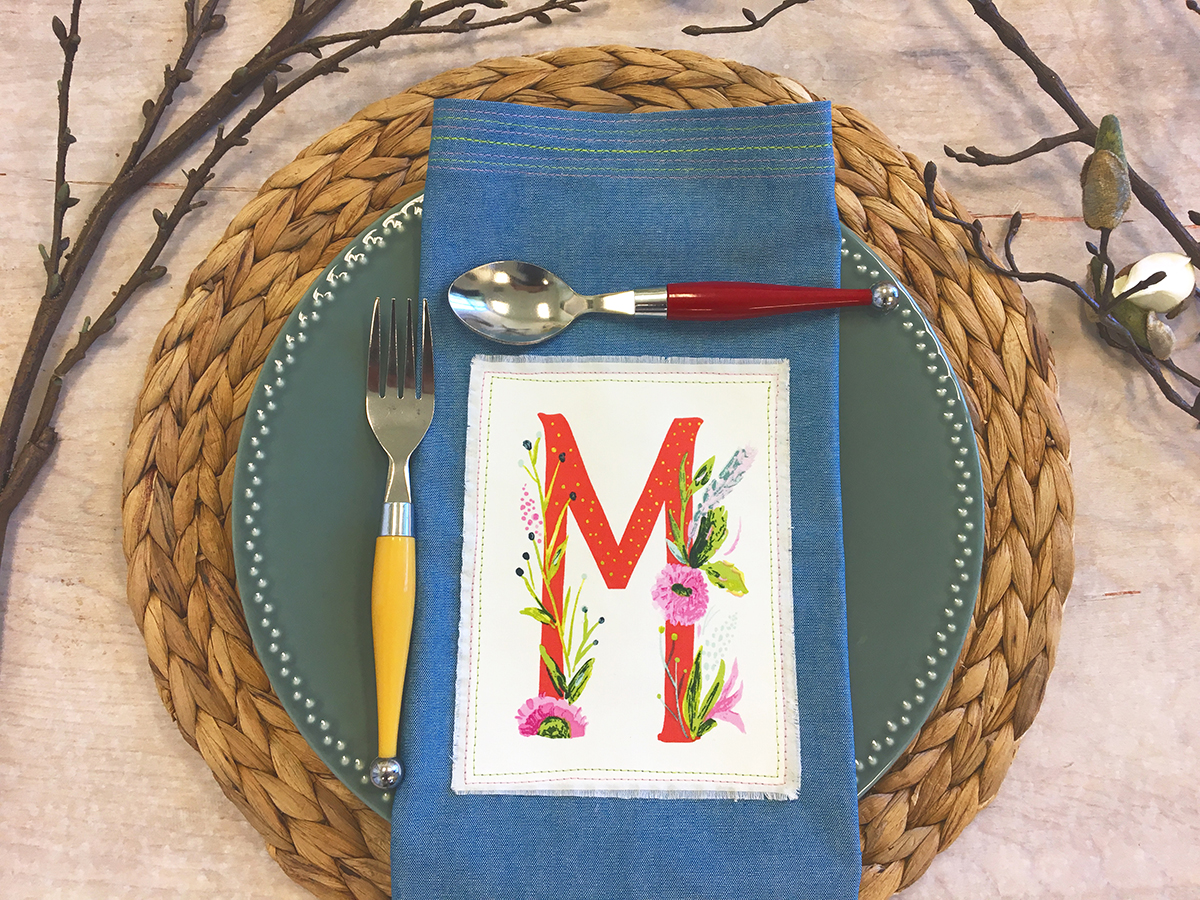
This year for the holidays I wanted to create a focal point on my dining table. After all, at the heart of the celebrations are the meals shared with family and friends. And since free time becomes a precious commodity on approach to the holidays, I decided to opt for simplicity. So I chose to embroider 4 cocktail napkins, each with a monogram representing the letters of the word NOEL. This could easily be adapted to any holiday just by switching letters and colors. My napkins are 6 inch squares and will be embroidered on point.
As with every embroidery project, my guiding rule is to spend 10% of project time on design and 90% on embroidery, construction… aka ‘execution’. With BERNINA Toolbox, it’s easy to meet my goal.
To create the 4 napkins, the process is very straightforward and will leverage the simplicity that Toolbox brings to file management.
- Create the first monogram.
- Create a copy of the first monogram file and change the letter.
- Repeat Step 2 until you have all the letters.
After that, it’s just a bit of embroidery.
Create the First Monogram:
Start with a New design file.
- Type the file name: Napkin – N
- Click OK.
The main workspace screen of Toolbox will now open up.
- Click on the Monogram Tool.
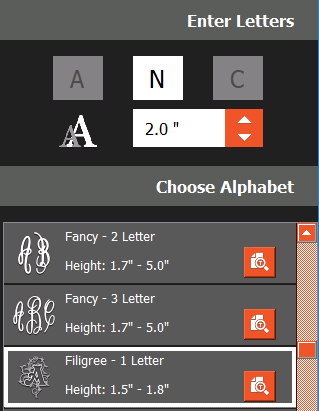
- In the Enter Letters section, type the letter ‘N’.
- Set the Height of the letter to 2 inches.
Note: This monogram has a recommended letter height range of 1.5 – 1.8 inches. So at 2 inches, it’s a bit larger than the default recommendation. The key is to test first…always! It turns out that the designs turn out just fine with the letters 2 inches tall.
- In the Choose Alphabet section, select the Filigree – 1 Letter
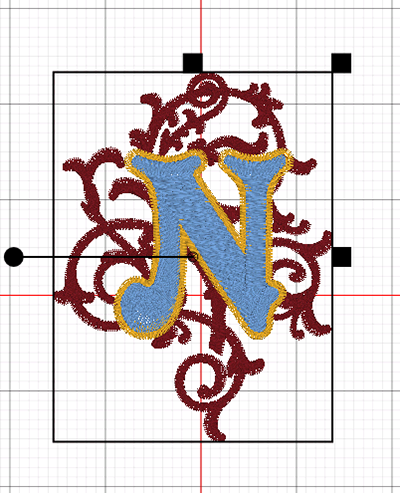
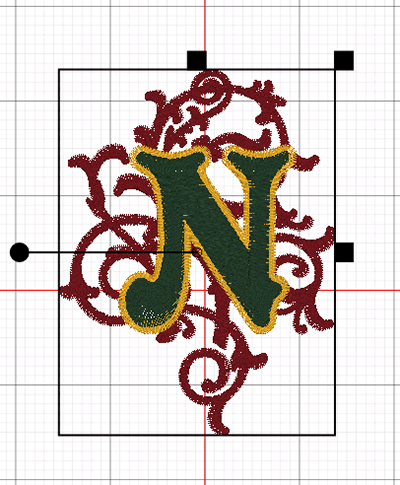
Your monogram will instantly be created, will be selected, and will look as follows:
Now let’s dress the monogram in holiday colors.
With the monogram still selected, click on the Design Colors tool.
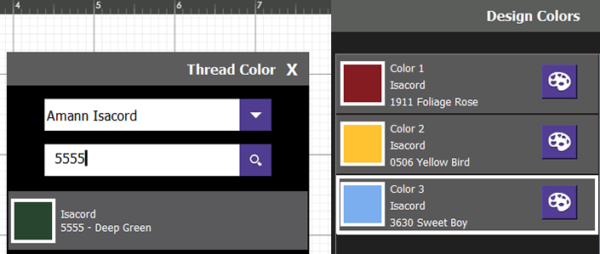
The list of current design colors will be shown on the right of your screen. We have a red, a yellow and light blue.
Select Color 3 (light blue) and click on the Exchange Design Color icon.
The Thread Color dialog box will open. Select a green color of choice (I opted for a forest type of green).
TIP: If you have a specific thread color in mind, you can select the brand (here Amann Isacord) and type in the spool’s color number (here 5555) in the search field. Toolbox will list that color with a sample color chip.
Click on the desired color chip, and Color 3 will be replaced with the new color (Here Deep Green 5555).
Note: When replacing a color in this way (e.g. from blue to green) the change of color will apply to all objects in the file that were of the original color (e.g. blue). They will all now be of the new color (e.g. green).
Your design will now look like this:
Why changing only 1 color?
I planned on using a deep red and a golden yellow Isacord thread to go around the deep green for this design. I did not change color for the red and yellow as they were representative enough on screen, and on the machine as well.
I typically go to my Isacord drawer to do my final thread color selection with 2 factors in mind:
- How do the colors interact with the color of the base item?
- How do the colors complement and interact with each other?
Trying it on for size
My monogram is ready, so it’s time to place it in the hoop to evaluate the size. Typically, it’s recommended to use the smallest hoop possible for an embroidery design. However, I always run a check on screen.
In the View Tool, Choose Hoop section: select the Medium hoop and Foot #26.
With the design selected, I used the arrow keys on my keyboard to nudge it until it is centered in the hoop.
TIP: Use the sizing controls around the selection box as visual guides for centering.
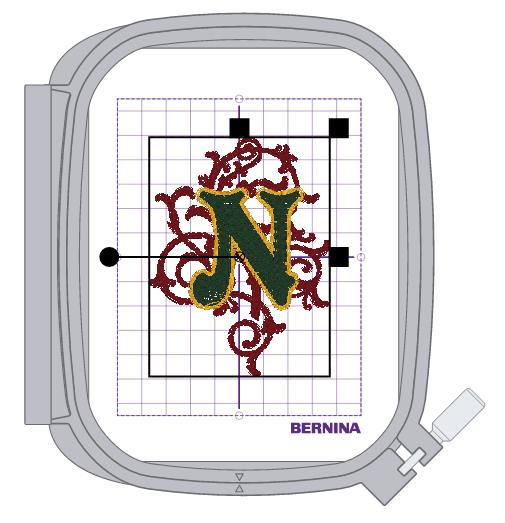
Your design should now look as follows:
Looking at the image above, it’s clear that my design fits well within the hoop. Also, a 6 inch napkin placed on point will extend between the hoop rings at the top, bottom and sides. That will be just what I need for a good stitch out.
At this point, my first monogram is done and I can use the Return button to go back to Toolbox main screen.
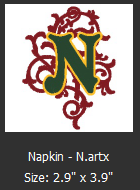
The Napkin – N monogram file will be listed there as shown here:
Going from 1 to 4 Napkins.
Now comes the easy part! To create the other 3 monograms only takes a few clicks per monogram:
- Double-click on the N – Napkin
- Select Create Copy from the dialog box (Do Not select Edit).
- Name the new file Napkin – O and click
- Once the file is open:
- Note that the N monogram from the previous file is already selected.
- Click on the Monogram tool.
- Change the letter N to a letter O in the Enter Letters section on the right of your screen.
- Your monogram is automatically updated to the letter
- Click on the Return button to go back to the Toolbox main screen. The file is automatically saved.
You should now have two files listed, the N and the O monograms.
Repeat the steps above to create the E and L files.
TIP: It’s important that you use the Return icon after you create each new letter monogram so that you get to create a copy for the next letter. If you keep editing the monogram letter without returning to the main screen you’ll end up with just one file with an L in it.
At the end of the process, at the Toolbox main screen and using the Sort by Name option, your monograms will line up together.
TIP: By using the word Napkin before the monogram letter in the name, the 4 files will list next to each other in alphabetical order… by name).
Time for Embroidery!
To embroider each file, simply open it by double-clicking on it and selecting Edit from the dialog box.
Use the Export Tool to save the file to a USB stick to take to your embroidery machine.
When all 4 napkins are embroidered, place them on a table with small votive candles between them for a simple yet striking center piece.
TIPs for Embroidery Design Placement at the machine:
- The red scroll around the letters is the same for every file. It will affect where the actual center of the design is located.
- Therefore, the design center will not be exactly the same as the center of the letter in the monogram
- When loading the design in the machine, I used the Absolute Check feature of my BERNINA embroidery machine to point at the very center of each letter (in turn). This point is roughly a quarter inch from the ‘design center’ and marked the visually desirable center.
- Now that my visually desirable center was identified, I used the multi-function knobs to move it to the hoop center (I used the plastic hoop template to simplify the process… no need for marking or creasing the fabric).
- The result was that the red scroll wasn’t exactly centered, but the monogram letters were, and the visual effect across the 4 napkins was more balanced.










I am a beginner at sewing machine embroidery on an old machine. So far, I’ve only made 3 baby bibs which I gave to my daughter-in-law and daughter as baby gifts. I have a lot to learn! But it is a lot of fun!