Fabric Pint-sized Basket Tutorial
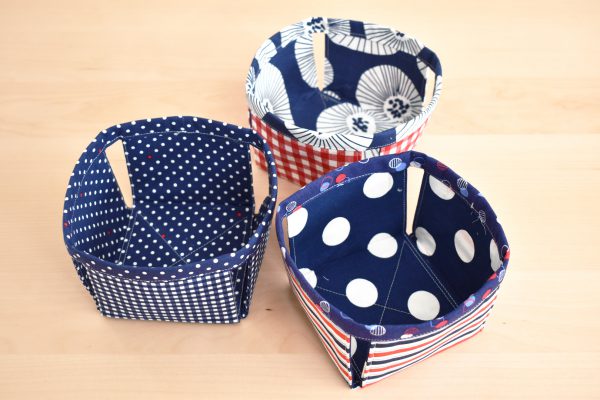
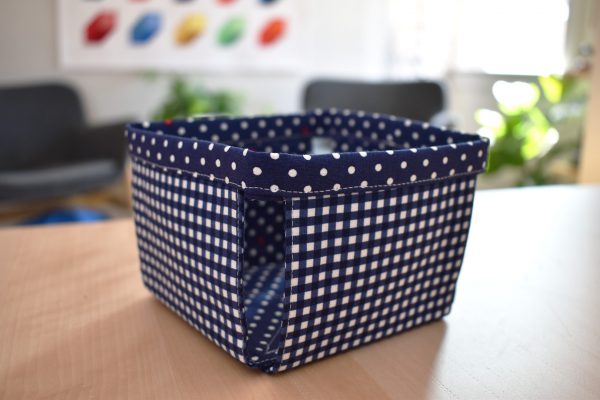
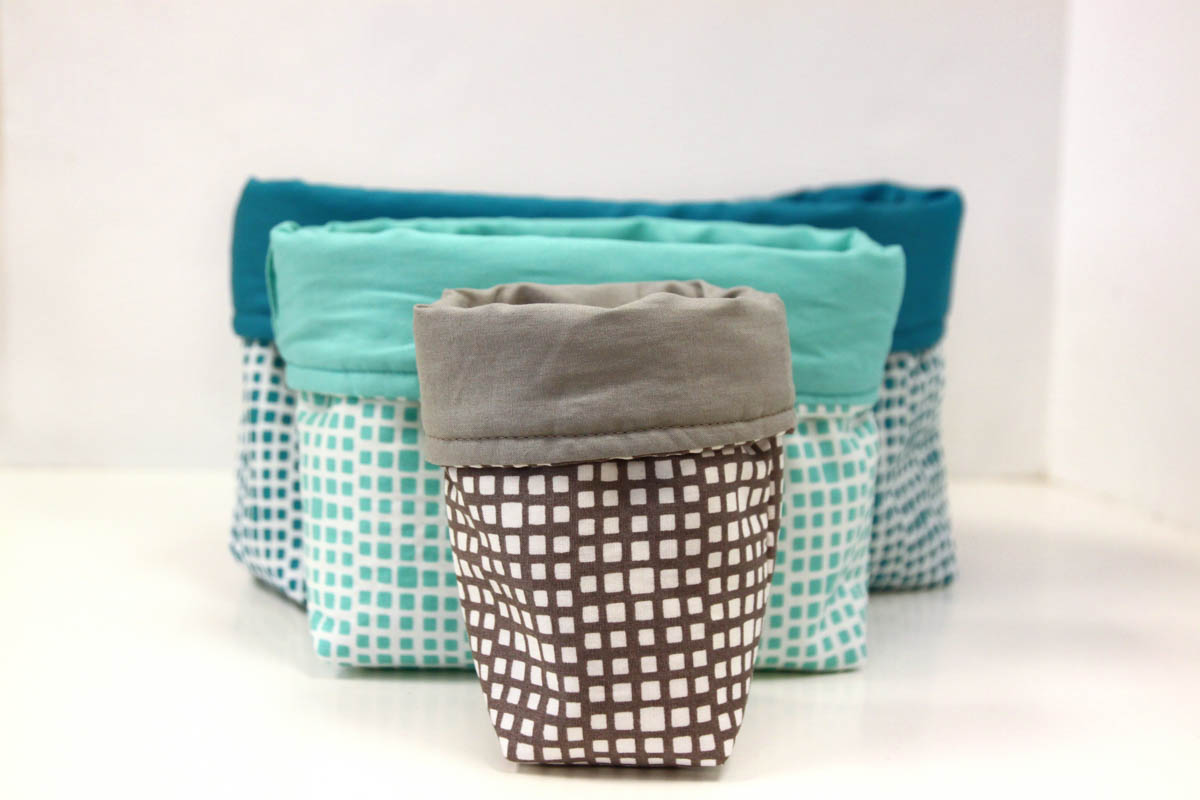
Learn how to make a fabric pint-sized basket inspired by simple farmer’s market chip wood berry baskets.
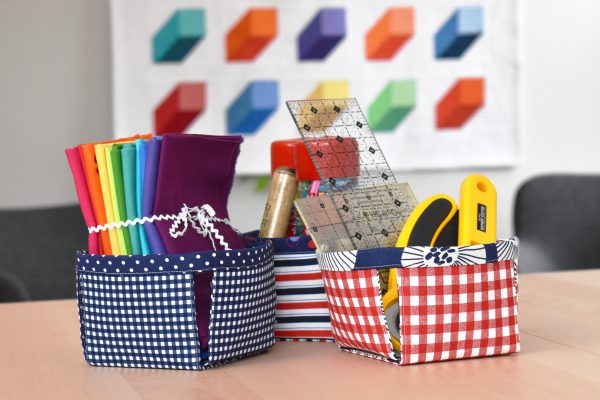
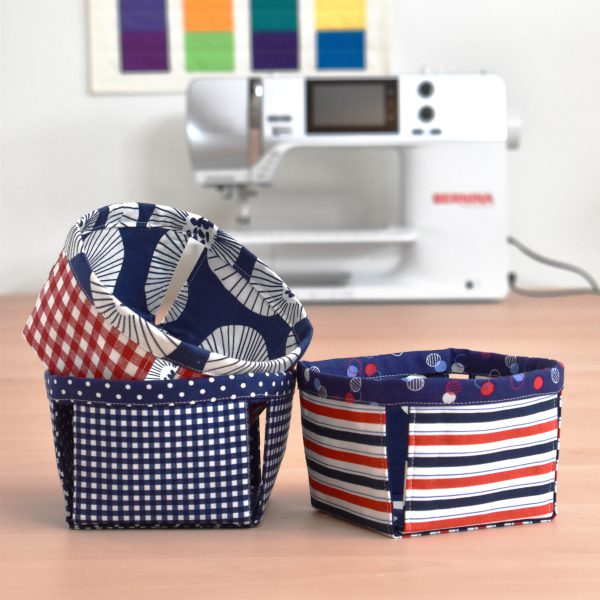
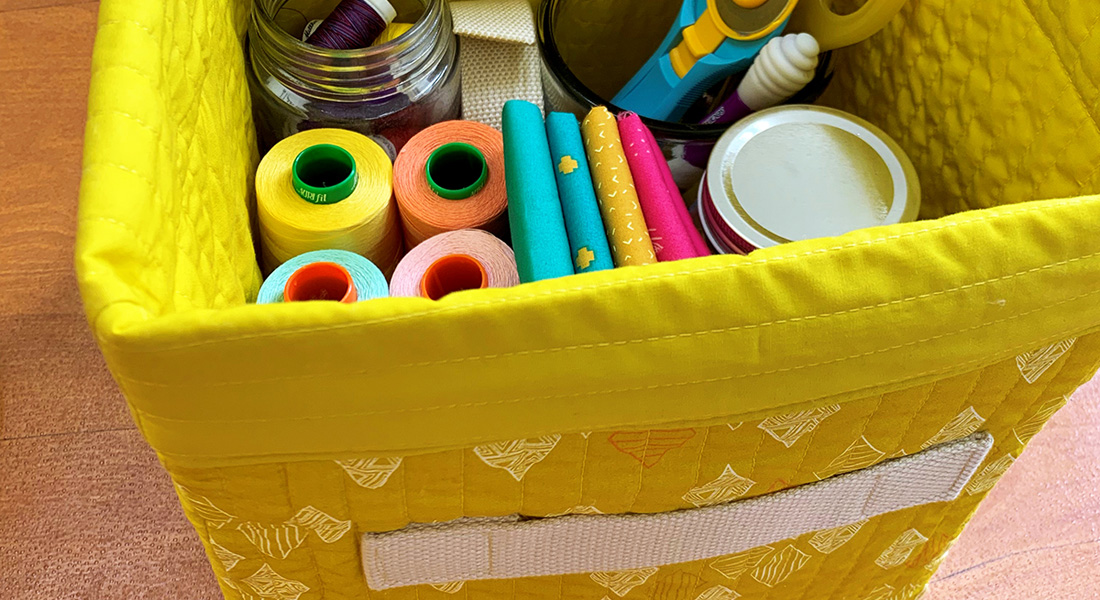
Handy for storing sewing supplies, knick-knacks, or anything else you might need to contain, these fabric baskets are perfectly pint-sized and stack together when not in use.
Materials to Make a Fabric Pint-Sized Basket
- Two or more fat quarters of 100% cotton fabric (one fabric for outside of basket, one fabric for inside of basket and band)
- 1/3 yard 20″ wide Pellon Craft-Fuse (will make one basket)
- Coordinating all-purpose polyester thread
- Rotary cutter, mat, and ruler
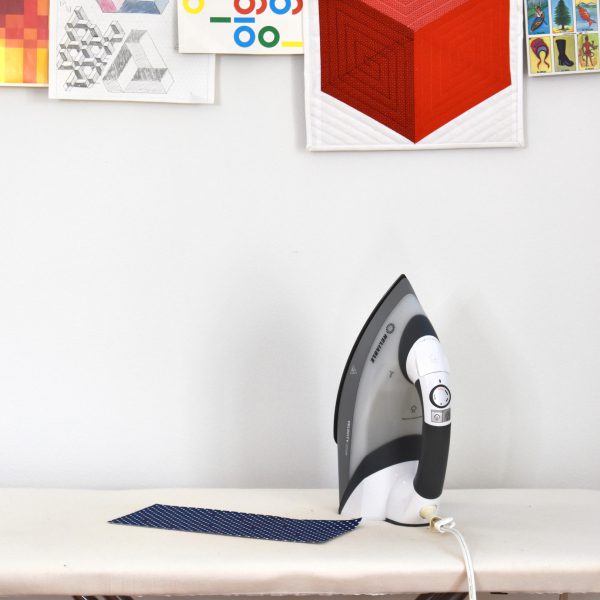
- Iron, pressing surface, and pressing cloth
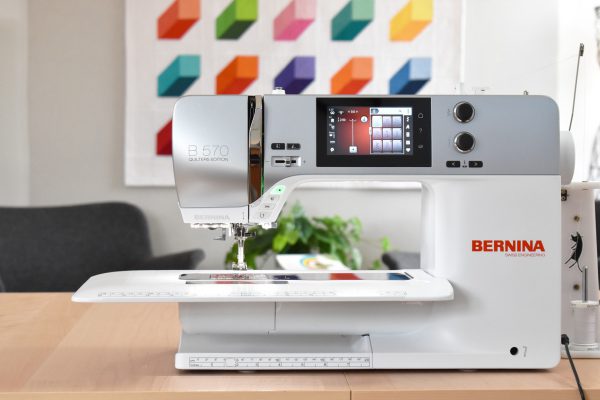
- Sewing machine (I use a BERNINA 570 QE)
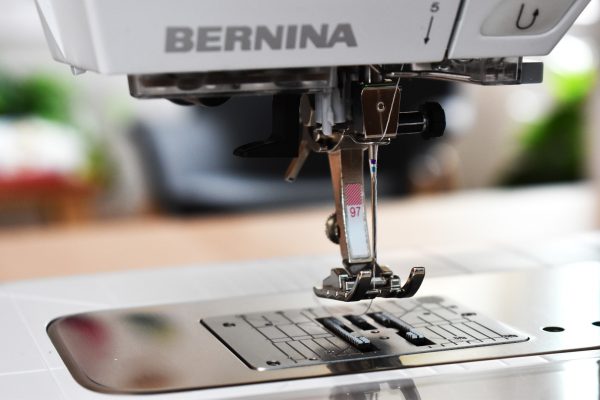
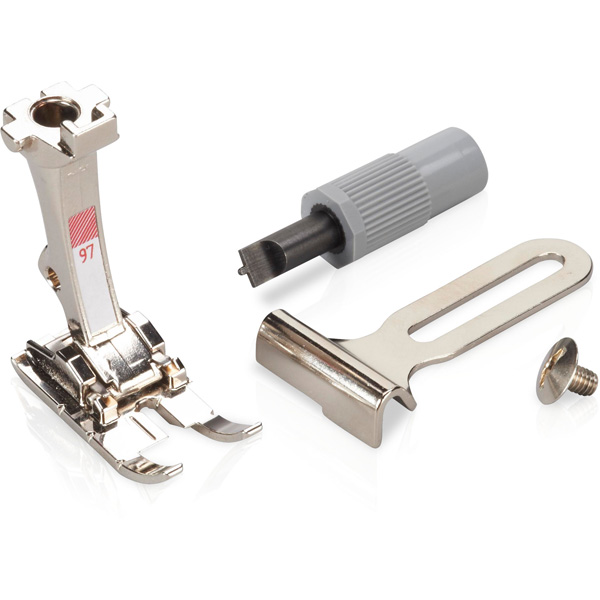
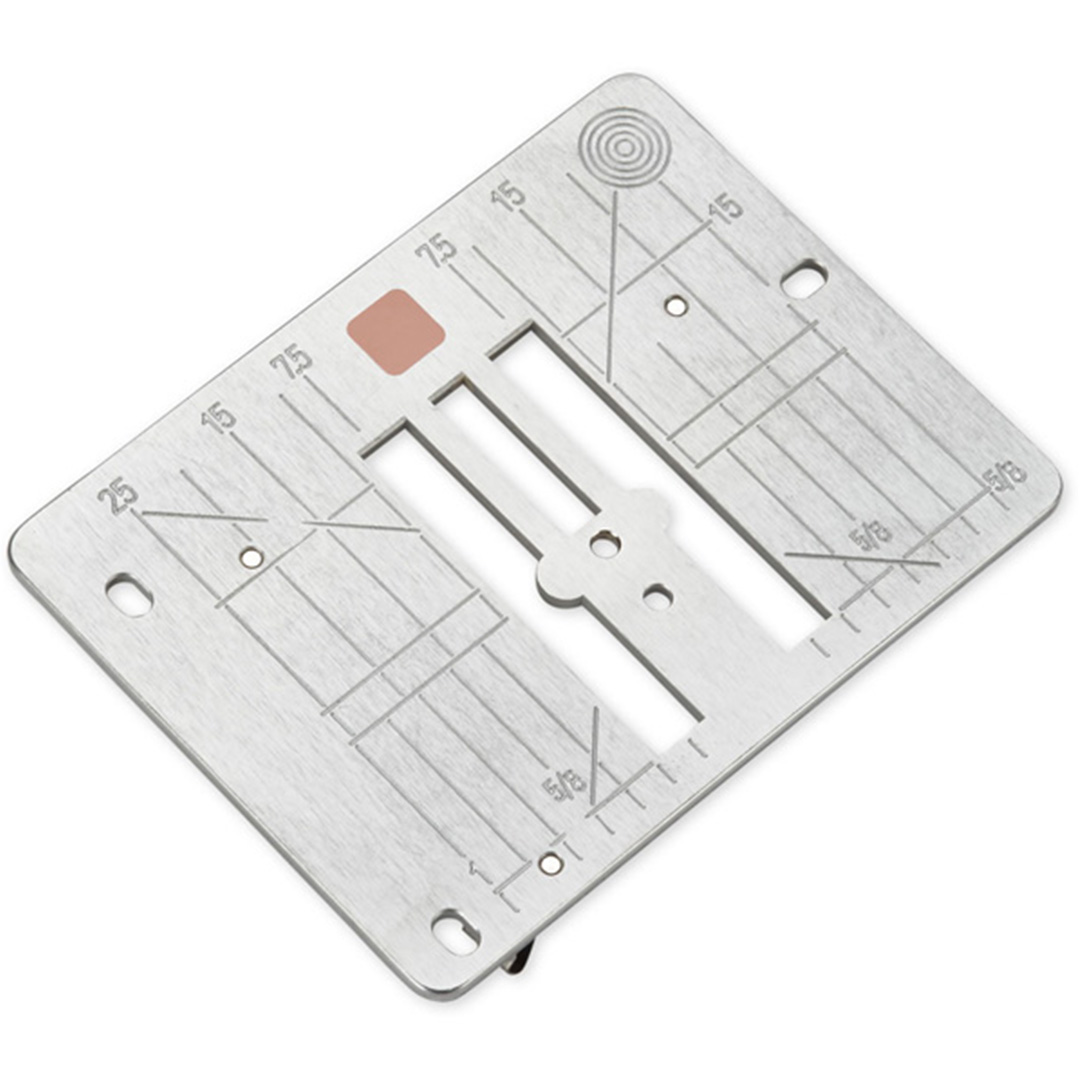
- Straight stitch needle plate
- Straight stitch presser foot (I use Patchwork foot #97, you can also use Jeans foot #8)
- Size 90/14 sharp sewing machine needle
- Straight pins
- Clover Wonder Clips
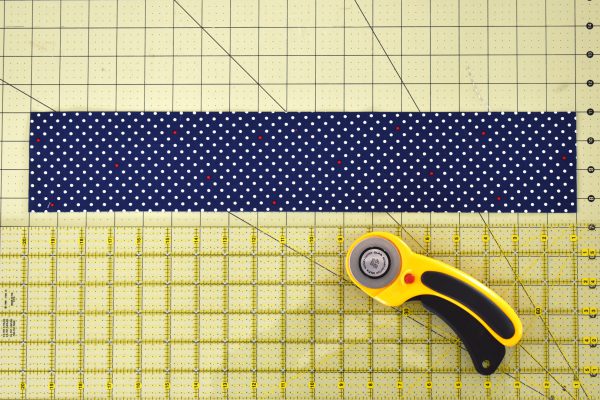
First, use the rotary cutter, cutting mat and ruler to cut one strip to finish the top of the basket to 18 1/2″ long x 3 1/2″ wide from one long edge of a fat quarter.
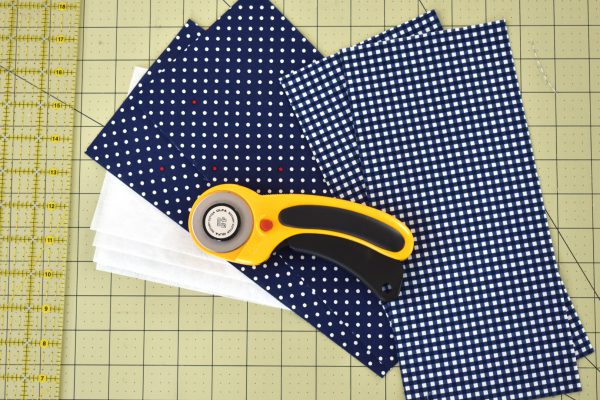
Next, cut two pieces of fabric for the outside of the basket to 11″ x 5″ rectangles, and cut two pieces for the inside of the basket to 11″ x 5″ rectangles.
Finally, cut 4 pieces of Pellon Craft-Fuse to 11″ by 5″ rectangles.
Following the Pellon instructions, fuse one piece of Craft-Fuse to the back side of each 11″ x 5″ rectangle of fabric. Set these pieces aside.
Get ready to sew. Wind a bobbin and thread your machine with coordinating colored, all-purpose polyester sewing thread.
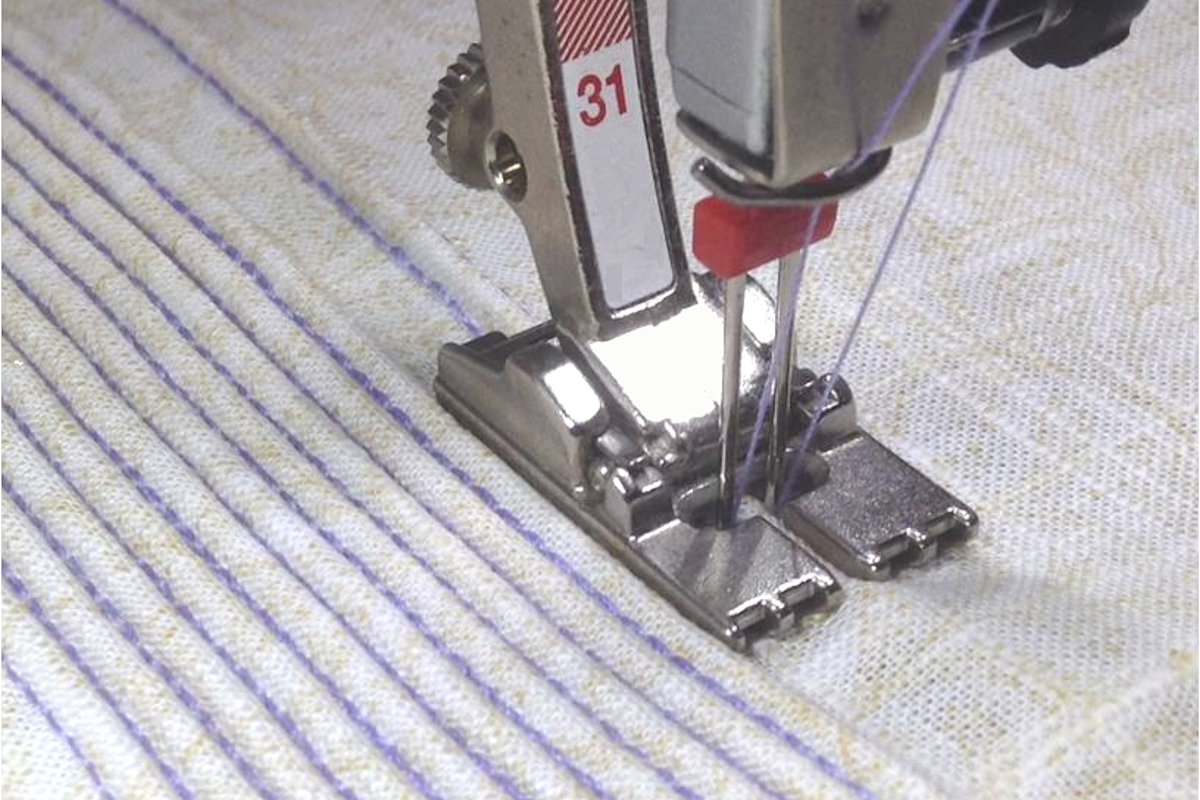
Install a sharp sized 90/14 needle, a straight stitch needle plate, and use a straight stitch presser foot to help sew through all the thick layers in the basket. I am using Patchwork foot #97, but you can use any BERNINA patchwork foot, or Jeans foot #8 for this project.
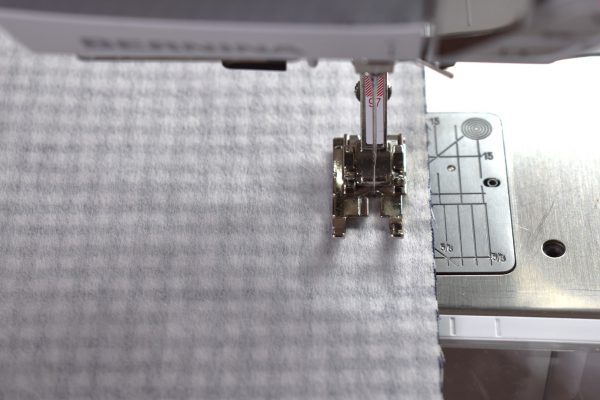
Pair one basket outside piece with one basket inside piece, right sides together. Sew down the long sides with a 1/2″ seam allowance (the mark just to the left of the 5/8″ seam on your BERNINA stitch plate). Leave the short ends open. After sewing both long sides together with the 1/2″ seam, turn the two pieces inside out through one of the short ends.
Press the side seams flat after turning, and use a chopstick to help push the seams out and flat.
At the sewing machine, top stitch down each seam on both pieces, sewing from what will become the outside of the basket. Clip any thread tails and take both pieces to the cutting mat.
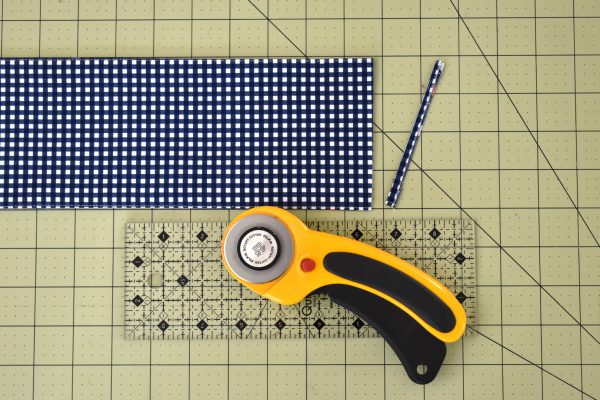
On only one basket piece, cut 1/4″ off of one short end. This will help compensate for the outside basket piece having farther to fold up than the inside piece. Leave this shorter piece right side up on the cutting mat.
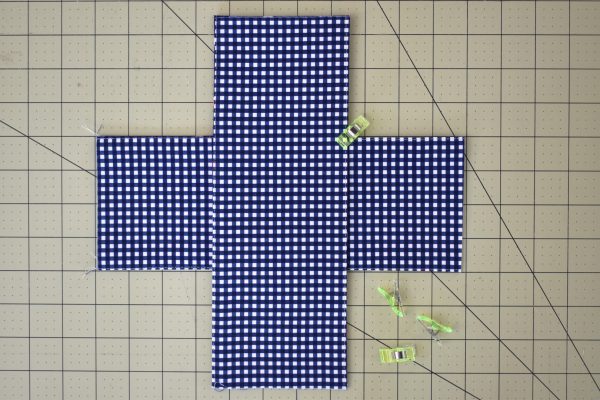
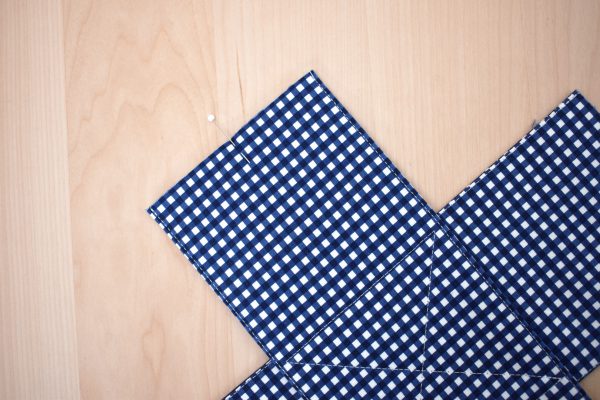
Cross the other basket piece, right side up, on top of the shorter piece. Use the grid marks on the cutting mat to make sure the two pieces are squared-up and evenly spaced apart. Use Clover Wonder Clips to hold the two pieces together at each overlapping corner.
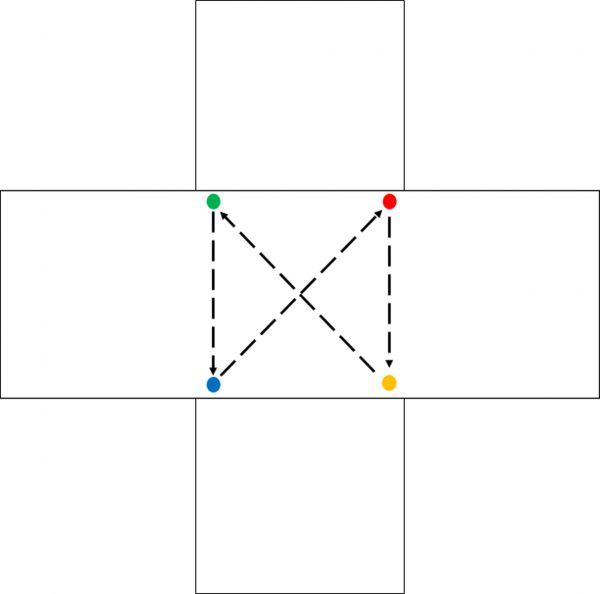
Stitch the two pieces together following the diagram below. Using a straight stitch needle plate and foot will work together to help sew nice and even stitches through all of the thick layers. If you need to follow a straight line when sewing the bottom of the basket, use a fabric marking pen or pencil to mark directly on the fabric (test first to make sure the pen or pencil will be easy to remove after sewing).
The RED dot is both the start and stop point for stitching. Start sewing at the RED dot, about 1/4″ from the edge of the bottom basket piece. Here is where drawing a straight line may help you, I am simply eyeballing and sewing straight down.
Sew straight down to the corner at the YELLOW dot. Pivot in the corner; leave the needle down in the fabric at the pivot point and raise the presser foot. Then pivot the fabric carefully to sew the next line of stitches.
Sew to the other corner at the GREEN dot. Pivot and sew straight down about 1/4″ from the edge of the bottom basket piece.
Pivot one last time at the BLUE dot, and sew back to your starting point, backstitching to secure the stitches.
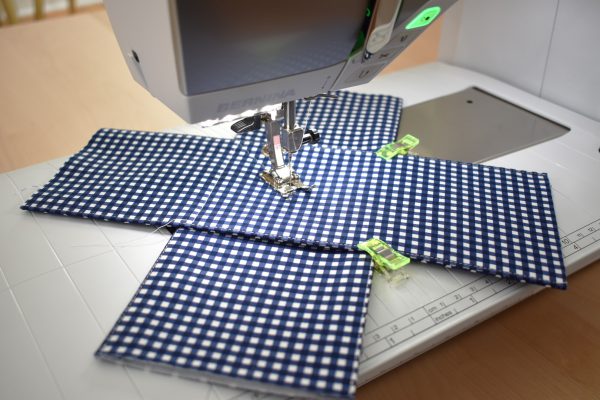
Here I have pivoted to sew the first diagonal line across the bottom of the basket.
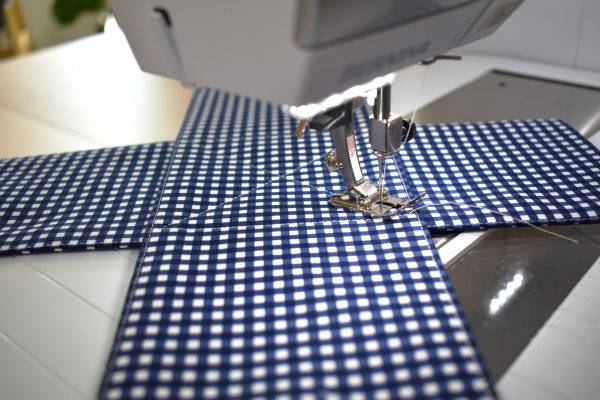
Here I am sewing the last diagonal back to the starting point to finish the bottom of the basket.
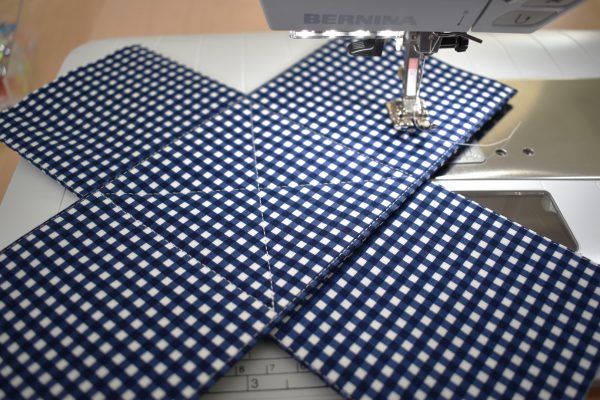
Here is the finished basket bottom after stitching the two pieces together.
Next, grab the 18 1/2″ long by 3 1/2″ wide strip to finish the top of the basket.
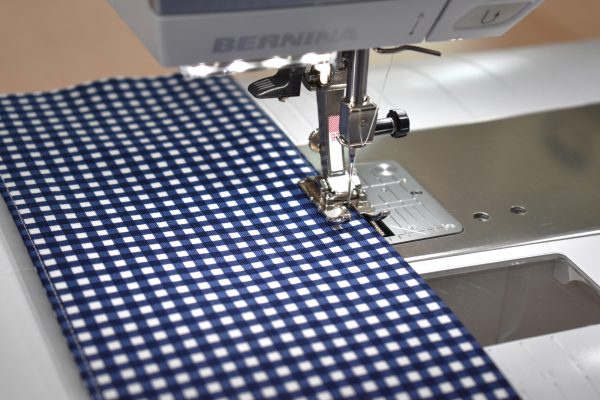
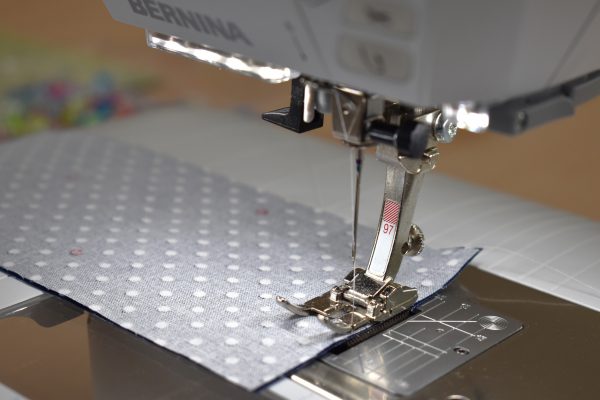
Fold the short edges of the strip together, right sides matching, and sew a 1/4″ seam across the short ends.
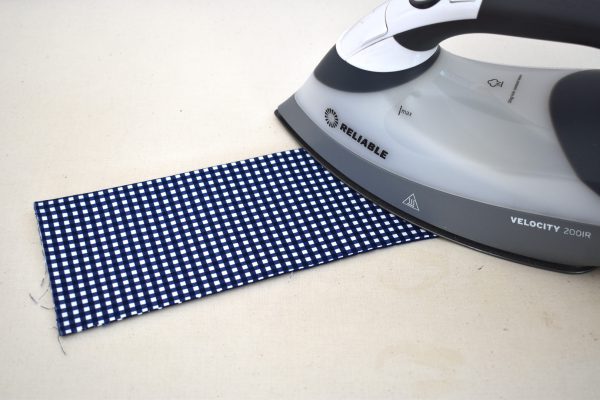
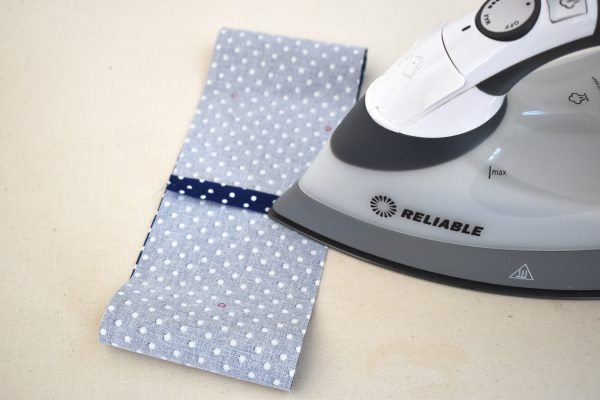
Press the seam open.
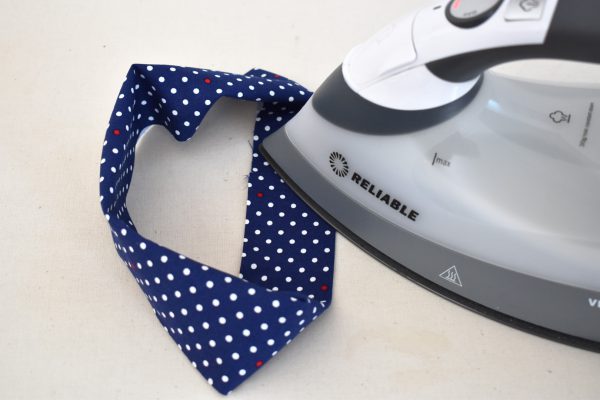
Press the entire strip in half, matching raw edges at the top. Begin with a fold in the seam, wrong sides together, matching raw edges at the top, and press. Continue pressing the band in half, all the way around.
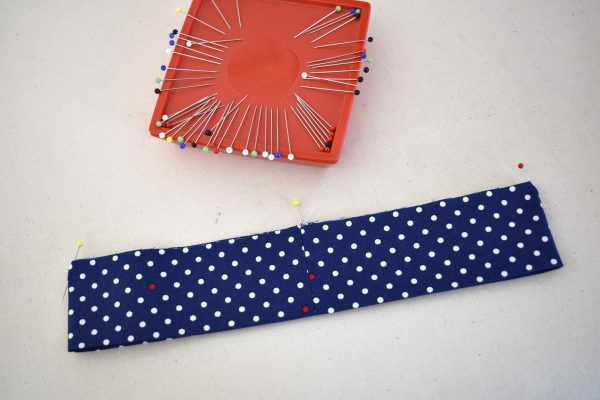
Mark the band with pins in quarters at the top of the raw edges. Start by folding the band in half at the seam, and place a pin on the opposite side, directly in the fold. Next, match the seam together with the pin on the opposite side, and place pins on each of the folds at the sides. You now have the band measured off in quarters along the raw edges.
Measure to find the center on each raw edge of basket ends, and mark with a pin.
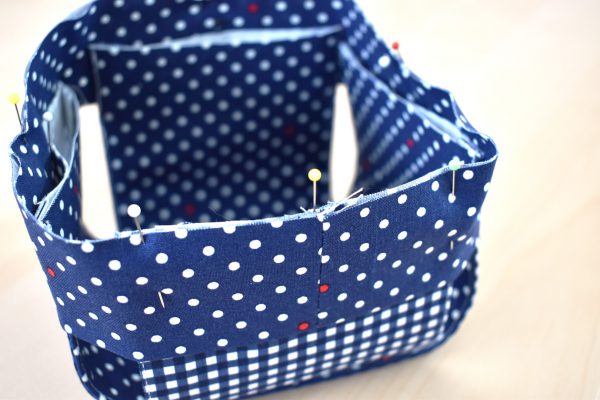
Fold up the four ends of the basket pieces (making sure to fold the right way, inside basket fabric to the inside of the basket). Slide the band, raw edges up, down over the basket ends. Match centers of the band to centers of basket ends and pin in place. Note that the basket ends do not meet at the corners, there should be a little space in each corner. If you find the spaces in each corner are very uneven, readjust the band over the basket ends until the spaces are even.
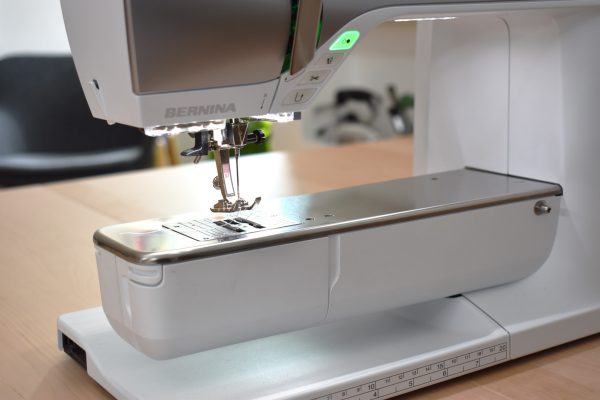
Remove the sewing table from the machine to access the free arm to sew the top of the basket.
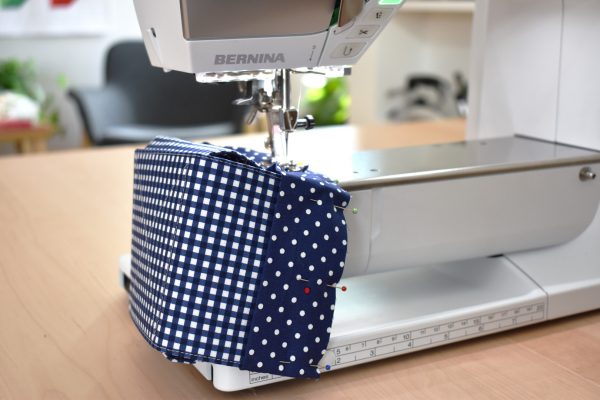
Slide the basket over the free arm.
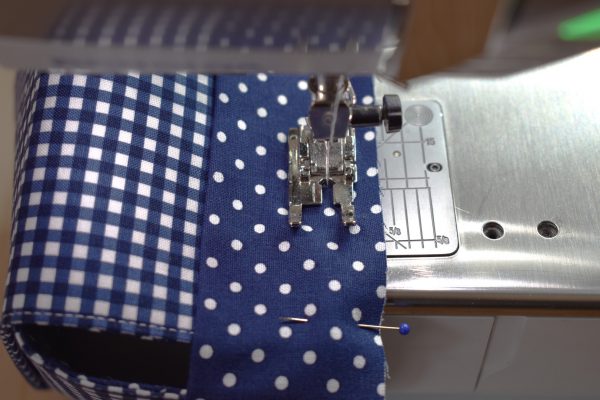
Sew all around the top basket band at 1/2″ seam allowance (the 1/2″ seam line is the mark just to the left of the 5/8″ marked seam line on your BERNINA stitch plate). Sew slowly and carefully, and use both hands to gently guide the basket around the free arm as you sew.
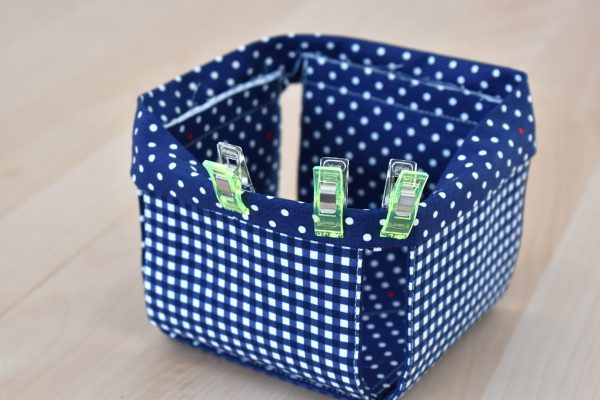
After stitching the band to the basket top, flip the band up and over the basket ends. Use Clover Wonder Clips to hold the folded over band in place.
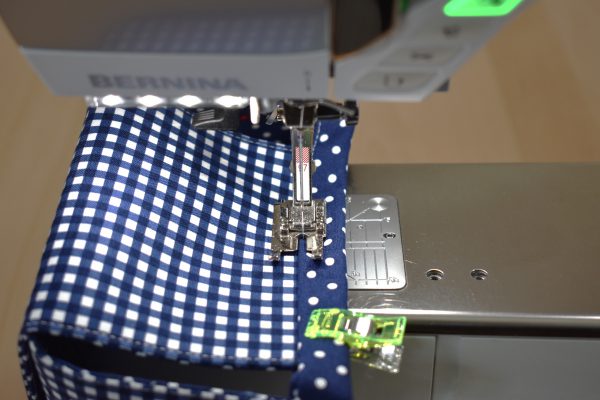
Place the basket back over the free arm and topstitch on the bottom edge of the band. I start in the middle of one side, and backstitch a few stitches to secure the stitching.
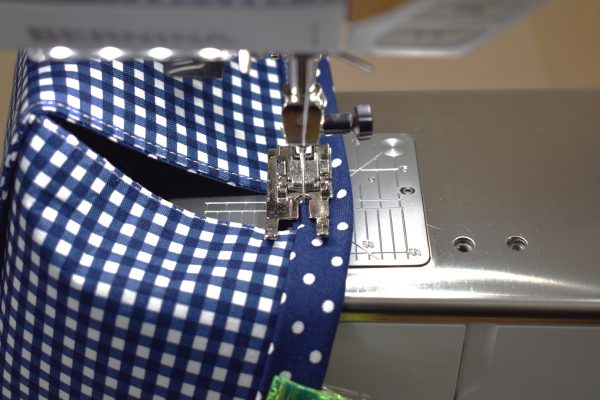
Sew slow and steady as you go, around the corners of the basket and back to the start point. Sew back to the start point, backstitch a few stitches to secure the stitching, and remove the basket. Snip any stray threads.
And your pint-sized fabric basket is ready to use!
I hope you enjoy your fabric pint baskets, and once you get the hang of making a basket you can sew one together in about a half hour. They stack nicely together when not in use, and can corral all kinds of stuff – from sewing and craft supplies to toiletries or little toys.
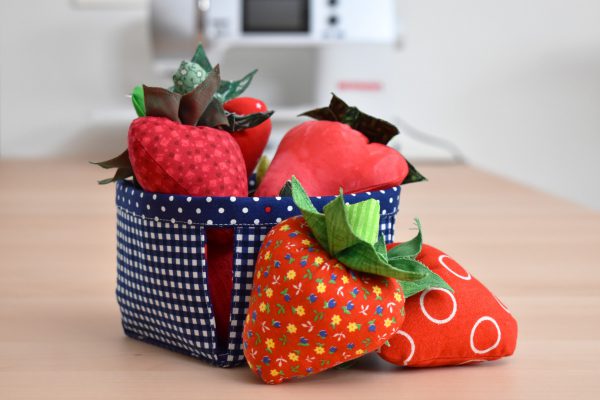
You can even fill your pint basket with some sweet, scrappy strawberries! Learn to make a strawberry into a simple stuffie, a sachet, a pincushion, or a set of pattern weights. Keep your eyes open for my Strawberry Pincushion & Pattern Weight tutorial coming soon to WeAllSew!
What you might also like
One comment on “Fabric Pint-sized Basket Tutorial”
Leave a Reply
You must be logged in to post a comment.







I love this basket! Sew fun!! ?