Girl’s Favorite Block, Pillow Cover with Zipper
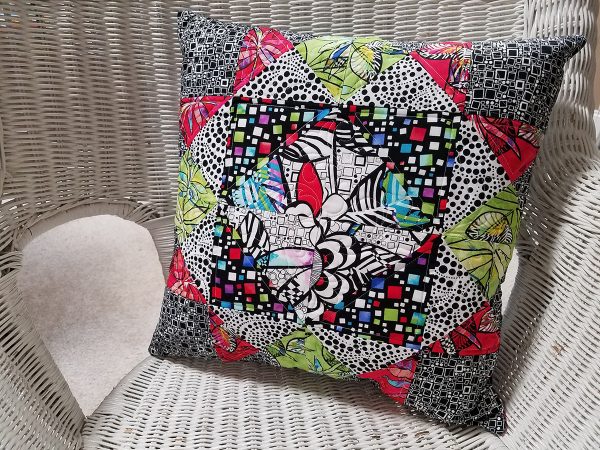
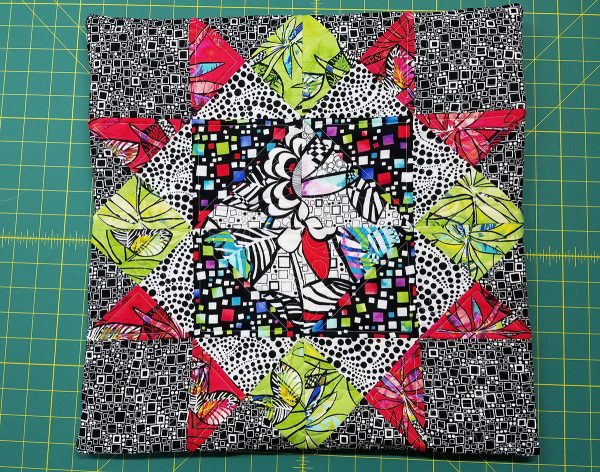
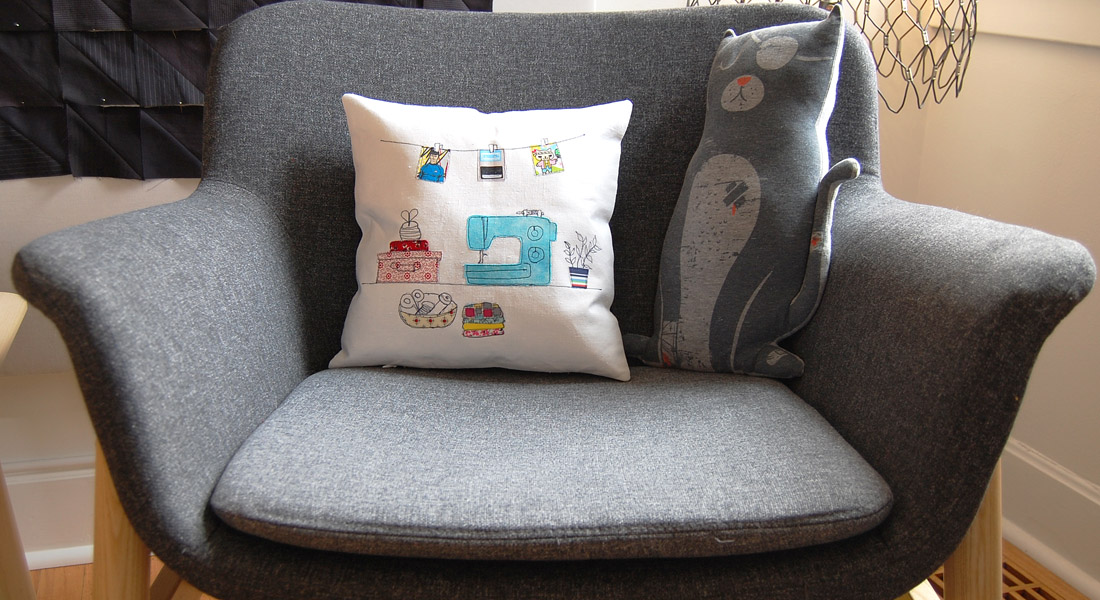
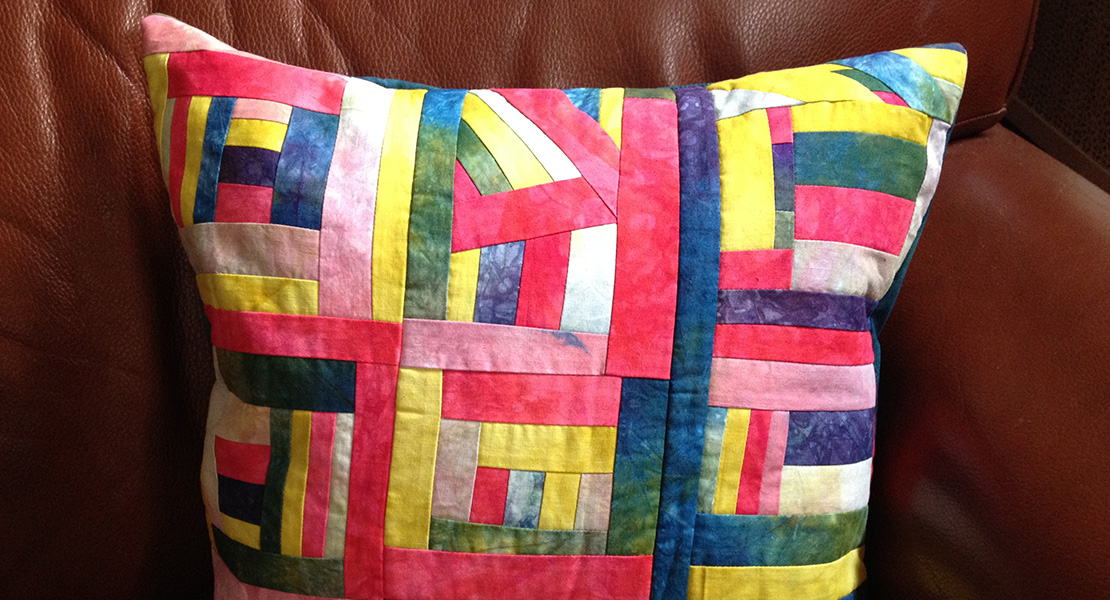
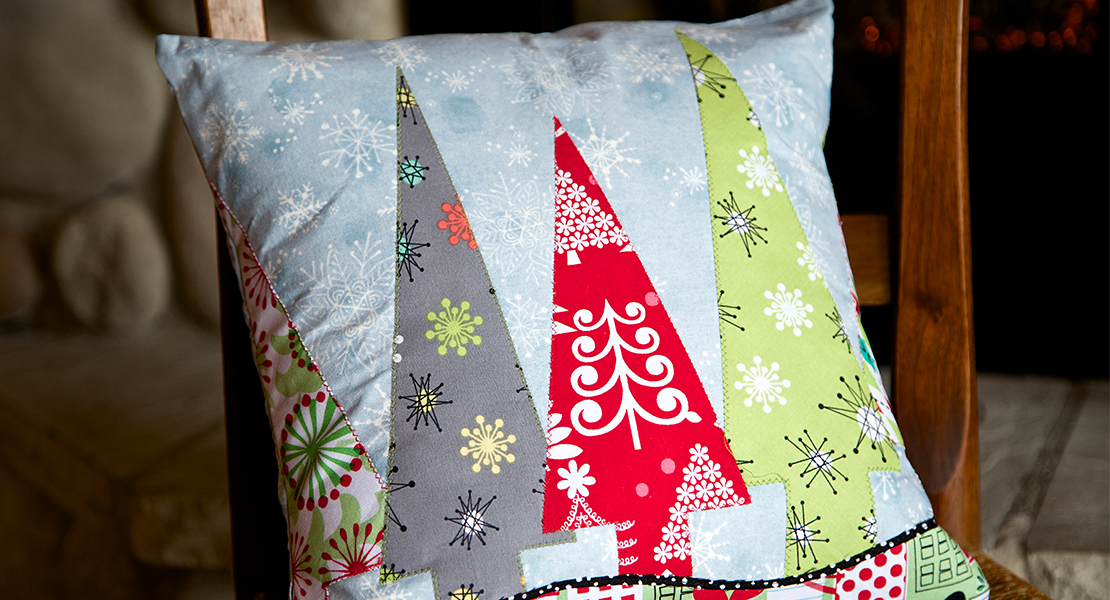
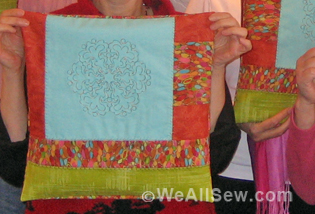
I love the Girl’s Favorite Block from the BERNINA Block of the Month. It was so much fun to practice quilting techniques! After I finished with my practice quilting, I decided it was the perfect block for a pillow. We will add a zipper in the back of the cover so the pillow form can be taken in and out of the cover easily.
Supplies to Create a Girl’s Favorite Pillow Cover with Zipper
6 fat quarters of your choosing (I used the Anything Goes fabric collection by Benartex Fabric)
Batting: Cut to 21” x 21”
Backing: Cut to 22” x 22”
2 fat quarters for the back of the pillow cover (quilt as you desire),
Batting and Backing for pillow back: Cut to the same size as the fat quarter
22 inch zipper to match the backing of the pillow cover
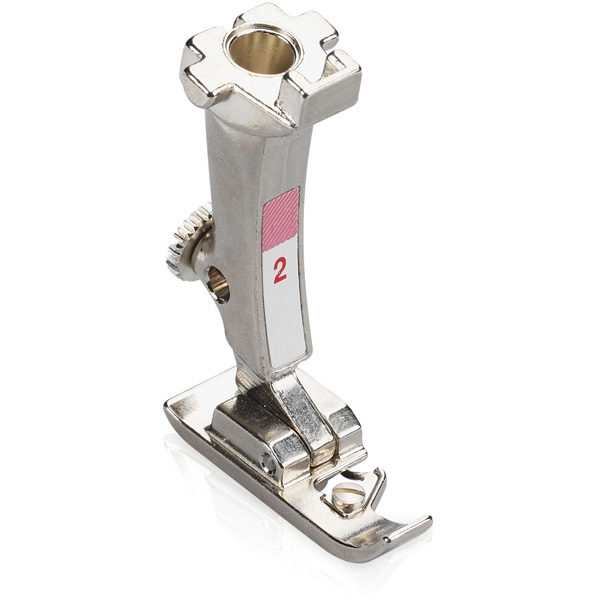
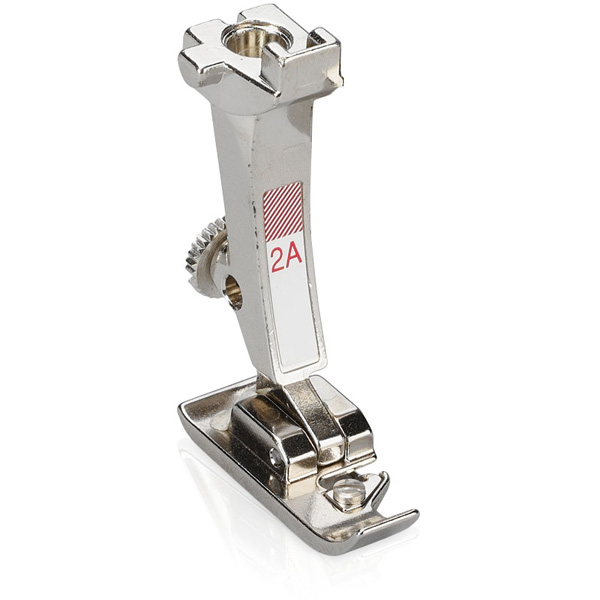
Overlock foot #2/2A or BERNINA Overlocker
18” pillow form
Instructions to Sew a Pillowcase with Zipper
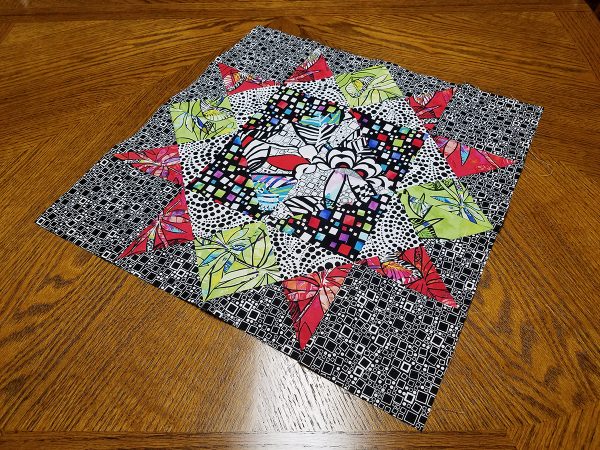
Piece the pillow top following instructions from Block 10 (Girl’s Favorite Block) from the BERNINA Block of the Month.
I used the Anything Goes fabric collection by Benartex.
Create the quilt sandwich by layering the backing right side down, the batting, and the pieced block right side up.
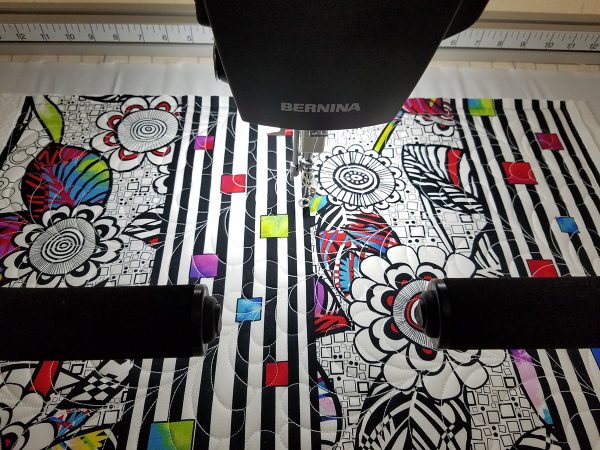
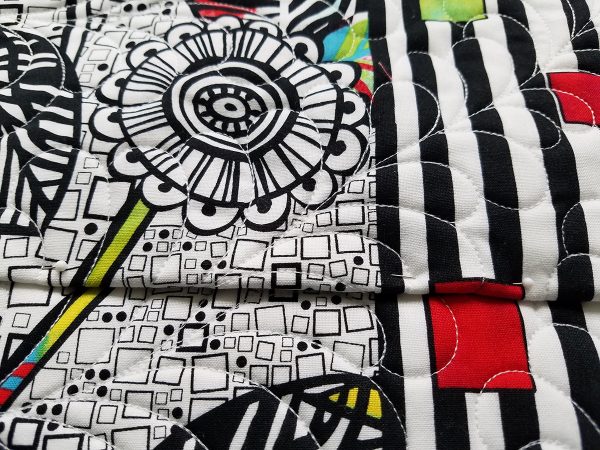
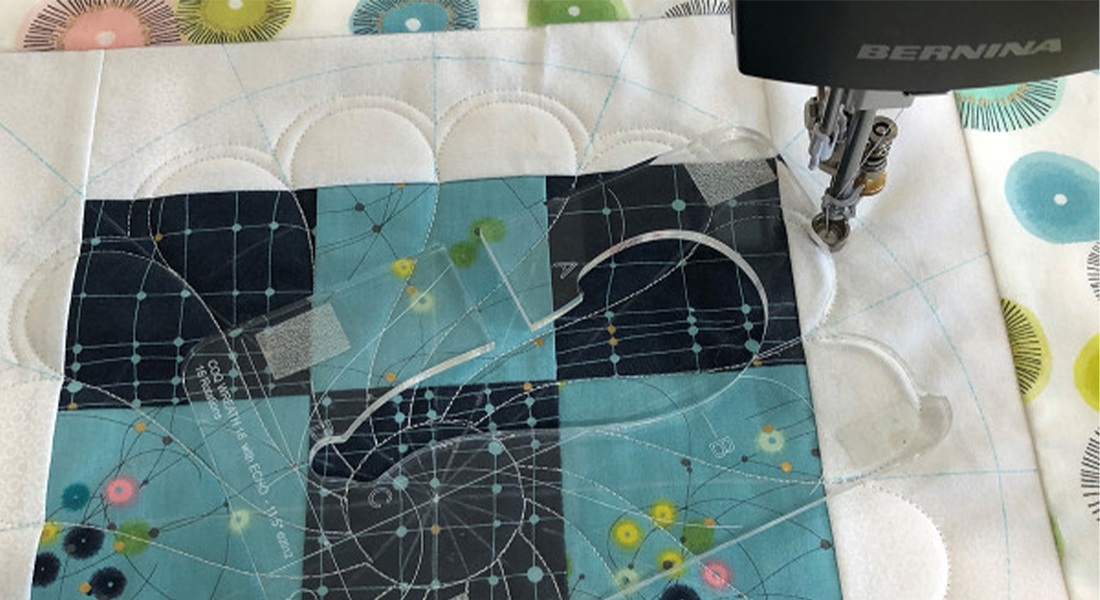
Quilt the block following Nina’s directions, or using any quilting technique of your choice. I quilted this block using some of the built-in designs in Q-Matic and ruler work in the triangles. The back of the pillow was also quilted with Q-Matic using one of the building feather pantos.
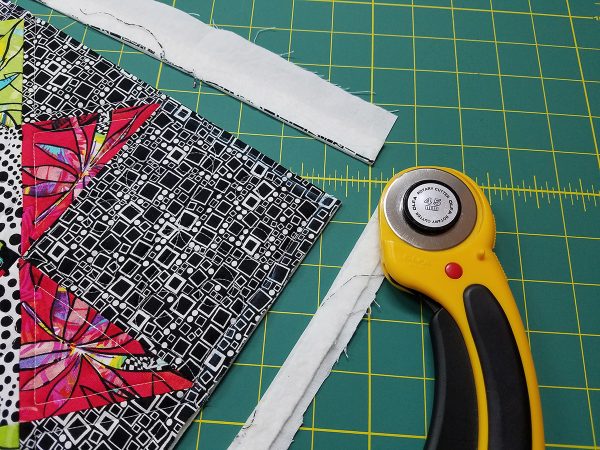
Trim up the block and set aside while you prepare the pillow back.
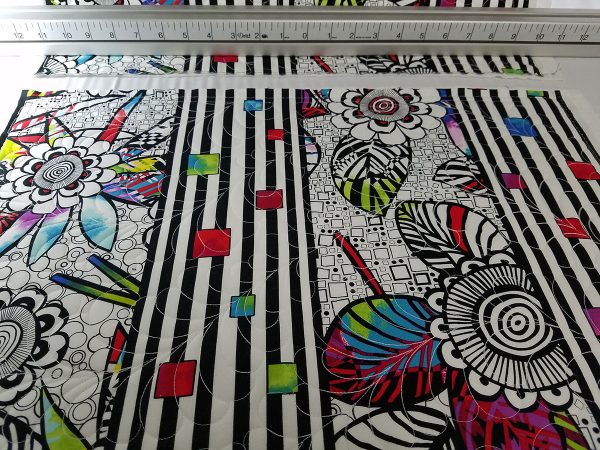
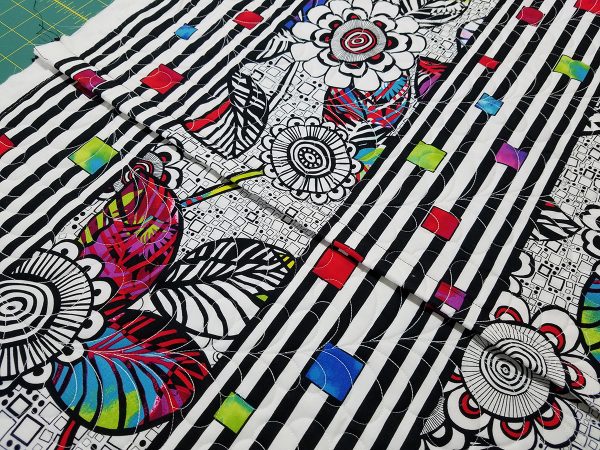
To create the two back quilted pieces for the pillow, start by creating two quilt sandwiches by layering the backing right side down, the batting, and then the fat quarter. Quilt these two fat quarter sandwiches using any of your favorite methods. I quilted a feather design on mine on the Q 24 Longarm using Q-matic Automation.
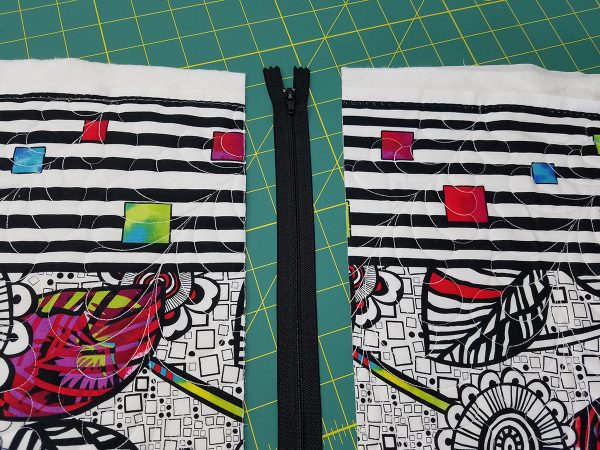
Trim one side of each block straight and even. This is where you will be inserting the zipper.
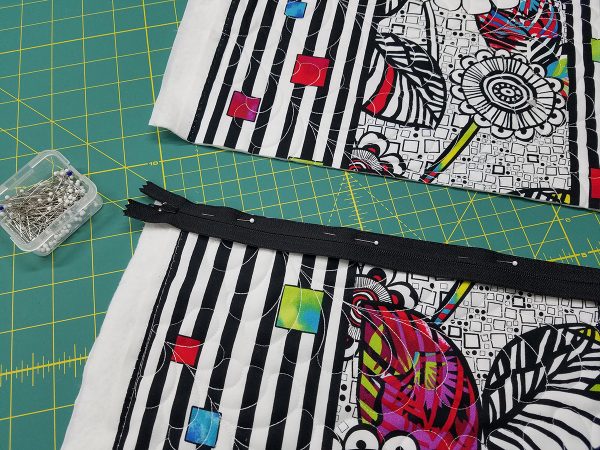
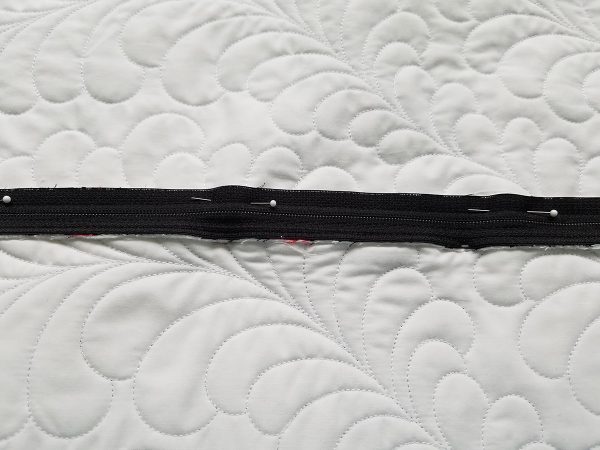
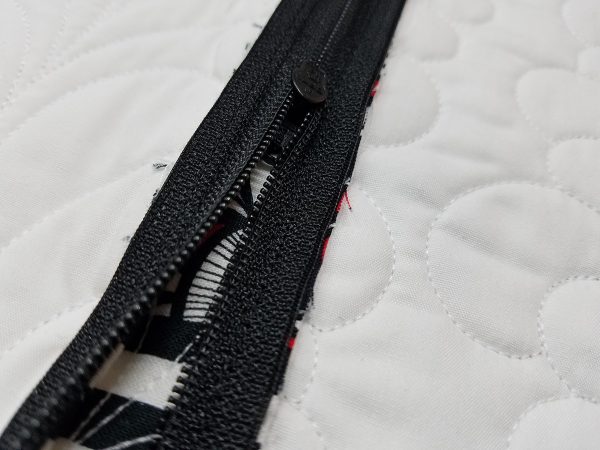
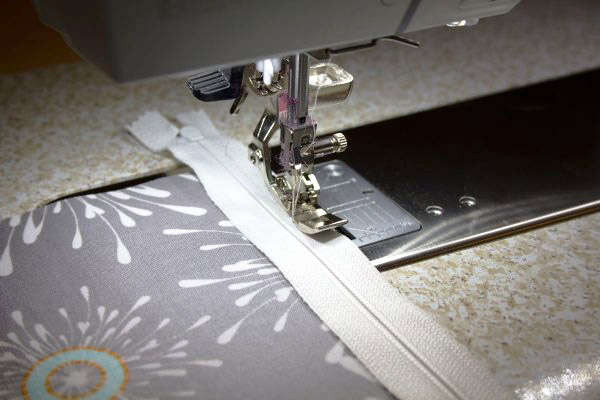
Place the right side of the 22” zipper to the right side of one of the quilted pieces.
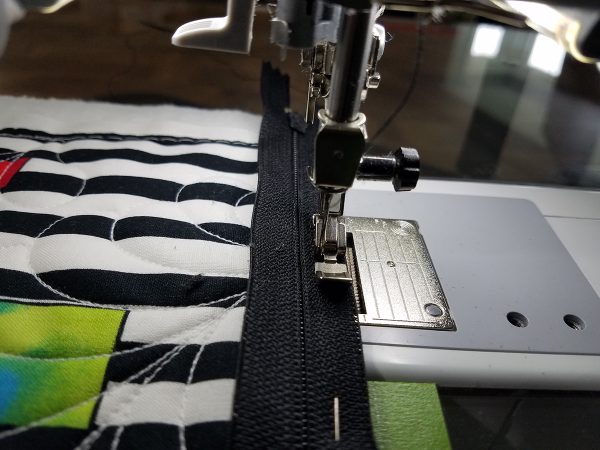
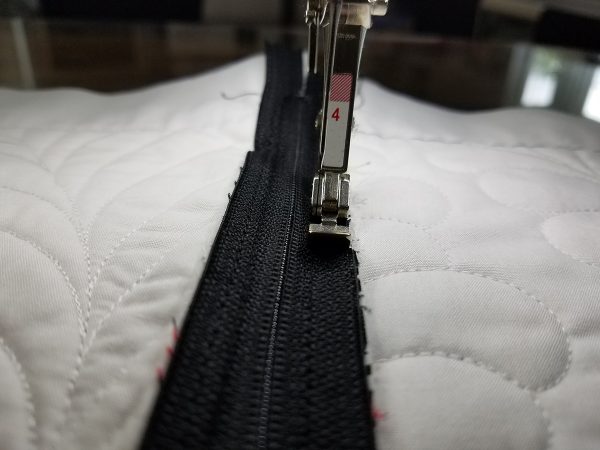
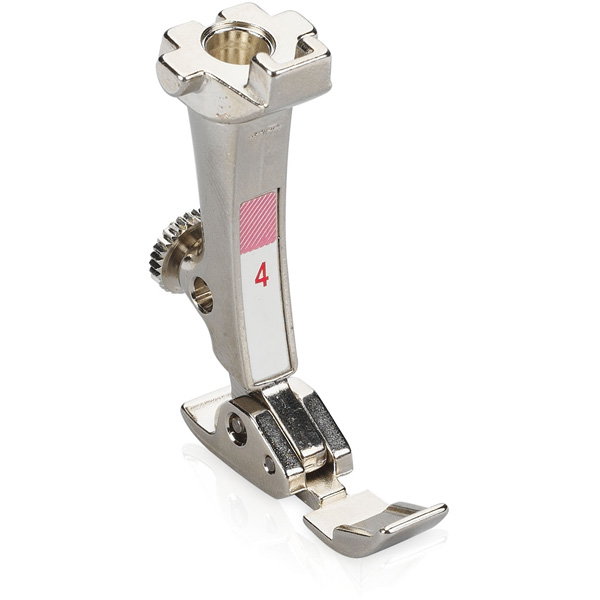
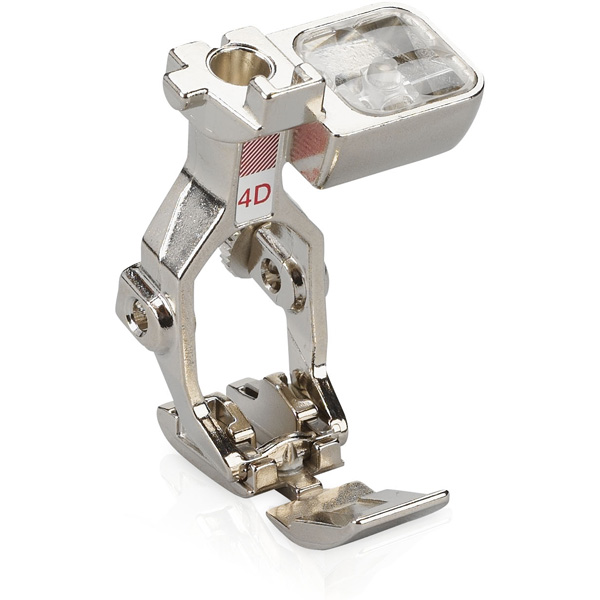
Attach Zipper Foot #4/4D to the machine. With the zipper side up, move the needle position over to the side closest to the zipper teeth.
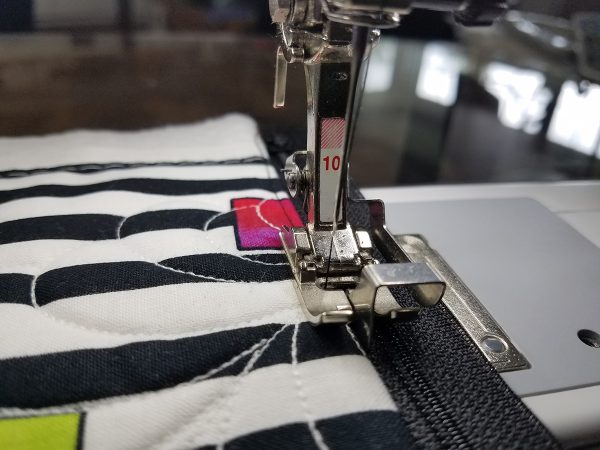
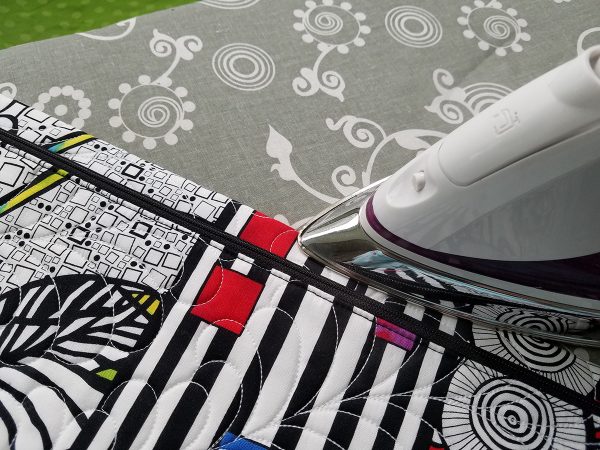
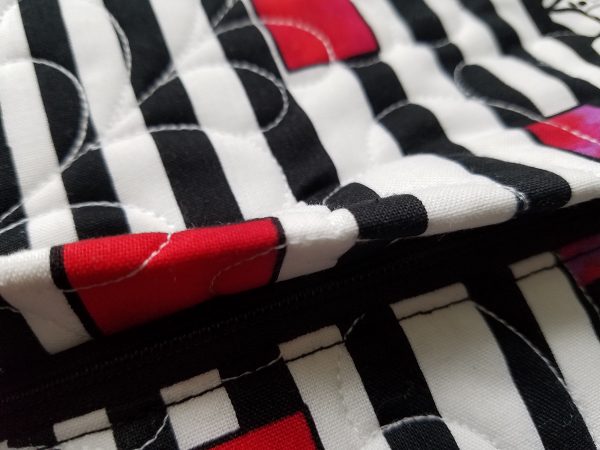
Fold zipper and seam to the wrong side and press. Attach Edge Stitch foot #10. Position the guide of the foot along the fold. Move the needle position of the machine two or three positions to the left and edge stitch the quilted piece close to zipper.
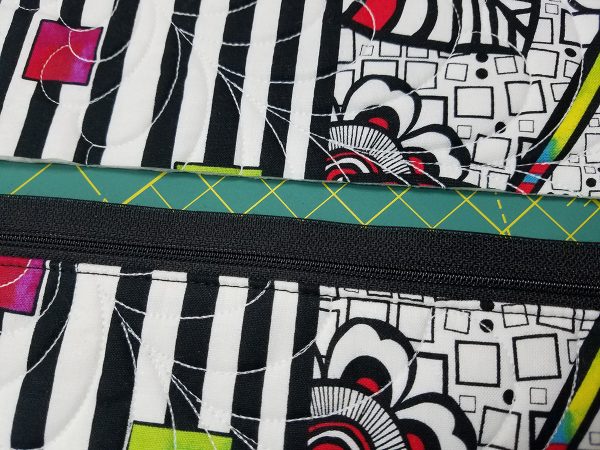
Place trimmed edge of the other quilted fat quarter next to the zipper.
Place the right side of the second fabric over the zipper and pin in place. Pin from the zipper side.
With the zipper side up, move the needle position over to the side closest to the zipper teeth just as you did with the first zipper side.
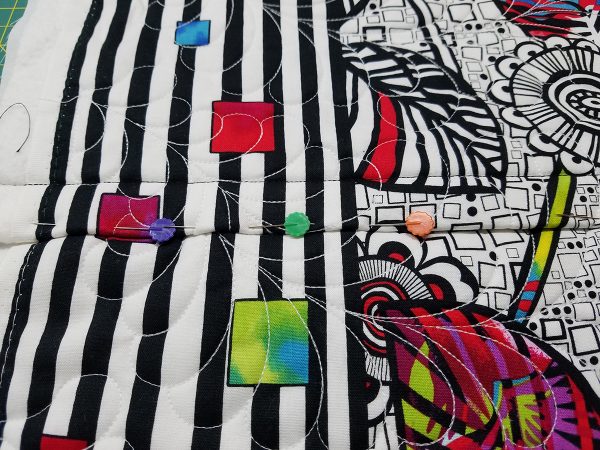
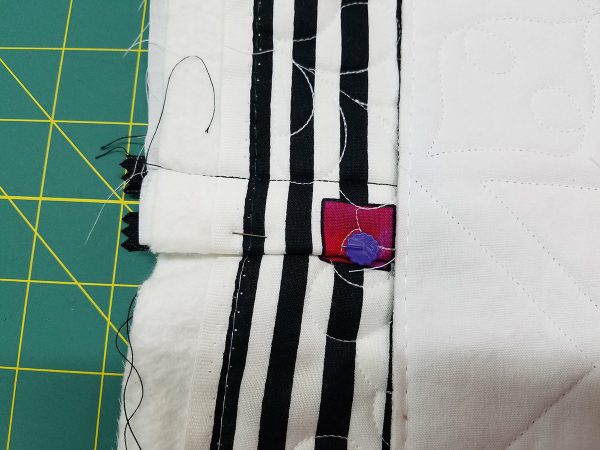
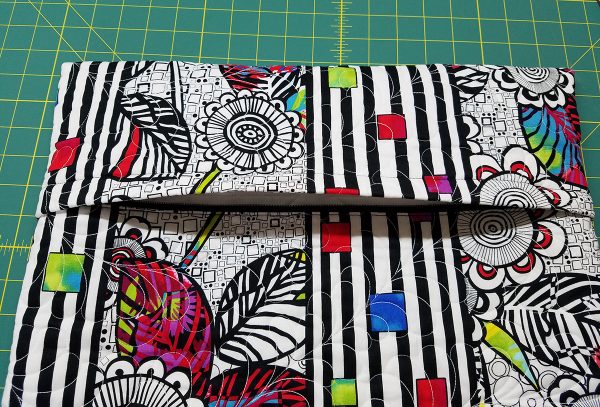
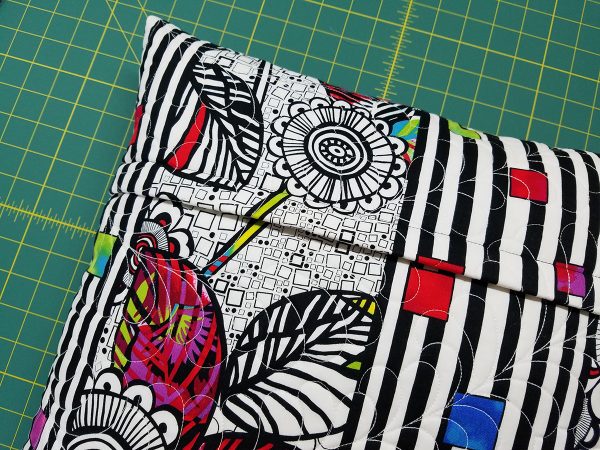
Press zipper and seam to the seam side. Then fold about ¾ inch above the zipper edge. Press so that you can peek under it and see the zipper.
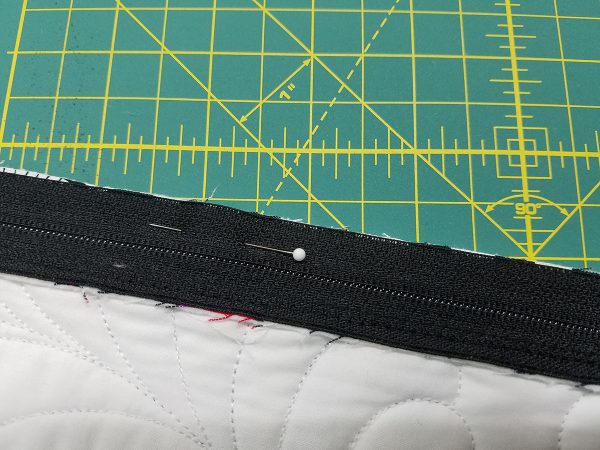
Pin the fold down to the other side. (These pins will need to be removed before stitching, but it will help to keep the fold straight when you are pinning from the zipper side.)
Turn the piece over and pin through all layers next to the zipper teeth. Remove the pins from the right side of the quilt sandwich before proceeding.
Use Zipper Foot #4/4D to stitch through all layers.
This will be the second row of stitching on this side of the zipper.
Unzip the zipper part of the way across. This is so that you can turn the pillow cover when you are finished.
Pin the unzipped folded area to the opposite side so that the back can be trimmed properly.
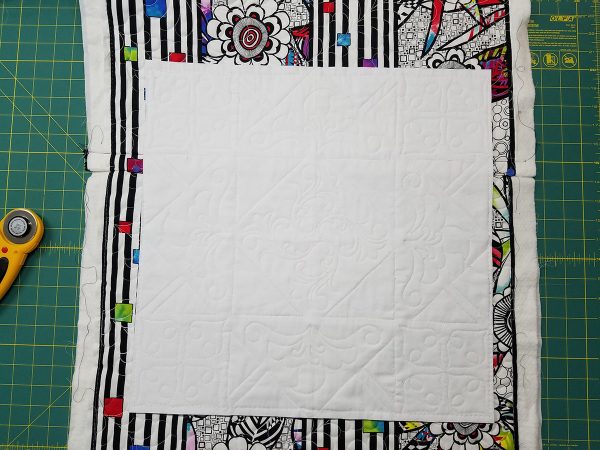
Lay the trimmed front block that you set aside earlier on top of the pillow back with the zipper, right sides together. I wanted the zipper to be closer to the top of the pillow back, so I placed the top of the block about 6” above the fold of the zipper.
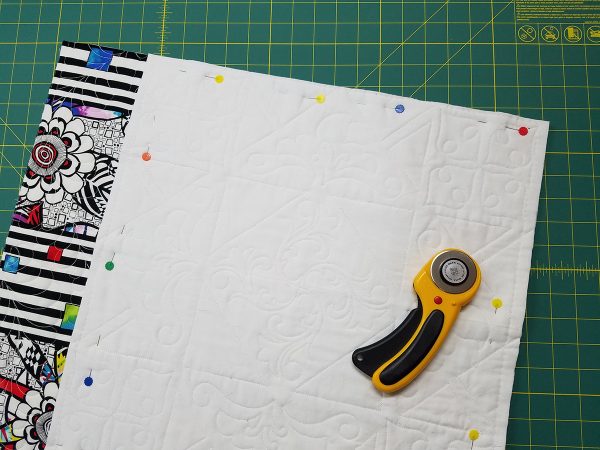
Trim the pillow back to same size as the front block. Make sure you move the pins out of the way when you trim. Rotary cutters and pins are not good for each other! Cut right through the zipper at both edges. The zipper ends will be secured when you stitch this together.
Trim all four sides even with block.
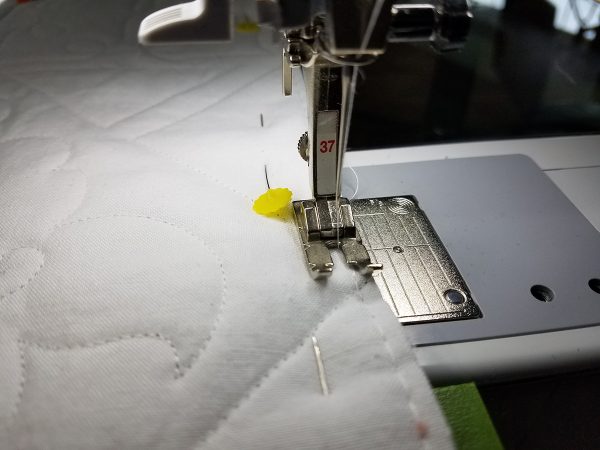
Attach quarter inch foot #37 and stitch ALL the way around the pillow cover.
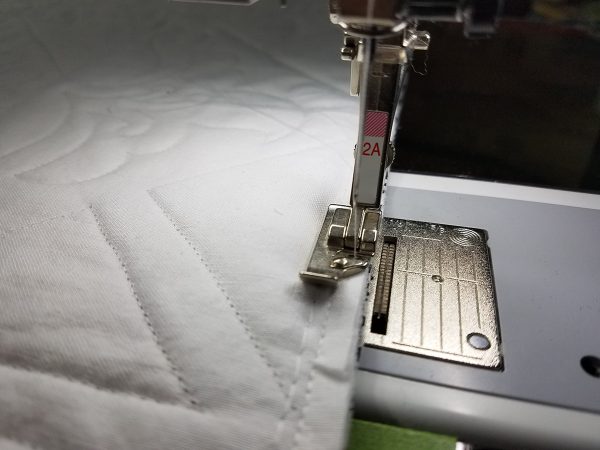
Attach Overlock Foot #2/2A and use the one of the overlock stitches on your sewing machine, or use an overlocker to clean finish the seams ALL the way around.
Turn the pillow cover right side out through the opened zipper.
Use a point turner if needed to make the corners square.
Insert pillow form through zipper in back.
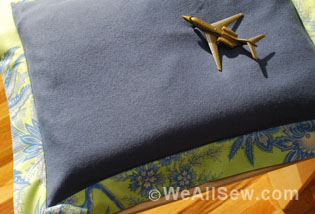
Congratulations, your pillow cover is finished!
What you might also like
2 comments on “Girl’s Favorite Block, Pillow Cover with Zipper”
-
-
Yes they will post after the last block has posted.
Leave a Reply
You must be logged in to post a comment.



![Is that big, bold scrap of fabric staring at you? This quilt square is designed to let a large print fabric shine. This simple block is quick to make and easily stitched into a pillow. With a bit more fabric you can turn it into a placemat or table runner. The perfect project for turning fabric scraps into something bold and beautiful. Geometric Quilt Block Pillow Supplies Large scraps or fat quarters of 100% cotton quilter's fabrics: One large print One light solid or small print One medium solid or small print One dark solid or small print 1/2 yard of white cotton fabric for the pillow lining 1/2 yard of fabric for the pillow back Coordinating thread 14" square pillow form Universal or Sharp needle, size 75/11 1/4" foot (BERNINA Patchwork Foot with Guide #57) Straight stitch foot (BERNINA Straight Stitch Foot #13) Zigzag foot (BERNINA Reverse Pattern Foot #1) or overlock foot (BERNINA Overlock Foot #2) Rotary cutter and self-healing cutting mat Clear acrylic gridded ruler Download and print the Geometric Quilt Block Pillow Cutting and Piecing Diagrams: [download id="90"] Step 1) Cut the fabric pieces. Accurate cutting helps avoid crooked, puffy, or uneven seams in your quilt block. Use a self-healing mat, a clear acrylic gridded ruler, and a rotary cutter to cut the pieces for your quilt block. Rotary cutters Rotary Cutting Tips Self-healing mats come in different sizes. 24" x 36" is a good size to have, but if you don't have a dedicated sewing space or don't plan to use it often, try an 18" x 24" mat instead. Acrylic rulers also come in many shapes and sizes. A standard 6" x 24" ruler is a good start, and I've also found a 12-1/2" x 12-1/2" square ruler to come in very handy. Rotary cutters are measured by the size of the circular blade in millimeters. A 45 mm rotary cutter is perfect for making the kind of straight cuts needed for this project. Use the grid on your cutting mat to help square up fabric pieces when needed, but when measuring to cut the pieces be sure to use the gridlines on the acrylic ruler. Hold the ruler firmly on top of the fabric, and use a steady, firm, pressing motion when cutting with the rotary cutter. Cut one of each pattern piece from the corresponding fabrics (also see downloaded Cutting Diagram): Piece #1 - Light solid or small print, 4" x 3" Piece #2 - Dark solid or small print, 4" x 5" Piece #3 - Light solid or small print, 4" x 2-1/2" Piece #4 - Large print, 9-1/2" x 9-1/2" Piece #5 - Light solid or small print, 2-1/2" x 9-1/2" Piece #6 - Dark solid or small print, 14-1/2" x 2-1/2" Piece #7 - Medium solid or small print, 14-1/2" x 3-1/2" Step 2) Piece the block. Set your sewing machine for a straight stitch about 2.5 mm long. Attach a quarter-inch foot, such as BERNINA Patchwork Foot with Guide #57, to your sewing machine. The blocks will be sewn together using a 1/4"-wide seam allowance. Stitching an accurate 1/4"-wide seam will help your block come together with nice, straight seams and avoid pieces not fitting together as you sew on. Geometric Quilt Block Pillow Patchwork Piecing Tips Us a quarter-inch foot to help you keep the correct seam allowance width. The BERNINA Patchwork Foot #37 is designed specifically so that following the edge of the foot will create a 1/4"-wide seam allowance. BERNINA Patchwork Foot with Guide #57 is similar to foot #37, but adds a metal guide at the side of the foot to help you like up your fabric piece exactly at the edge of the foot. Attach a seam guide to the bed of your sewing machine along the 1/4" seam allowance mark on your stitch plate, then place the edges of your fabric pieces against the guide as you sew. Alternatively, place a piece of blue low-tack painter's tape along the 1/4" seam allowance mark on your stitch plate as a guide for your fabric. Piecing Diagram Geometric Quilt Block Pillow Start by stitching Piece #1 to Piece #2 along one 4" edge. Press the seam allowances to one side. Next, sew Piece #3 to Piece #2 along one 4" edge as shown in the diagram; press after stitching. Geometric Quilt Block Pillow Continue adding pieces to the block as shown in the diagram, pressing each seam as you go. Tip: When pressing seams, be sure to press DOWN with the iron as opposed to "ironing," or pushing the iron back and forth over the seam. Ironing (back and forth motion) can cause straight seams to go crooked. Pressing straight up and down with the iron will help your seams stay nice and straight. Press all seams again from the back of the block when finished. Geometric Quilt Block Pillow The finished block should measure 14-1/2" x 14-1/2". Geometric Quilt Block Pillow Step 3) Construct the pillow cover. Cut one 14-1/2" x 14-1/2" square of fabric for the pillow lining. Cut two 11" x 14-1/2" rectangles of fabric for the pillow back. Create a 2" hem along one edge of each 11" x 14-1/2" pillow pocket piece: Turn under 1" along one long edge; press. Turn under an additional 1"; press. Geometric Quilt Block Pillow Topstitch close to the inner edge of the folded hem with a straight stitch, using either a multi-purpose foot or a straight stitch foot. Geometric Quilt Block Pillow Layer and pin the pieces of the pillow together: Begin with the 14-1/2" square of white cotton for the lining. Add the finished patchwork block, right side up, matching all edges. Add one pocket pillow back, right side down, matching the raw edges. The finished hem will be about 5" from the other end of the pillow. Add the other pocket pillow back, right side down, on the opposite edge. The hemmed edges will overlap. Geometric Quilt Block Pillow Pin around all four edges of the pillow. Set your sewing machine for a straight stitch of 2.5 mm long. Stitch around all four sides of the pillow using a 1/2"-wide seam allowance. Trim all seam allowances to 1/4". Attach an overlock or zigzag stitch foot to your sewing machine. Set your machine for a zigzag or overlock stitch and sew over the raw edges to keep them from unraveling. Geometric Quilt Block Pillow Turn the pillow cover right side out, gently pushing each corner from the inside to turn it. Insert the 14"-square pillow form through the opening in the back of the pillow cover. If needed, use a little fiberfill to help fill out the pillow corners. Geometric Quilt Block Pillow Geometric Quilt Block Pillow](https://weallsew.com/wp-content/uploads/sites/4/2014/01/Geometric-Quilt-Block-Pillow-WeAllSew.jpg)


Are there setting instructions for Block Party quilt?